|
|
I don’t keep this page current anymore. It is too much like
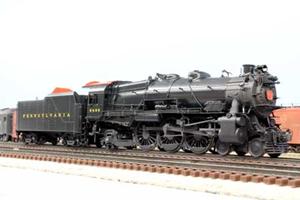
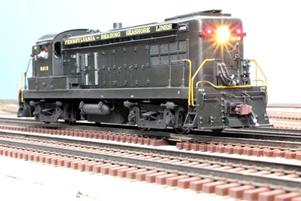
work. I finish 1 project and usually start on another one the next day. The 2 below locomotives have been on this page for MANY years. K4 5495 was completed 10-30-12 AS16 6015 was finally completed 1-11-18 Click the photos to go to their own new pages PRR K4 5495 PRSL AS16 6015 |
|
|
|
|
|


Updated
1-13-18
All photos and content © Lanes Trains 2005-2018