|
|
This
S Scale GP30 was imported by Greenbrier Models in 1997, sold by Bill’s Train
Shop (BTS) There was a PRR version made
but I never bought 1 at the time because it was out of my main era of
interest of mid 1950s. Since 1997, I have come to appreciate the GP30 more
when painted for B&O, Reading and especially Chessie. I have since
purchased a PRR GP30
that became a project of its own, and another GP30 in August 2022 for Reading. Then
the interest for high hood second generation diesels hit. No railroads in the
Northeast had them. They were owned by Norfolk & Western, and Southern.
In 2019 I got a high hood GP38-2
and SD40-2
I watched a Southern GP30 for sale for months until Brass Trains had a flash
sale and I bought it.
|
|


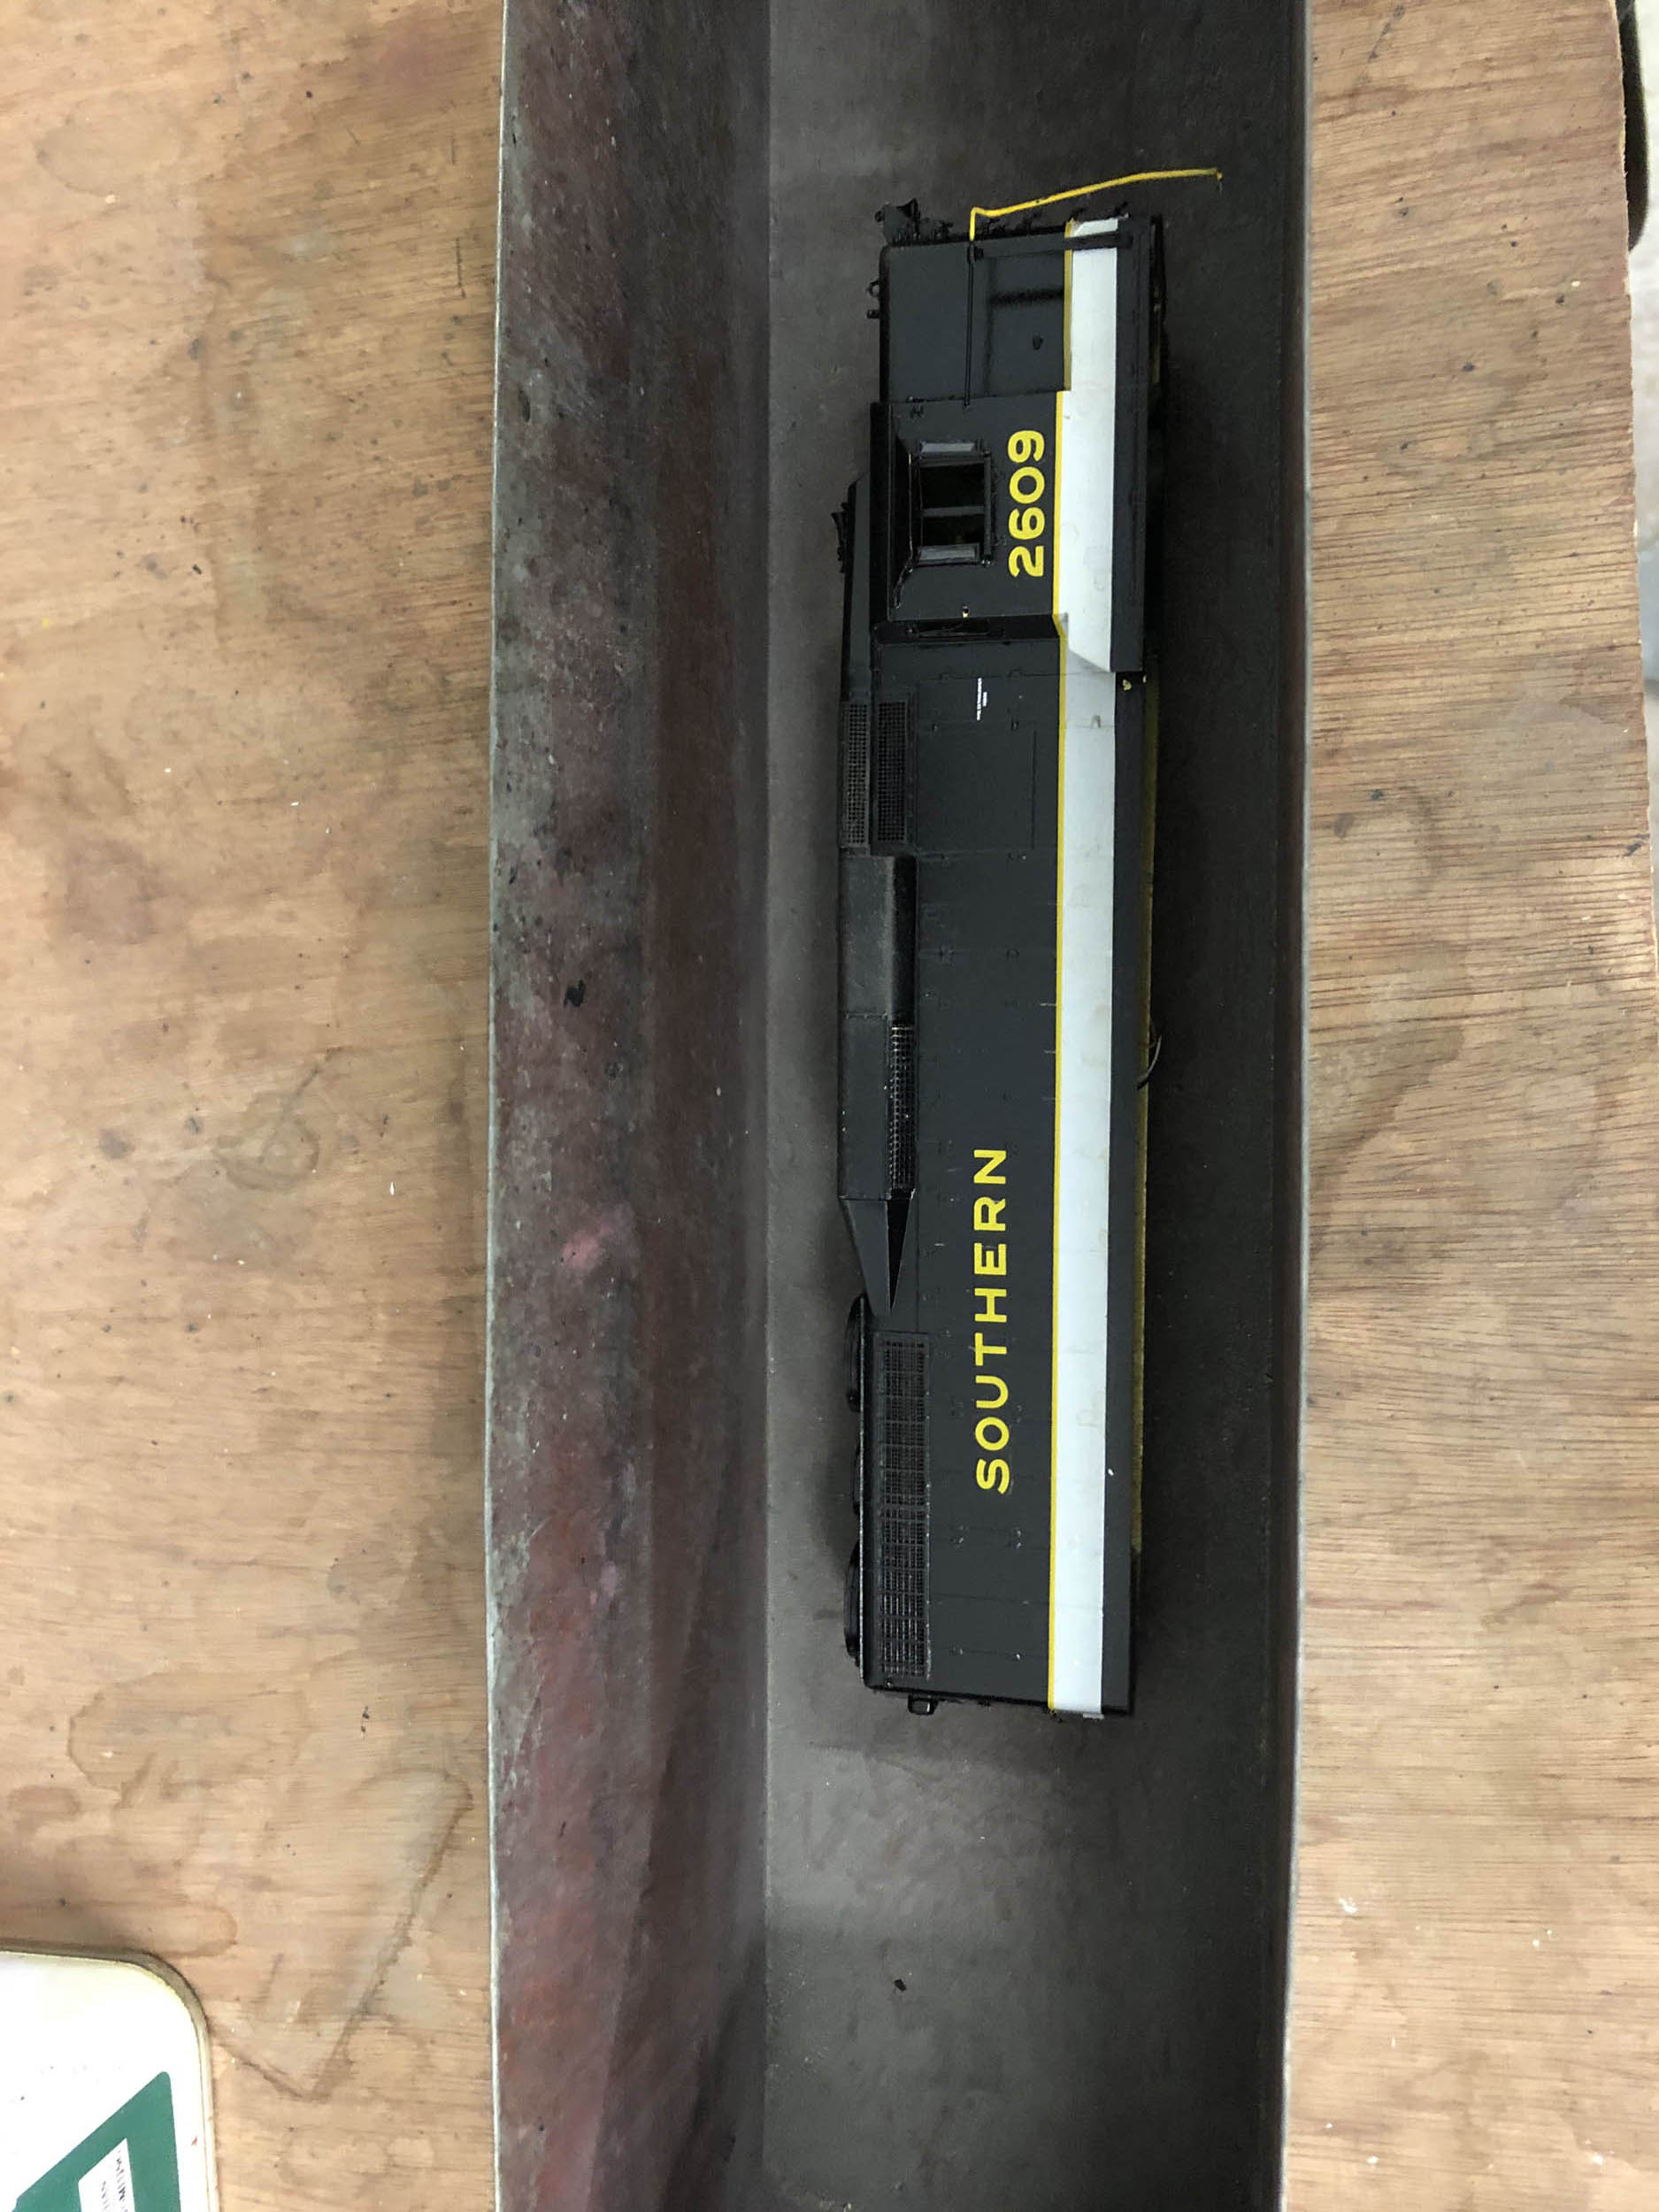
As received 7-8-20
Not So Good Paint Job
It was
listed for sale as the paint was not the best but I figured I could fix it a
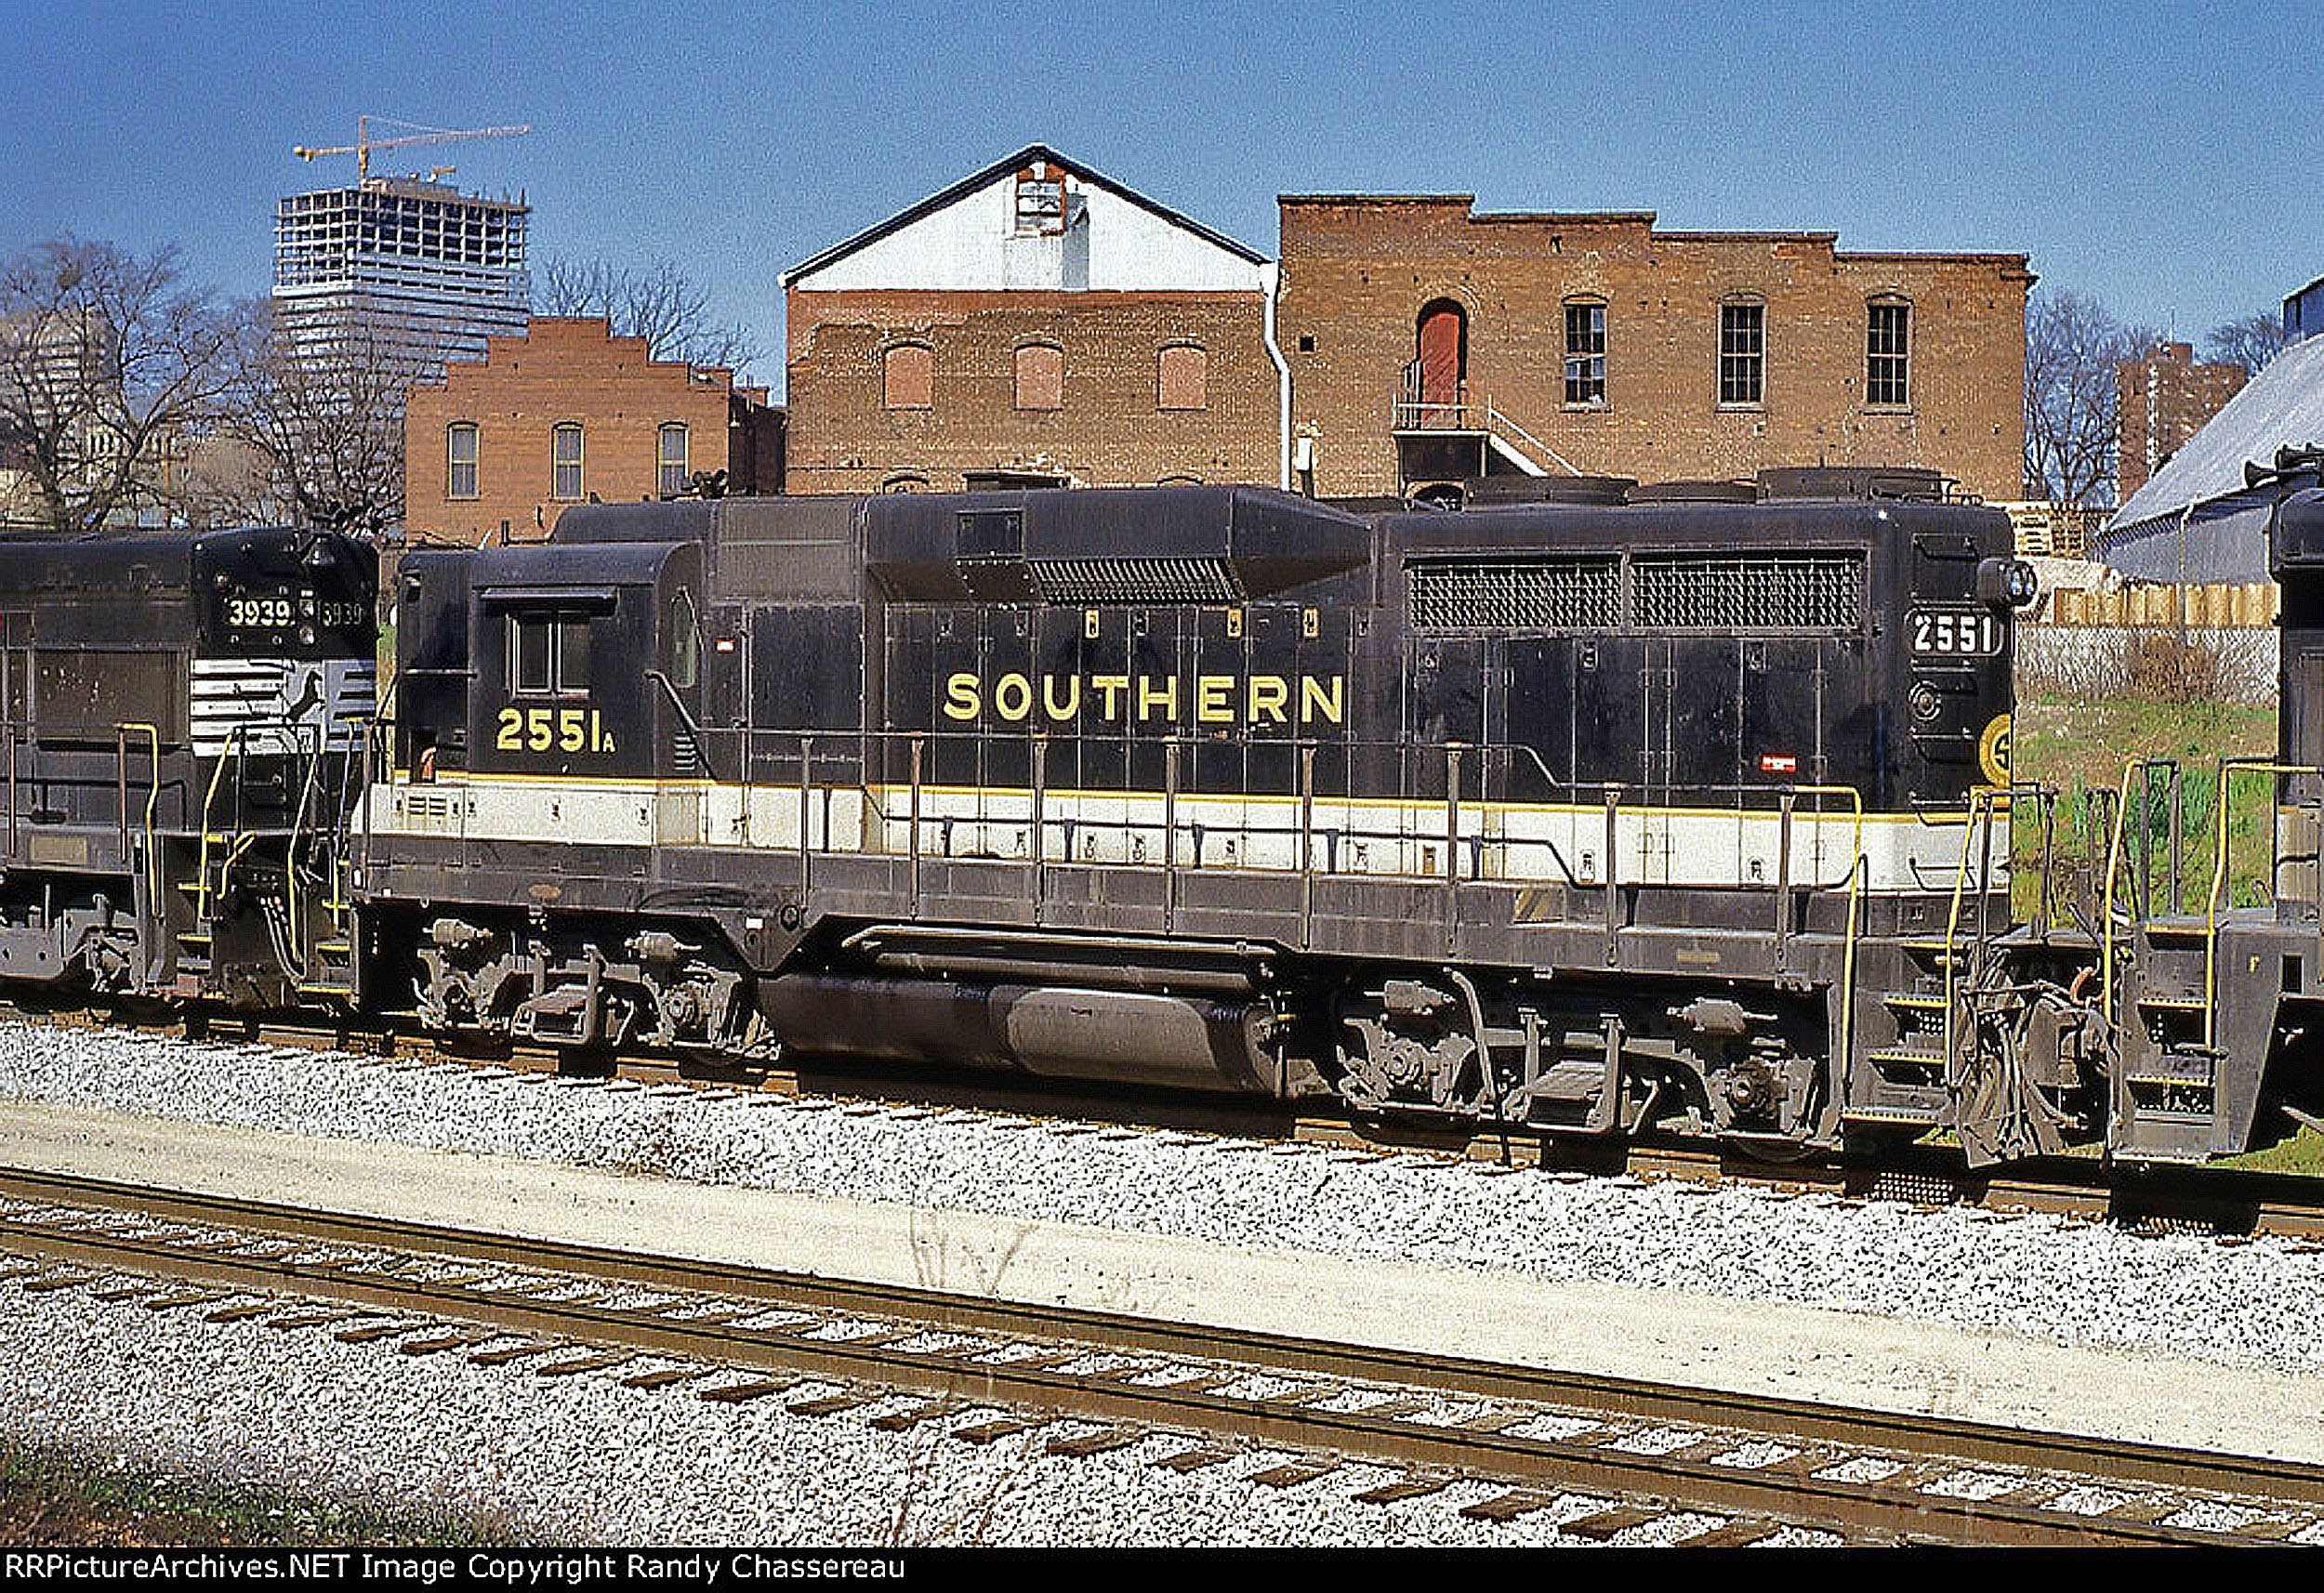
bit. The paint looked at least fair from the photos. When it arrived the paint
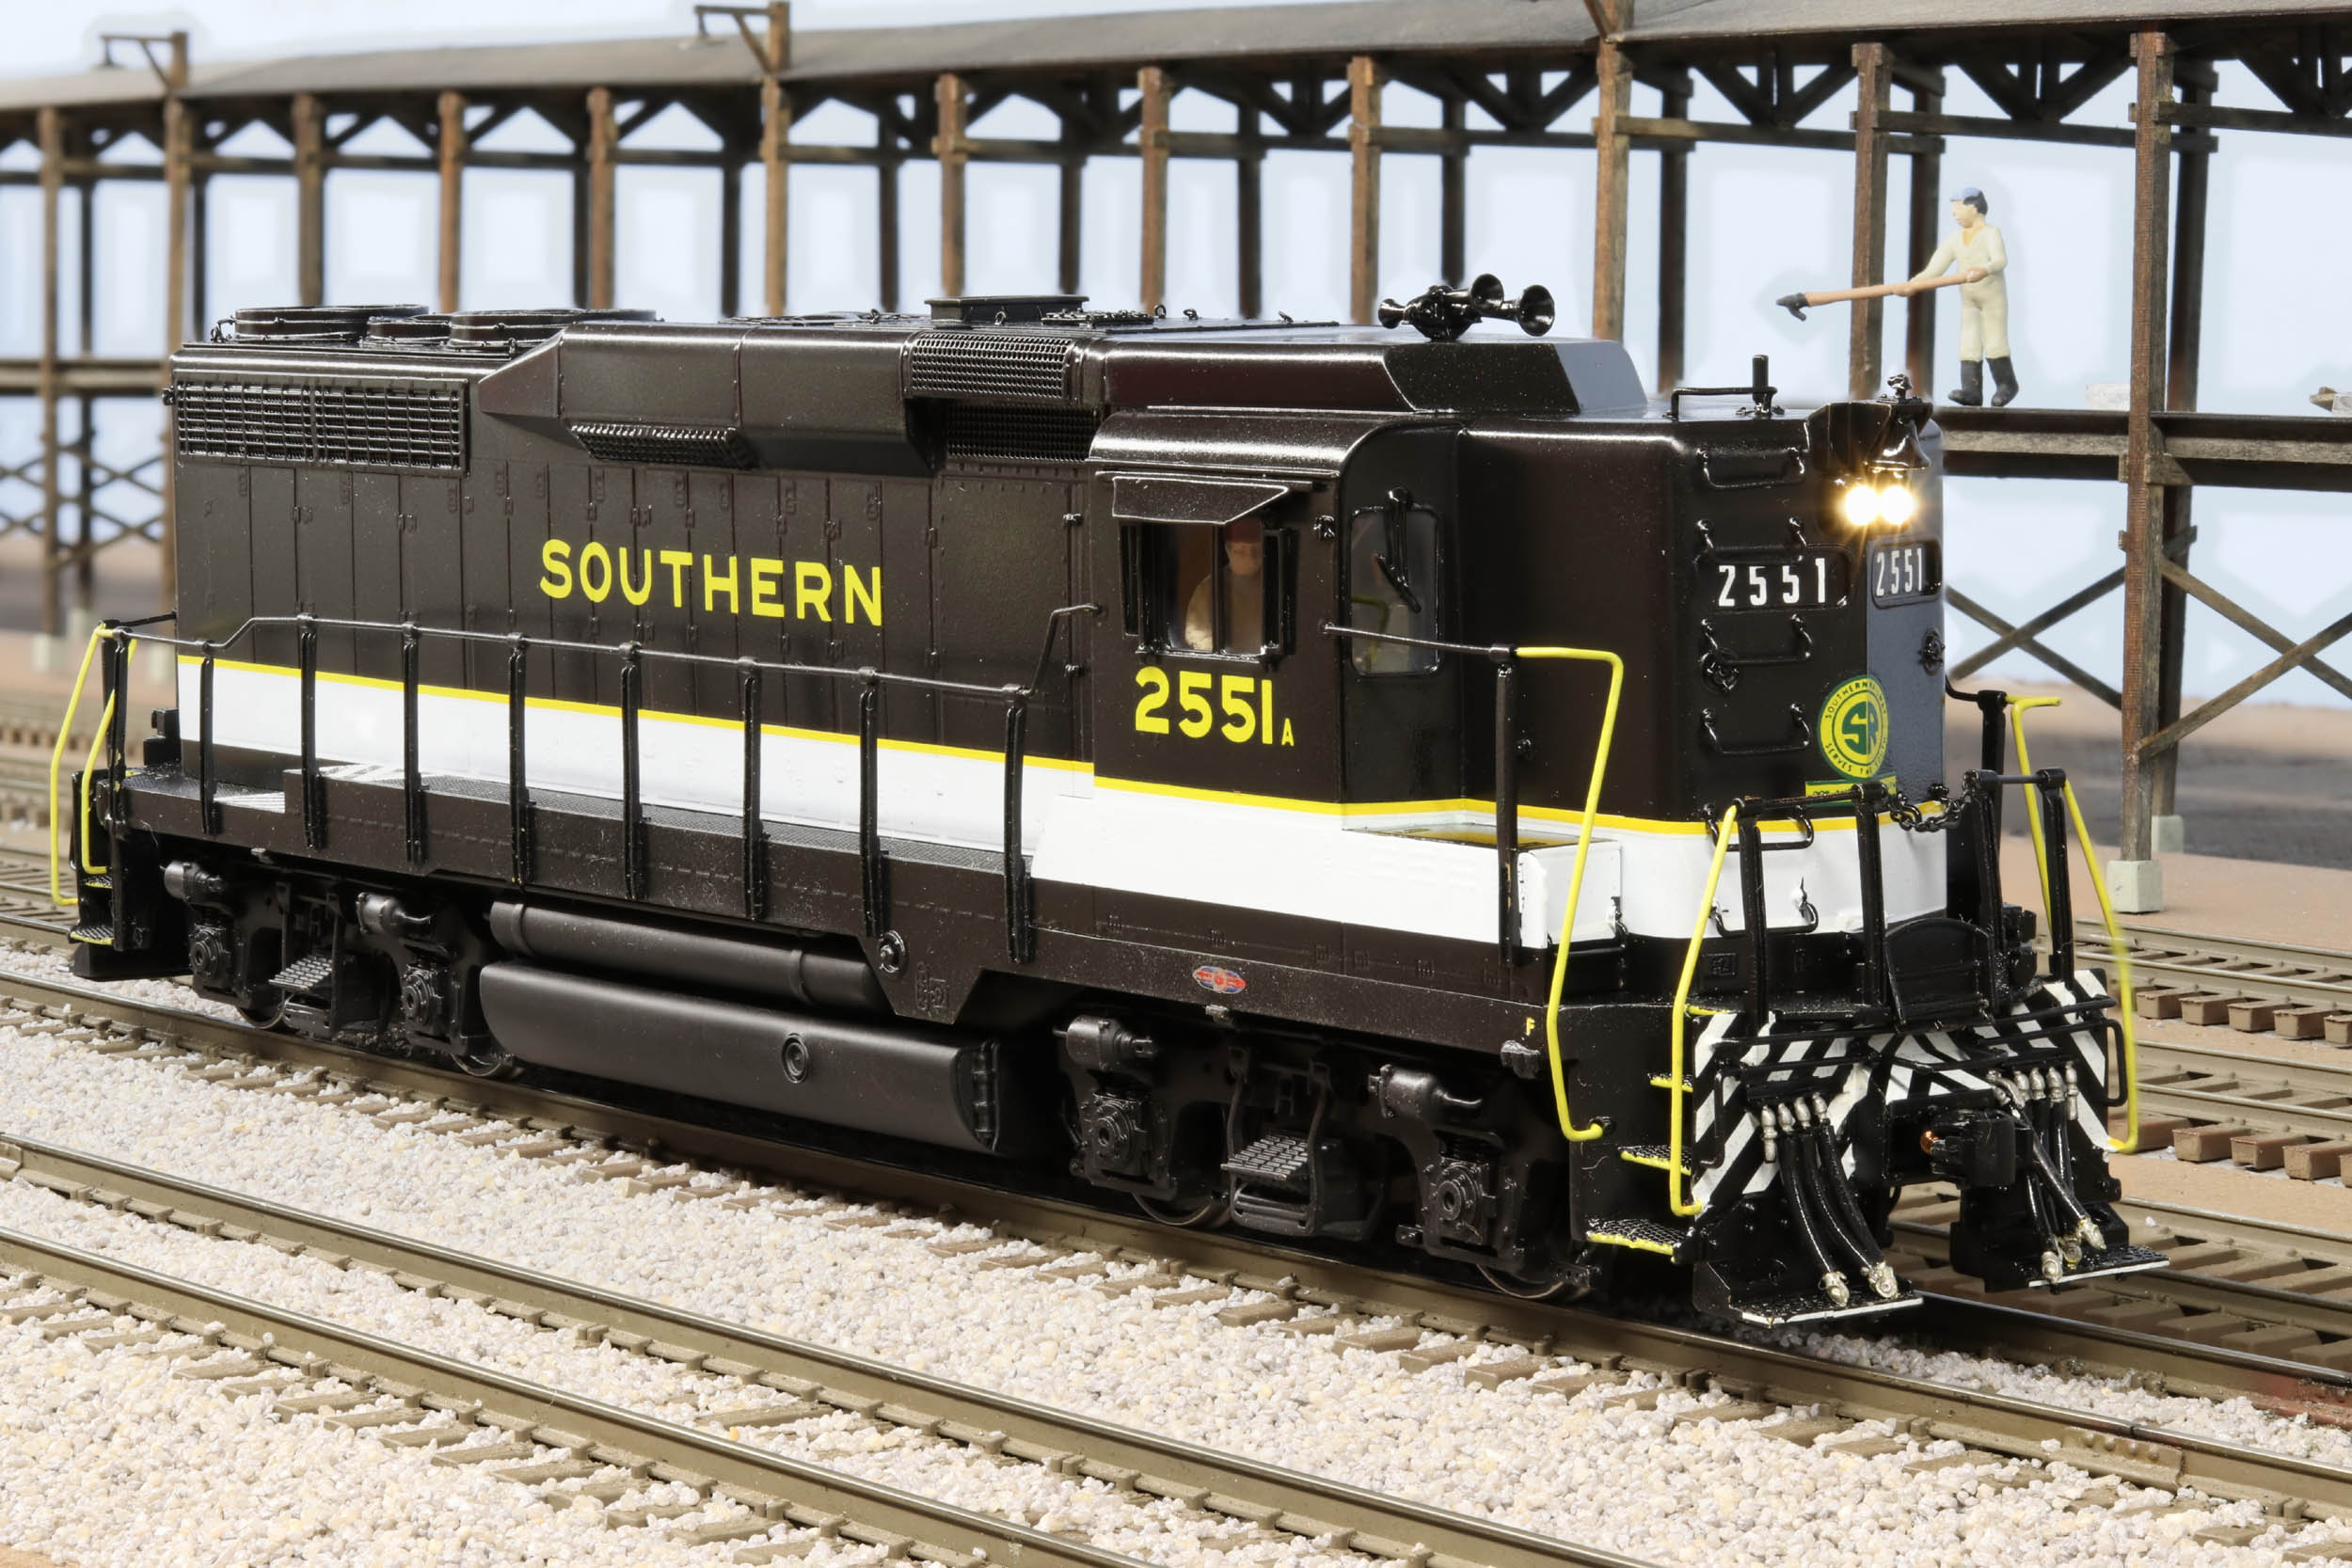
had orange peel badly and lots of embedded dust. The “Southern” lettering was
crooked ***TWICE***, and in an uncommon placement. HOW
could you DO that? This somehow was someone’s “PRO paint job”. The small letter
was also not next to the cab number that was a signature feature on Southern
locos. Once you see something it cannot be unseen. It was too many things wrong
that I did not like.
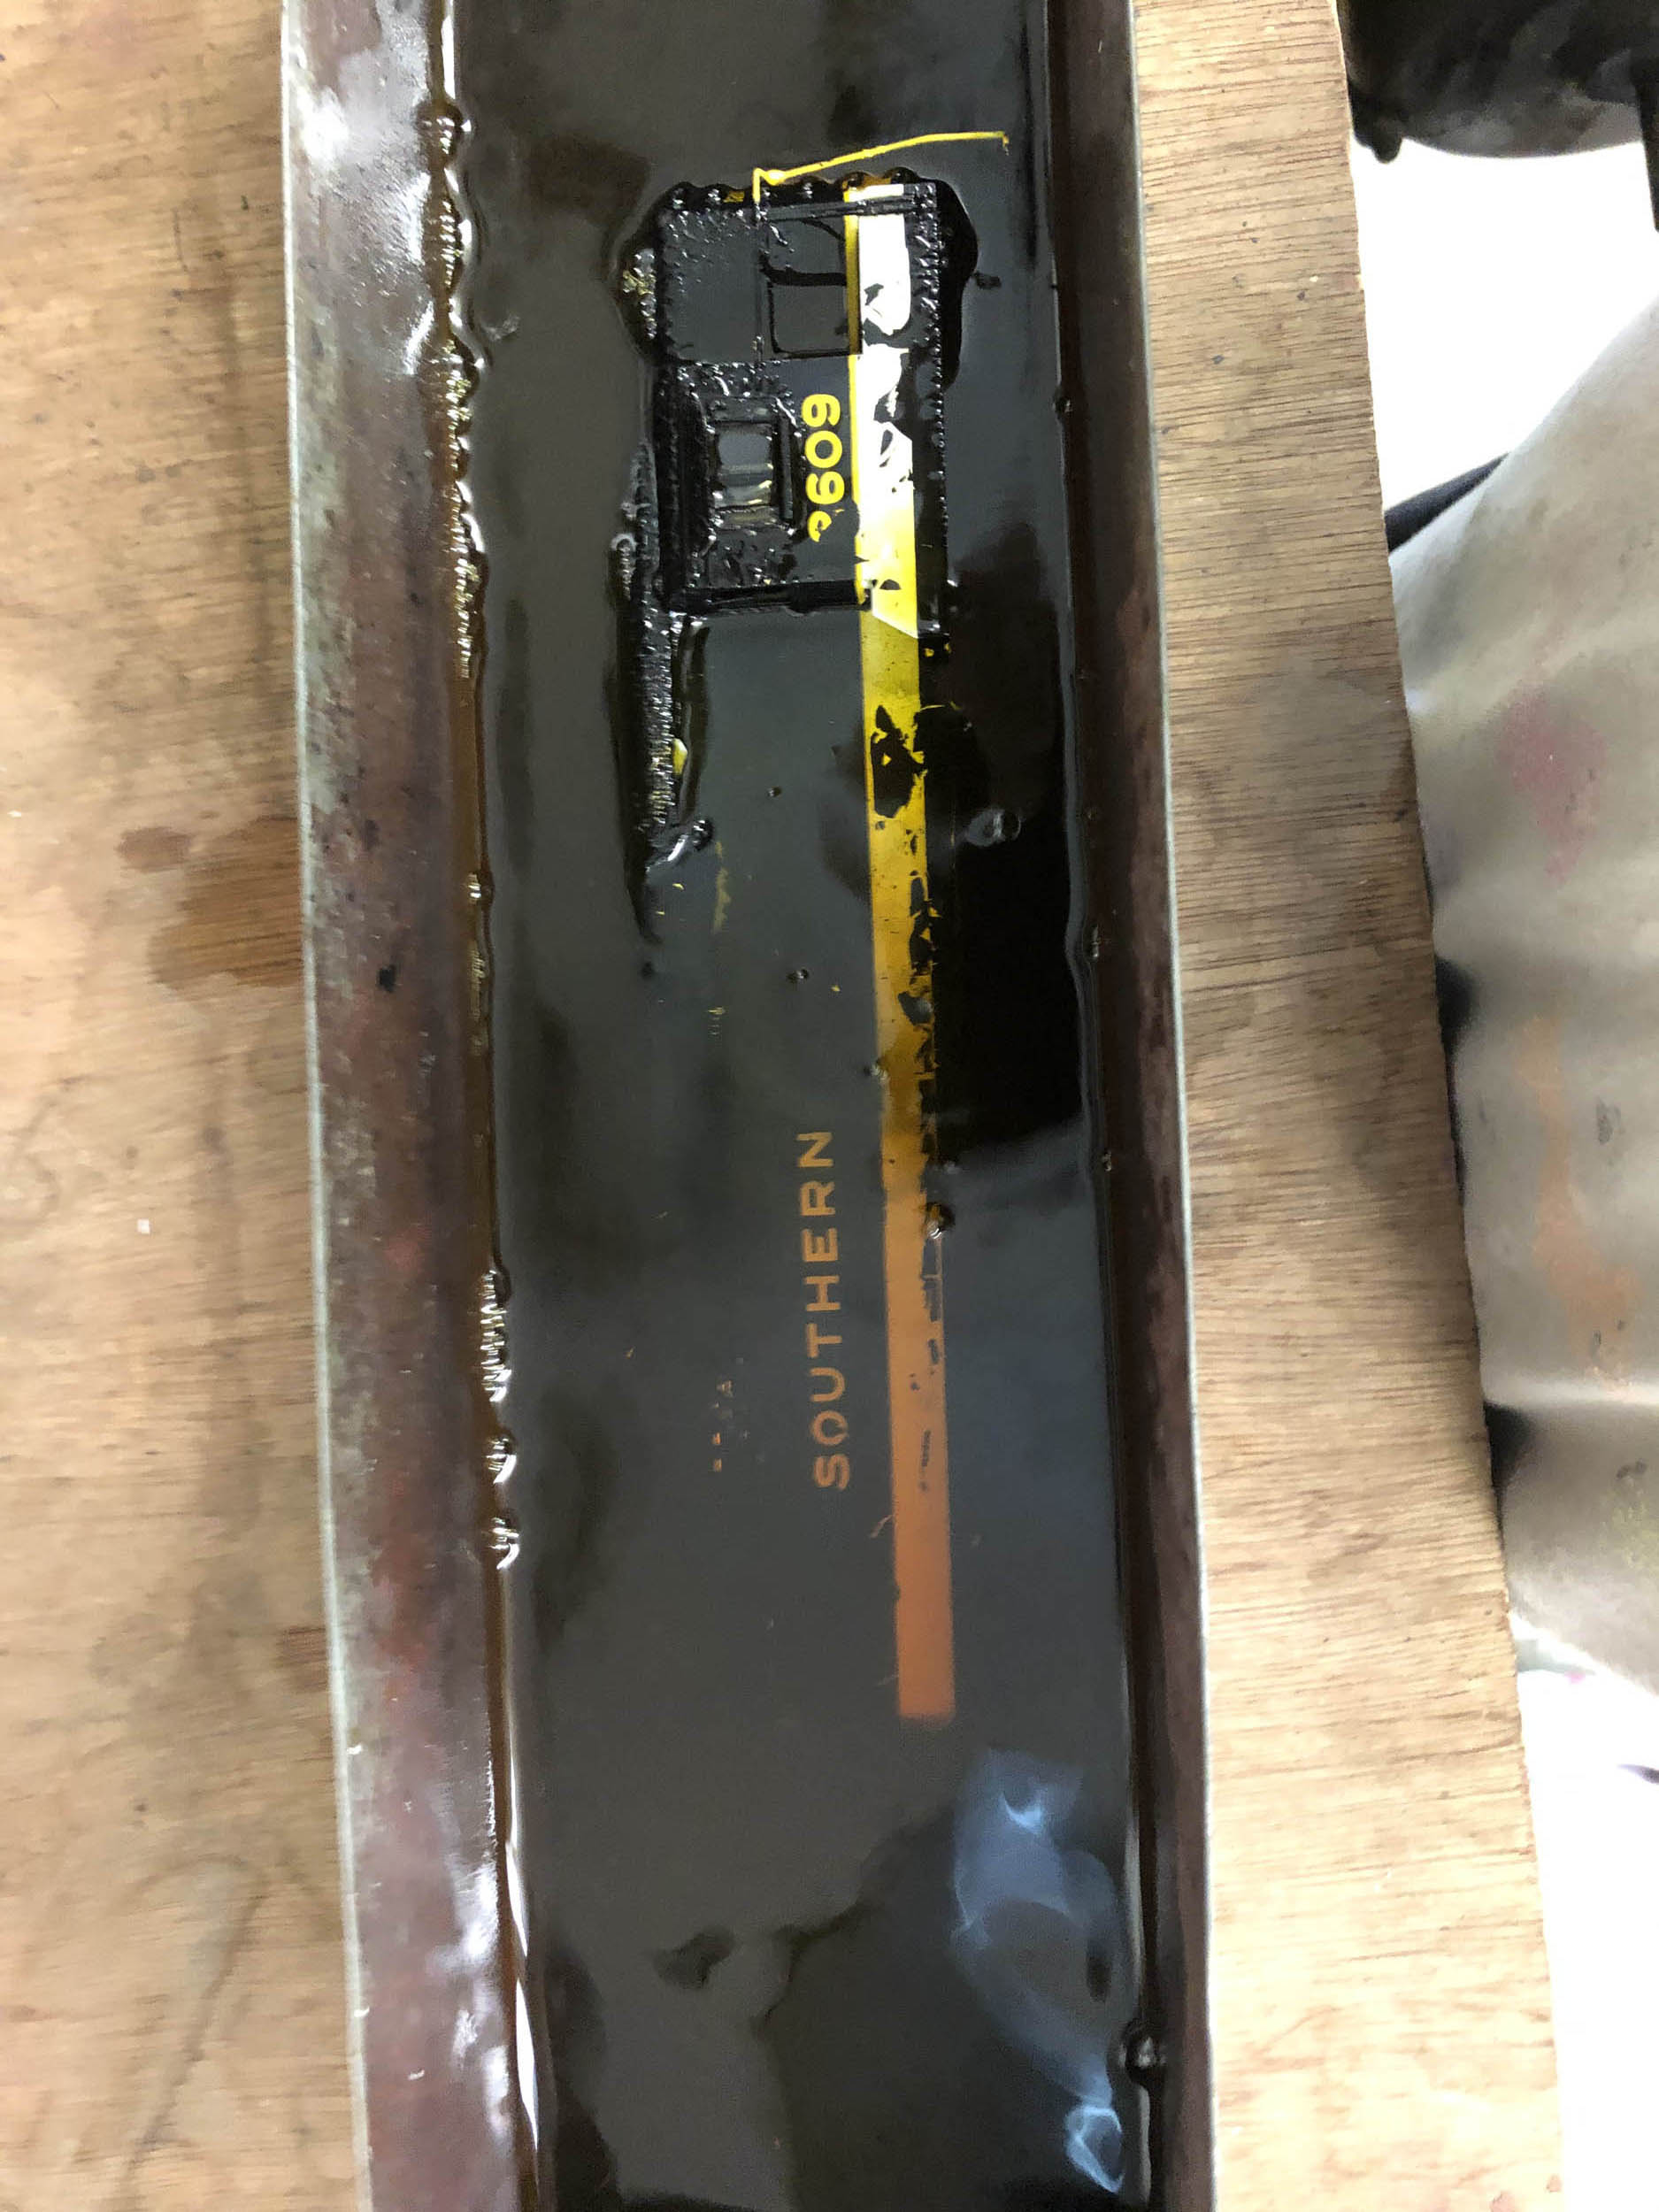
I
wanted to replace the decoder with a WOW4 and install 3MM LEDs for headlights.
I cut an internal brass plate to better access the short hood for the
headlights and the brass dust got embedded in the paint as I was handling it.
It was painted for many years and the paint somehow was still soft and tacky.
As a last ditch effort I baked the shell for an hour. There was no difference
in the tackiness. I just lost it. The paint had to go. So within 48 hours of
receiving a running loco I bought as painted with a sound decoder I ripped the Loksound decoder out and stripped the paint. I have nothing
against using 2609 again but decided to change the number to 2551. This will by
far be my most involved diesel paint job but I think I got it... There
absolutely was a moment of “I really did it now“ when
I poured the paint thinner on to strip the paint. No turning back at that
point.
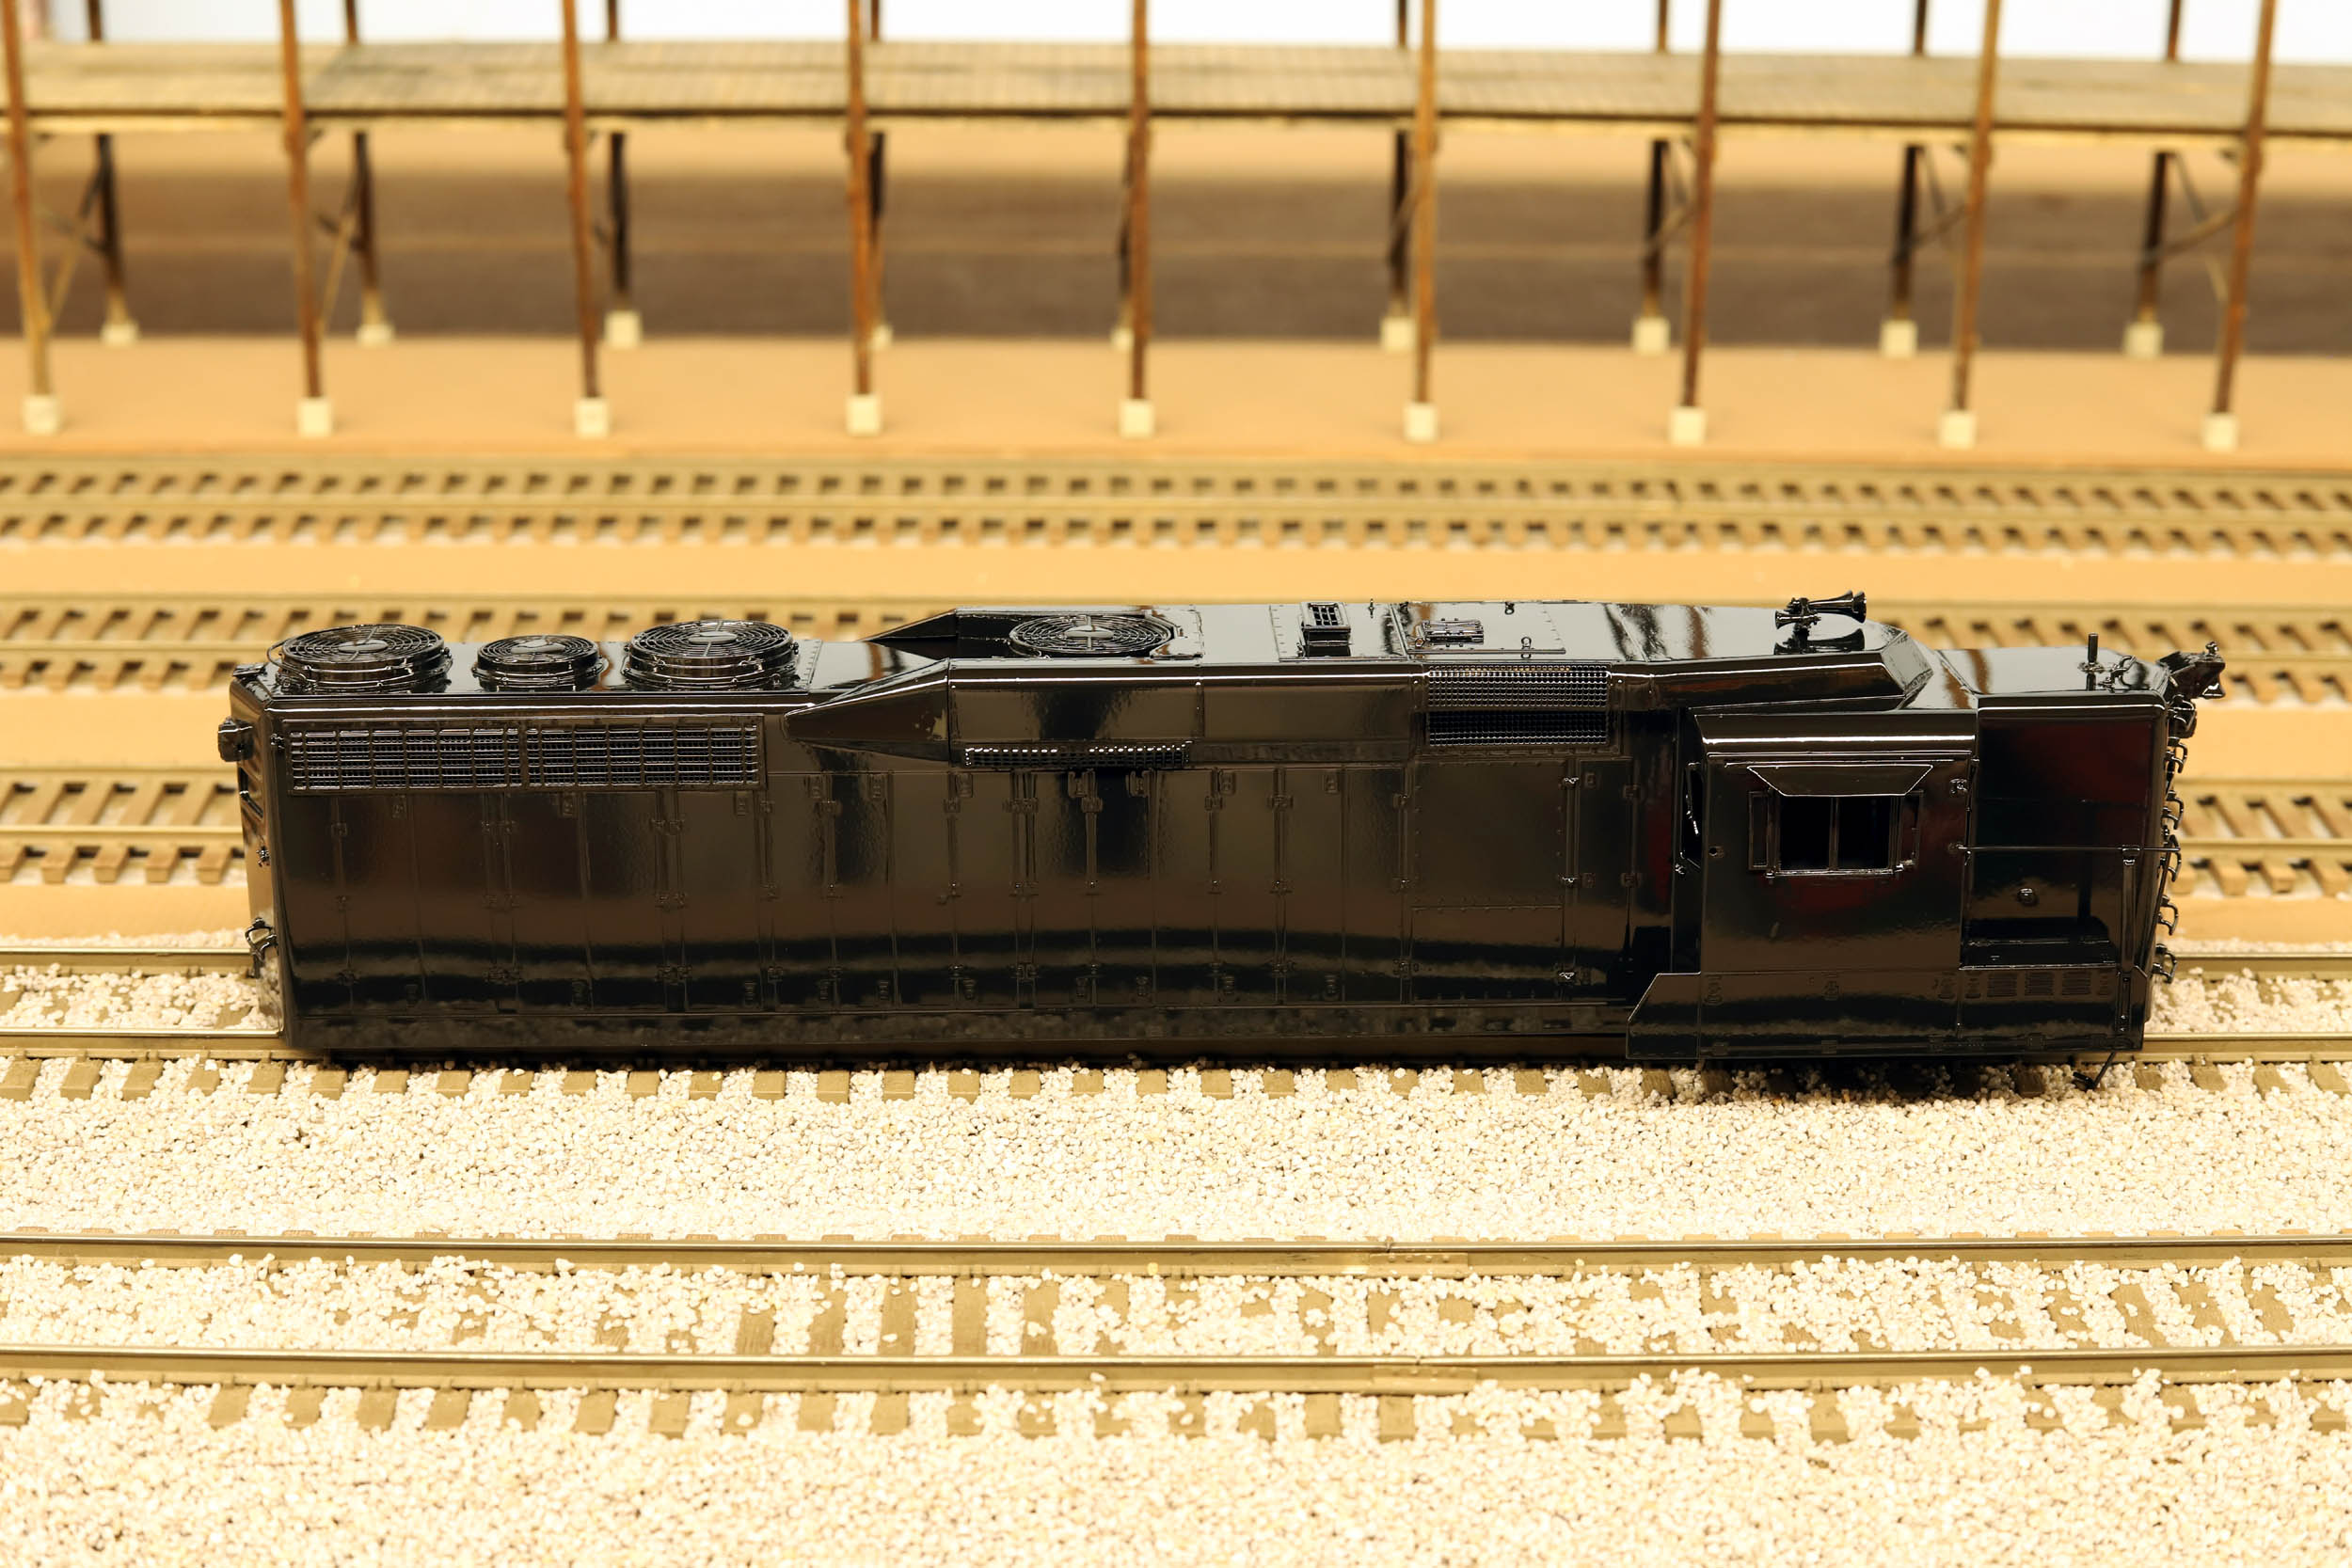
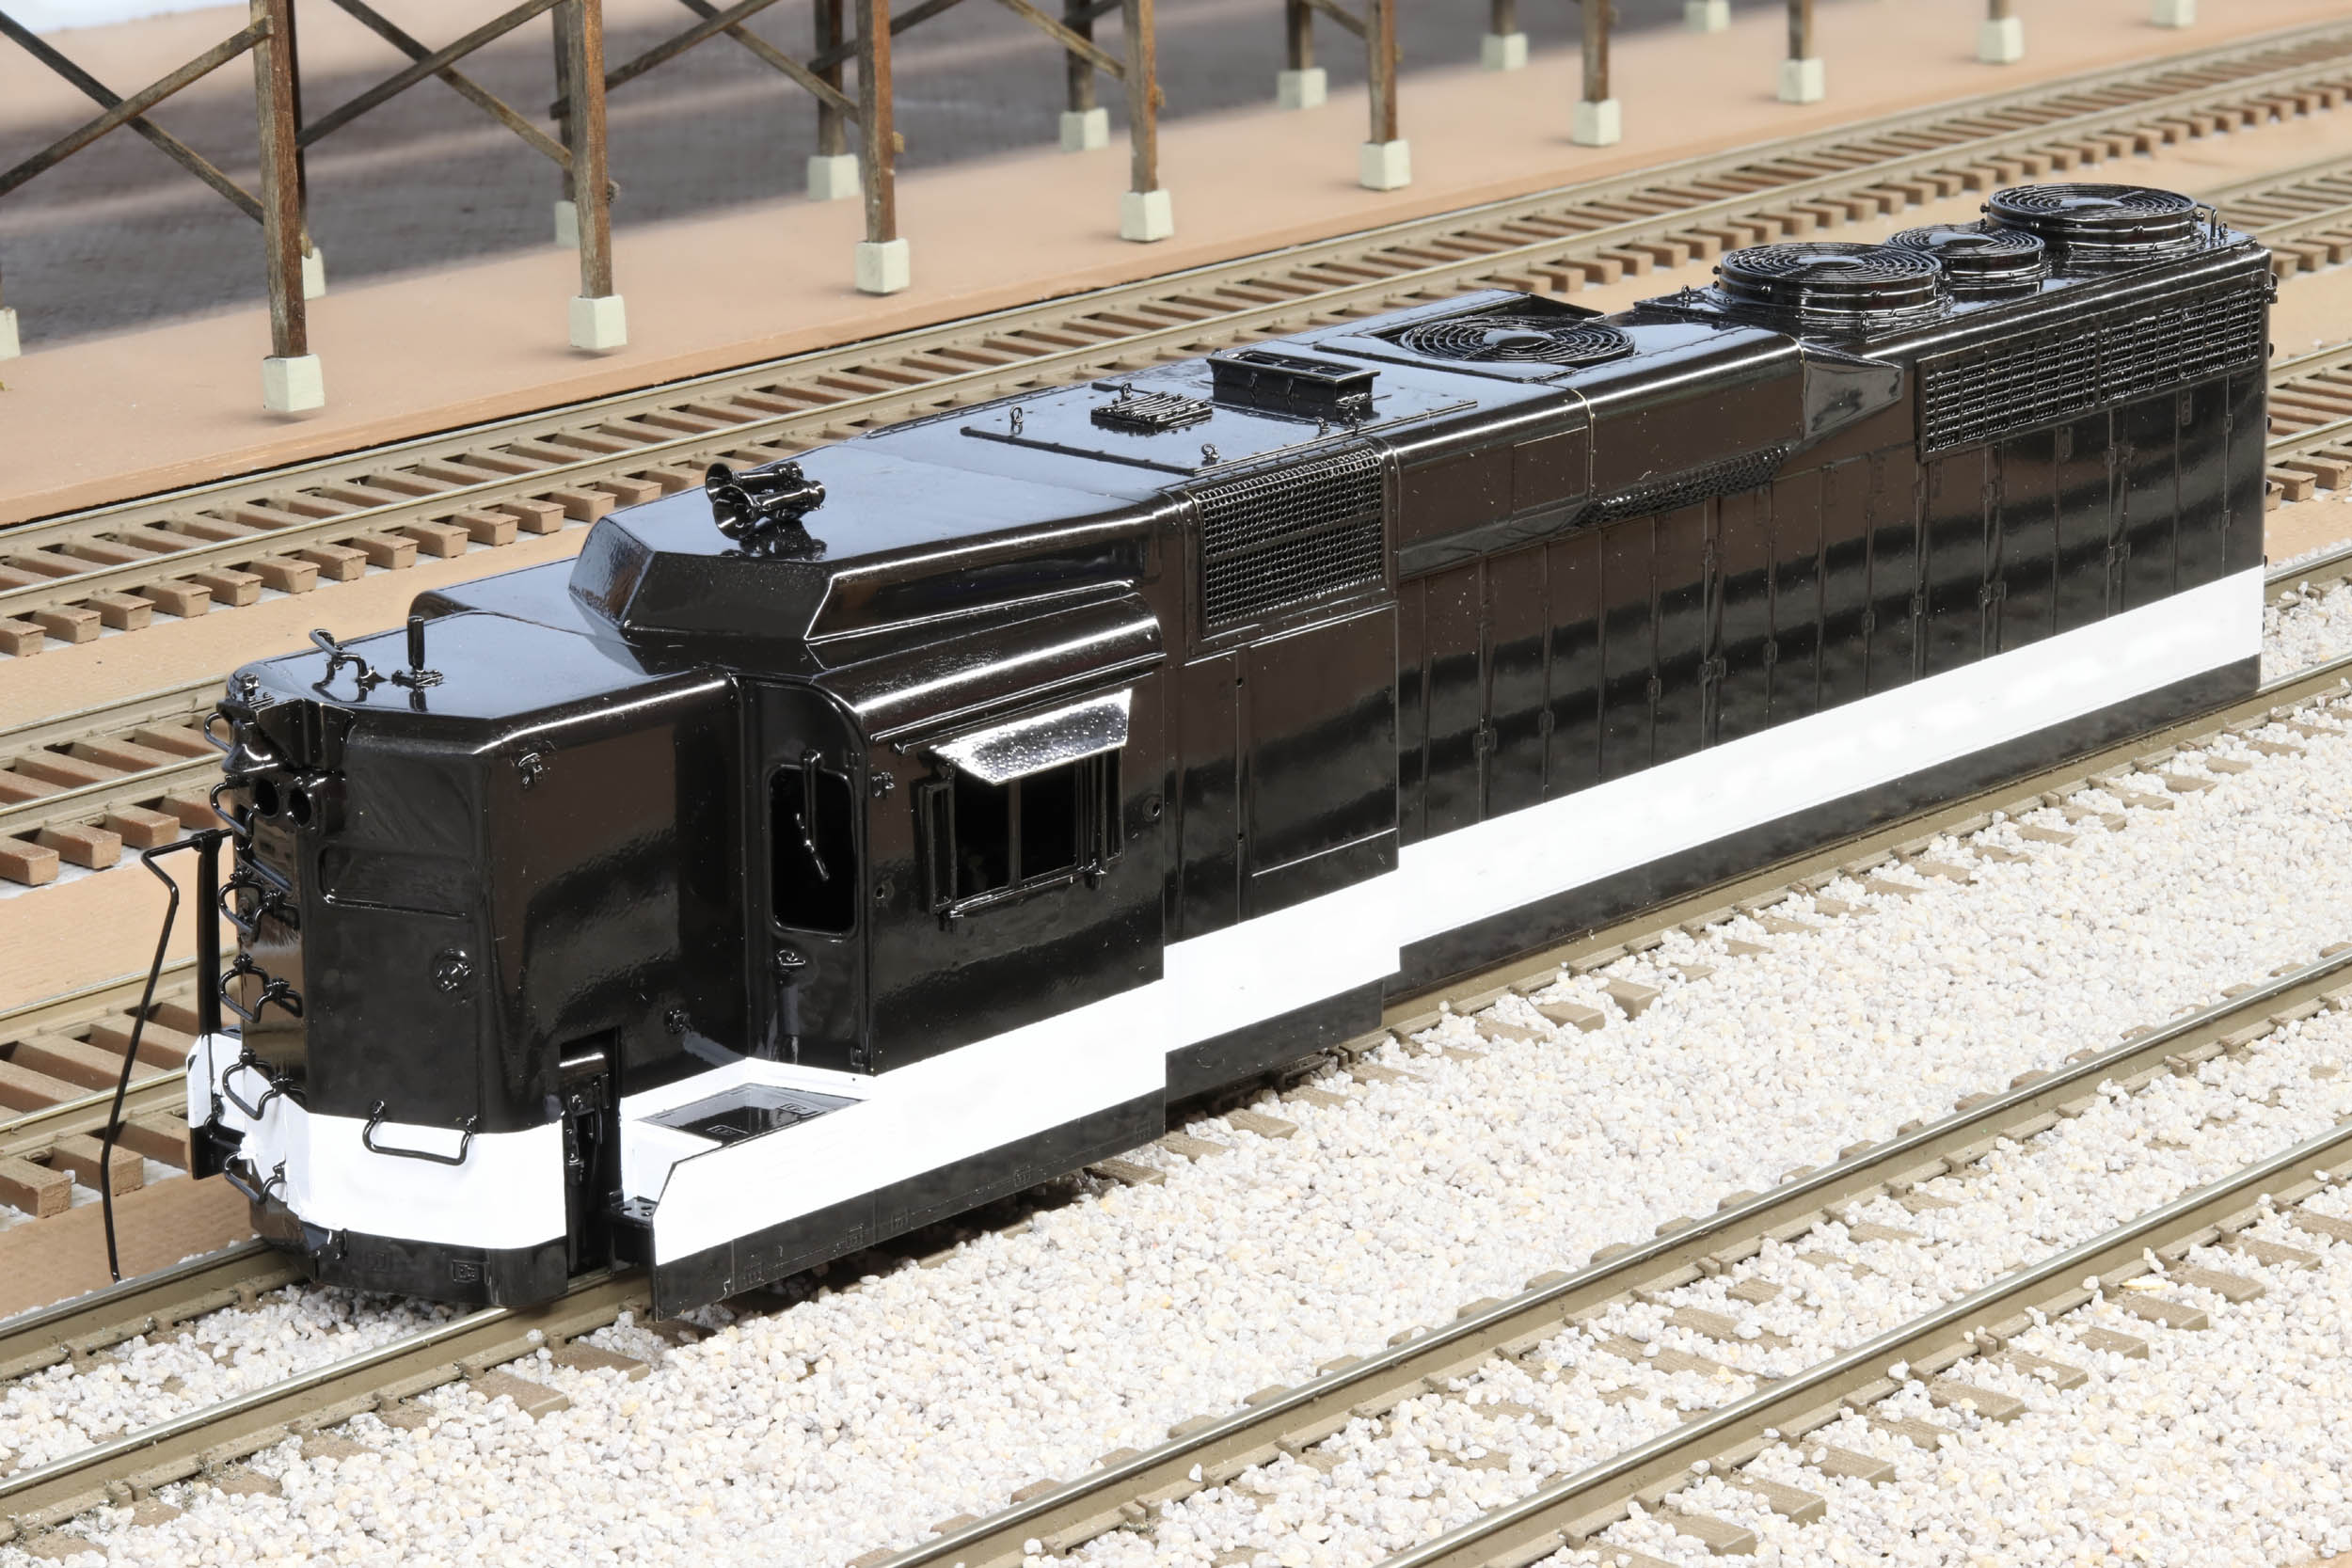
I
made some minor repairs, got the headlight bezels drilled out for the 3 MM LEDs
and painted it Scalecoat black. That bakes out as very glossy. For now I did
not strip the walkway, the only thing left from the original paint job. I did
not want to get involved with the stripes on the pilot.
Added 8-7-20
Loco Drive
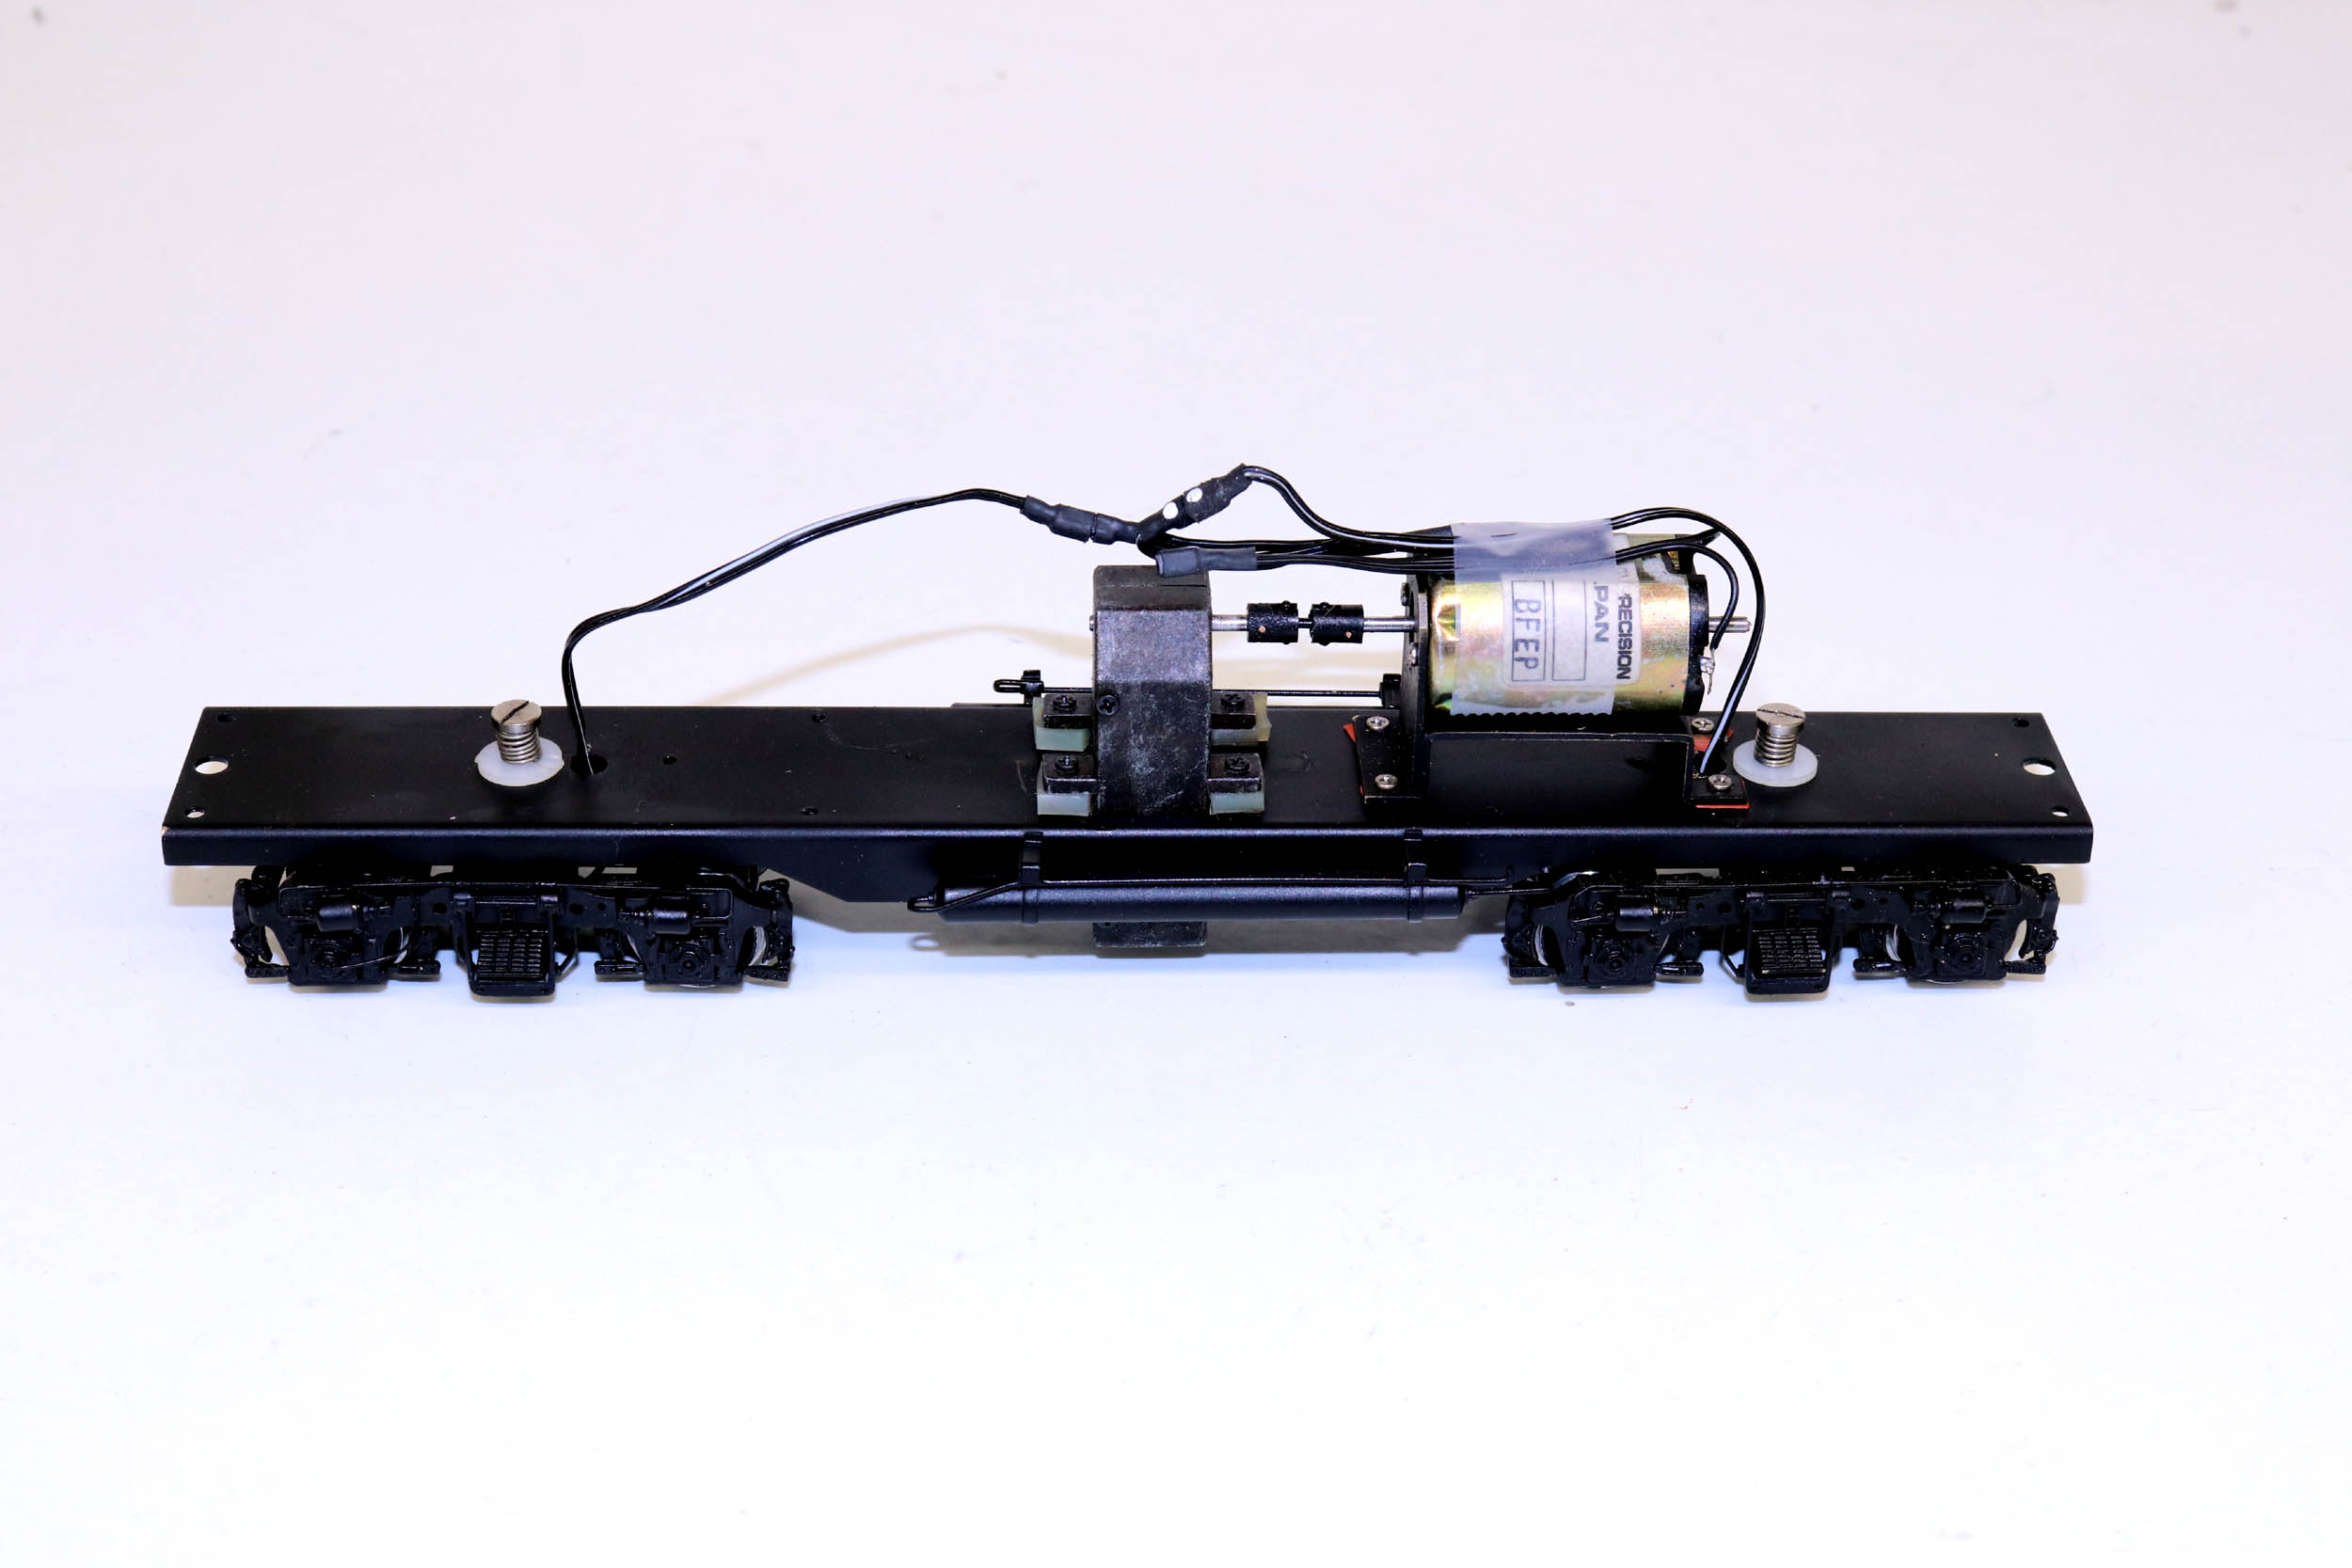
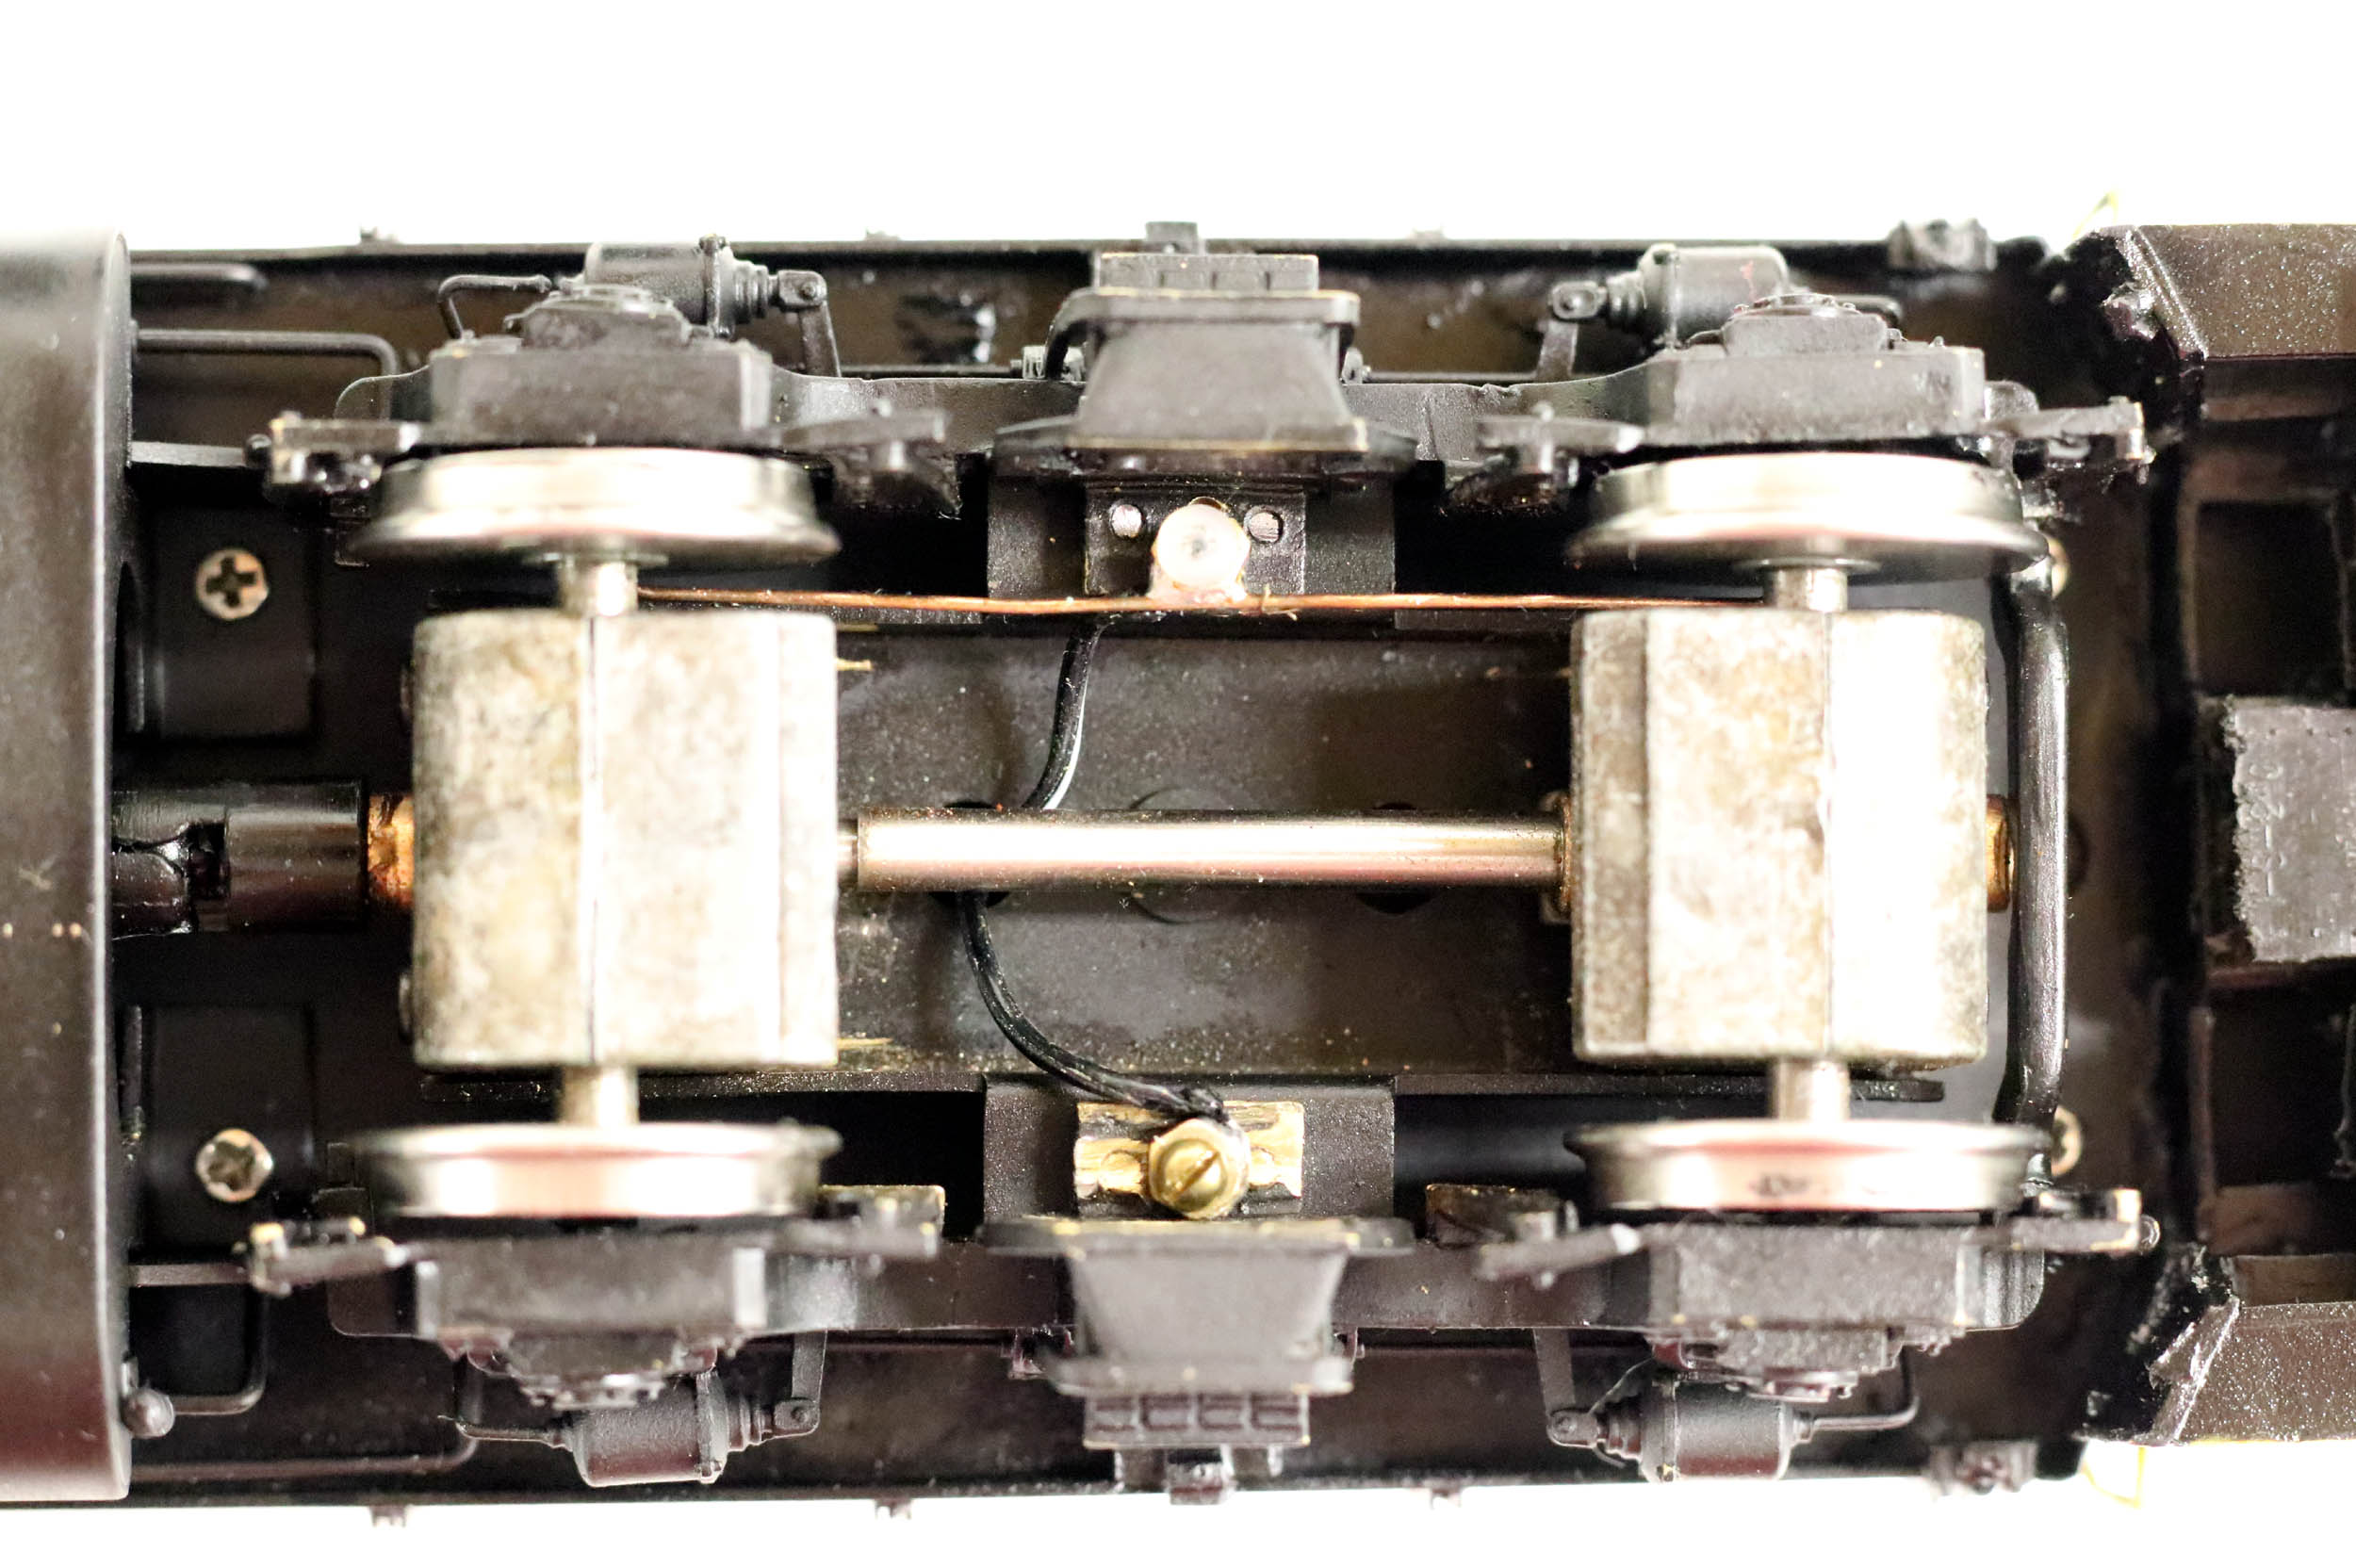
This
is the drive after doing my modifications. I replaced the rubber tubing between
the motor and gearbox with a motor coupling. They are never perfectly aligned.
A motor coupling does a much better job. I hate tubing of any kind on a model.
Note that I am not using the truck screws for electric pick up. I use
Miniatronics 2 wire plugs that pick up directly from the trucks, including
adding a wiper to the insulated wheel side. With the decoders having Keep Alive
units I have backed off of cutting grooves in the backs of the wheels, and
making 4 pick up wipers. I just make 2 pick ups. The nylon 0-80 screw is at the top, insulated
from the truck with a nylon washer. The screw at the bottom is tapped into the
truck frame. Note this project is different and a bit simpler than when I
painted my PRR GP30
in 2018. The 2 pin plugs go right into another Miniatronics 4 wire plug for
removing the shell. It is 2 wire power up to the shell
for the decoder and 2 wires down for the motor. This all adds to the DCC
installation costs but makes for a better drive if I have to work on it later.
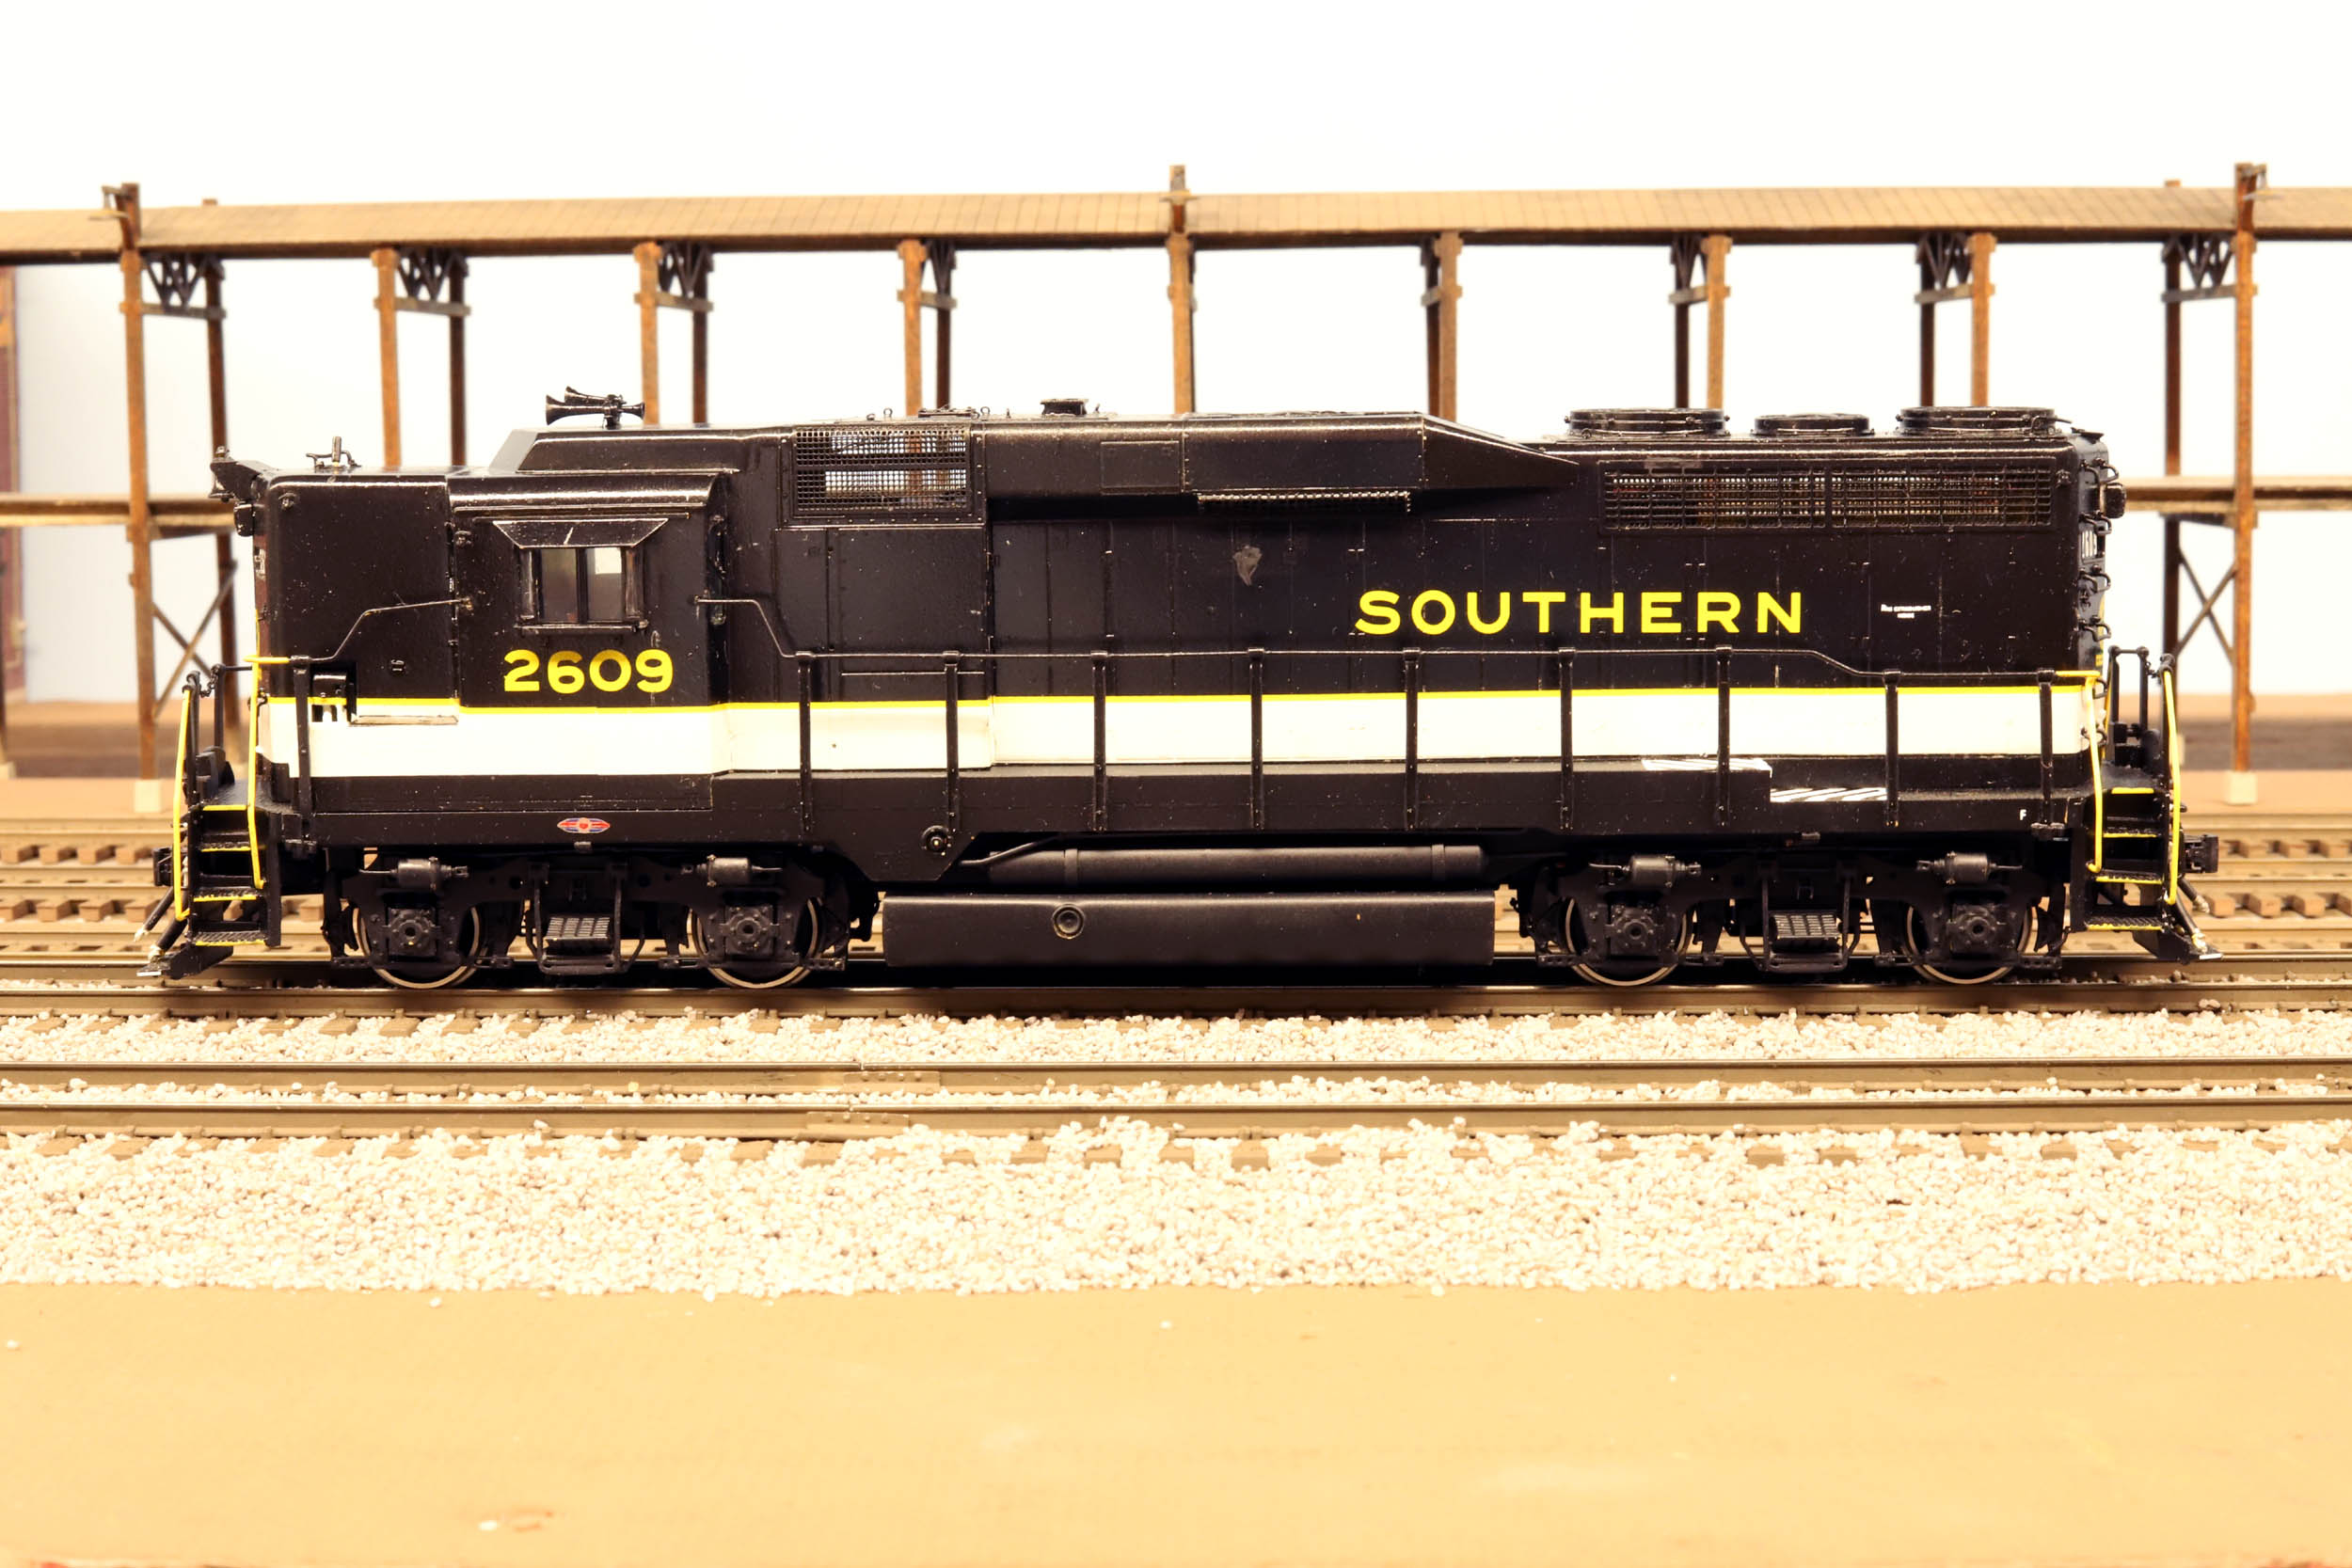
Imitation Aluminum Band
The
Southern”Tuxedo” paint scheme is very elegant and is the draw to this loco. By
far the difficulty for me is the large band around the bottom of the loco. I
was told it is “Imitation Aluminum” as a very light gray, but mostly looks
white in the photos I have seen. There was NO chance I was going mask and paint
it. I hate masking! On the original paint job this was done with Microscale
white decal sheet. That is what I did as well. Deciding how wide to make it
took some doing. I settled on making it .325 wide based on where it hit on the
body points in the photos I had. That is a bit high for the nose grab irons was
but pretty perfect for the rest. Luckily there was a body line at the bottom of
most of the long hood that I followed.
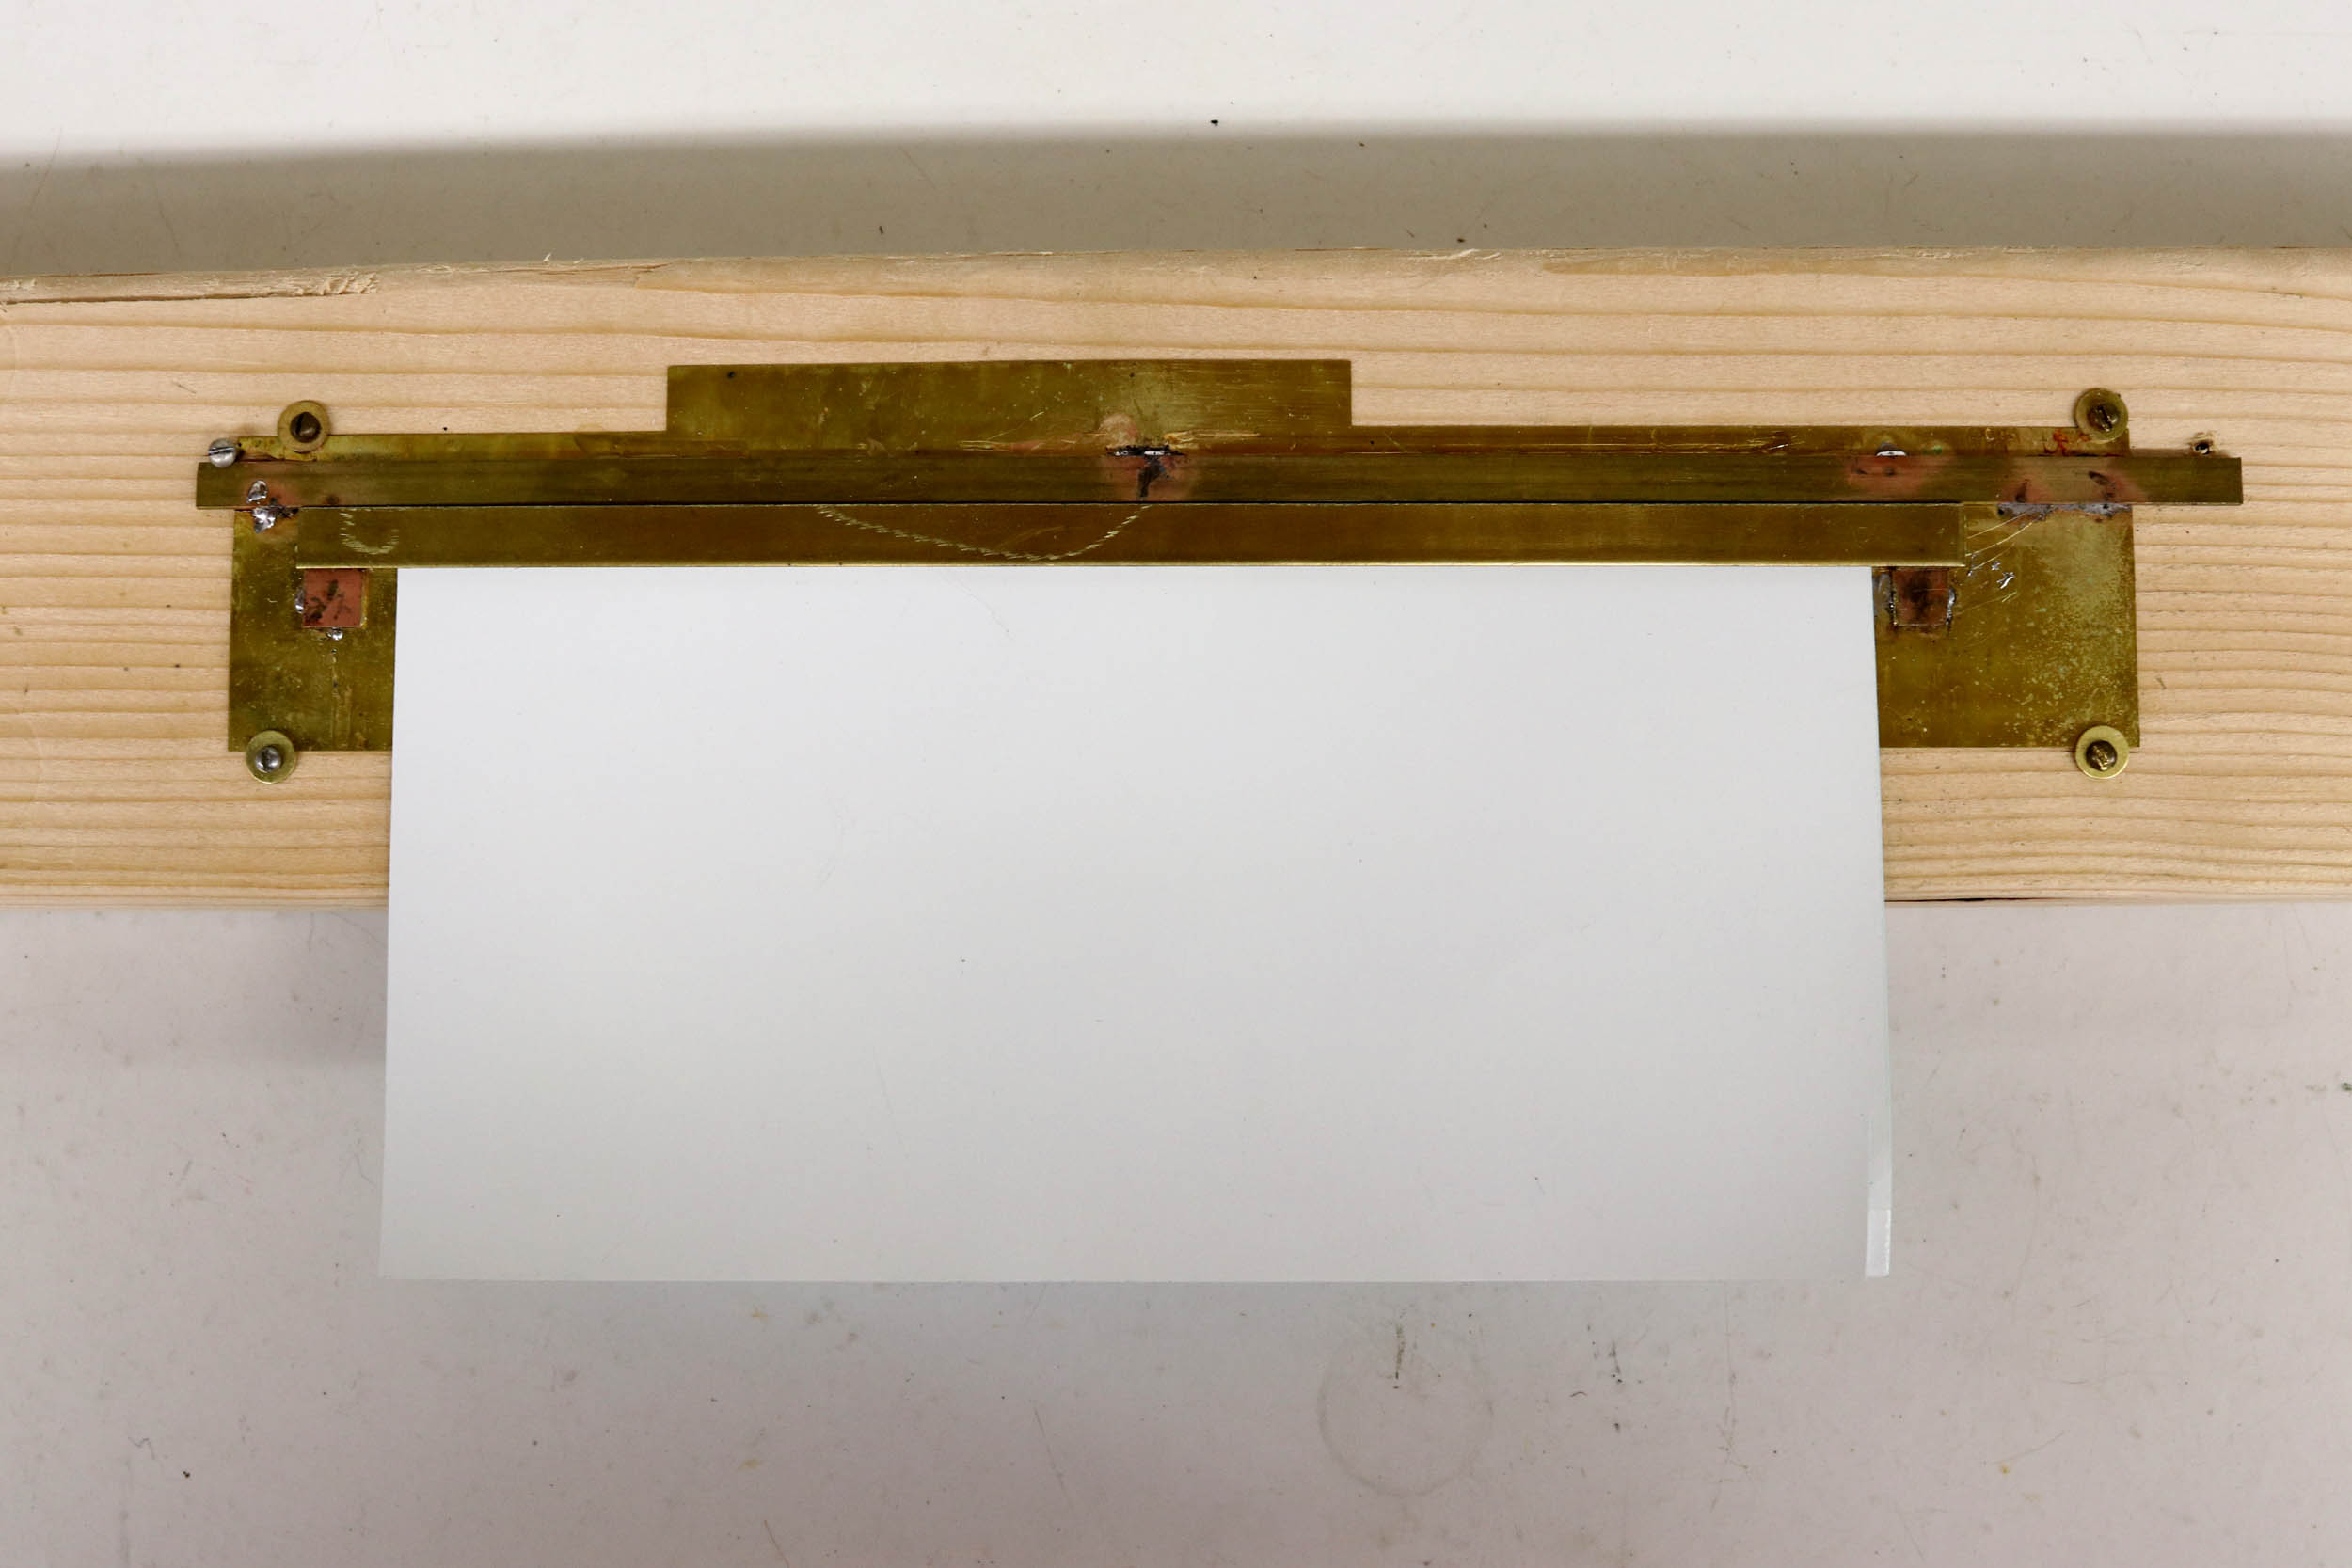
This
is the fixture I made for cutting the strips from the white decal sheet. It
started off as a quick n dirty gluing of brass strips, but I eventually had to
solder it together. THIS is the sort of stuff I so enjoy making, challenging
myself on solving a problem even if I created it. Of course no one has brass
strip that is .325 wide. I had to use my milling machine and cut it down to
size. I measured the brass strip to within .002 across the length. In spite of
the accurate measuring there was still some variance in the width of the decal
strips. I never figured out why. I cut a LOT of strips and used a lot of Exacto blades, changing the blades after about 3 cuts. That
kept the decal edges sharp and crisp. I used the parts that were .325 wide,
measuring them every ½ inch. I have never measured decals with a digital
caliper before. That obsession lead to a very straight
and uniform decaling job.
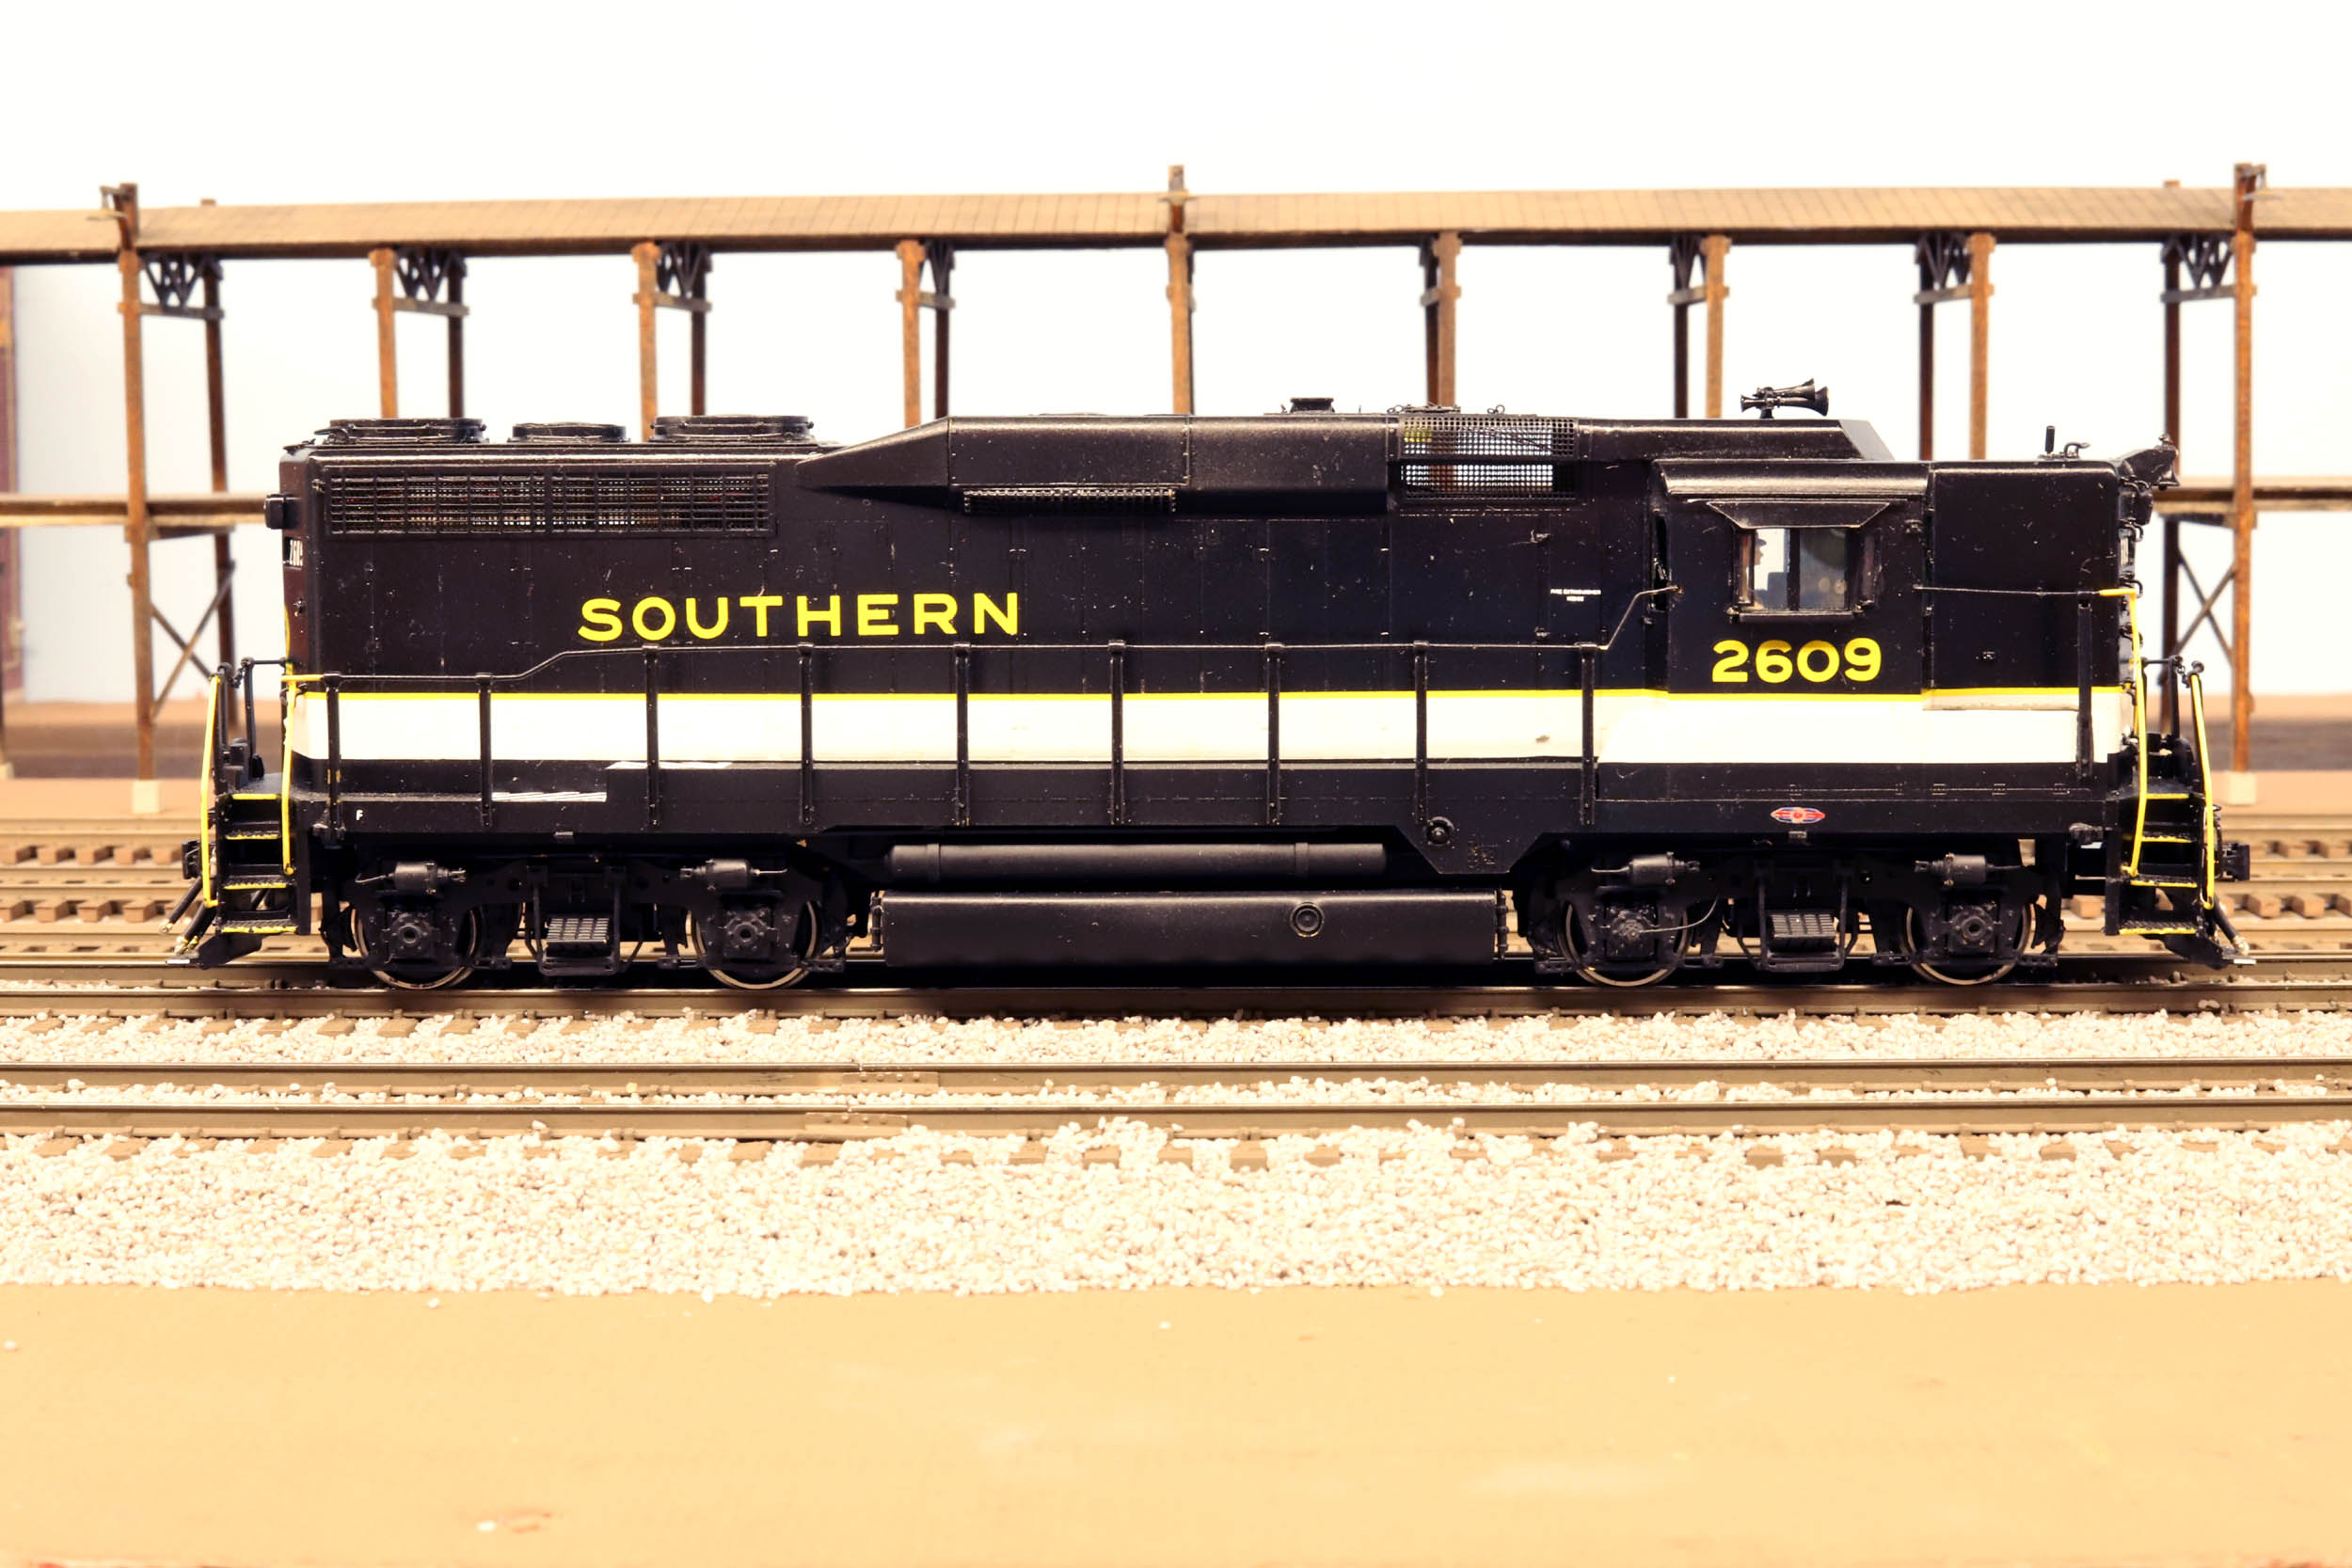
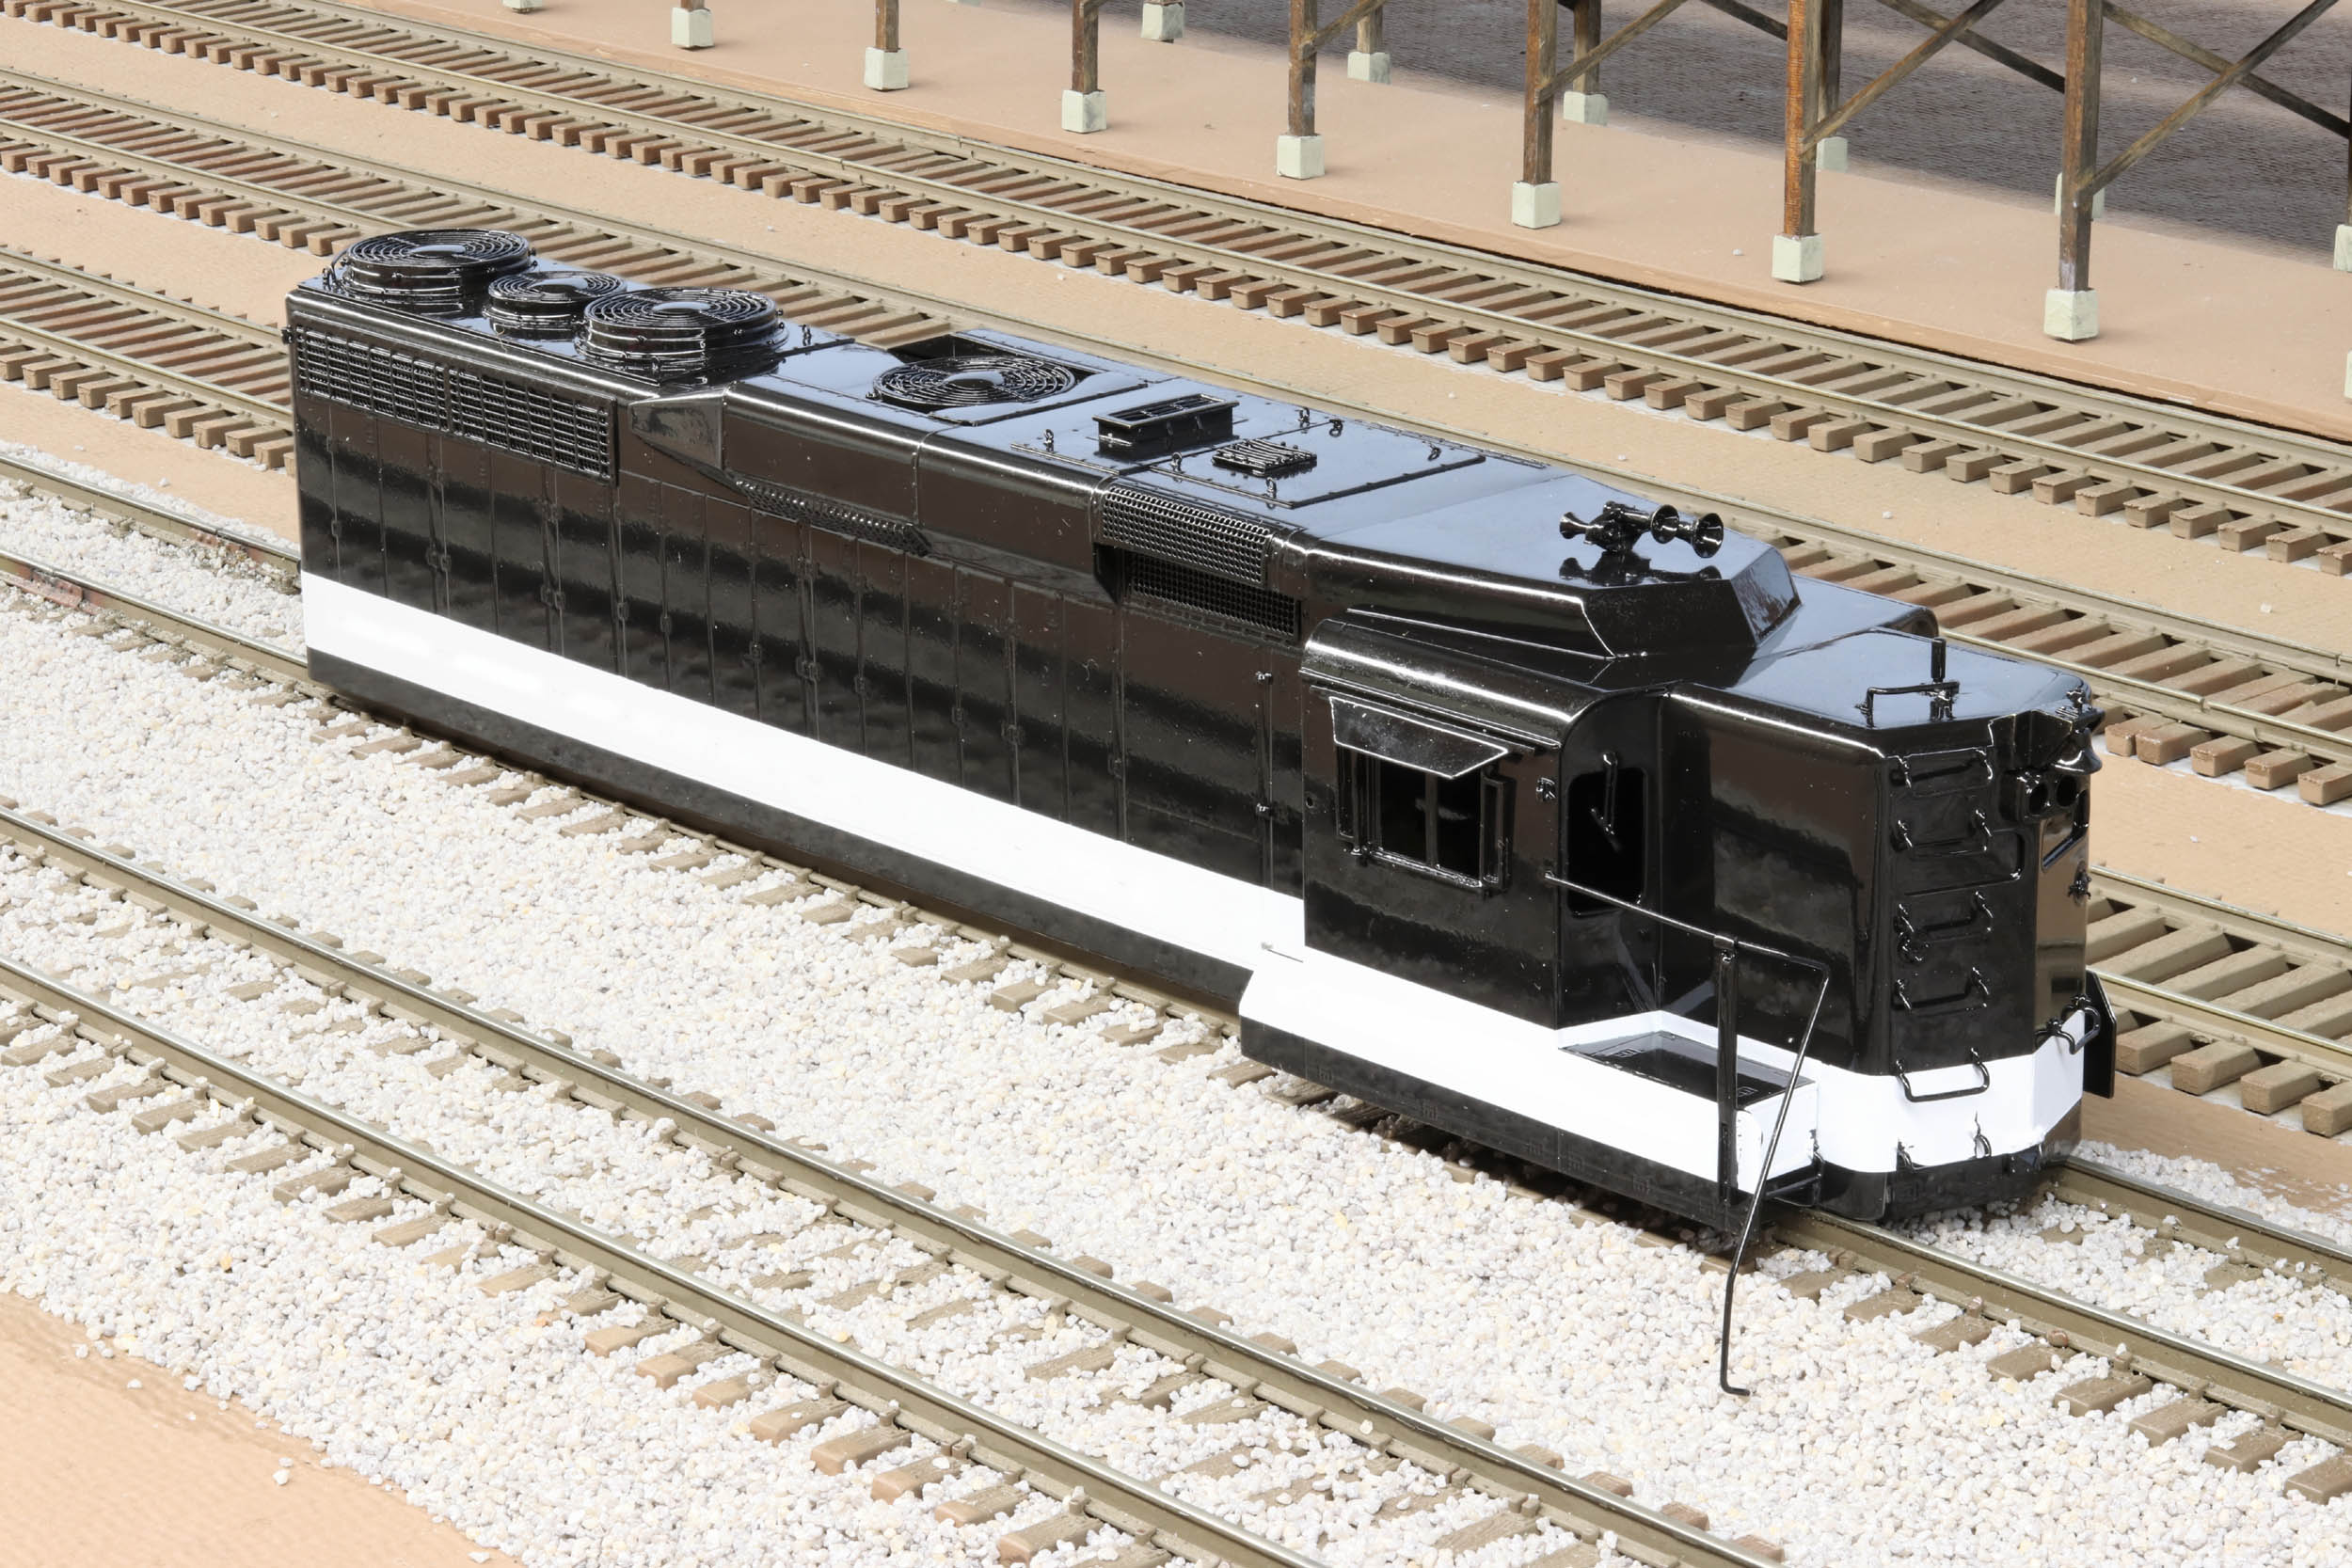
For
the large surface area of the white band it went down really well with very few
air bubbles. I think the very glossy paint job helped greatly. I did not count
but there is possibly 50 pieces of decals to get to the finished loco. I put
the yellow stripe right on the top edge of the white band making straight lines
pretty easy. But it gave the stripes a slight color shift since the rest of the
Southern set was not backed up with a white layer.

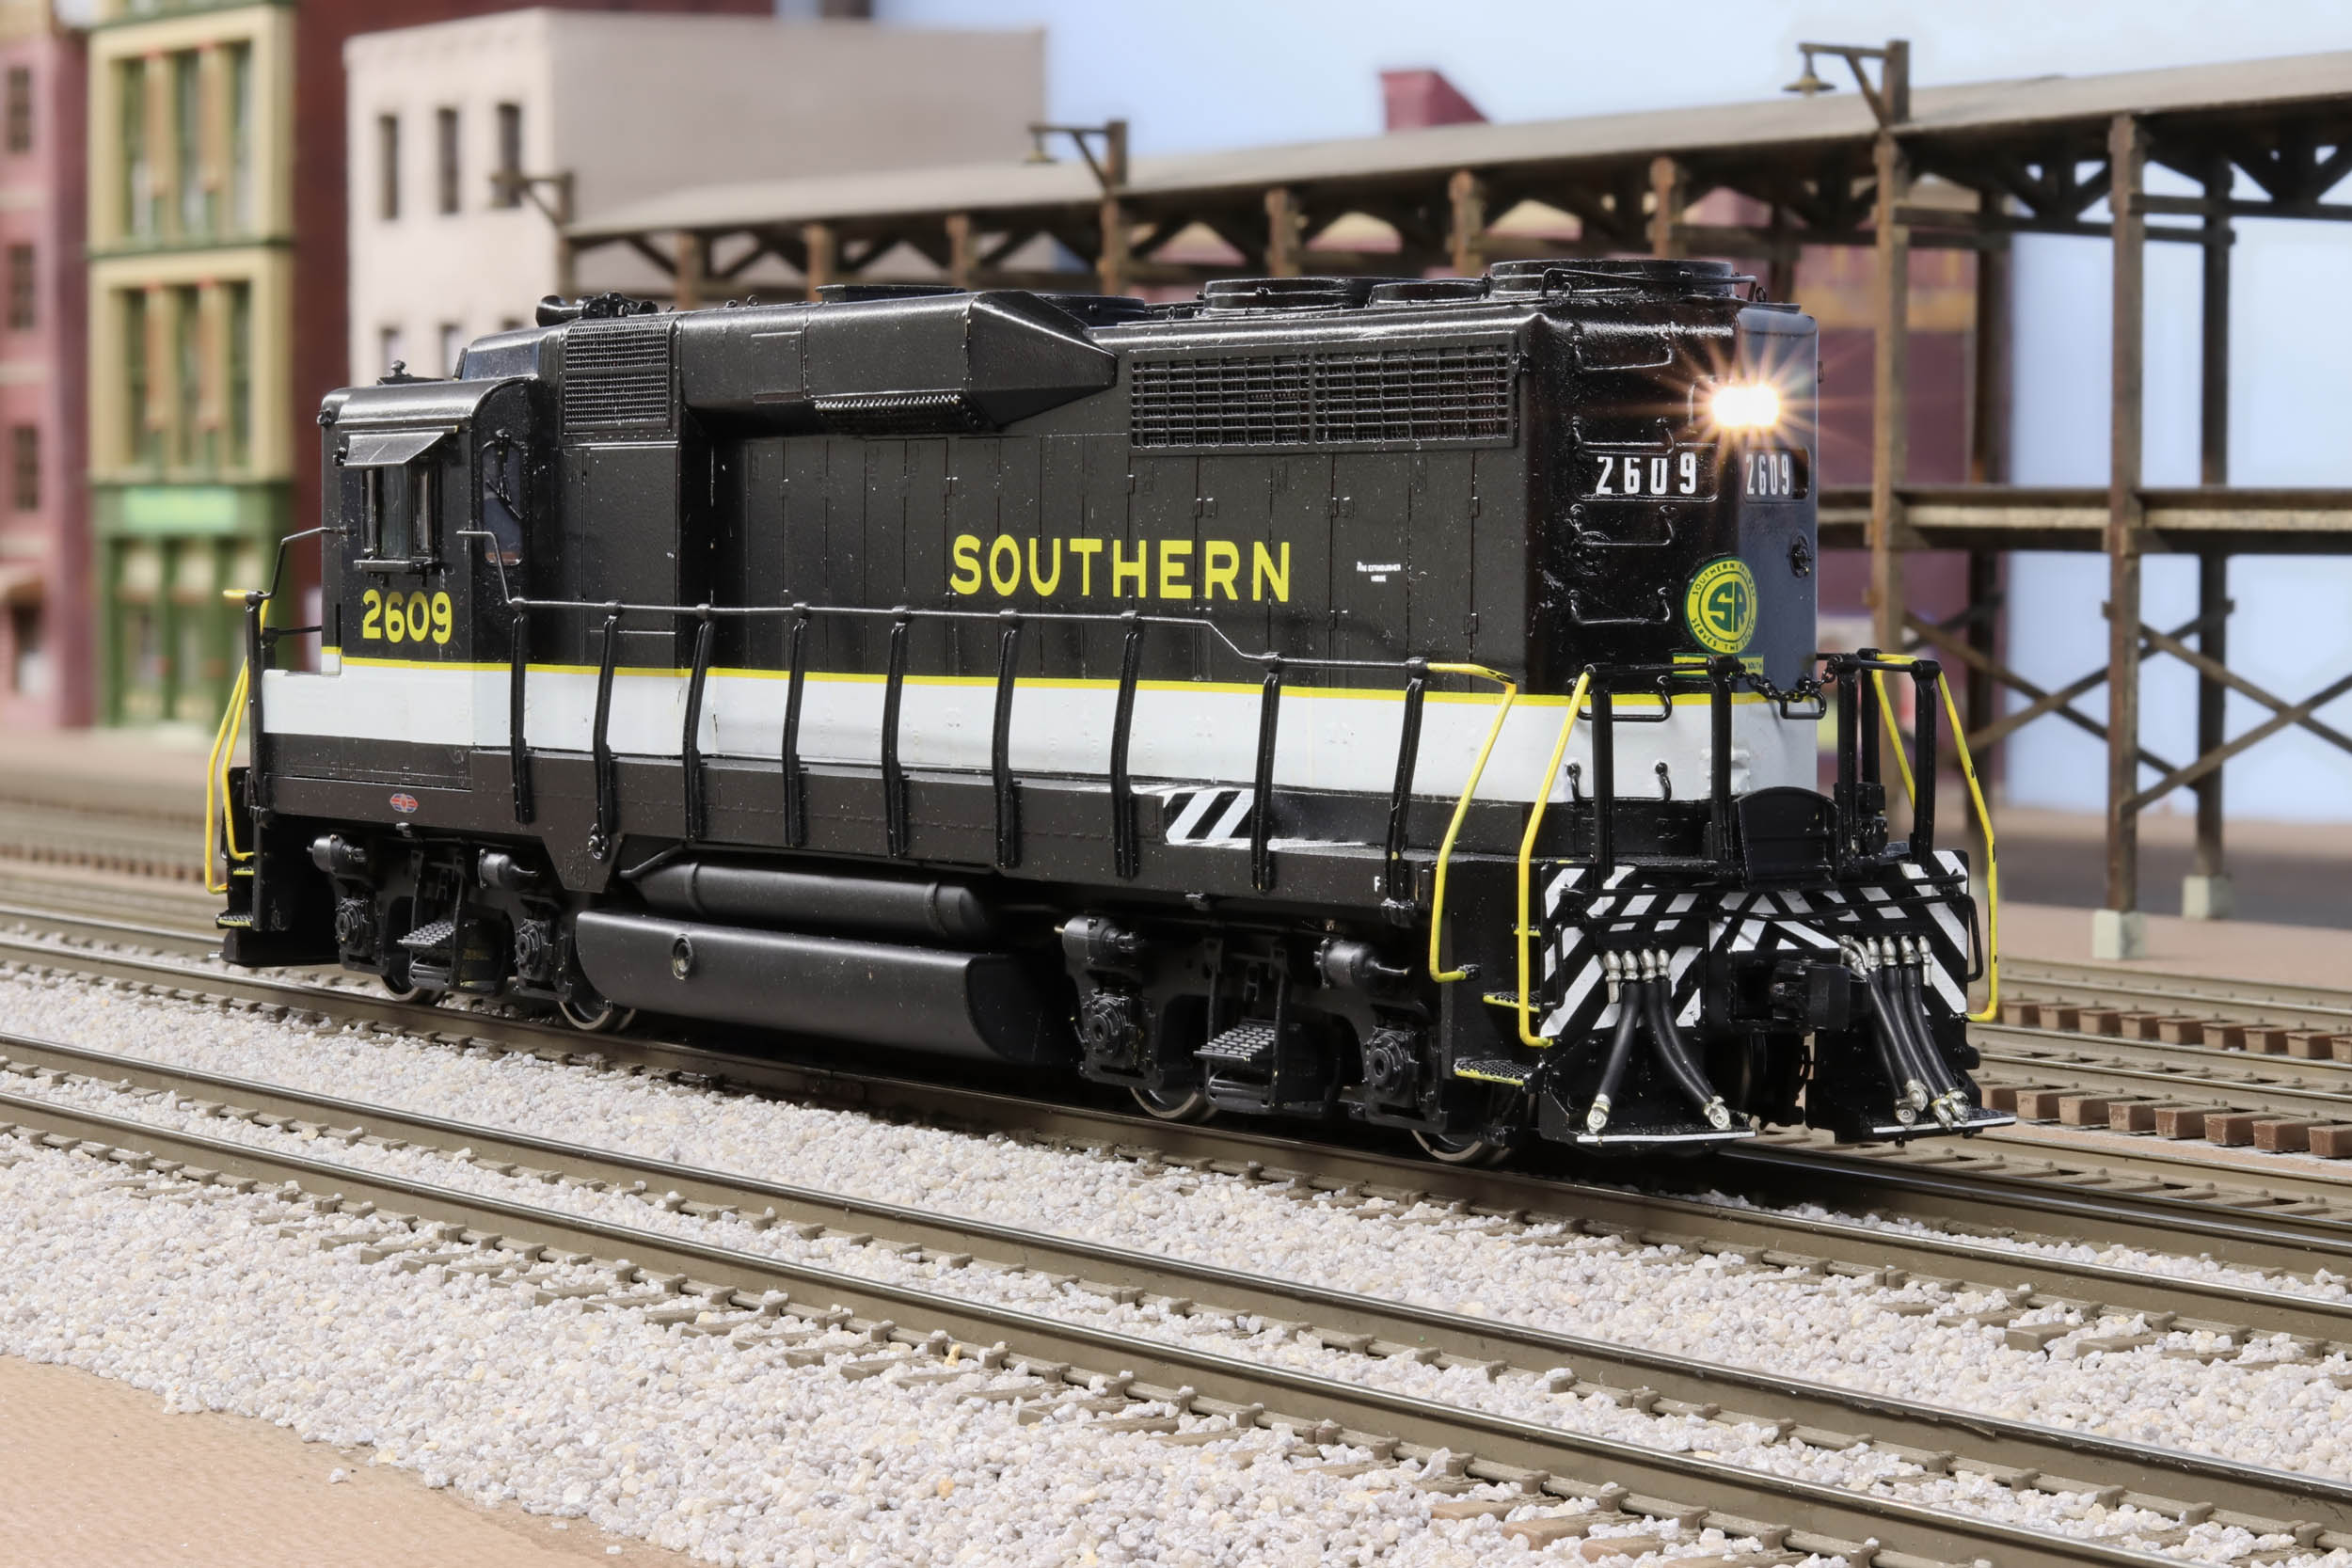
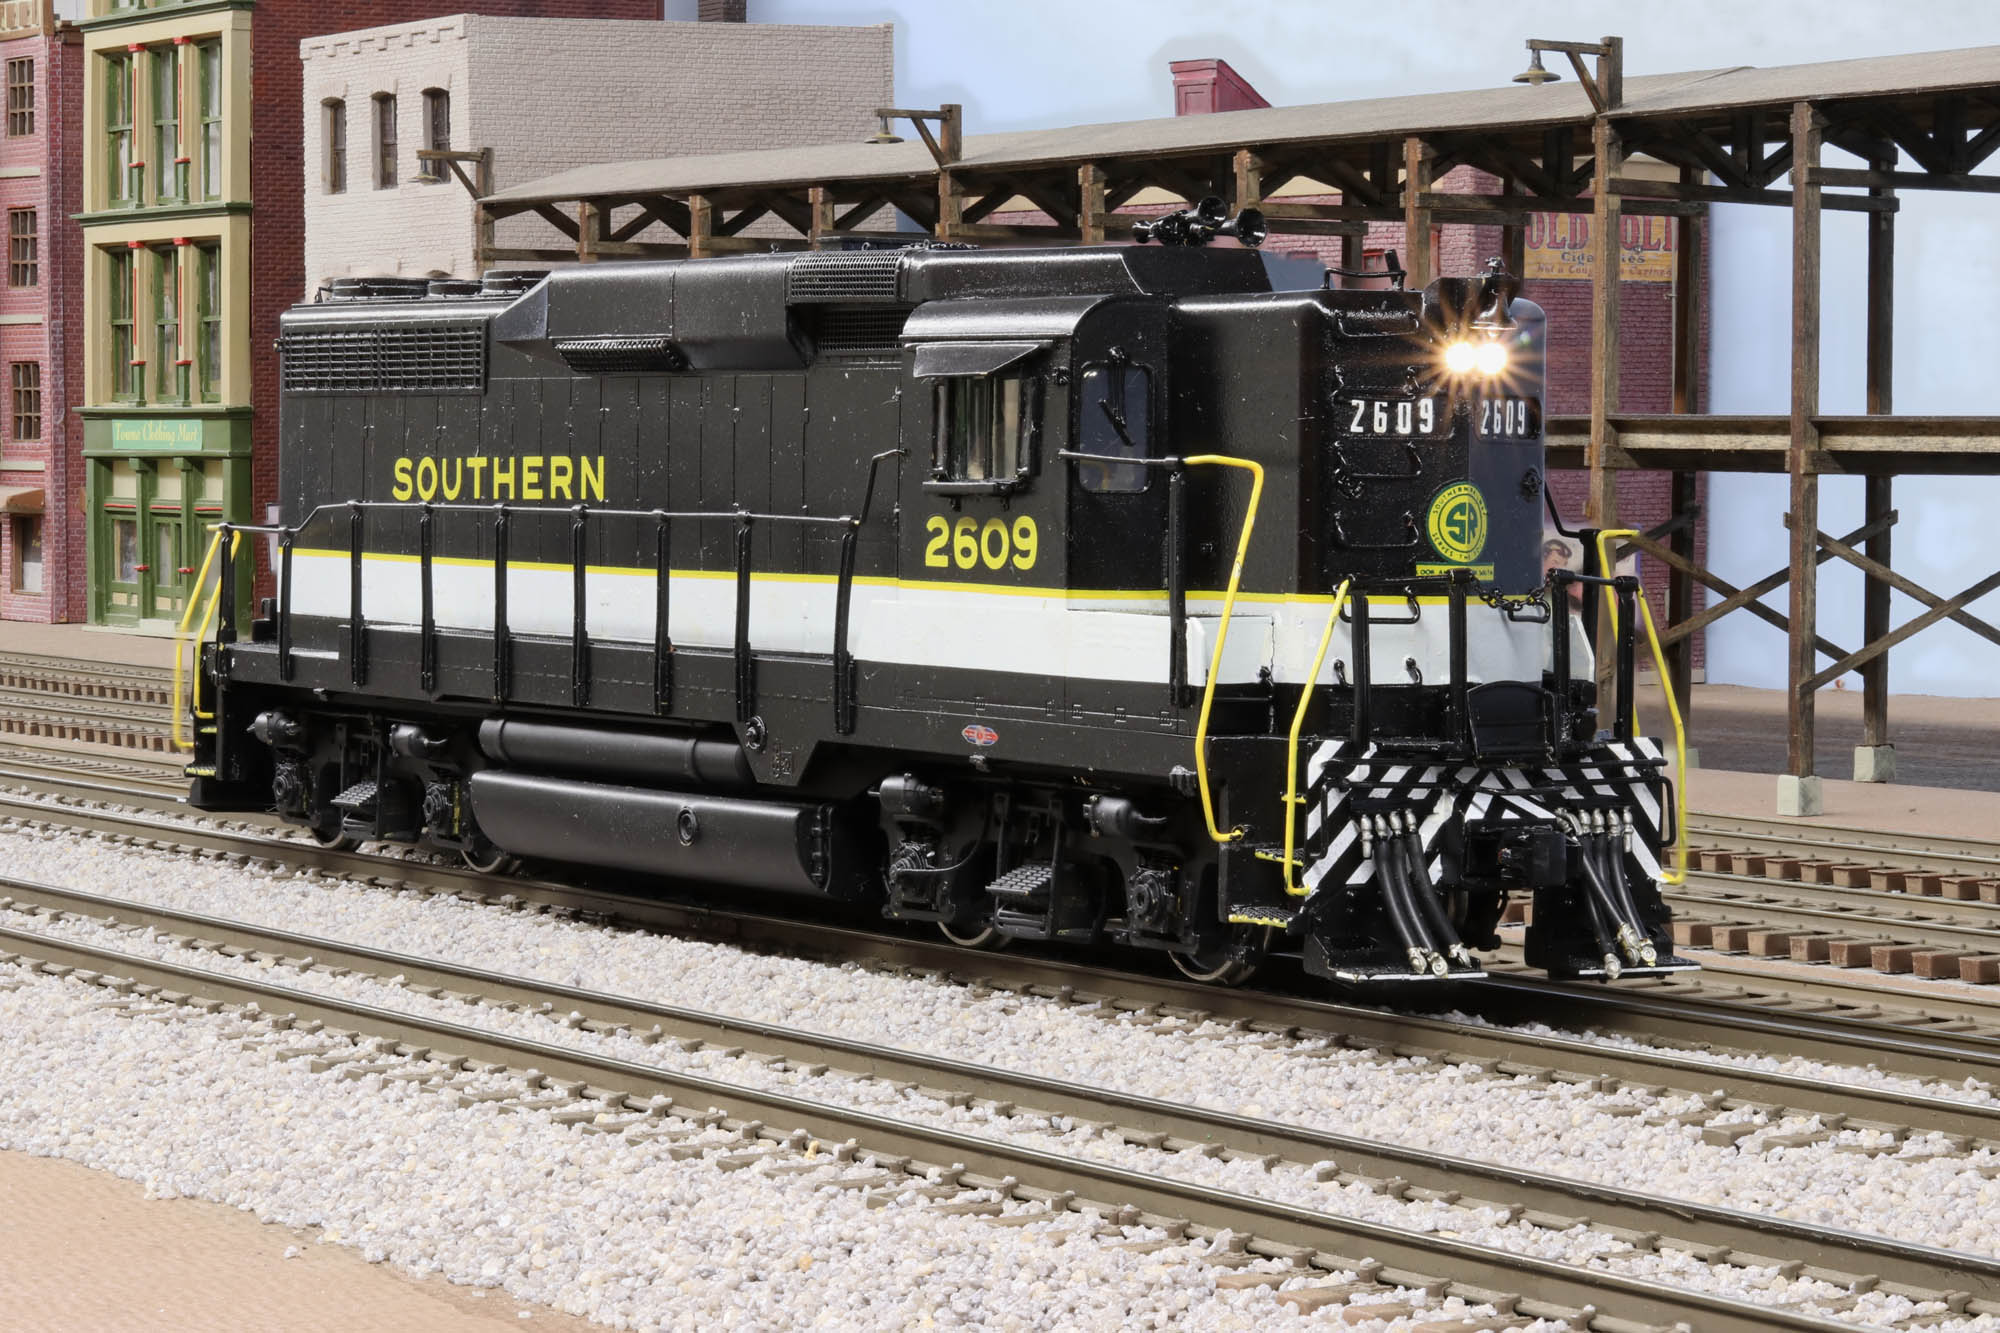
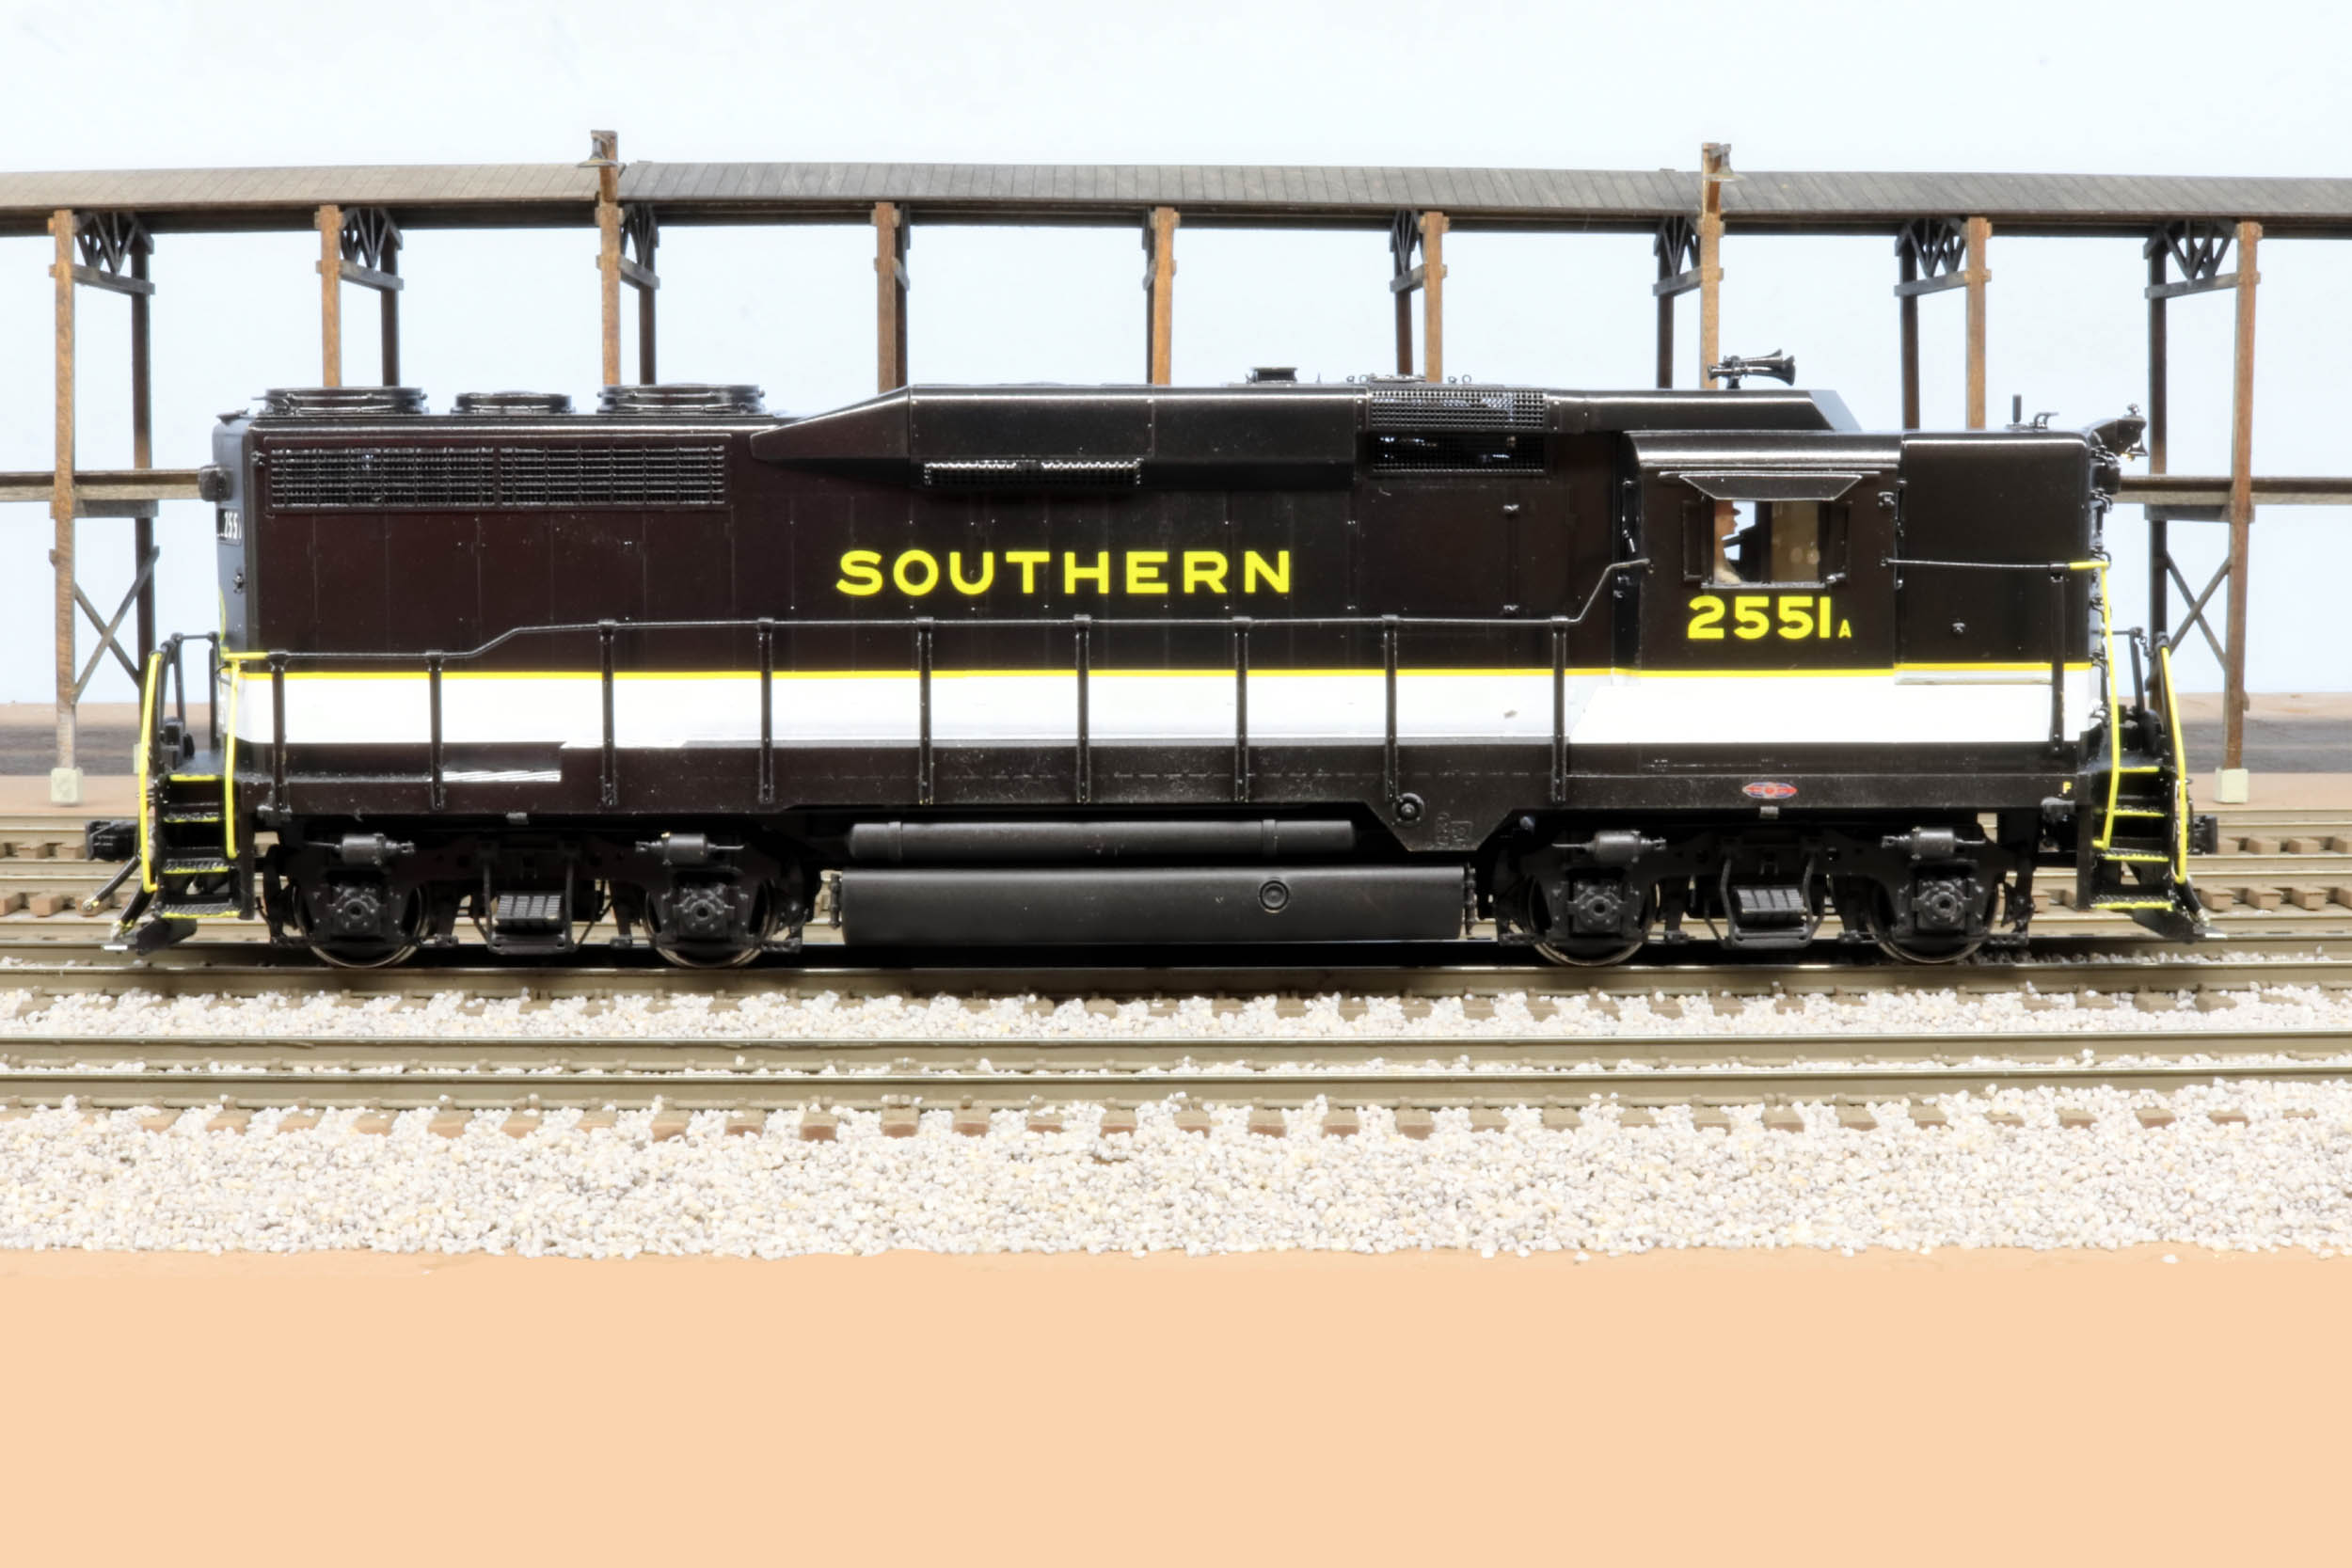
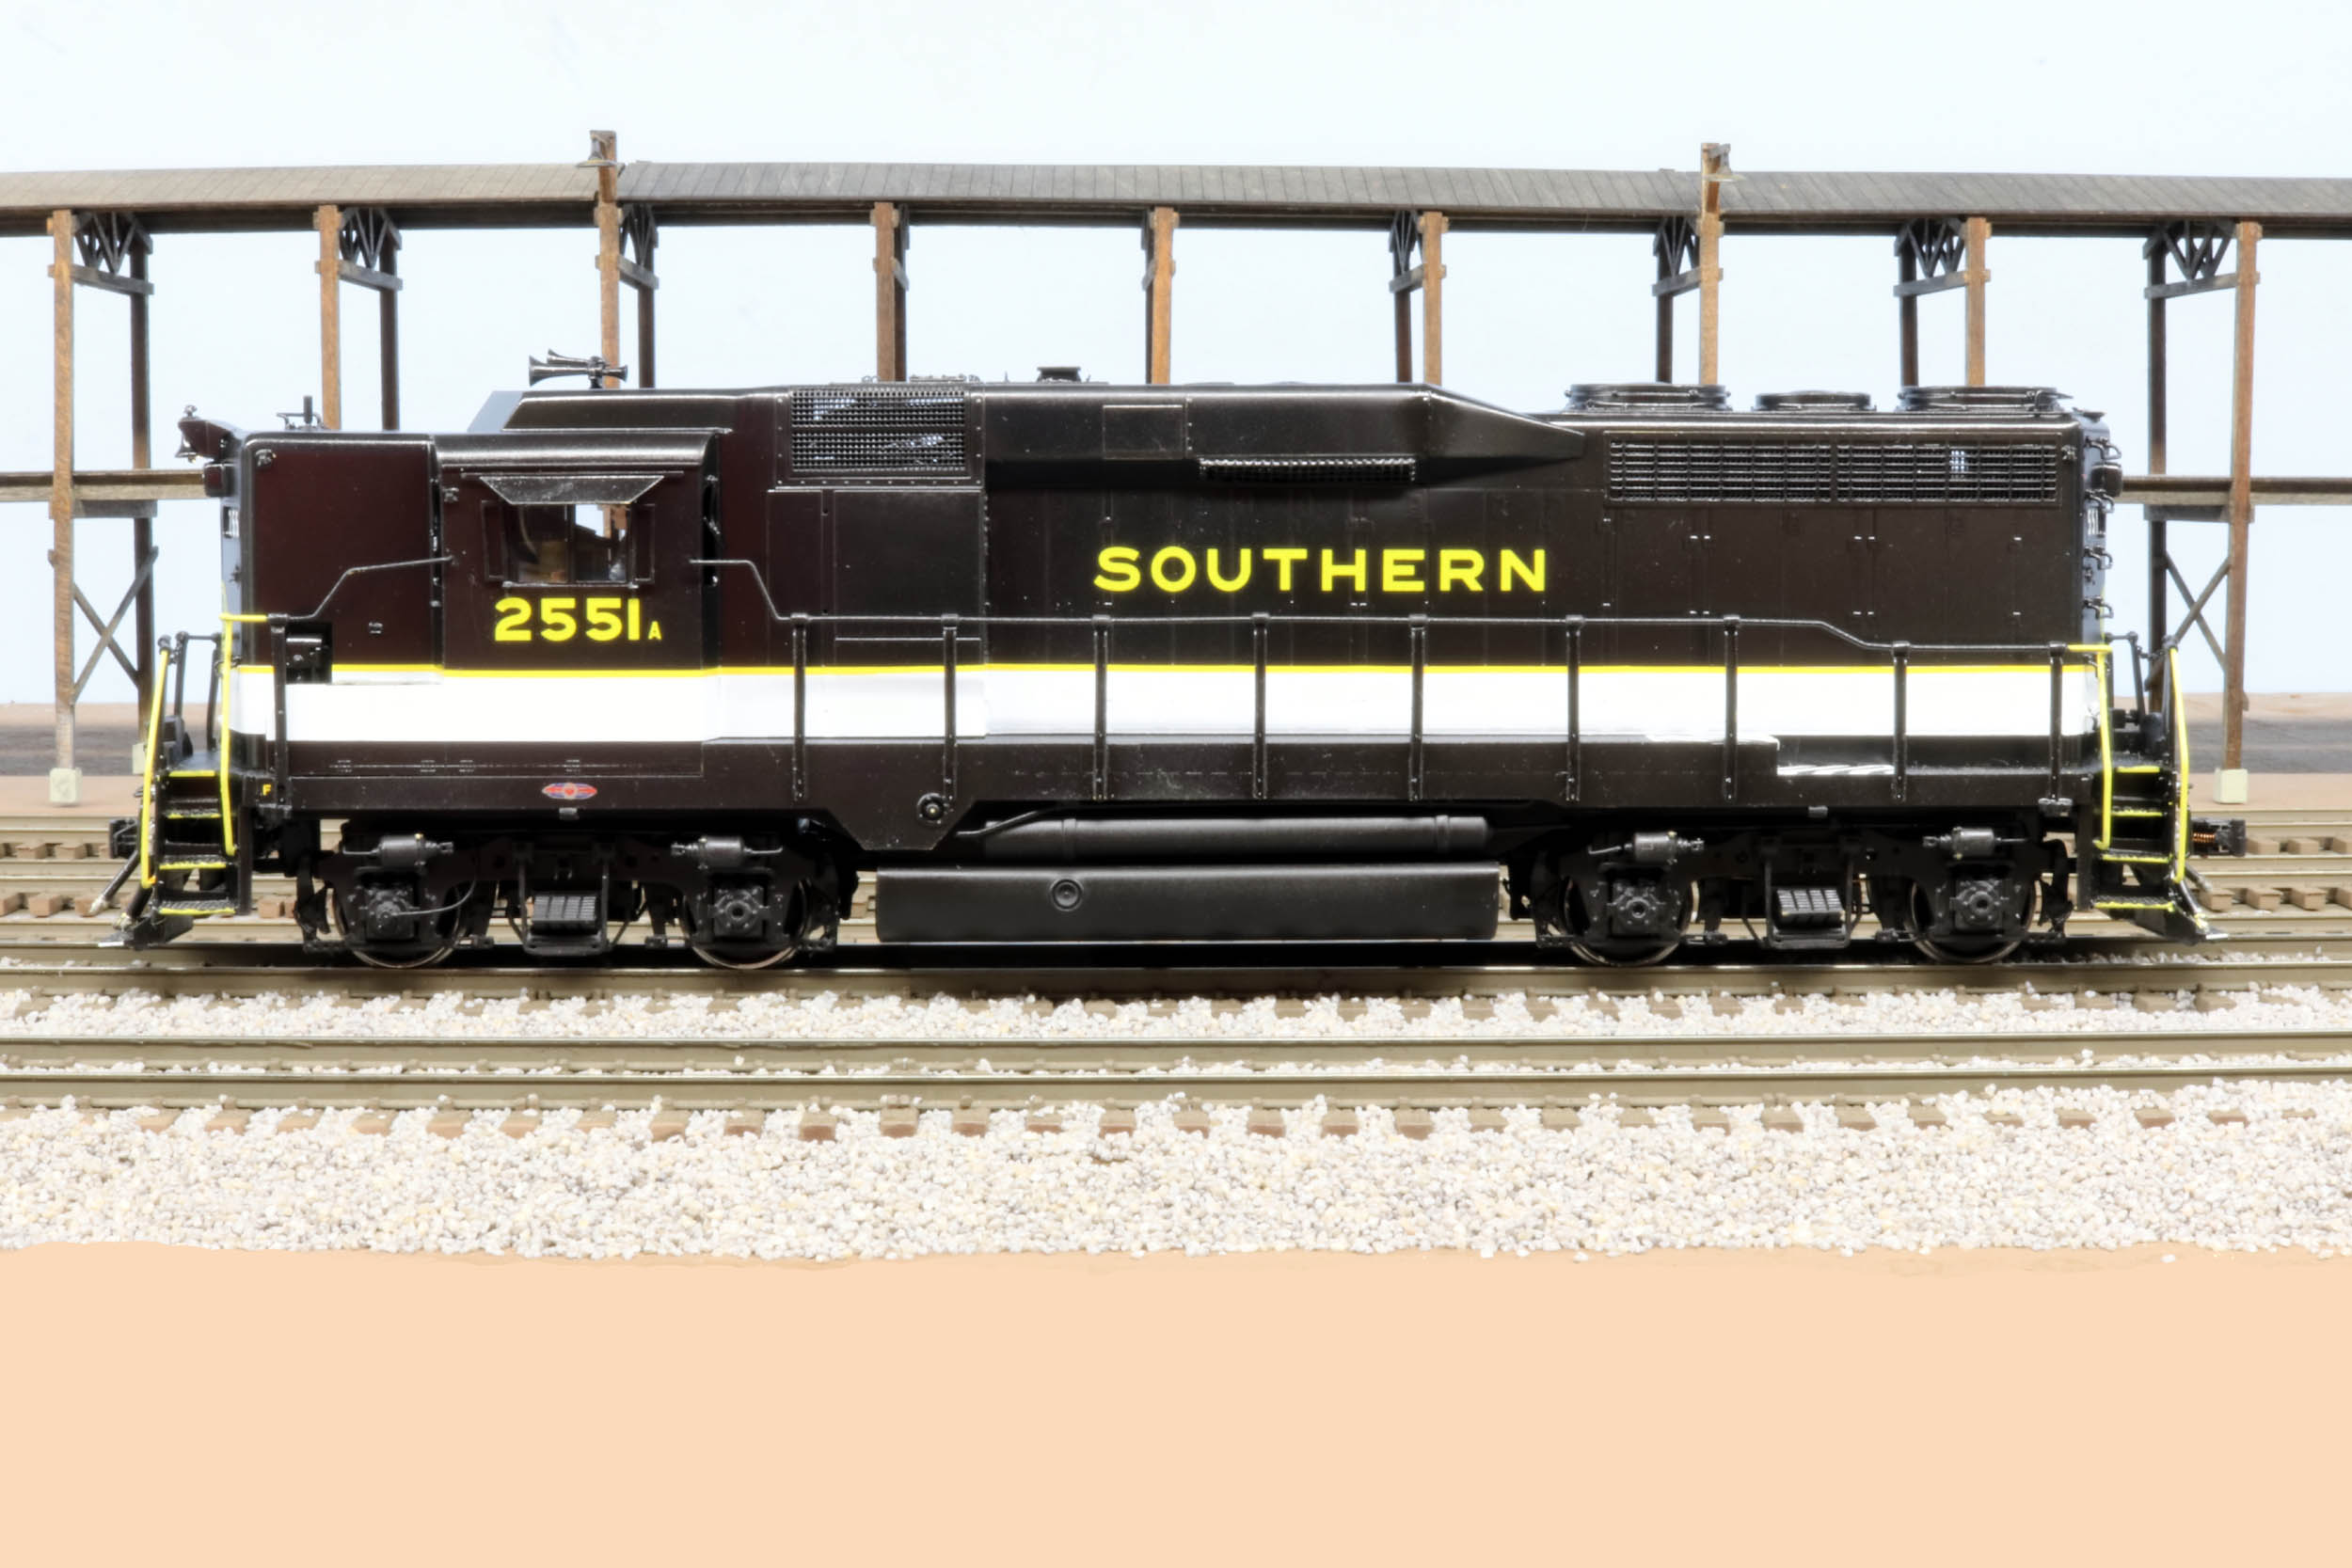
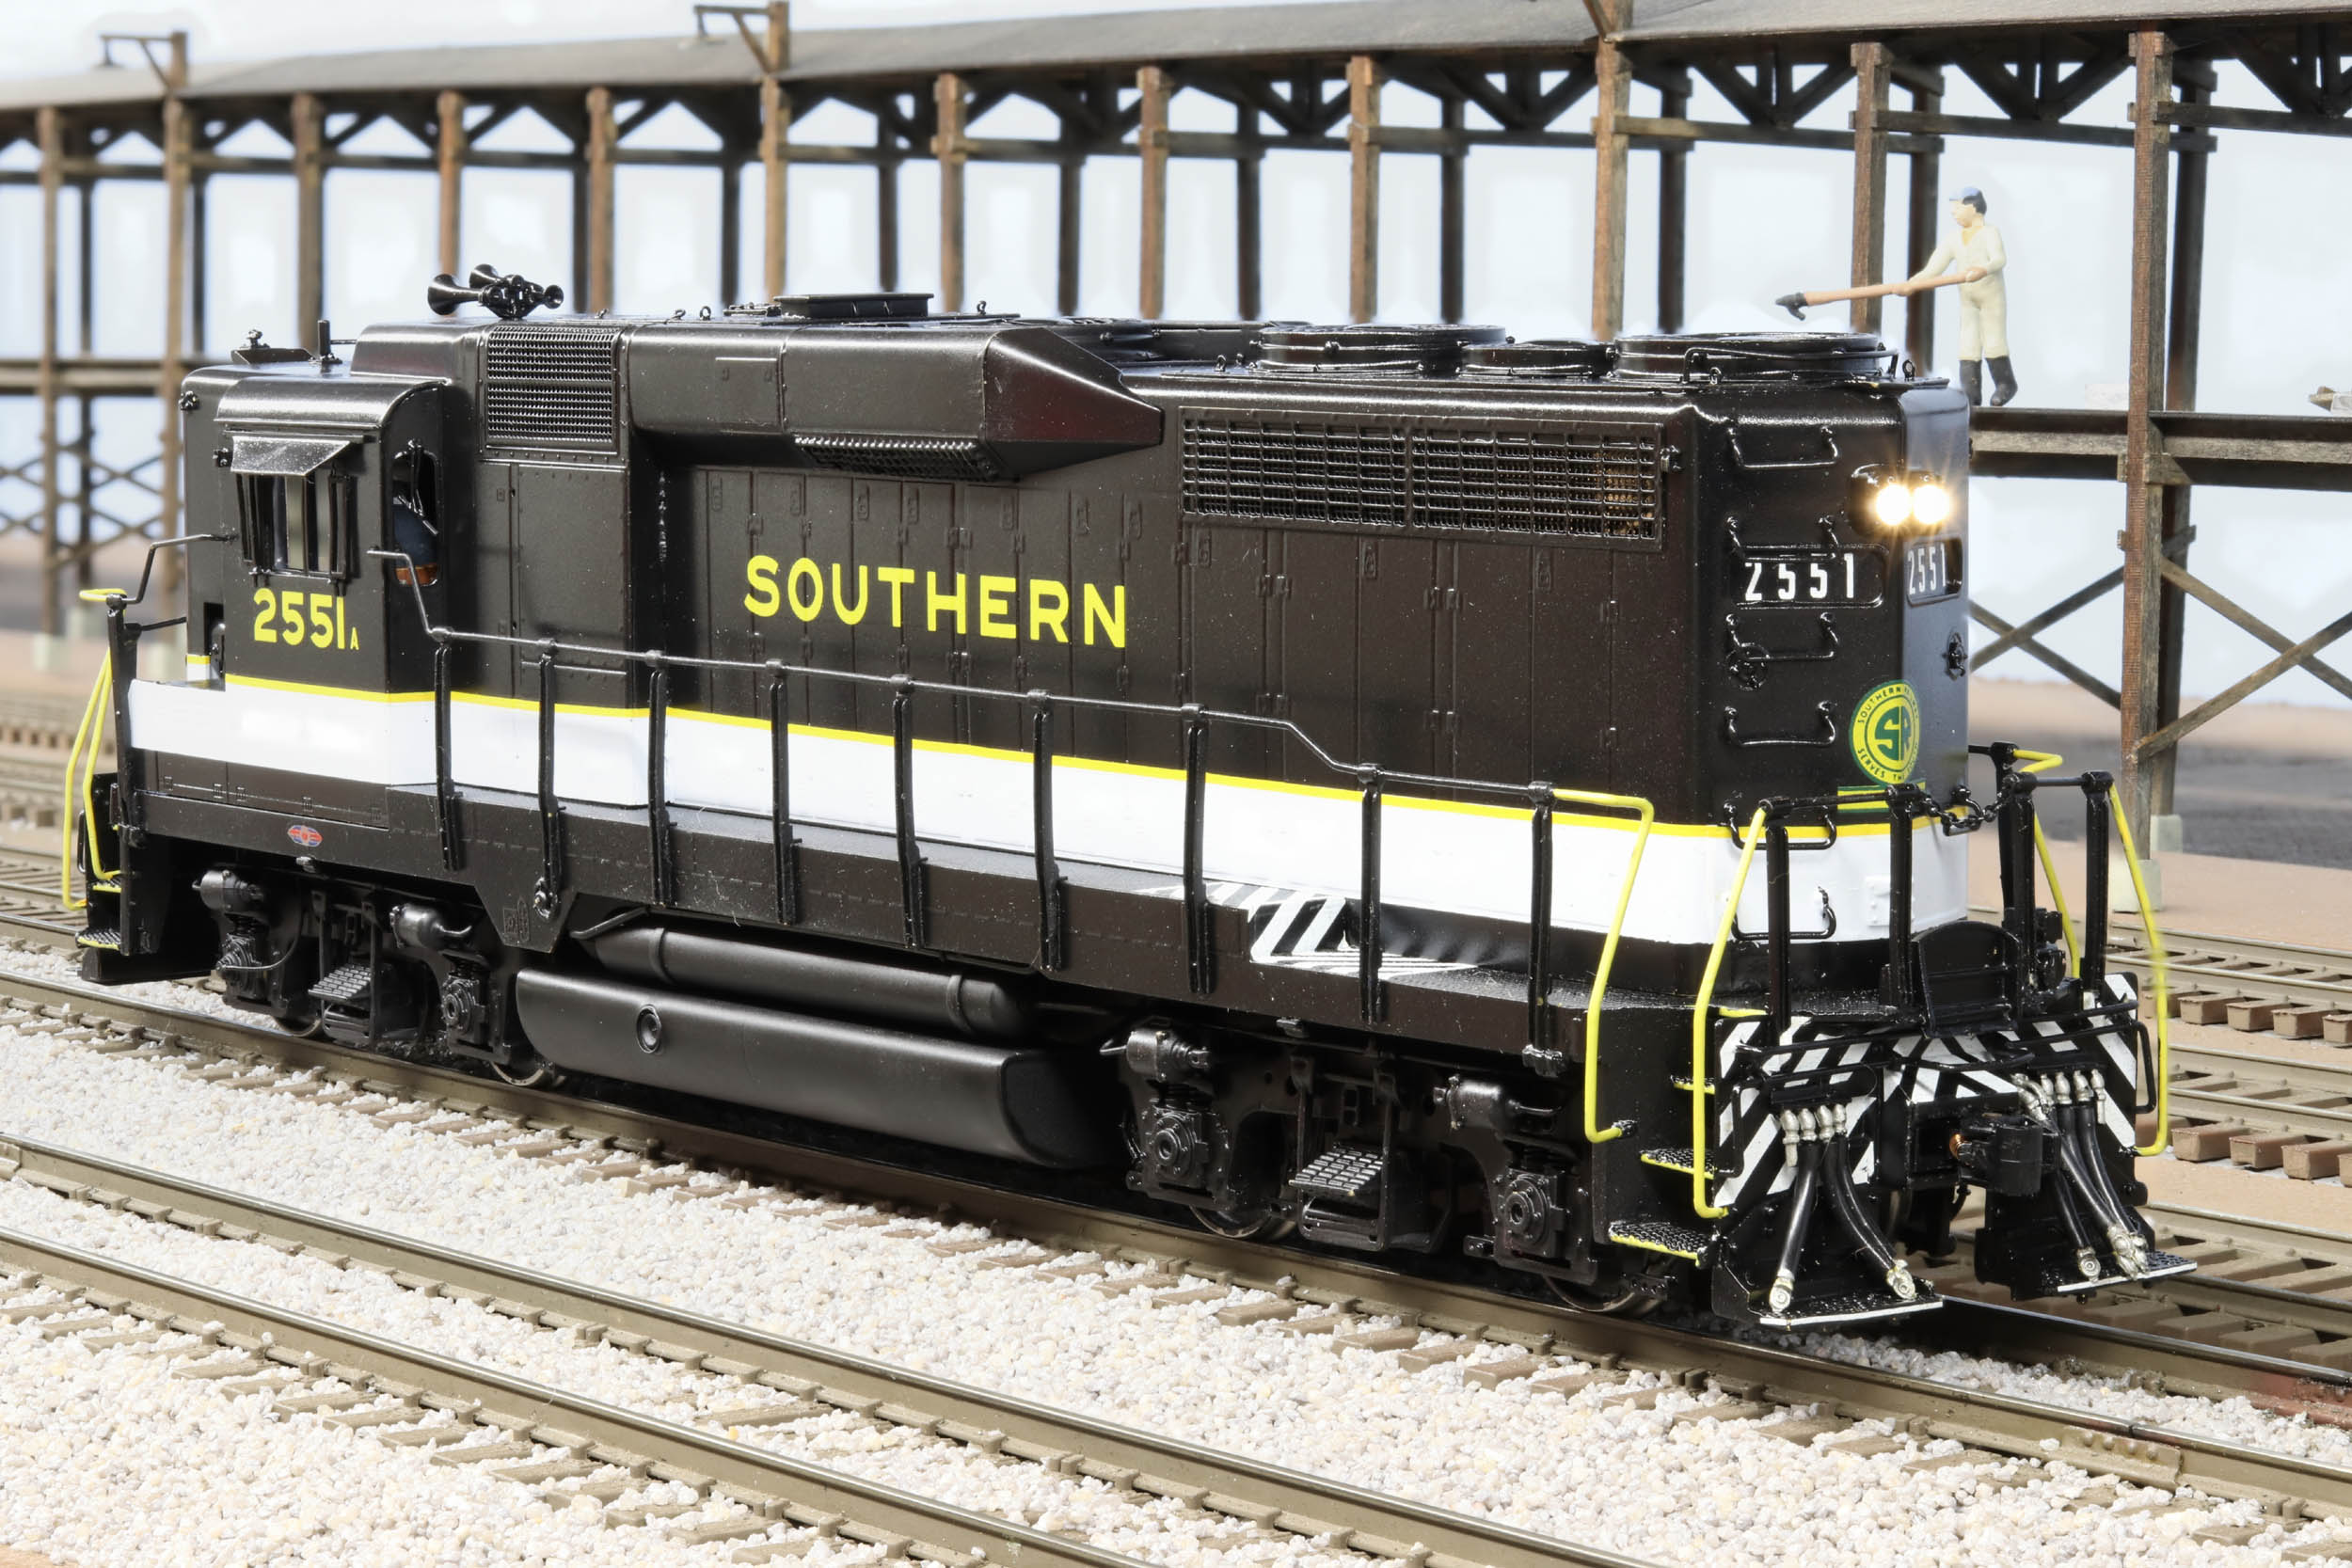
Completed 8-6-20
Now
that it is done I am happy and surprised at the results. I gave myself a
challenge and it worked out well. At least the decals are straight now. This is
SO FAR out of the box of my usual PRR, Reading and PRSL projects it made it
fun. Even so there is NO chance I would take this paint job on for someone
else. It was 3 days of tedious decaling. Given the rarity of High Hood S locos
this is almost definitely a one and done paint job for me.
Running
with my Overland SD40-2 on 8-7-20. I did not paint the SD40-2. I thought maybe paint it to match
the GP30 but that is probably not going to happen.
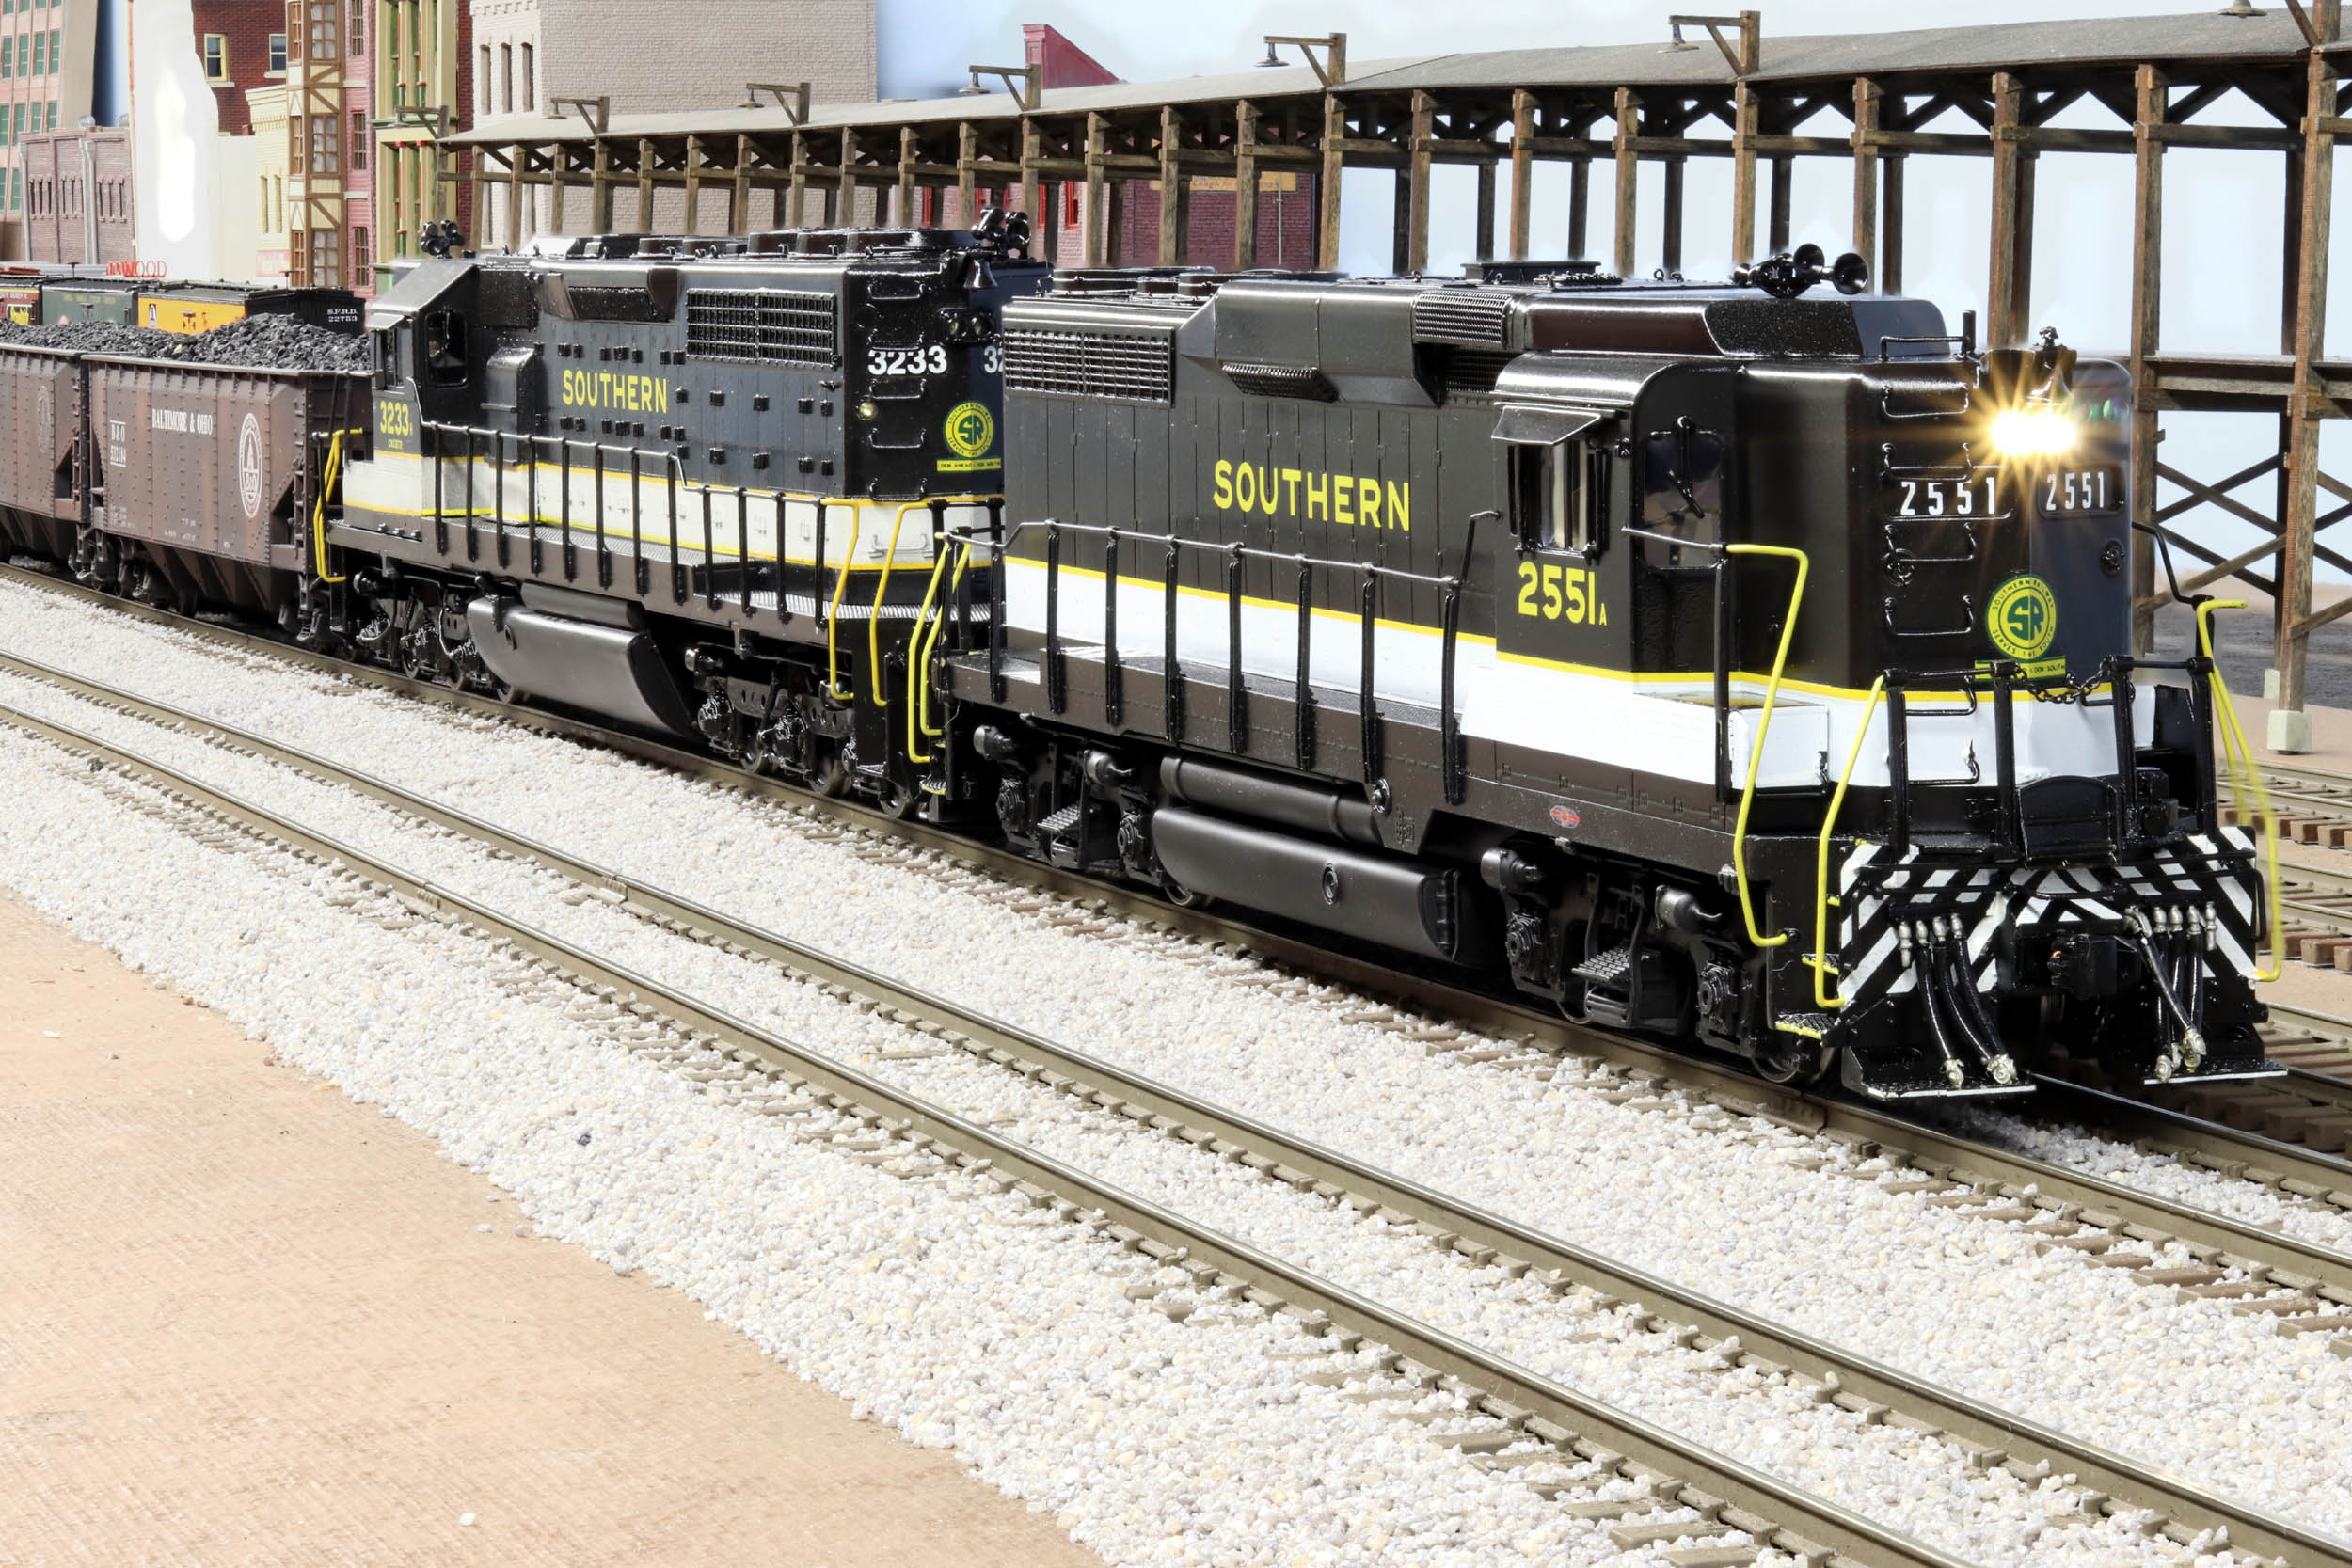
See
the video below. I am a bit short of Southern cars right now but I brought up
the rear with a Southern caboose.
Updated
7-13-20
All photos and content © Lanes Trains 2005-2023