|
|
I
am dedicating the completion of my I1 to my friend Charlie Carangie who
passed on 4-25-17. We met in the wye of Rockville
Bridge and left there as friends. He was an unofficial mentor for my
painting, encouraging me to learn how to finish my own models. Charlie did
paint a few of my models like my PRR J1, PRR SD9 and Chessie I12. He was a
custom painter as well taking on the most complex schemes and refusing none.
Charlie was a walking PRR resource. We had late night railfanning with Amtrak
and Conrail near his house in Delaware and slide shows in his basement that
got us home as the sun was coming up. I could count on Charlie for a good
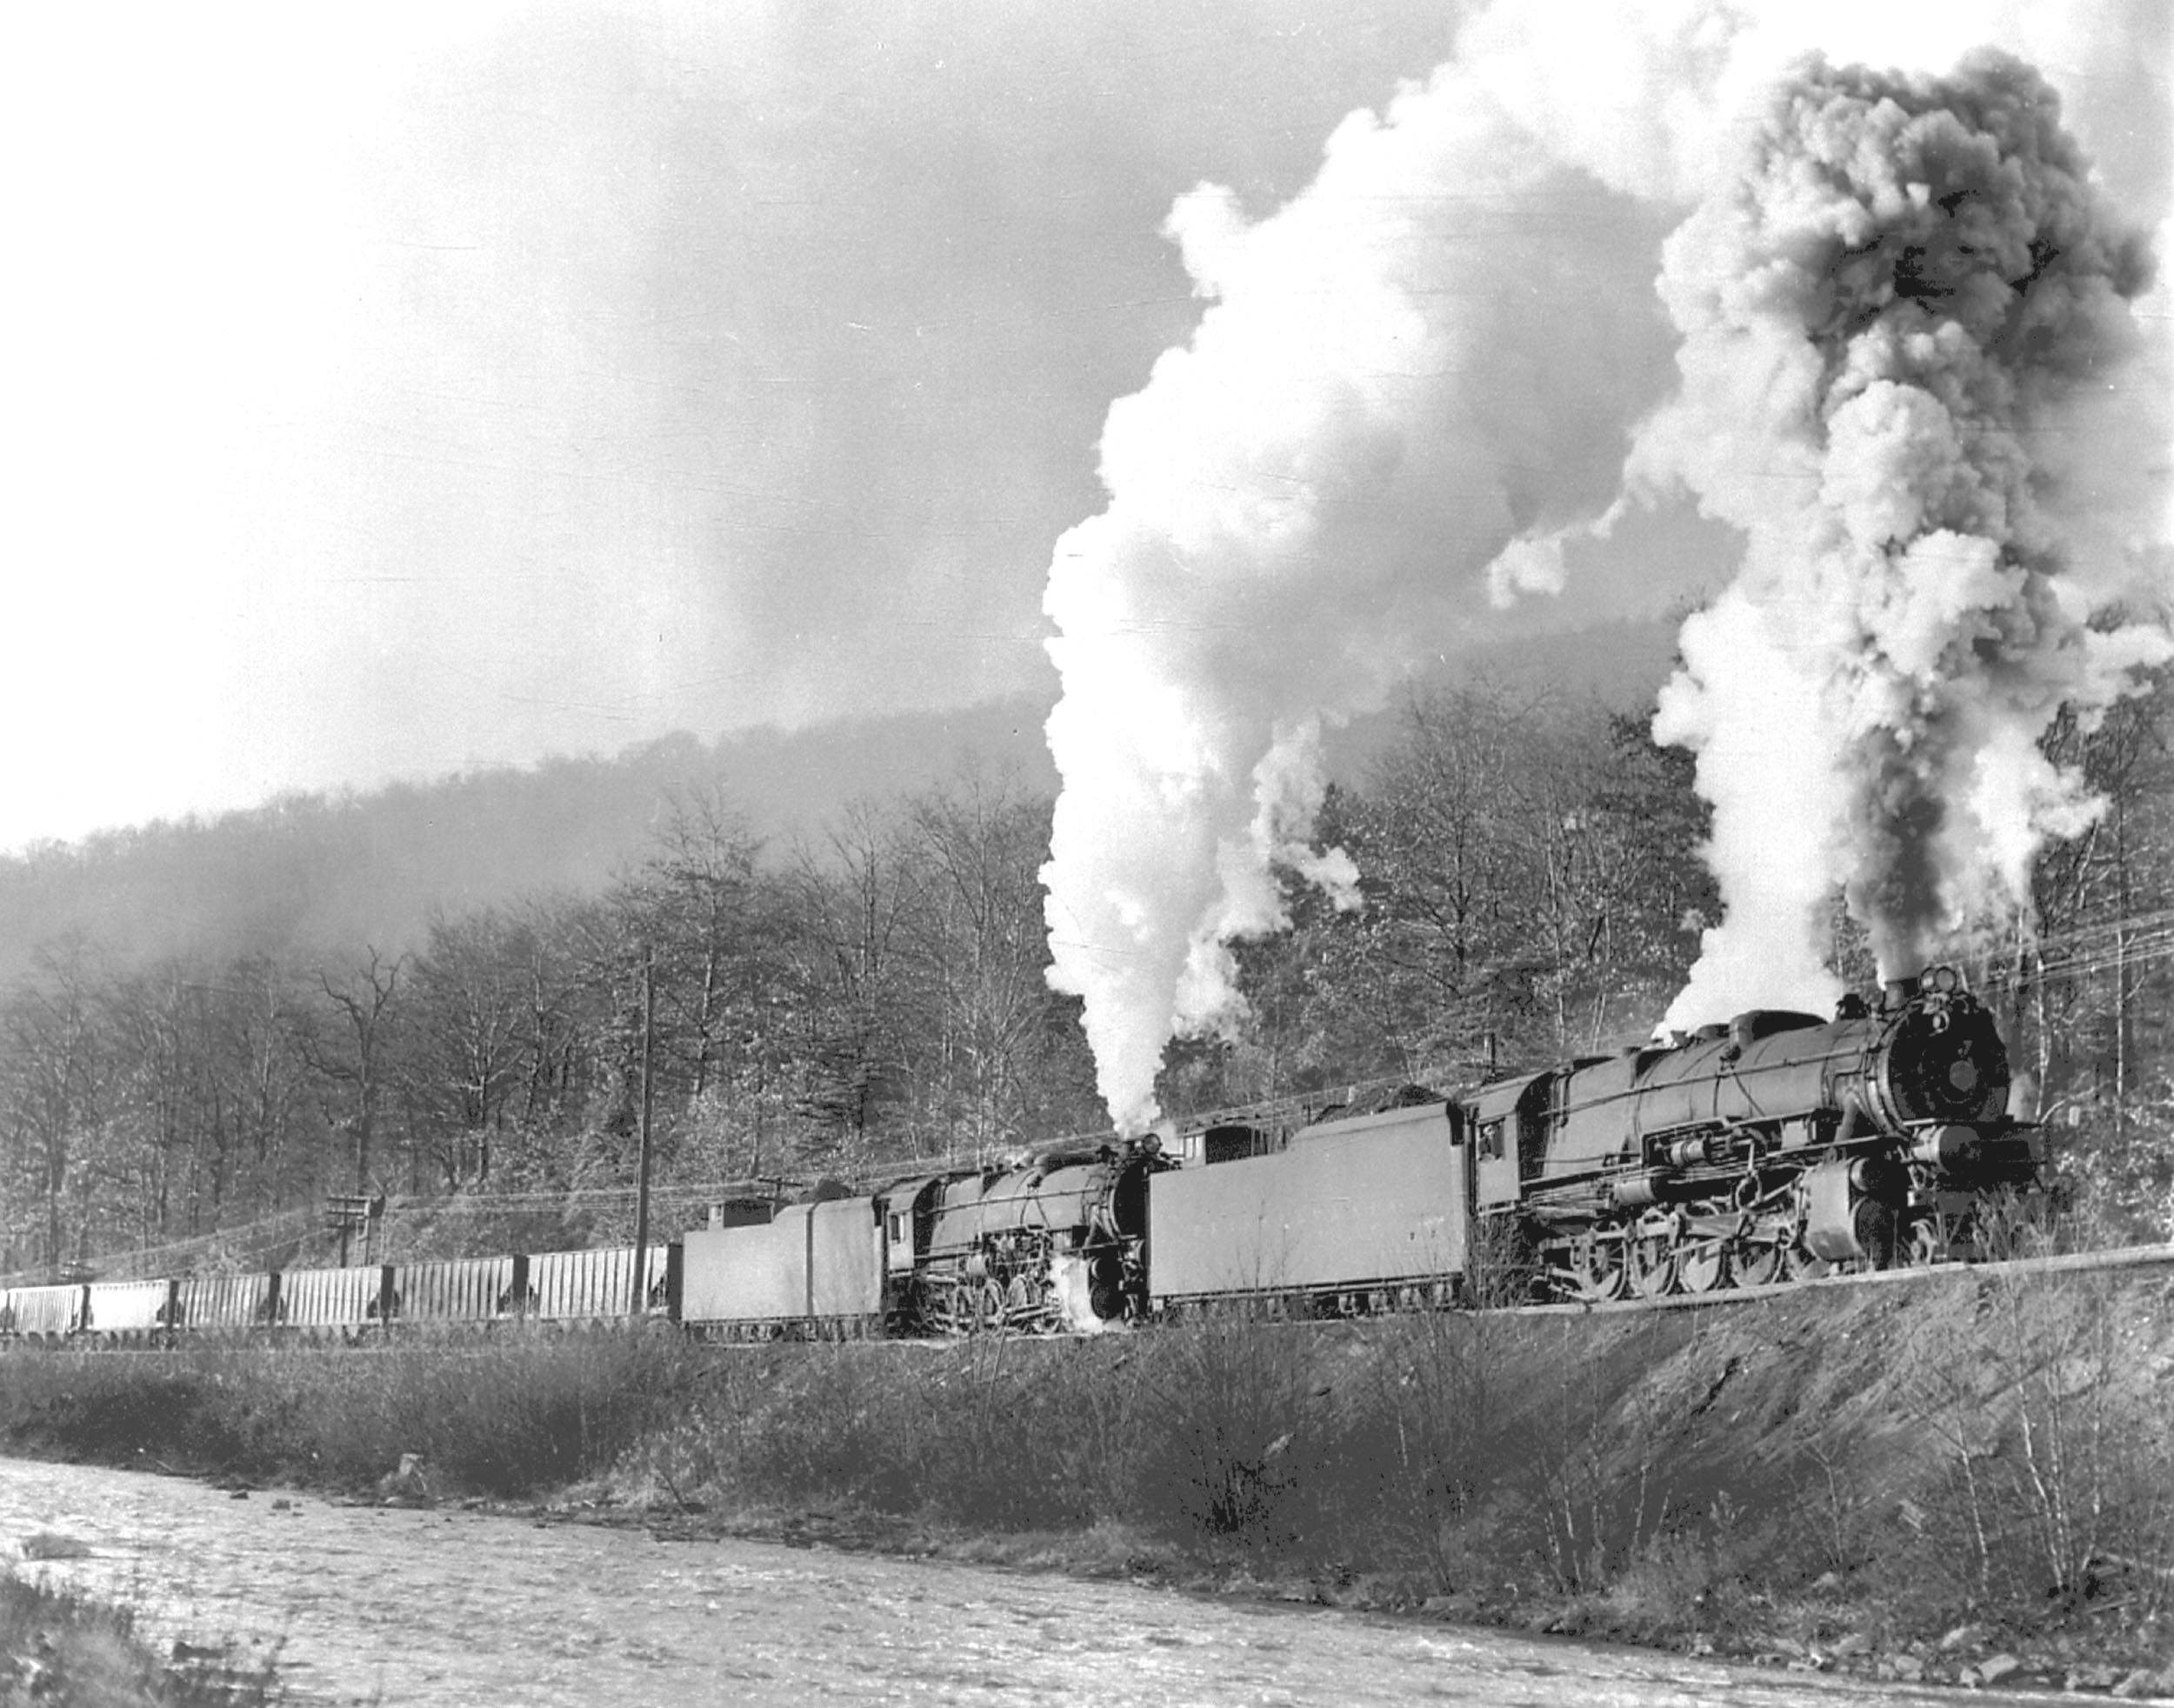
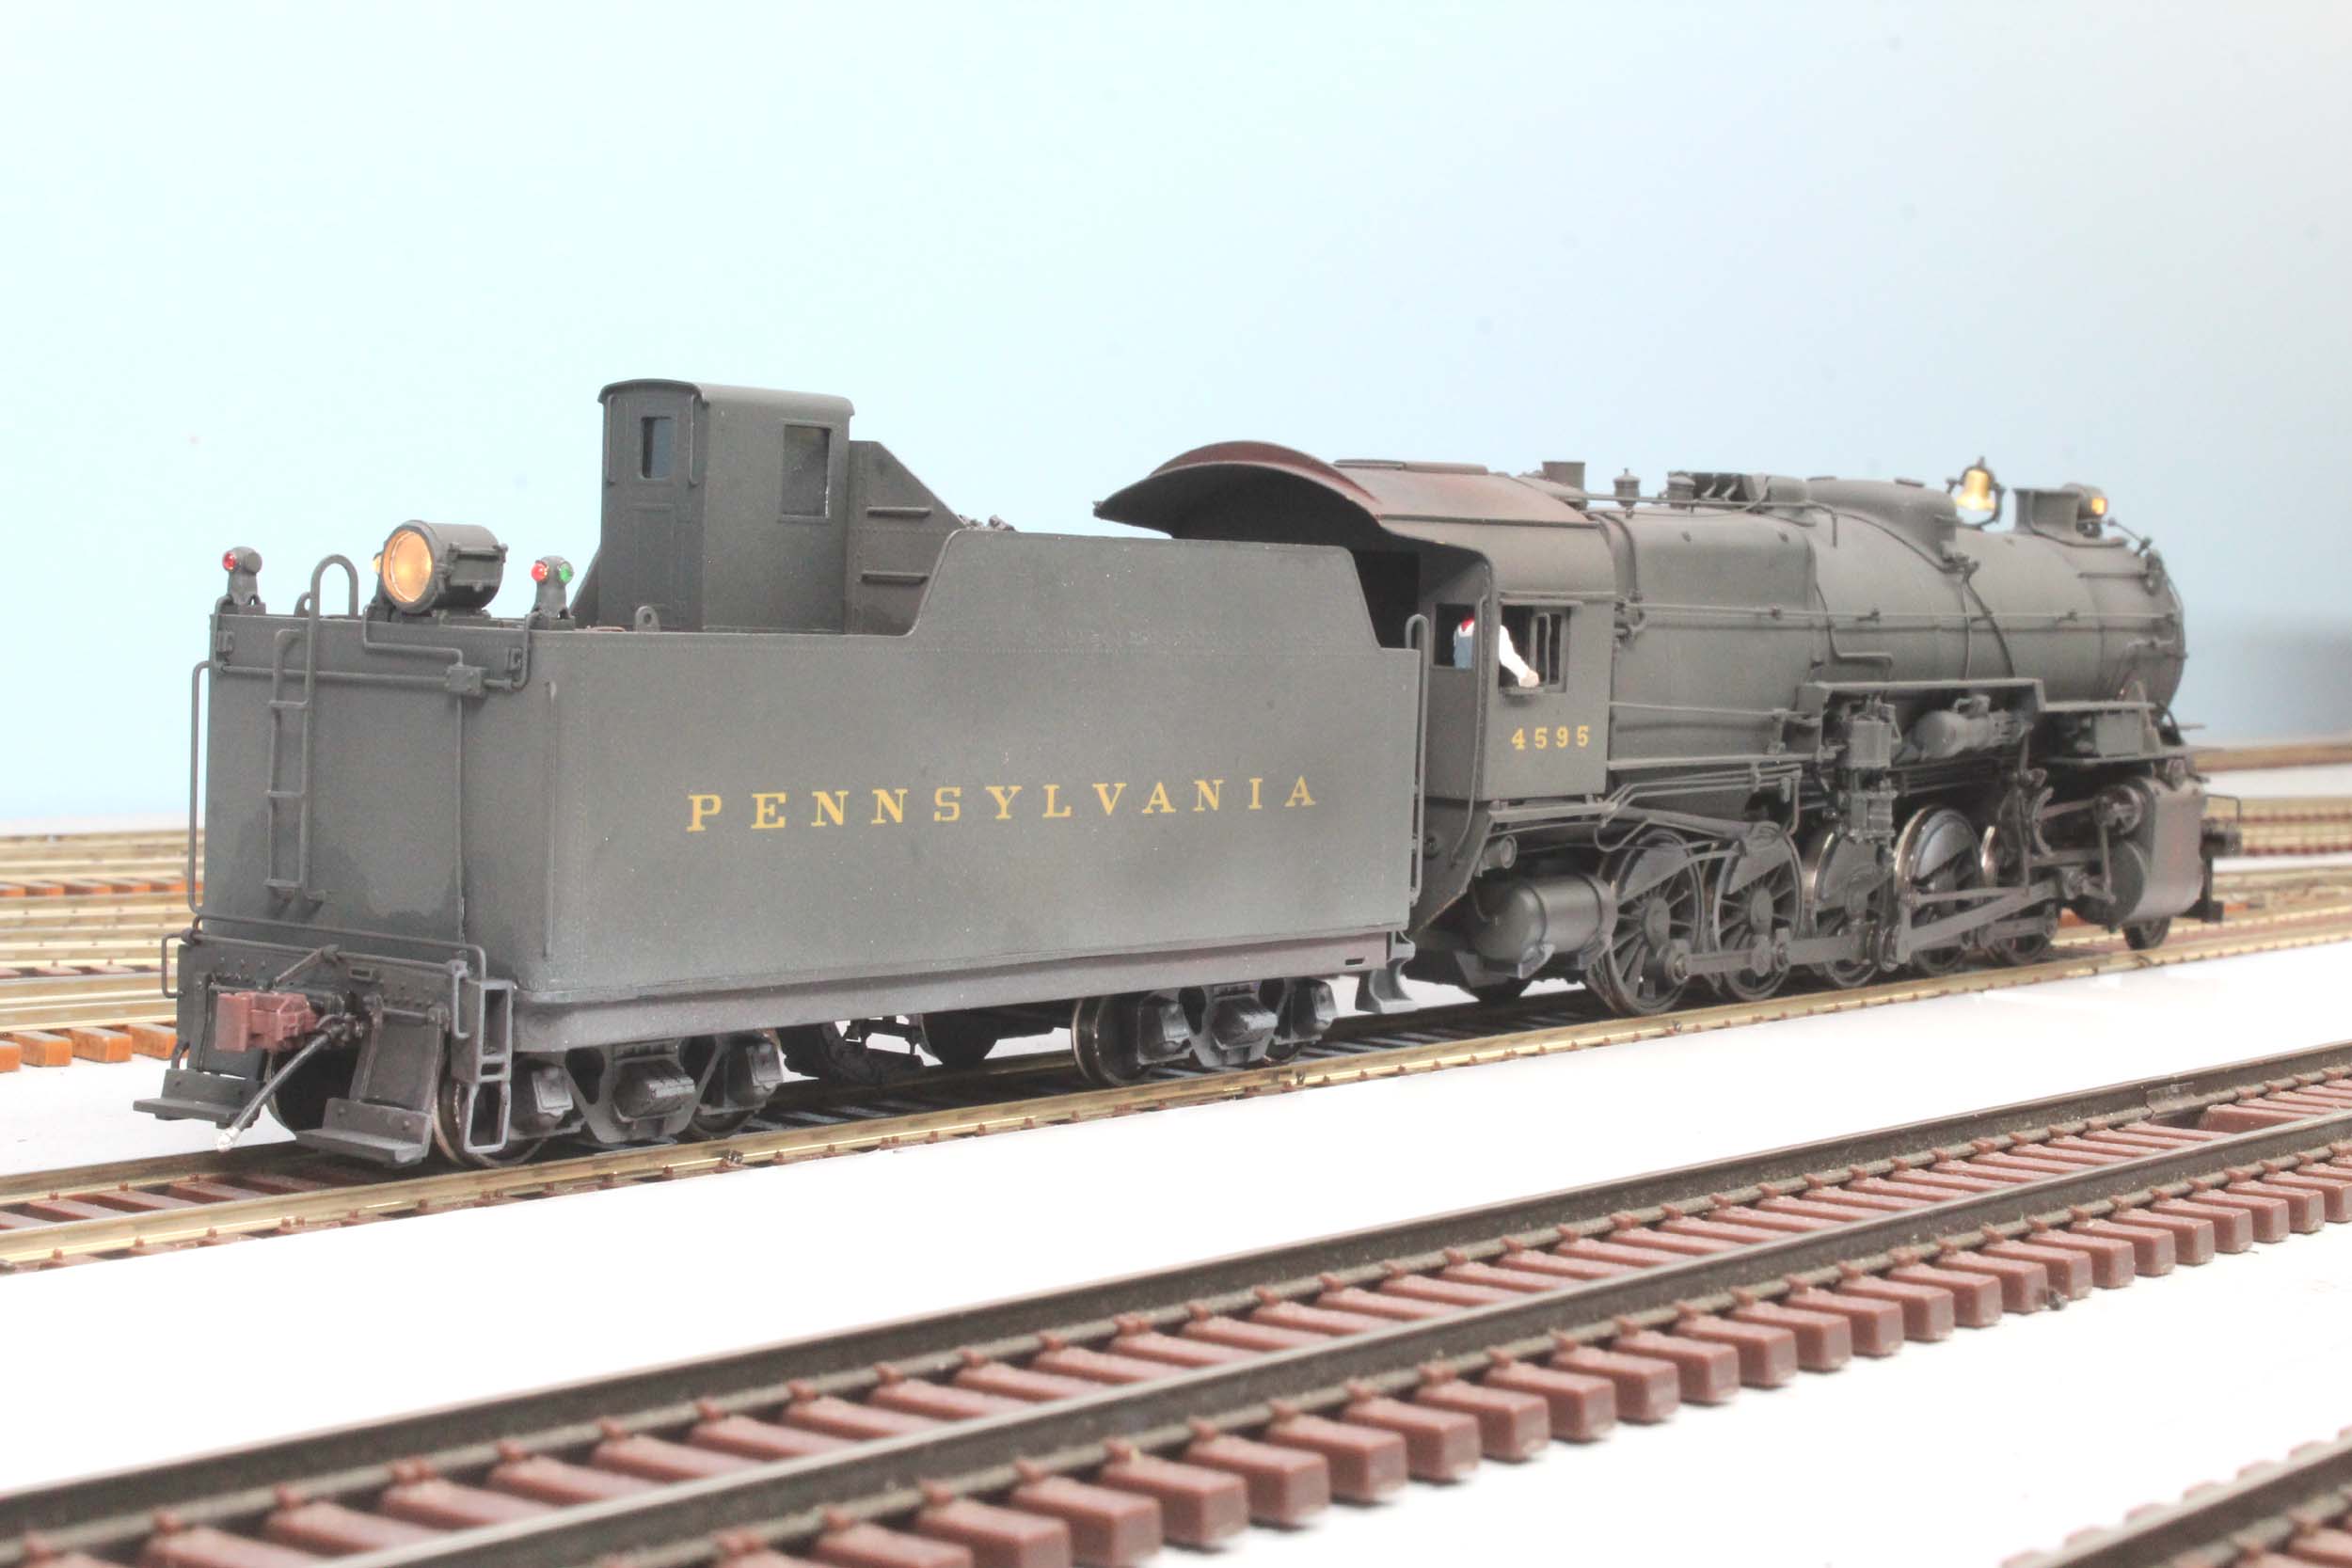
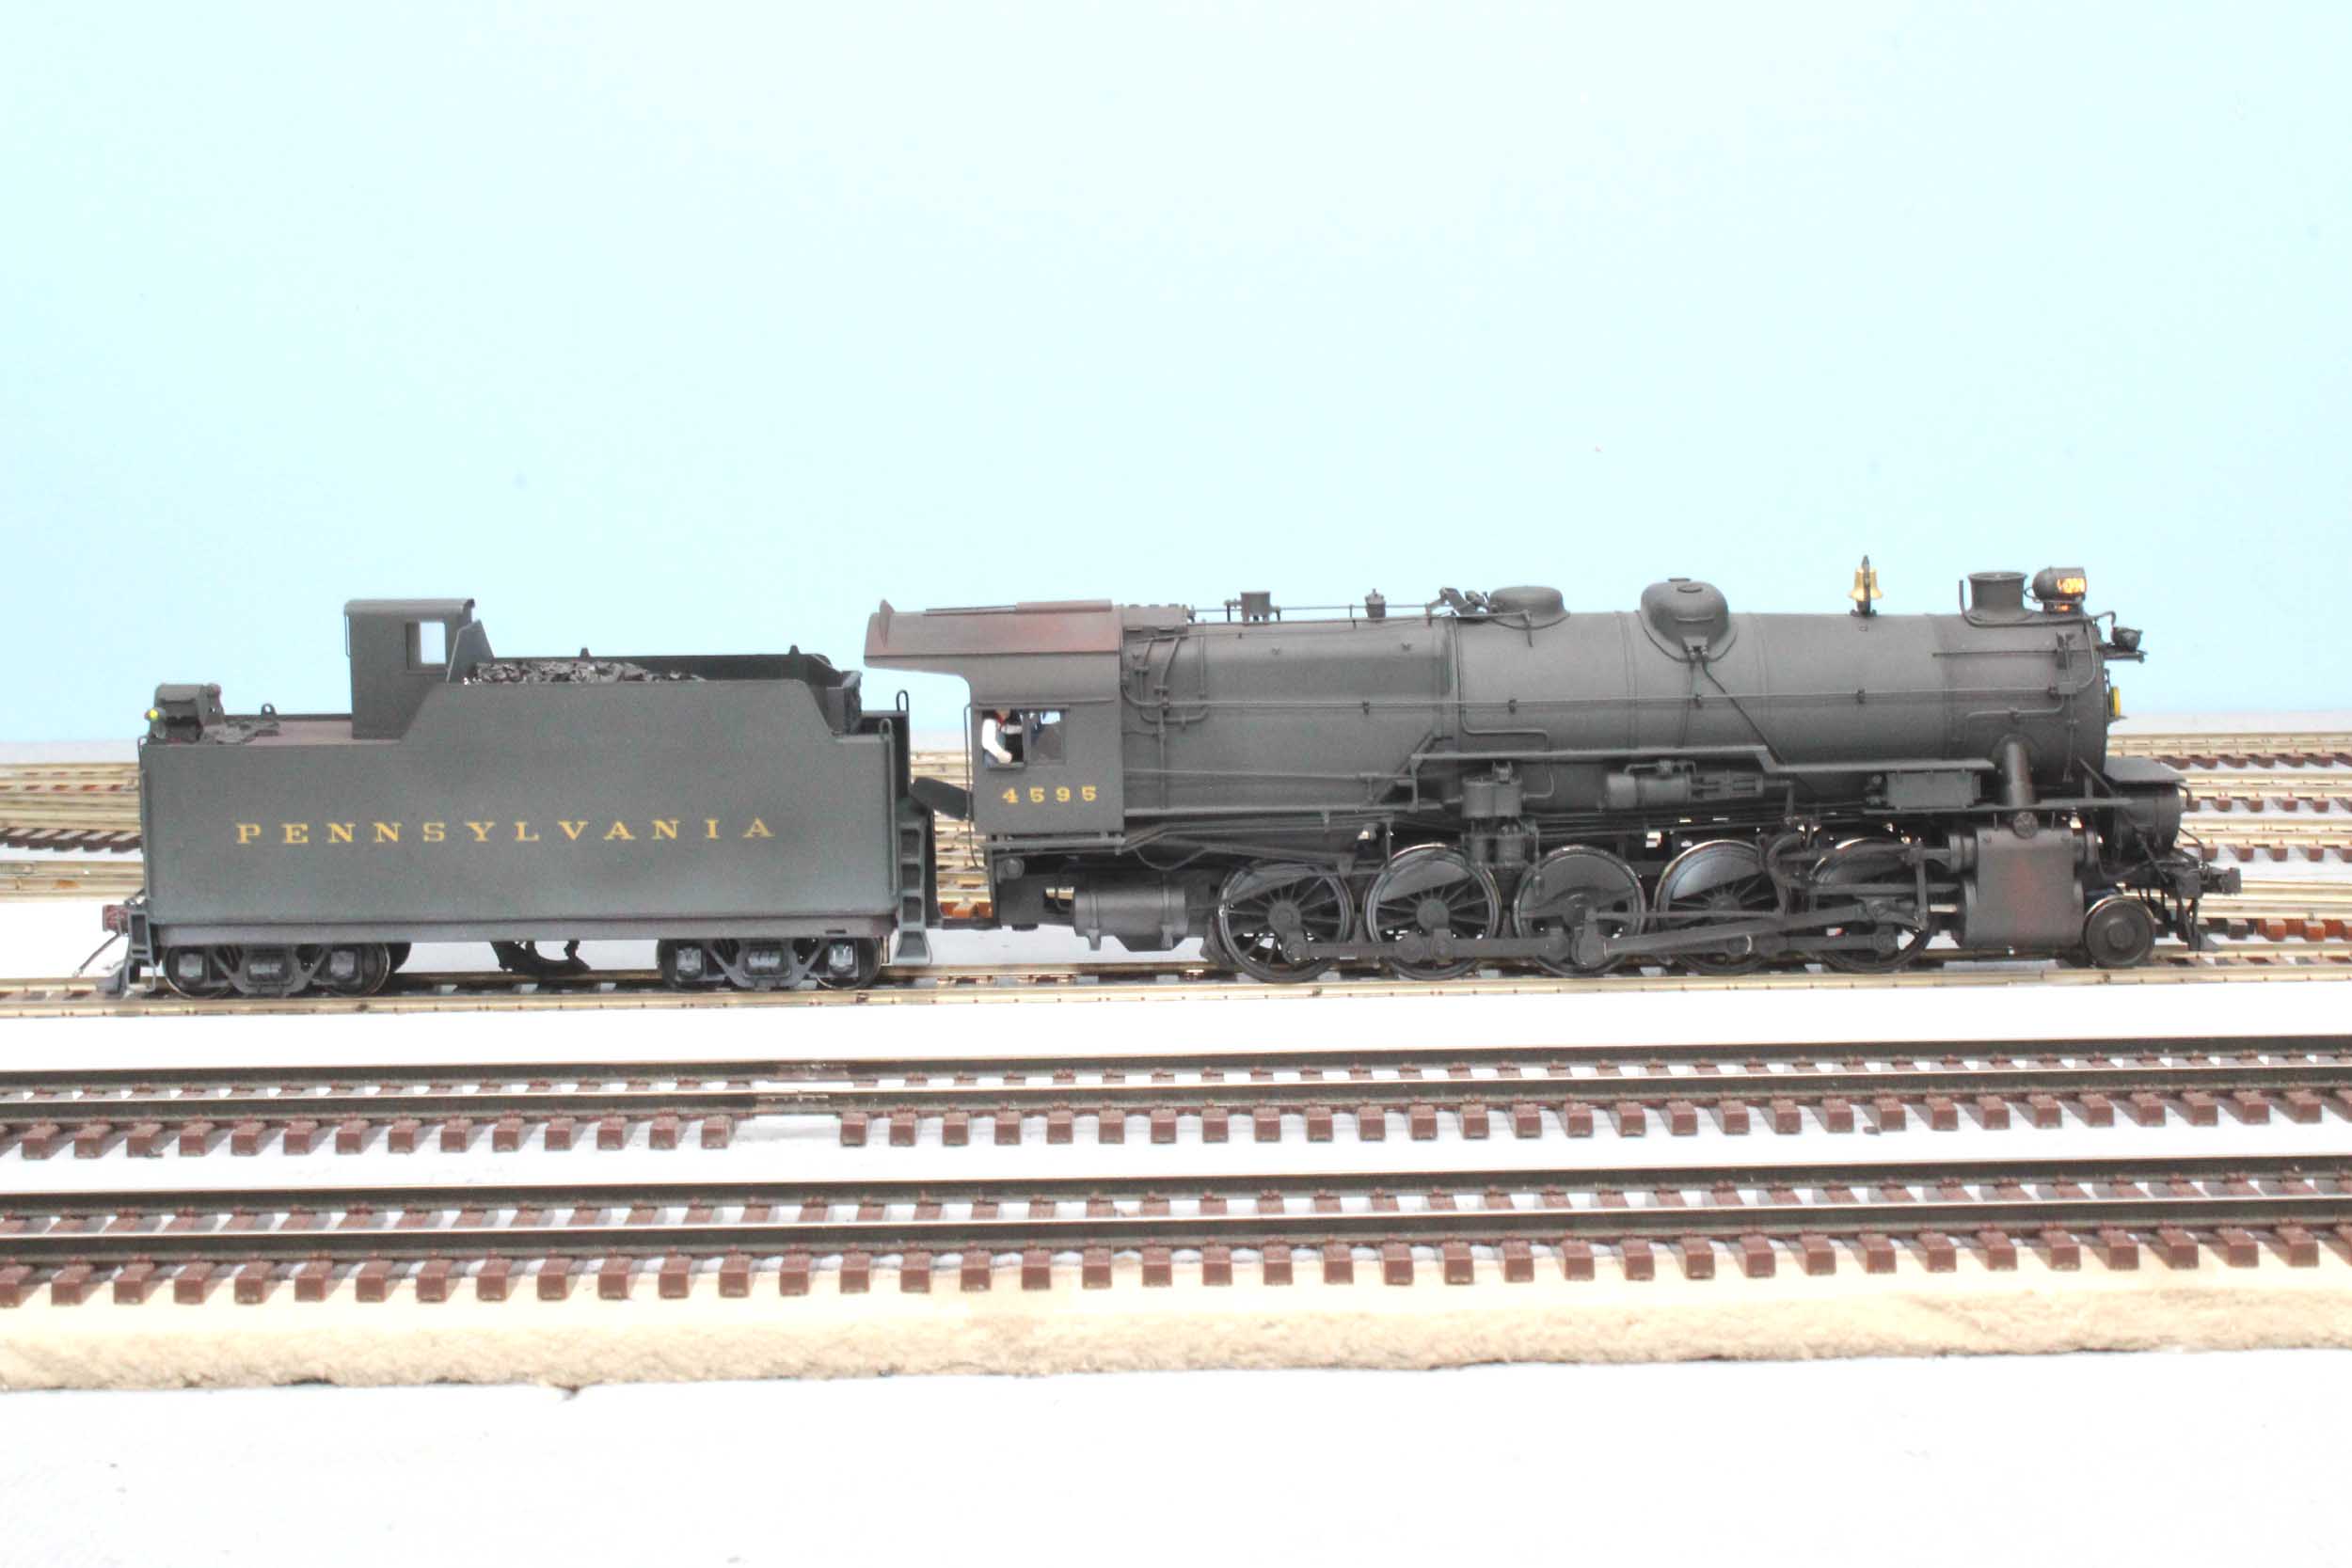
conversion at almost any time of the day or night. He will be missed. 4595
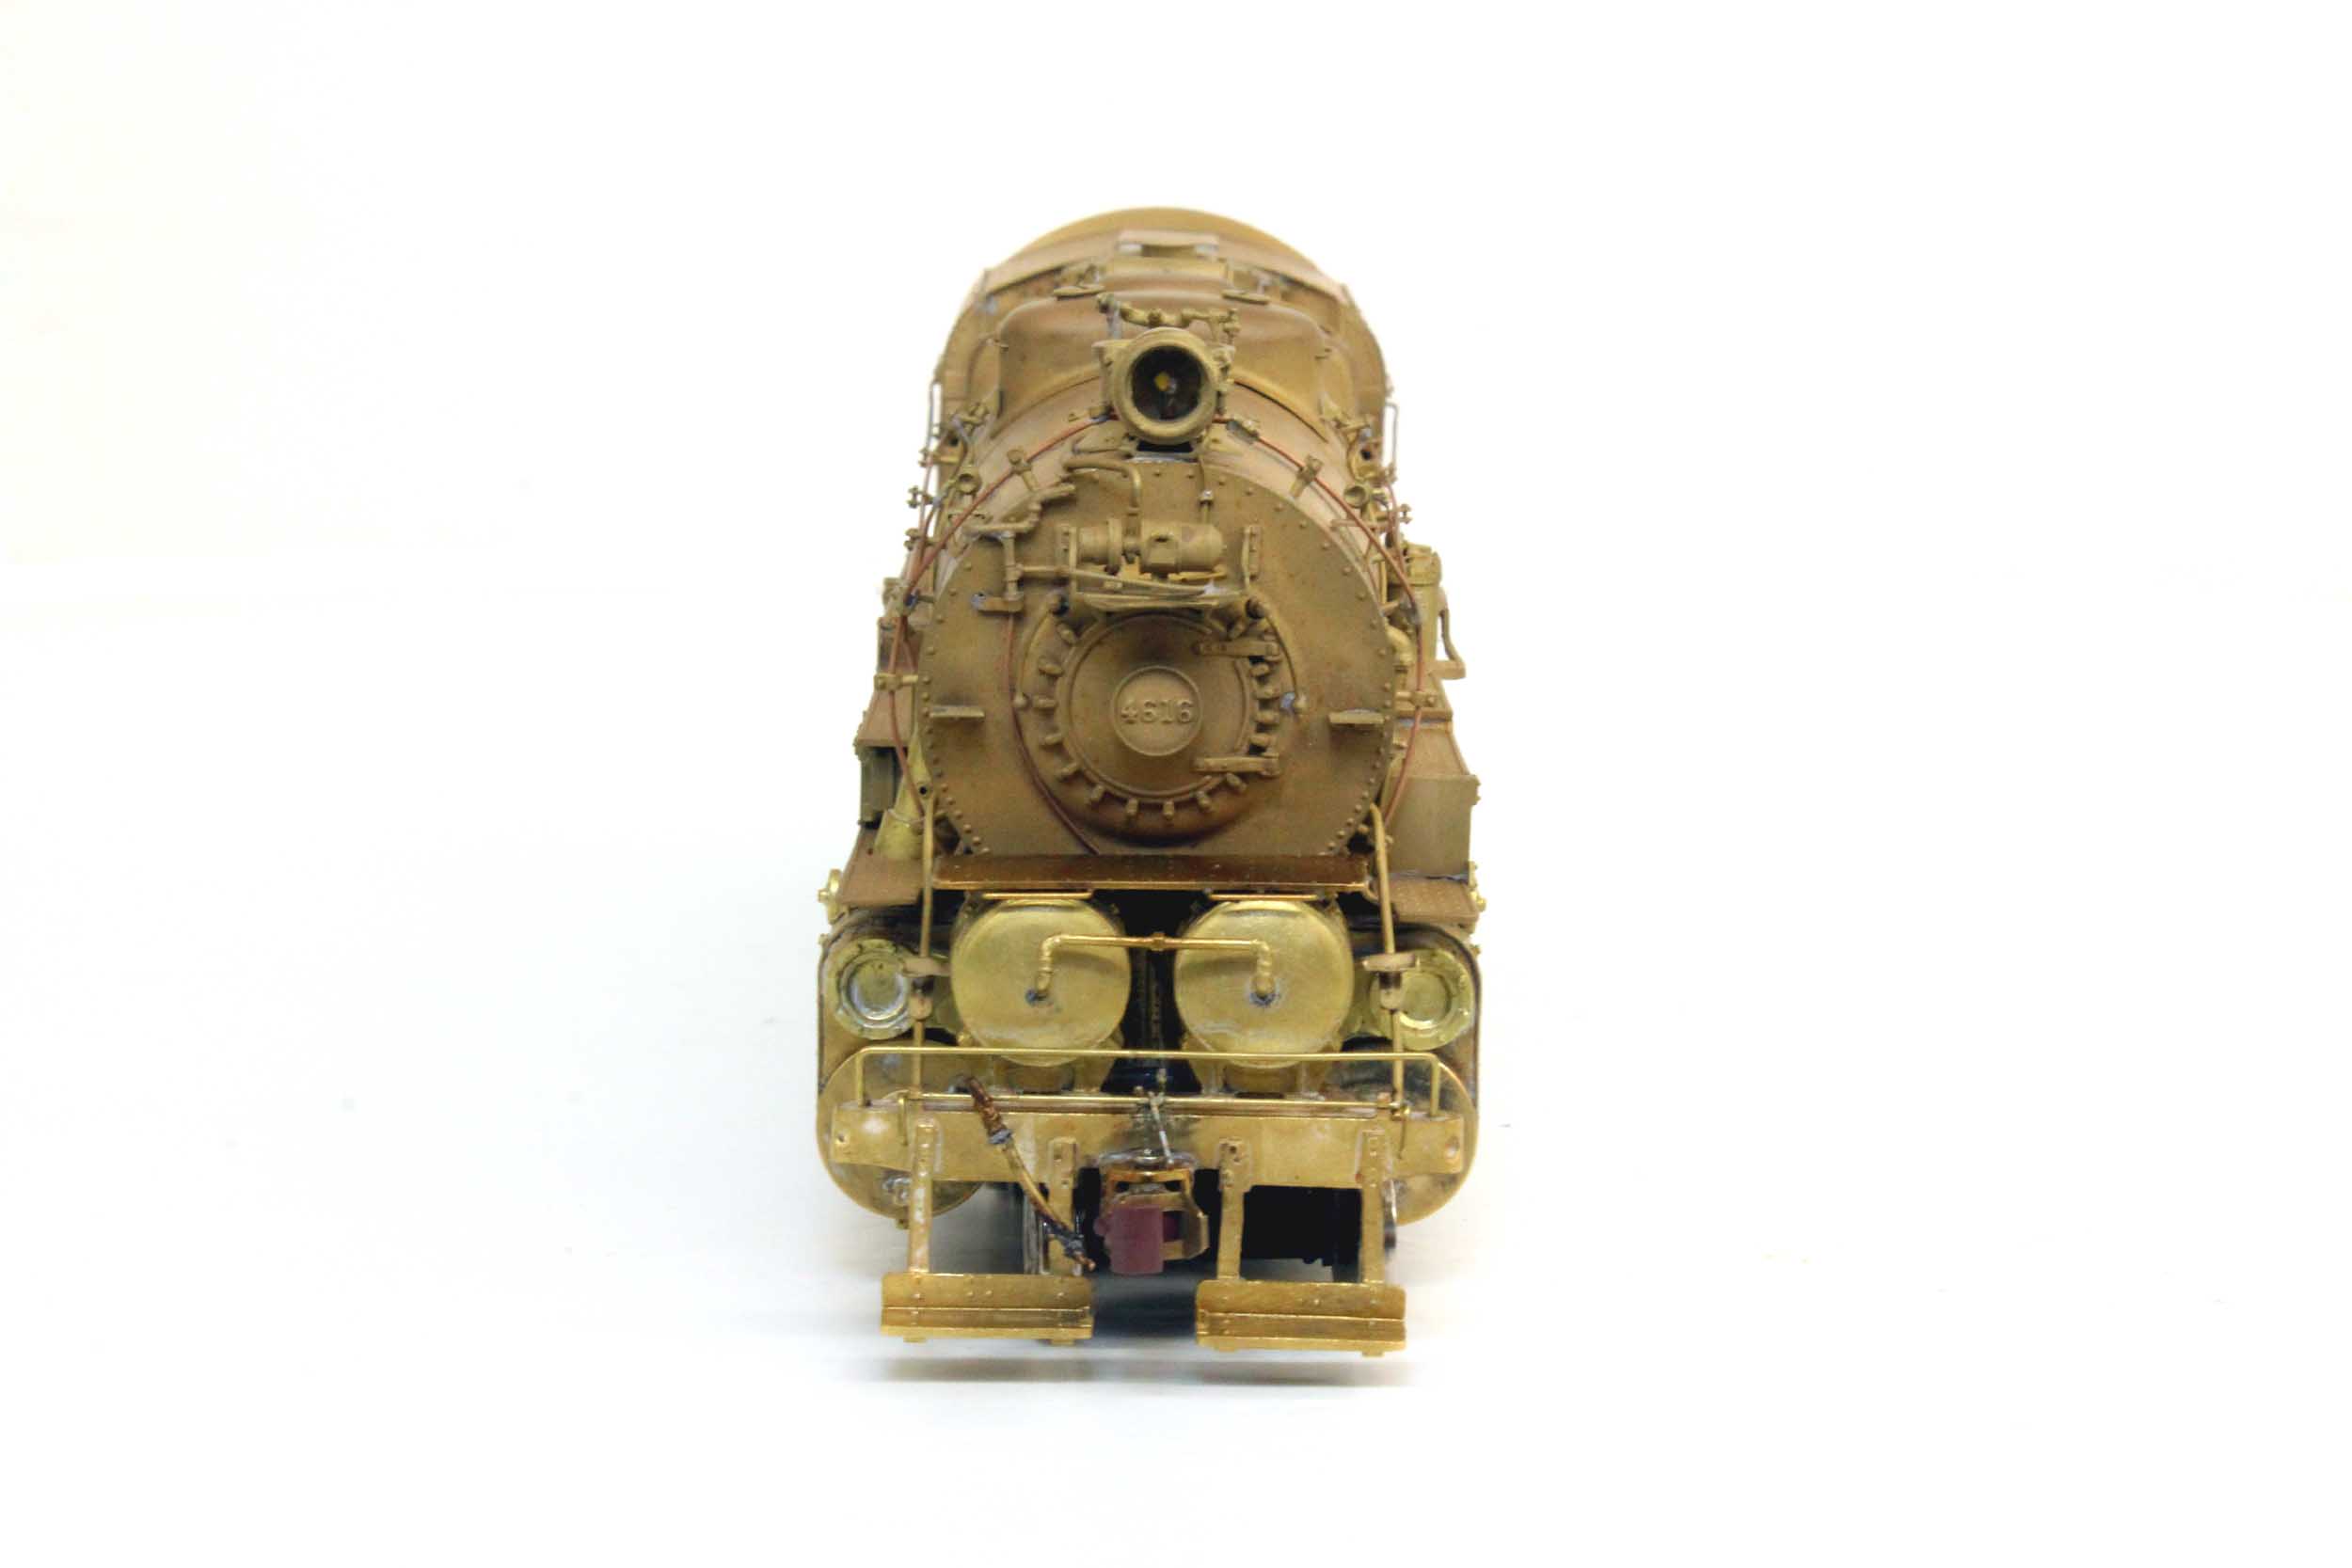
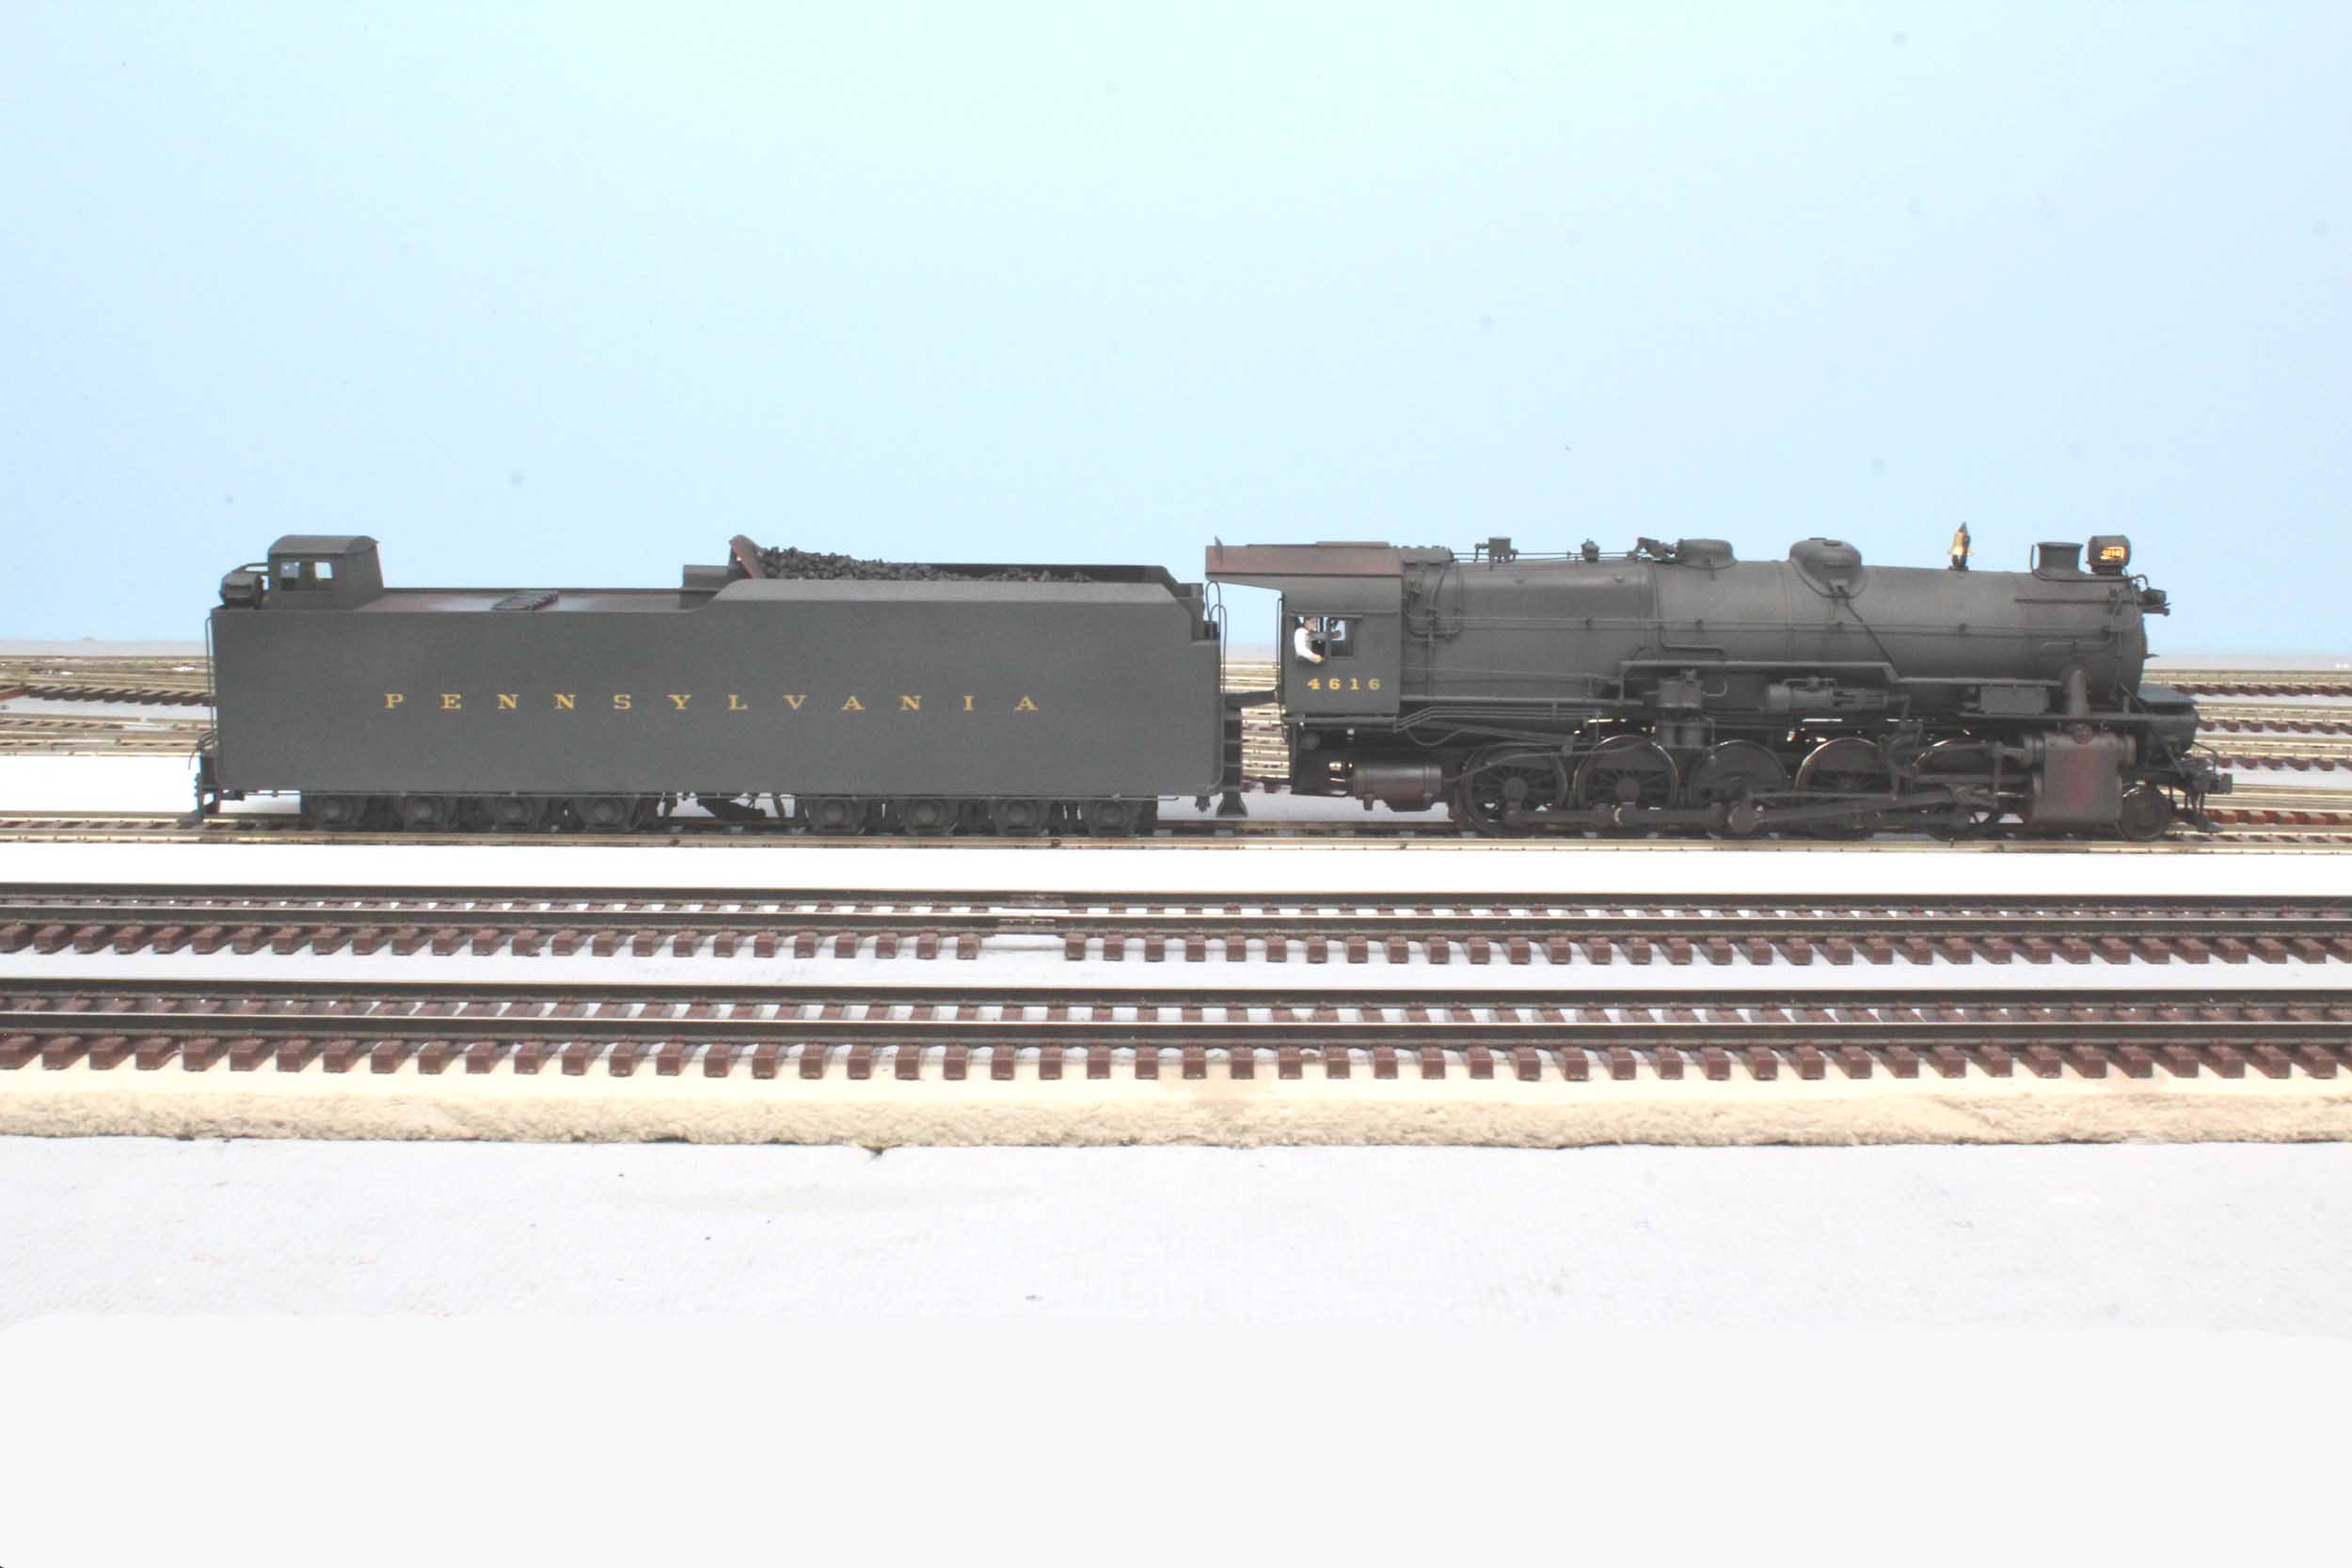
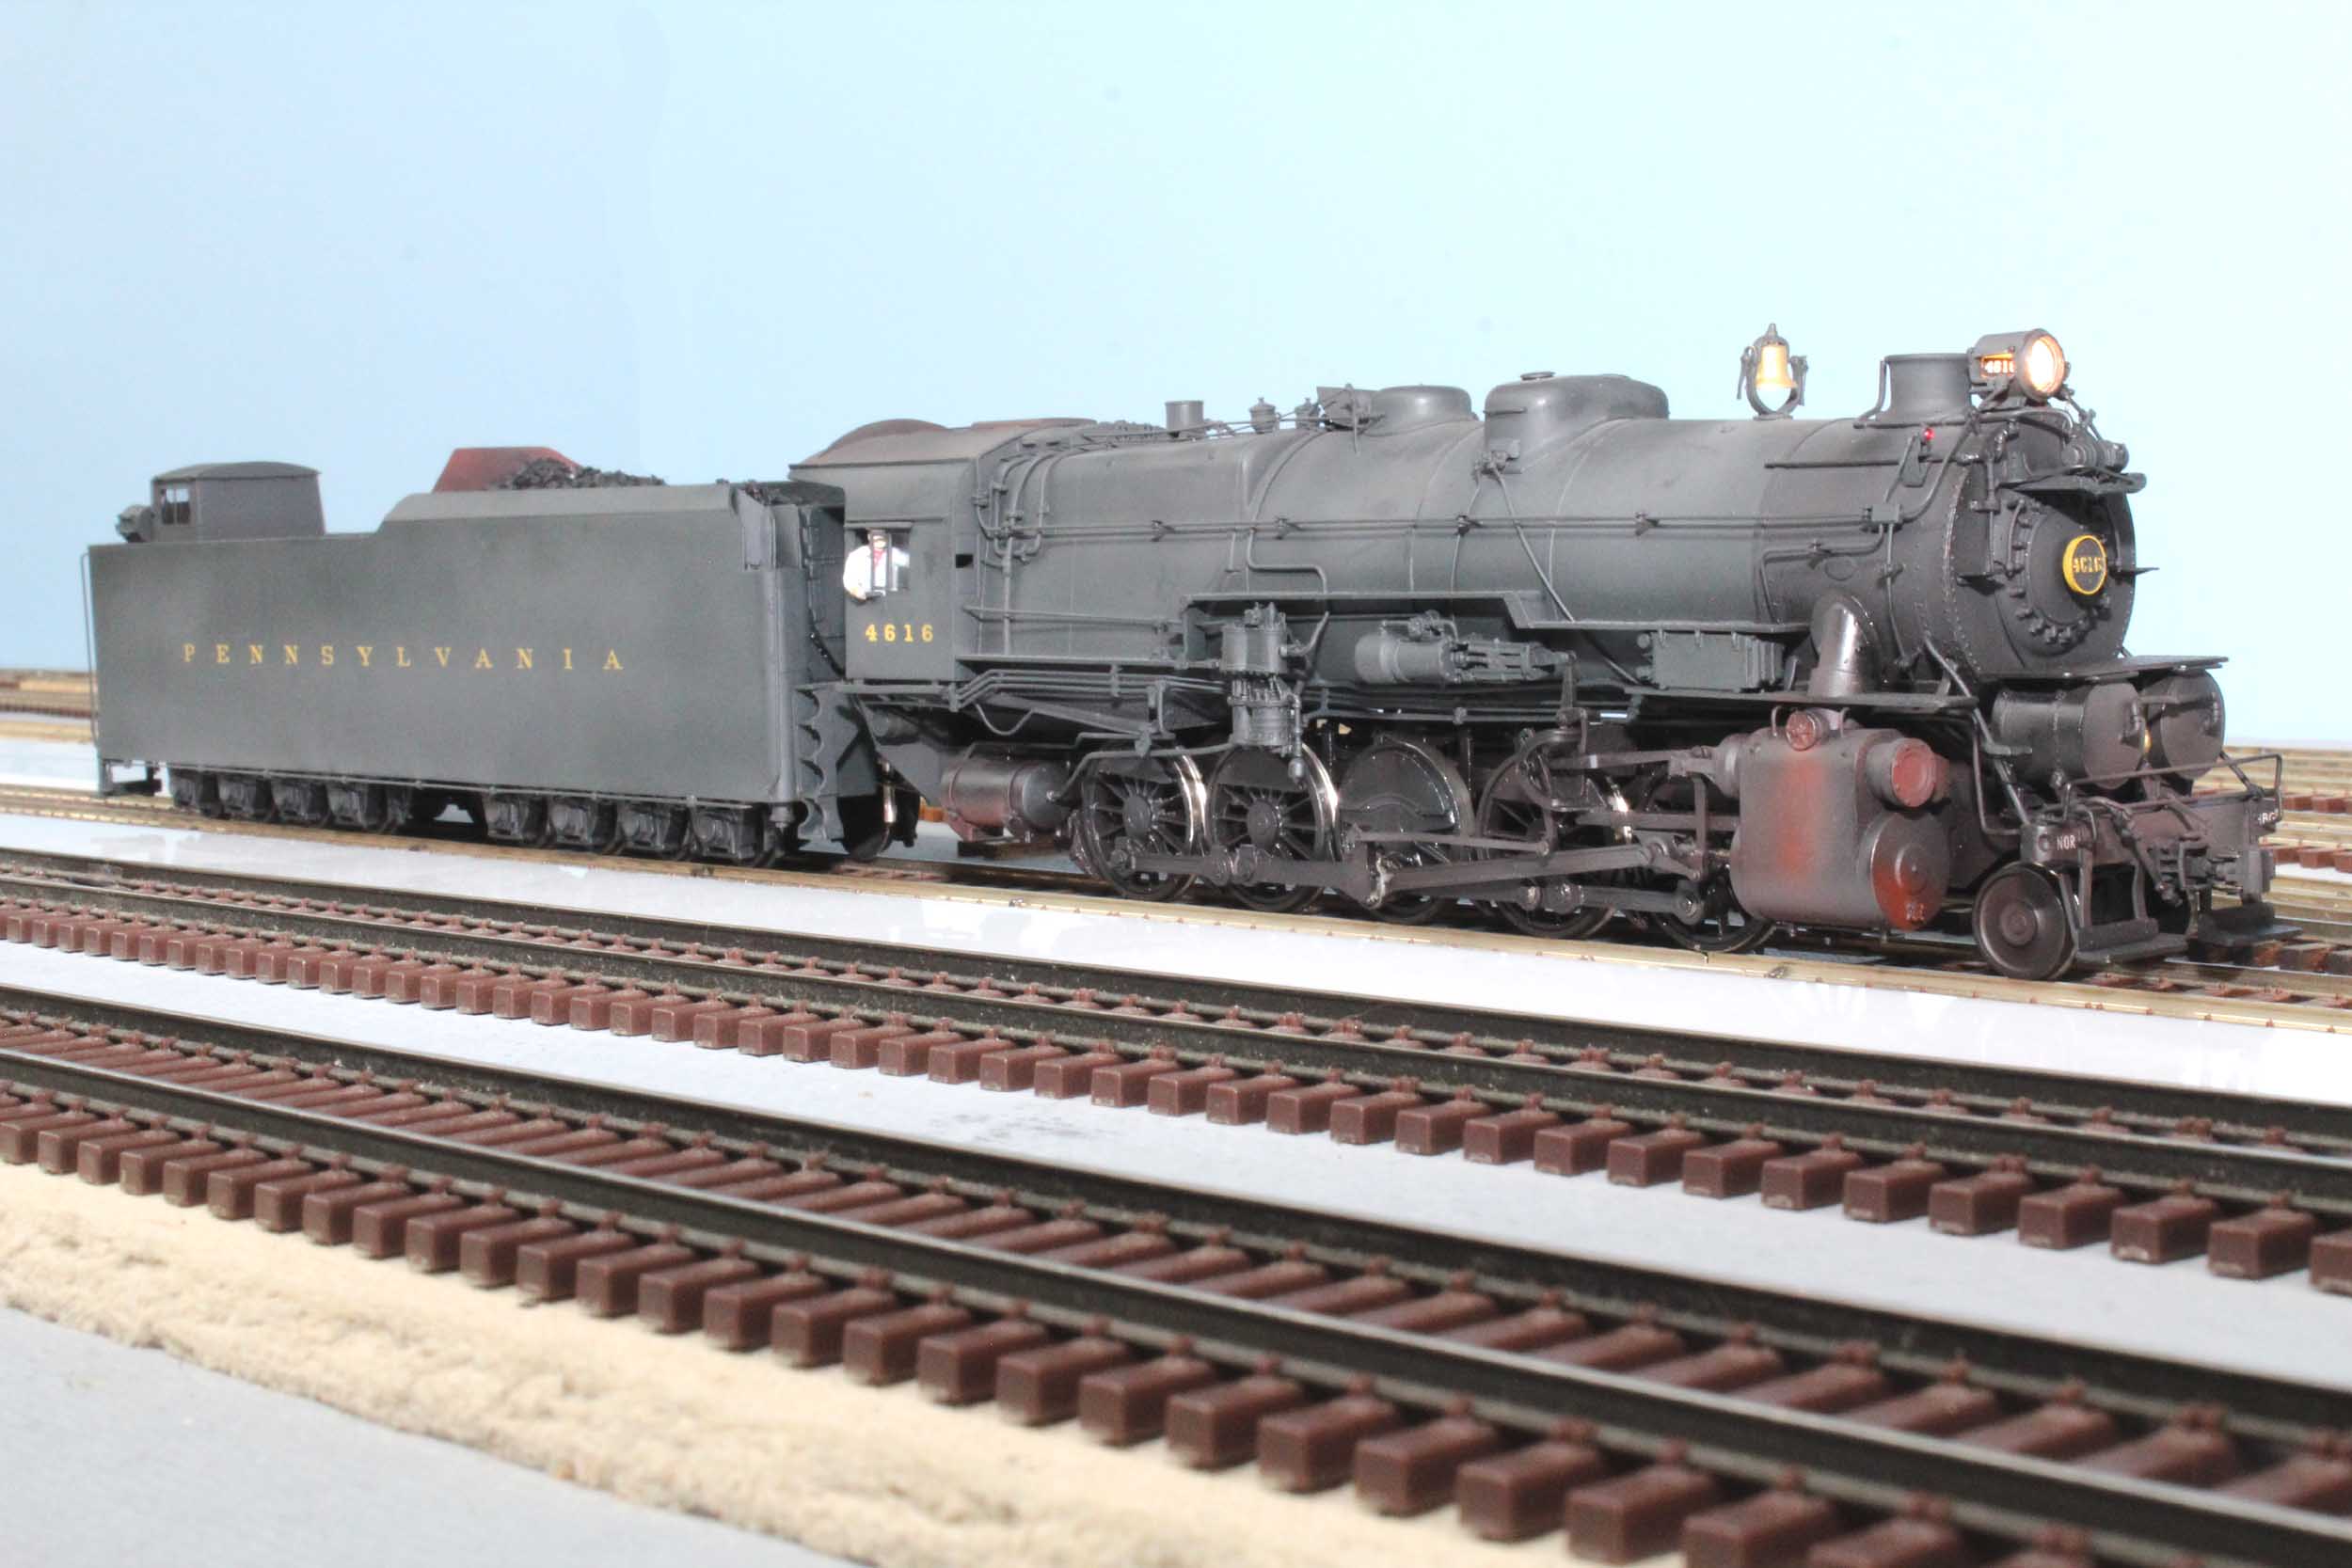
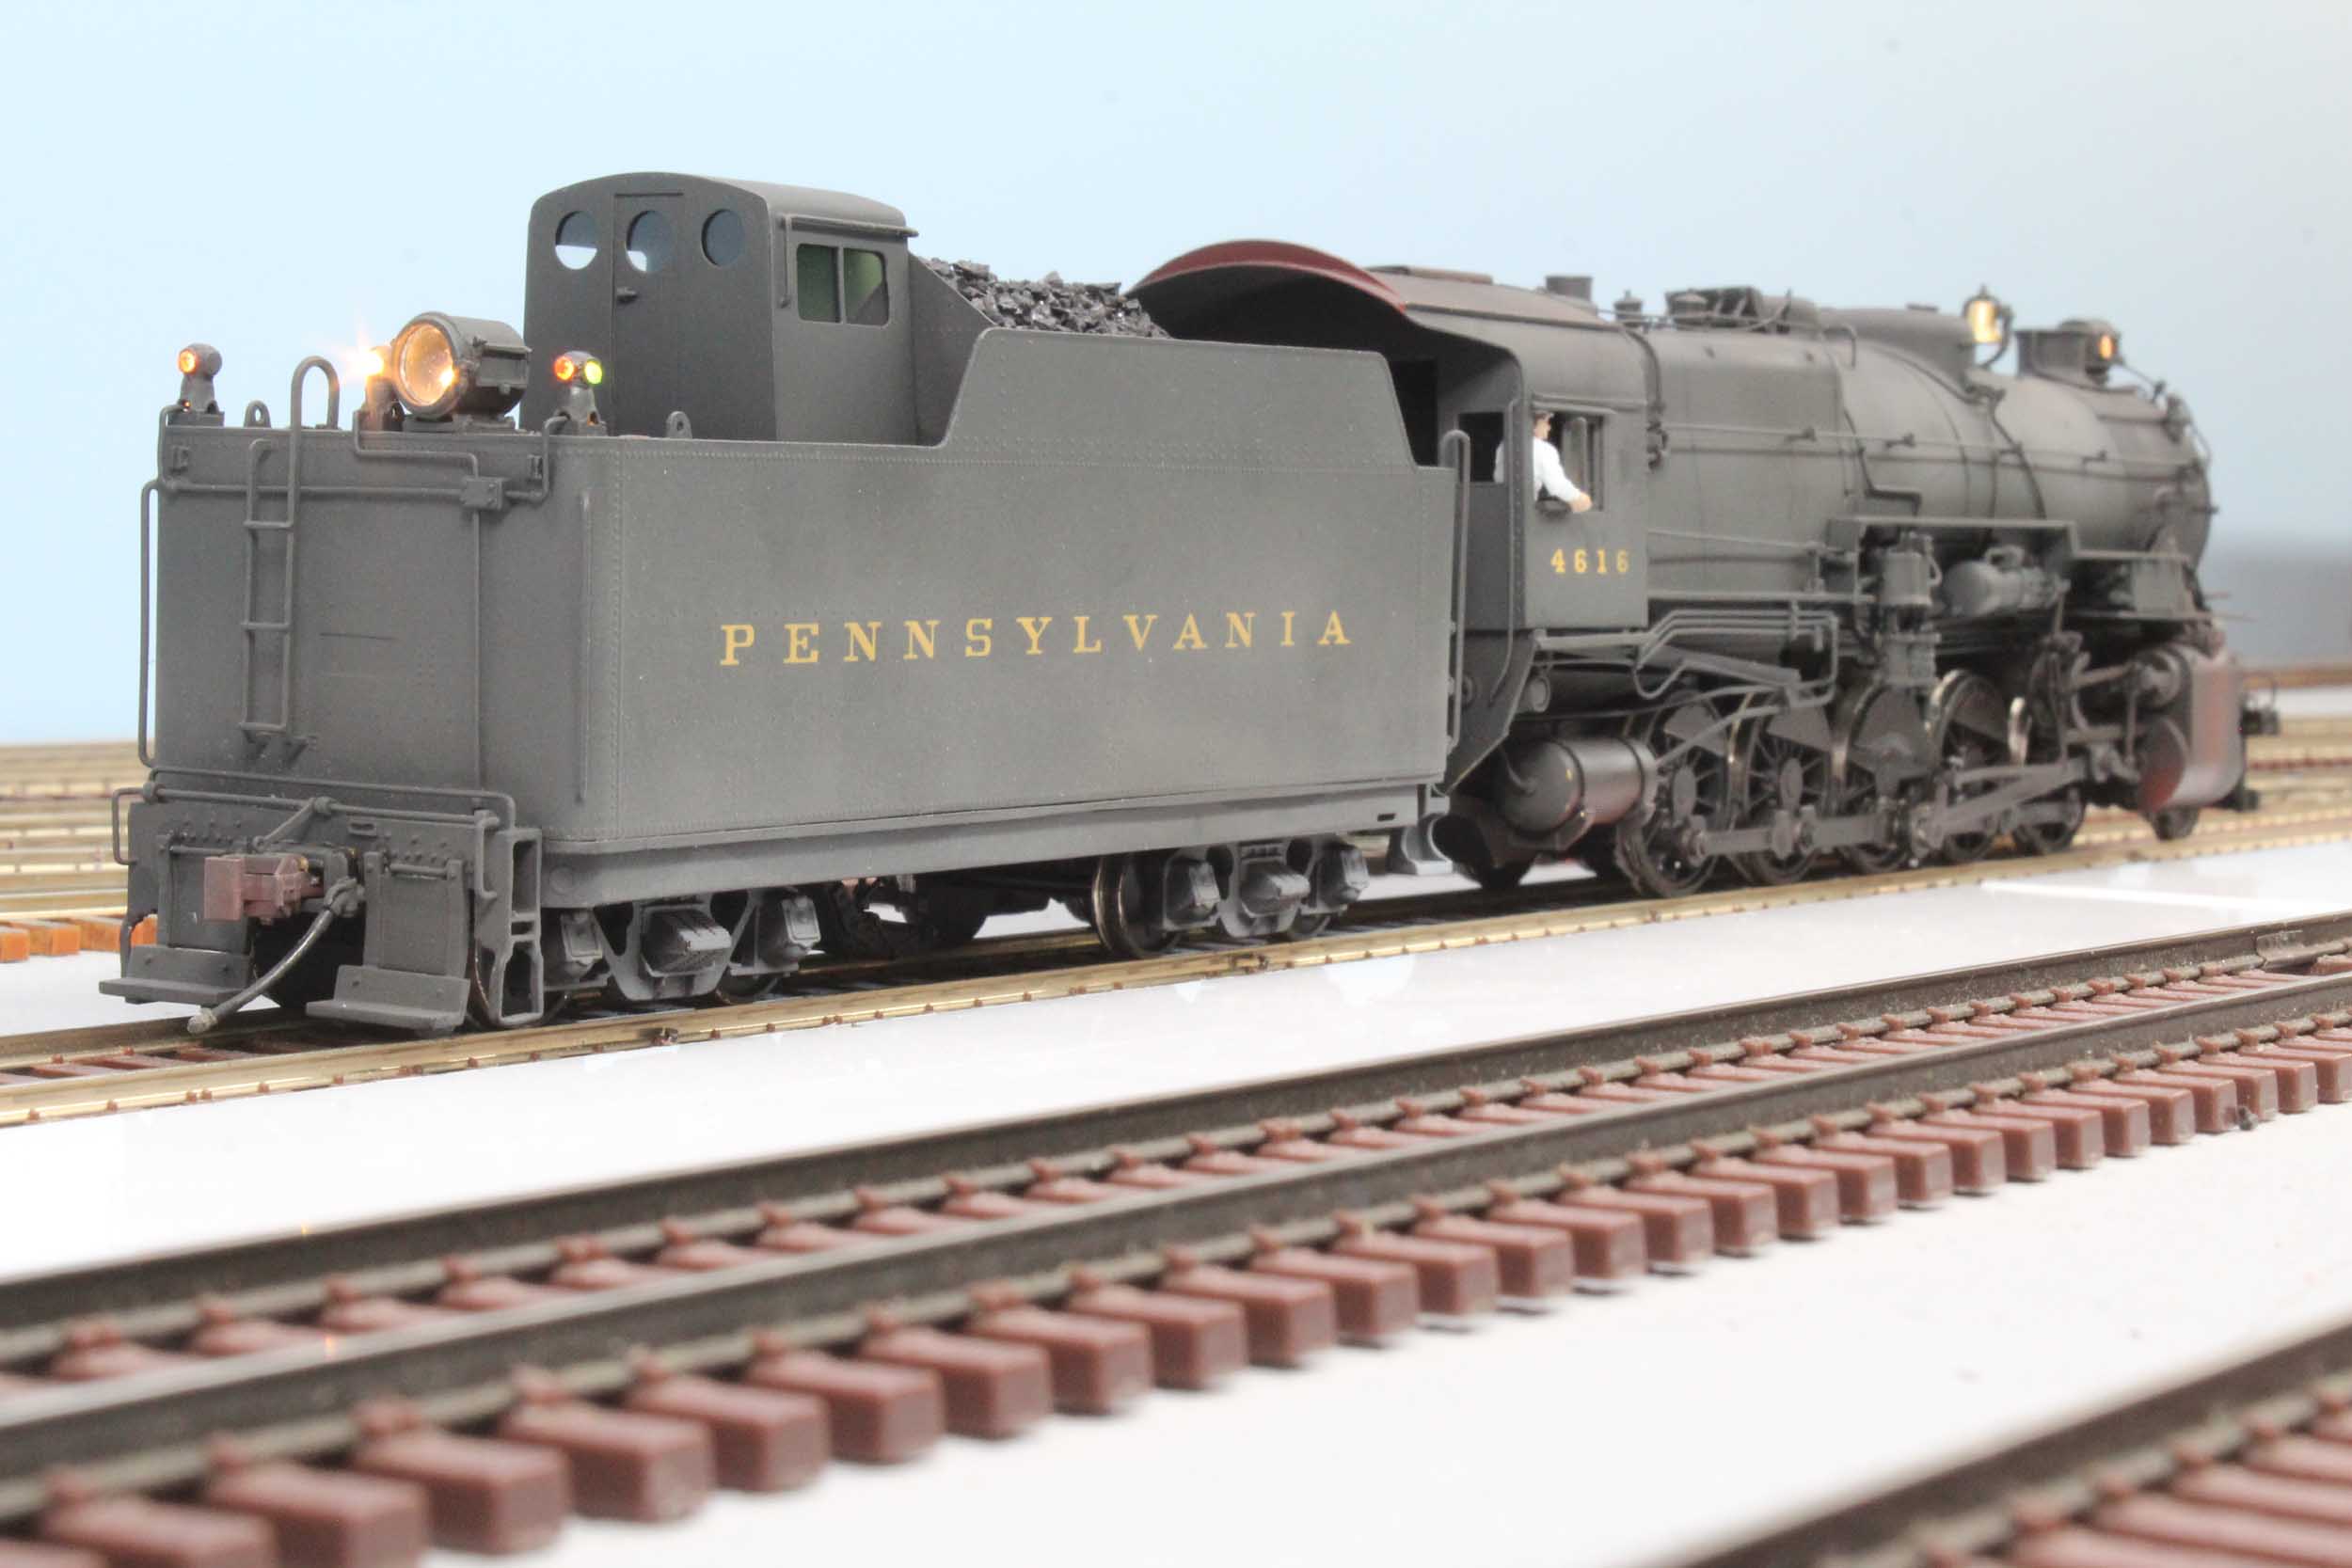
4616
|
|
|
|
|
|


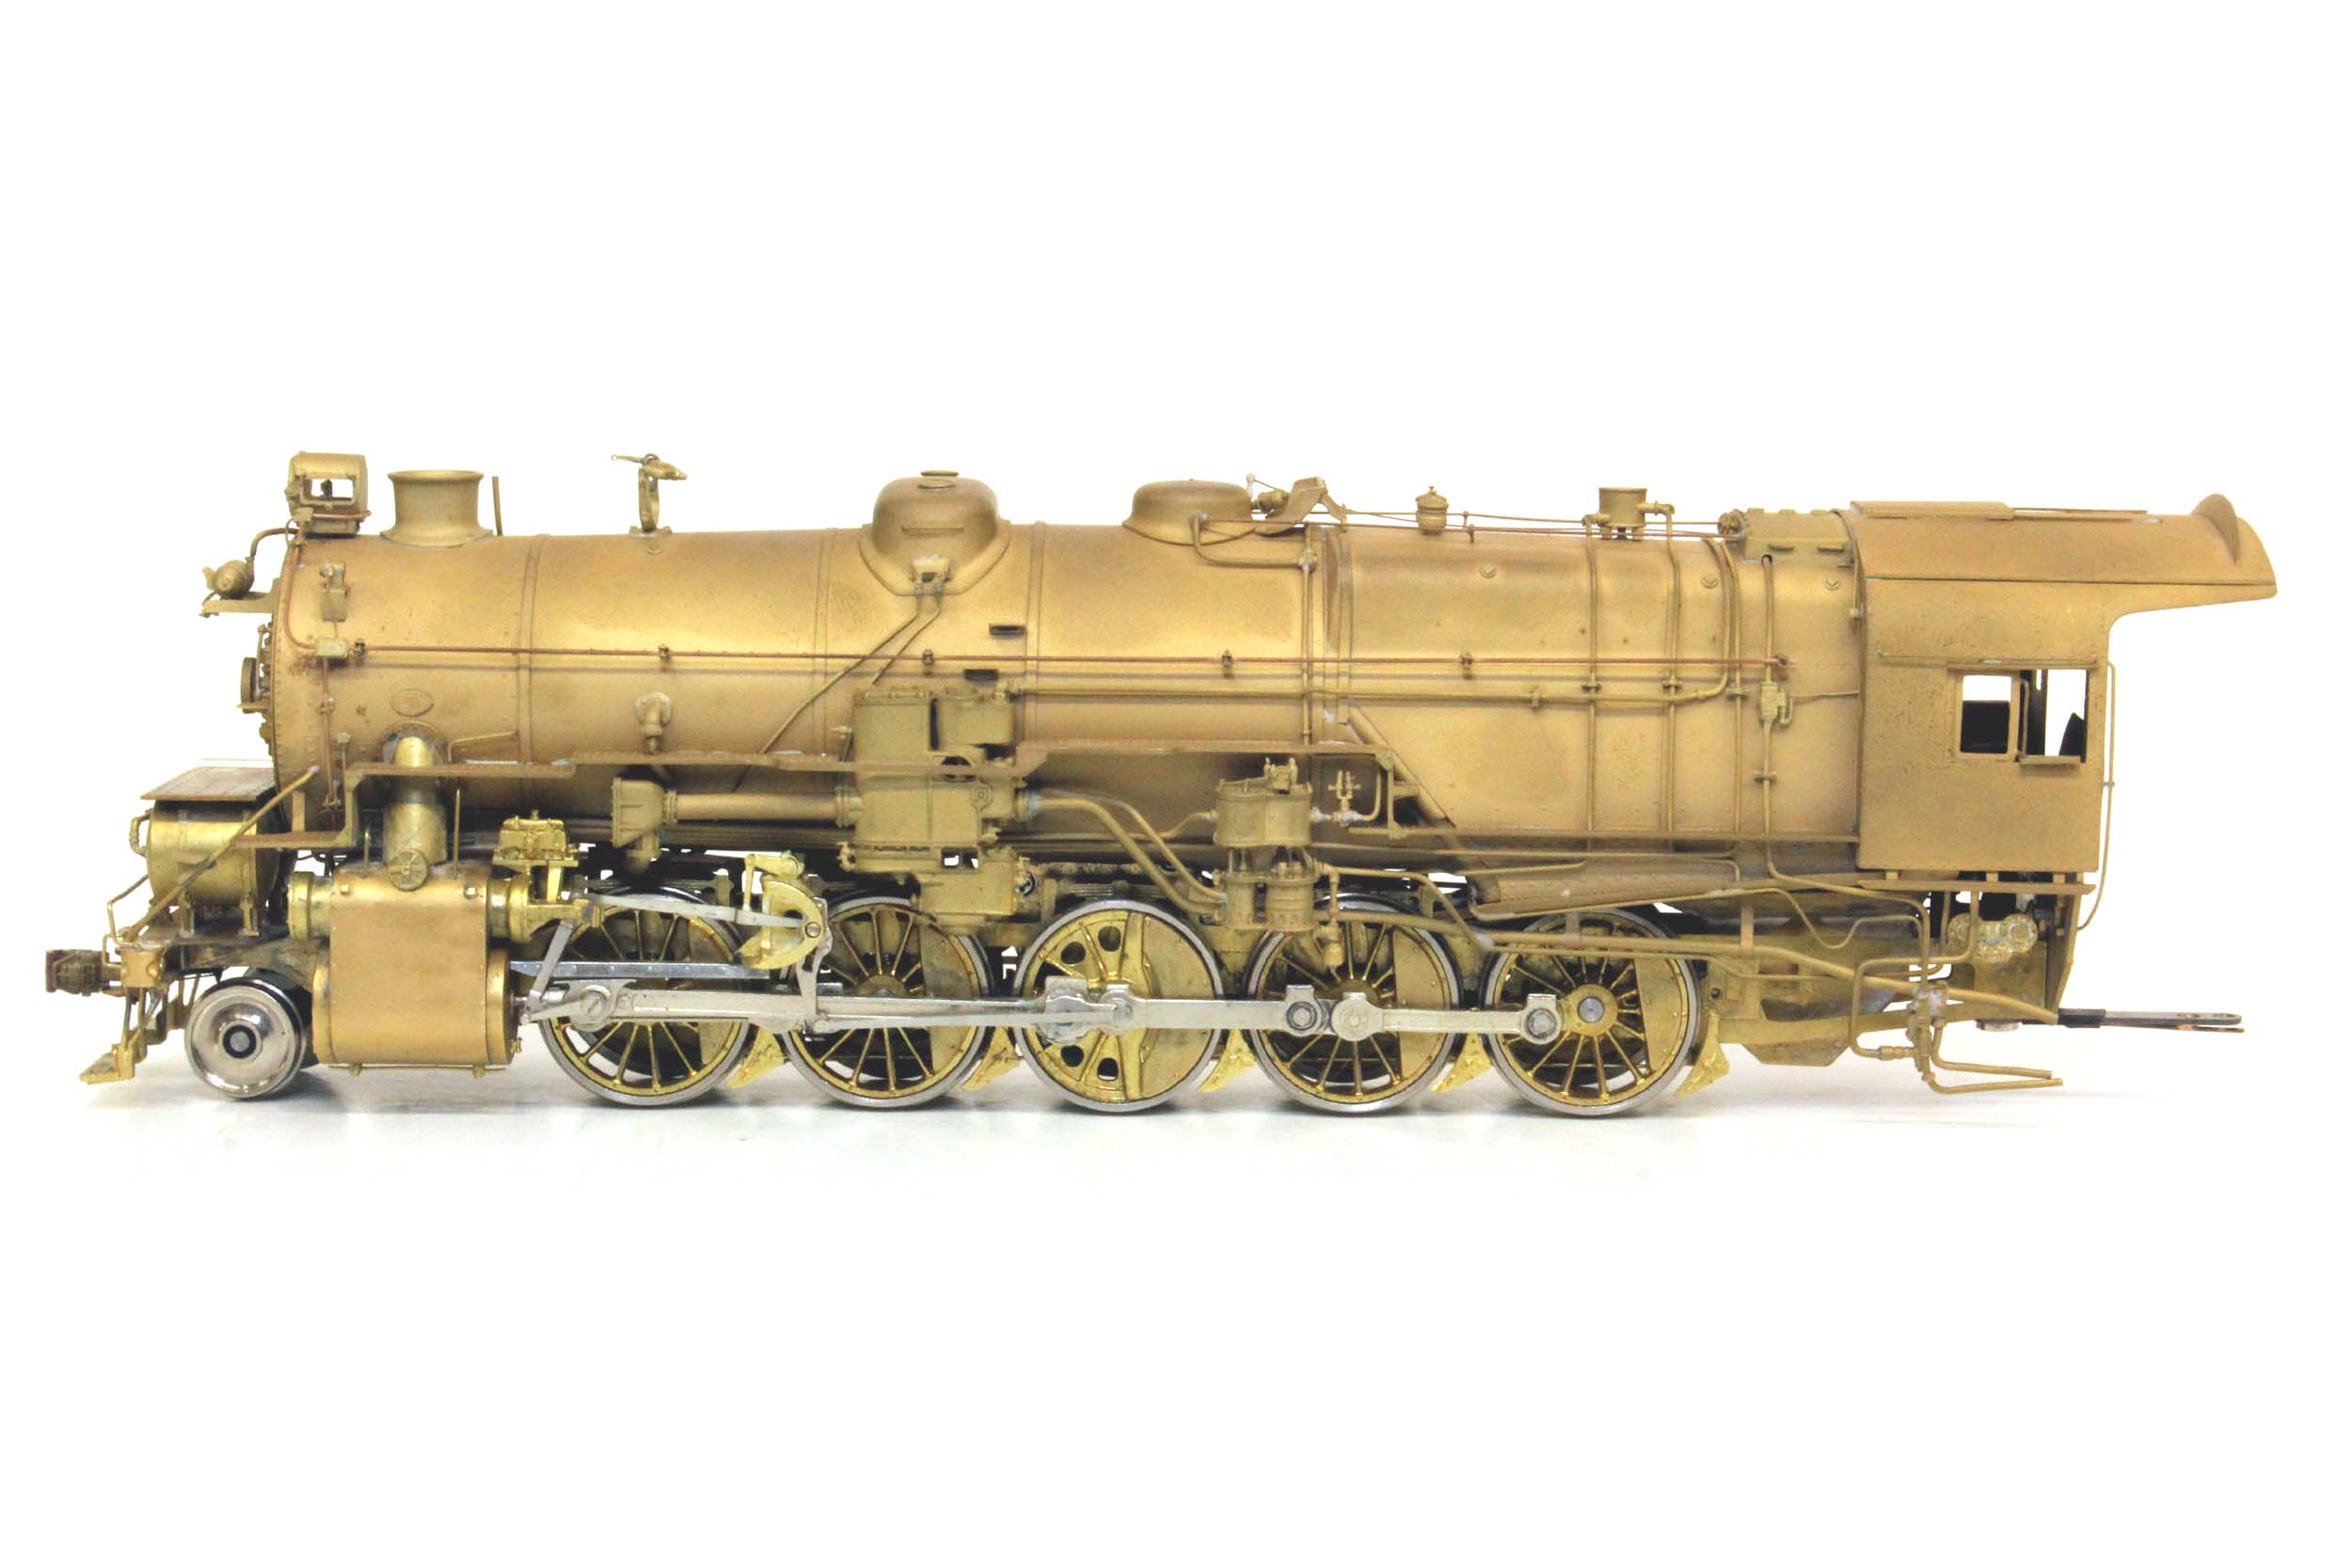
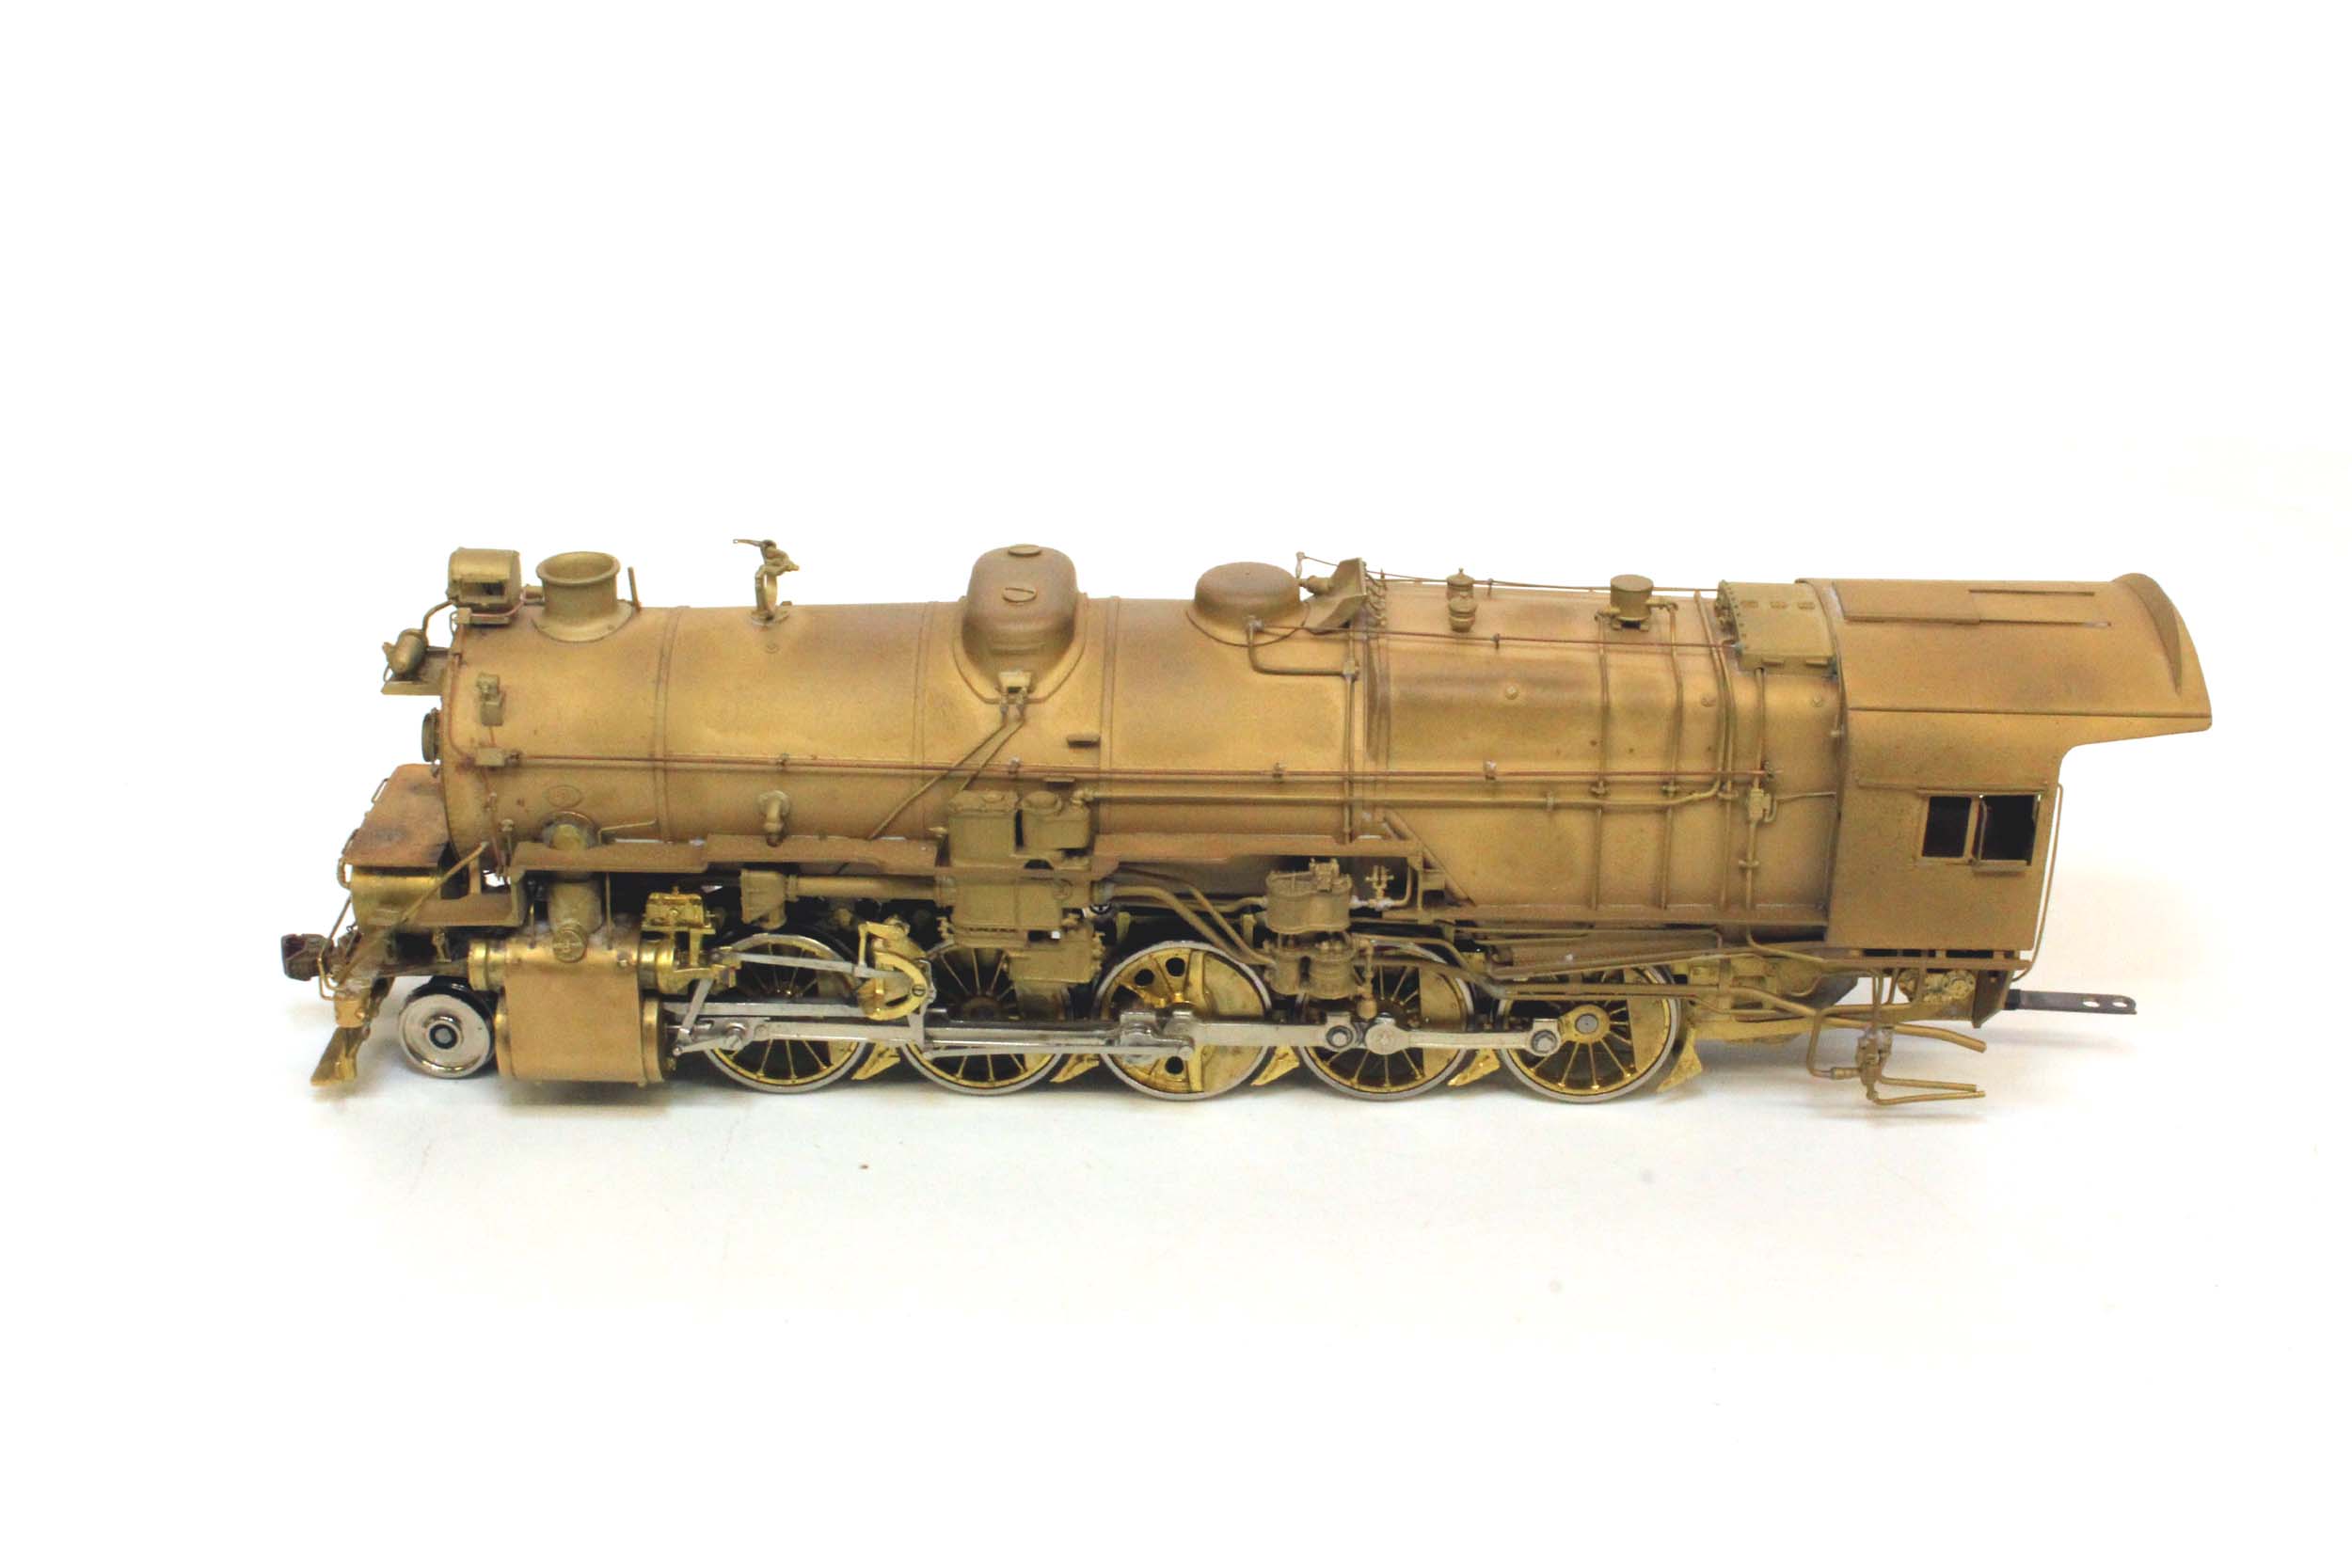
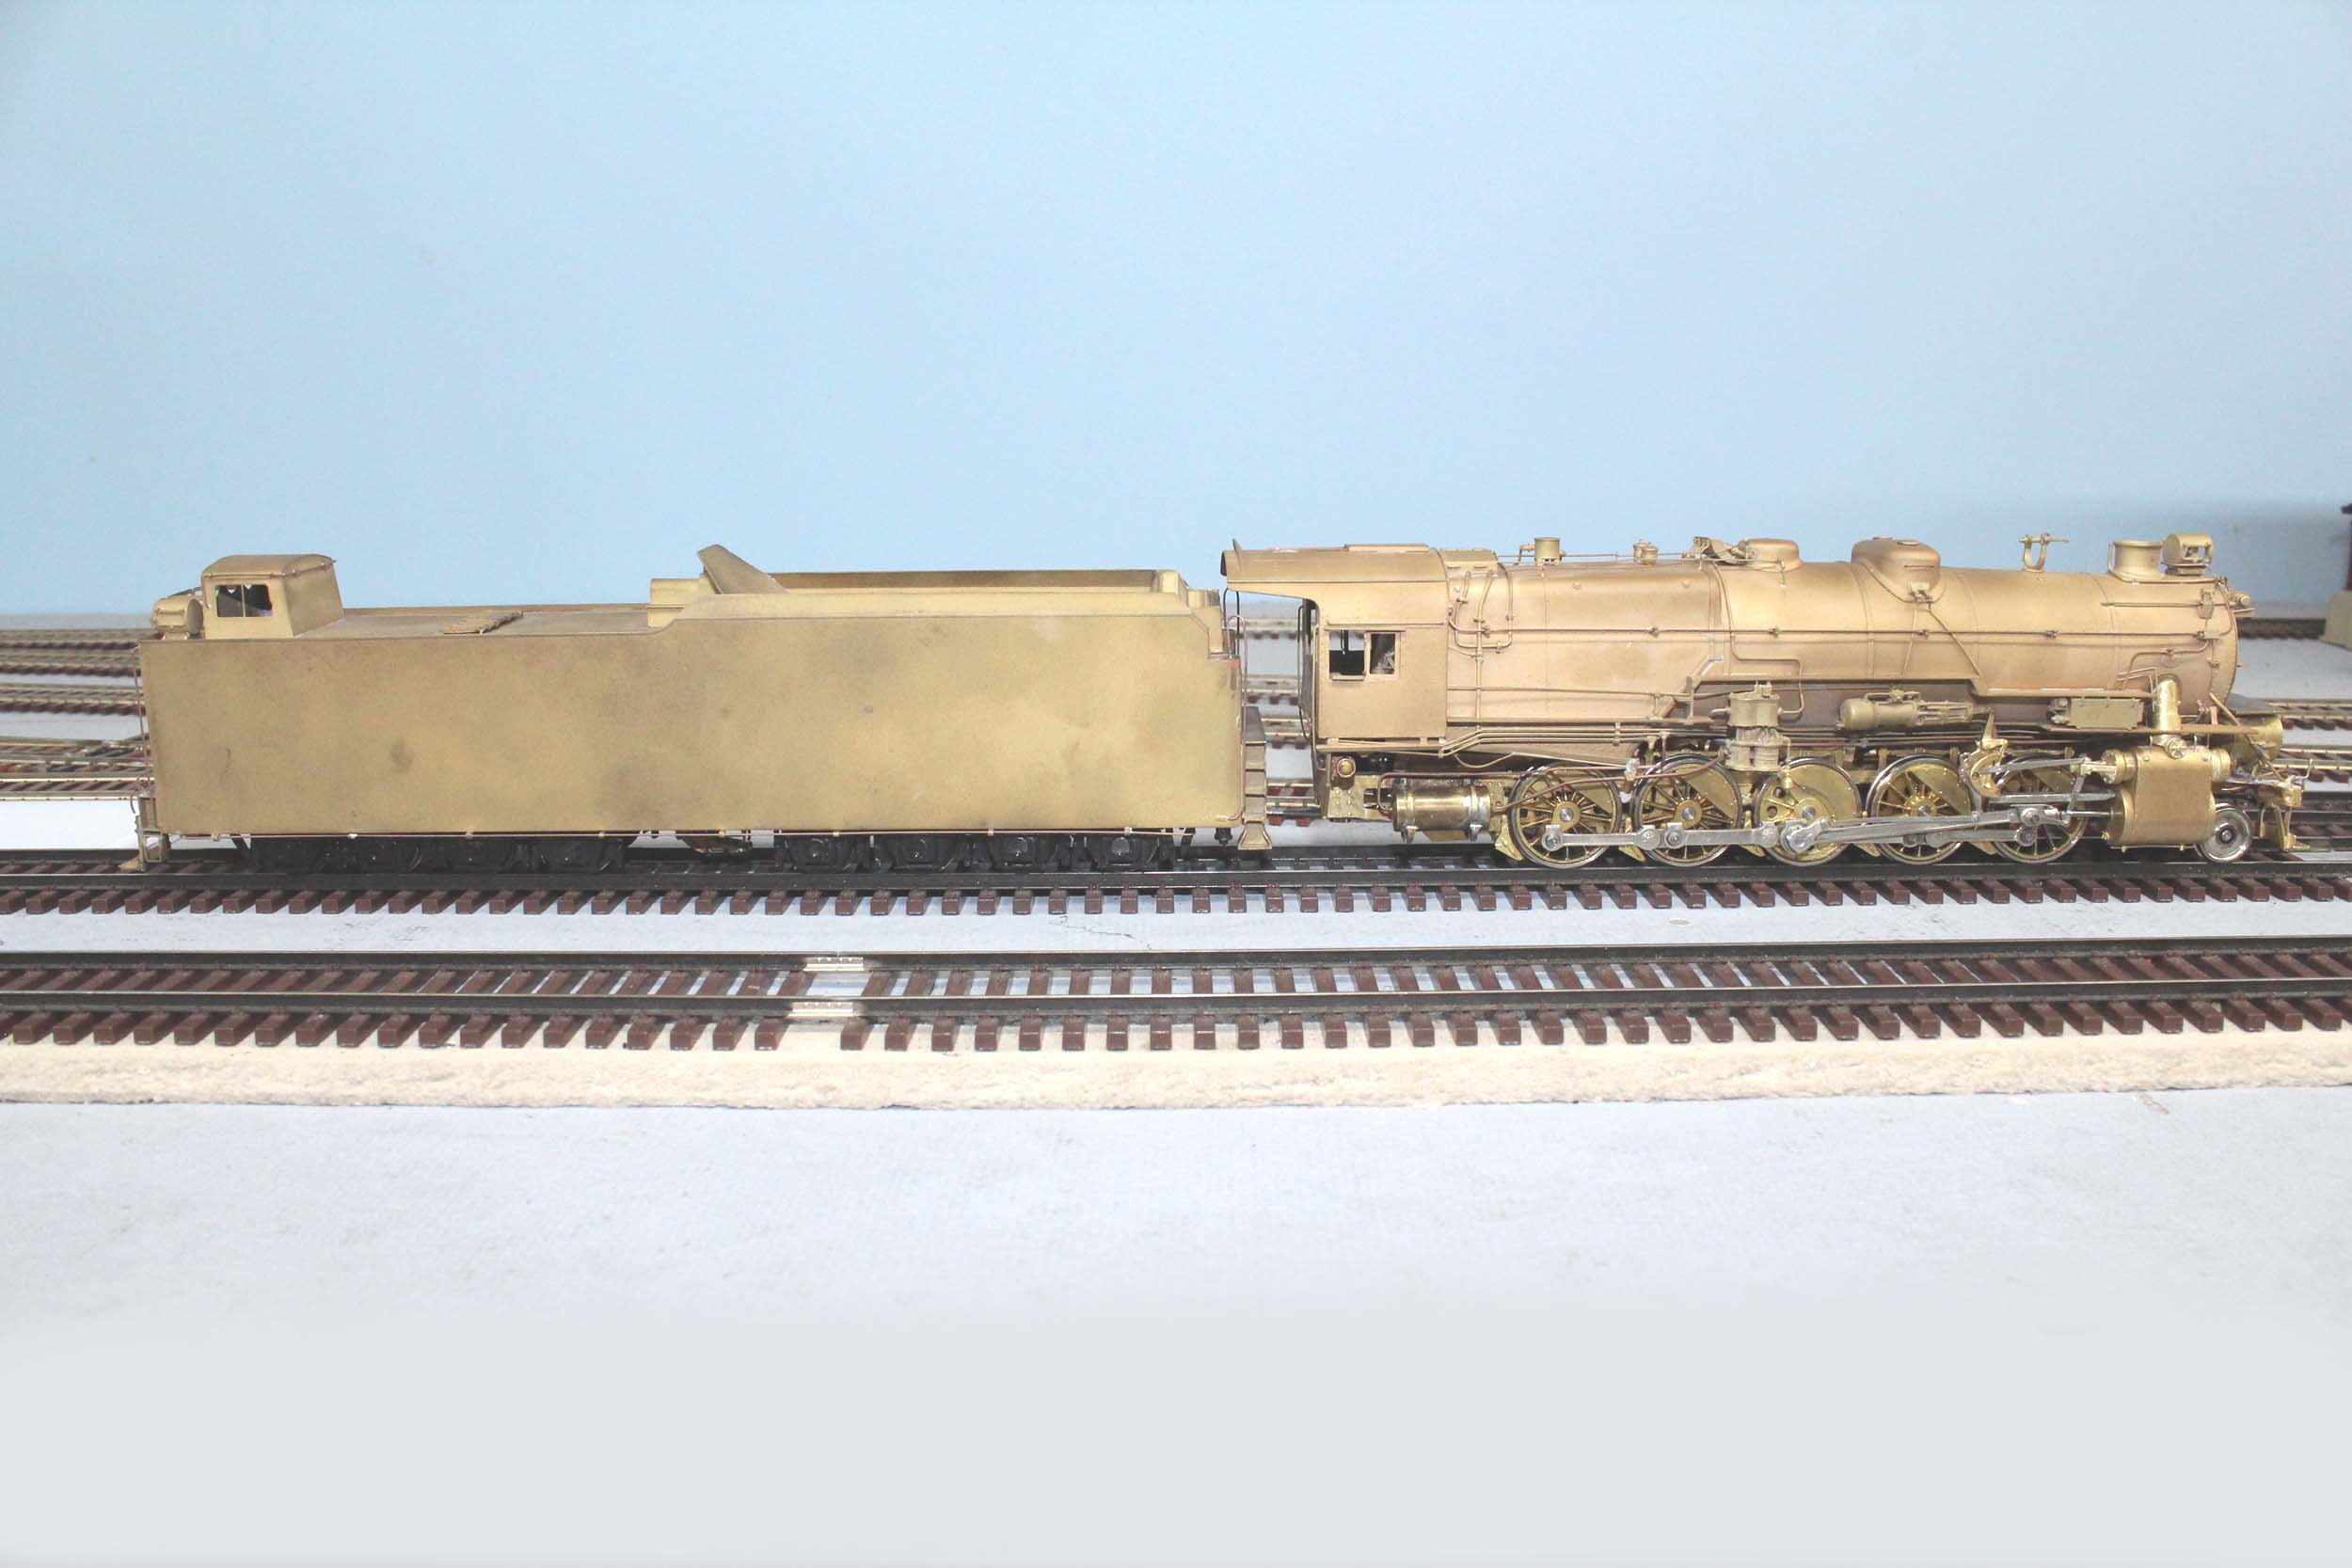
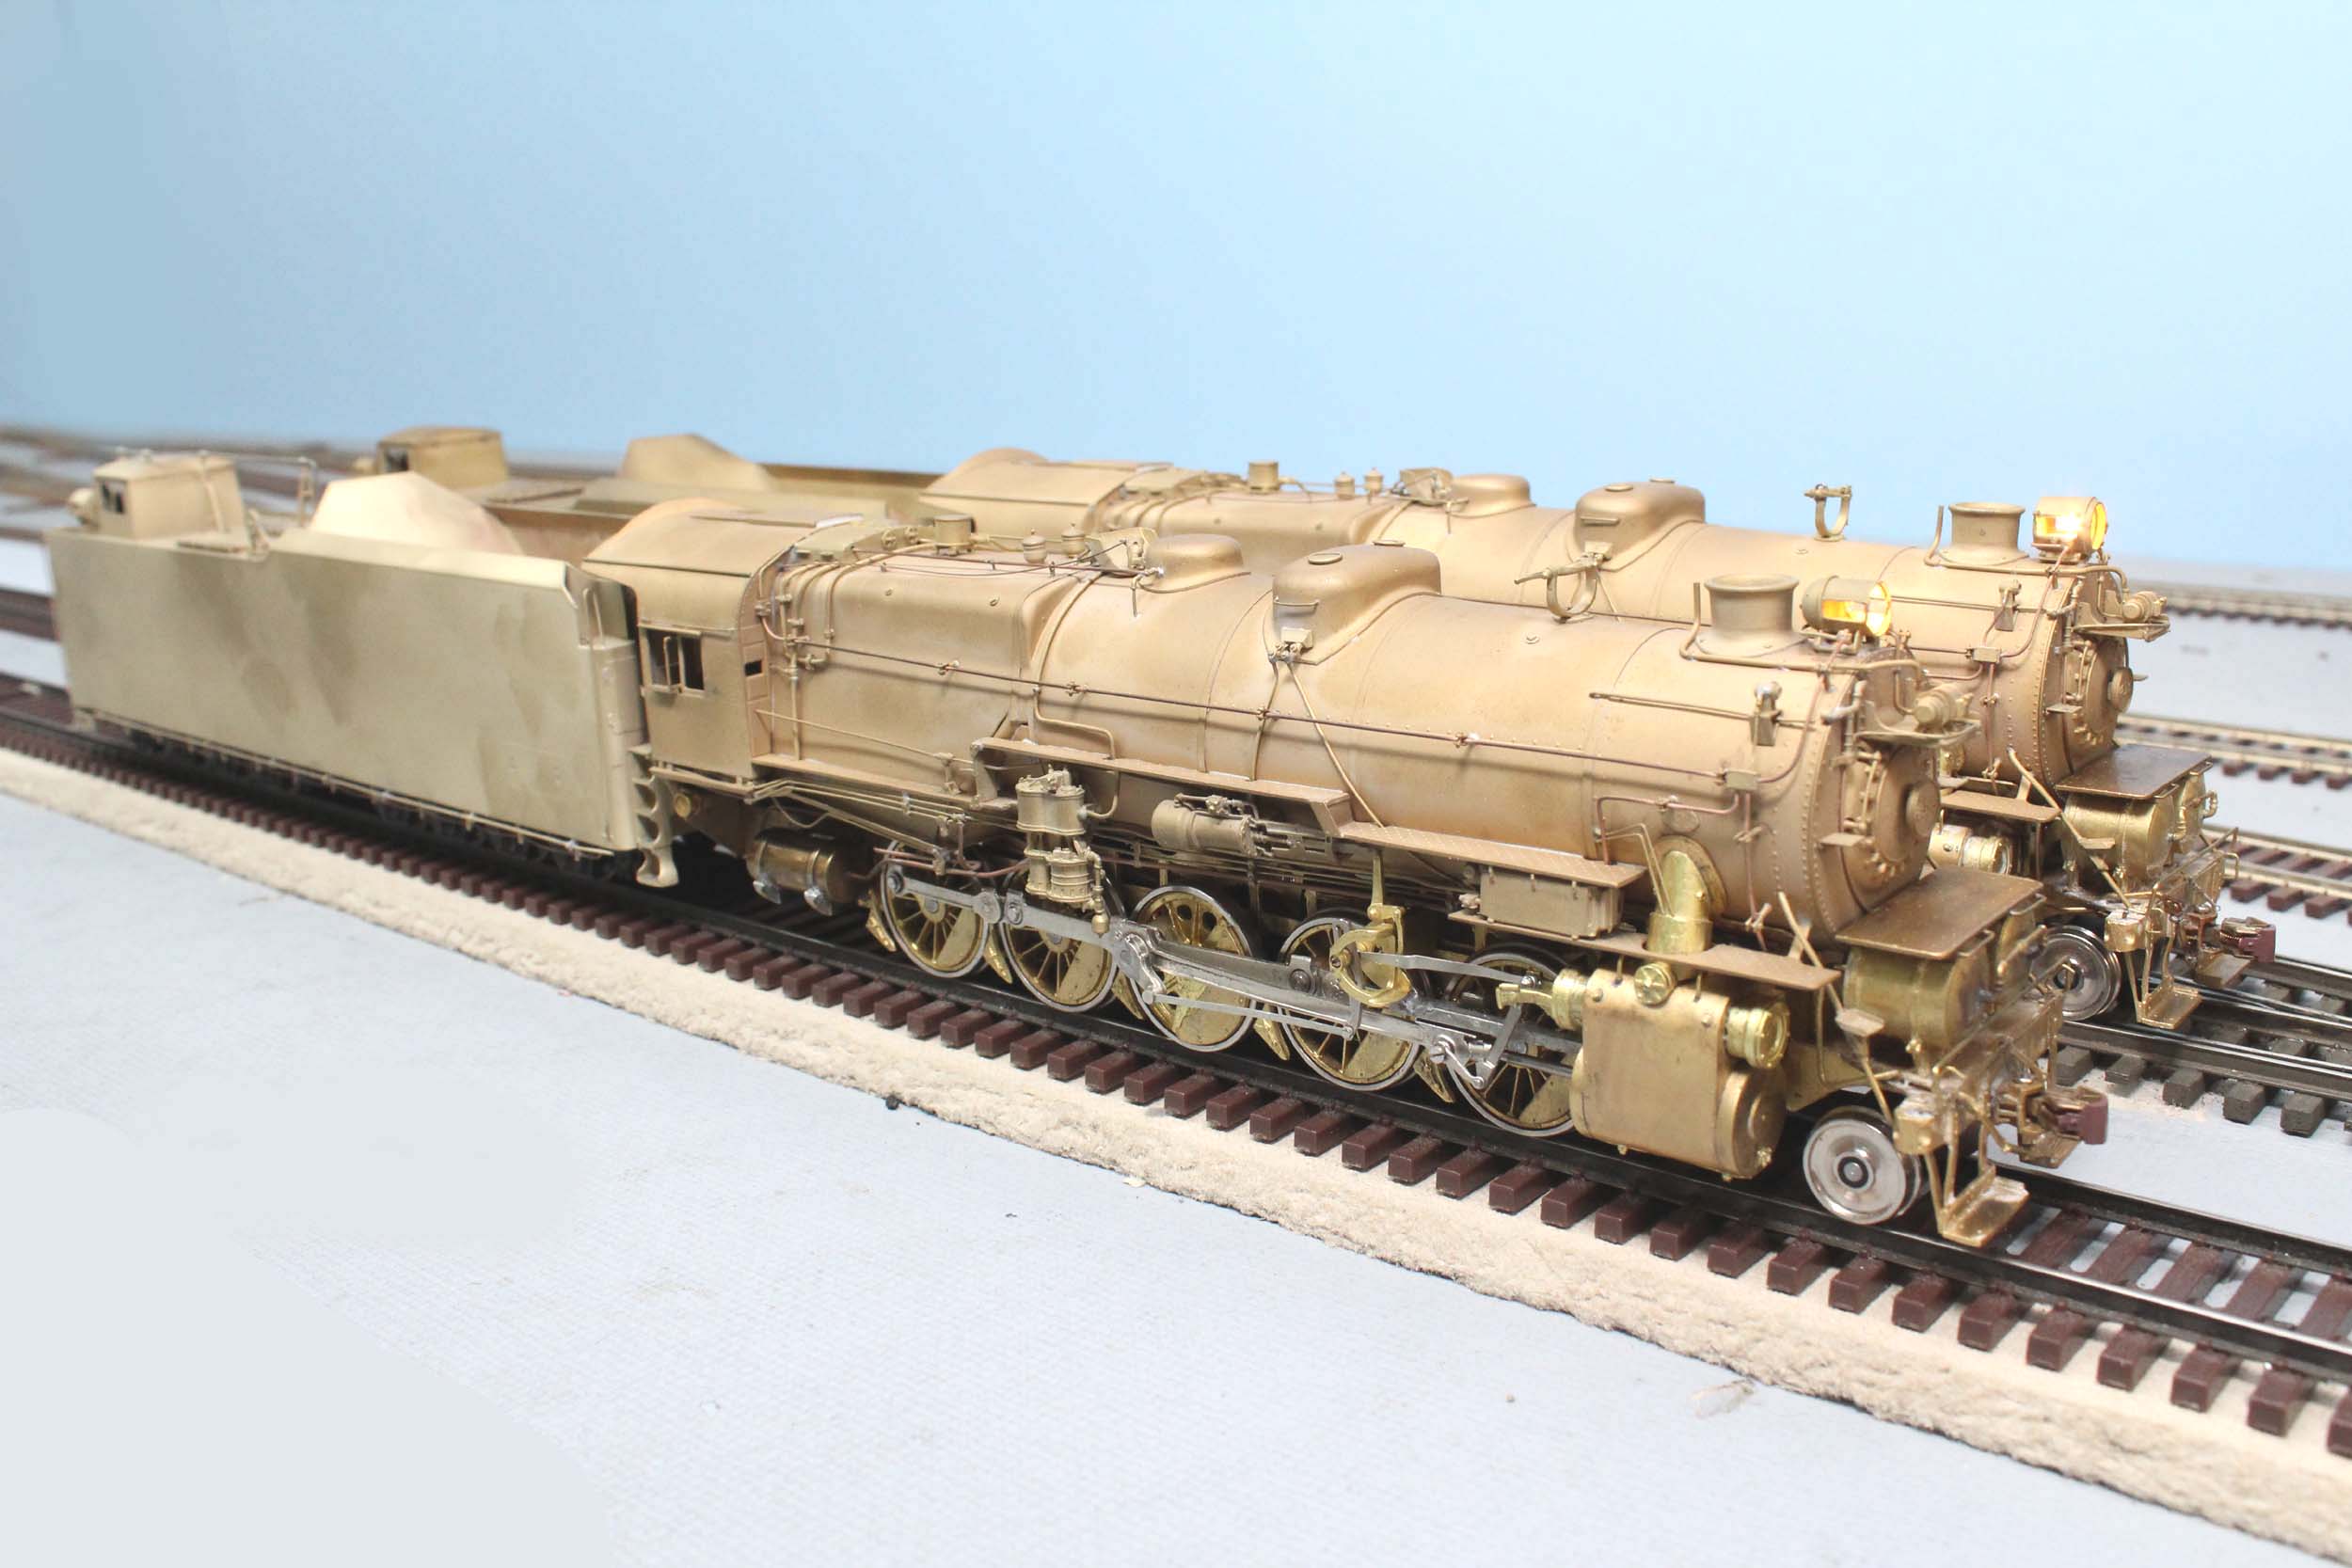
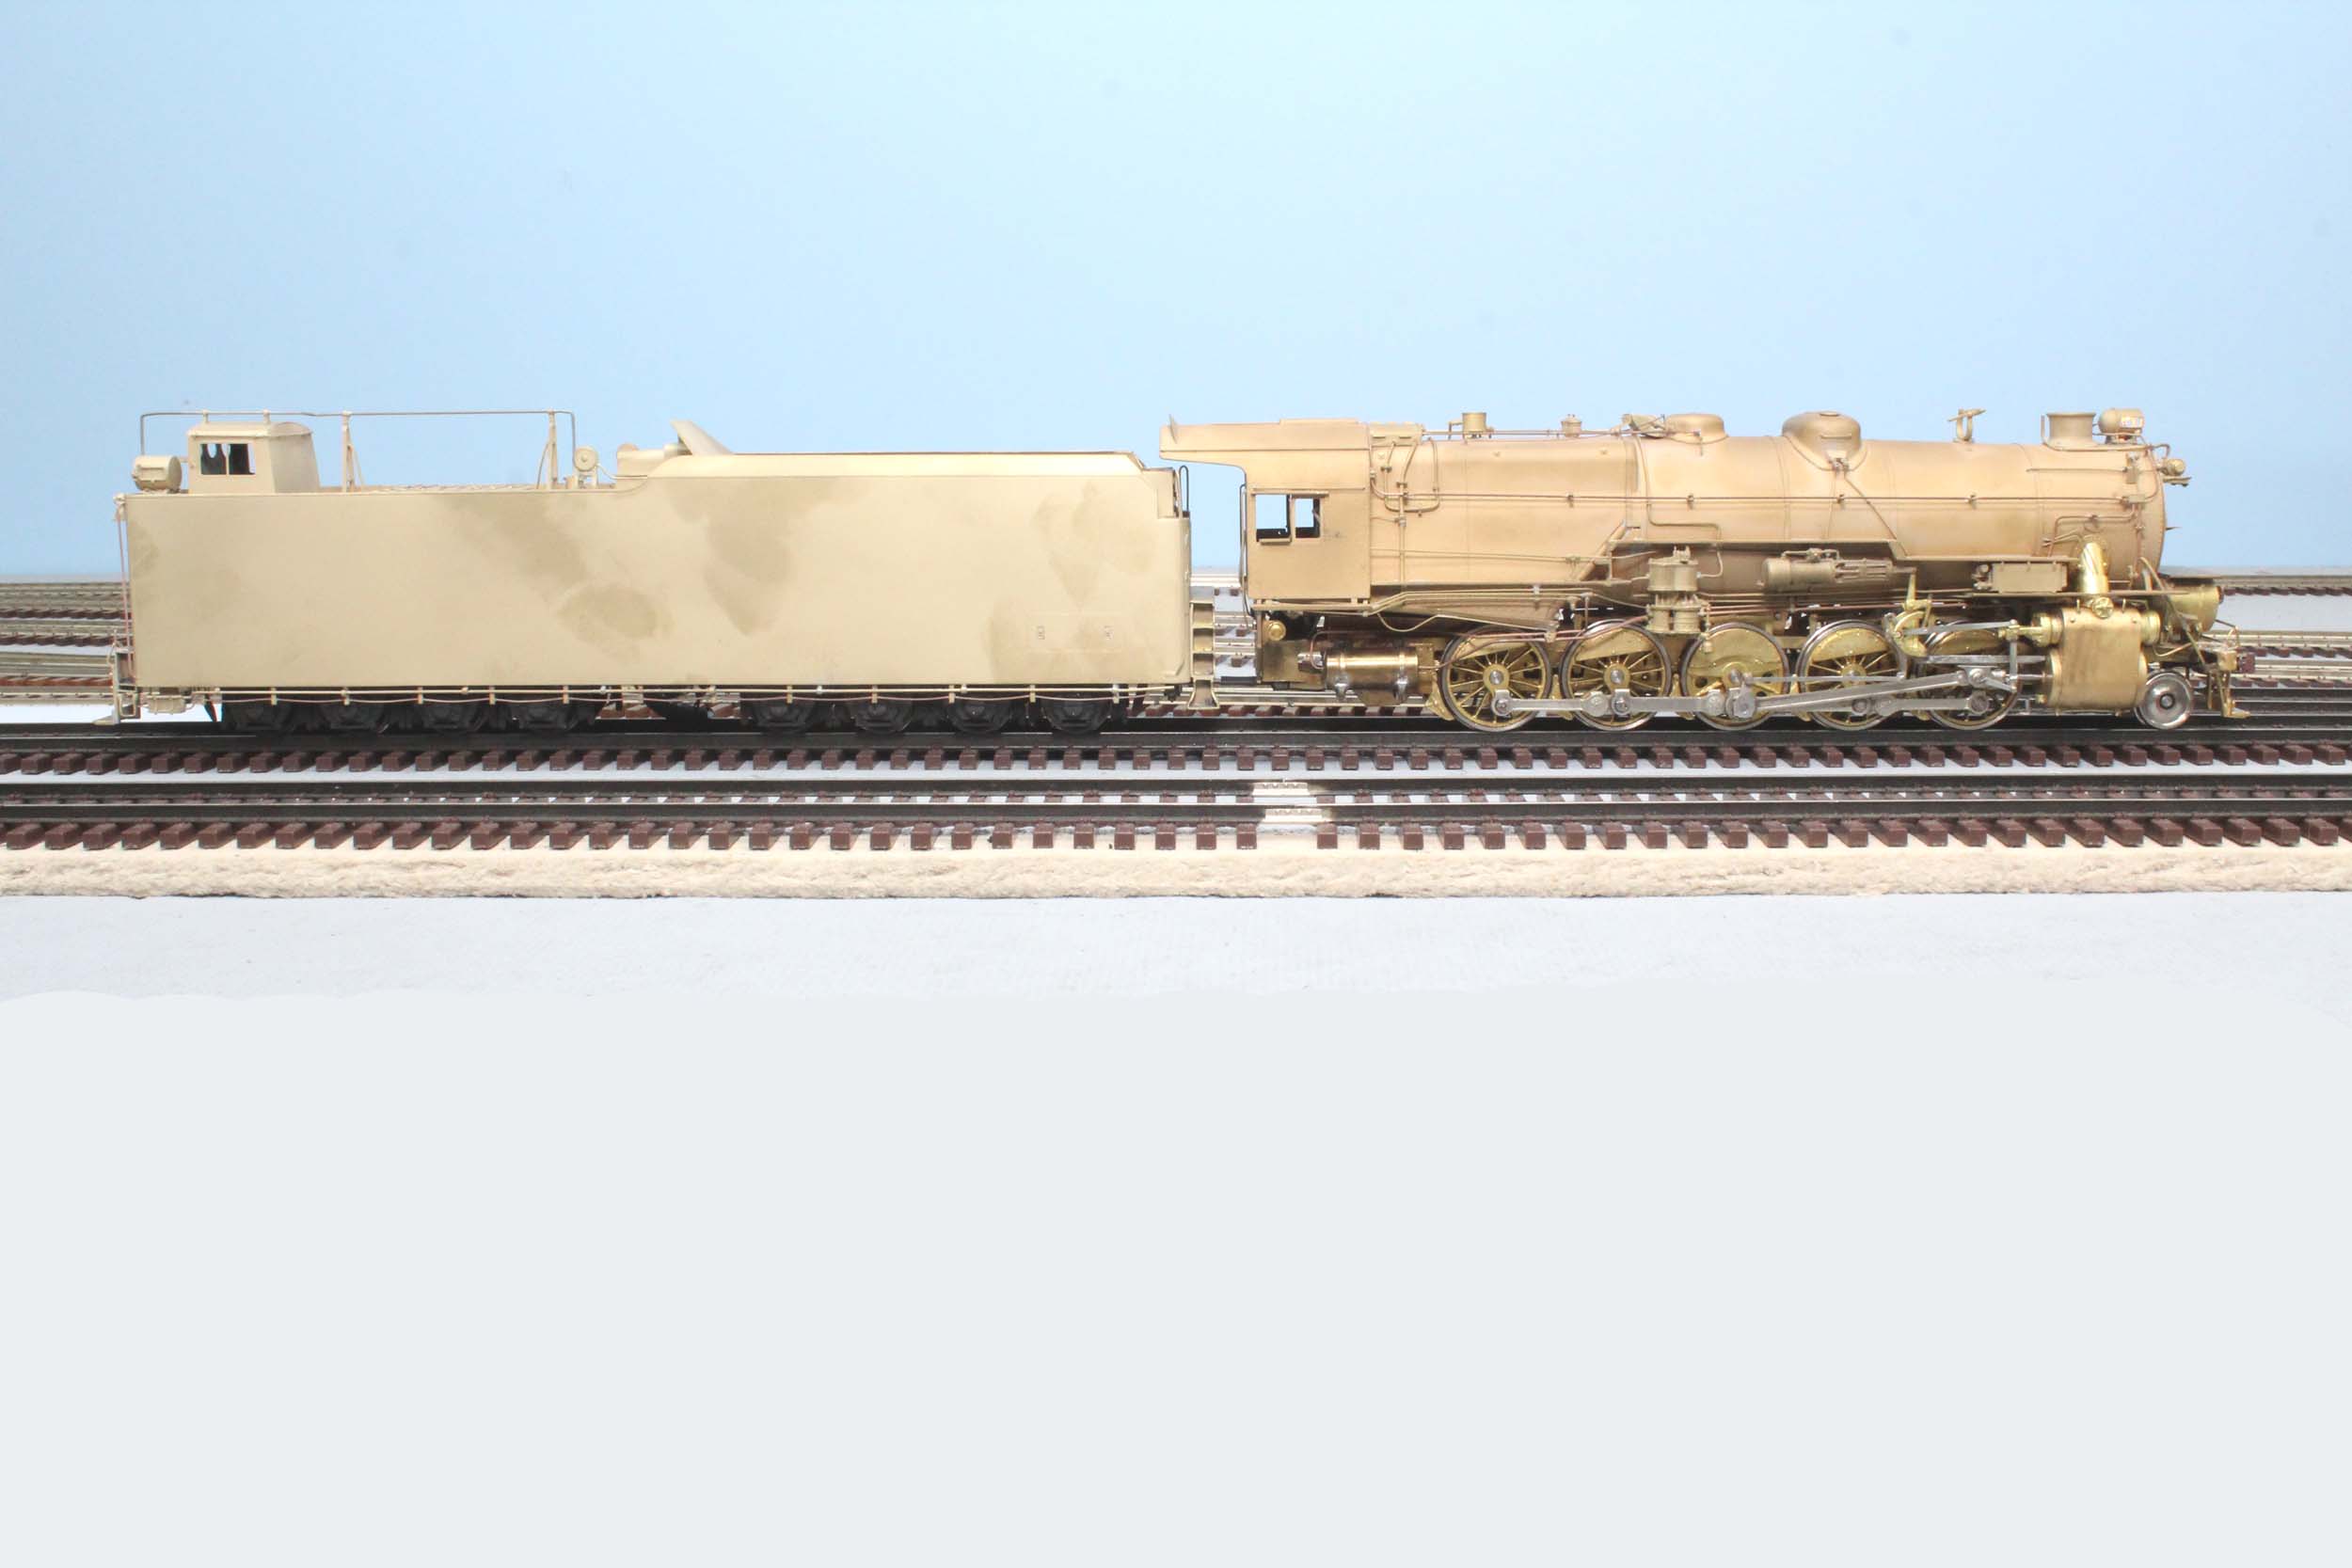
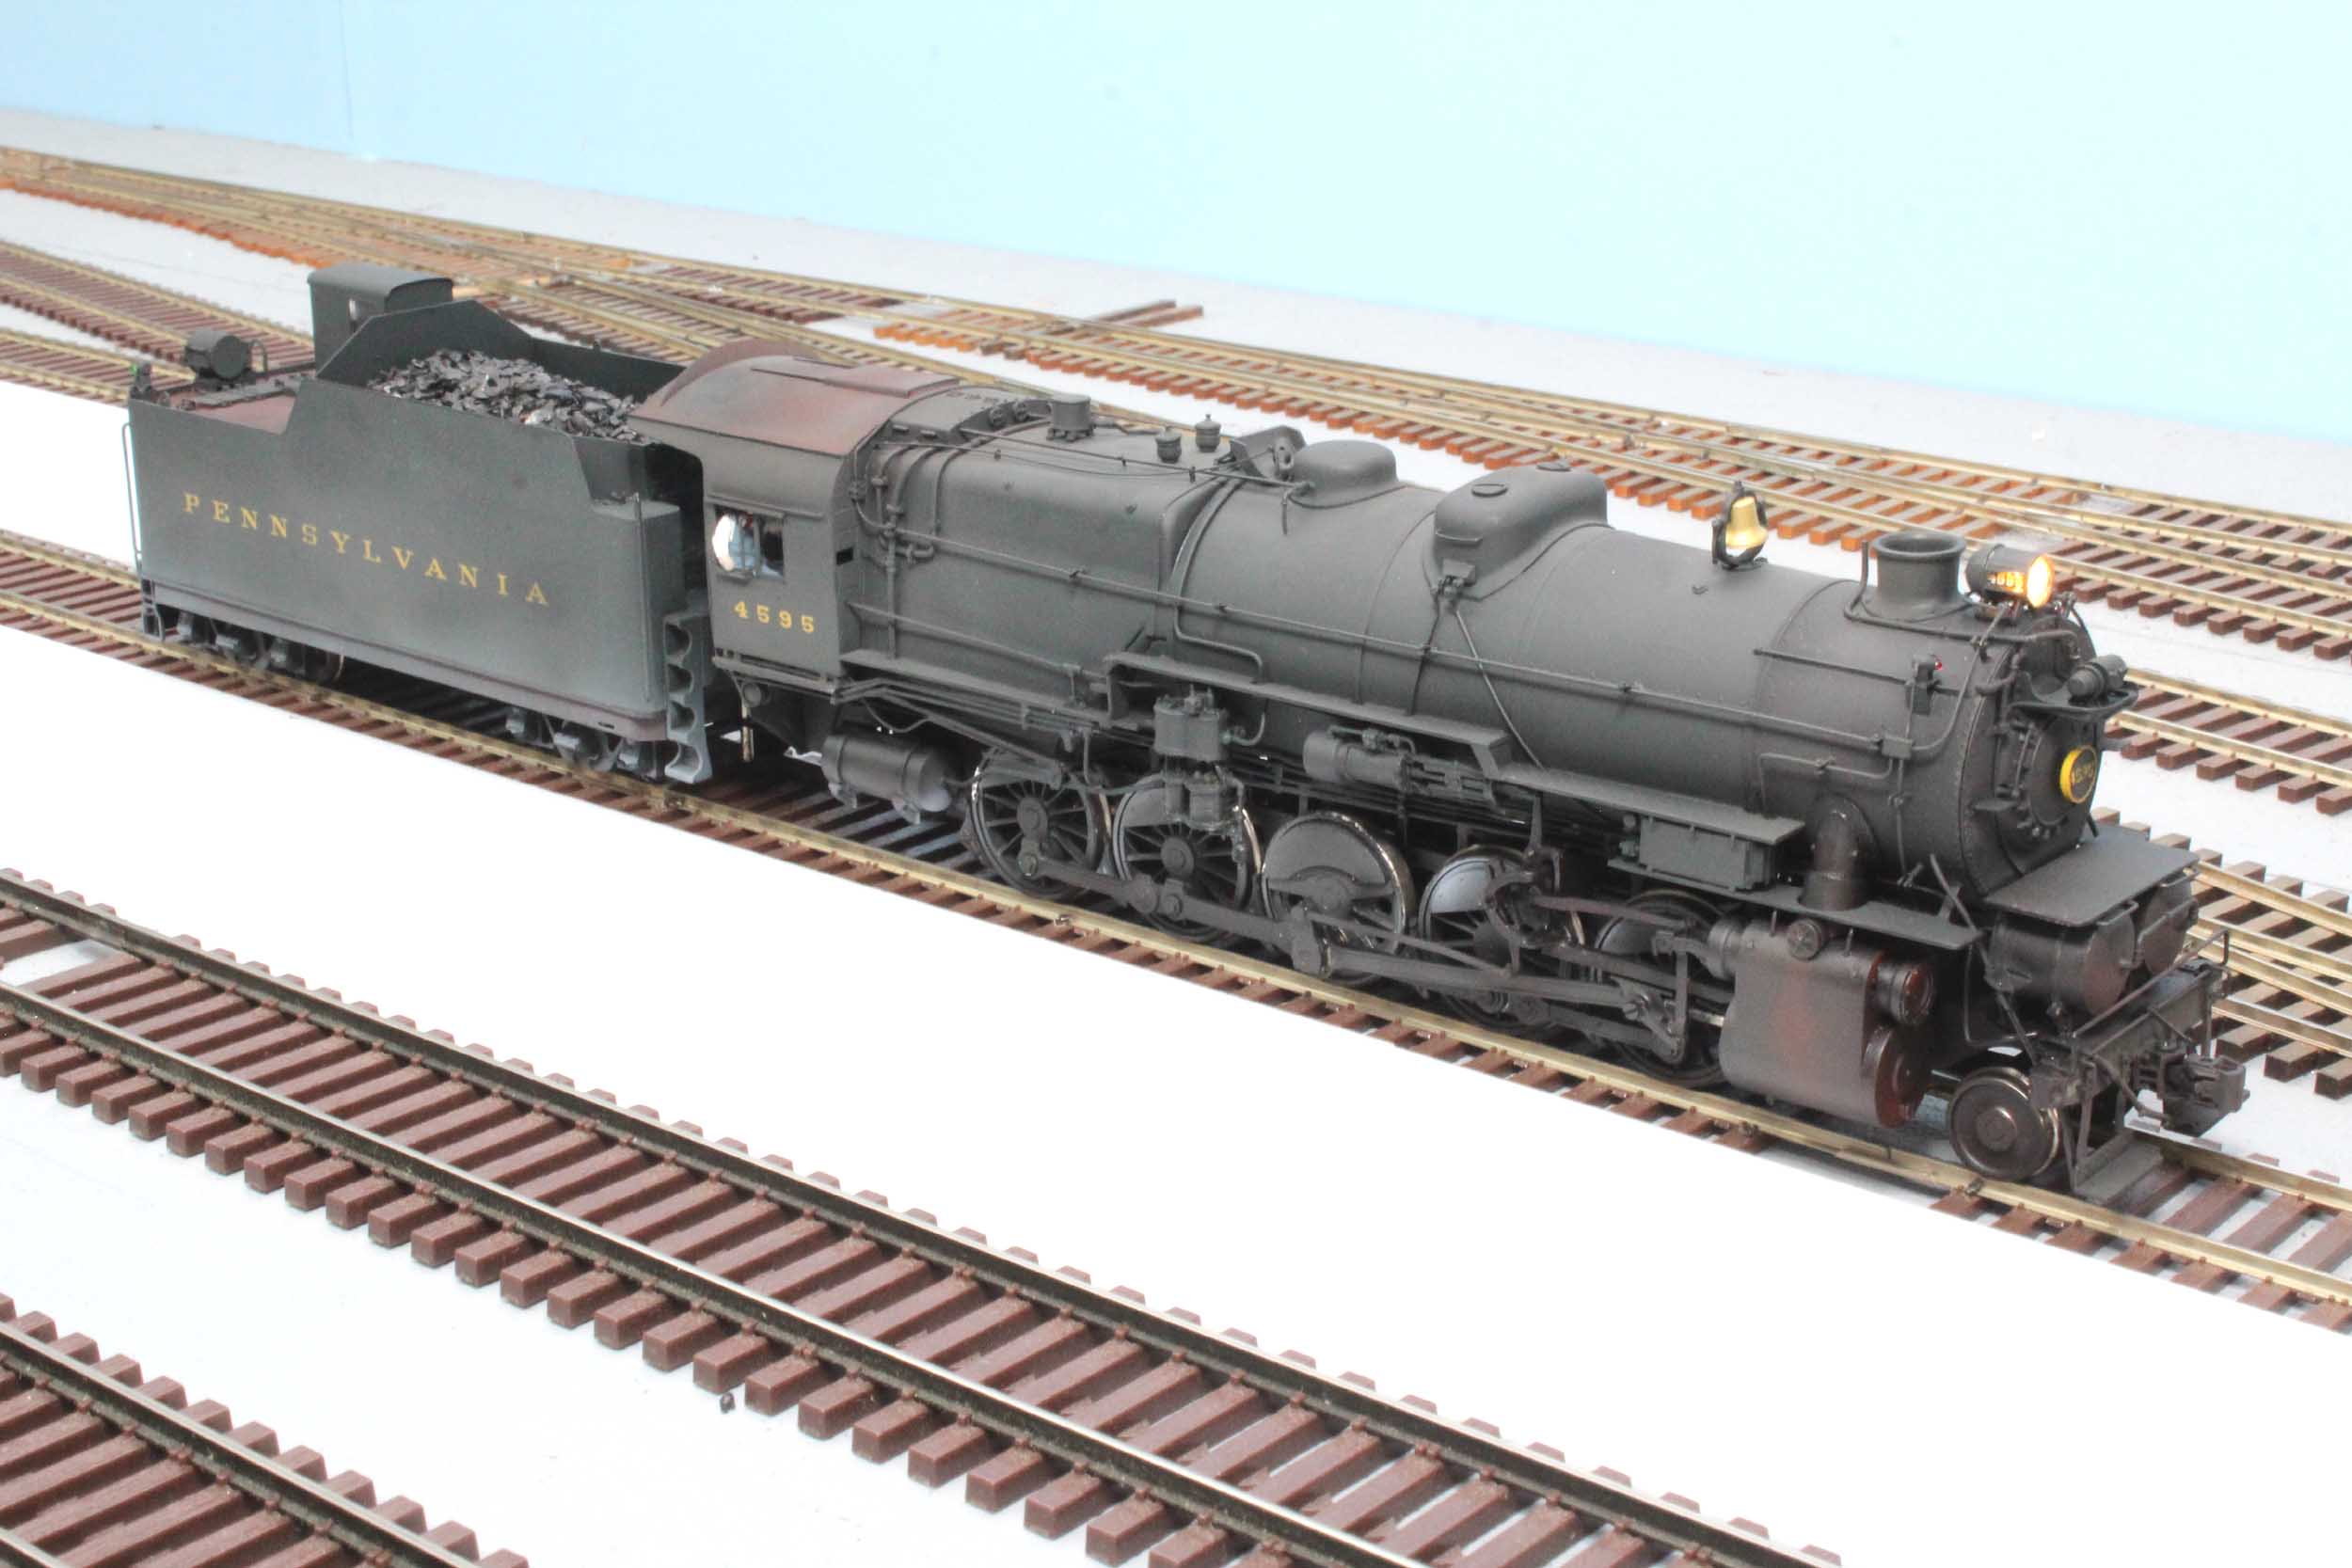
This I1 was made by Samhongsa and
imported by Omnicon in 1995. The PRR M1 run and this I1 was a “Gang Of 100”
group project. The production number for almost any S Scale brass piece was
100. There was the thought that 100 guys would buy whatever was made to get the
project done whether they wanted the model or not. The next model produced
might be something they do want. It did not last that long. Charlie Sandersfeld
who owned Omnicon had already died, leaving the management to others that had
issues in completing the project.
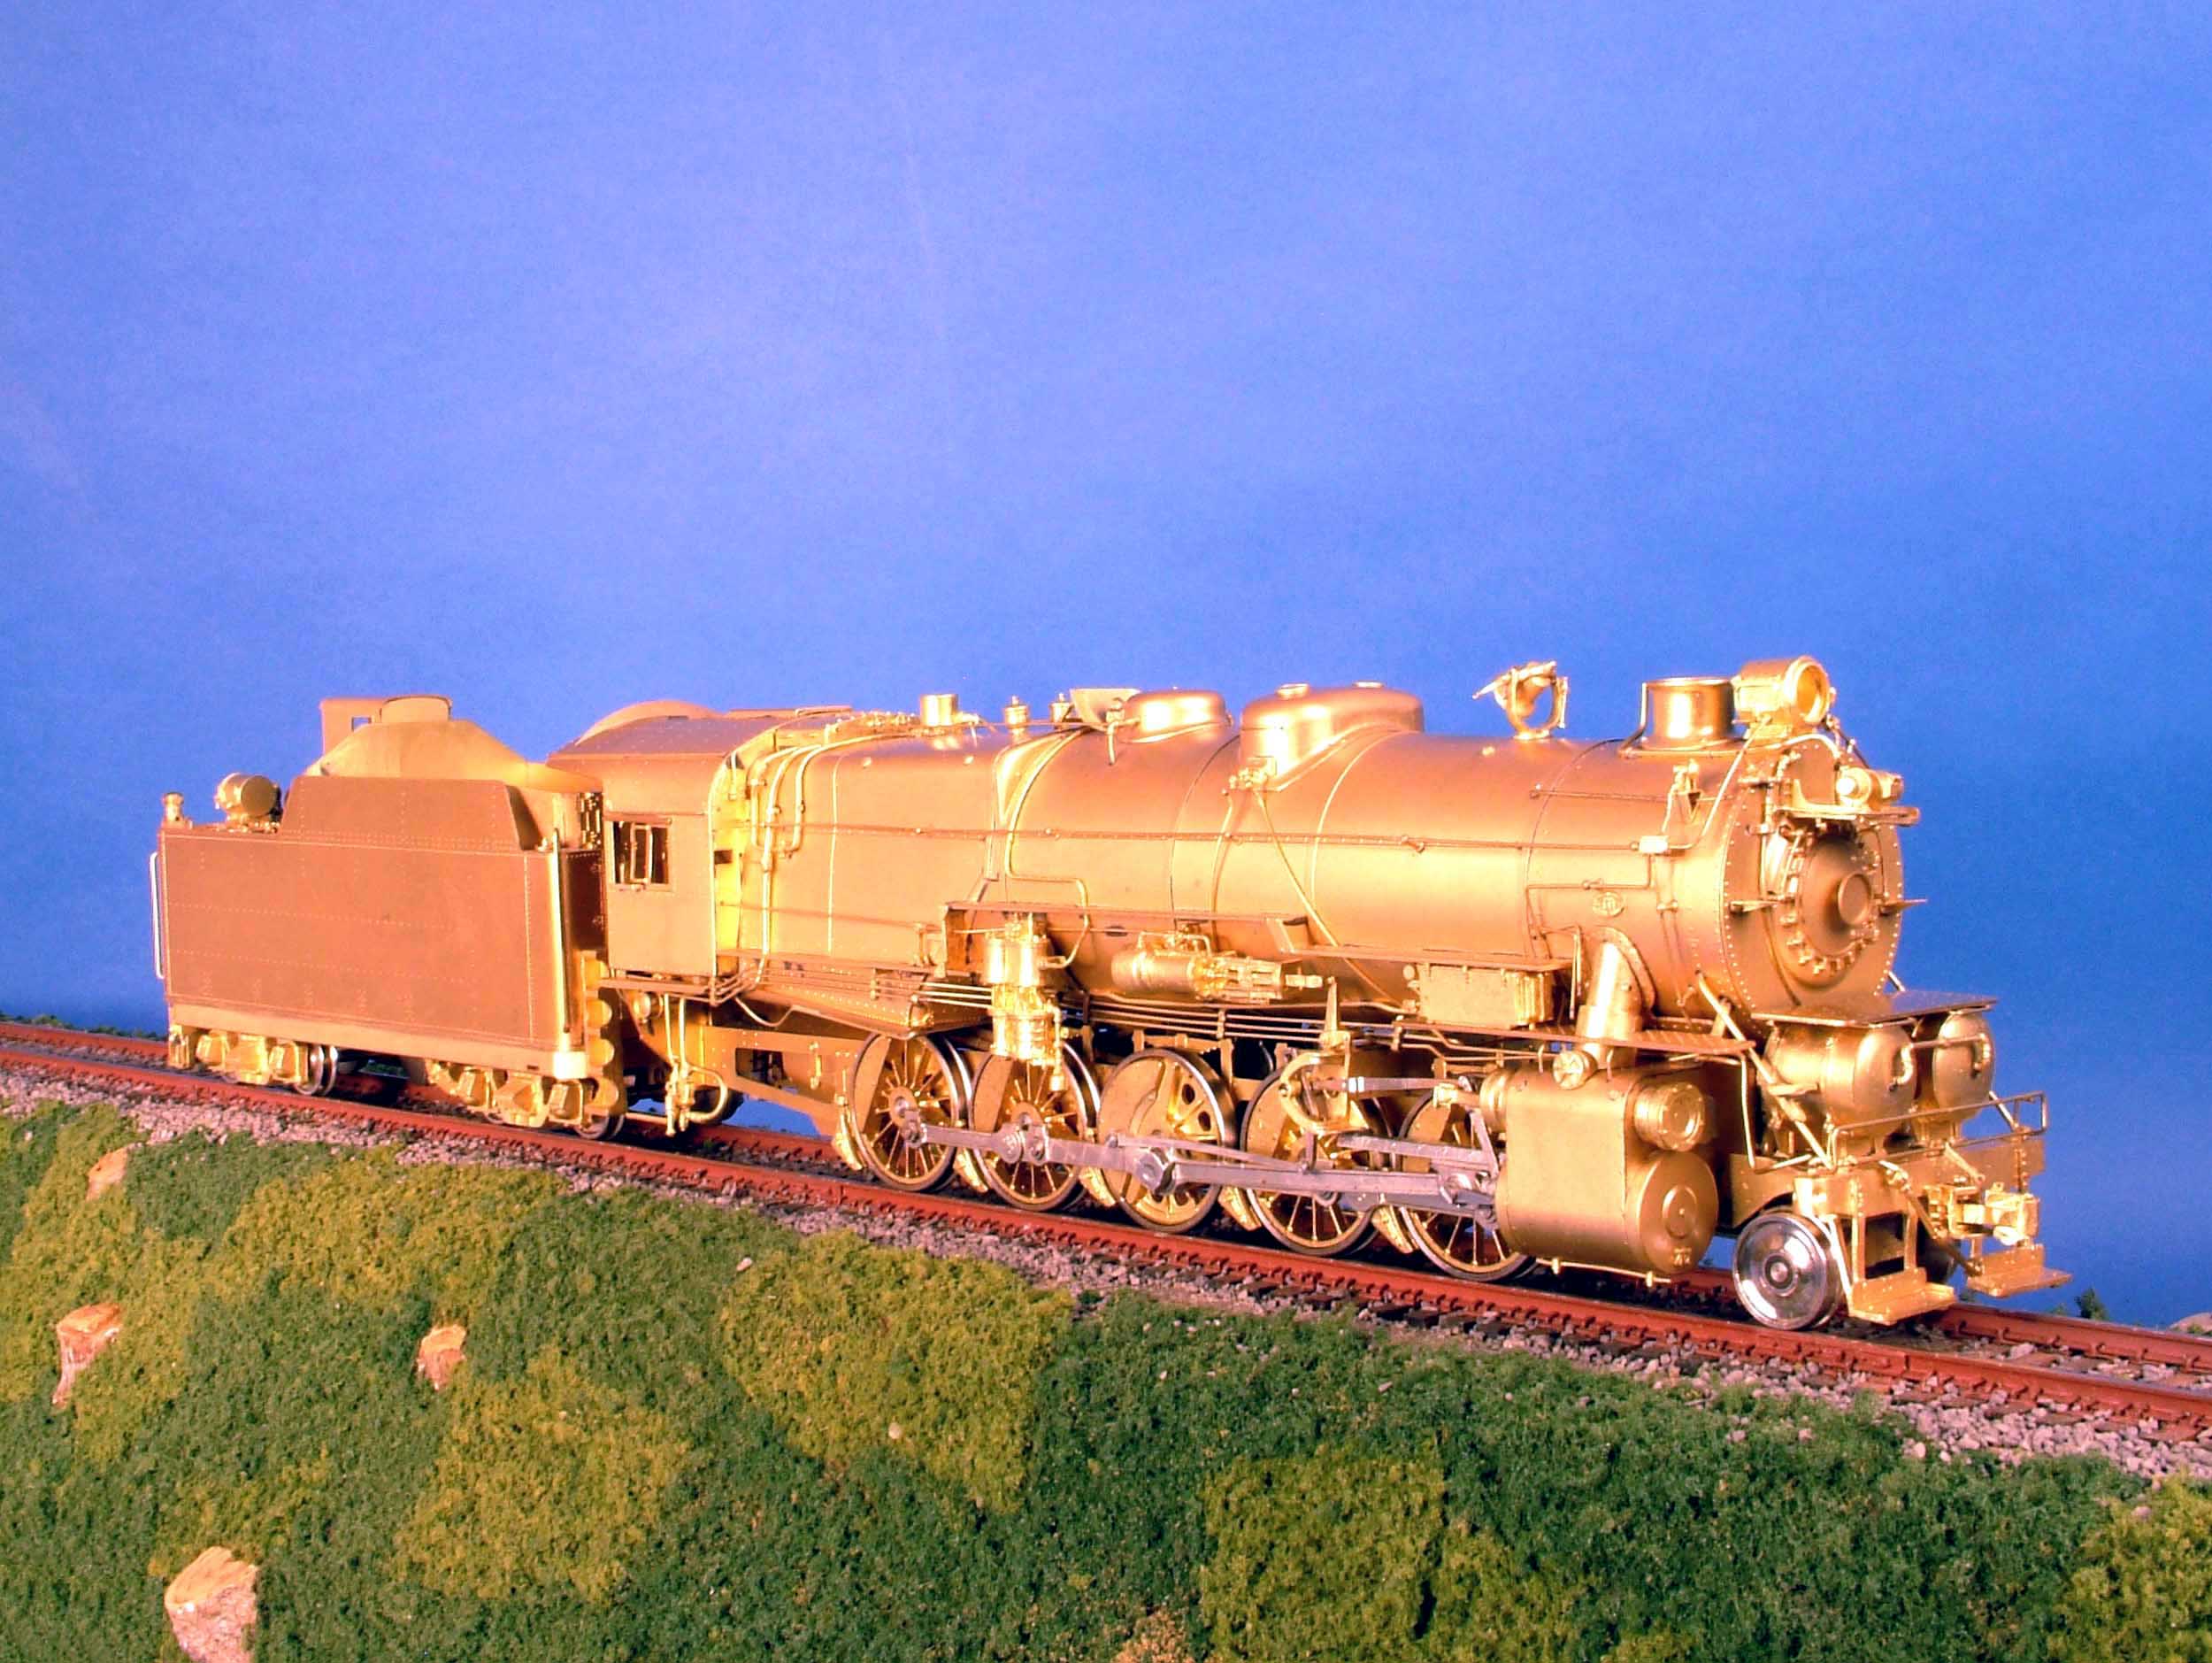
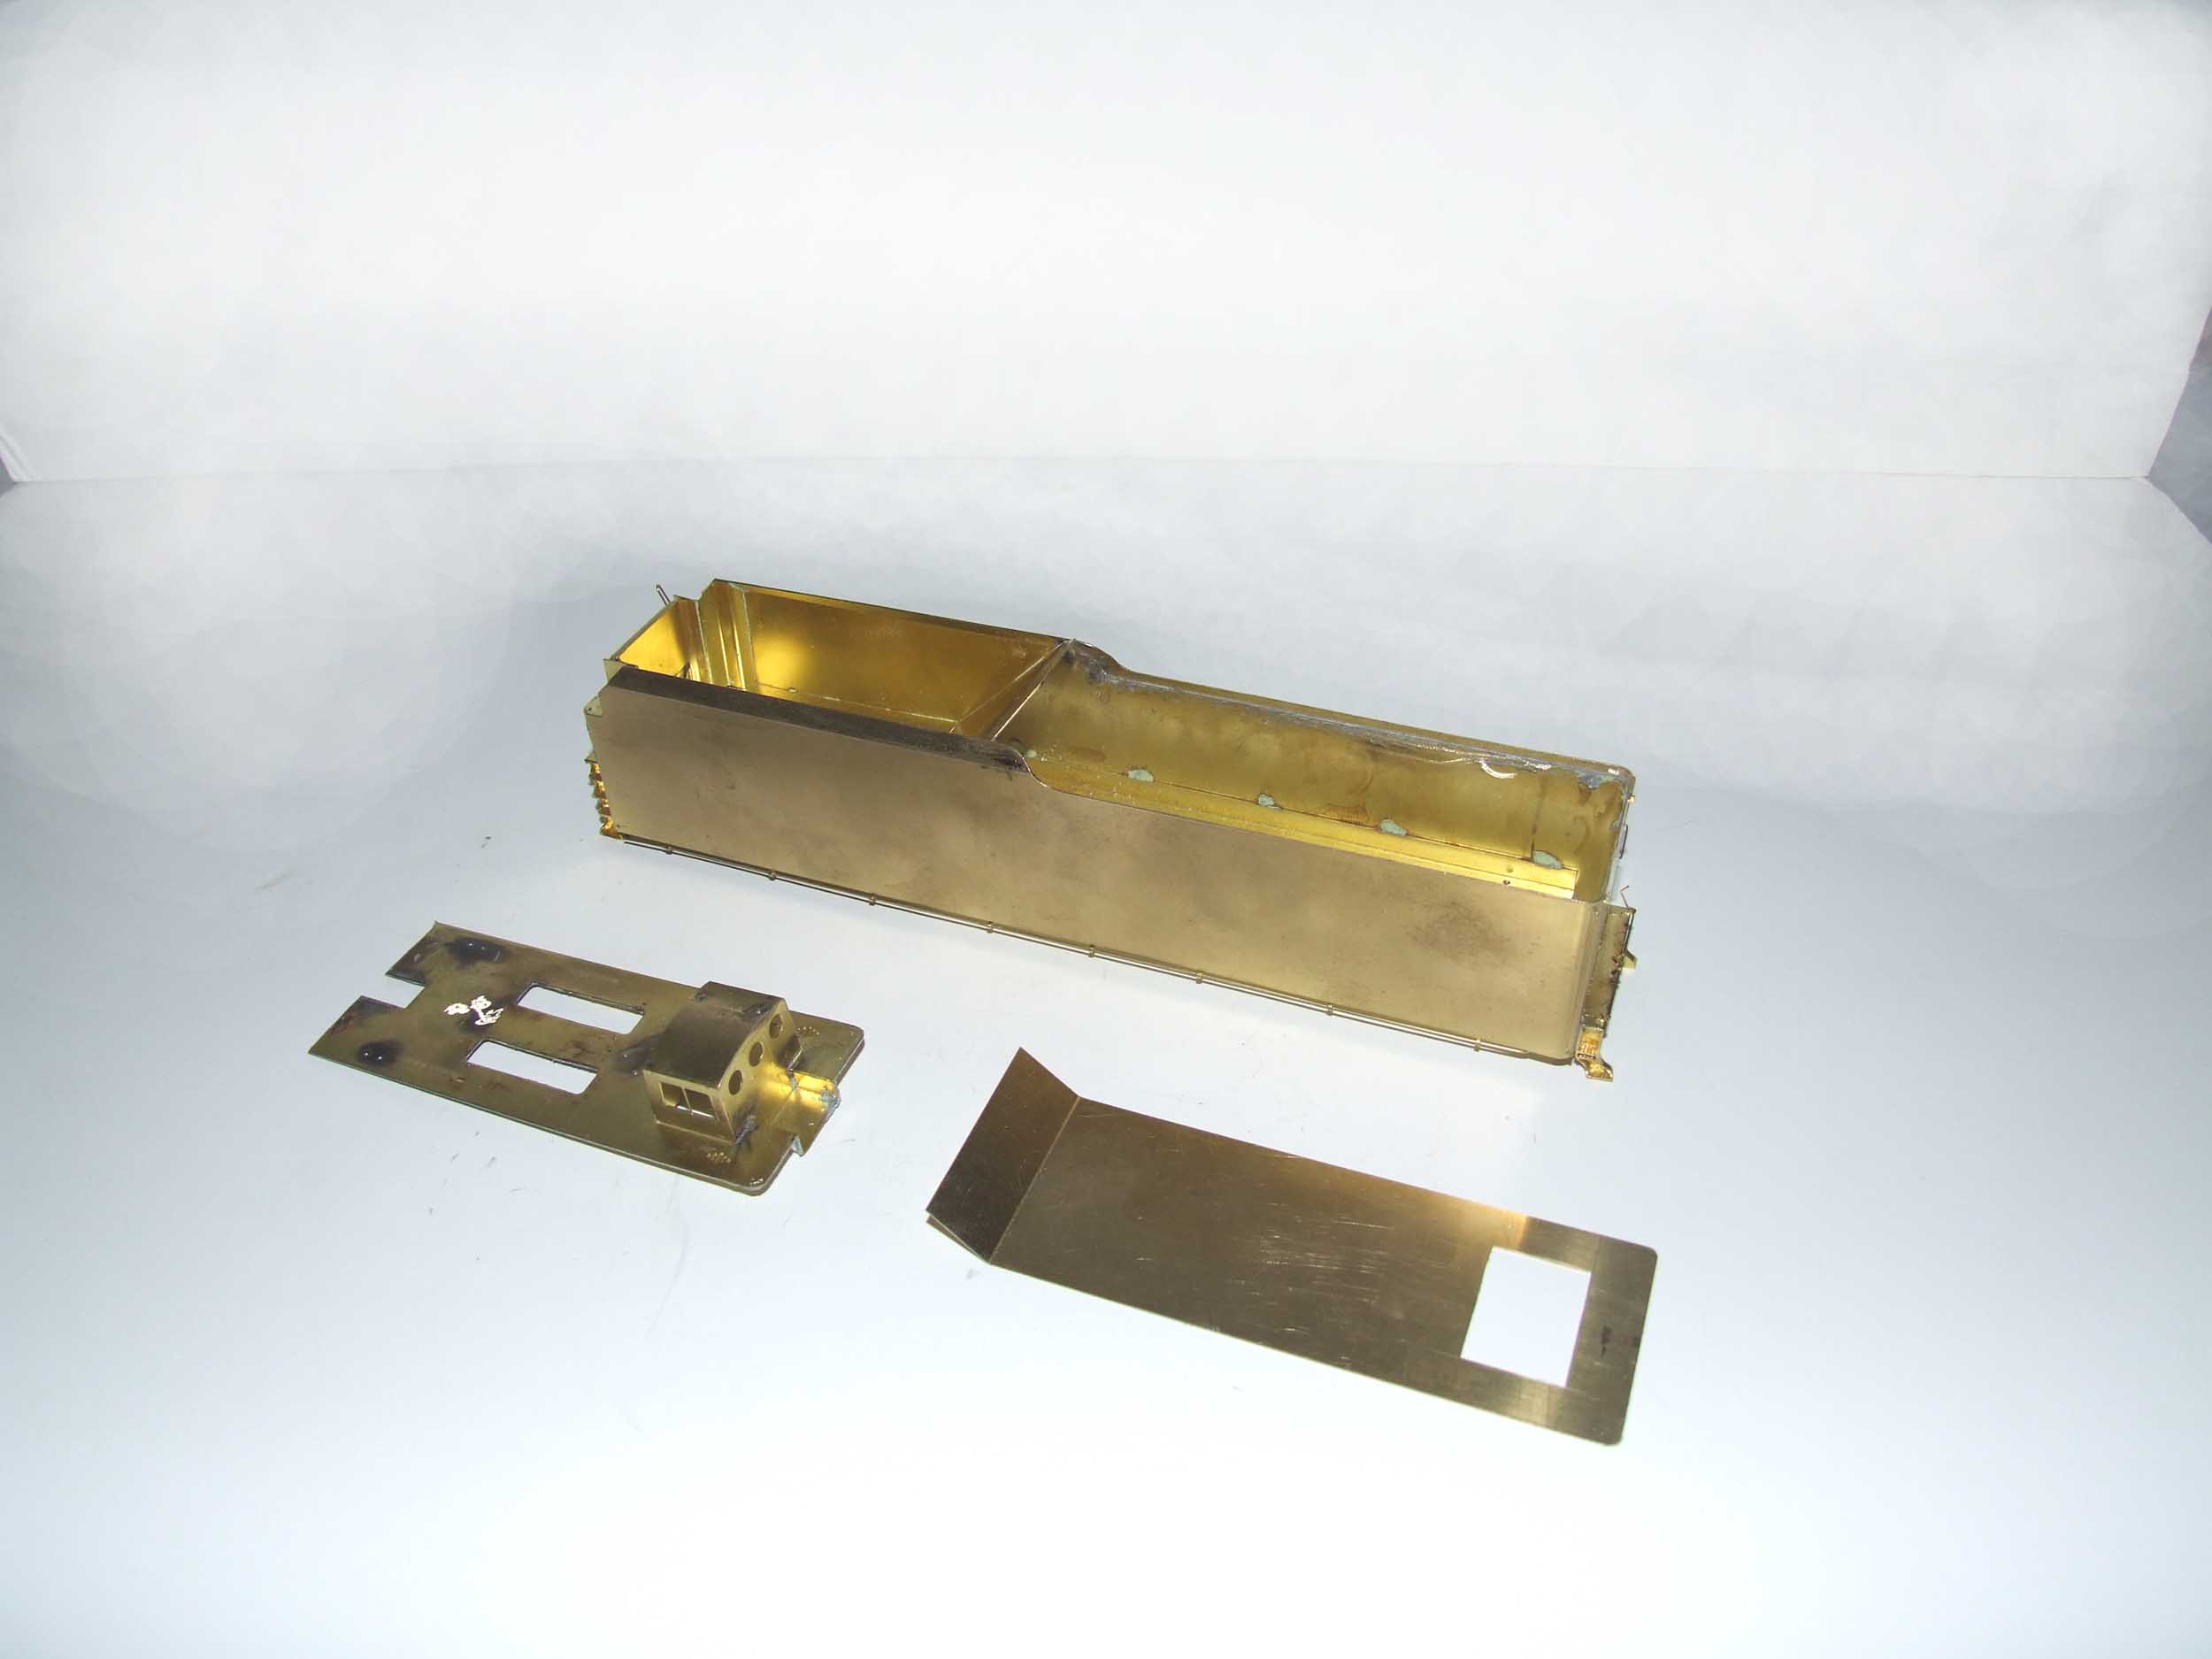
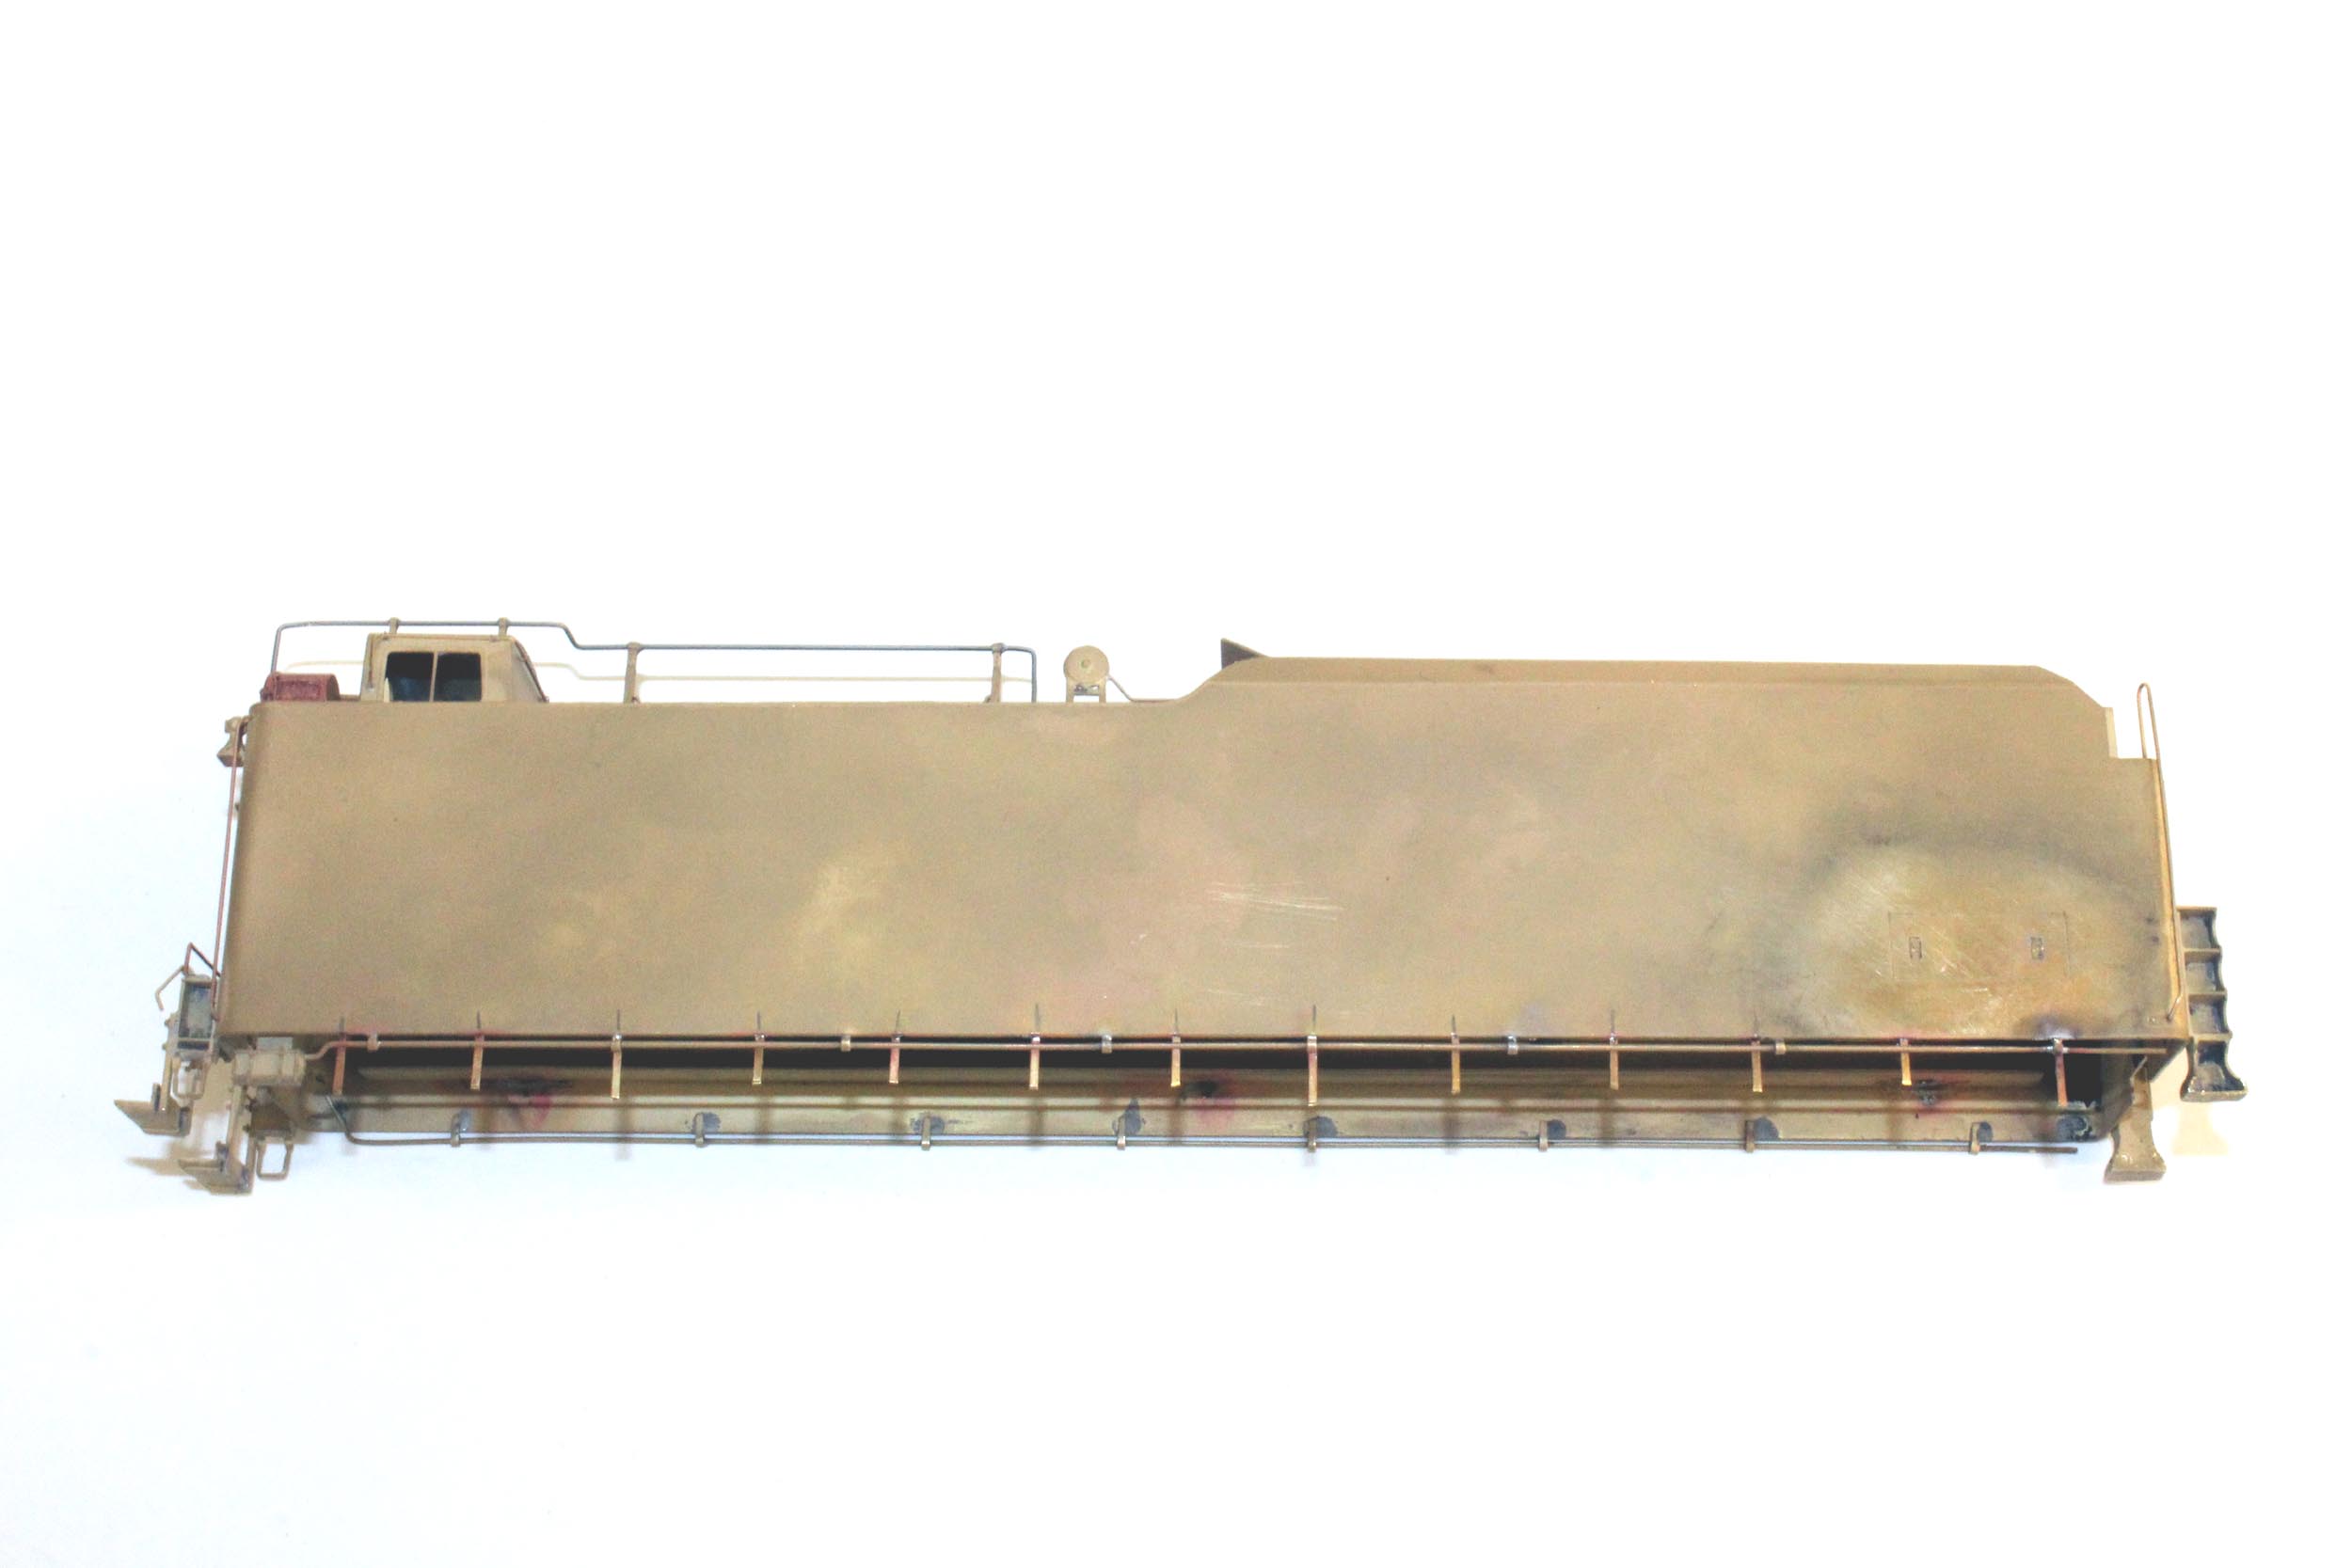
I was rather surprised that I only took
ONE photo on 12-2-05, as the before shot, as Omnicon made the model. I usually
take a lot of photos! Photographing bare brass is difficult.
In January 2008 I started the long process of detailing my I1 in
preparation for painting them. Here are 2 videos I shot of them of the test run
on 2-13-08. I just wanted to see how well they ran before starting on the
detailing. There is no sound in this video clip.
Video
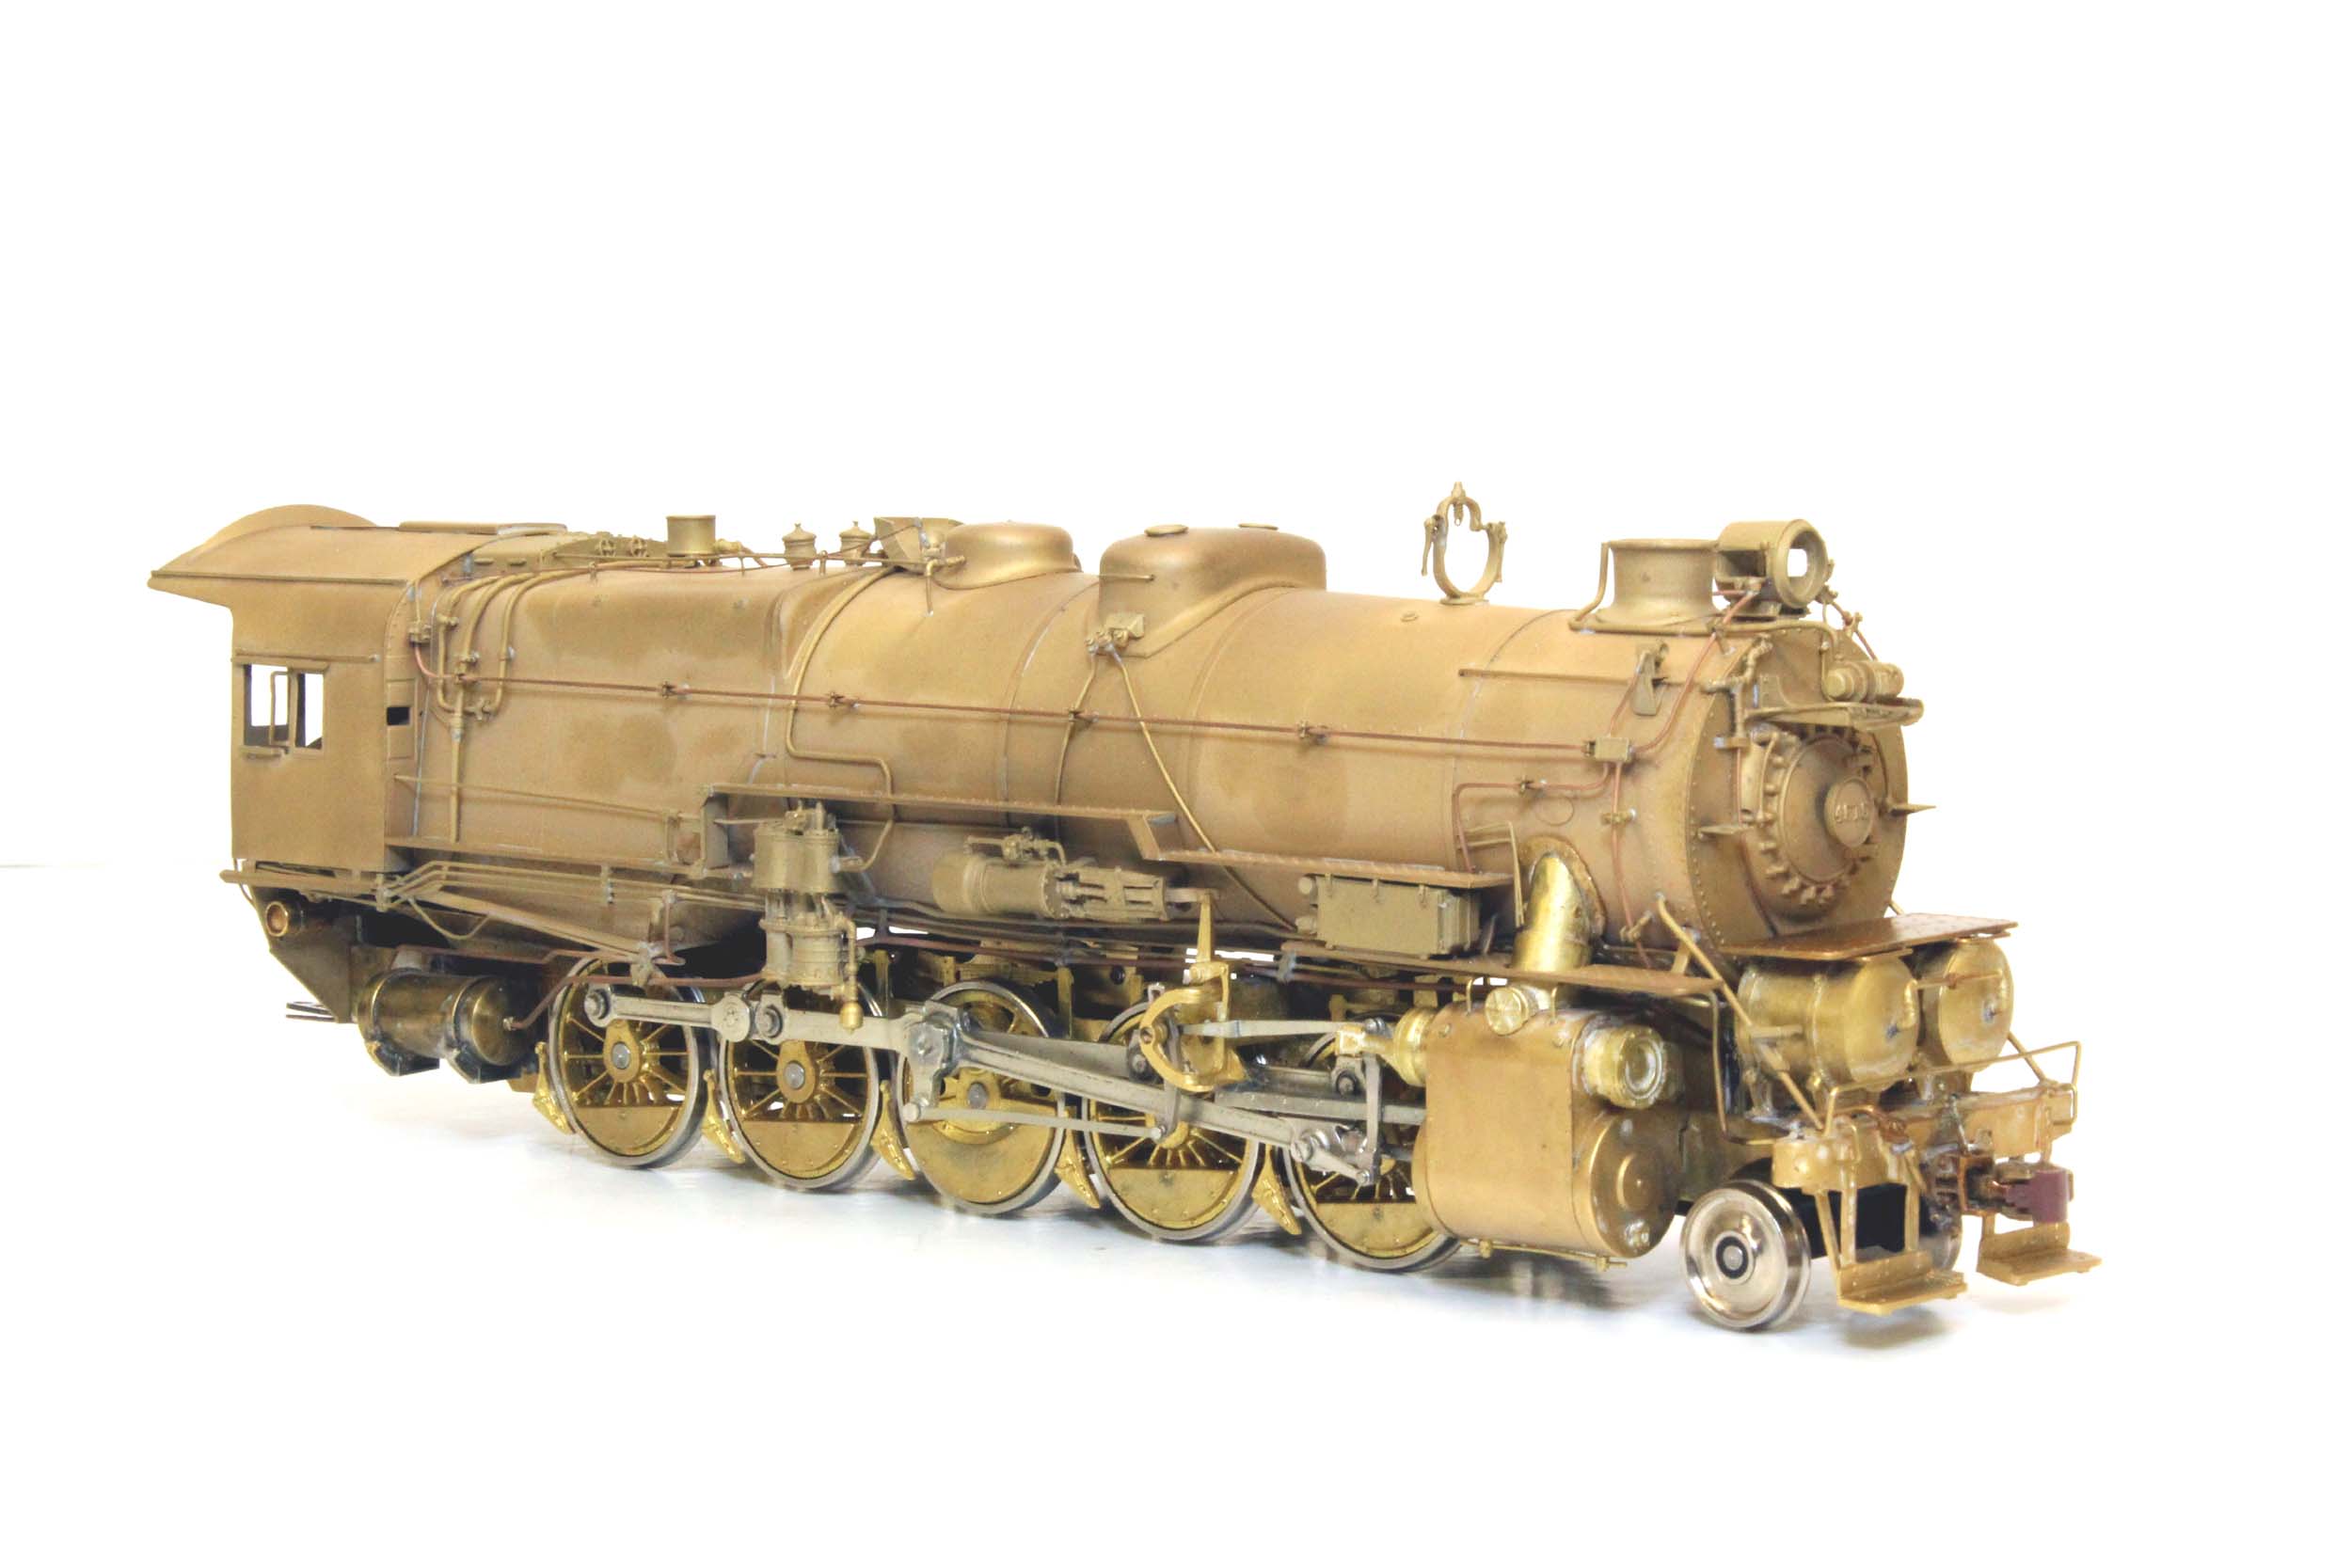
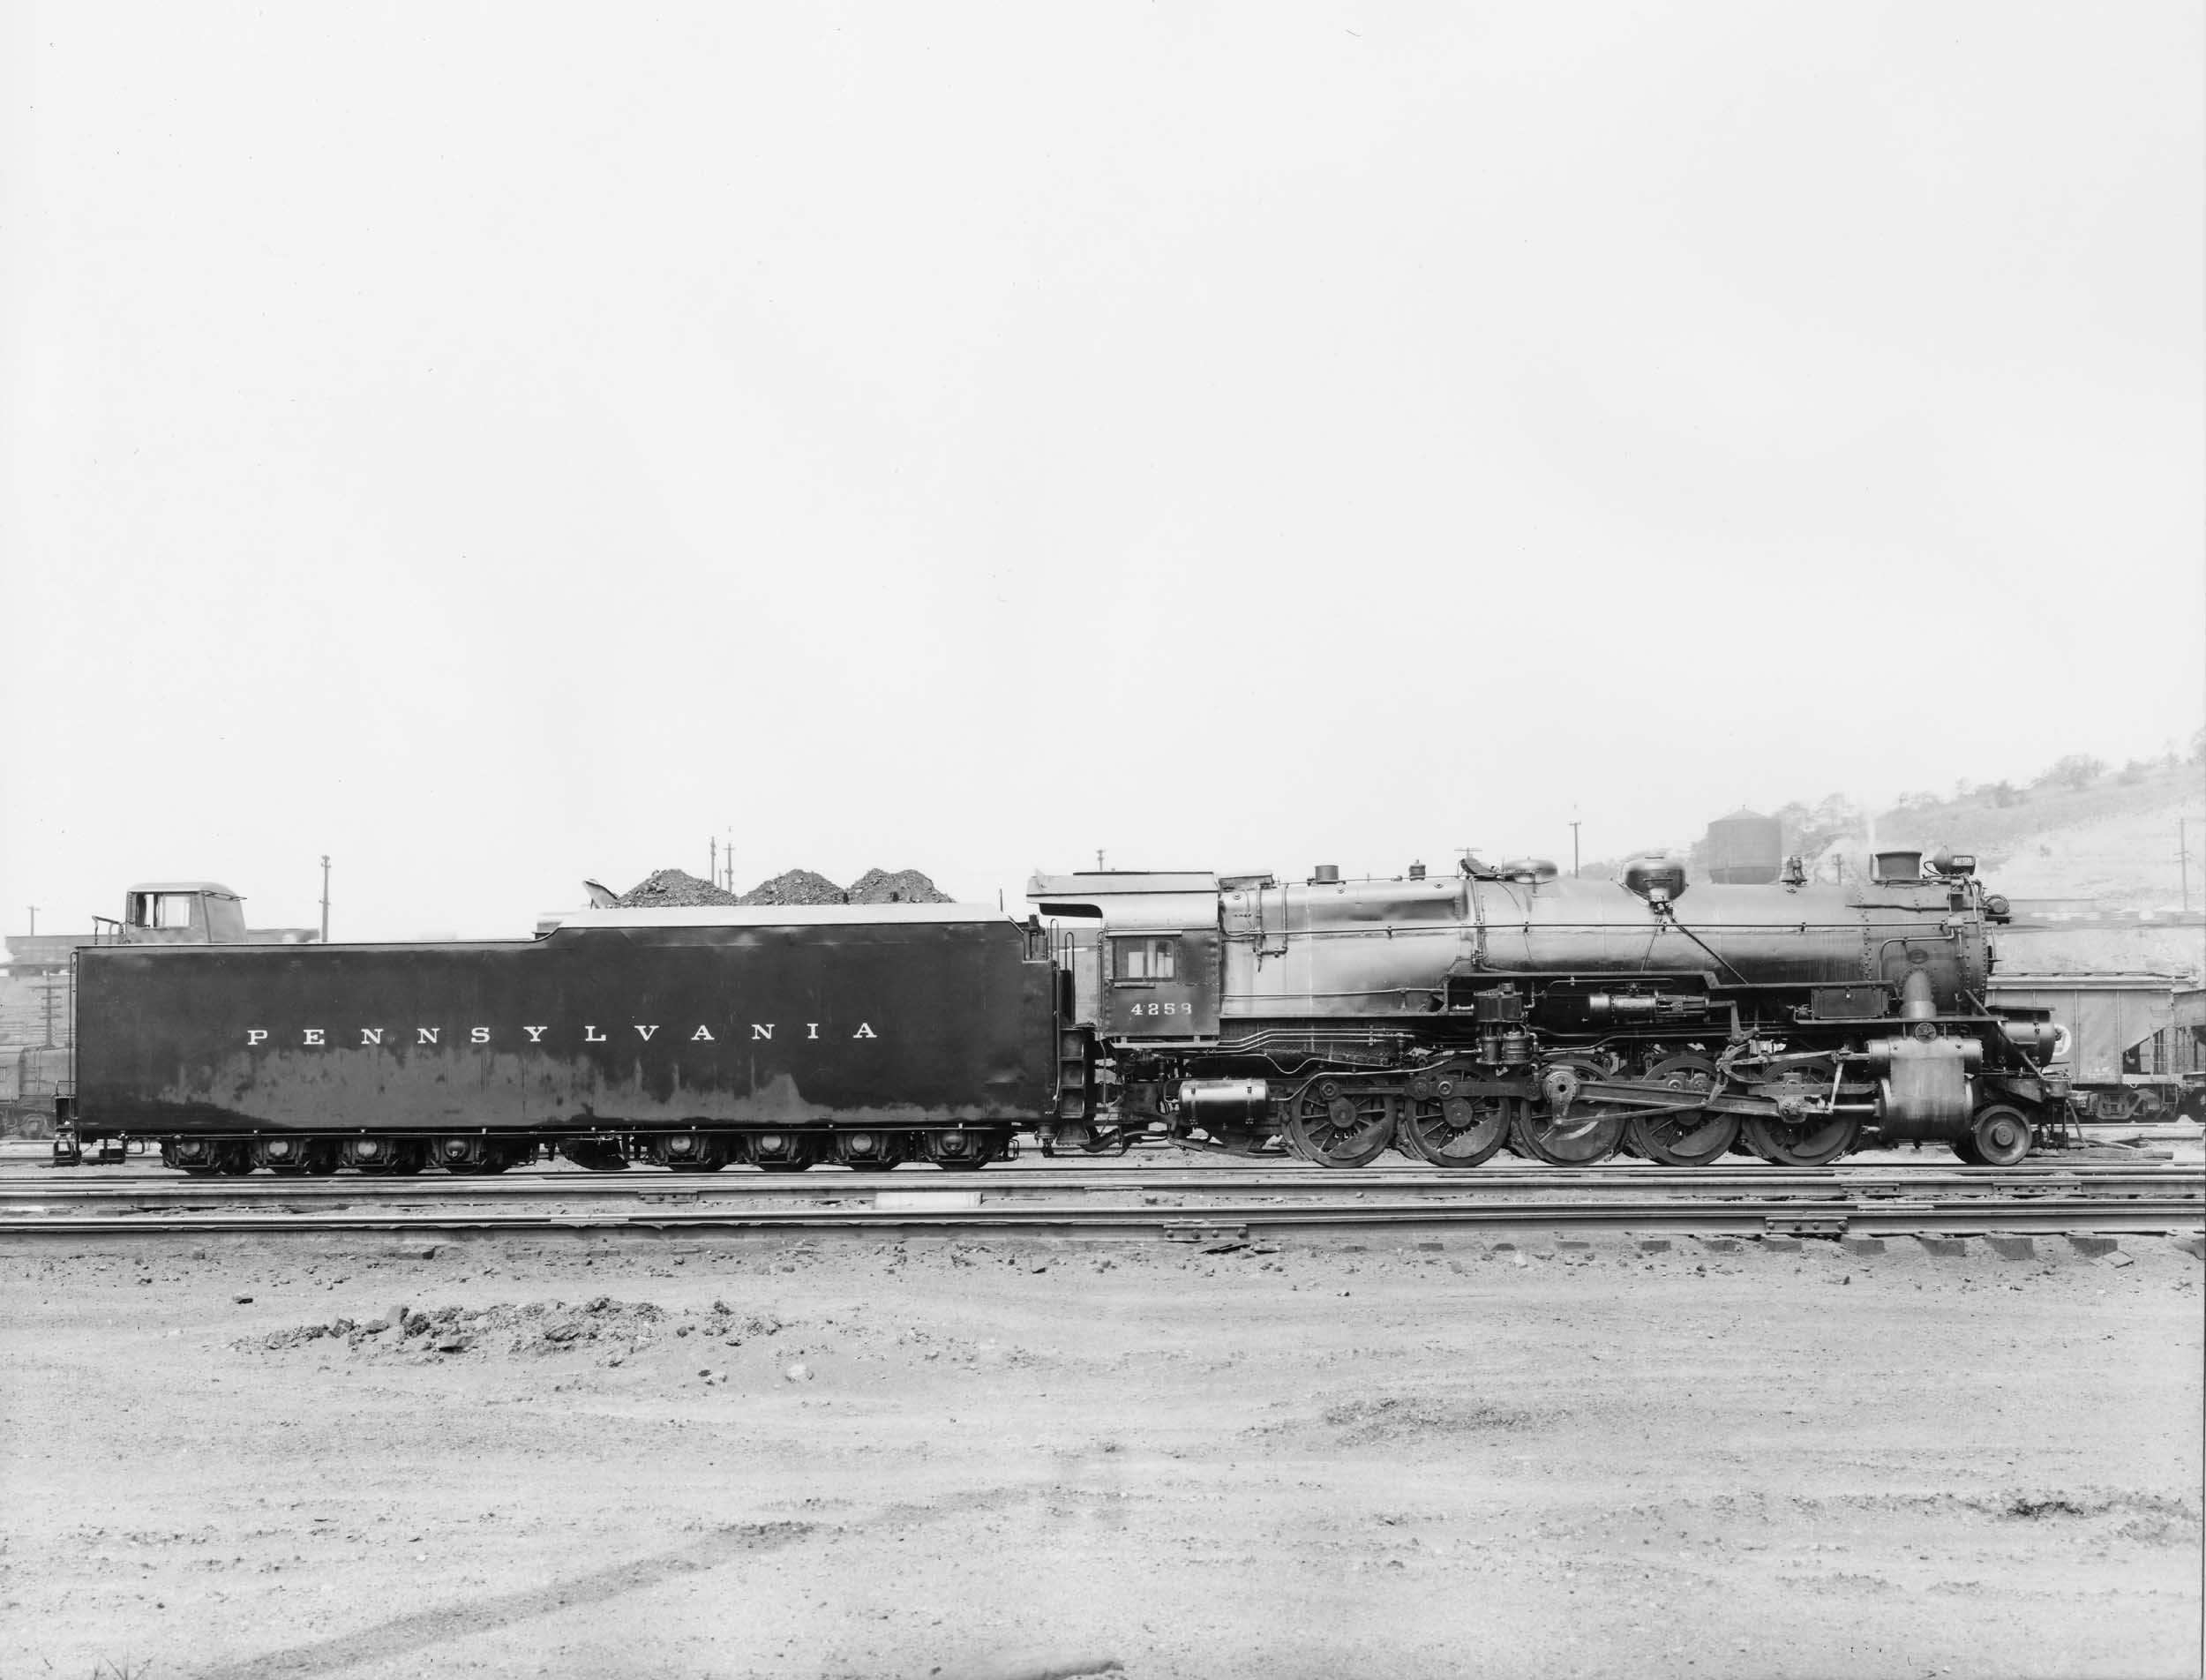
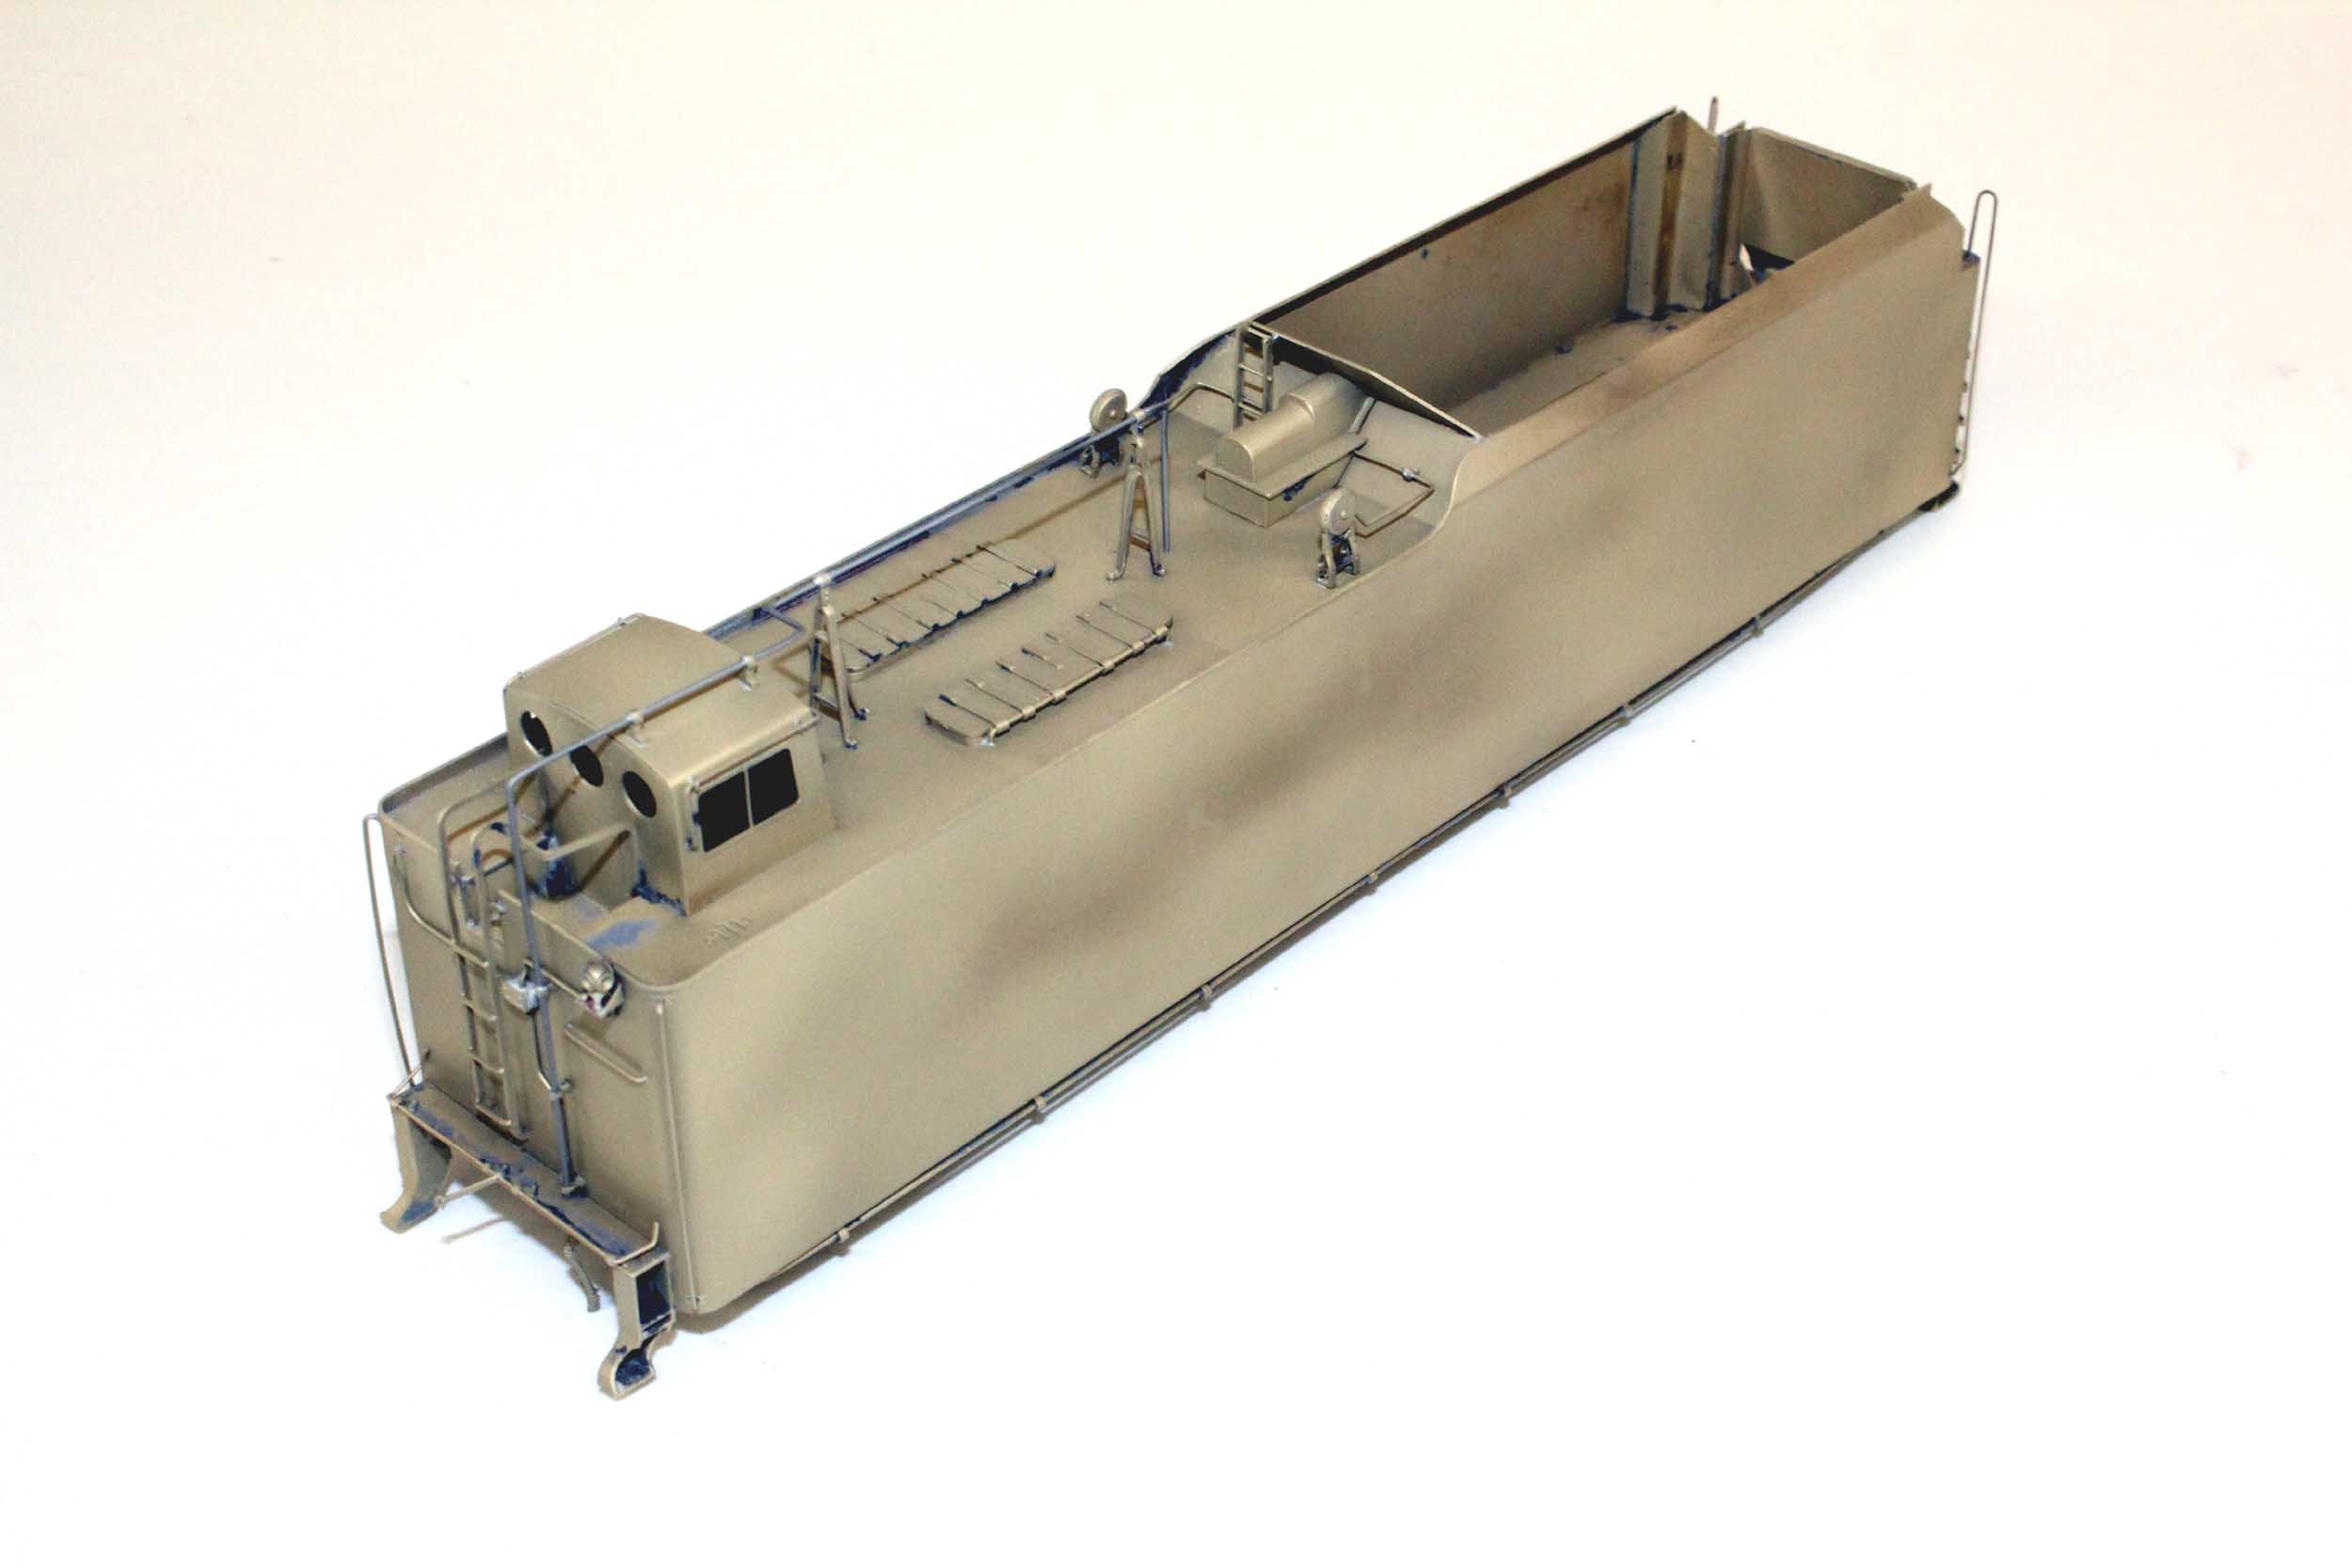
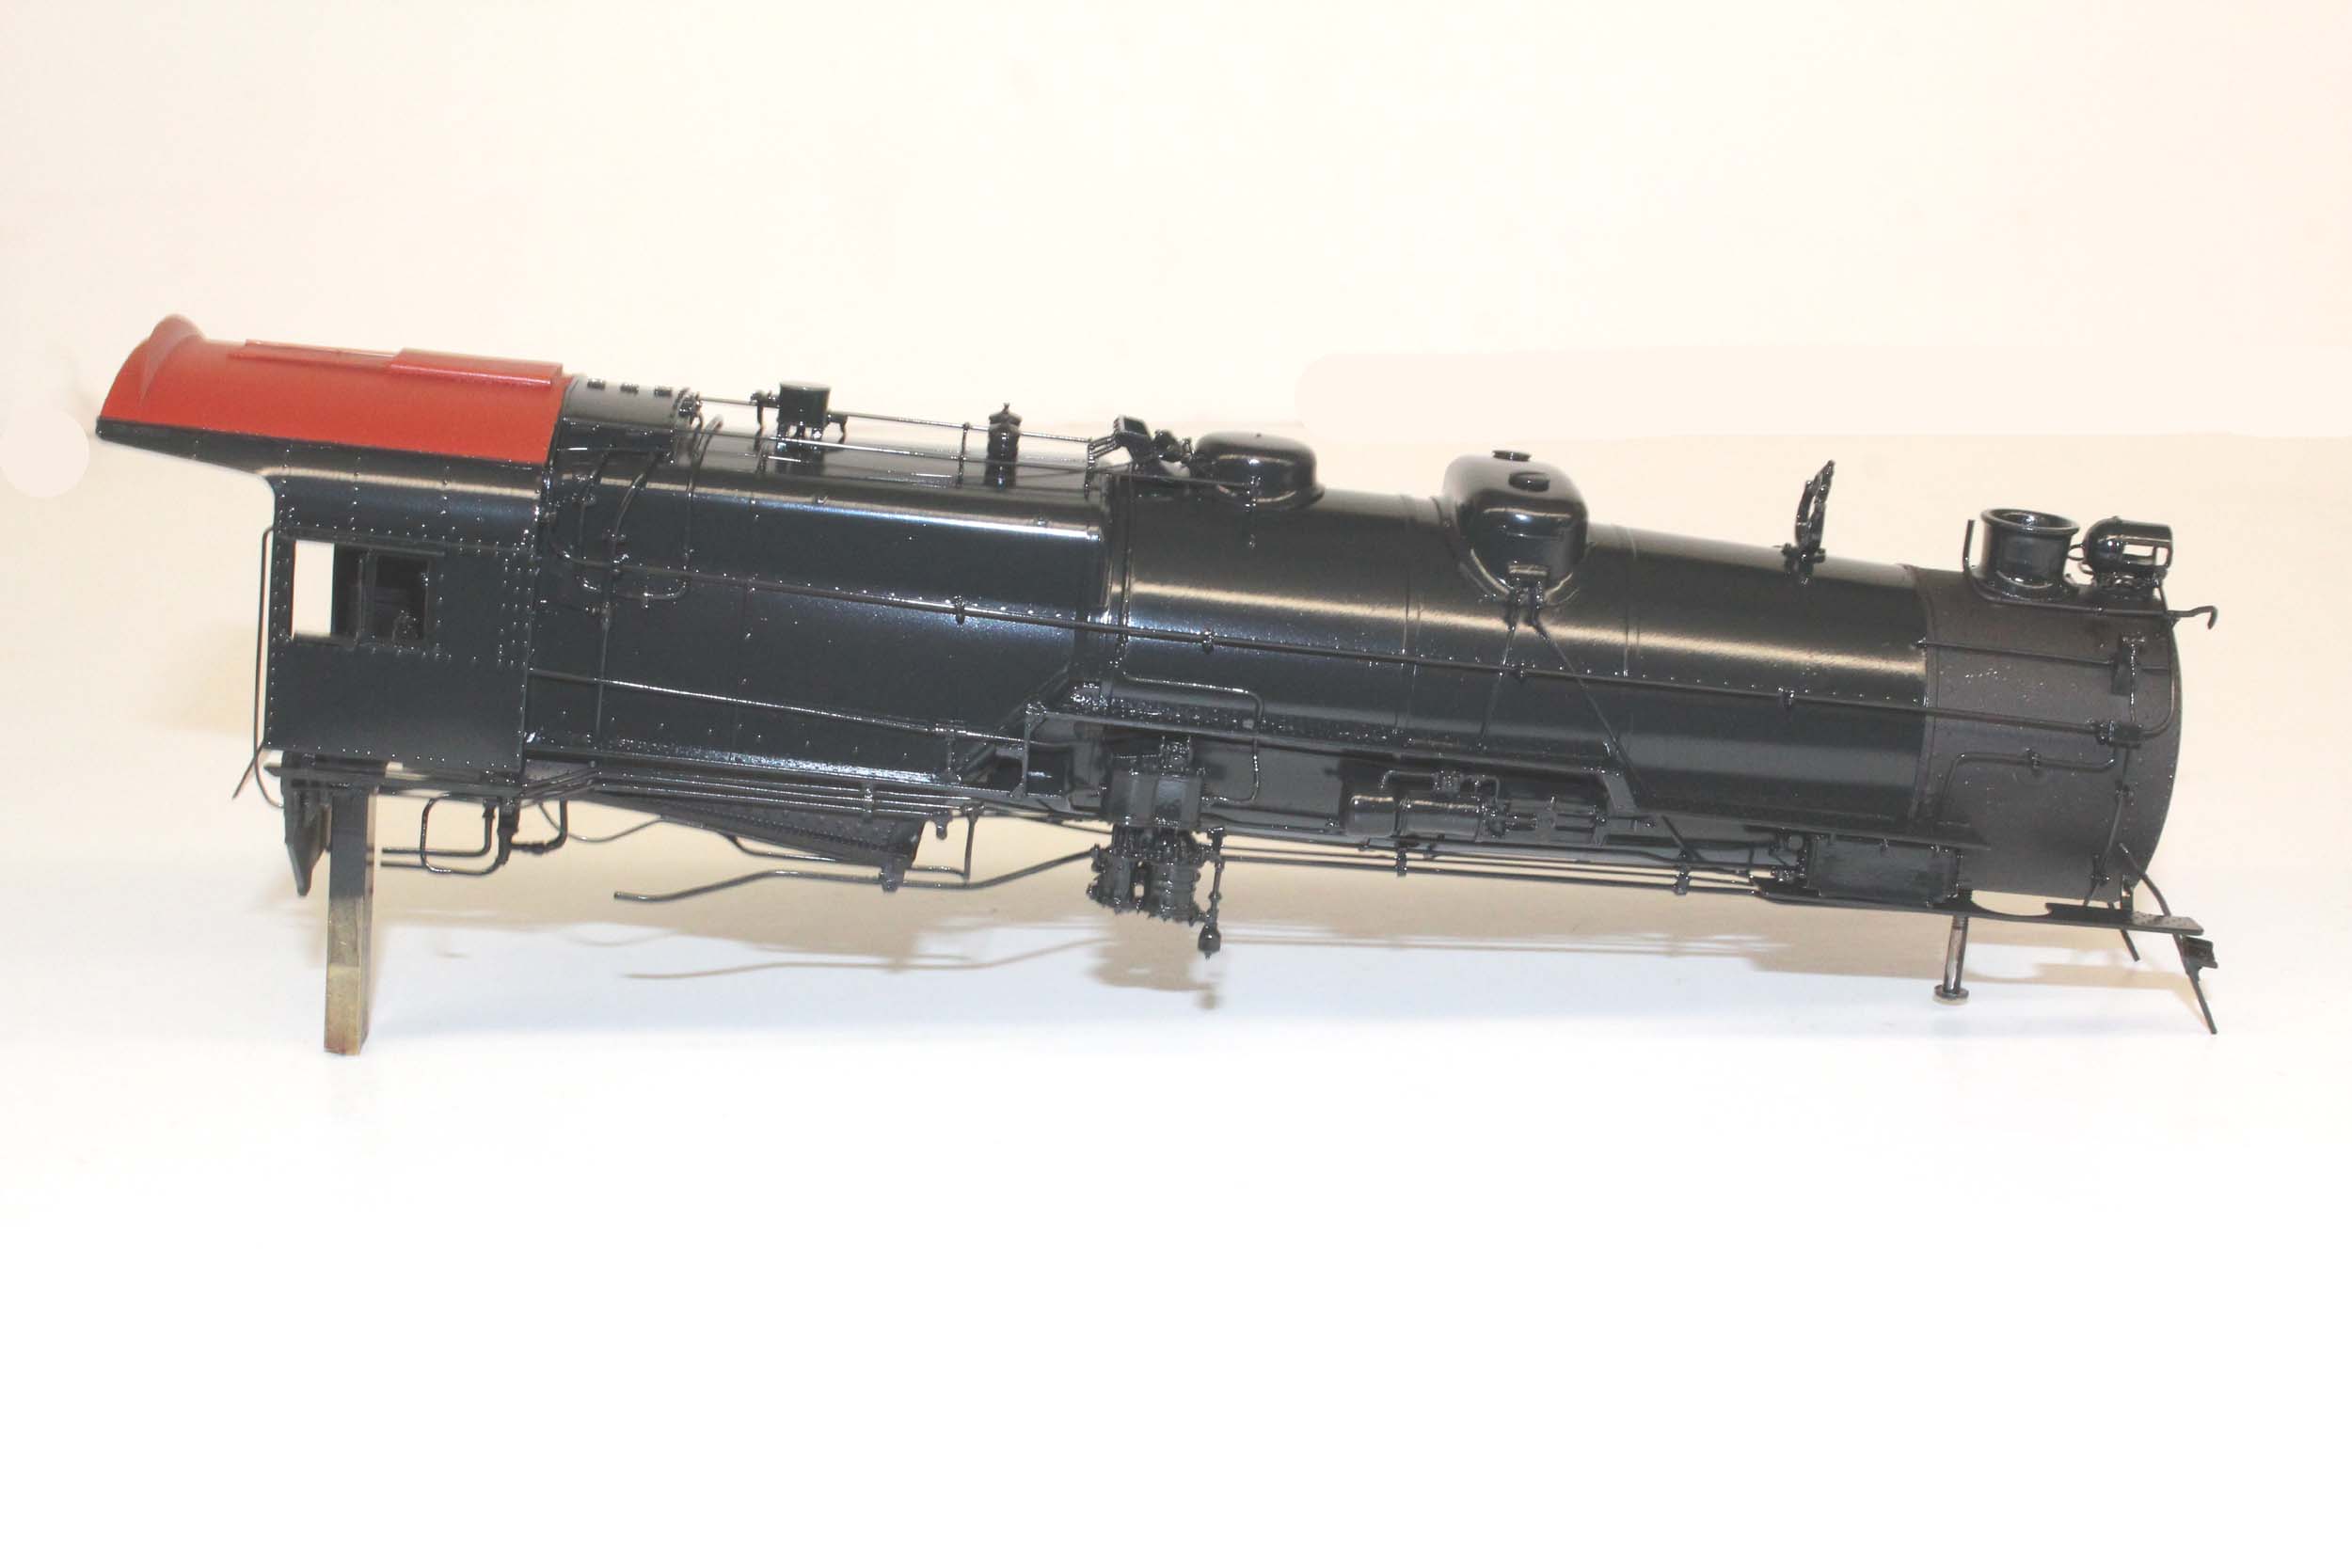
Modifications
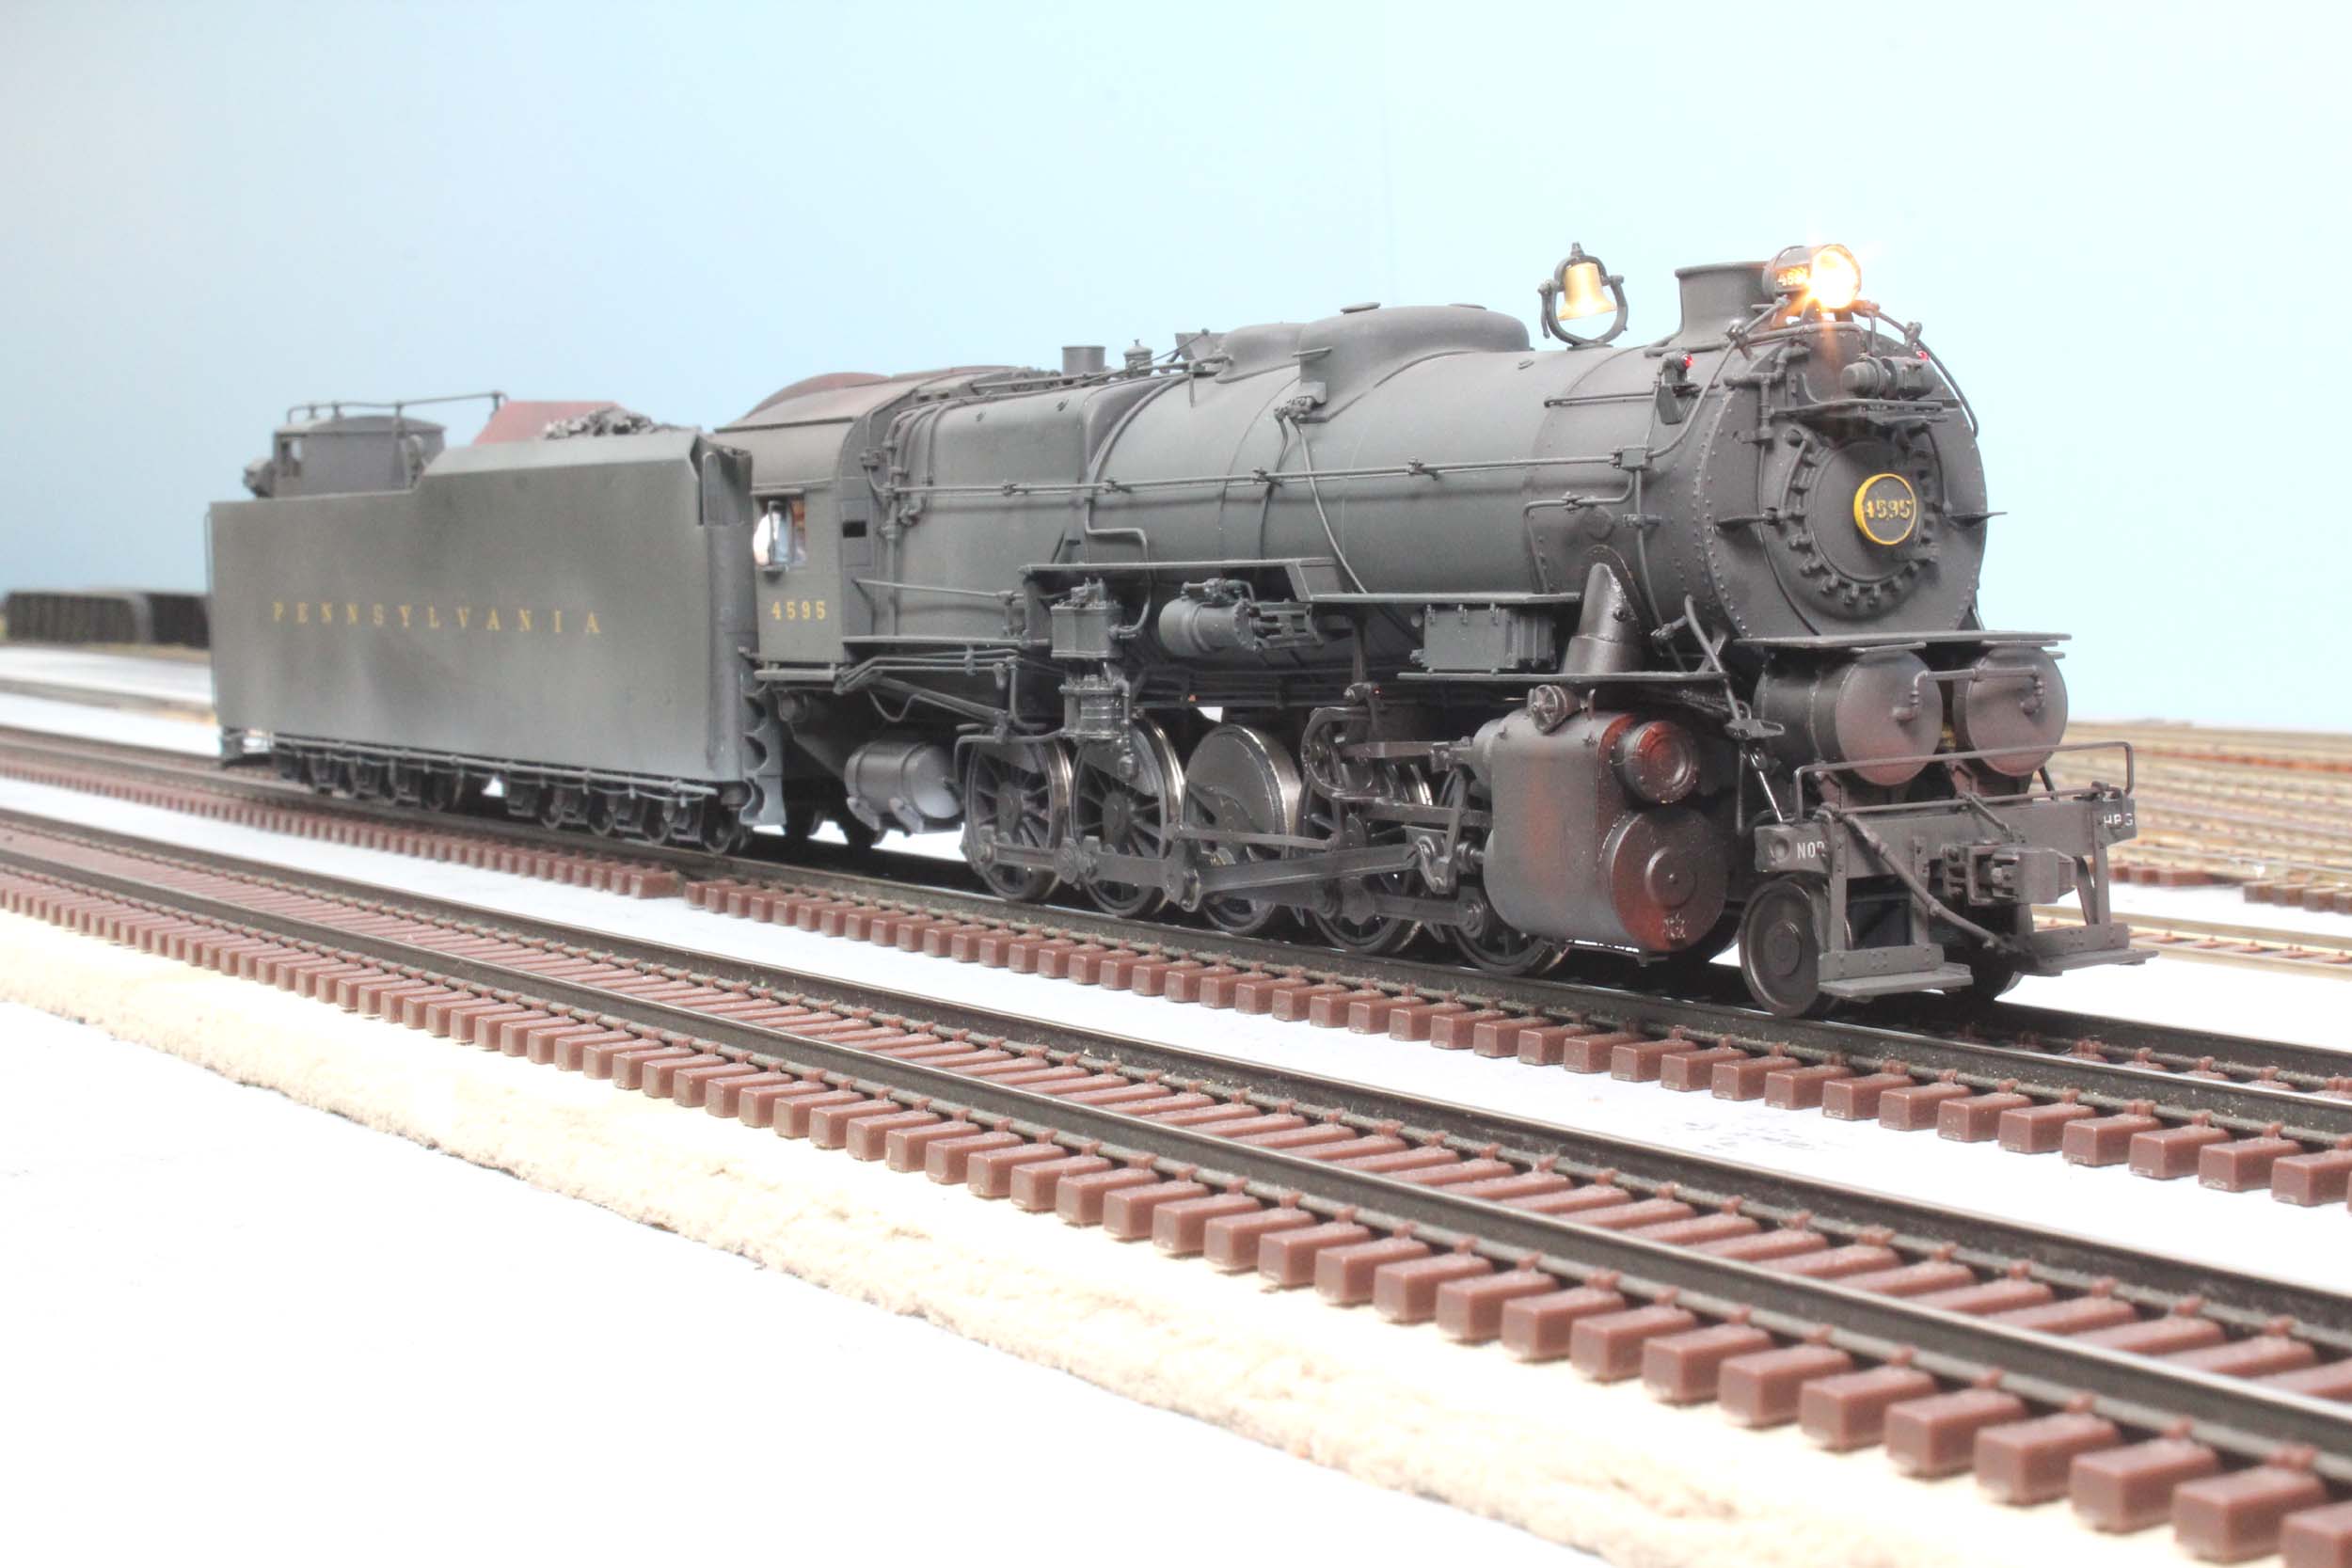
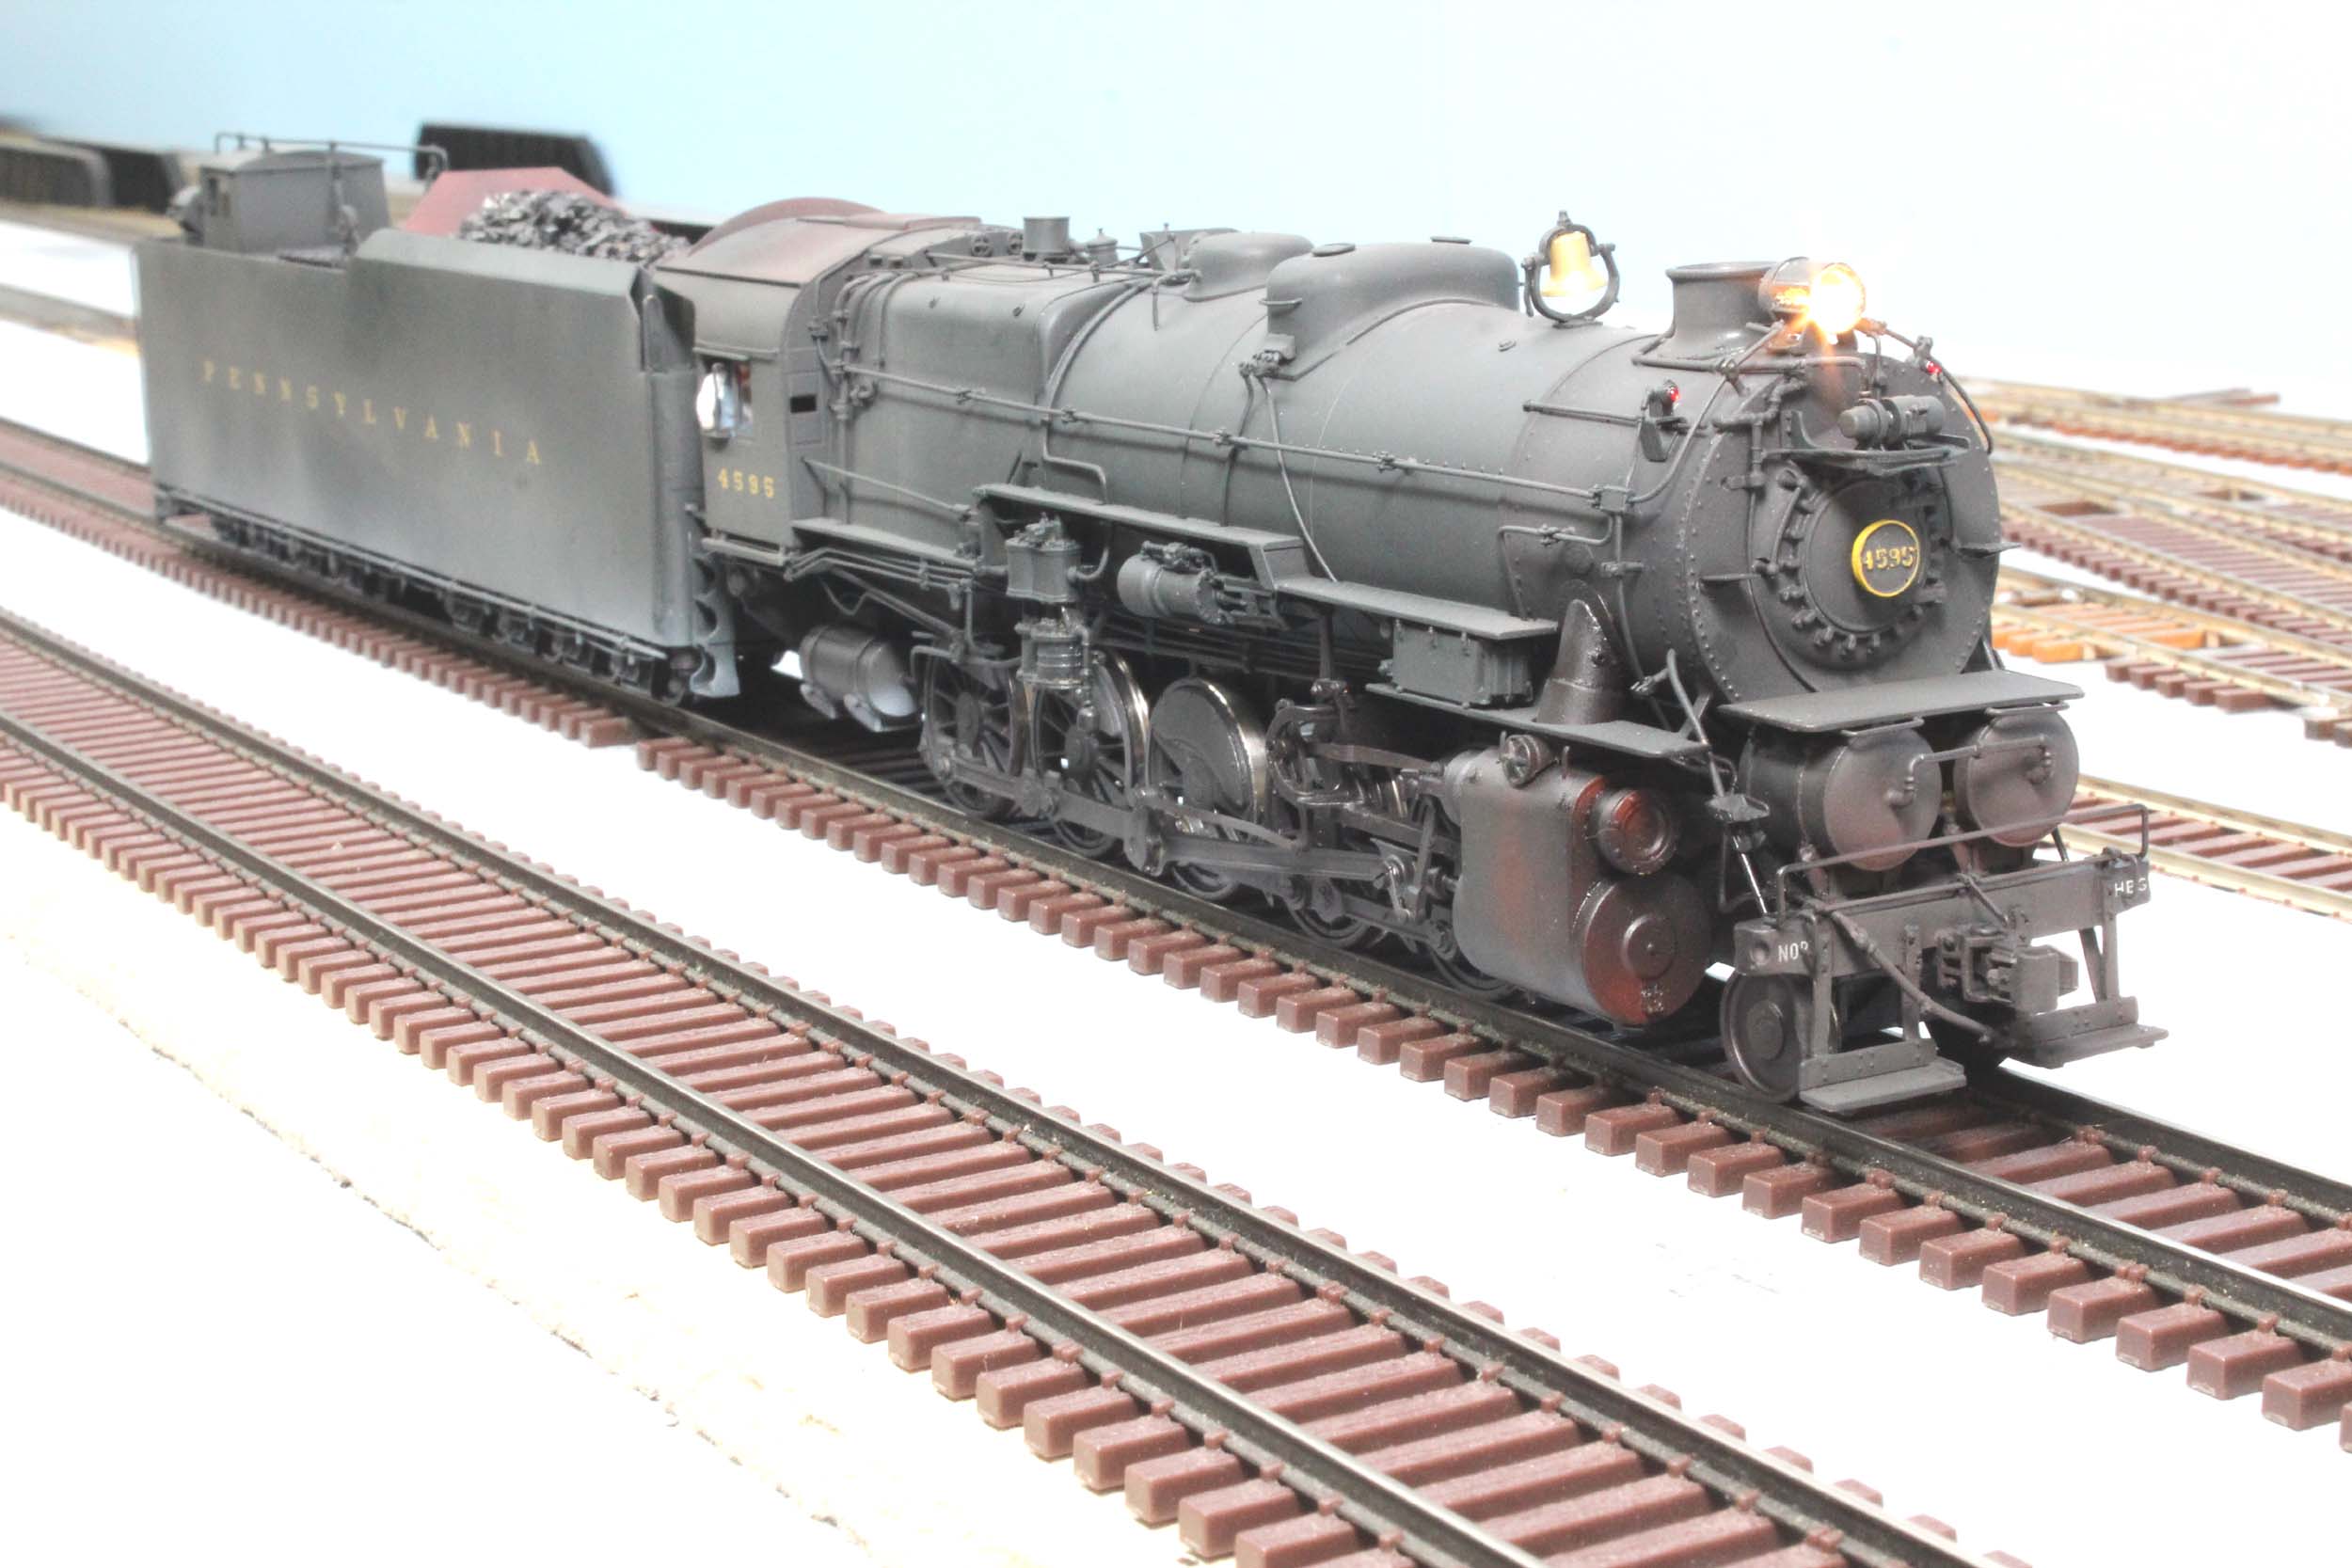
The
I1 was the most modernized PRR loco Omnicon made. But it still had some issues.
It was a clash of equipment. Everything that is on the model as built by
Samhongsa could have been on an I1, just not on the same loco at the same time.
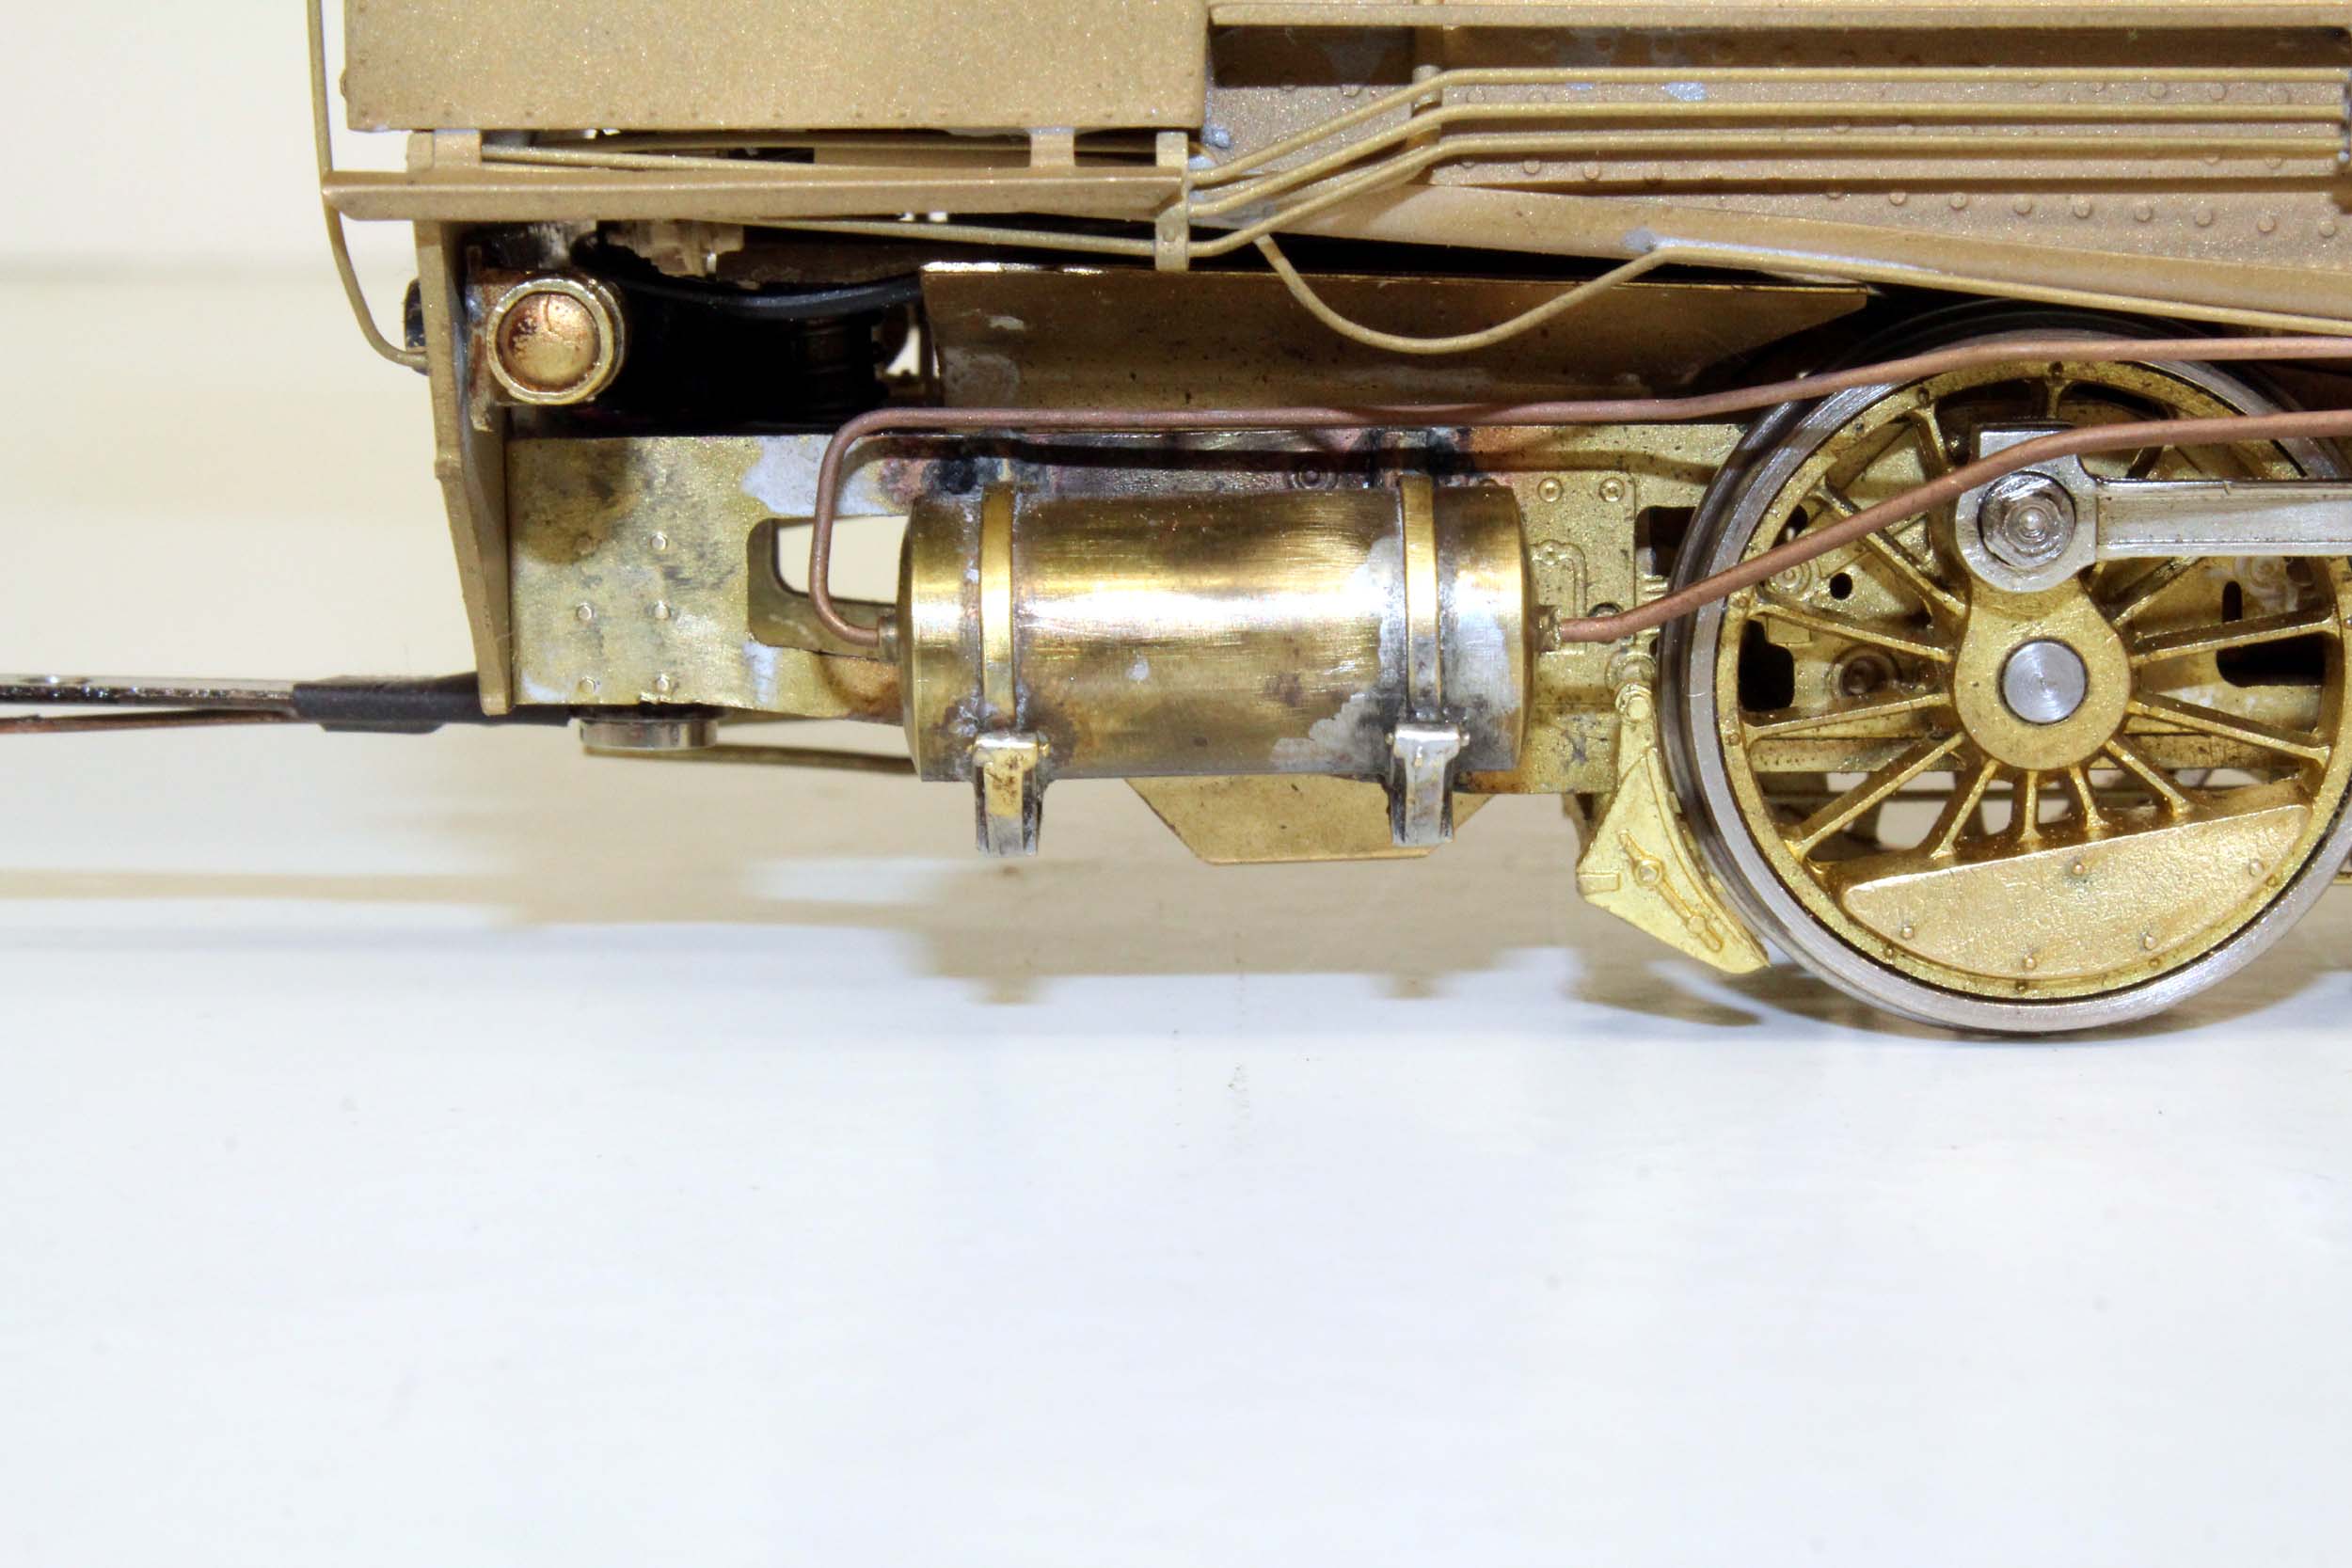
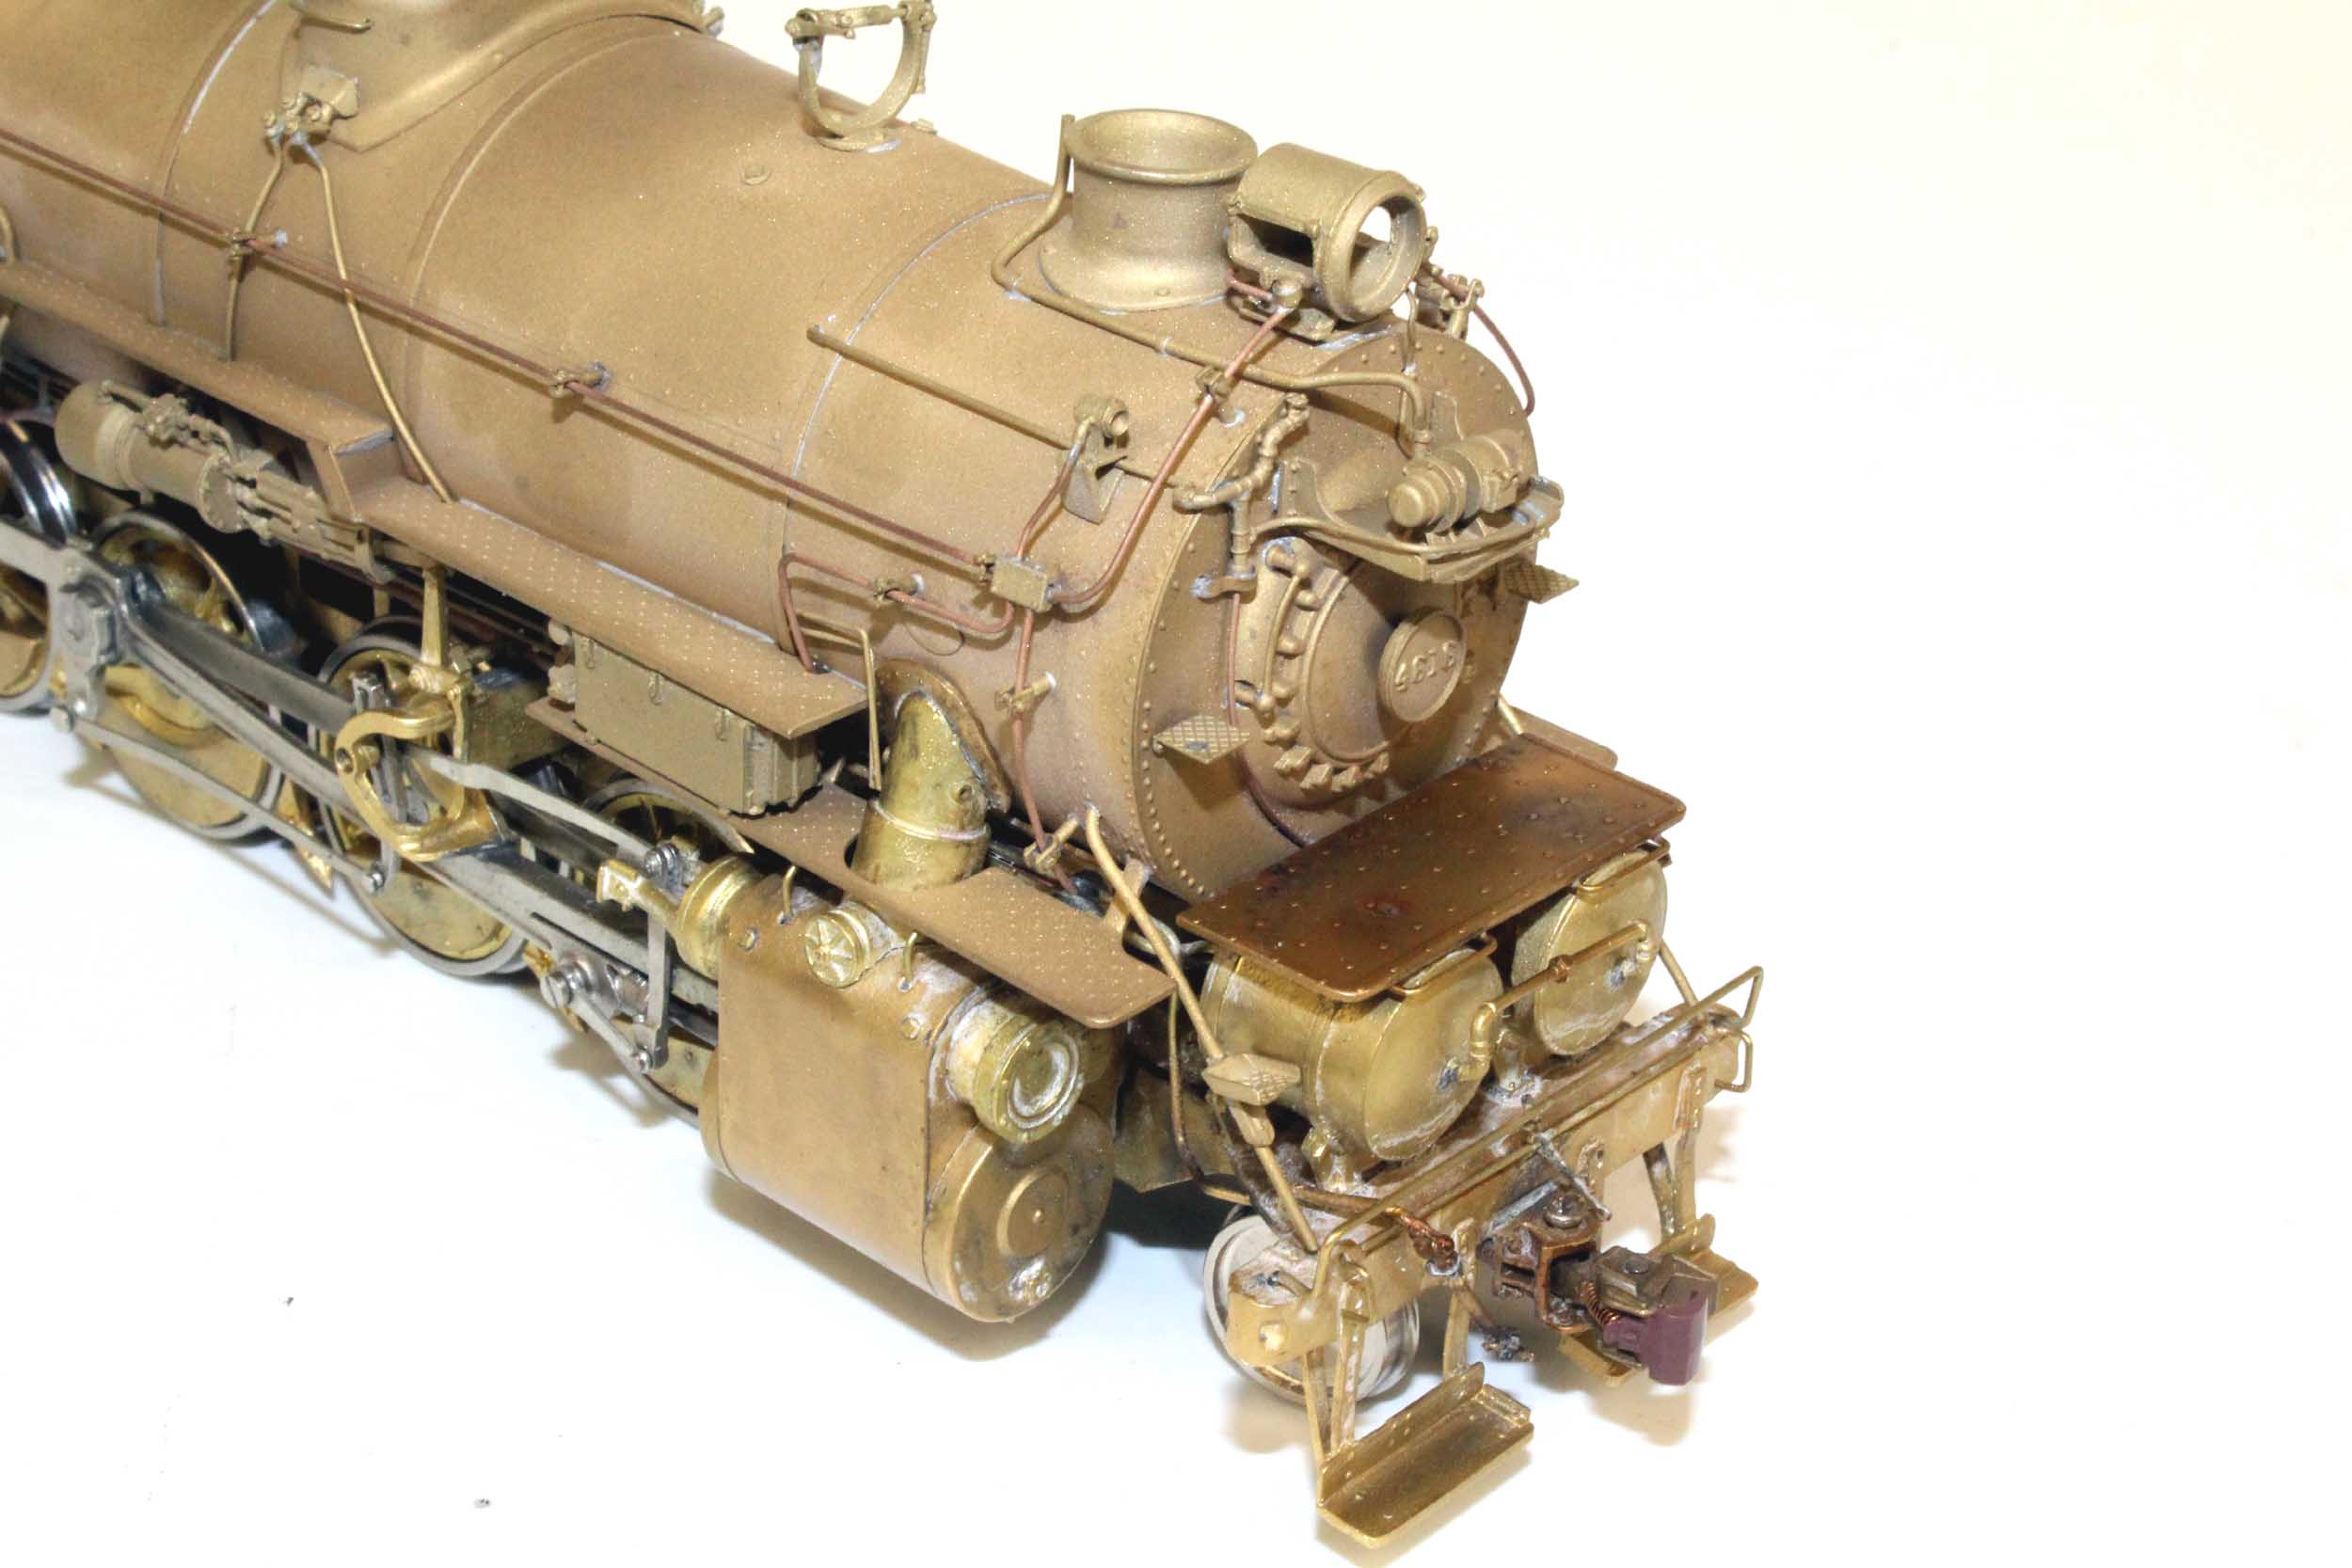
I was told that by removing 1 injector that made the model better. I removed the injector and made the
auxiliary air tank that was in its place. I also used my handrail stanchions
and some electrical junction boxes. I recycled the pilot beam draft gear
casting and fit a custom Kadee coupler. Both I1 are detailed almost the same as
shown below.


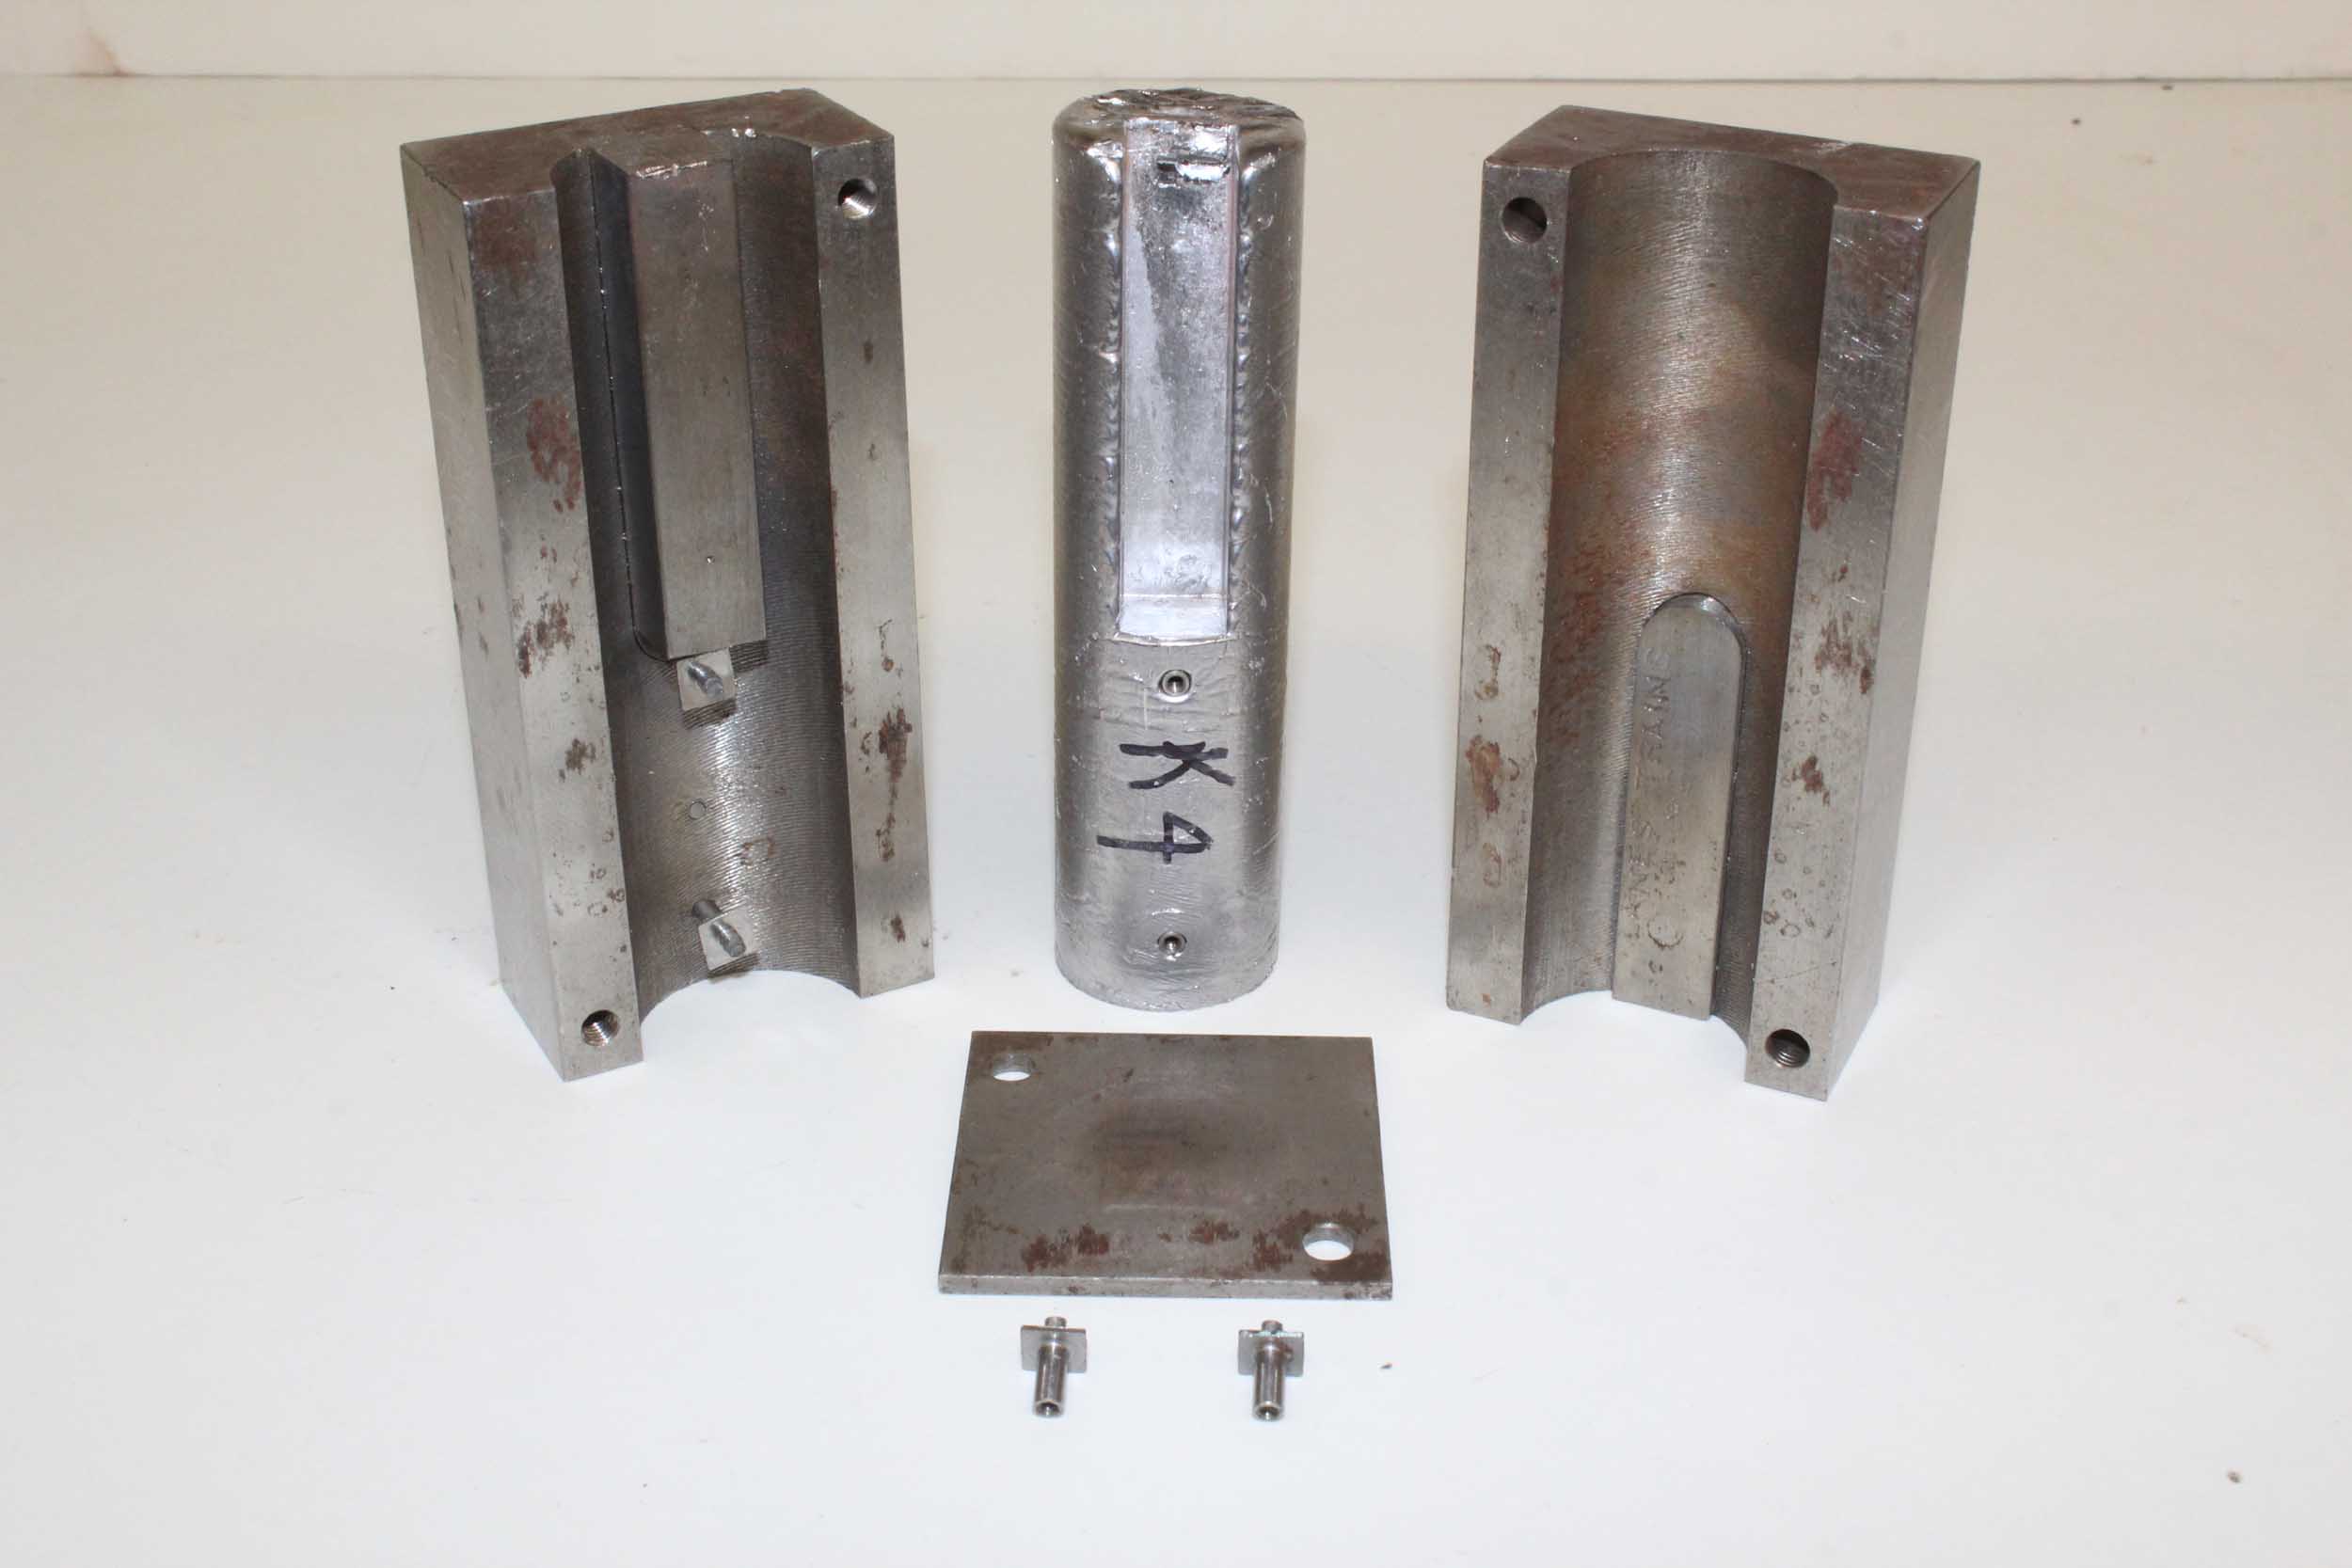
Boiler Weight
This
is my boiler weight mold I had made many years ago. The M1 had a ***pitiful****
weight. I have used it in my other locos too.
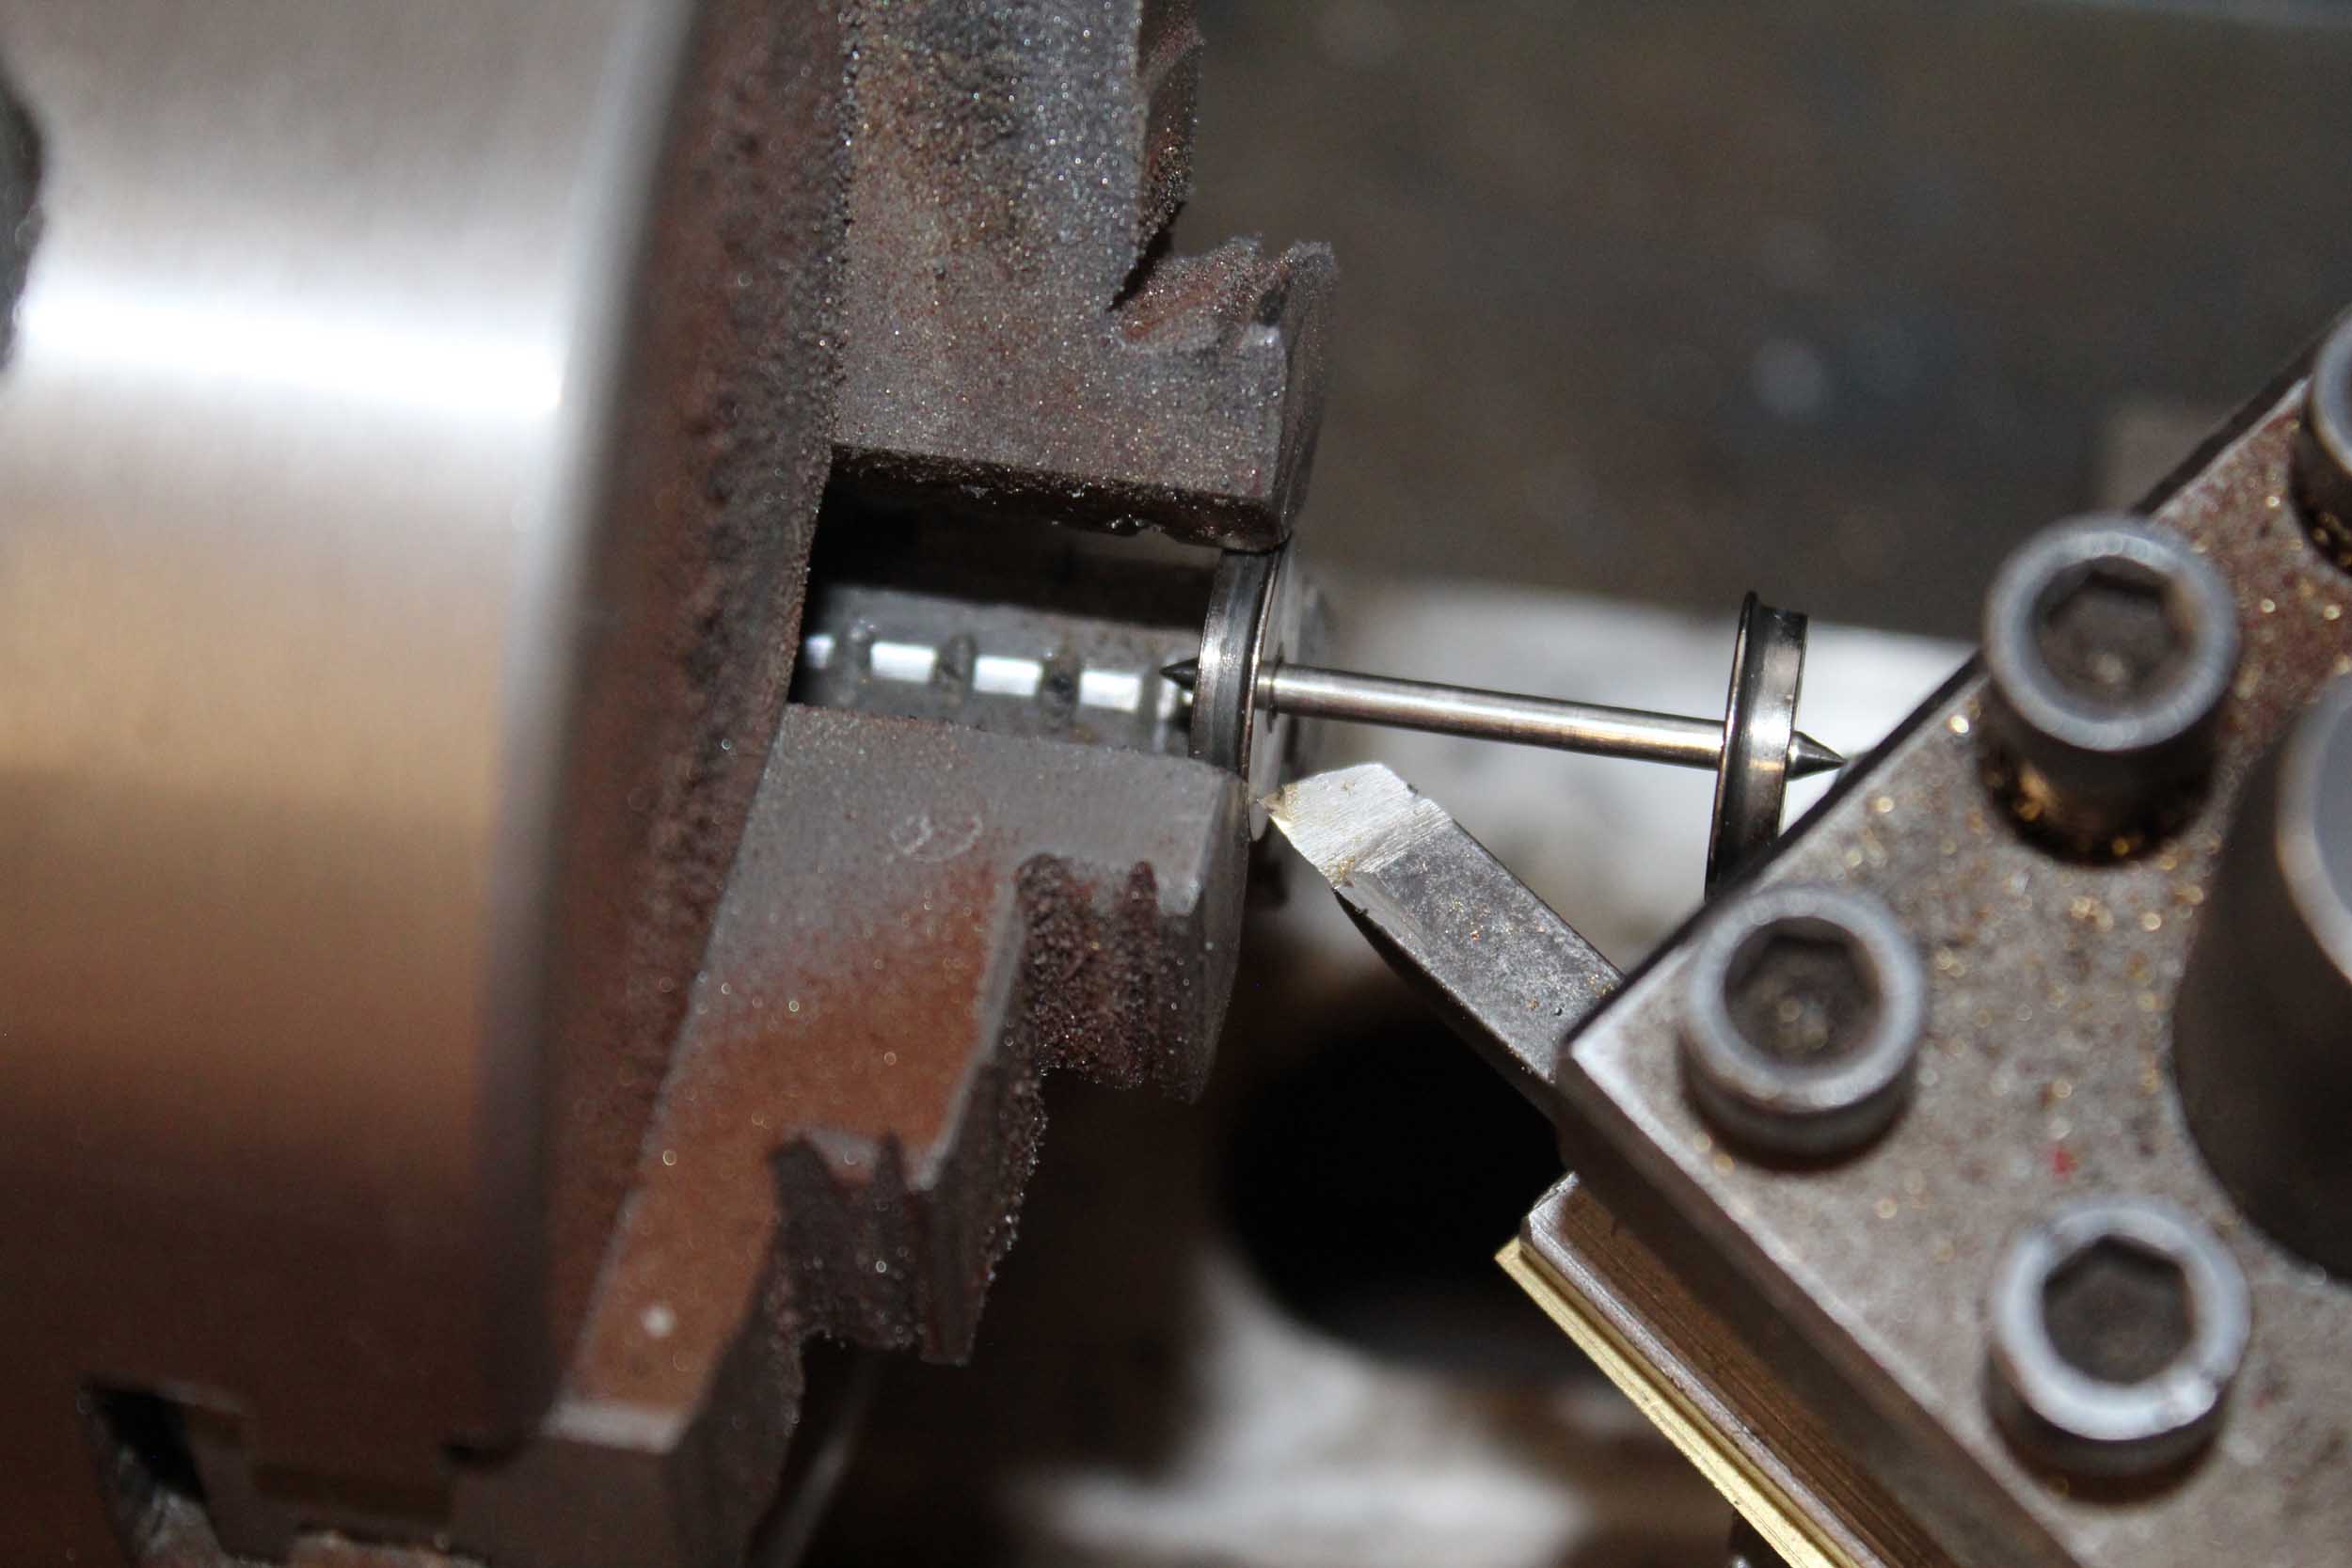
Since
I put the speaker under the stack I give up a considerable amount of the new
weight, but it is bigger than what the model came with. I just use my milling
machine that CHOMPS the lead. I recycle the chips.
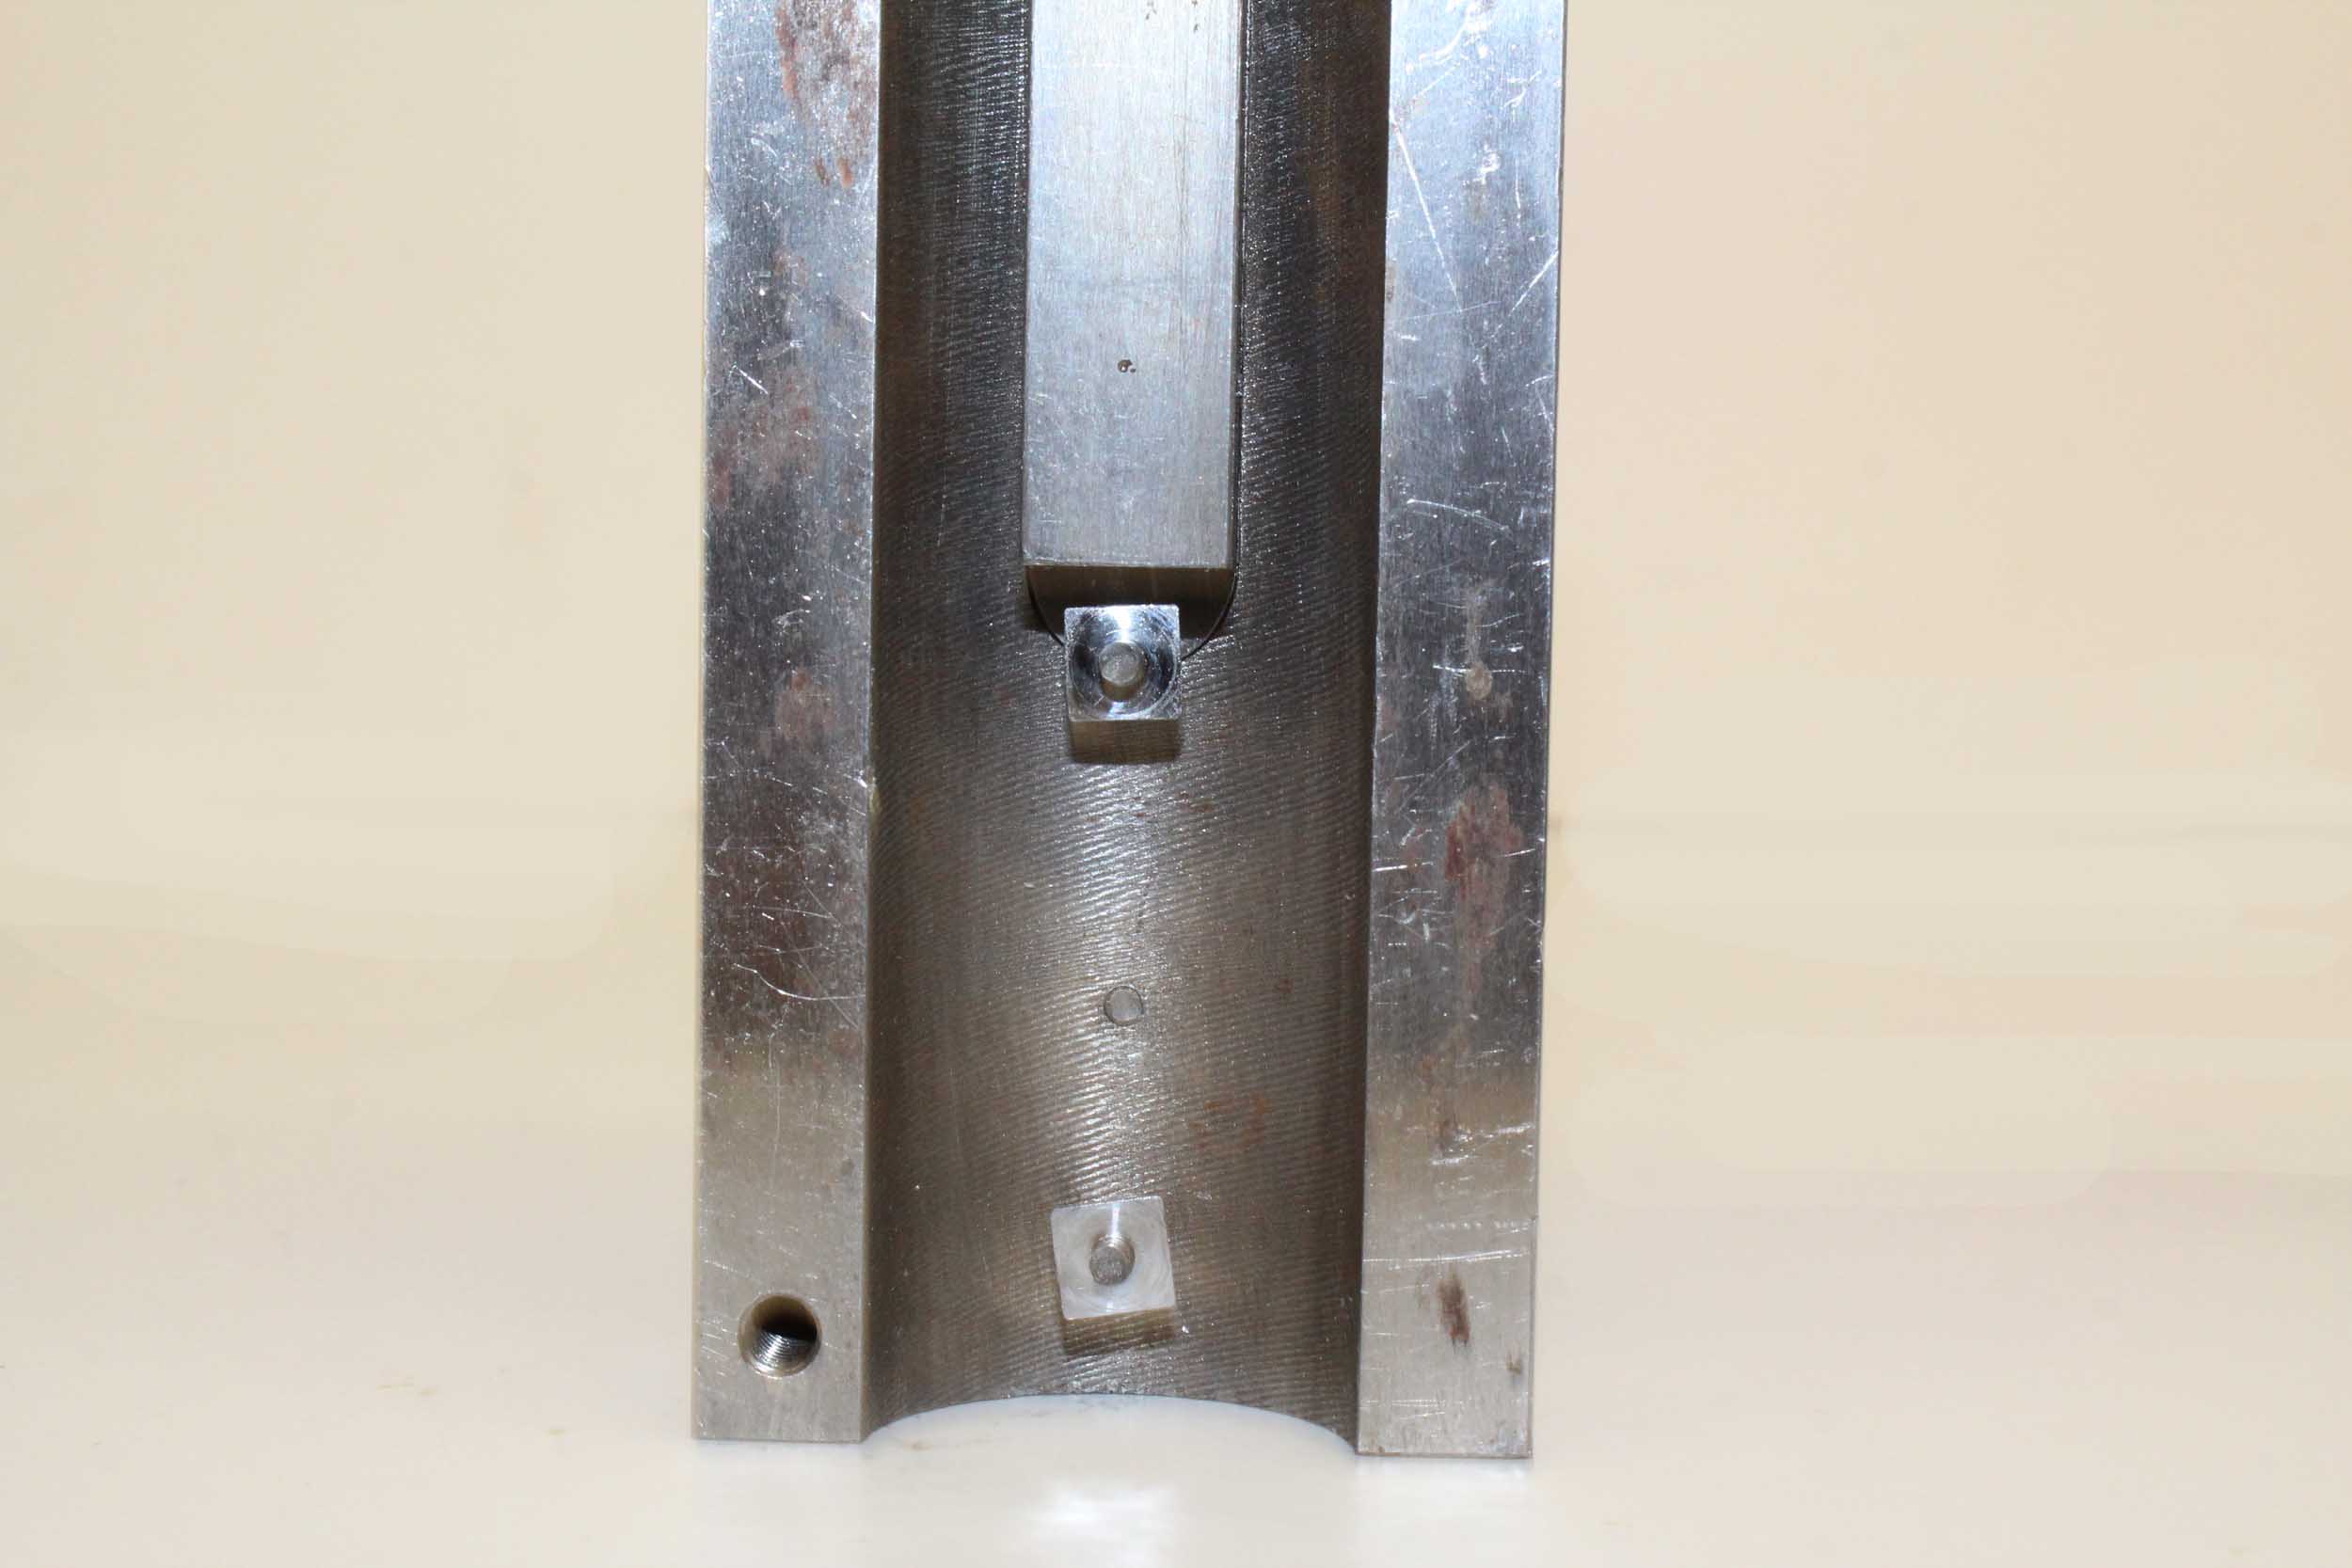
Note
the square into round screw bushings I designed. The larger square keeps the
busing locked from spinning or pulling out. I screw them into the mold before
pouring. The assembly screws are now shown.
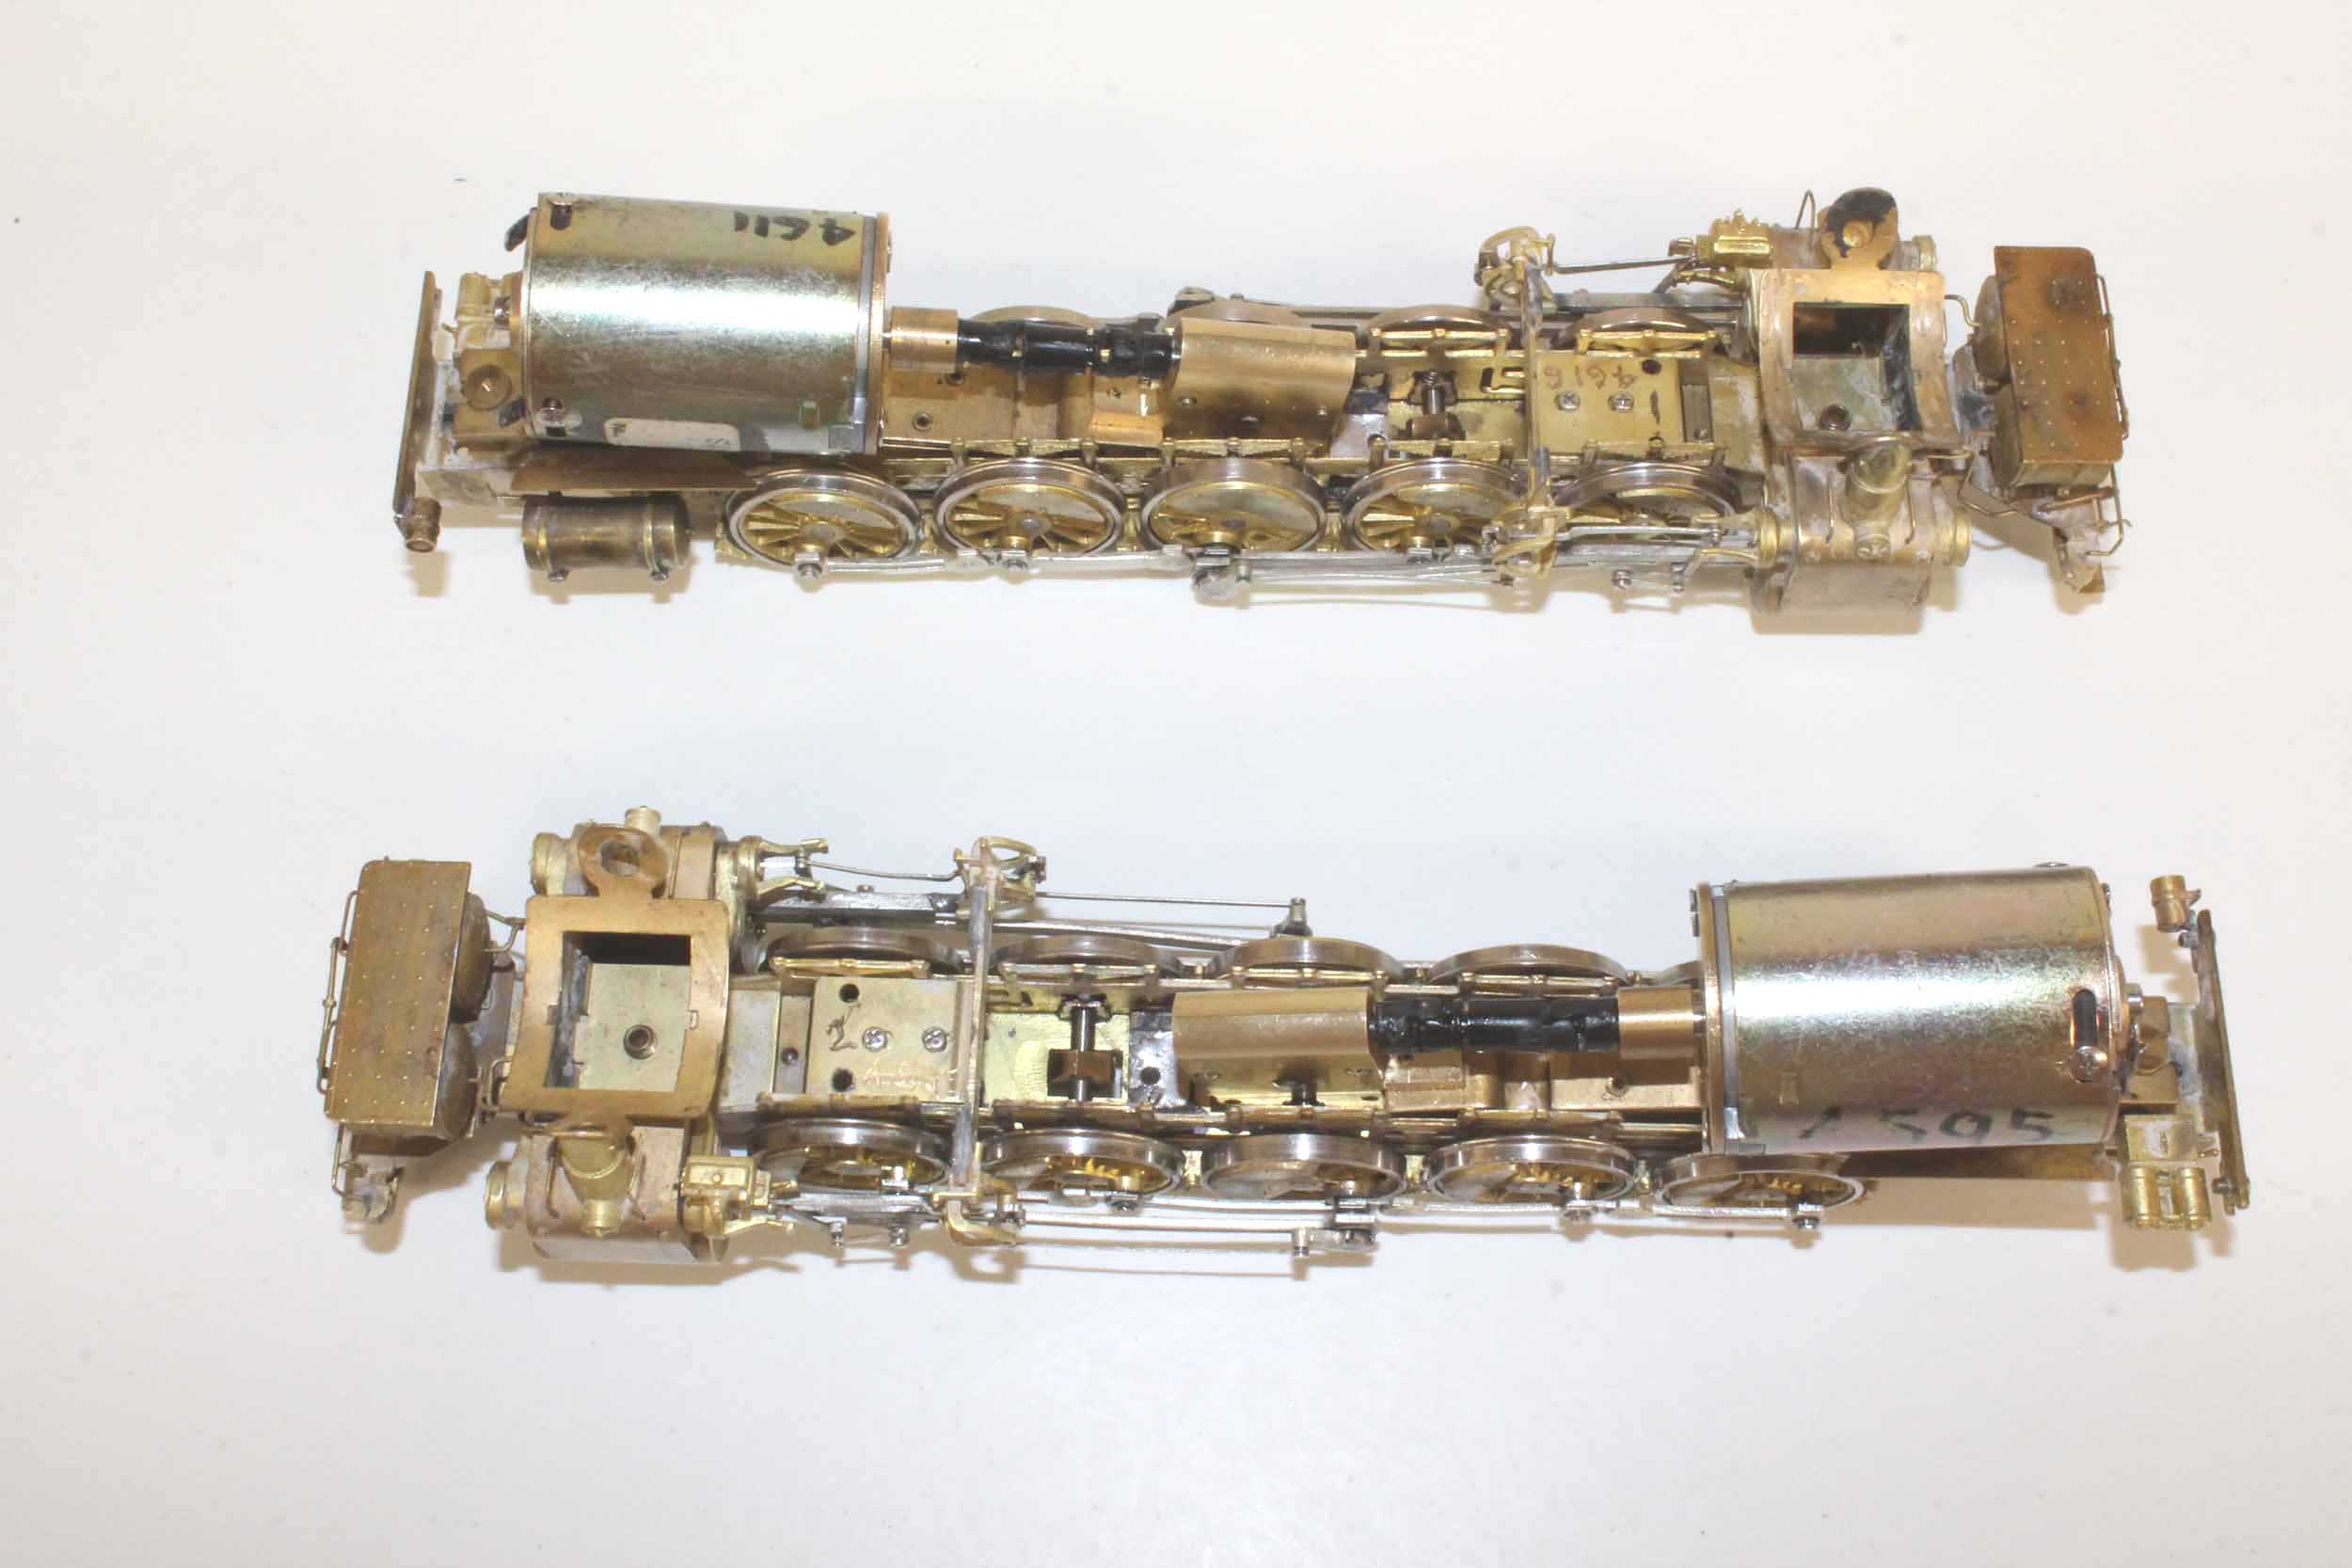
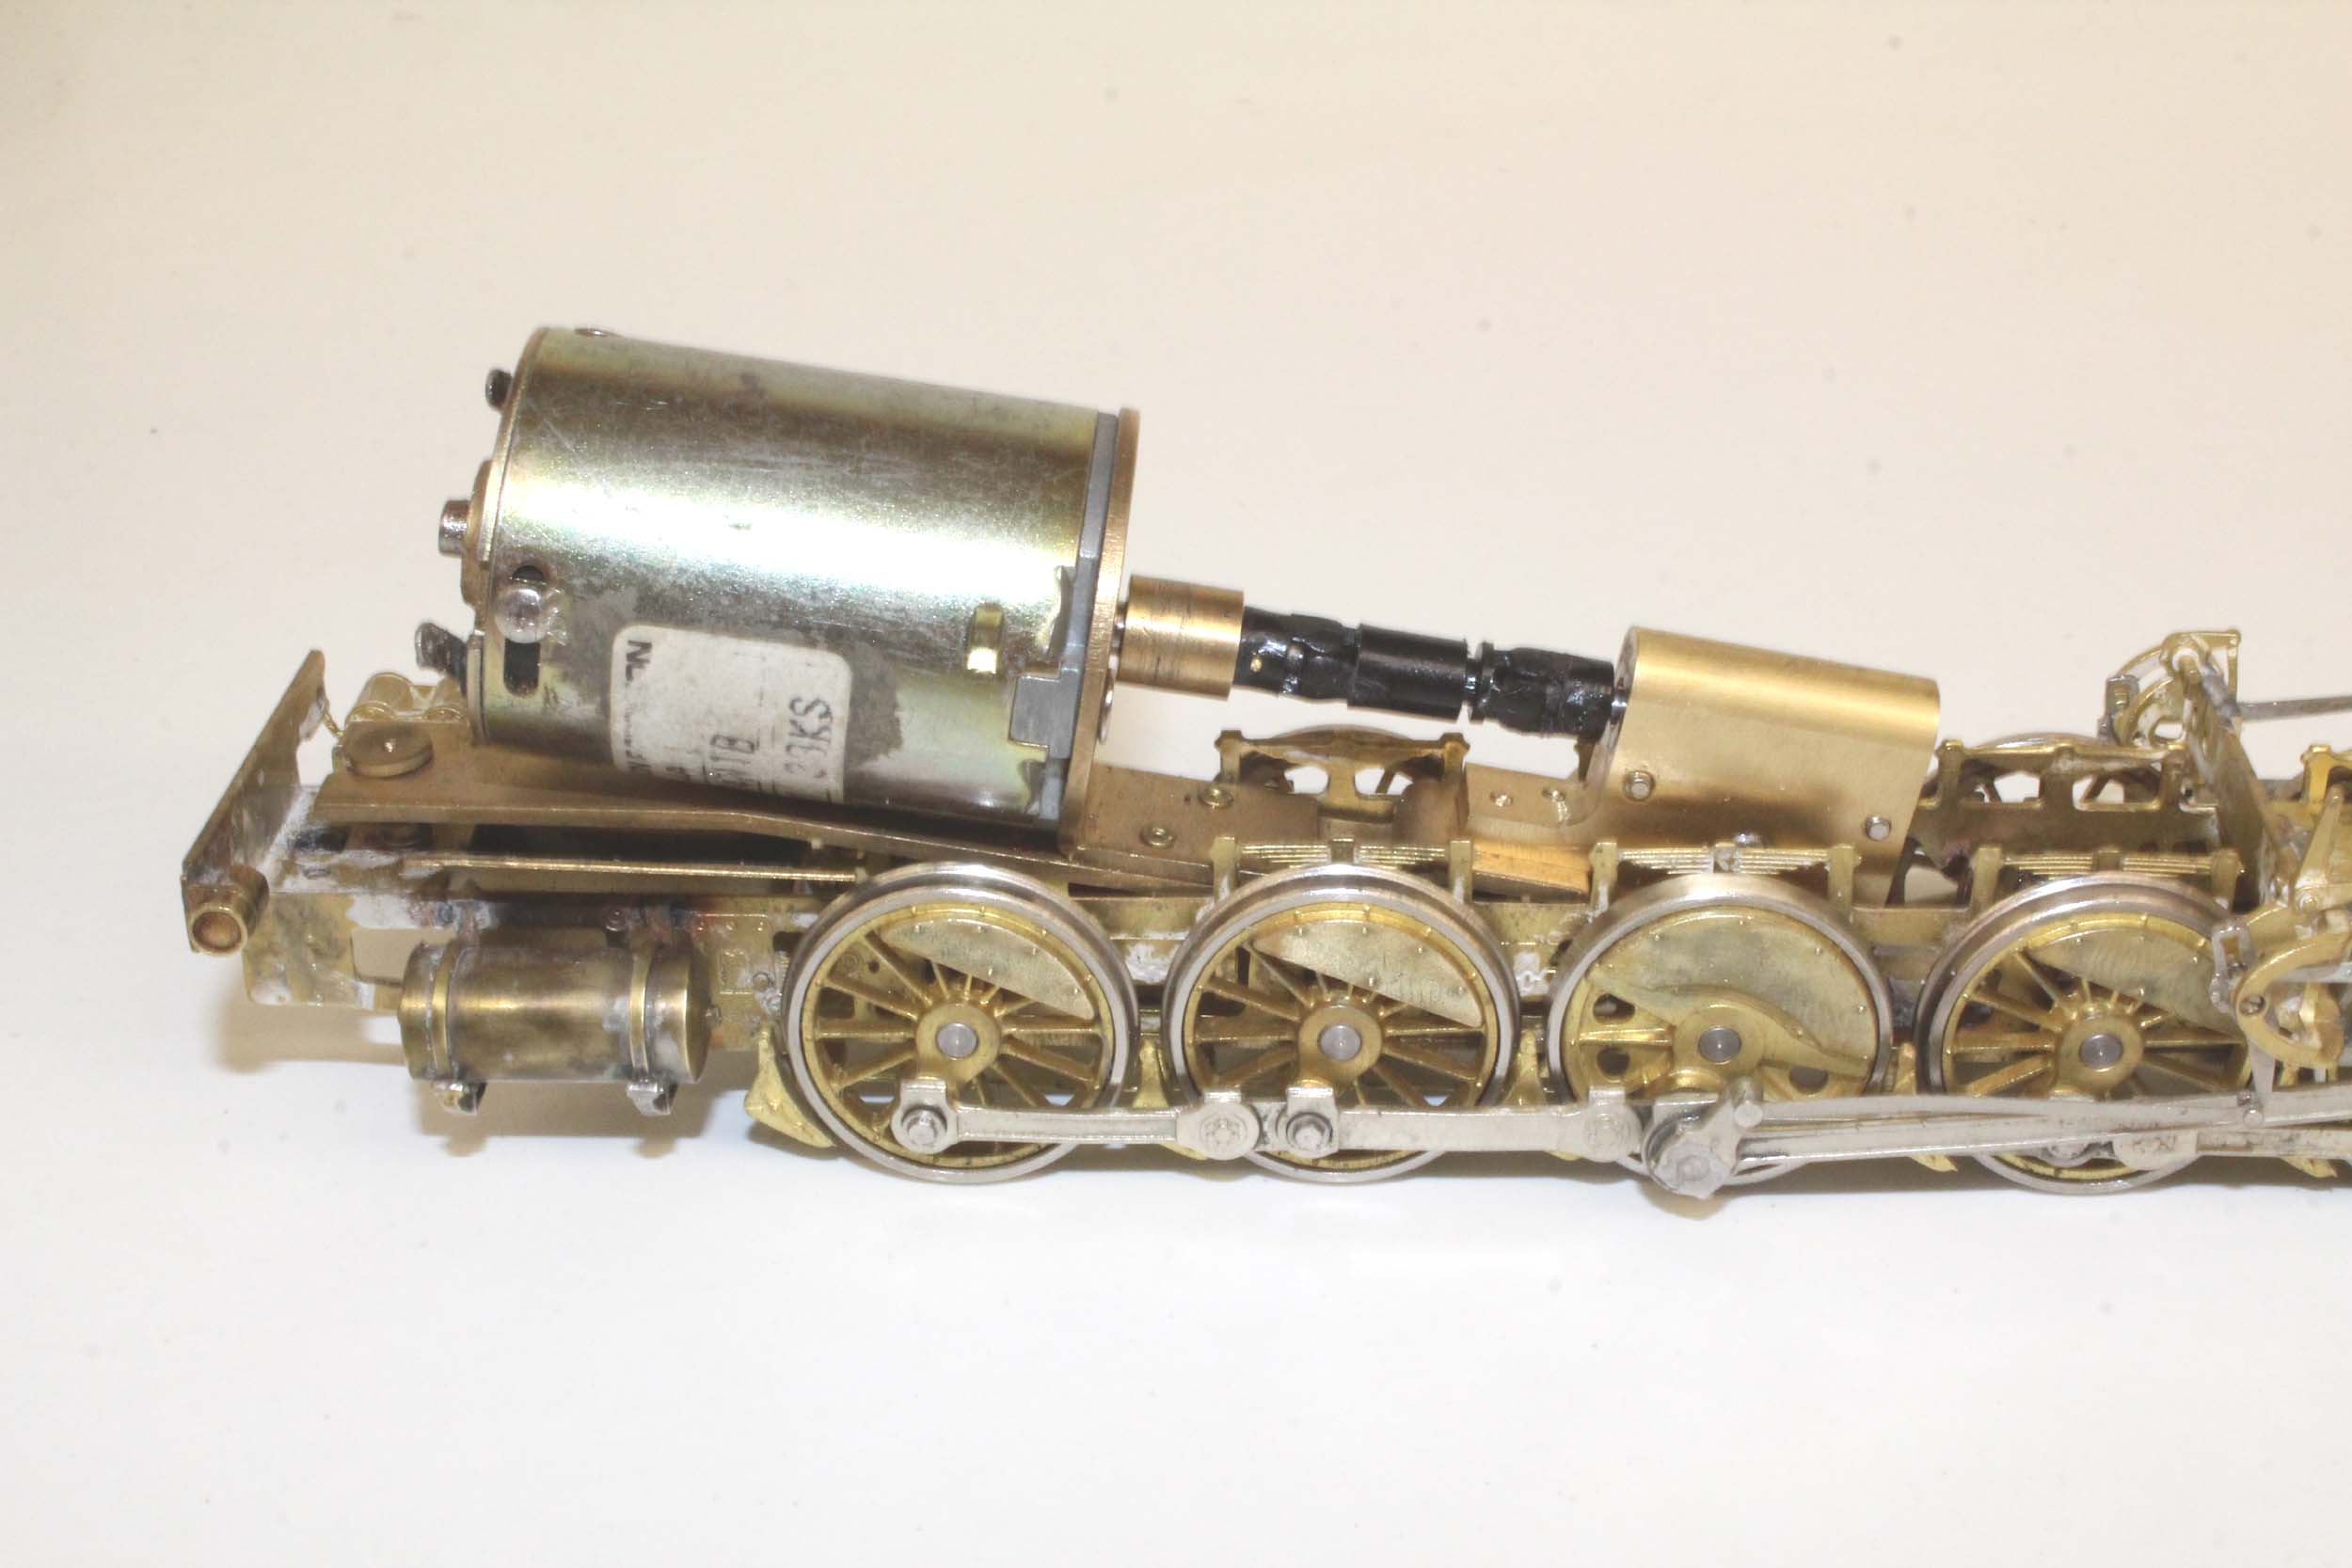
New Gearbox
This
is the new gearbox, made by my freind Brian Jackson, installed in the drives.
The locos would have failed without them.
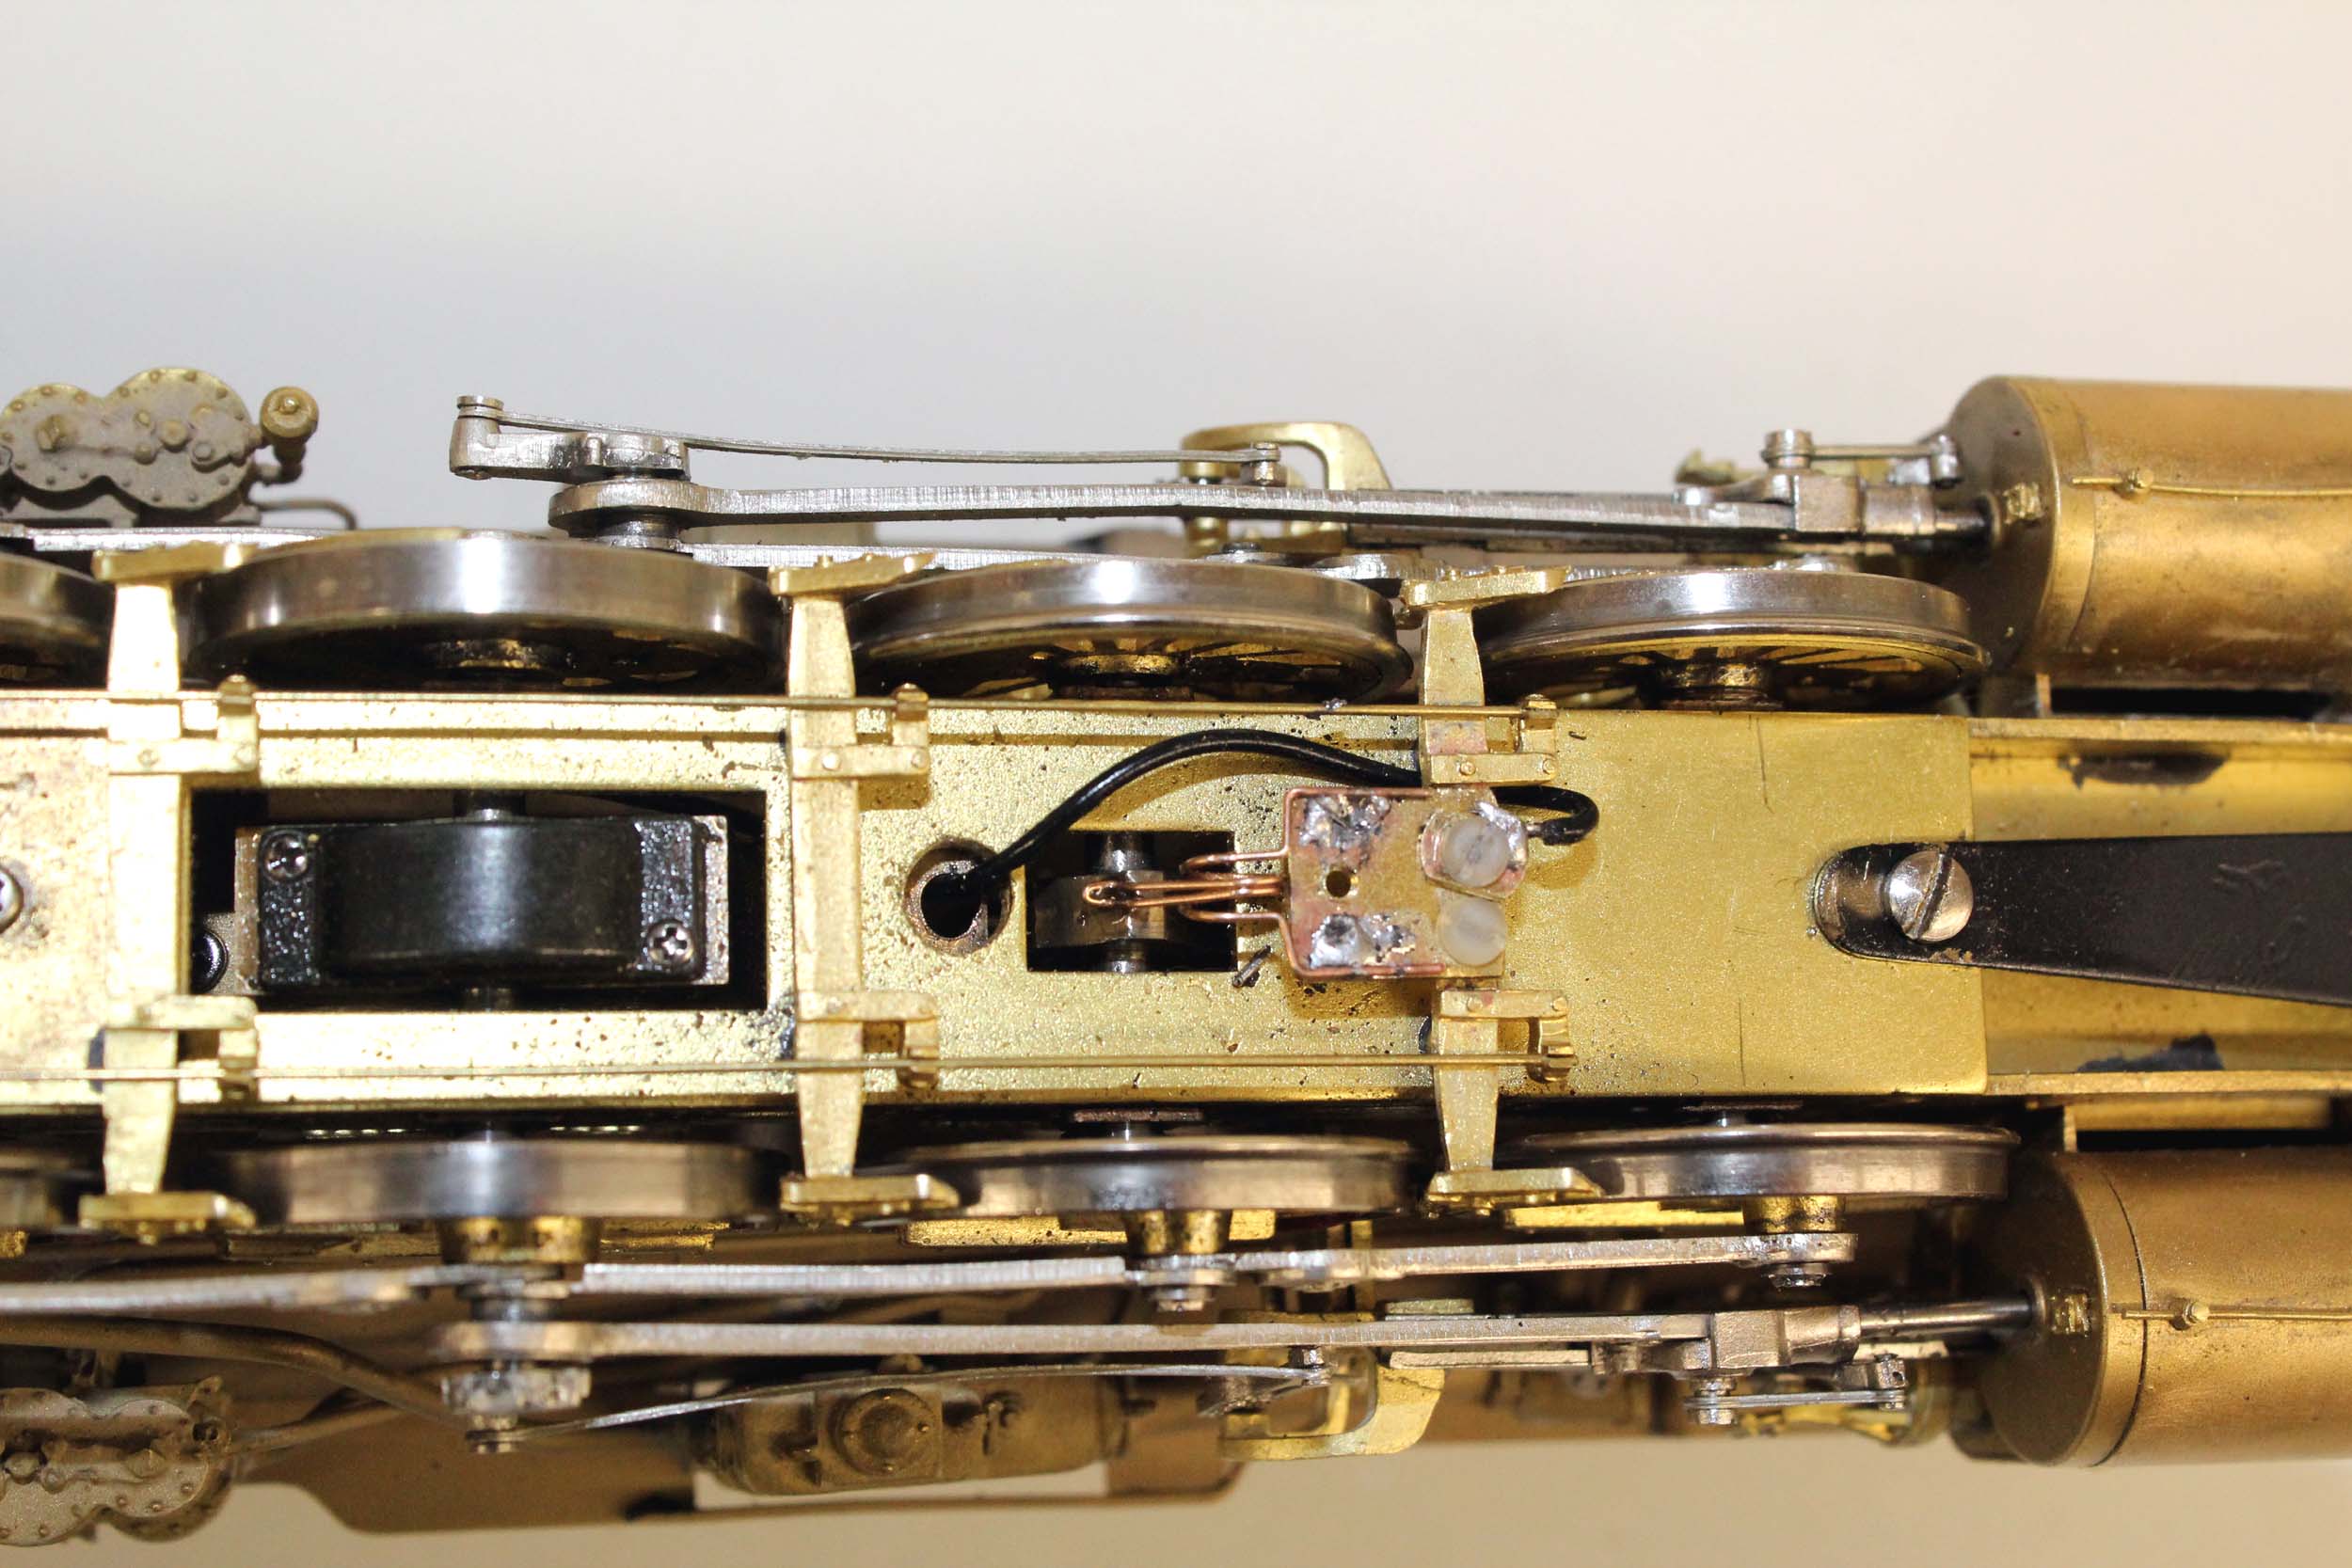
Sound Decoder & Wiper
First Attempts
I
was just starting to get involved with sound units in 2008. They were expensive
compared to a NCE motor decoder only. Soundtraxx was releasing the first Tsunami
that was much better than previous decoders. Still I had NO interest in trying
to program the chuff timing like all my friends were doing. I wanted to use the
sound cam since they all had one. The Tsunami had the sound cam wire that fired
the chuff 4 beats per axle revolution. Make 1 CV change to
turn it on.
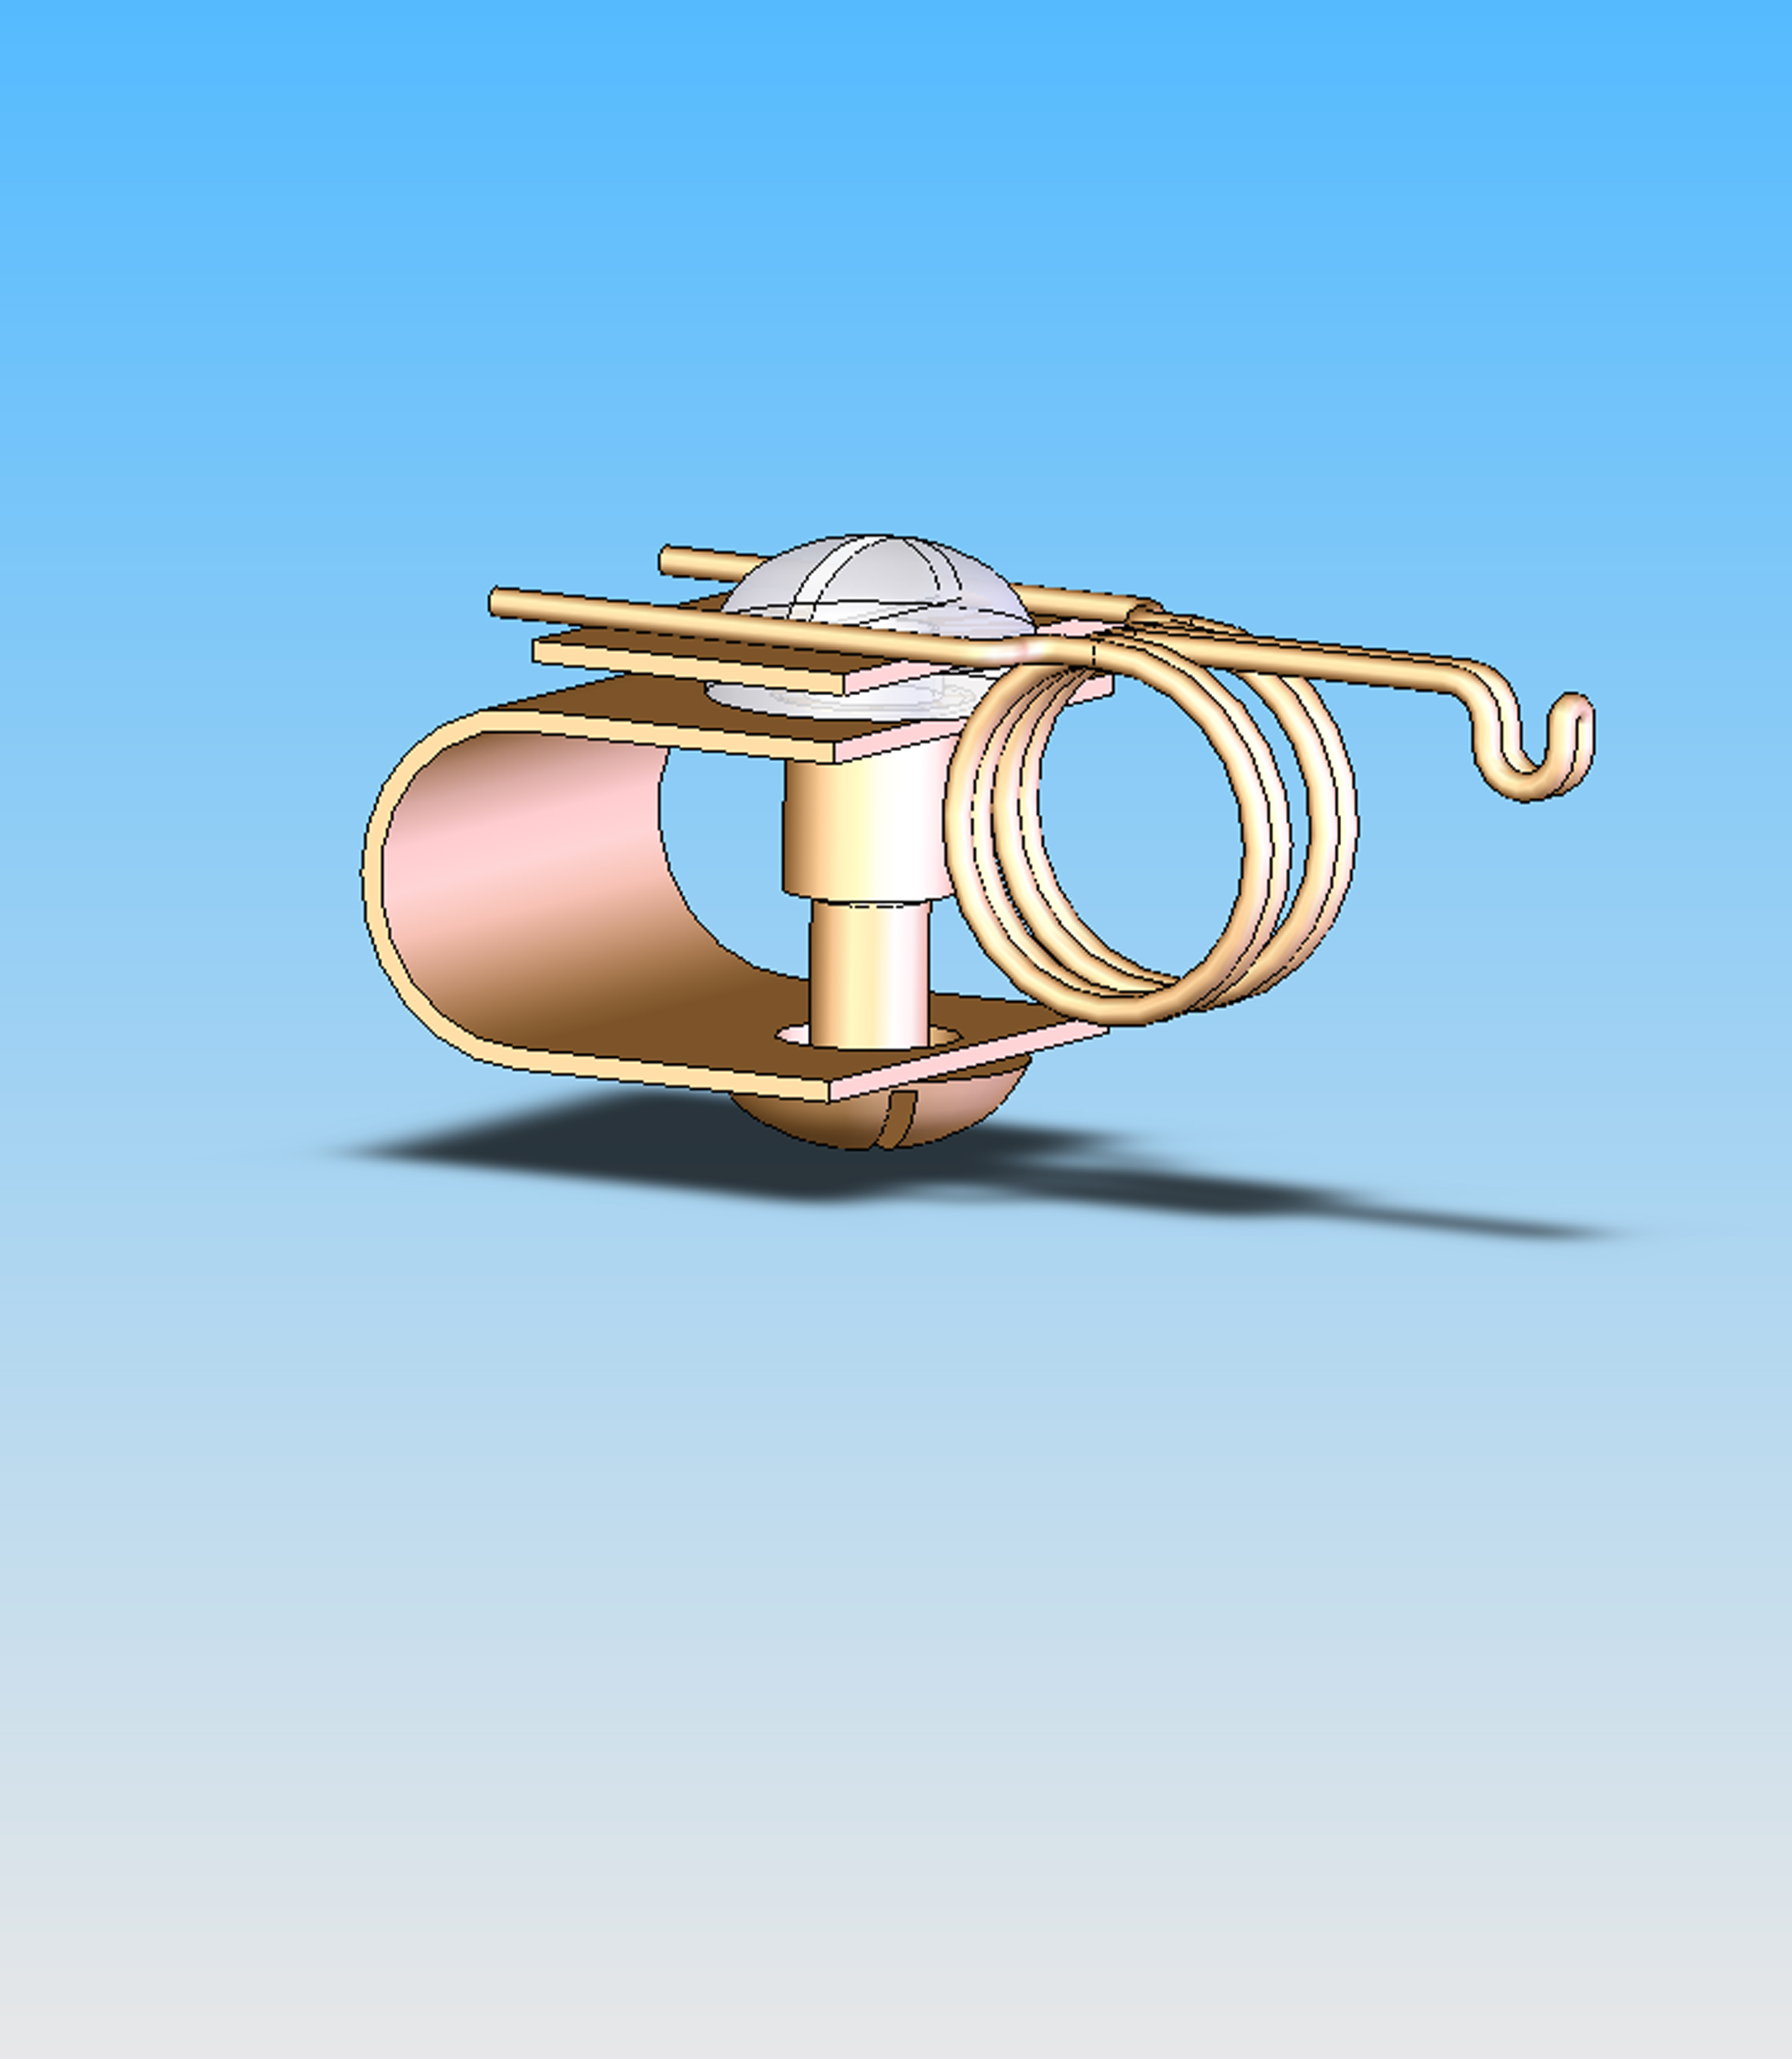
This
was 1 of my early “inventions” of the sound cam wiper, which has evolved into
my standard wiper. I have used variations on this wiper many times now with
great success. It is phosphor bronze wire. When I was in Solidworks School my
teacher made this illustration. While nothing for the wiper was made in
Solidworks the visual is just awesome!
The
screw on the “C” bracket was the fine adjustment on the wiper. This was all
internal in the frame with the adjustment accessible from the bottom.

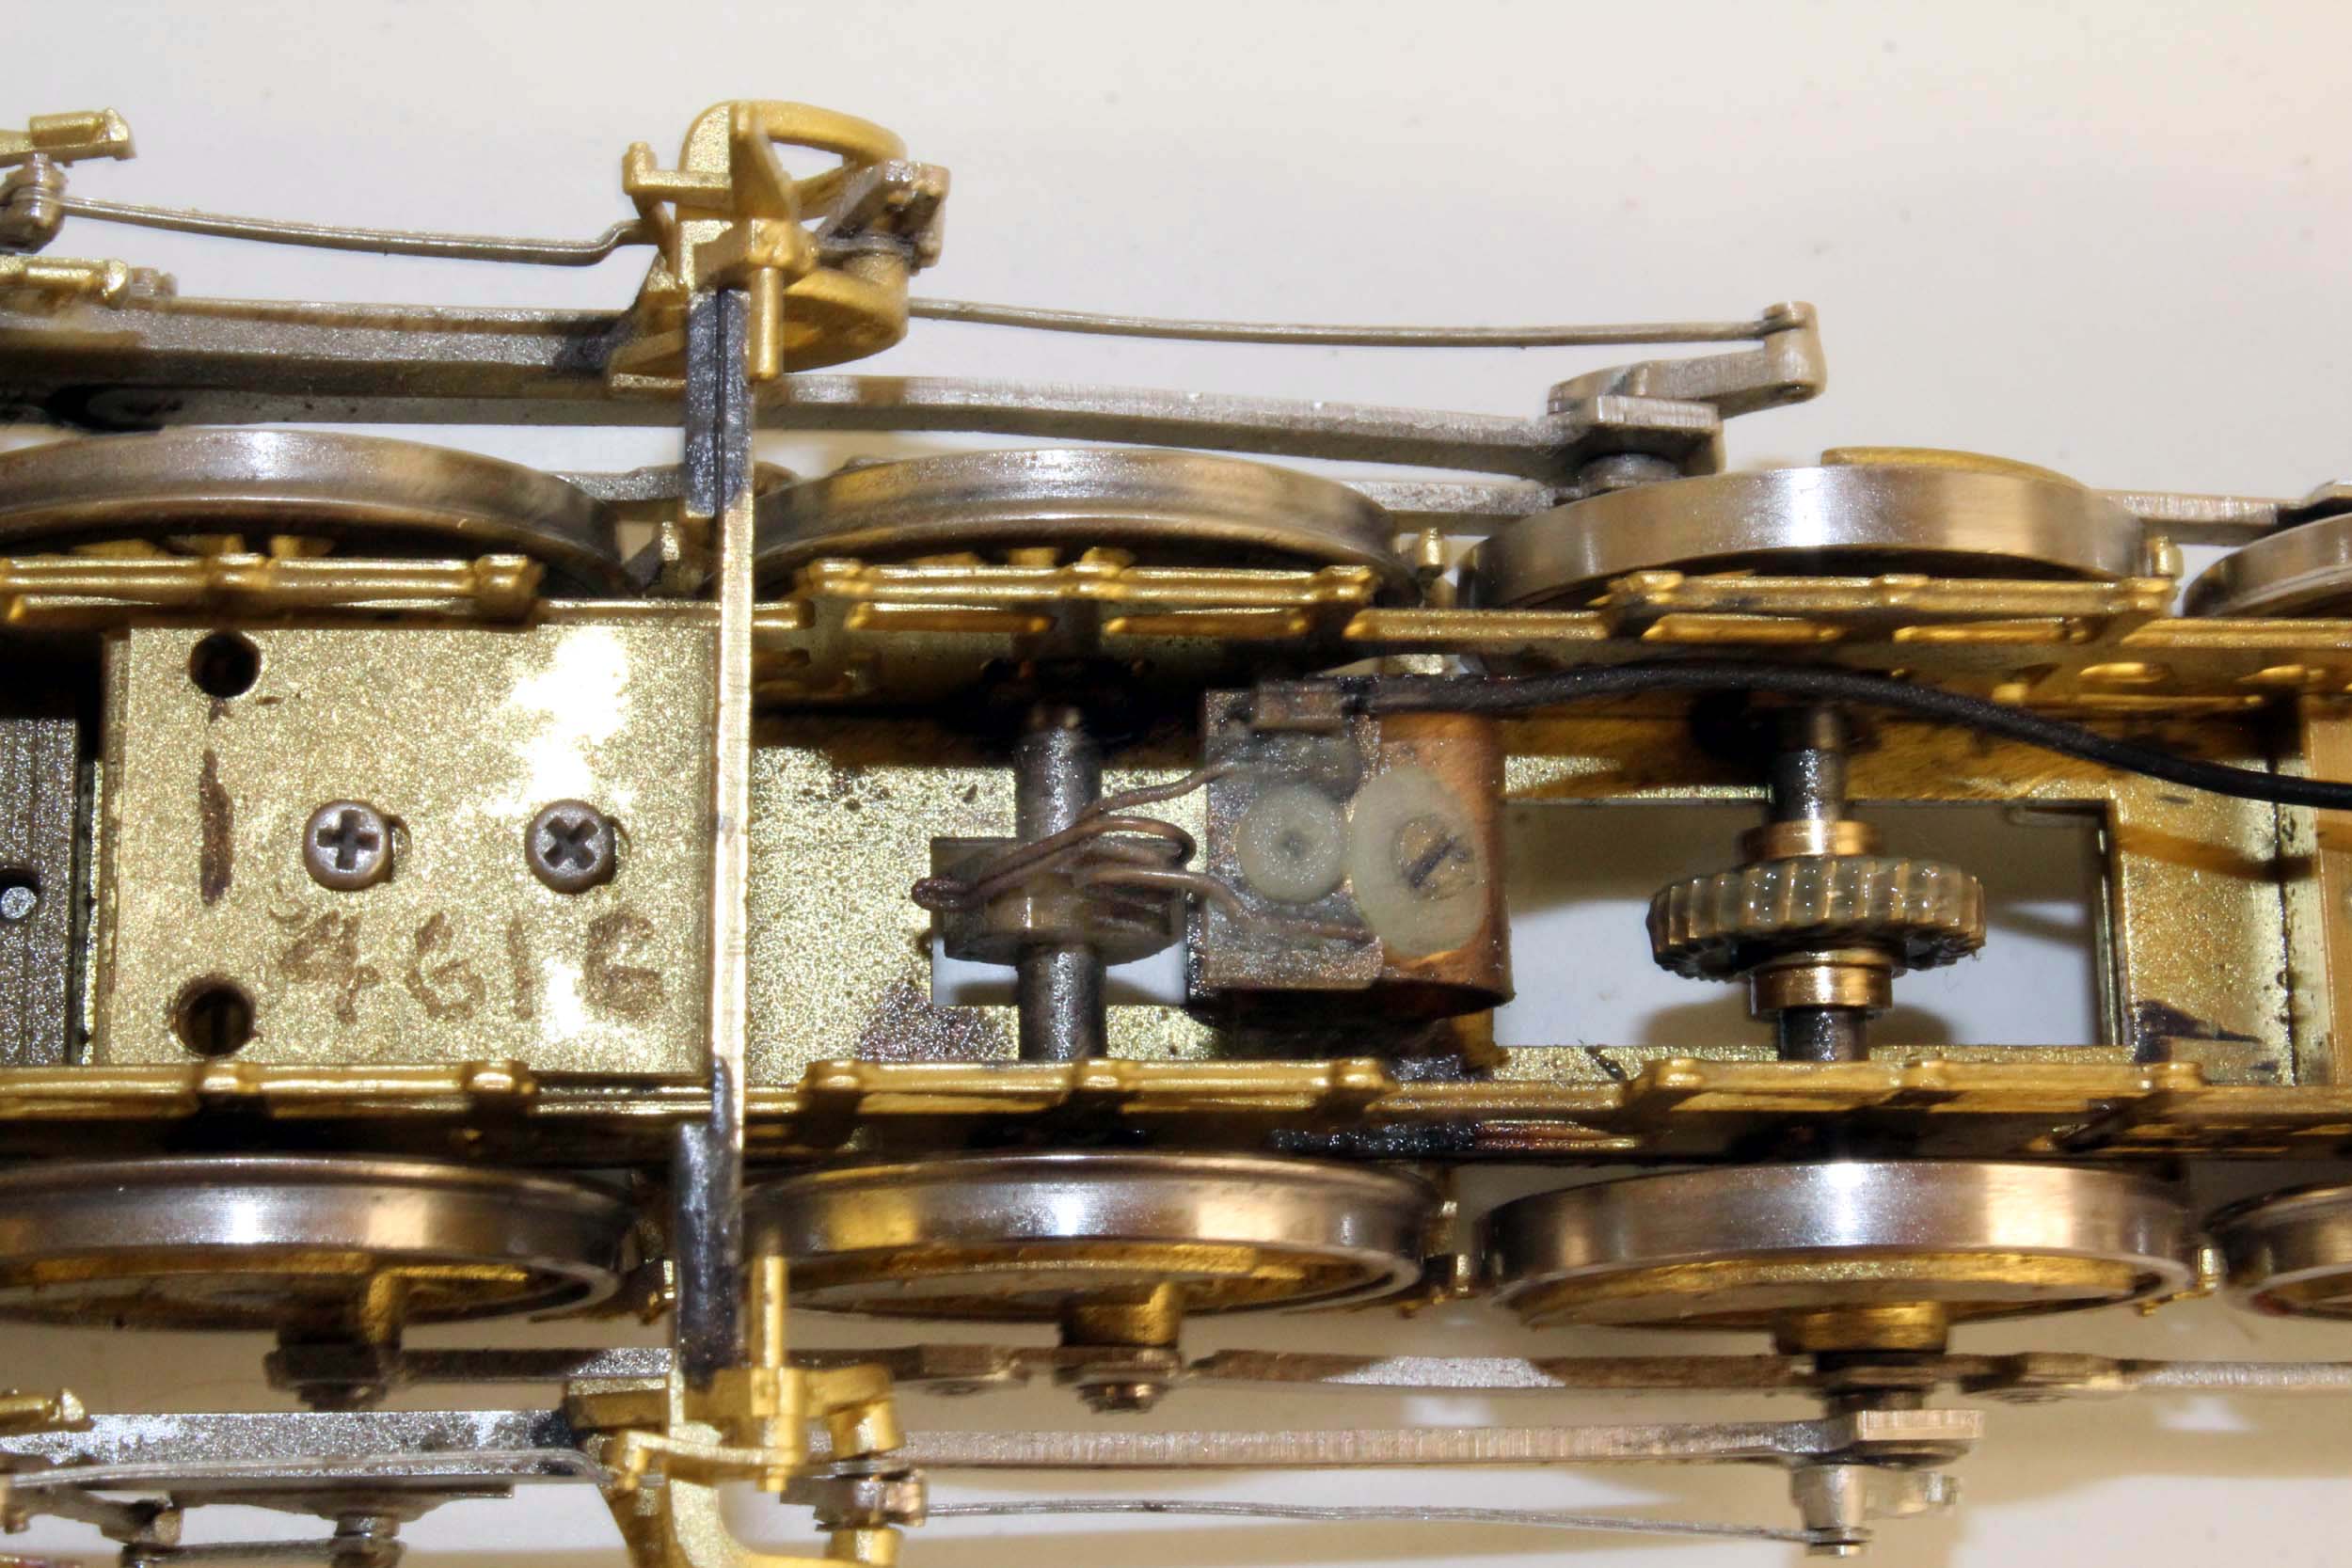
In 2017 when I installed the new gearbox the above set up would not
fit. This is my current standard wiper with some mounting variations, depending
on the locomotive.
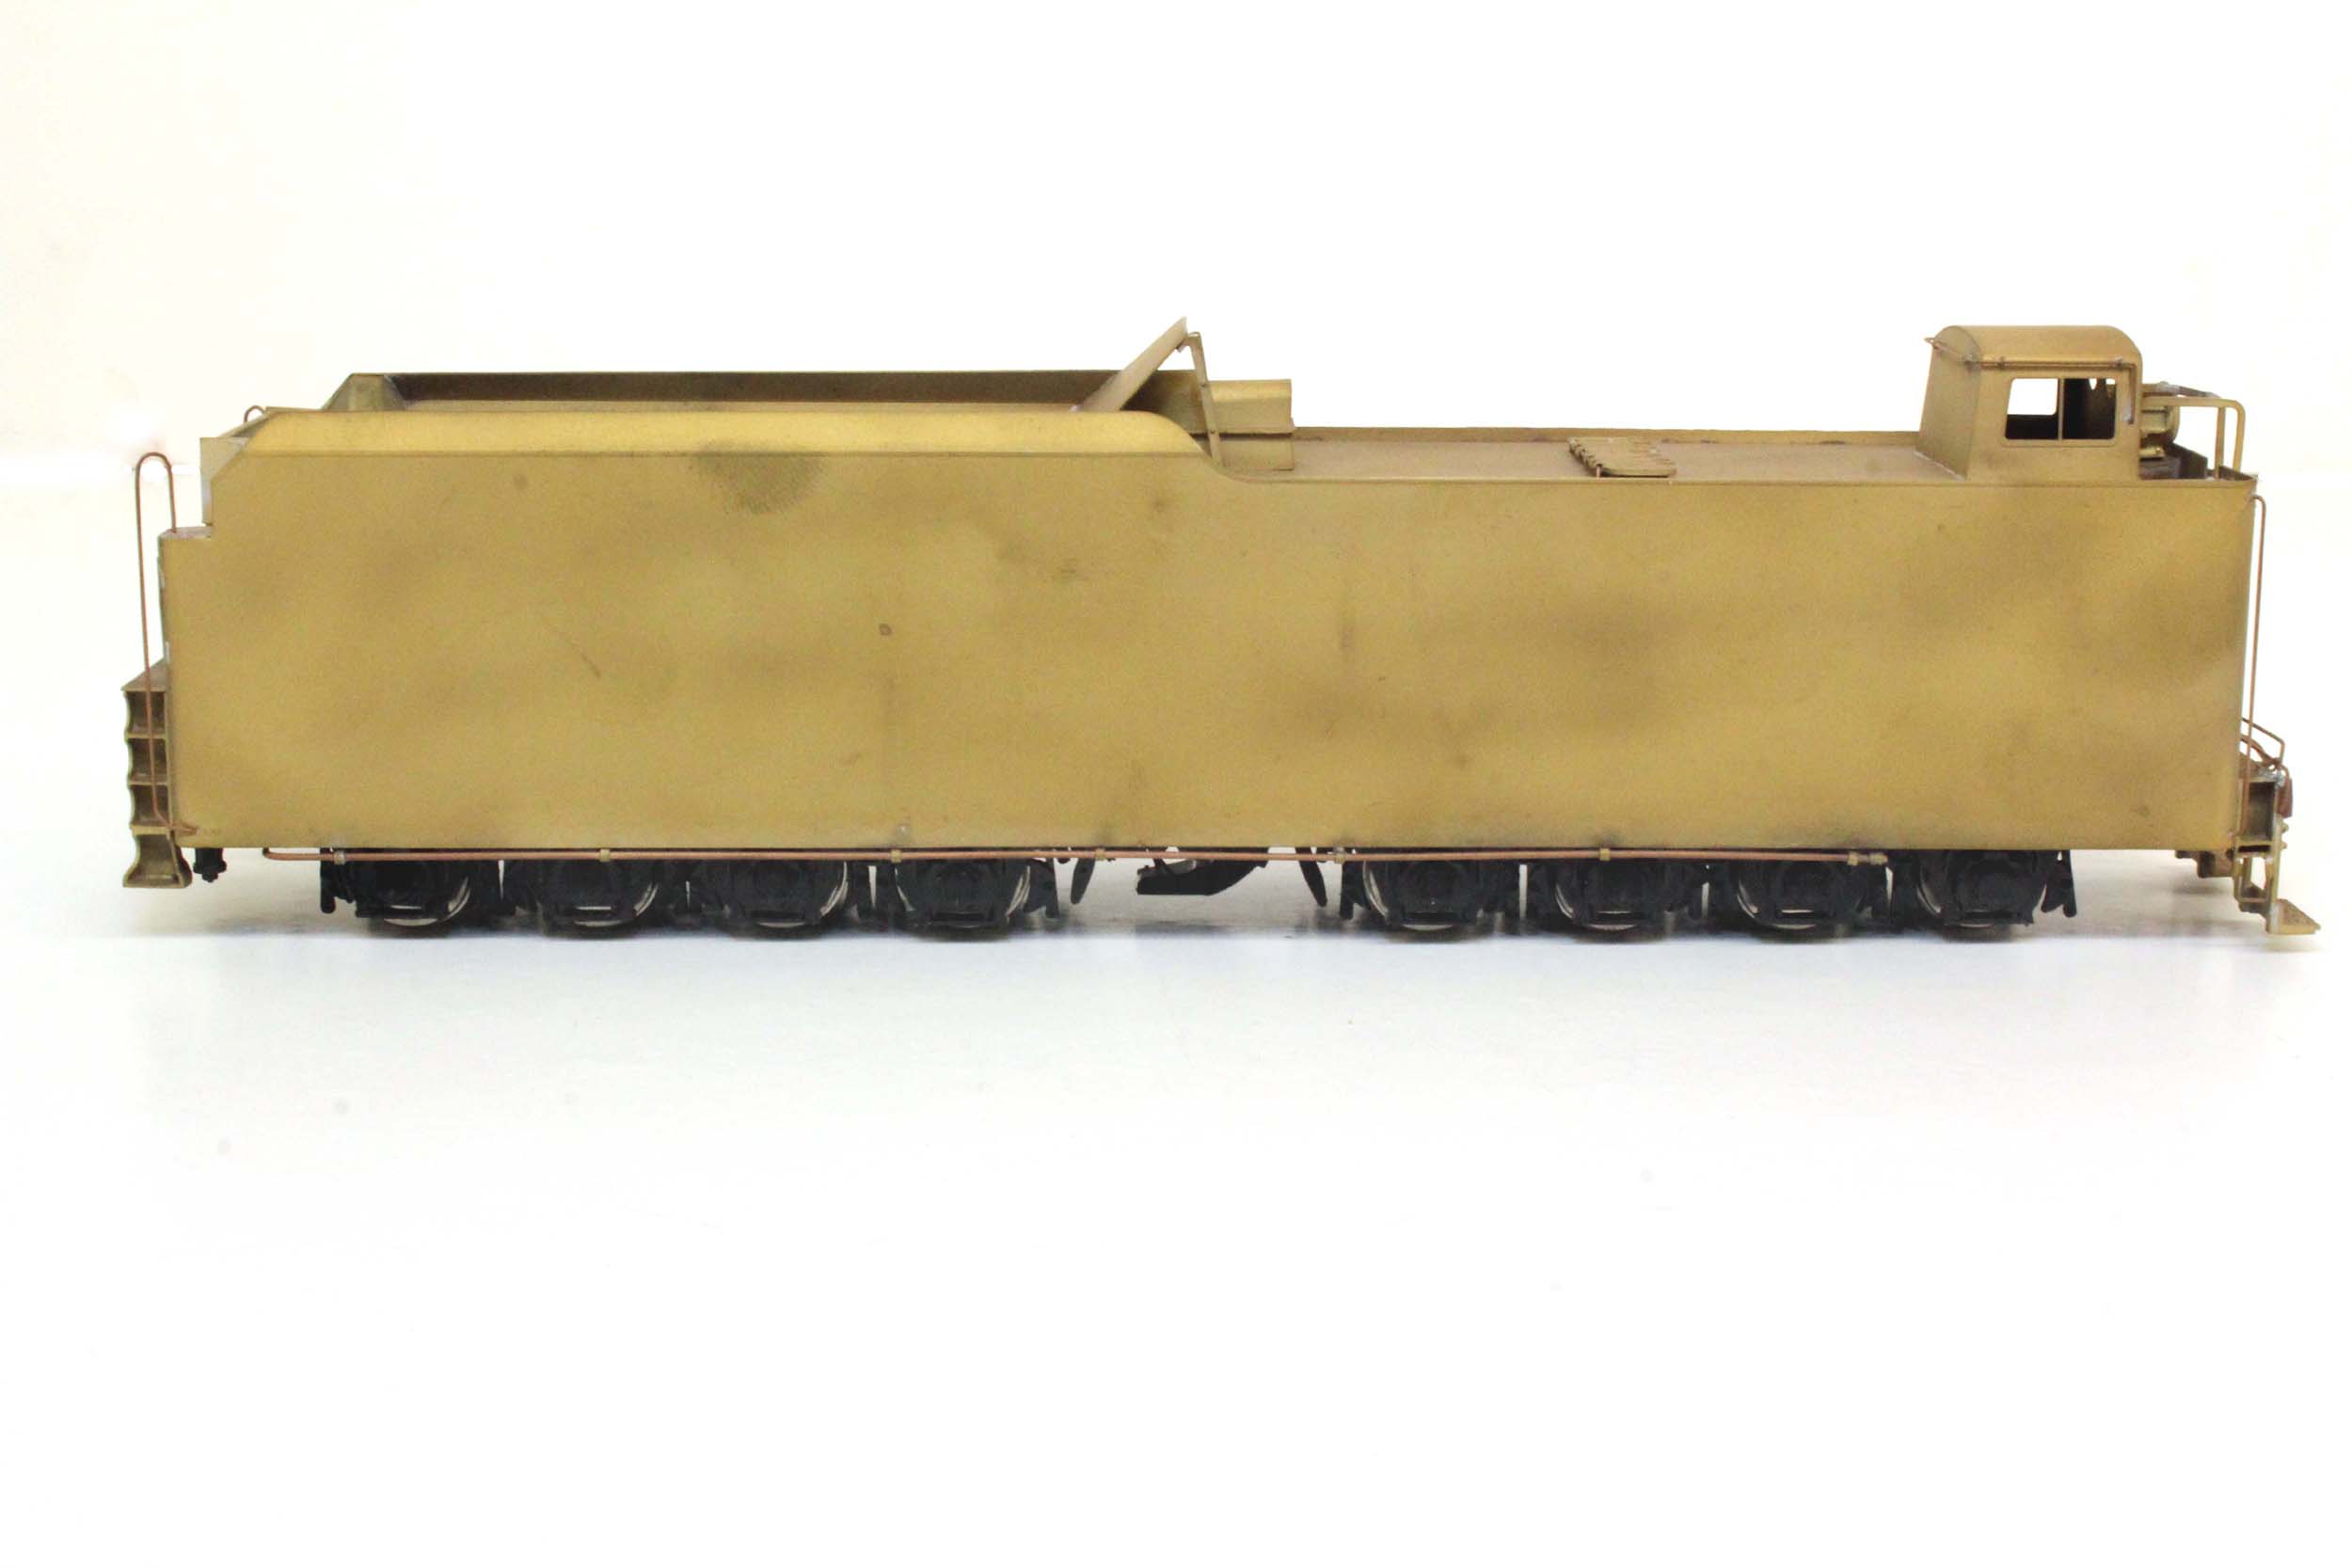
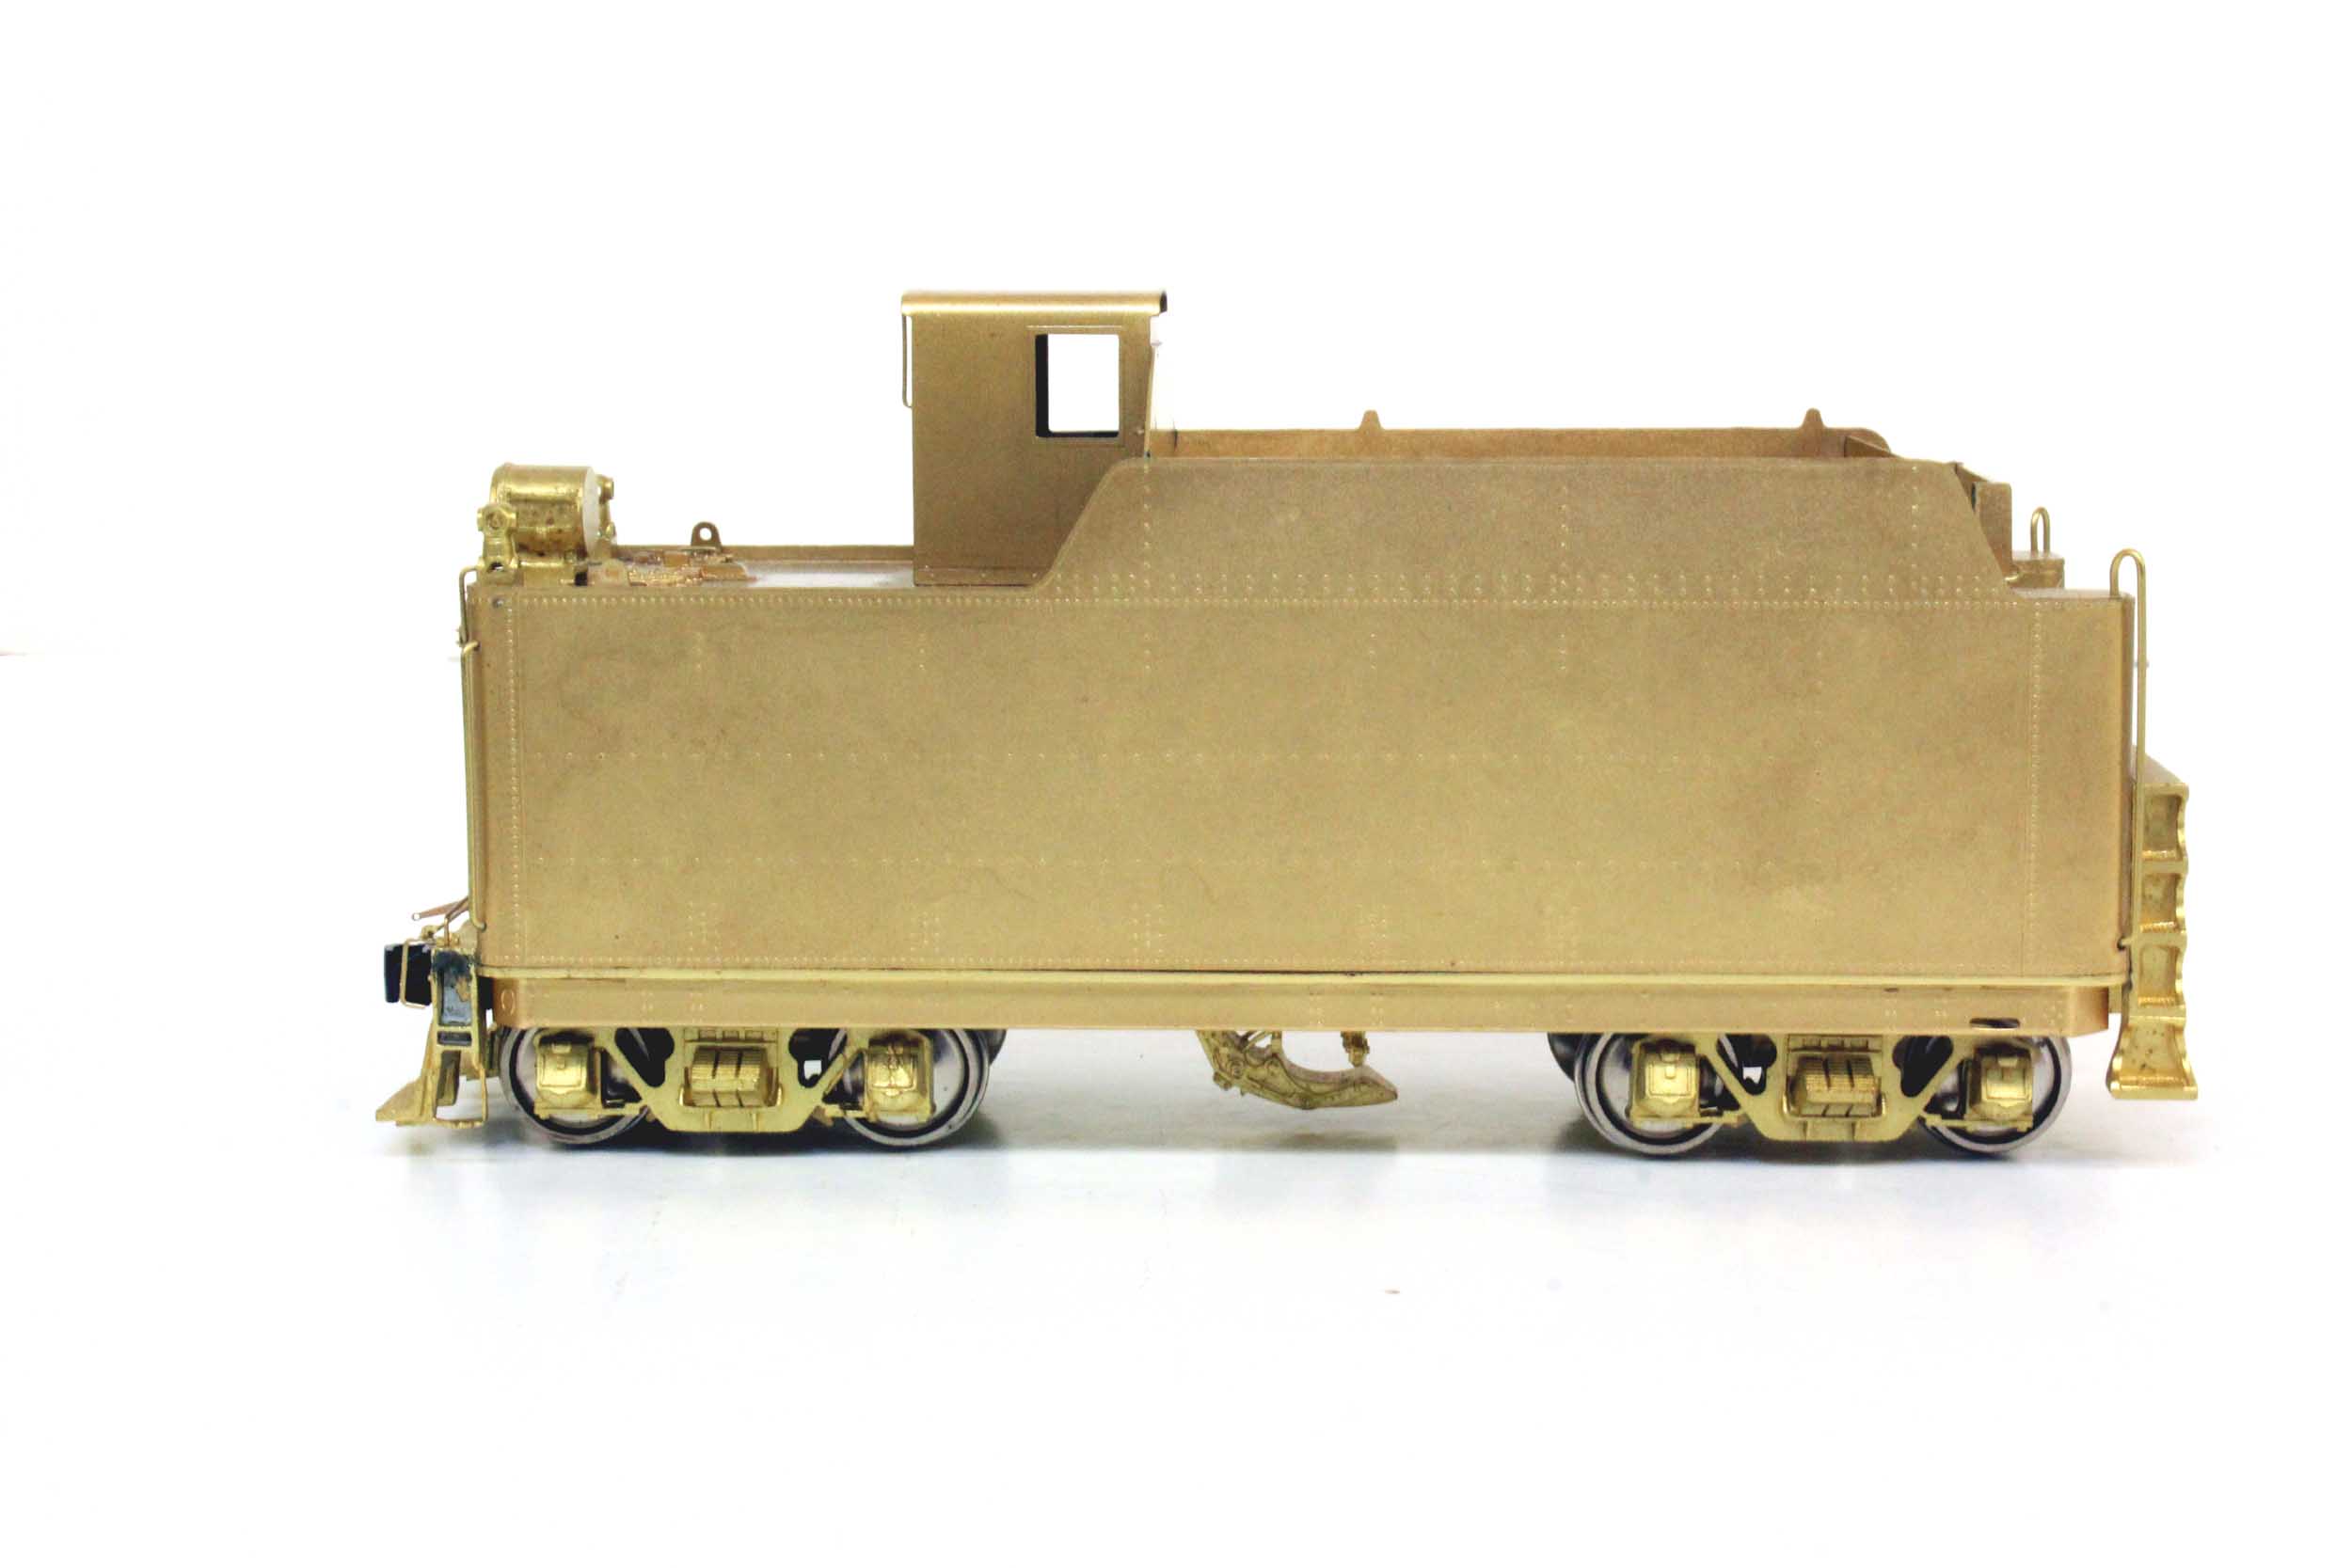
Tenders
Added 2-11-17
There
are a number of tenders that can be run with the I1. At least 4 tenders will be
included in the painting and completion of my I1 project. I built this tender
in 2008. It looked just like the 210F75a tender below when I started the
project. I wanted to make a 210F75a
tender without antennas and with footboards. That would mean filling lots of
holes for the antenna stanchions and 2 hatches. I decided to make a new tender
deck instead. I also added a backup headlight. It was a good challenge. I was
very happy with the results.
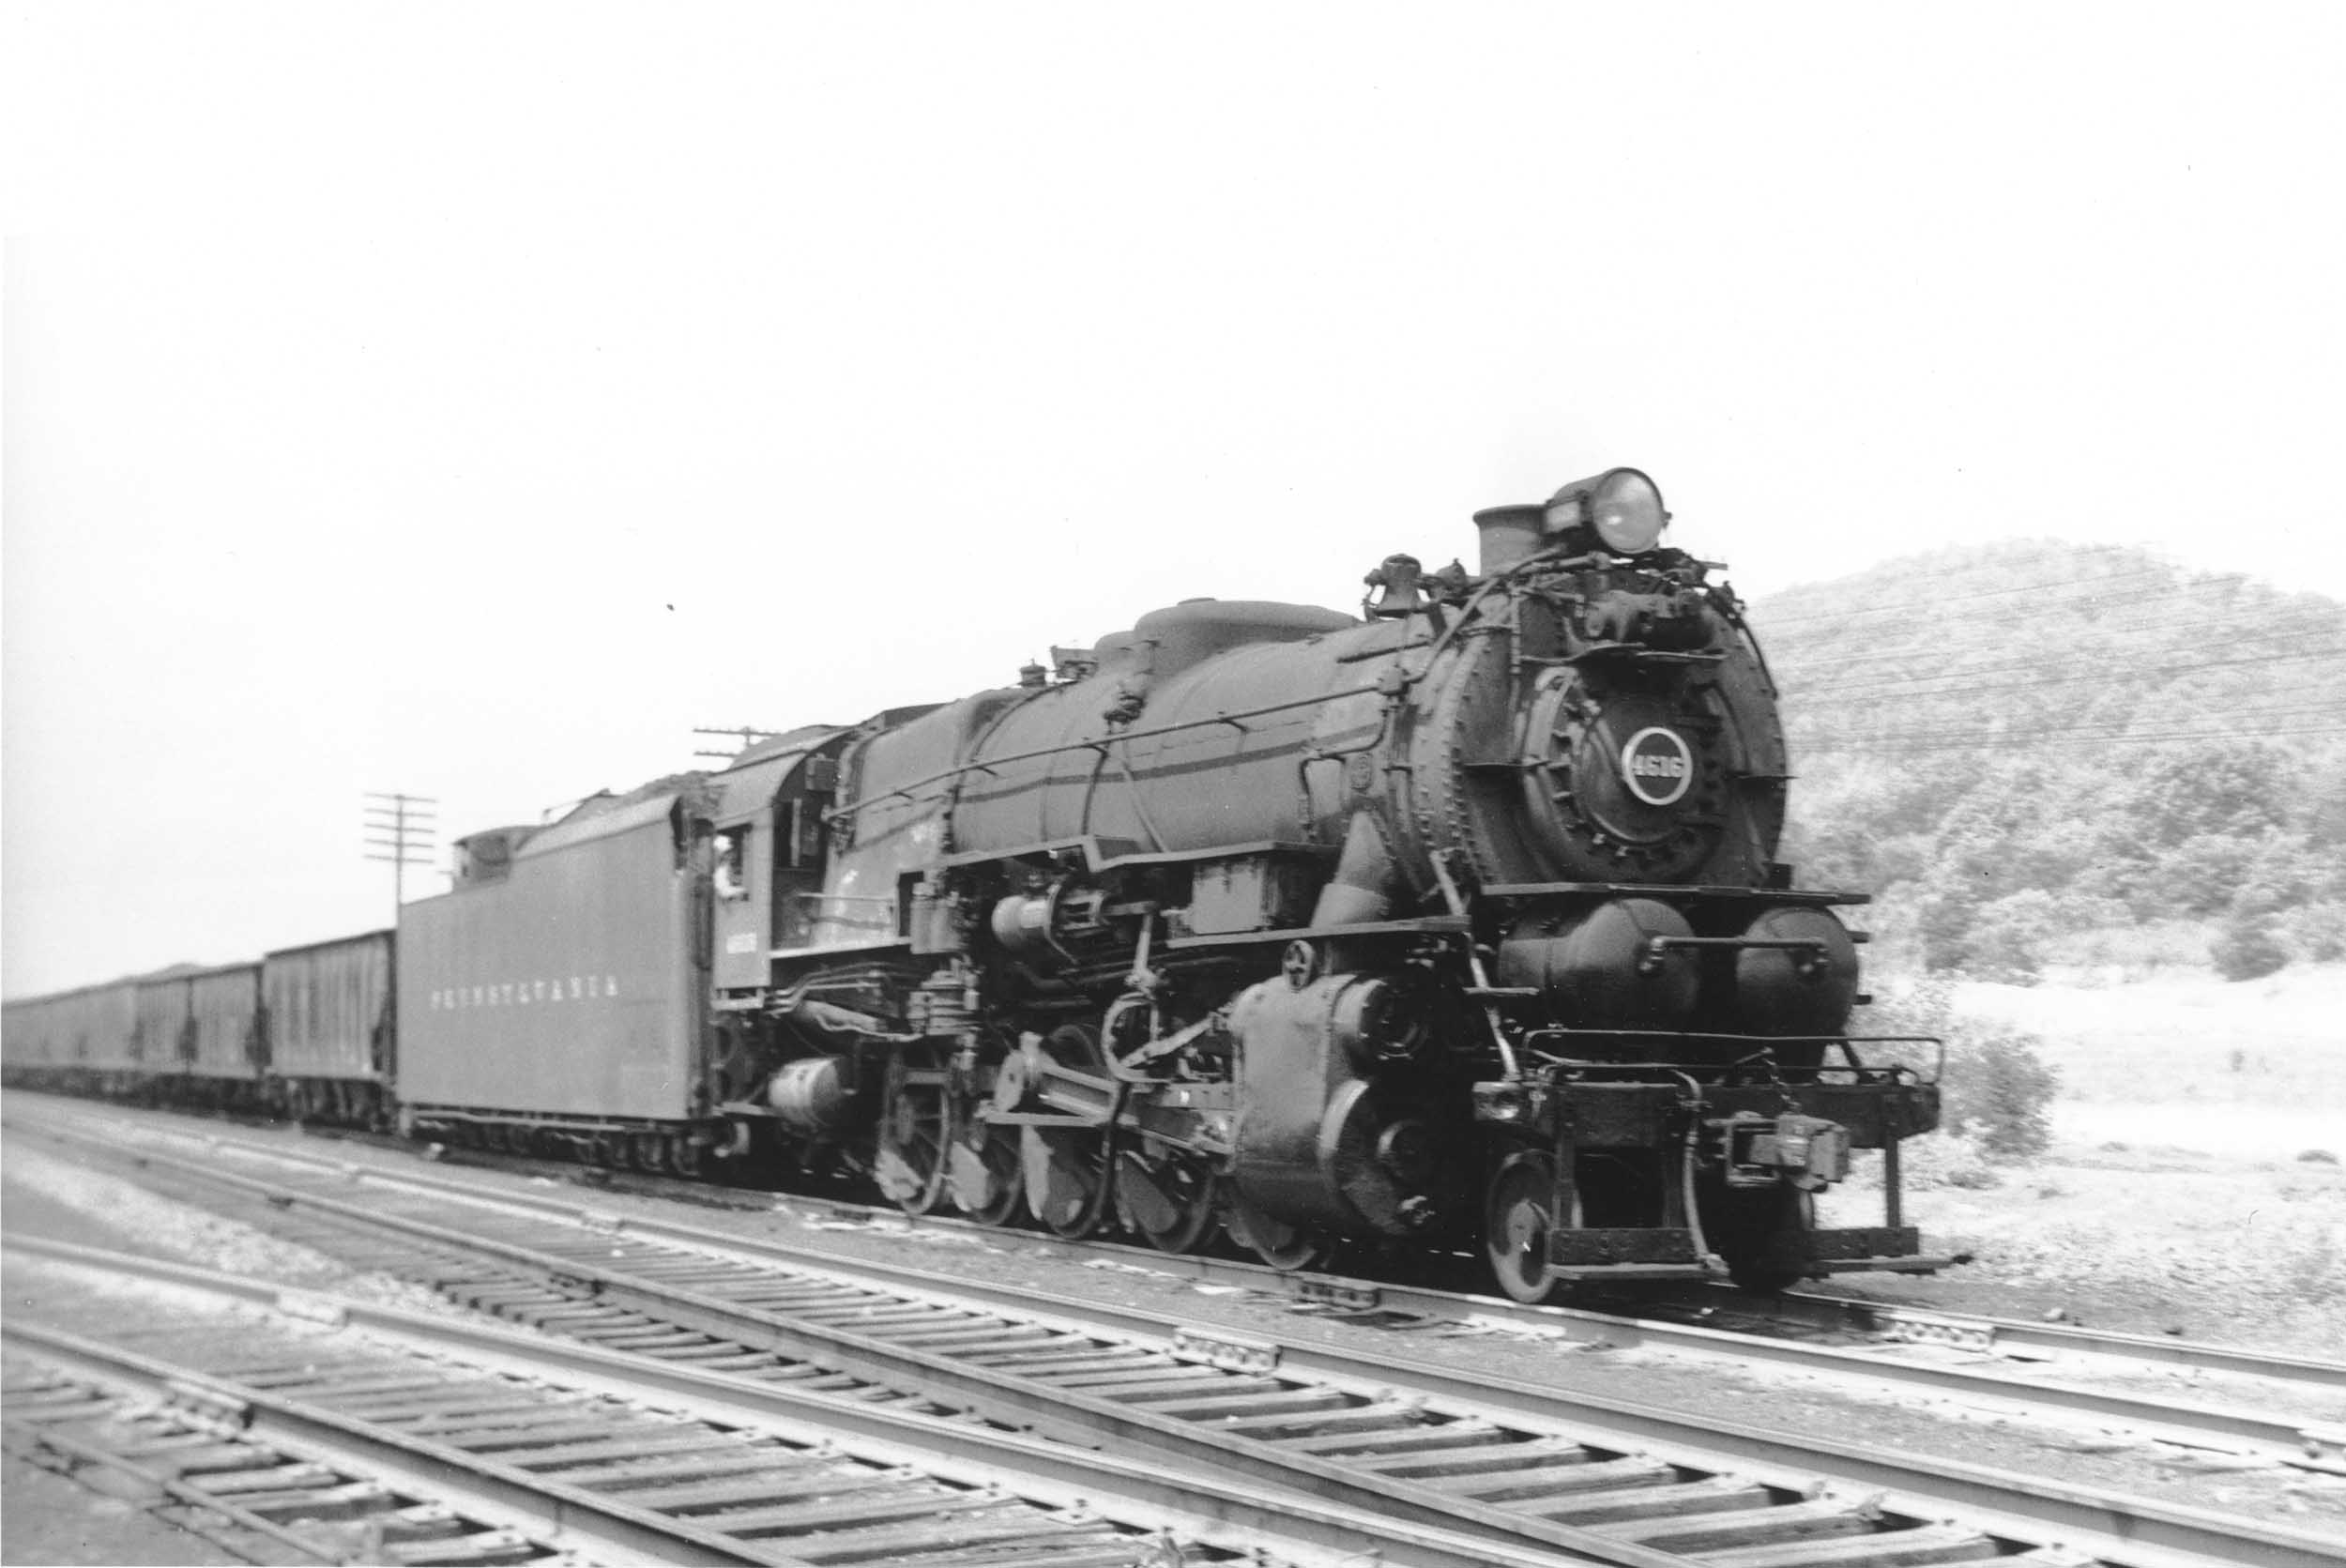
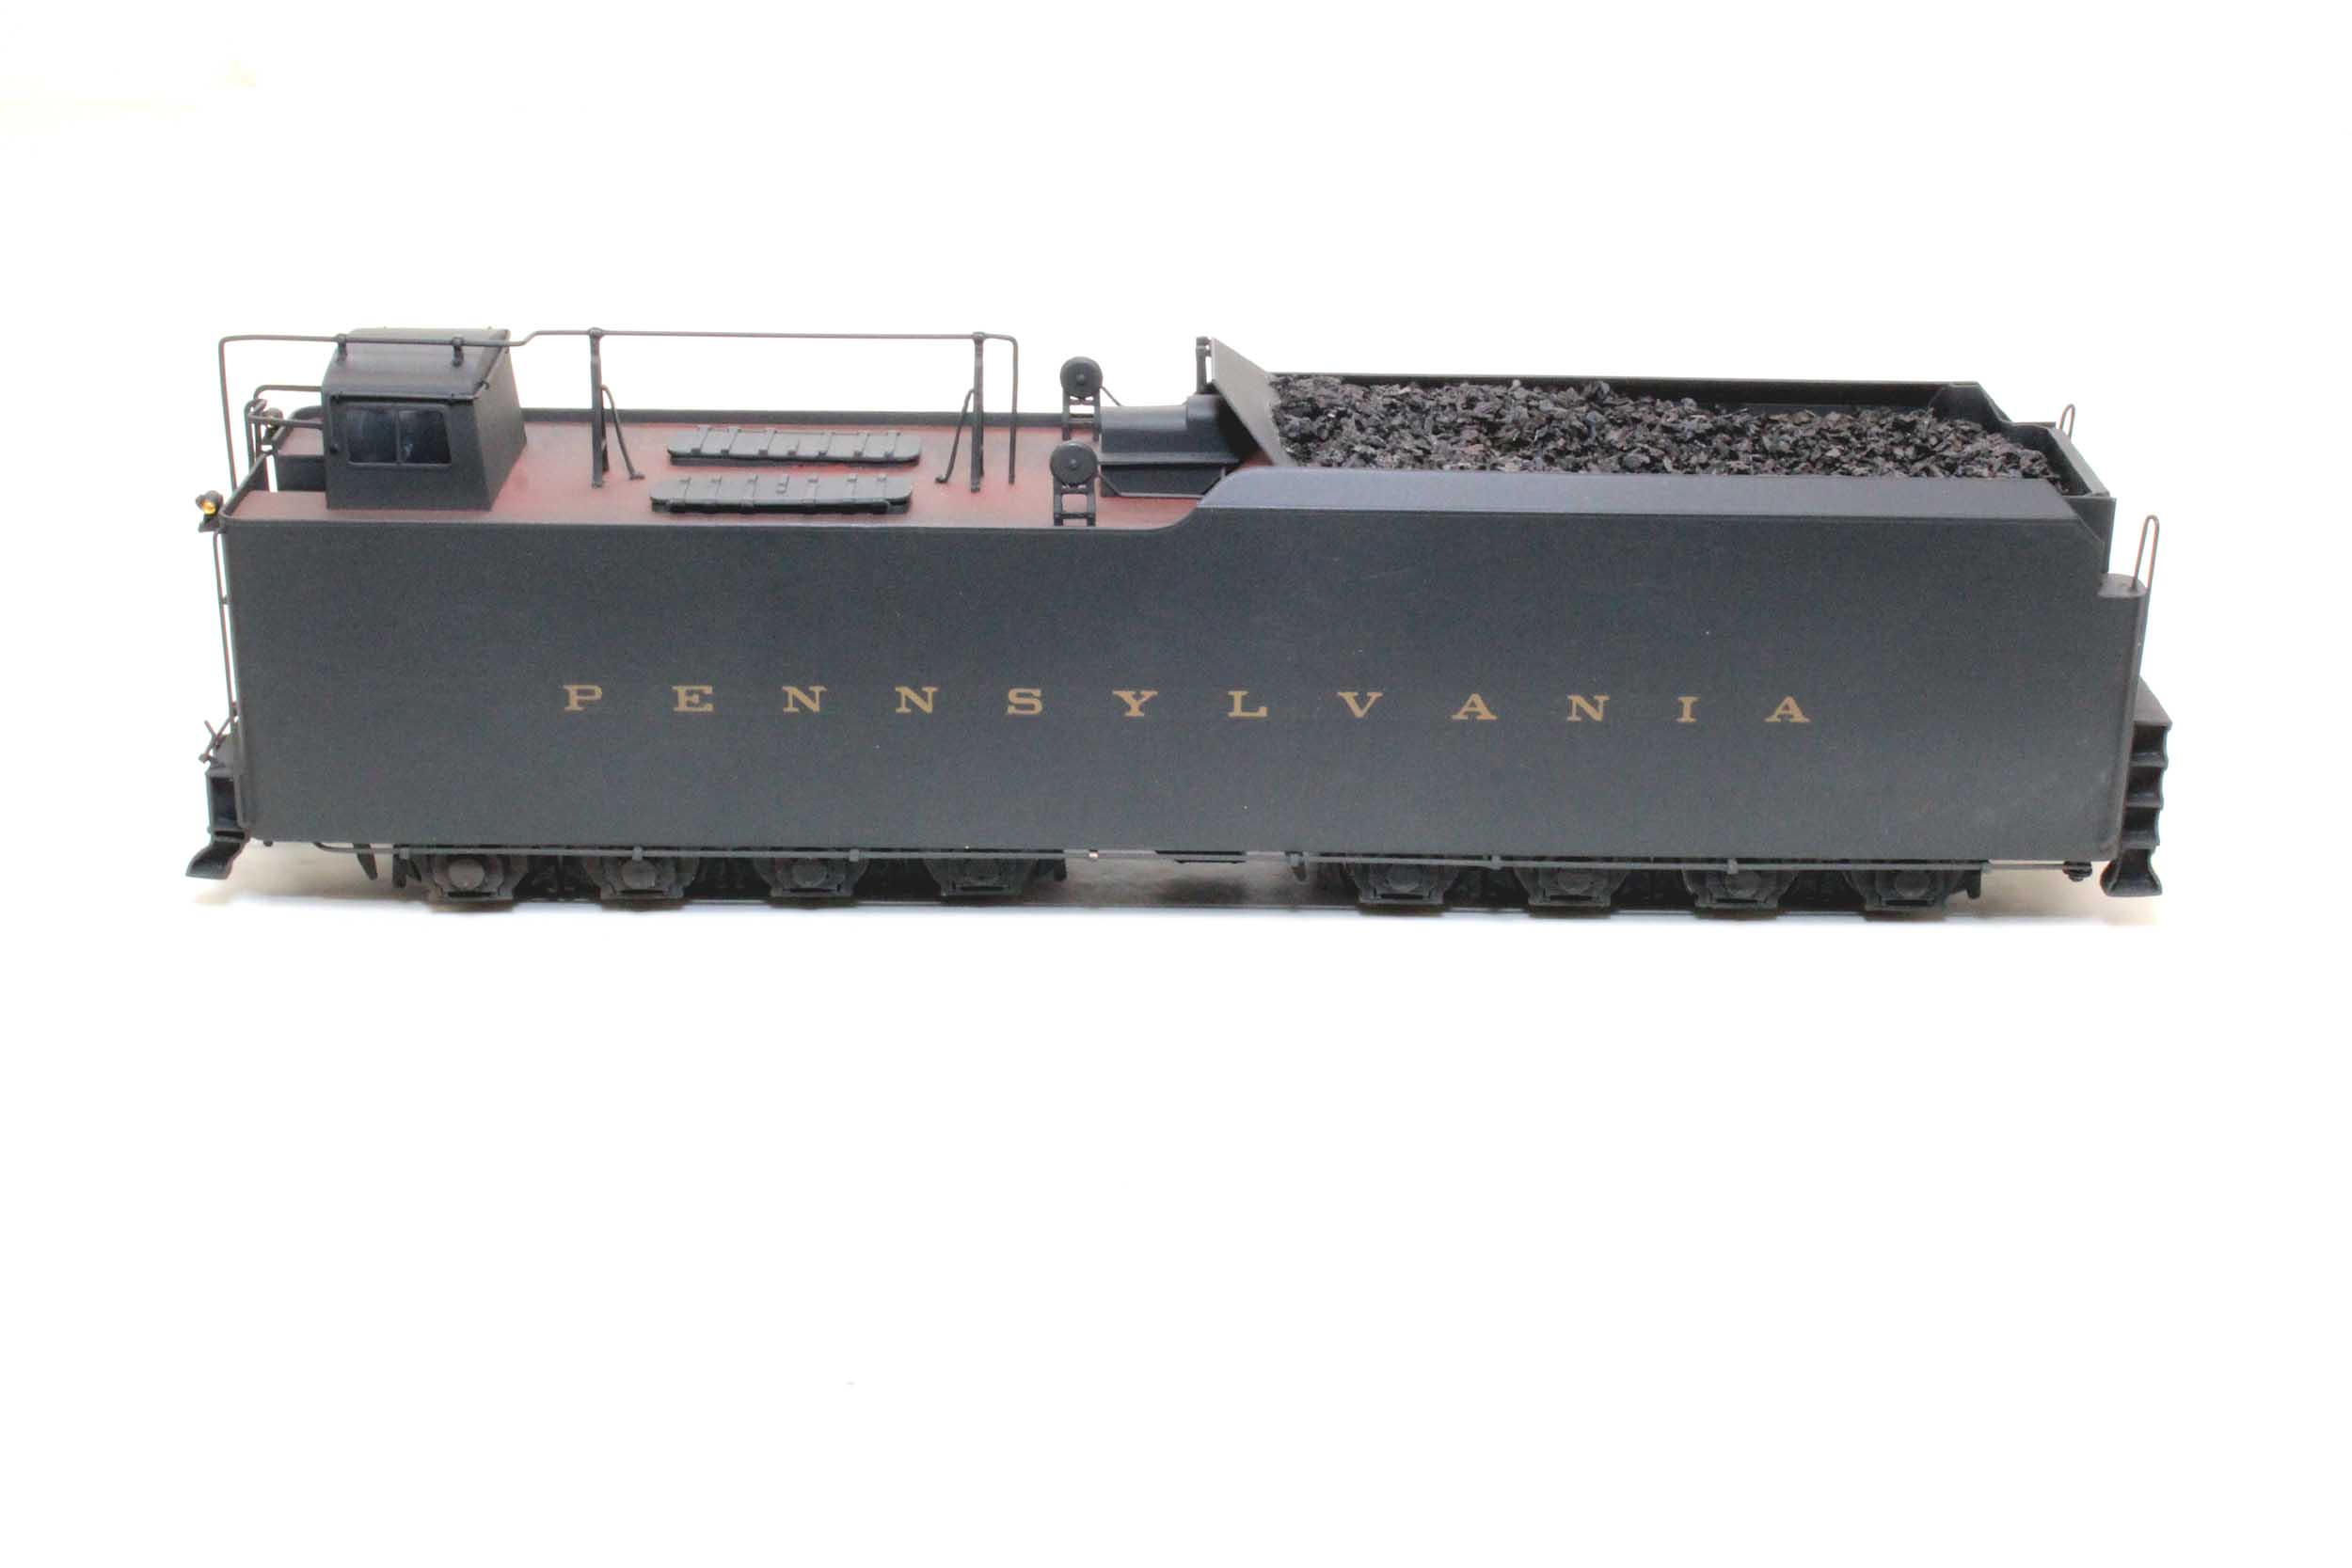
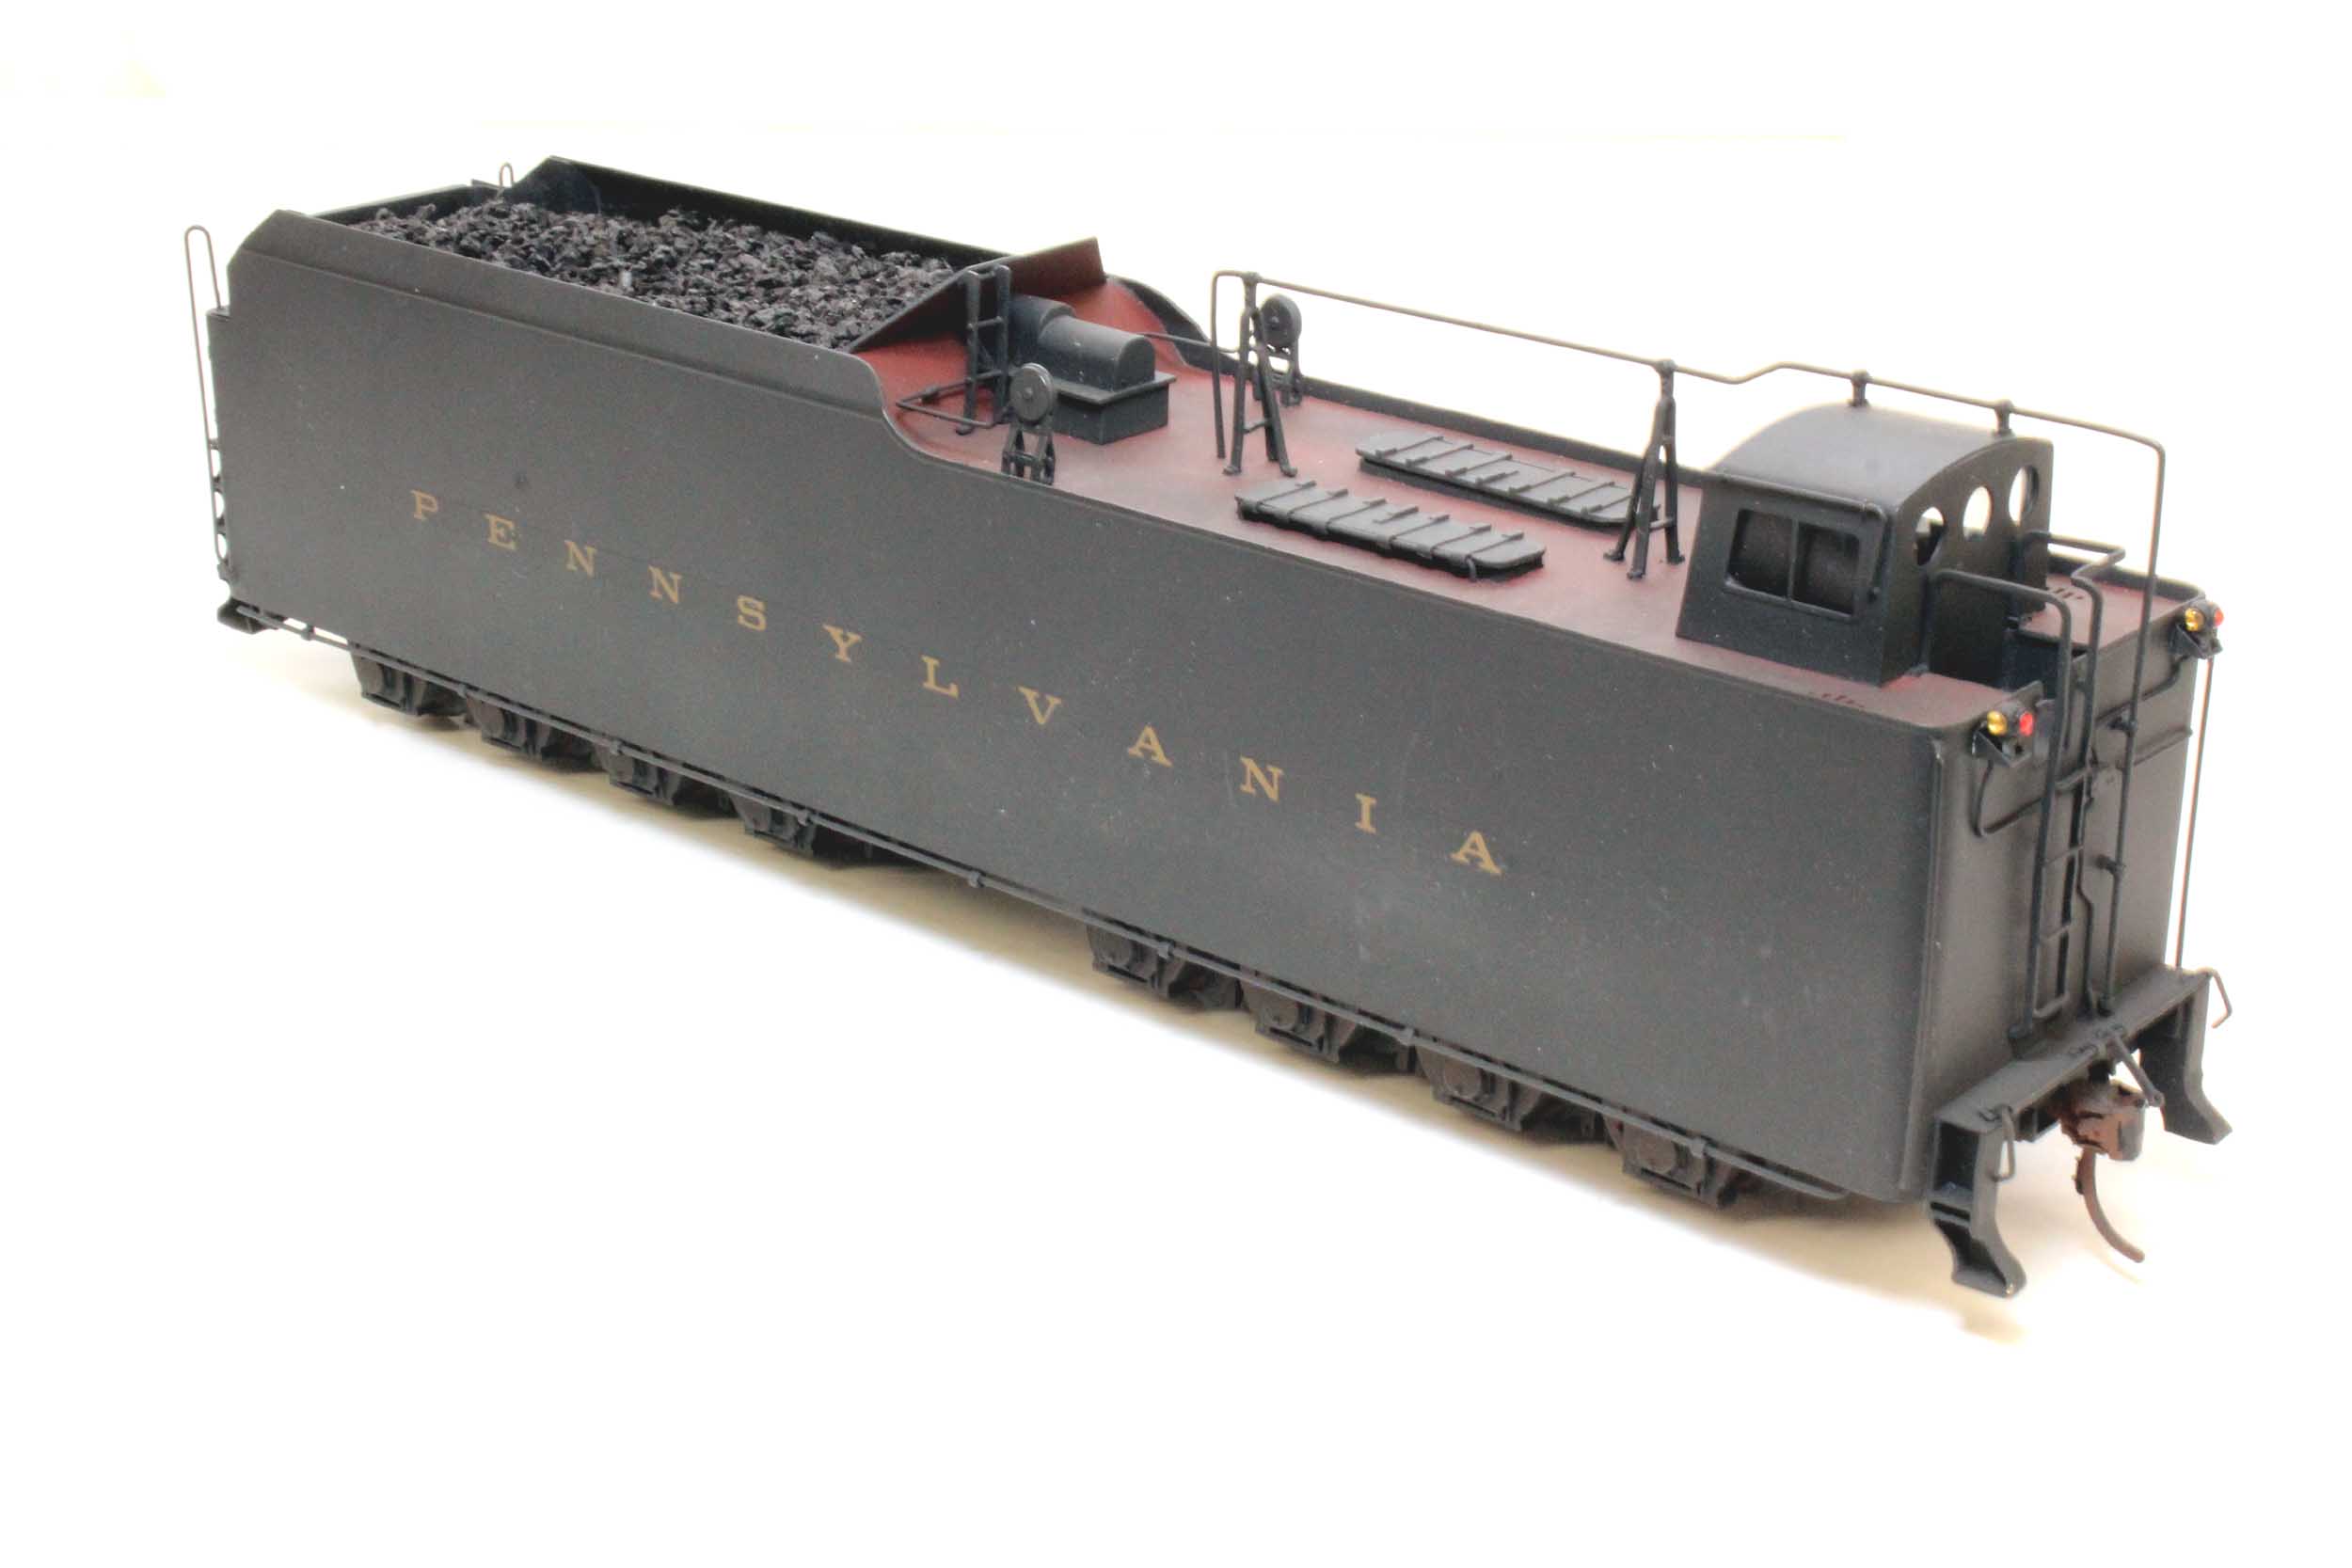
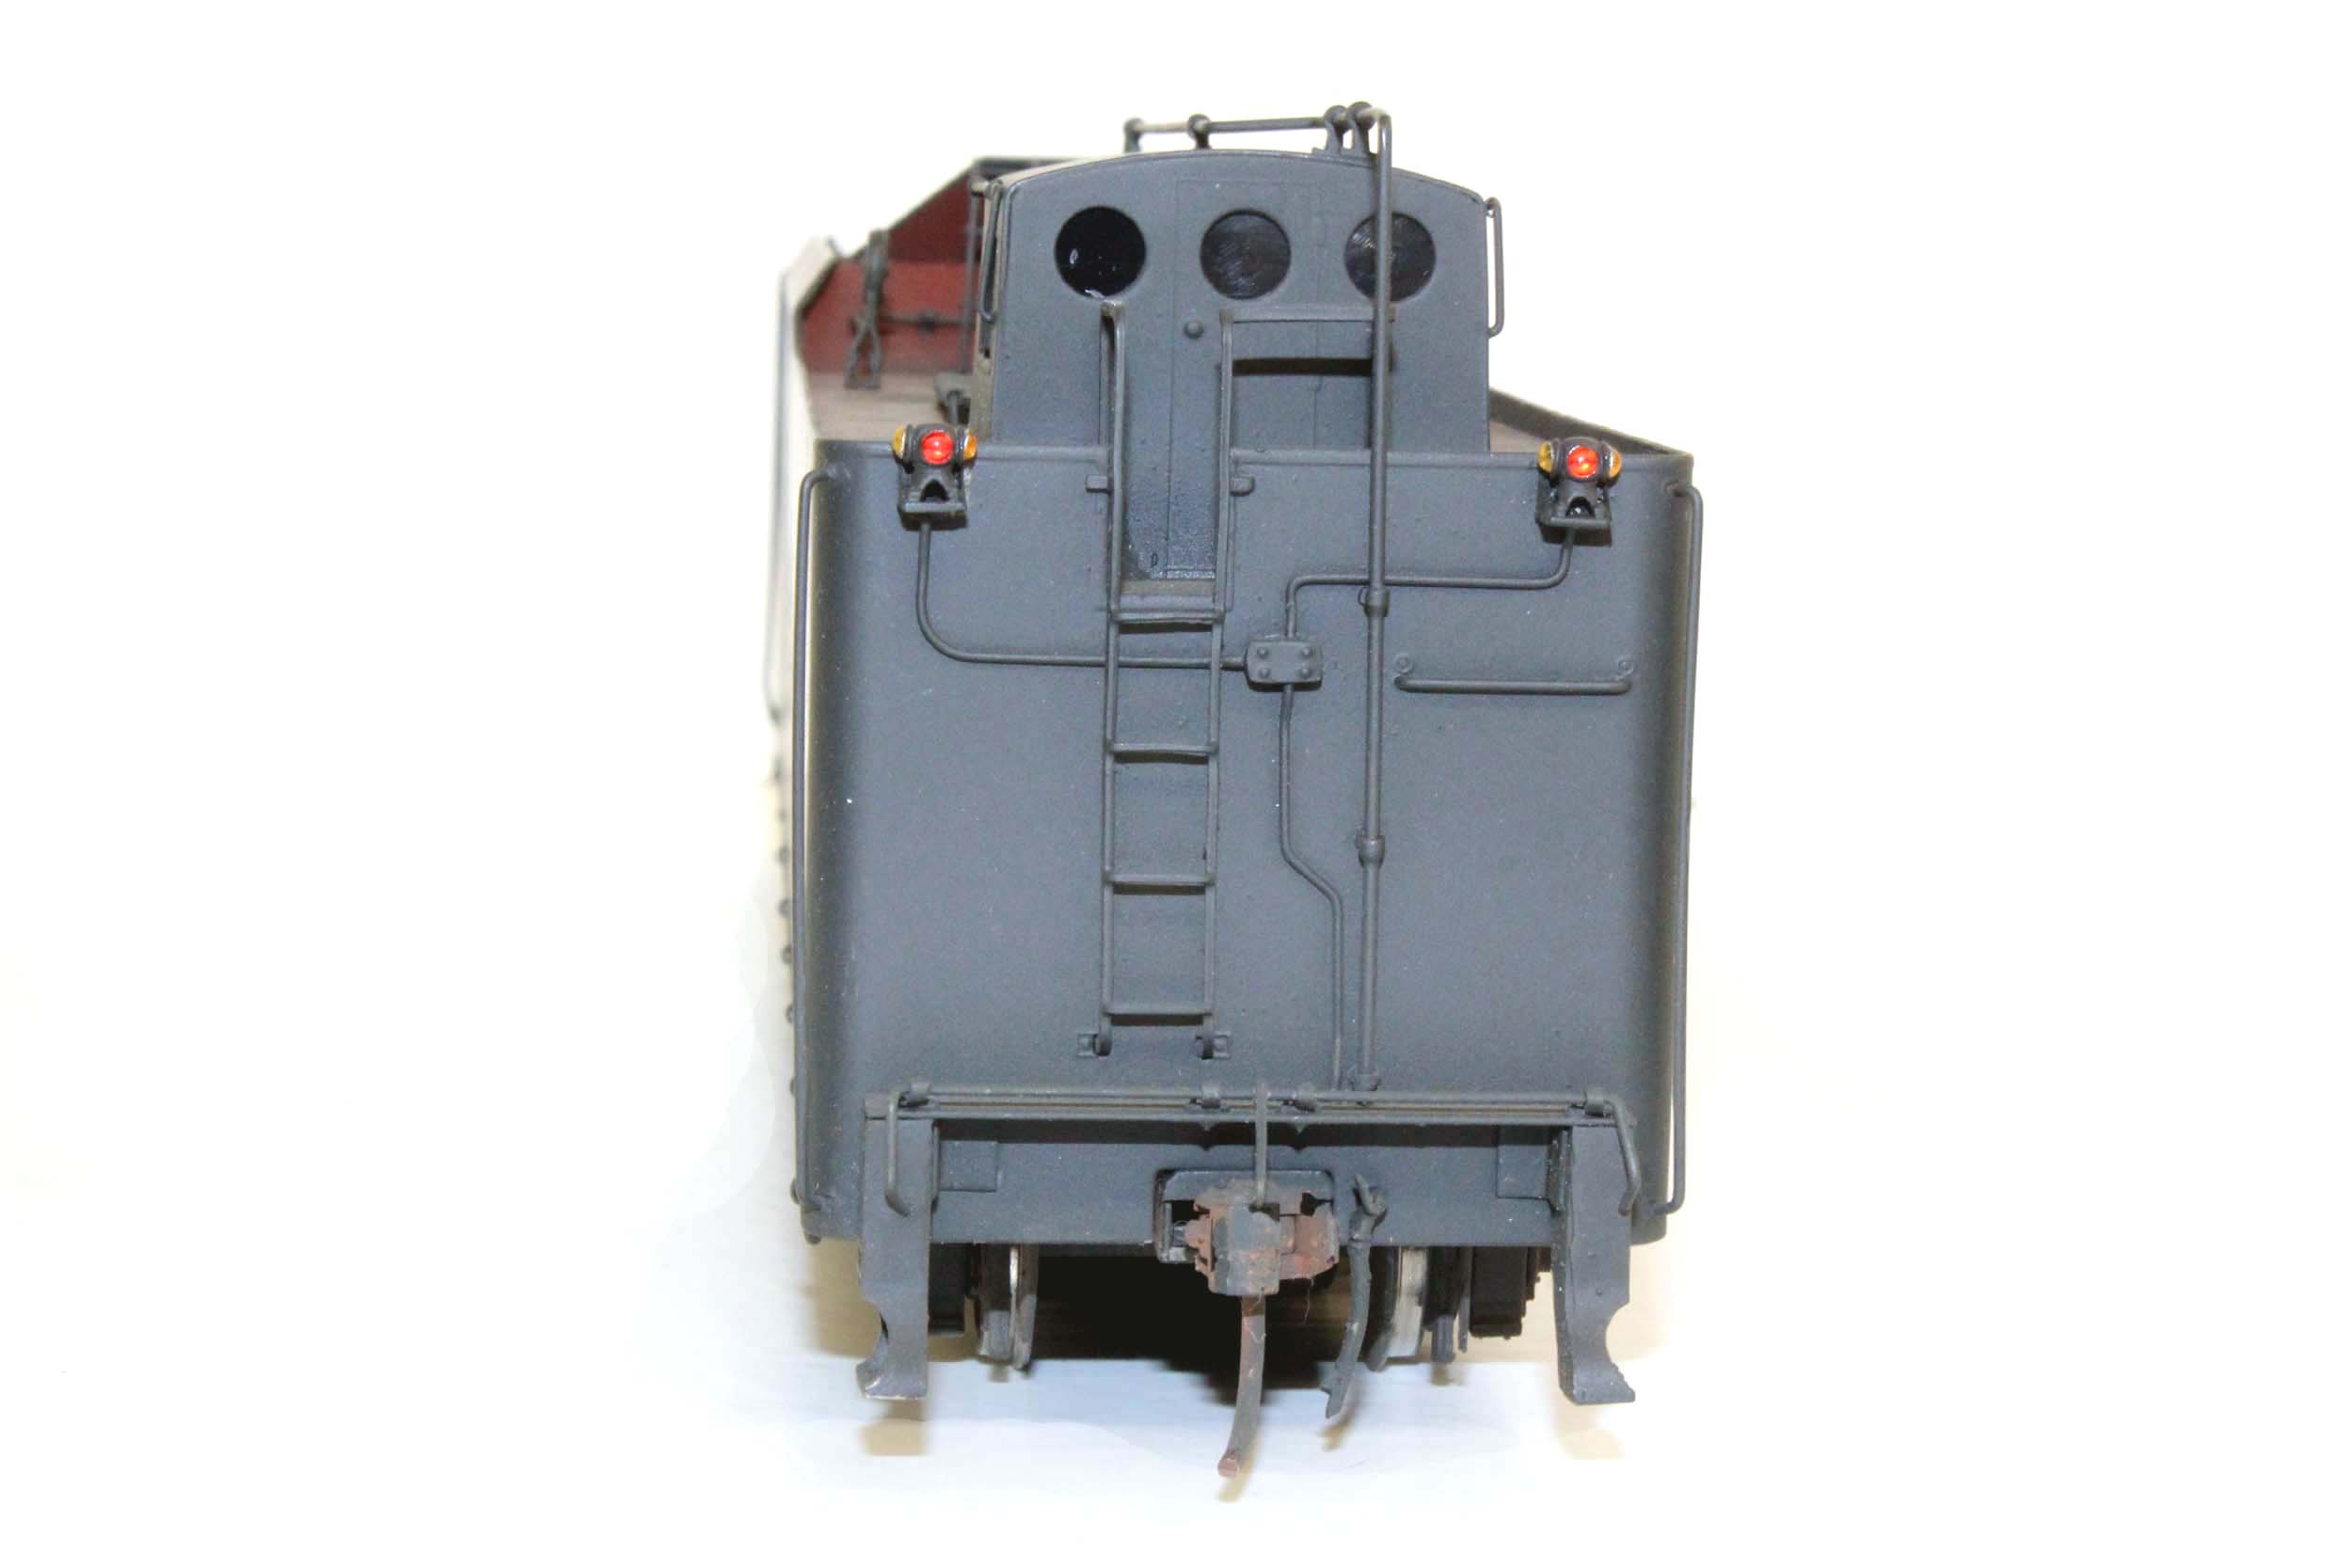
210F75a
This
is the stock as built 210F75a tender that came with the Omnicon M1 and M1a.
Extra tenders were made with the M1. I added marker lights on the rear tender
wall. It is possibly the first 210F75a tender I ever painted in about 1990. It
still had the clear coat on, was primered before
painting and used plastic windows – all things I have not done in MANY years.
The paint job was probably acceptable for most people, but I have to bring it
up to my 2017 standards. I did not like the Woodland Scenics
fake coal load. I use real coal now. I have to add a brass draft gear. The
lettering is the wrong color and would not have matched the locomotive
lettering. I am using our Pennsy S Models decals. It is also getting footboards
and a backup headlight like the above 210F75a. SO the paint had to go…….
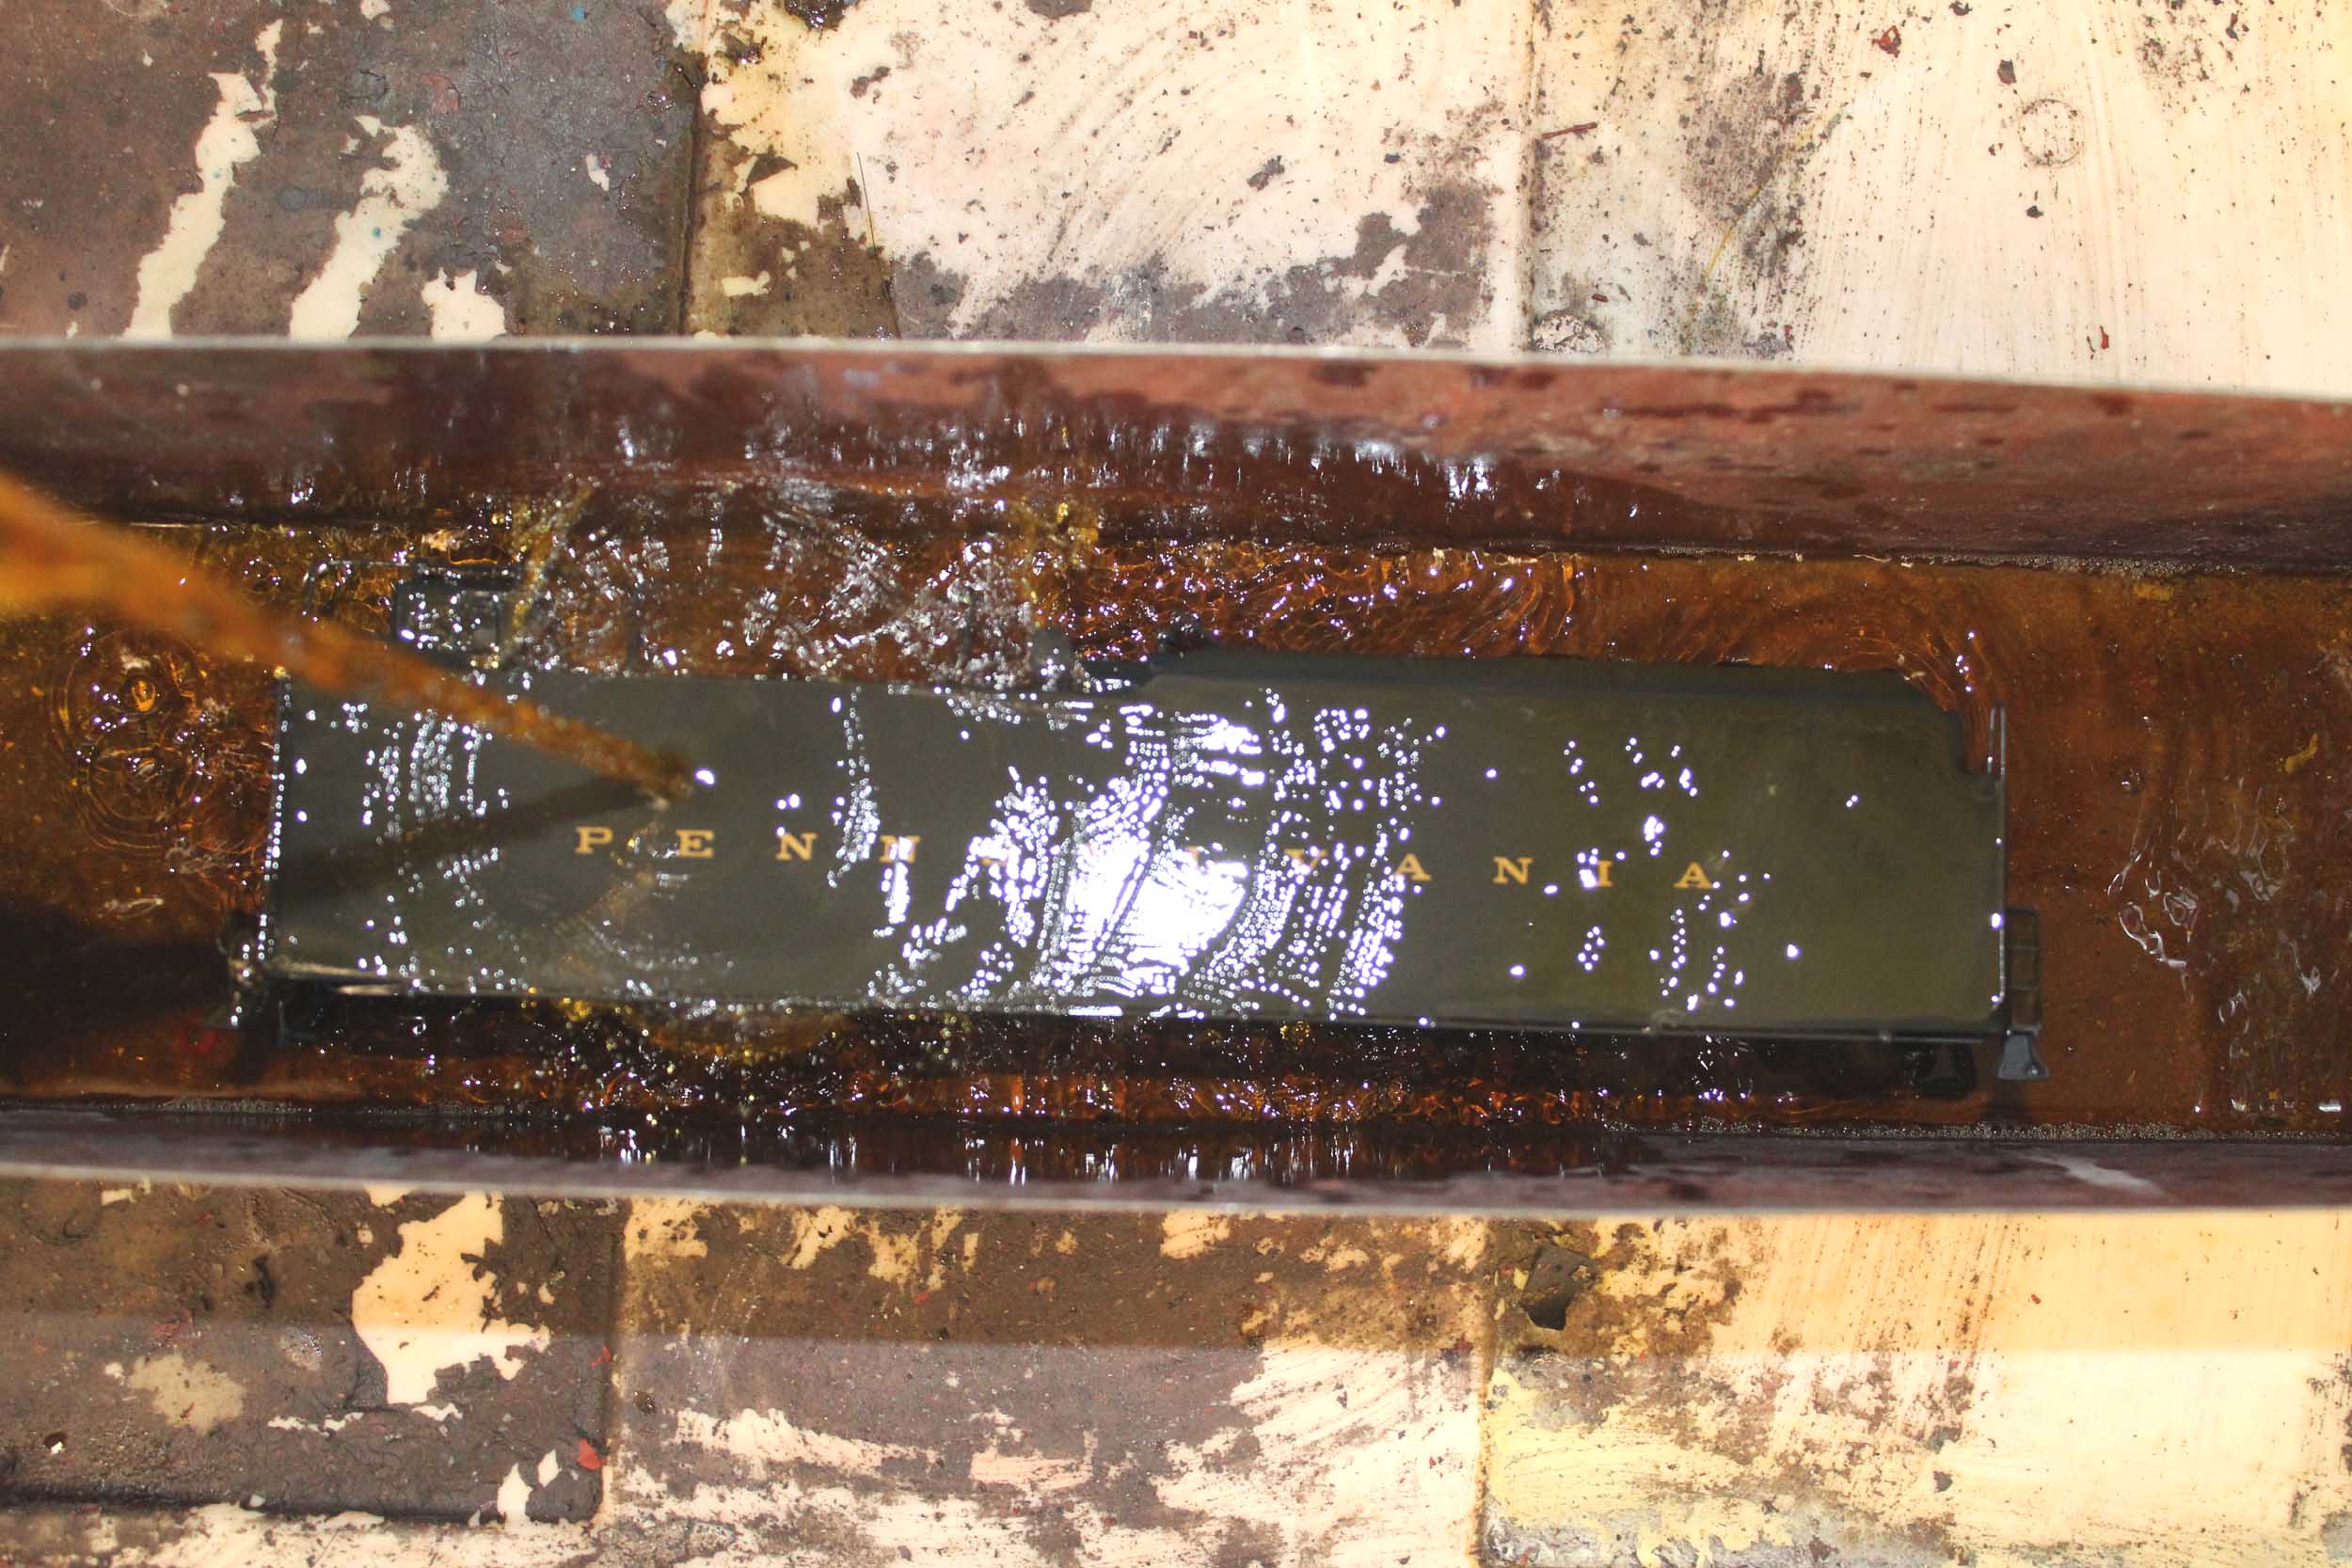
Shown
below, going for the bath in the dunk tank and after a quick blast job. You have to remove the decals before
blasting or you will etch and damage the model. Also the floor was difficult to
get into the shell so I milled a little off of both sides with my milling
machine.
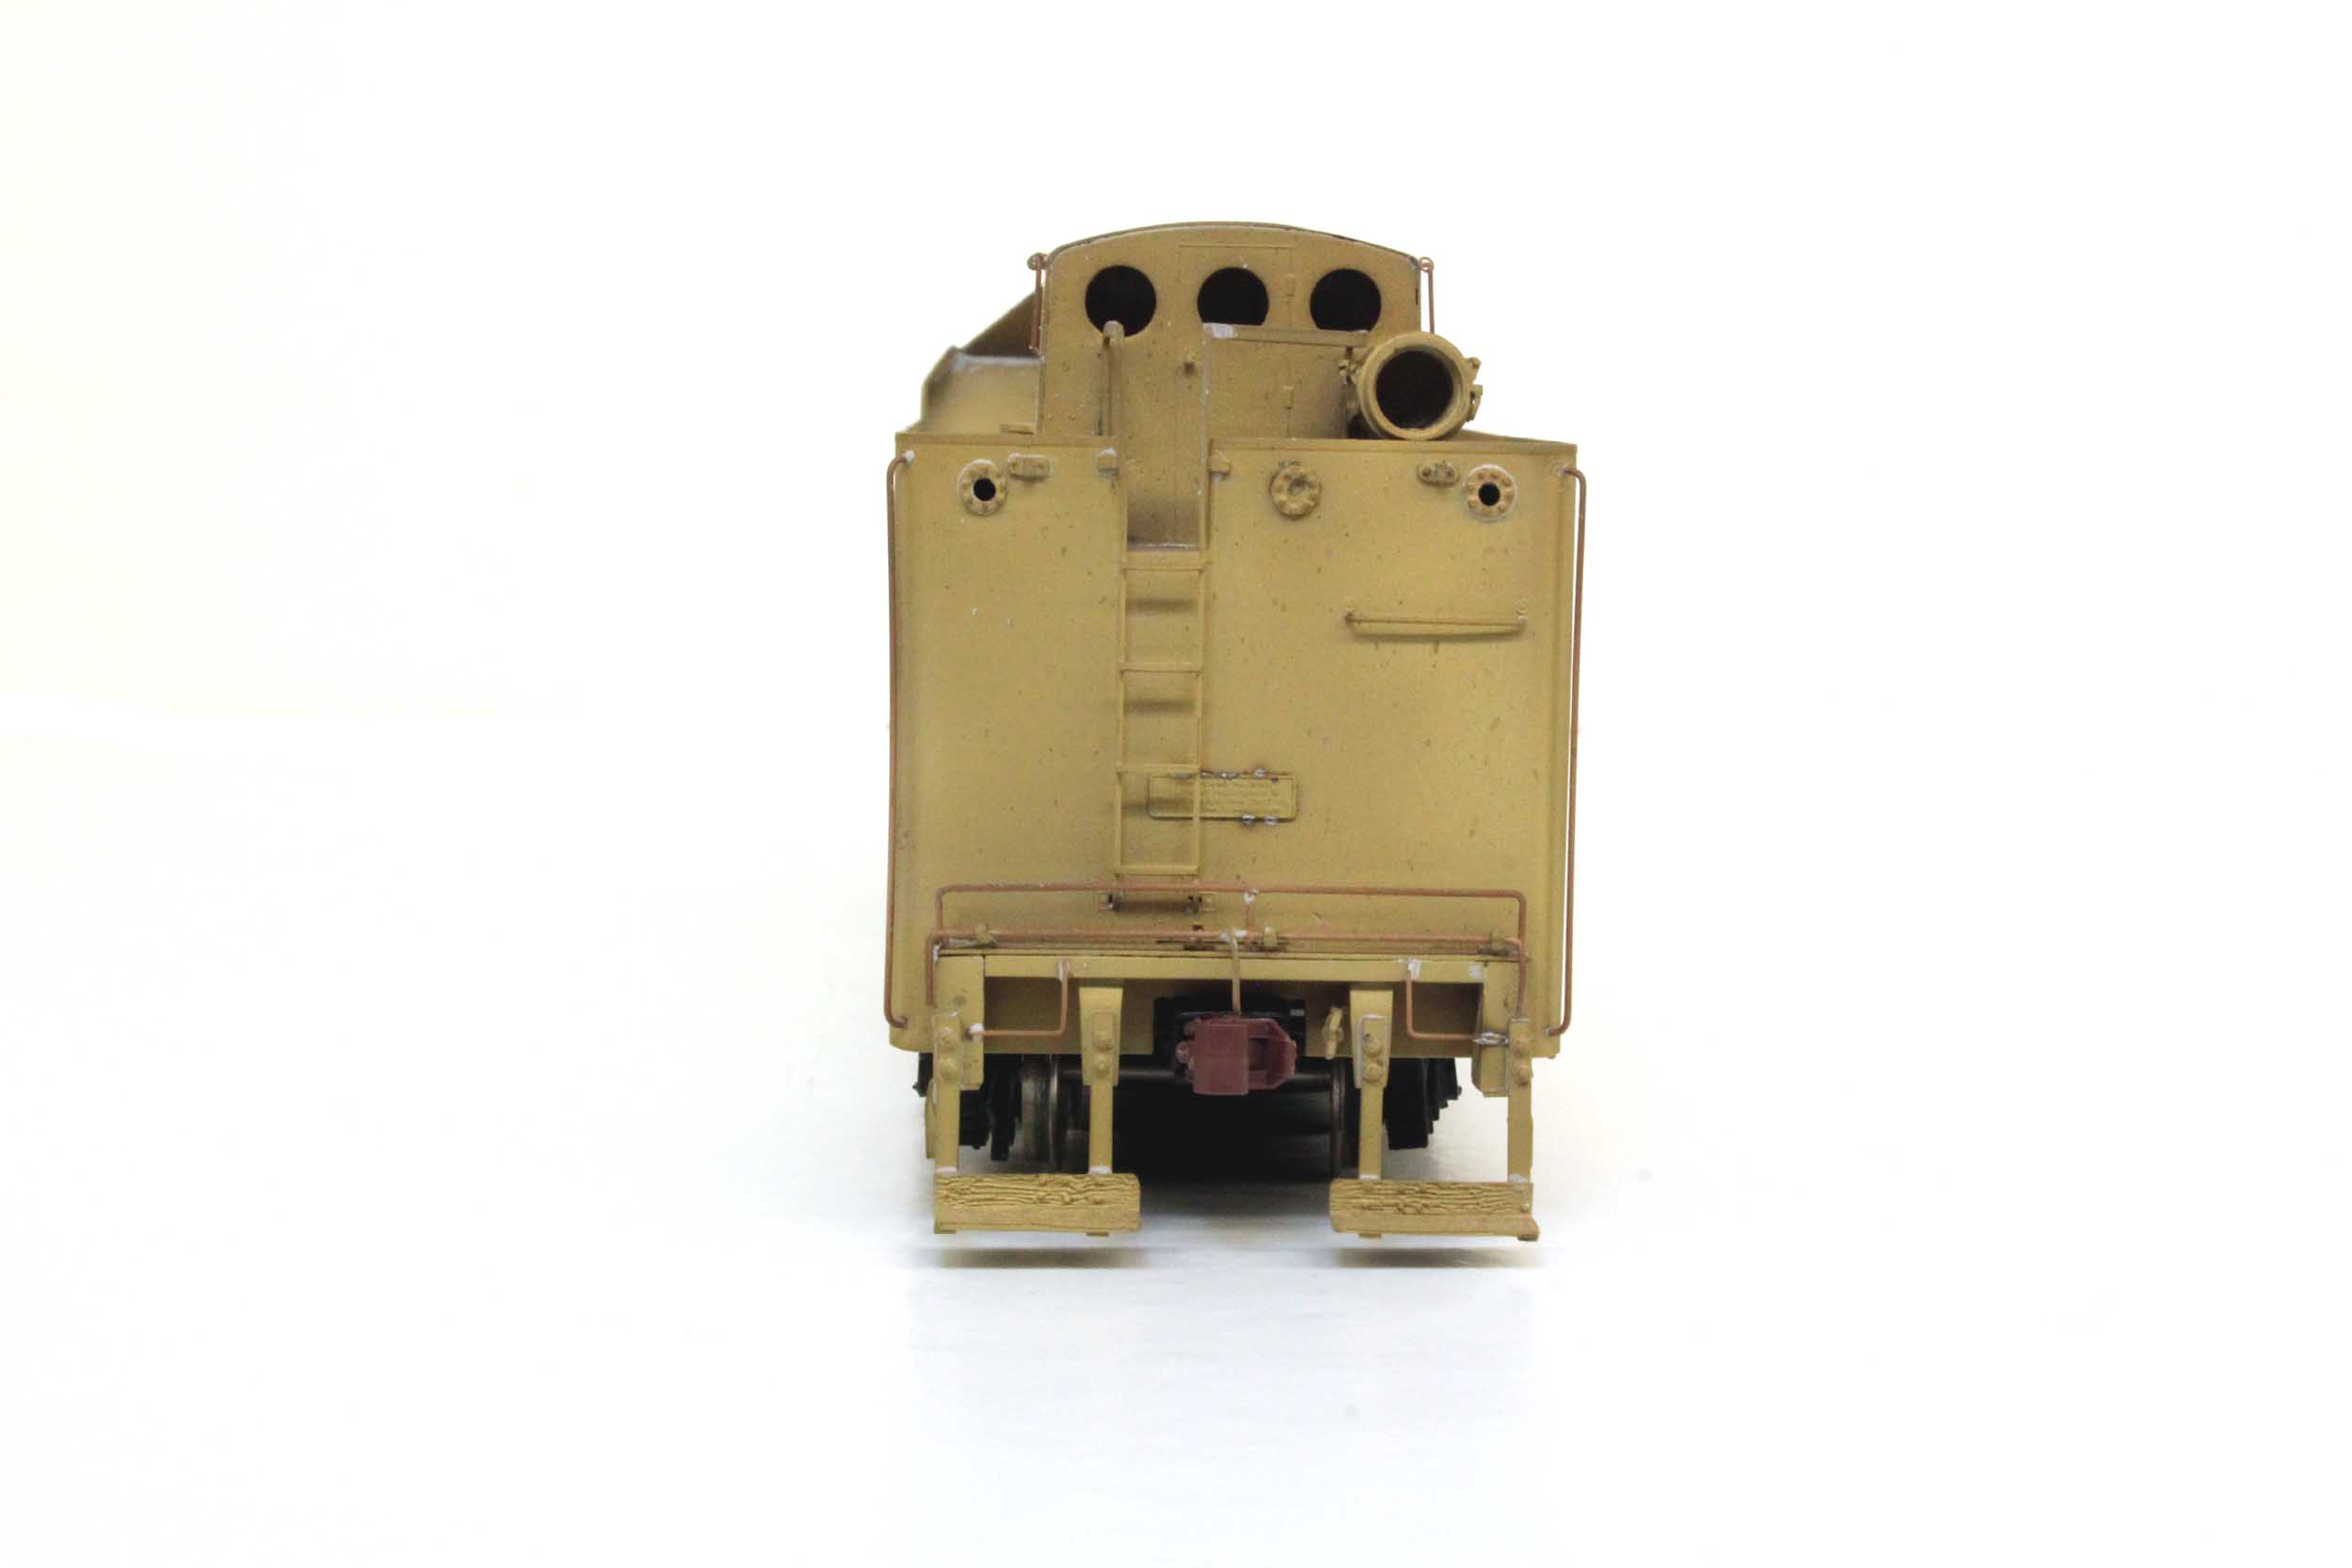
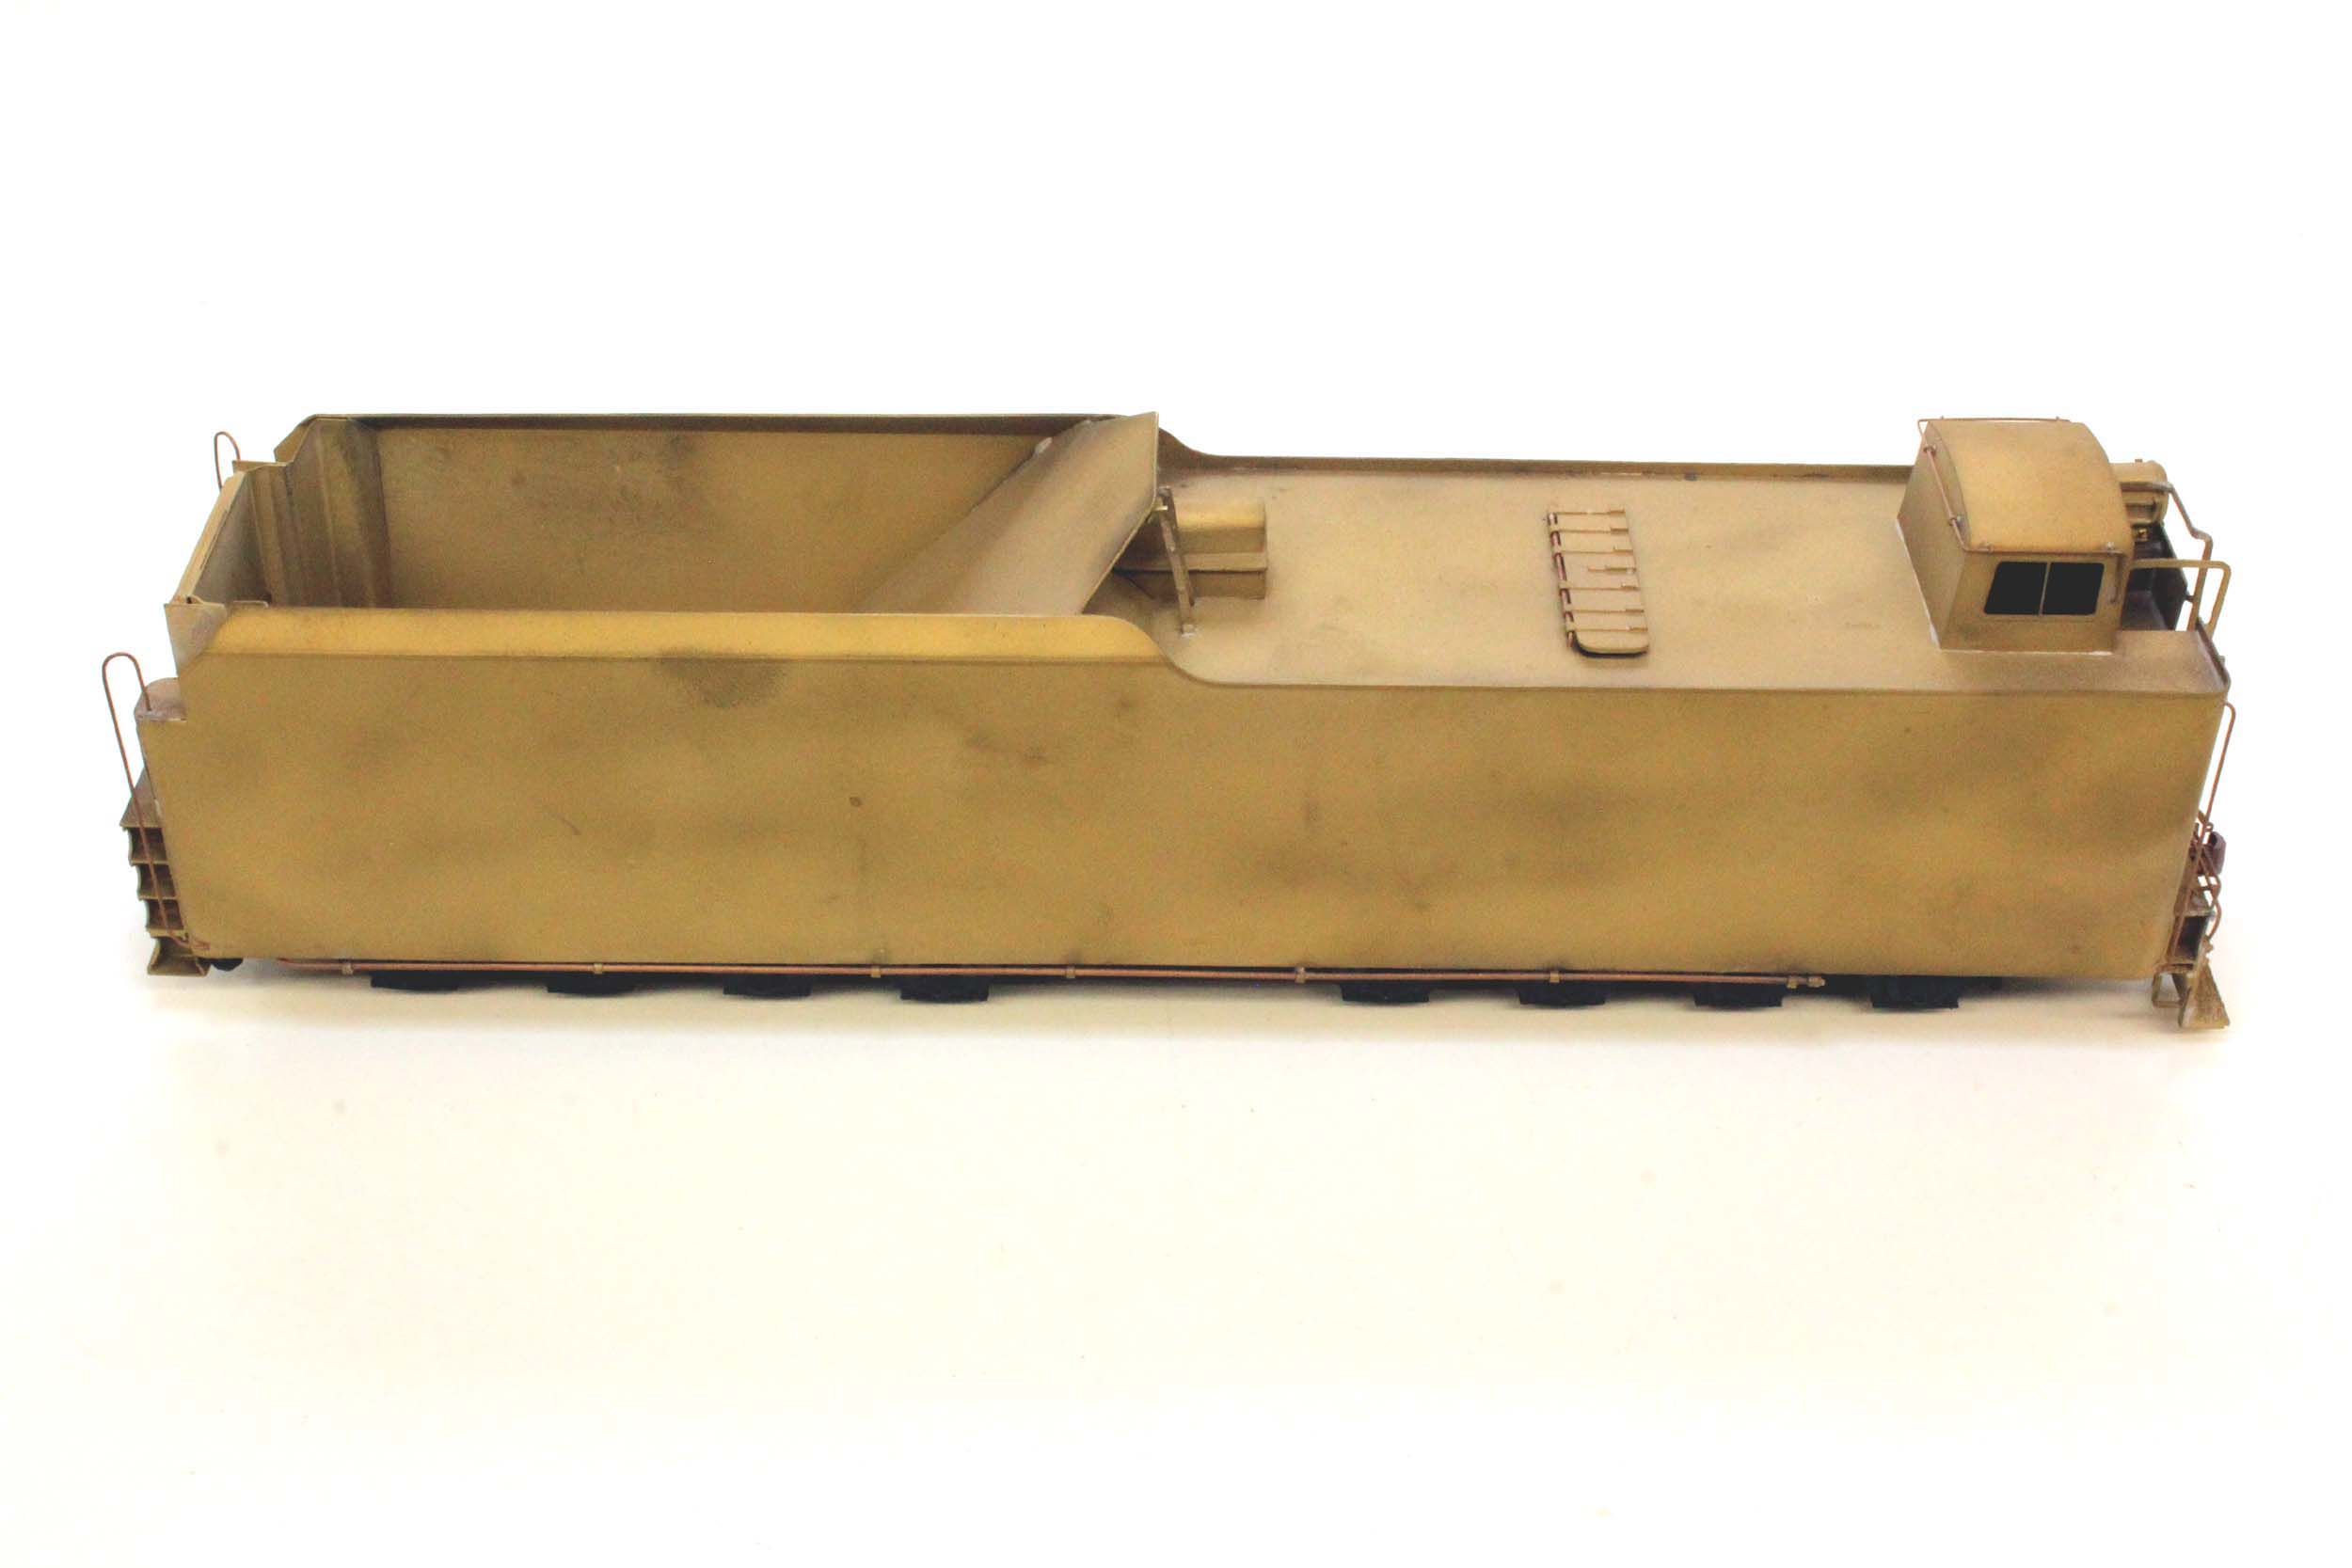
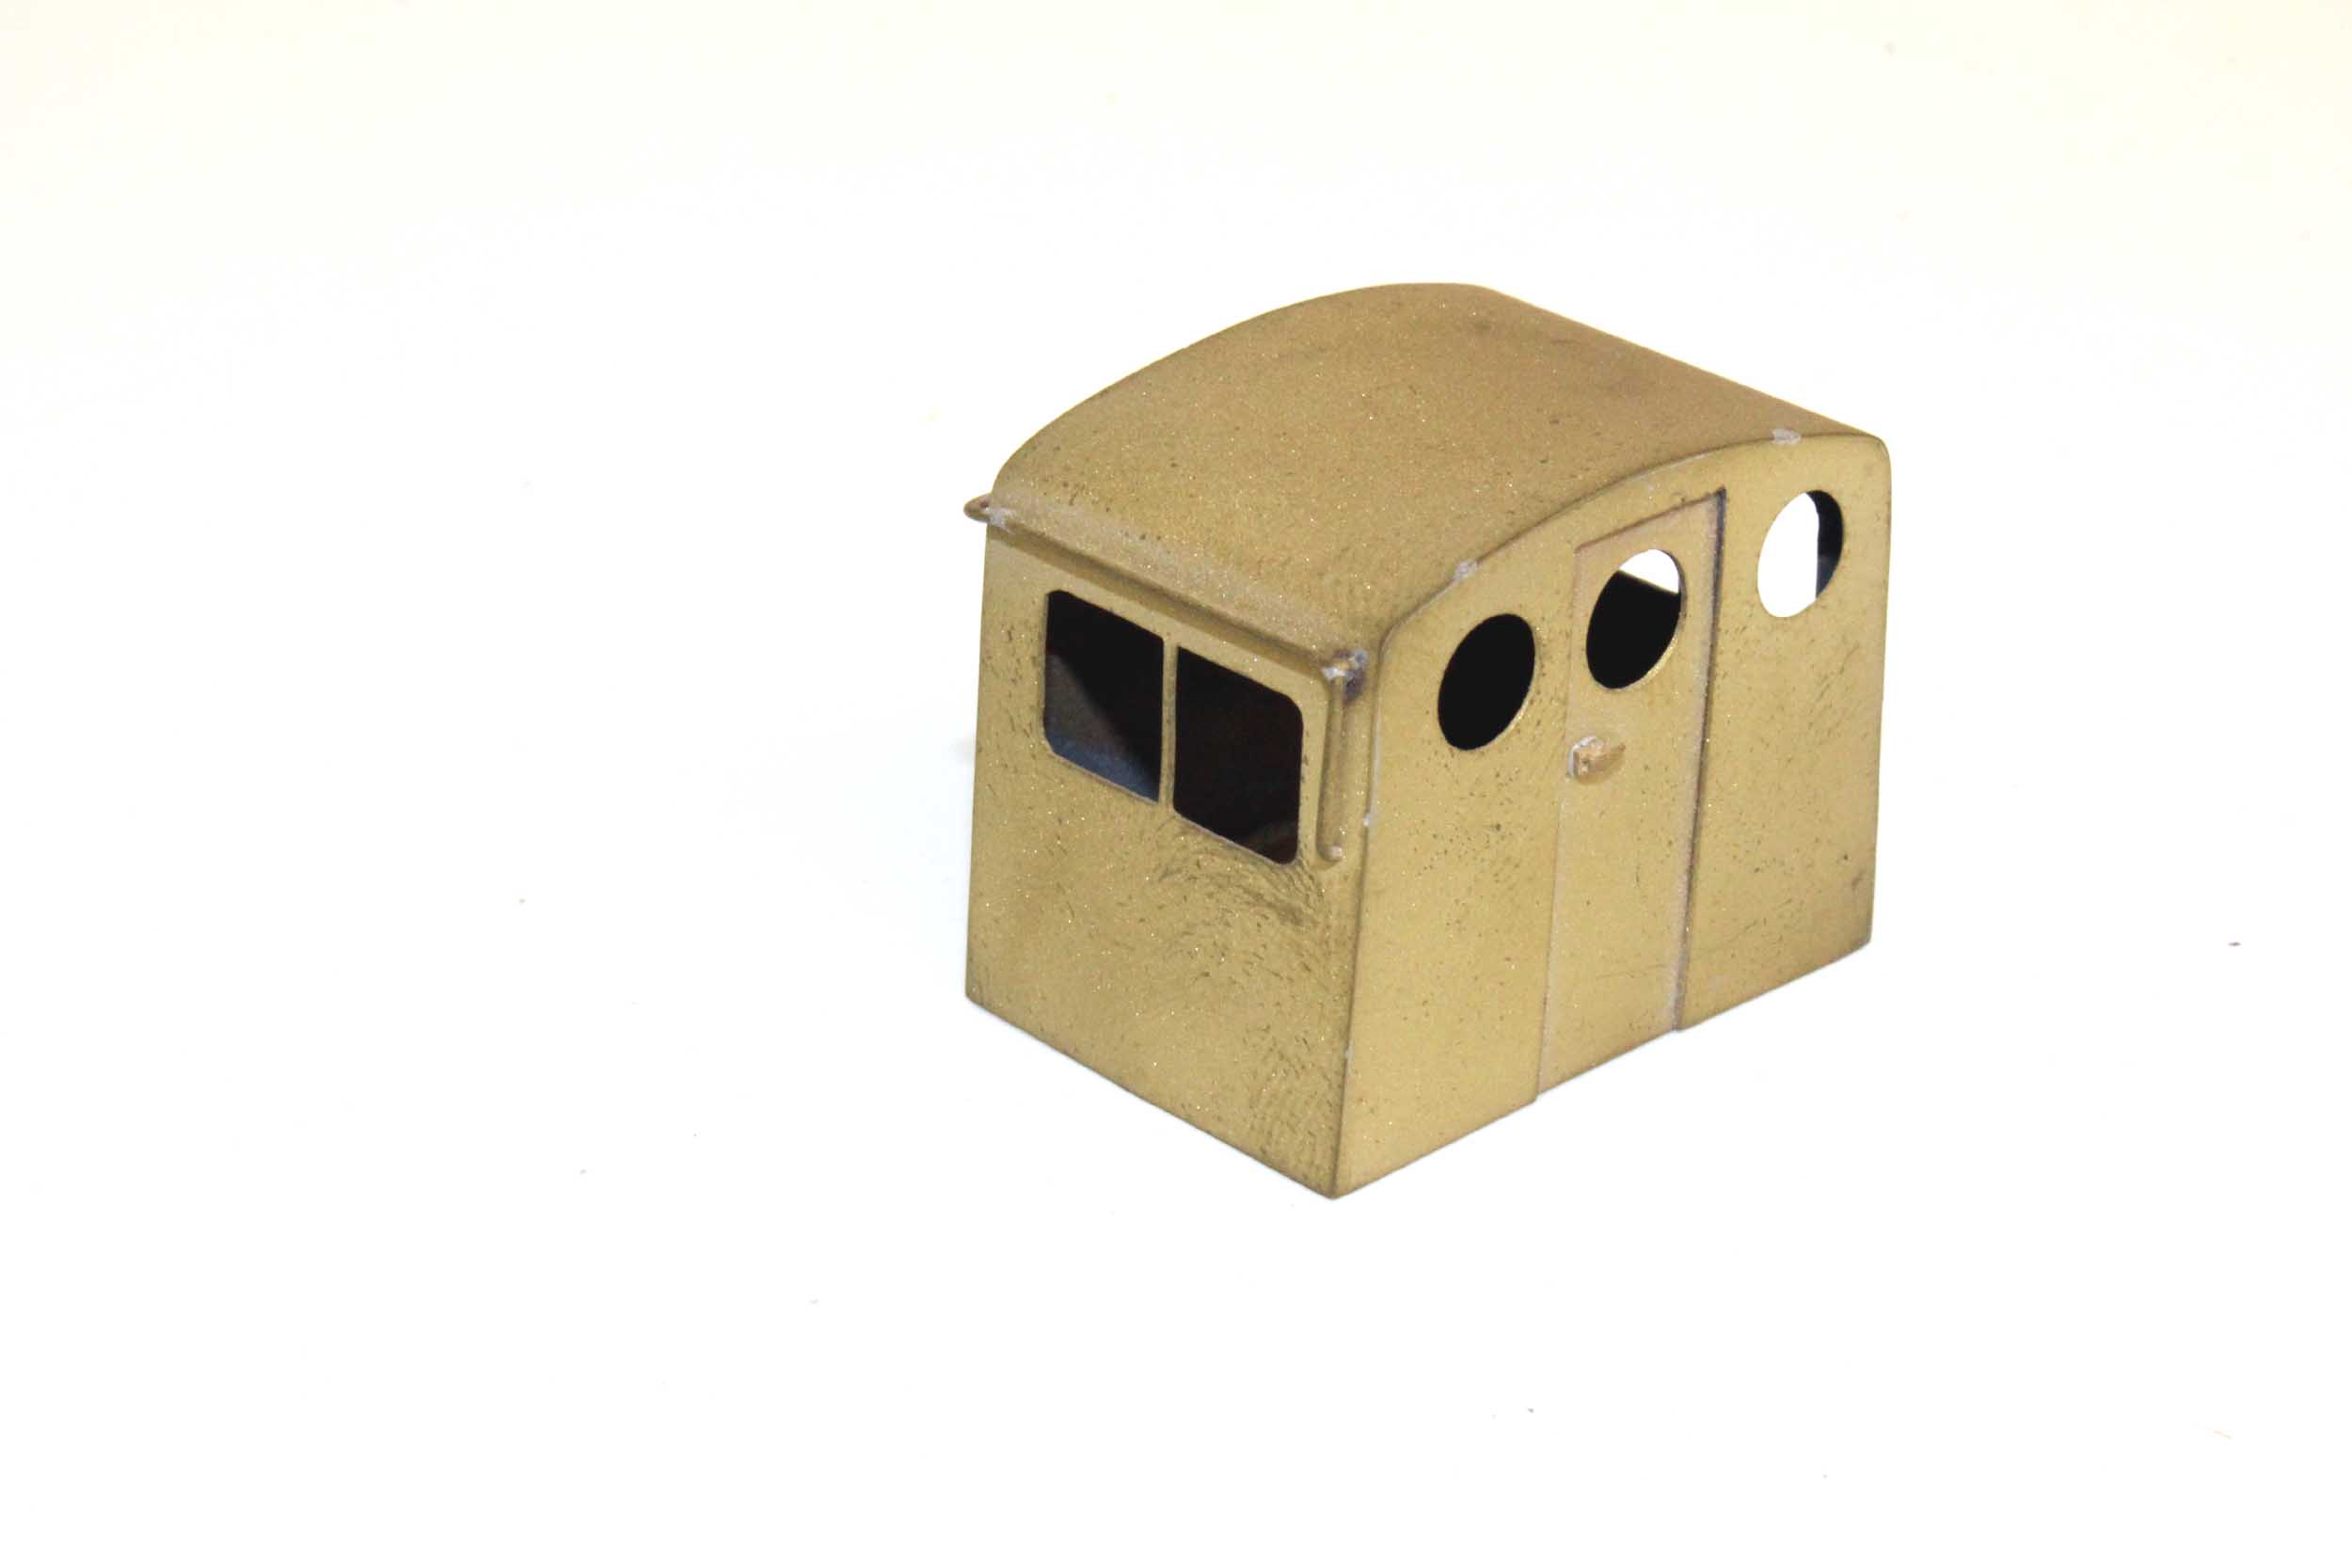
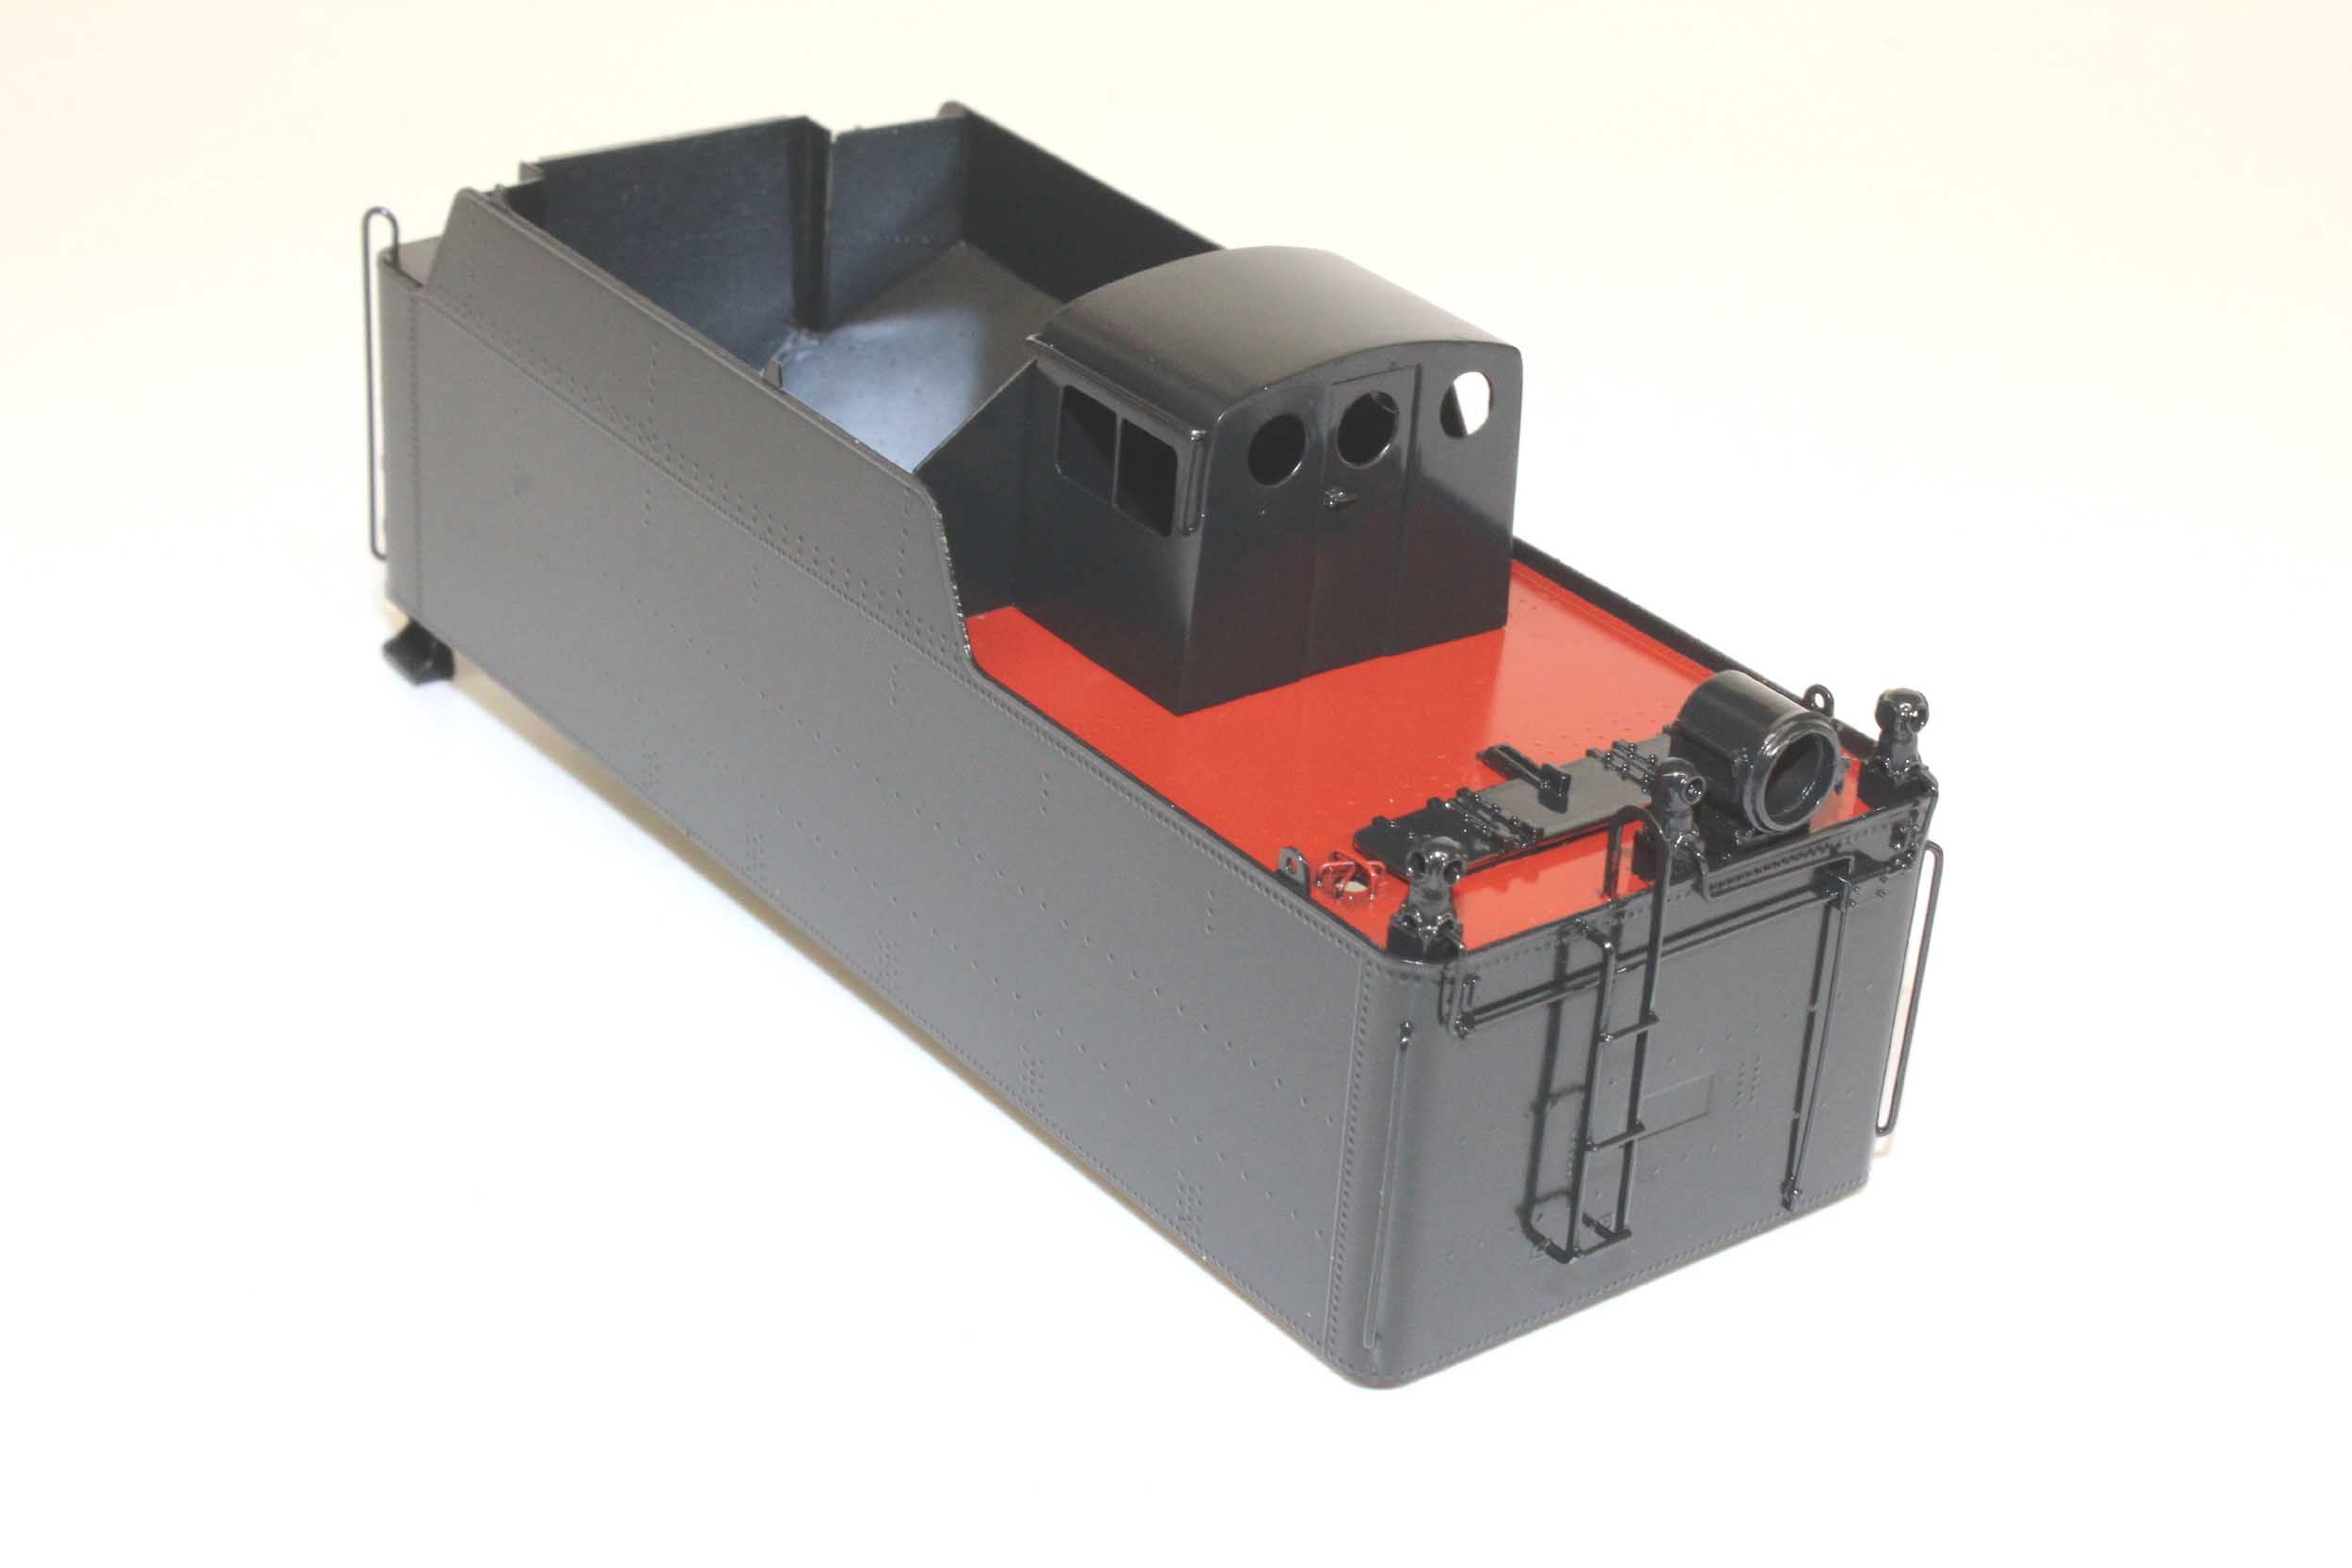
90F82
This is the stock as built tender that came with the Omnicon I1.
They were not available separately but I have 3 of them. In 2008, just for a
goof I built this 3 man dog house to go on 1 of the 90f82 tenders. I later
found out that the rear wall of the 3 man doghouse was angled. Oh well – I am
using it anyway.

Added 3-21-17
When
I first started DCC I was adamant that would be NO wires or plugs between the
loco and tender - ever. This meant the tender had to be made self sustaining
picking up booth rails and a decoder had to be installed in the tender just to
run lights. I was fine with the idea.
This
was possibly my first version ever of a wiper system. It is a brass tube
completely insulated from everything except 1 wheel. There is a small jumper
wire soldered on the tube going to a hole in the wheel. A spring loaded brass
bar rode on the brass tubes. I wanted maximum contact and minimal drag.
That
idea has not made it to the layout yet for testing even after 15+ years of
making them. I am sure it would work very well. Making the special wheels were
VERY time consuming.
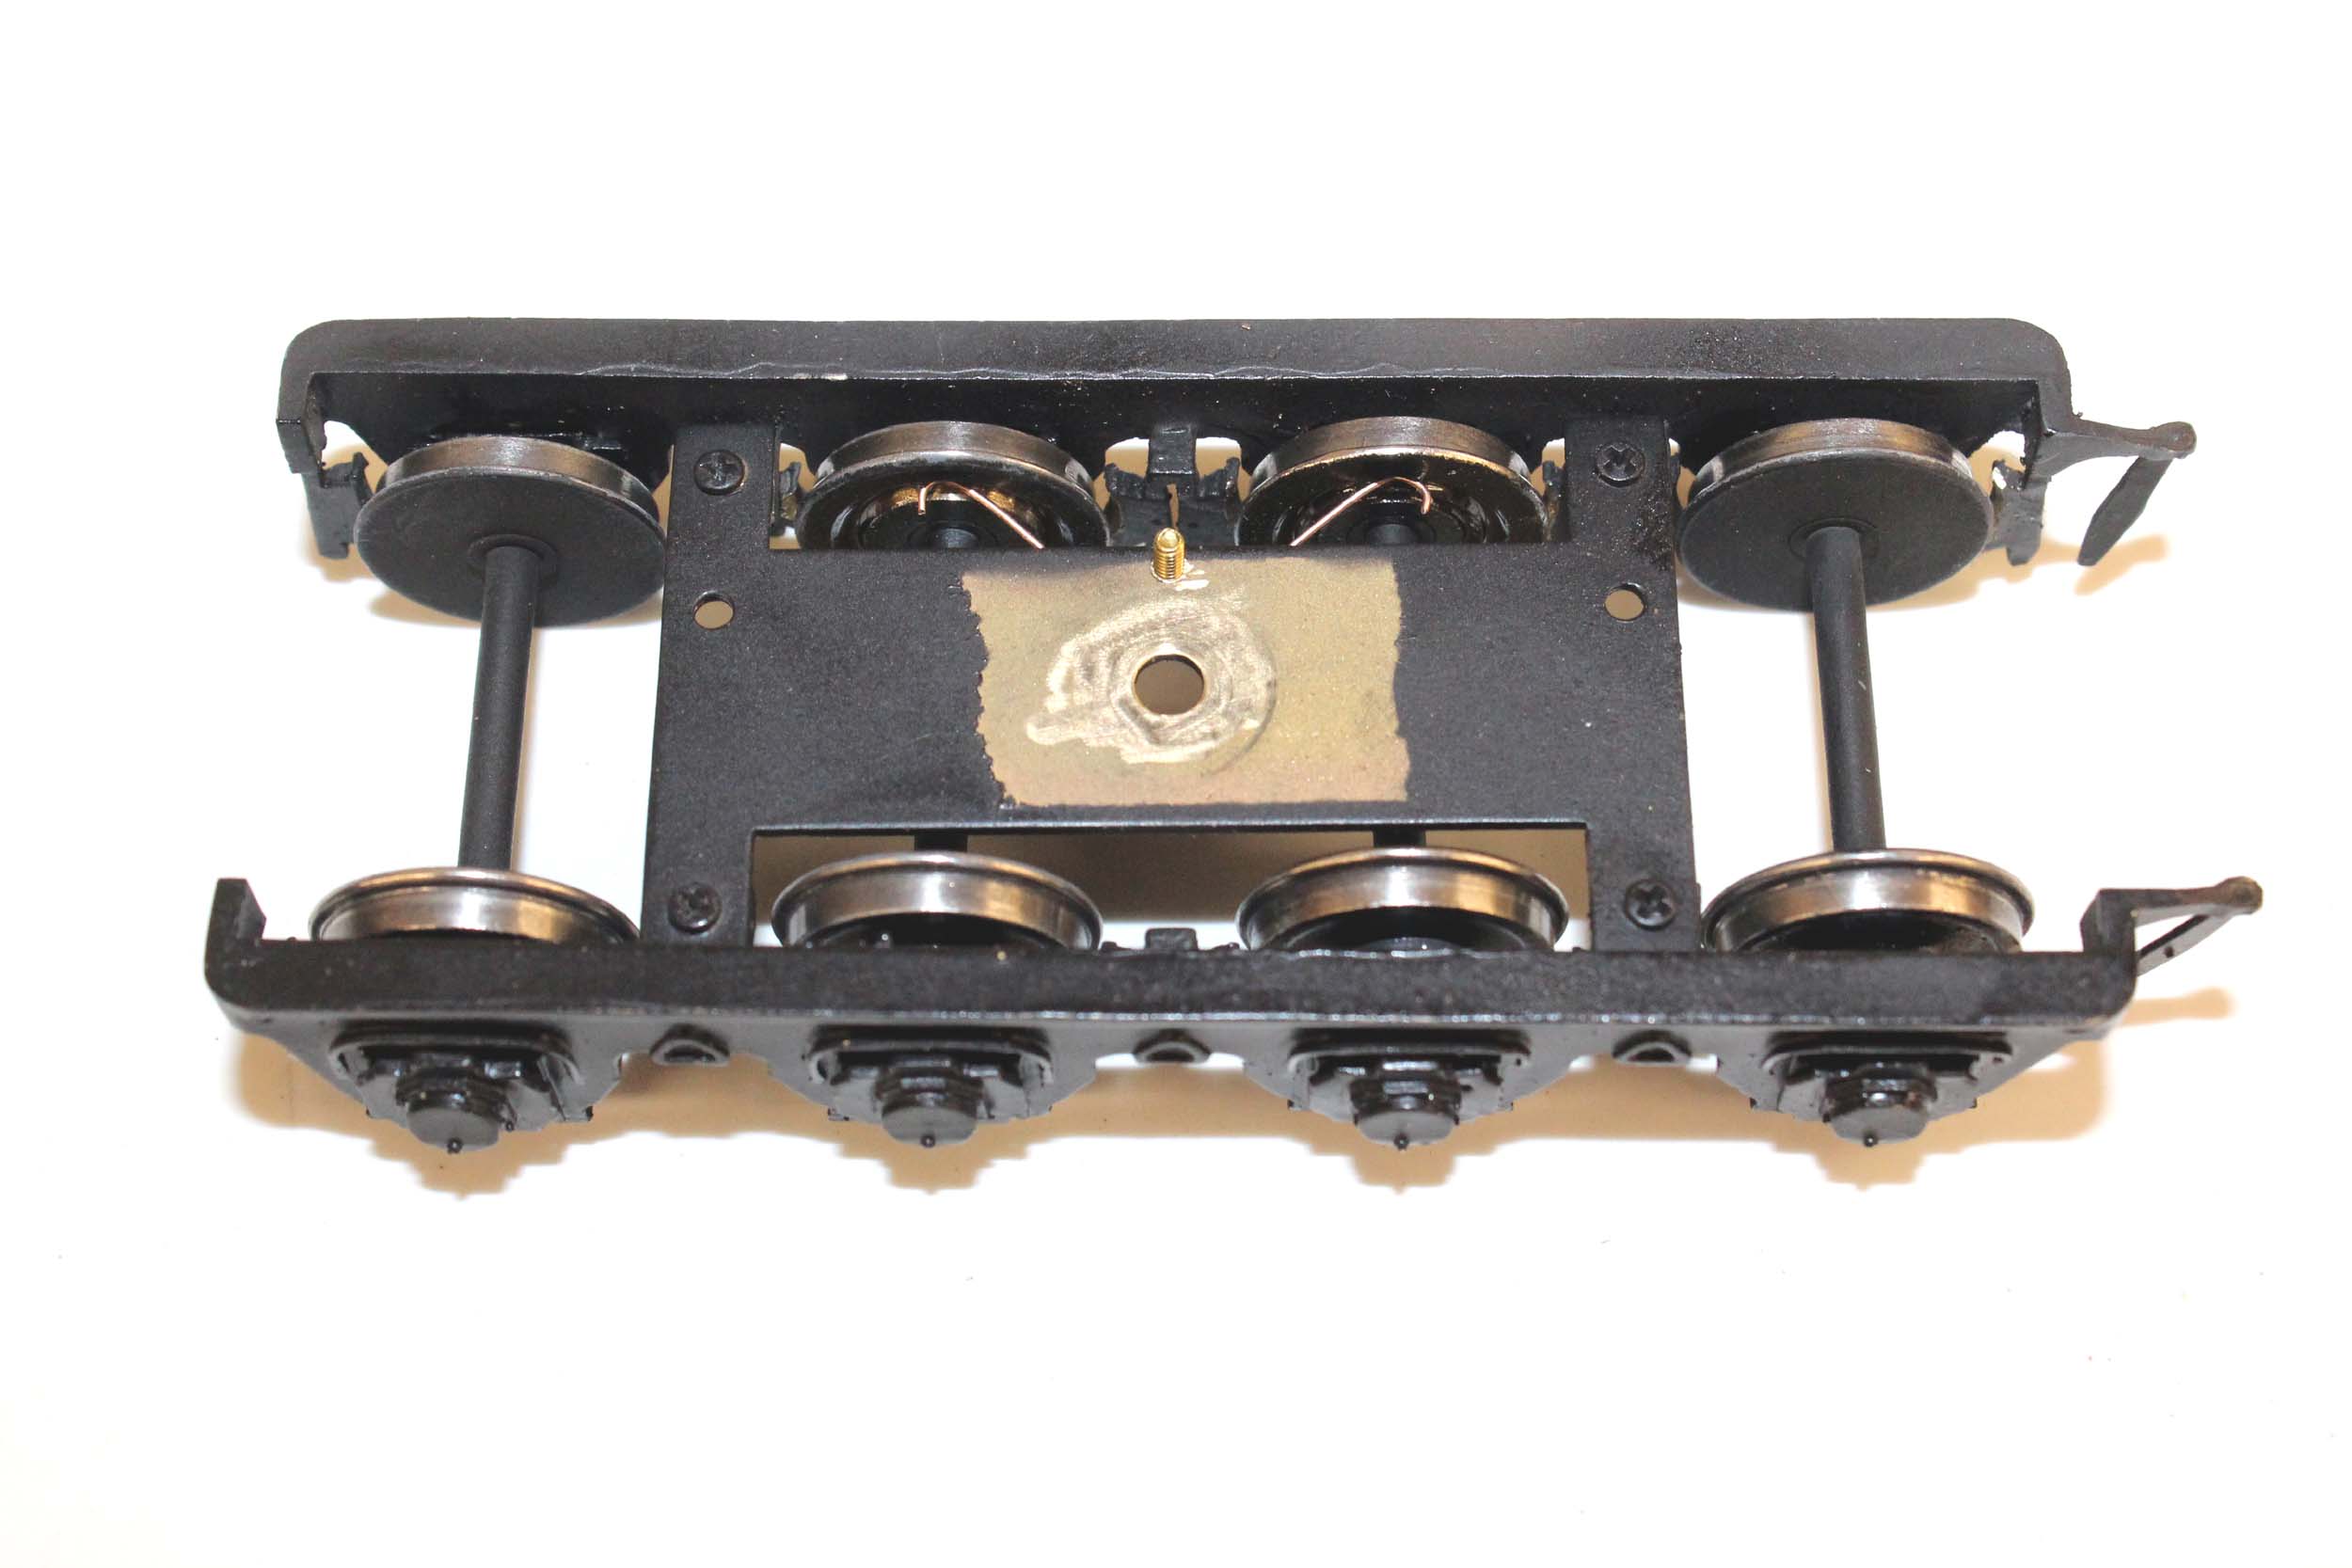
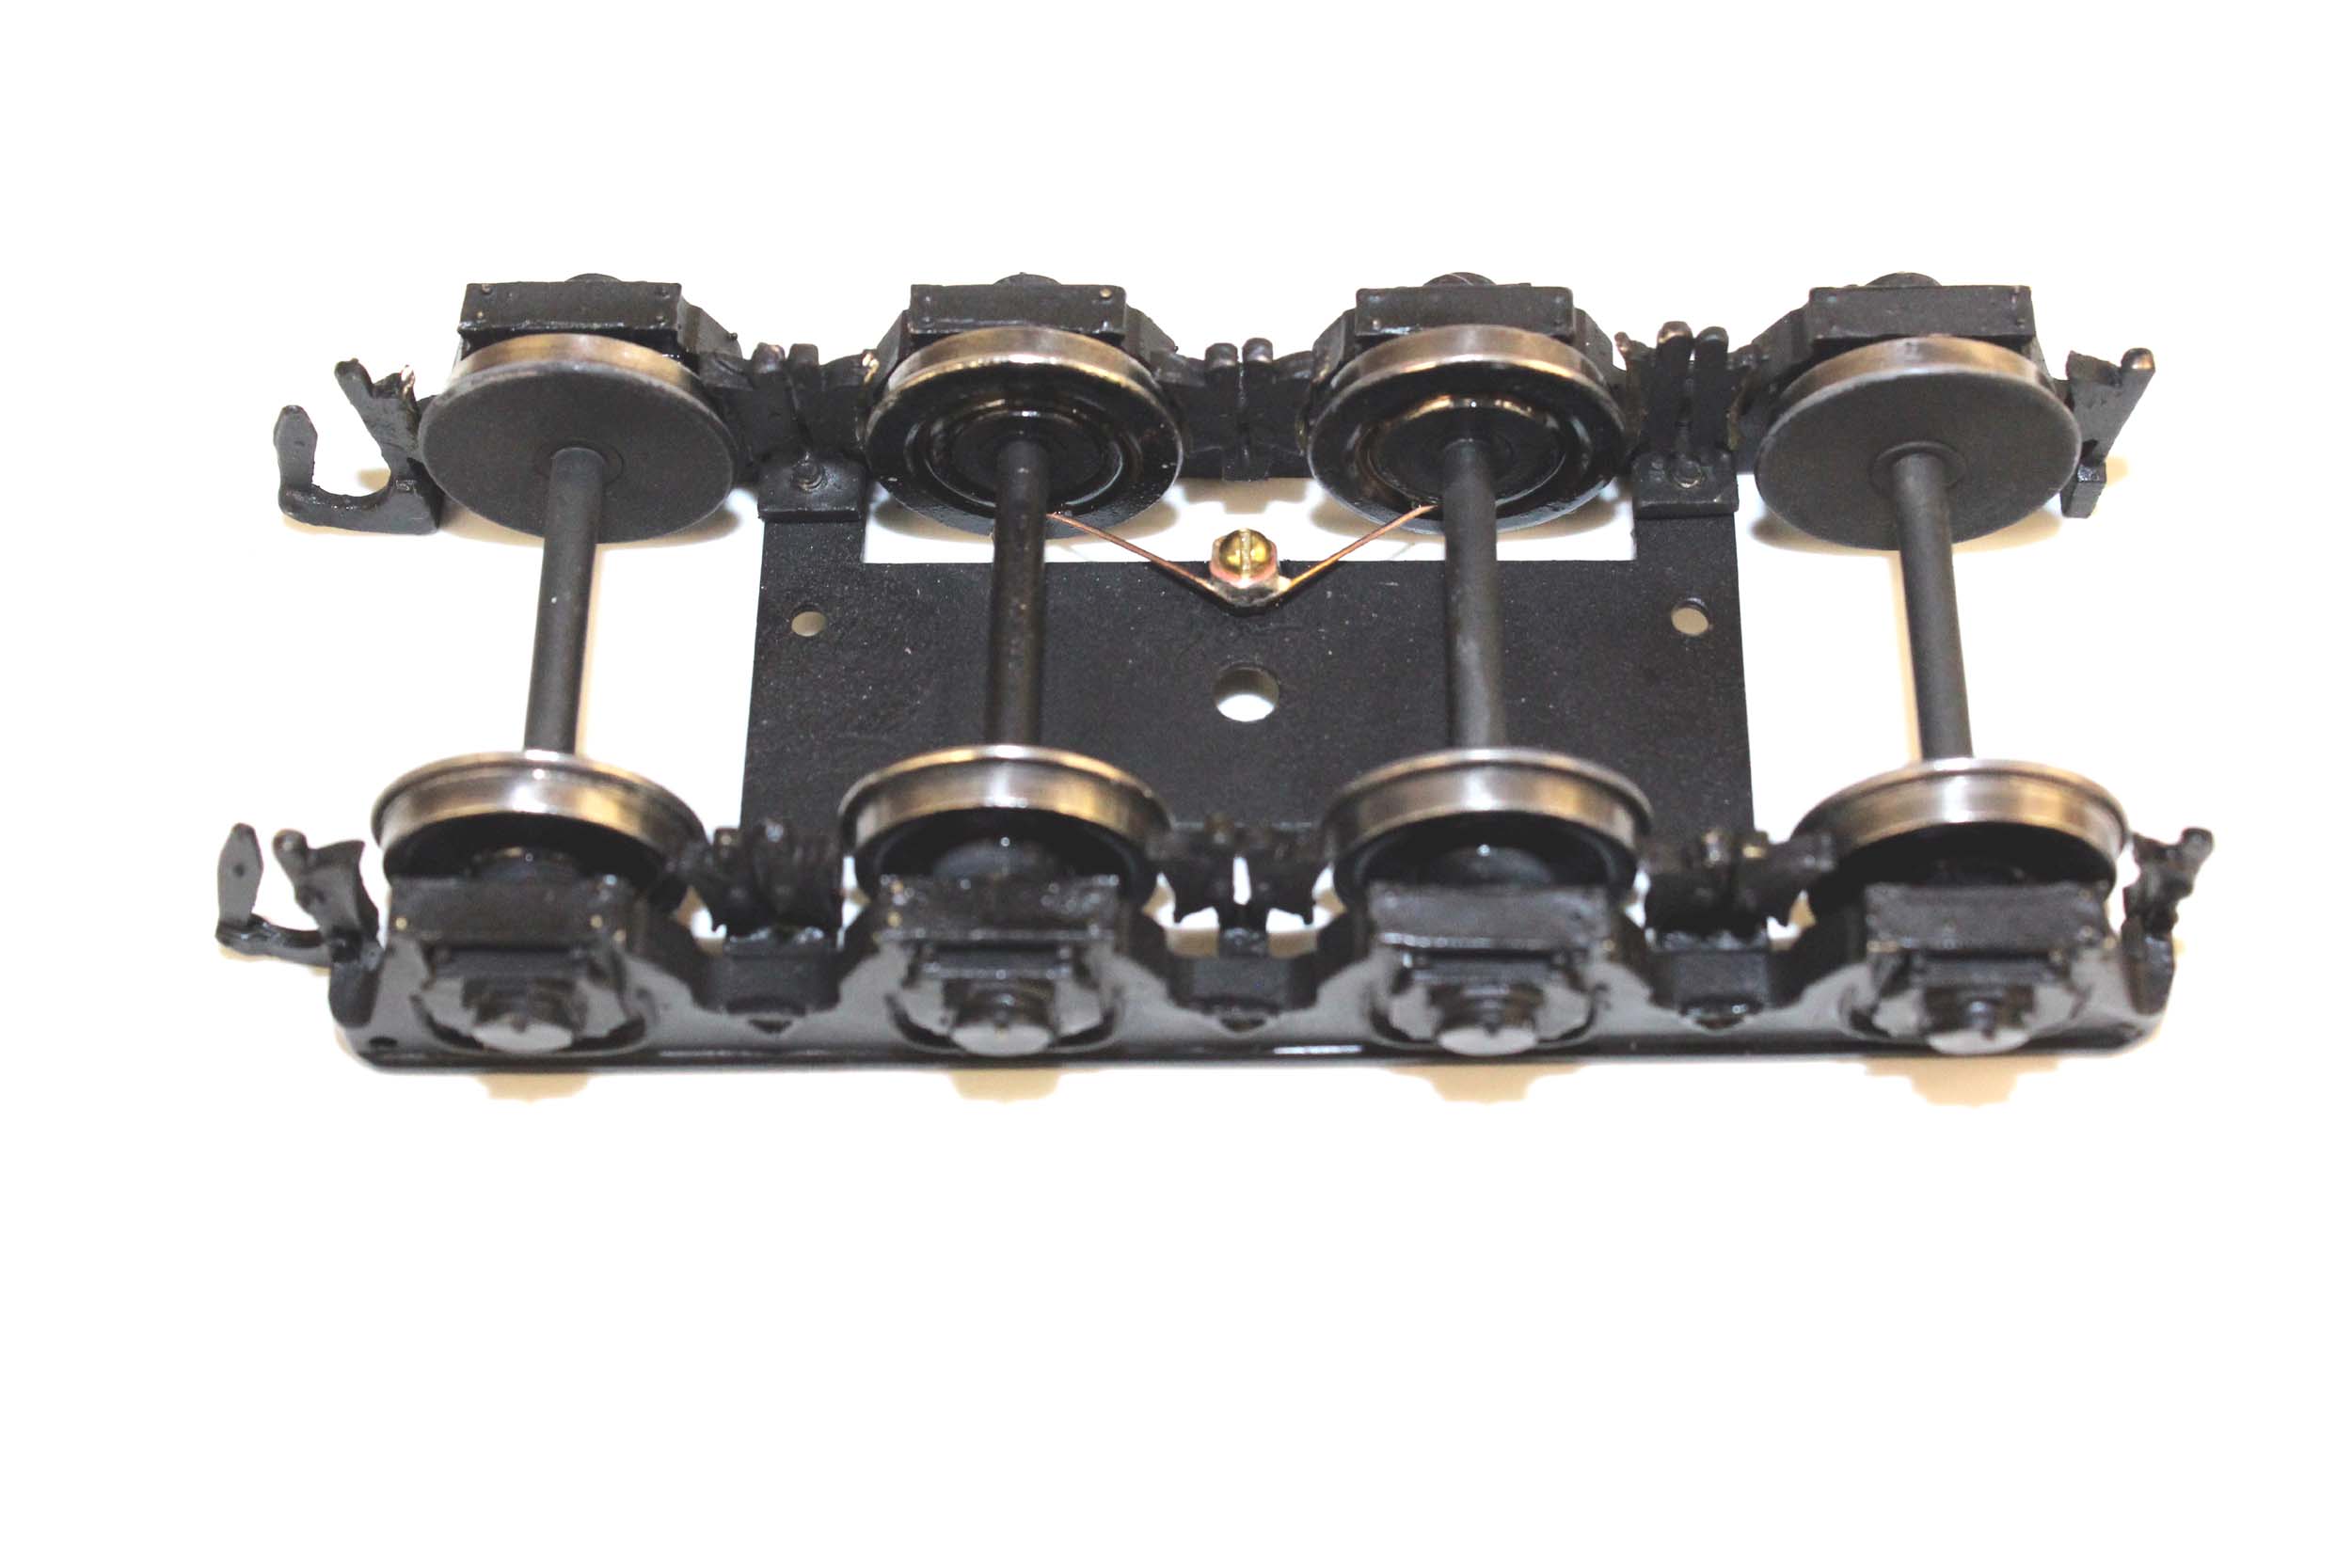
My
long time “standard” now is cutting grooves in the back of the wheels for .015
phosphor bronze wire wipers to ride in. No 2 locos are done exactly the same
but the idea is constant. Getting the wiper tension just right is tedious. I
give the groove a liberal dose of oil without any pick up issues. I have this
done on at least 20 locos now both steam and diesel. I have just found my
original I1 tender wheels and will be using them with grooves cut instead of
this early wheel pick up design.


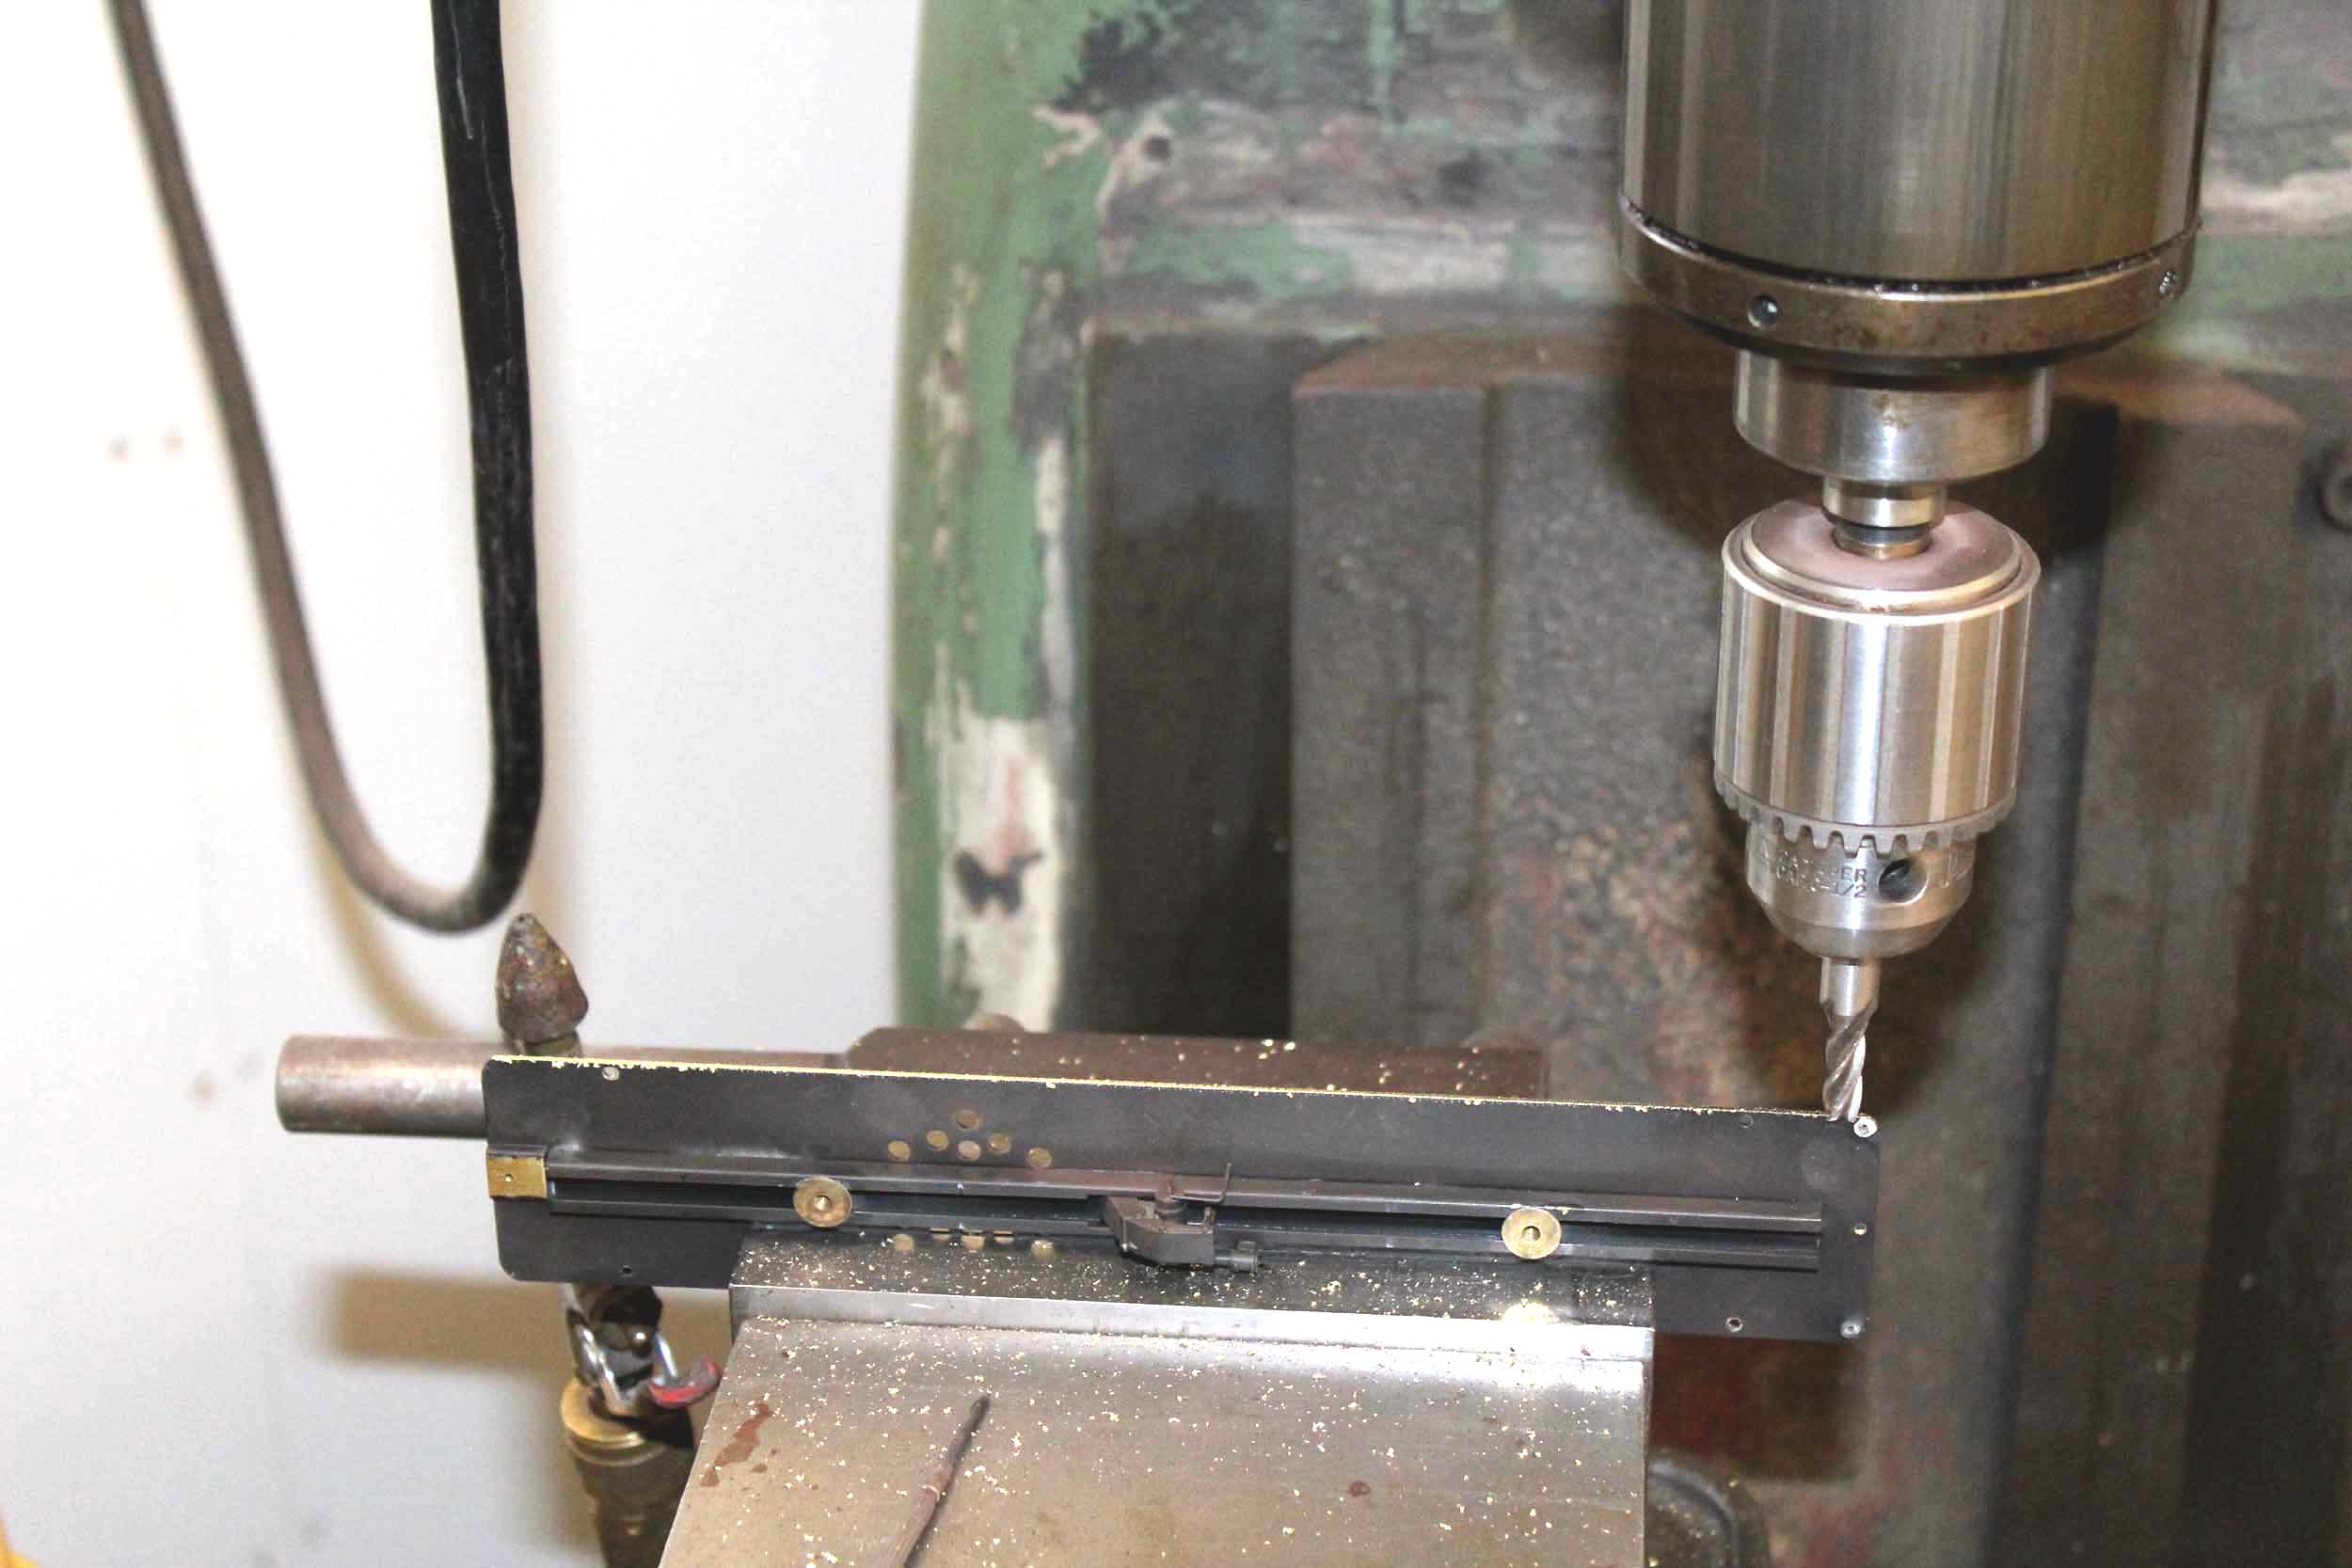
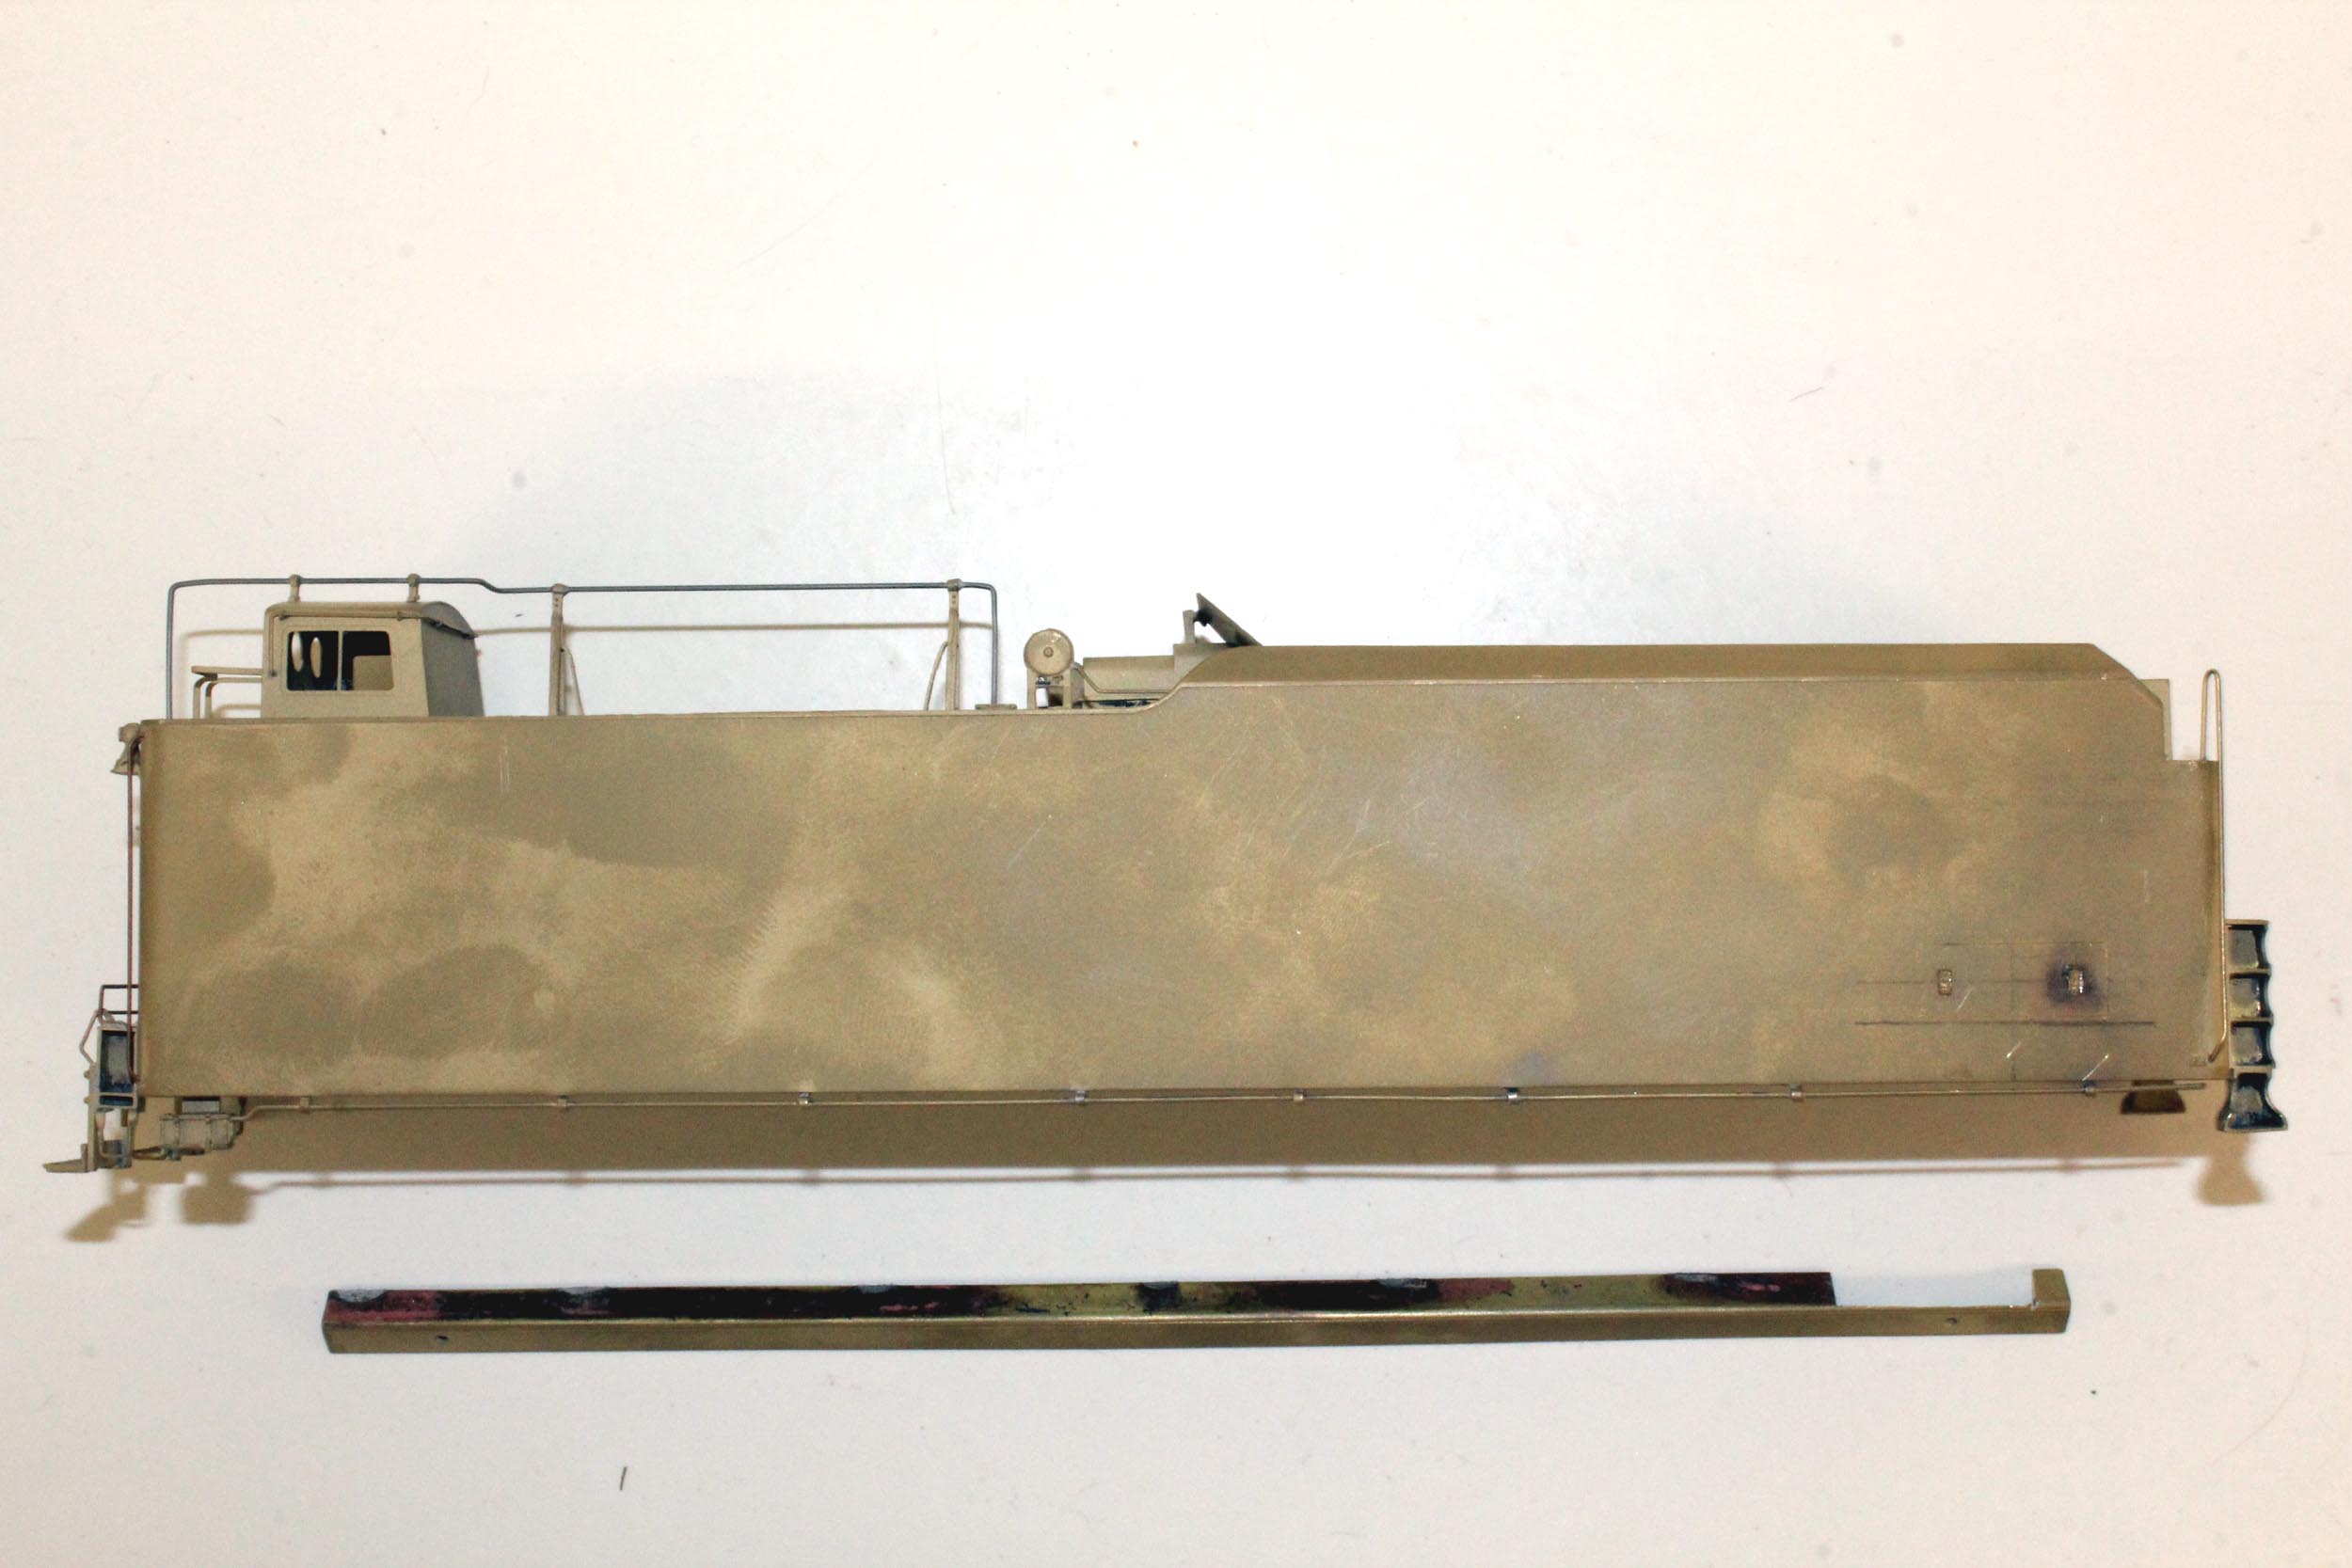
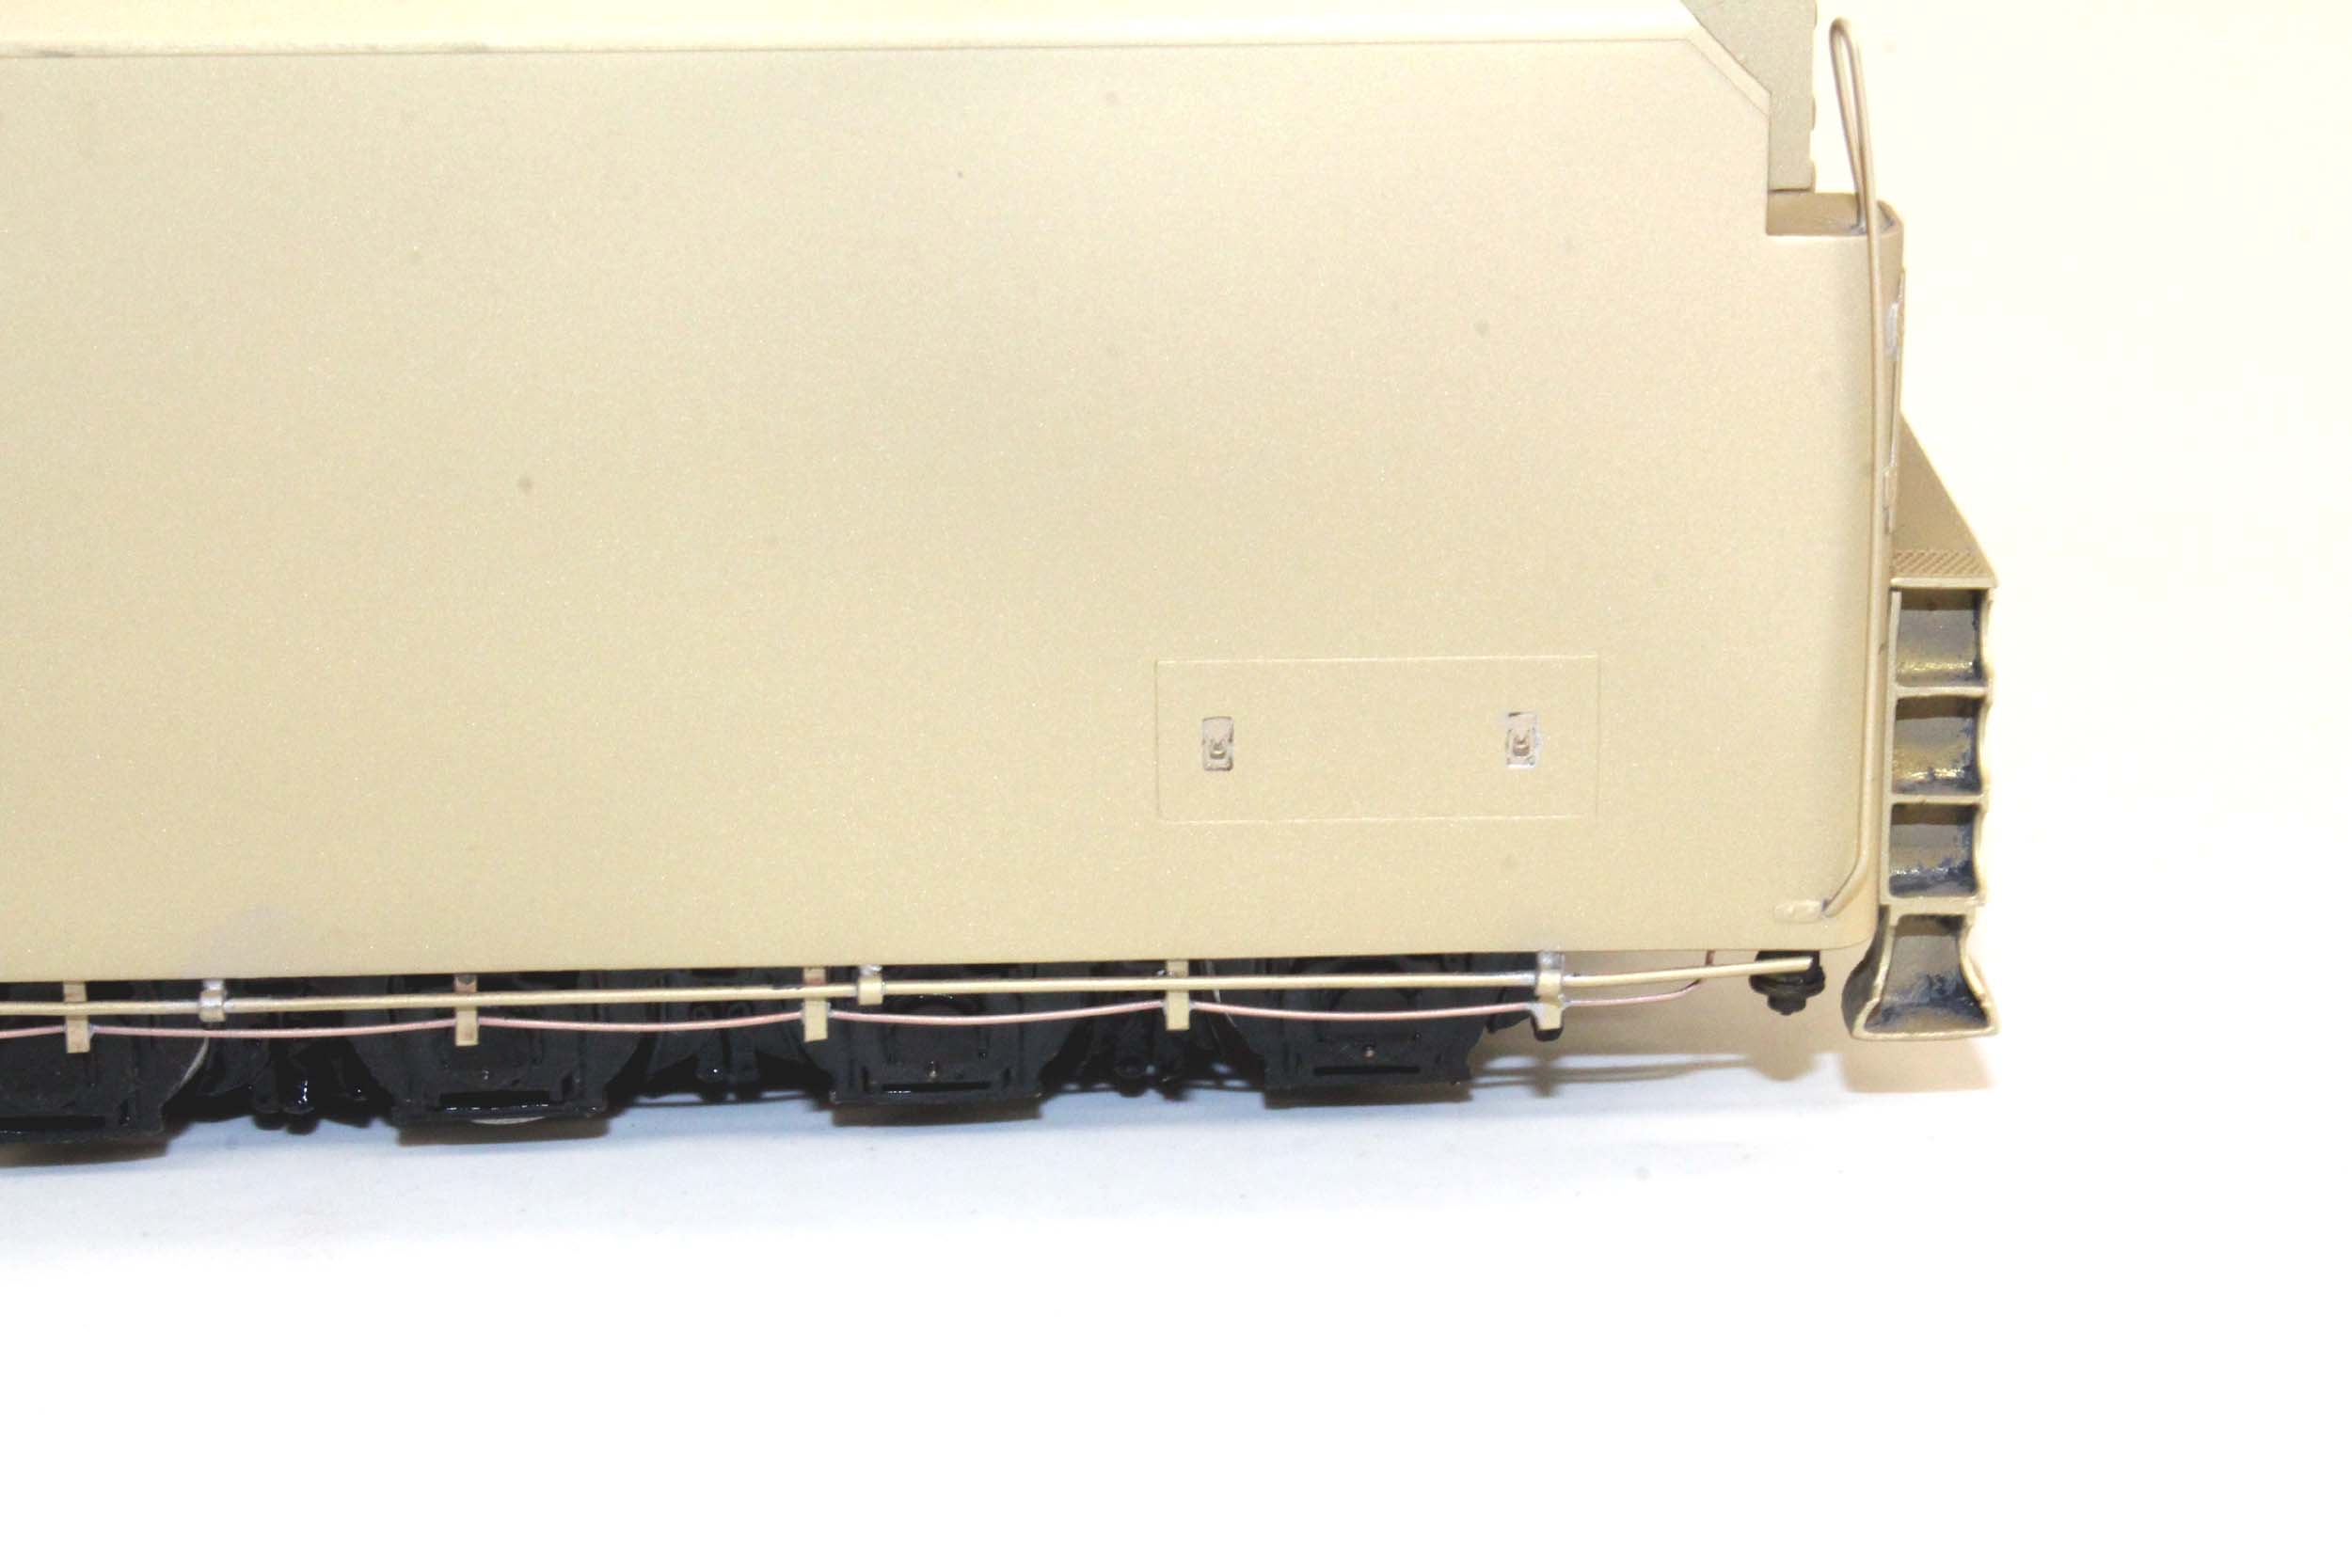
Adding the access door and “droopy”
cable
This is the same 210F75a tender above that got stripped after about
a month of work. The footboards added along with a backup headlight and the
casting that represents the correct way the Trainphone antenna went through the
tender deck.
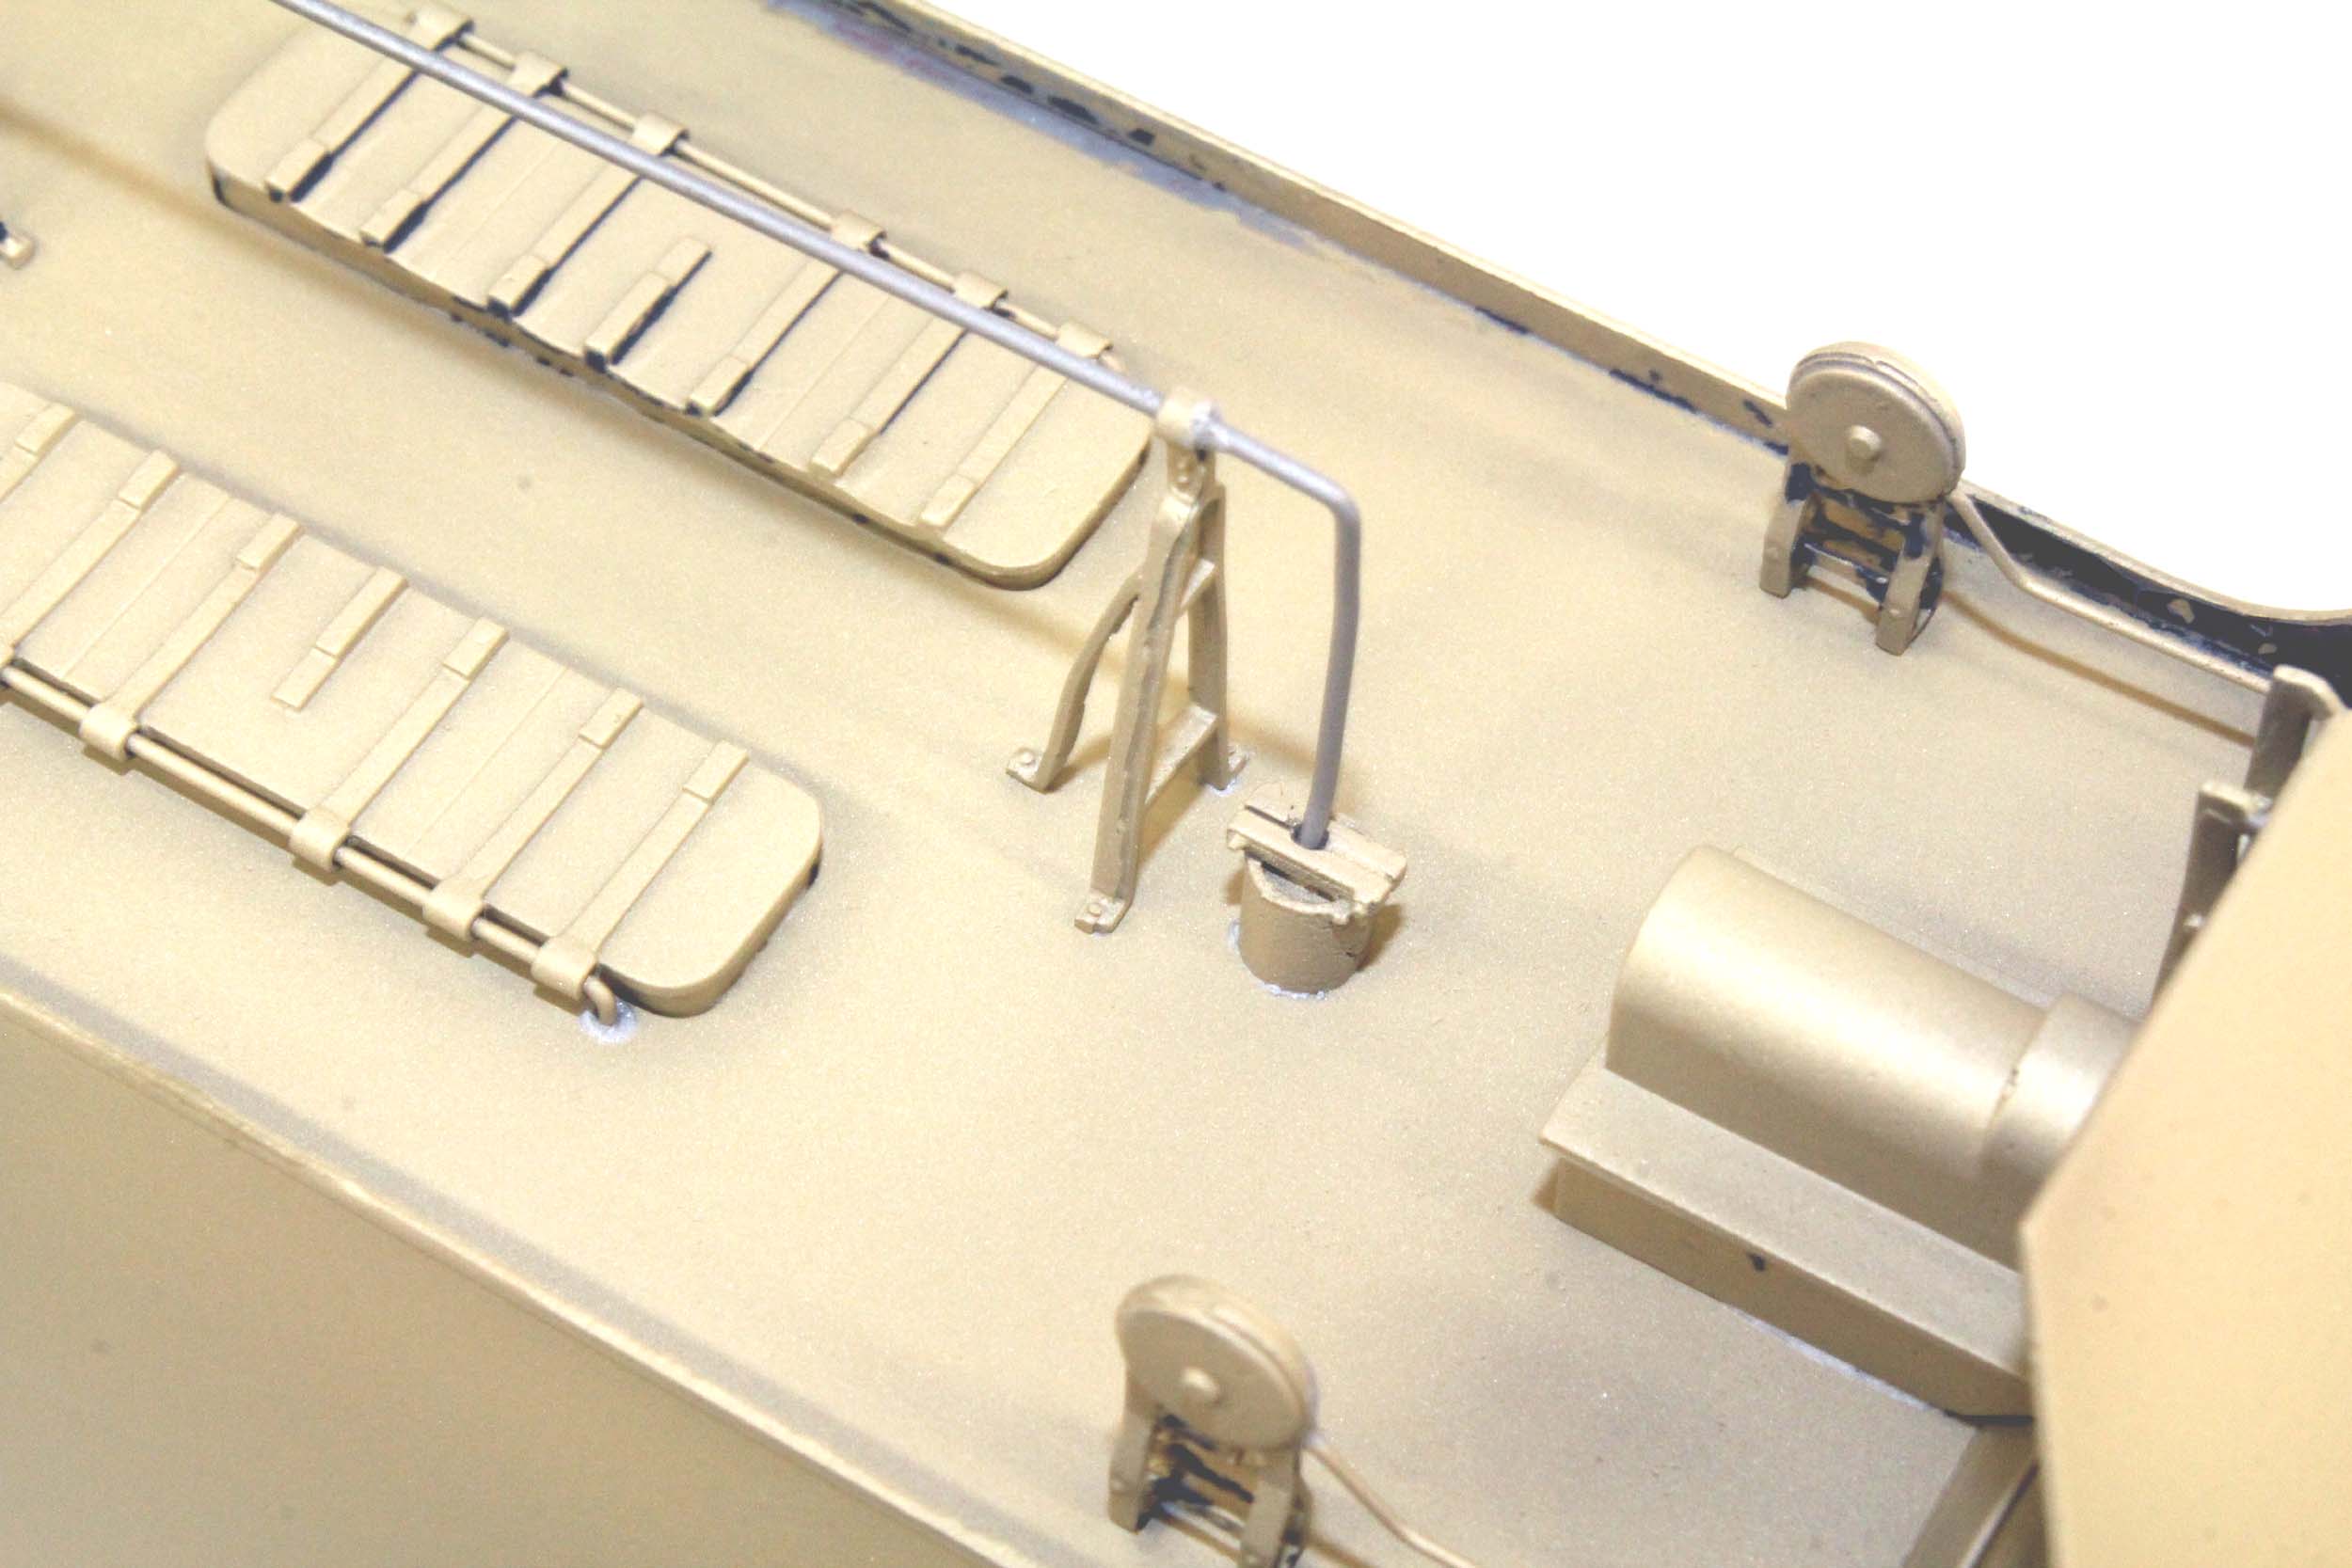
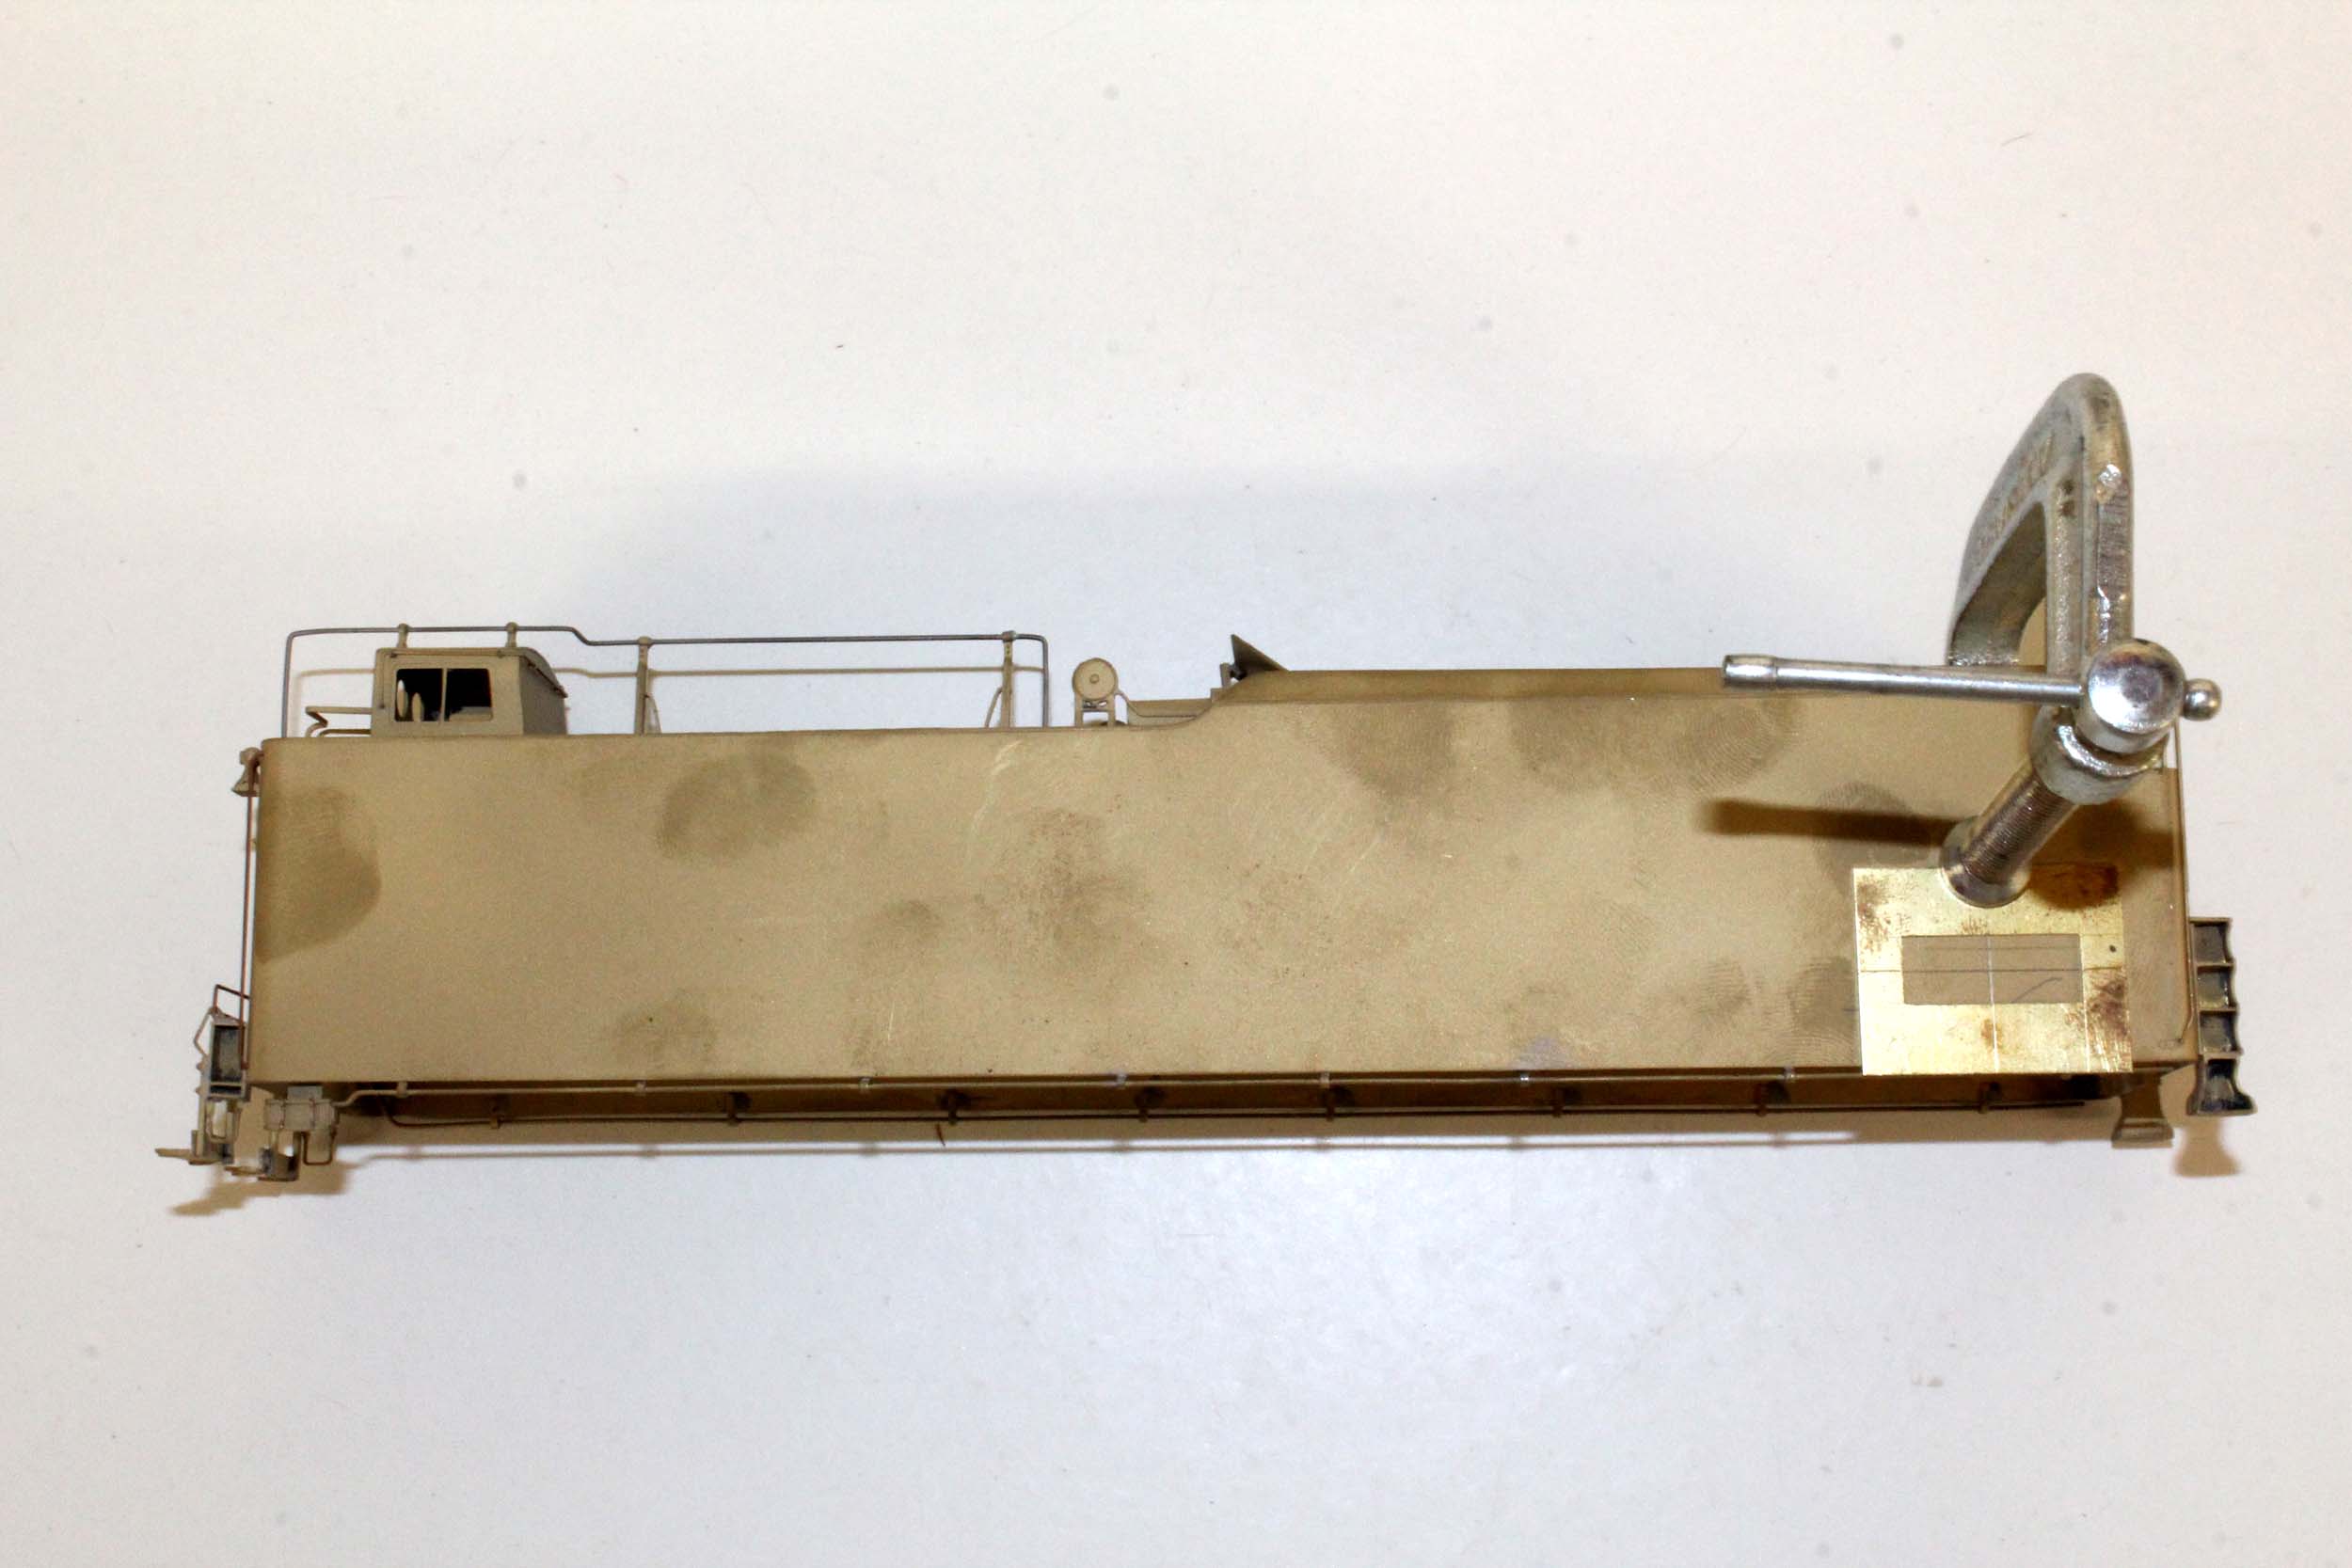
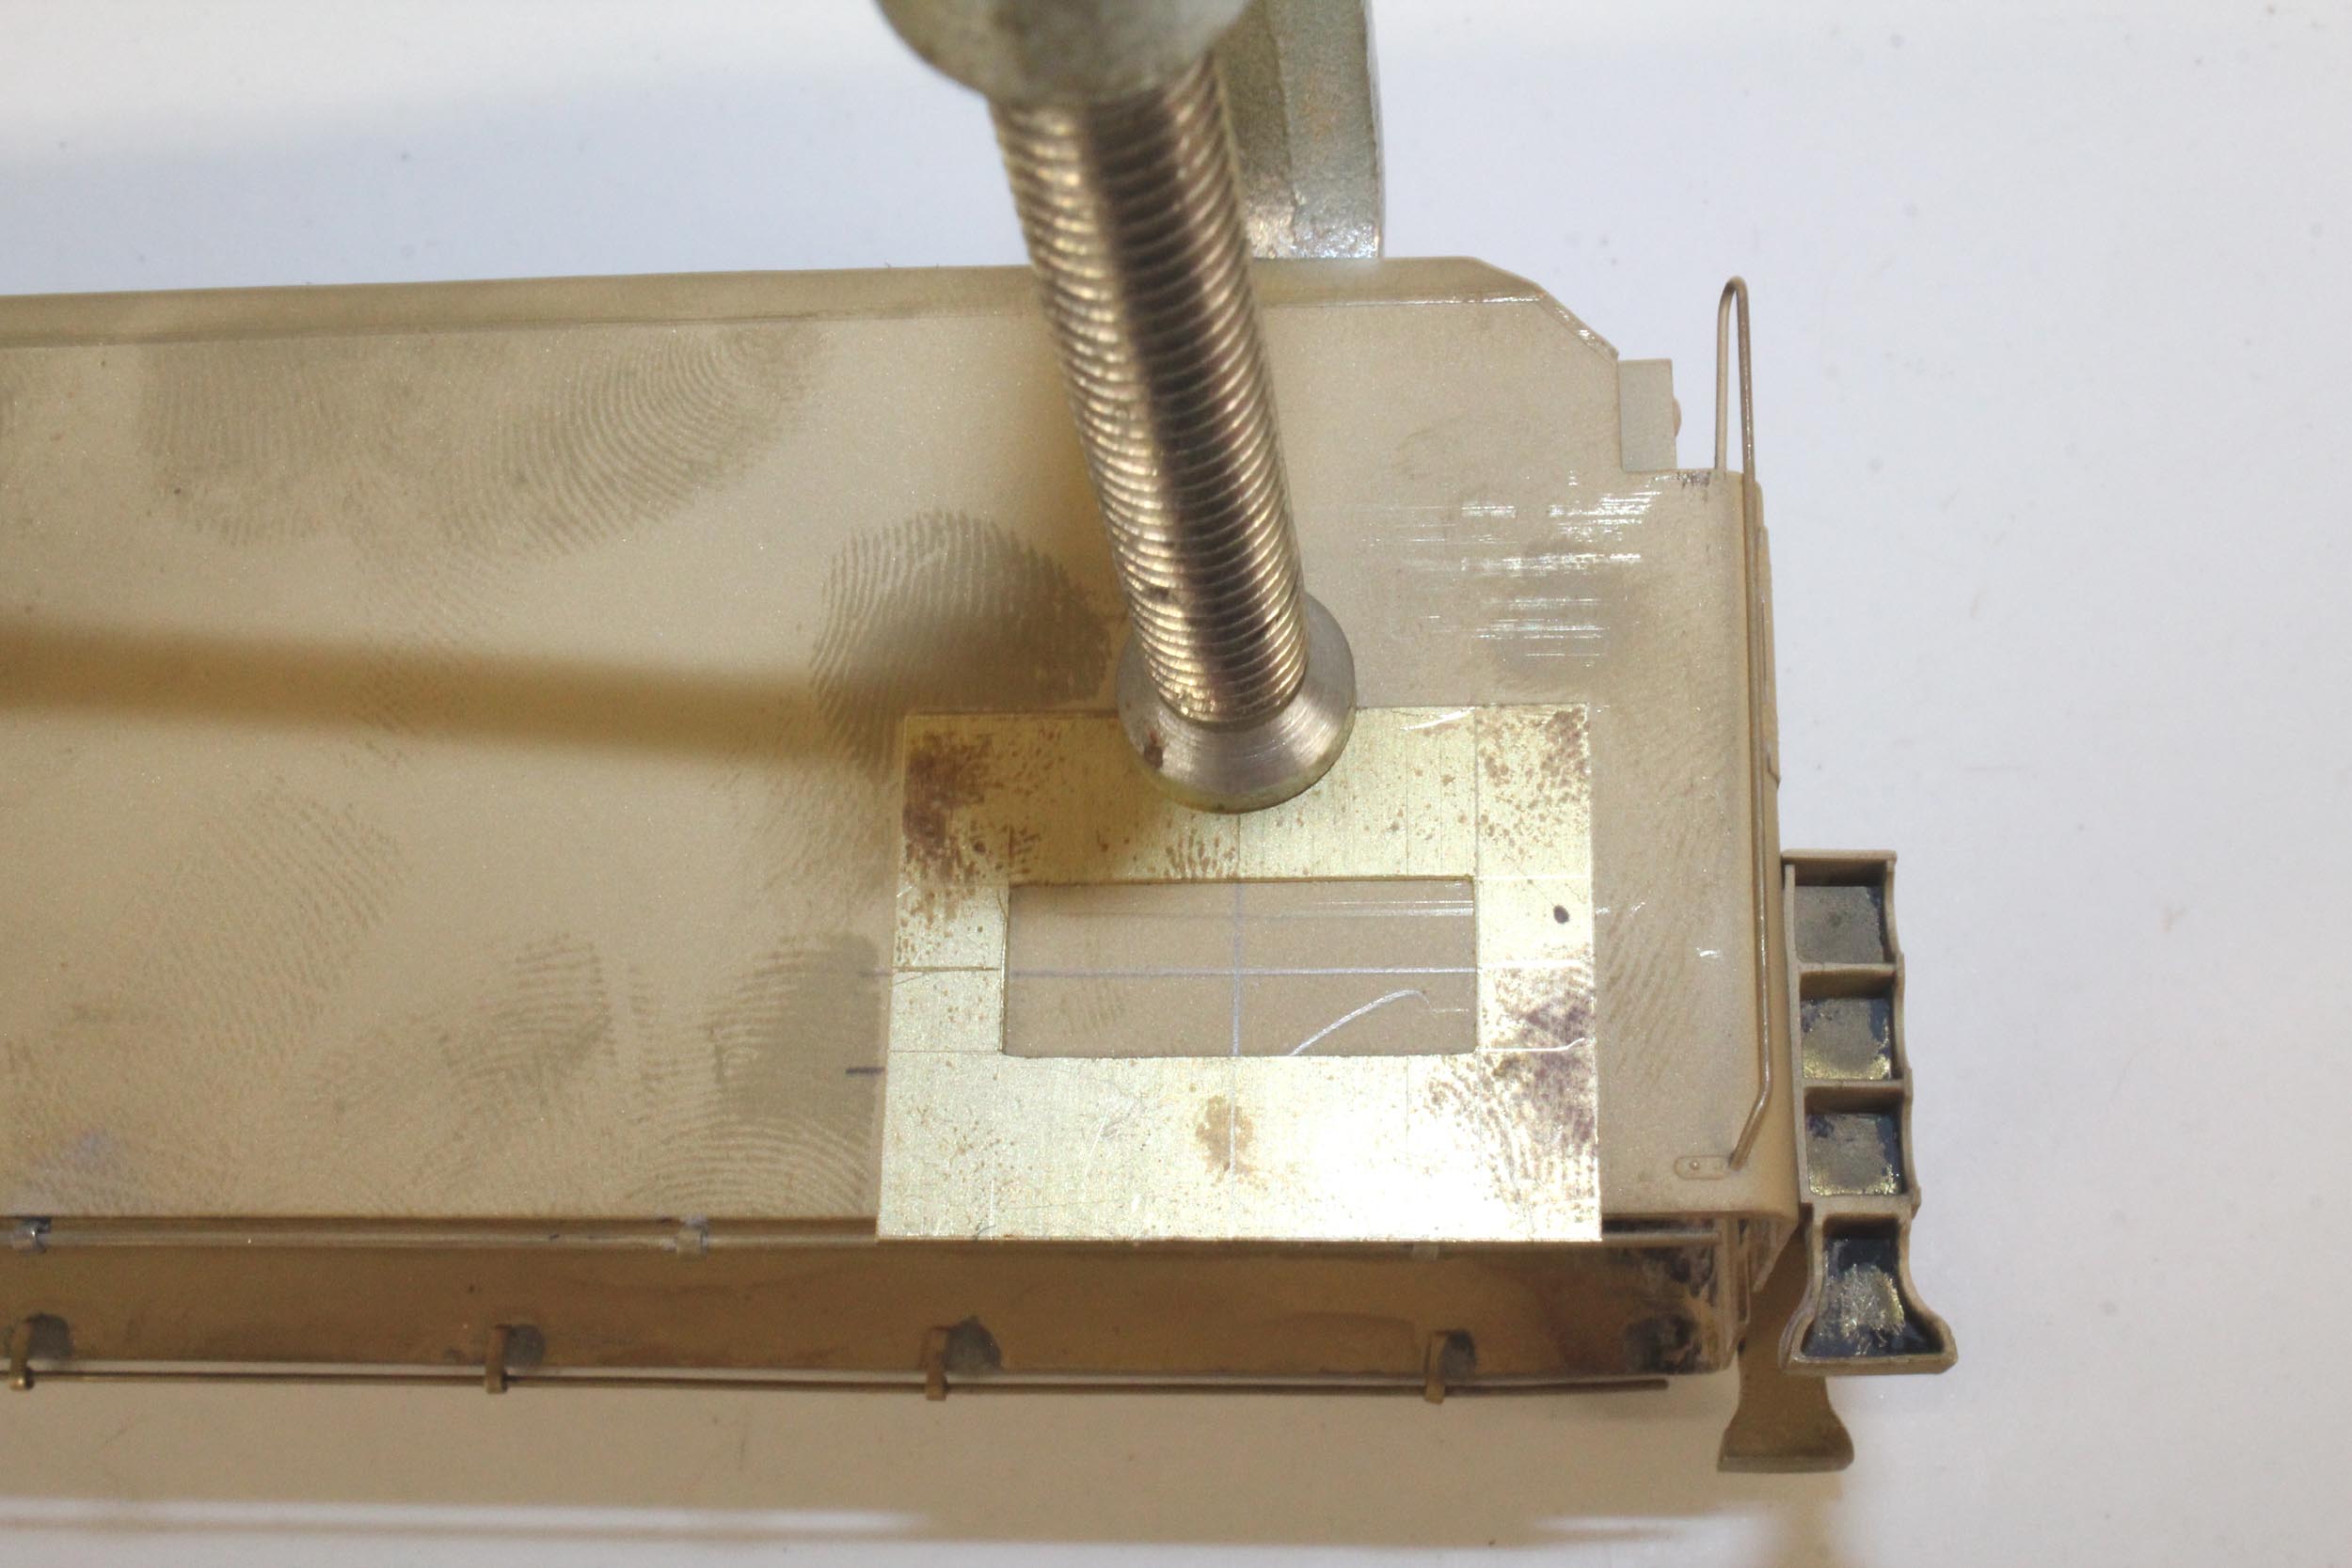
Tenders that had antennas had an access door in the side. I wanted
to simulate that. It was a scary thing to scribe a rather significant
rectangular line in the smooth side of a tender I already did a lot of detail
work to it. One slip is a big problem. I made a template. That was one issue.
Making sure it was straight for the scribing was another issue. I thought about
soldering the template on but the clamp just worked fine. I also had to
temporarily take out the mounting angle that ran right across where the latch
castings went. It all worked out pretty
well.
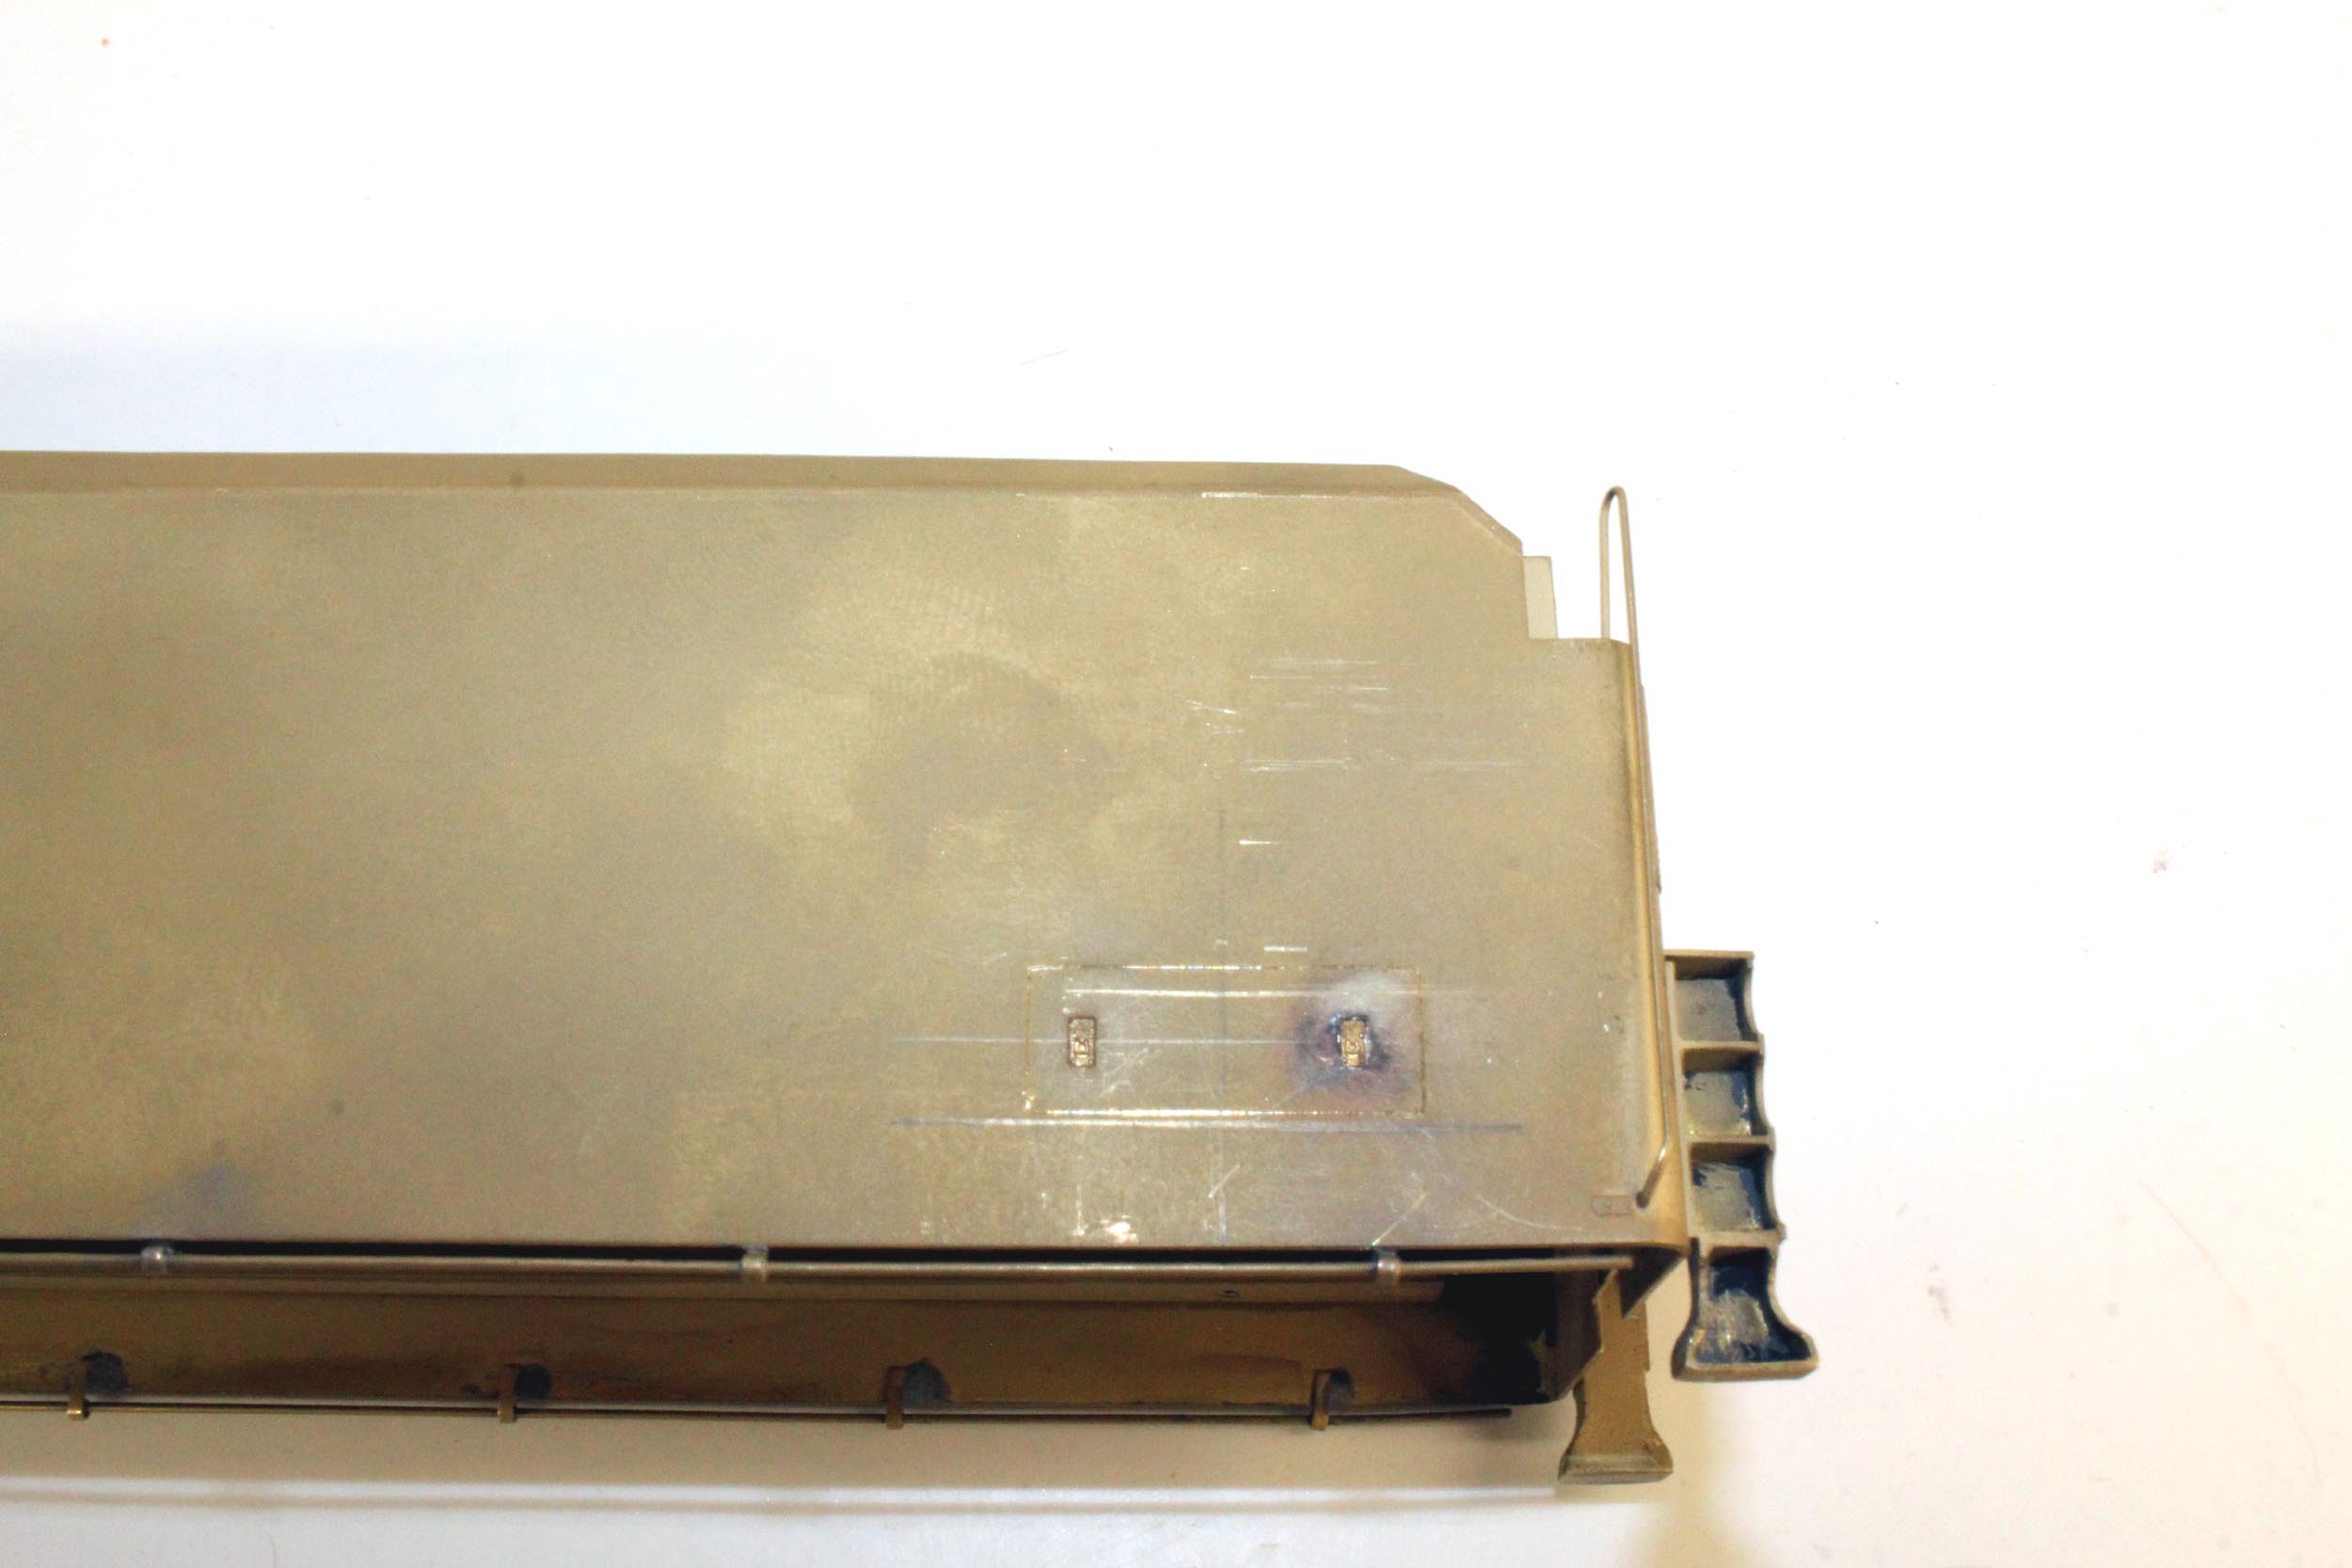
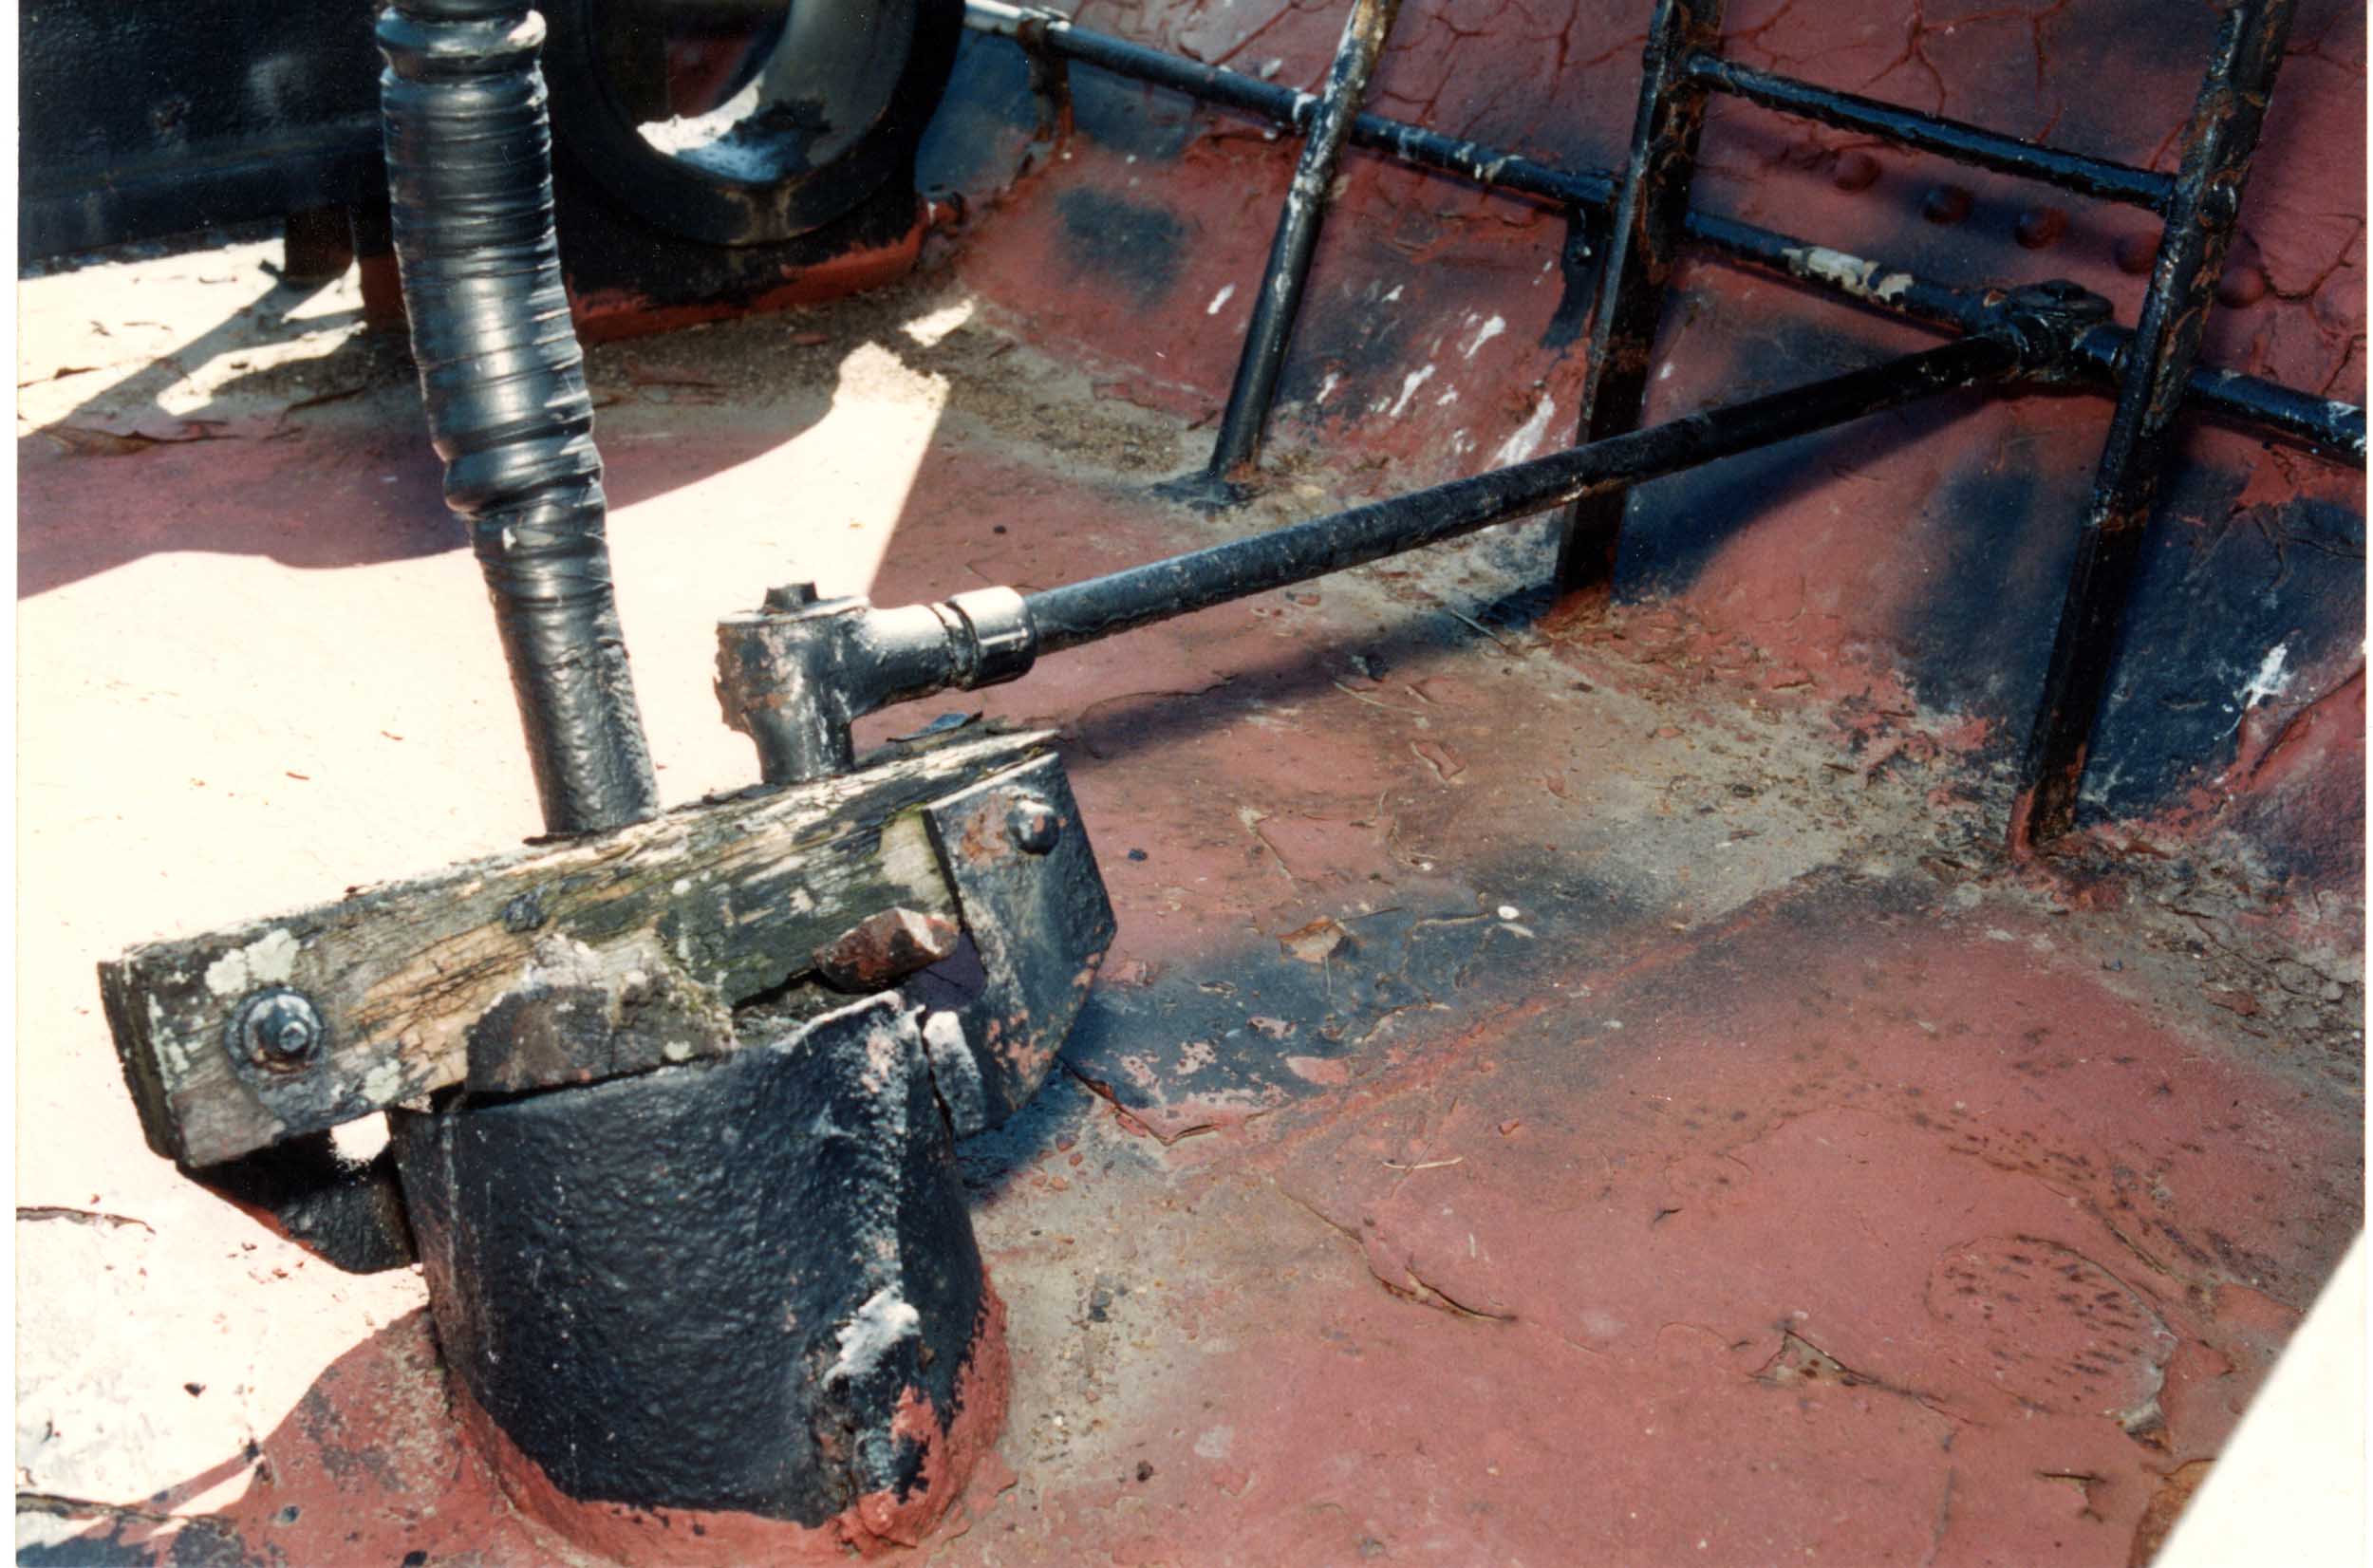
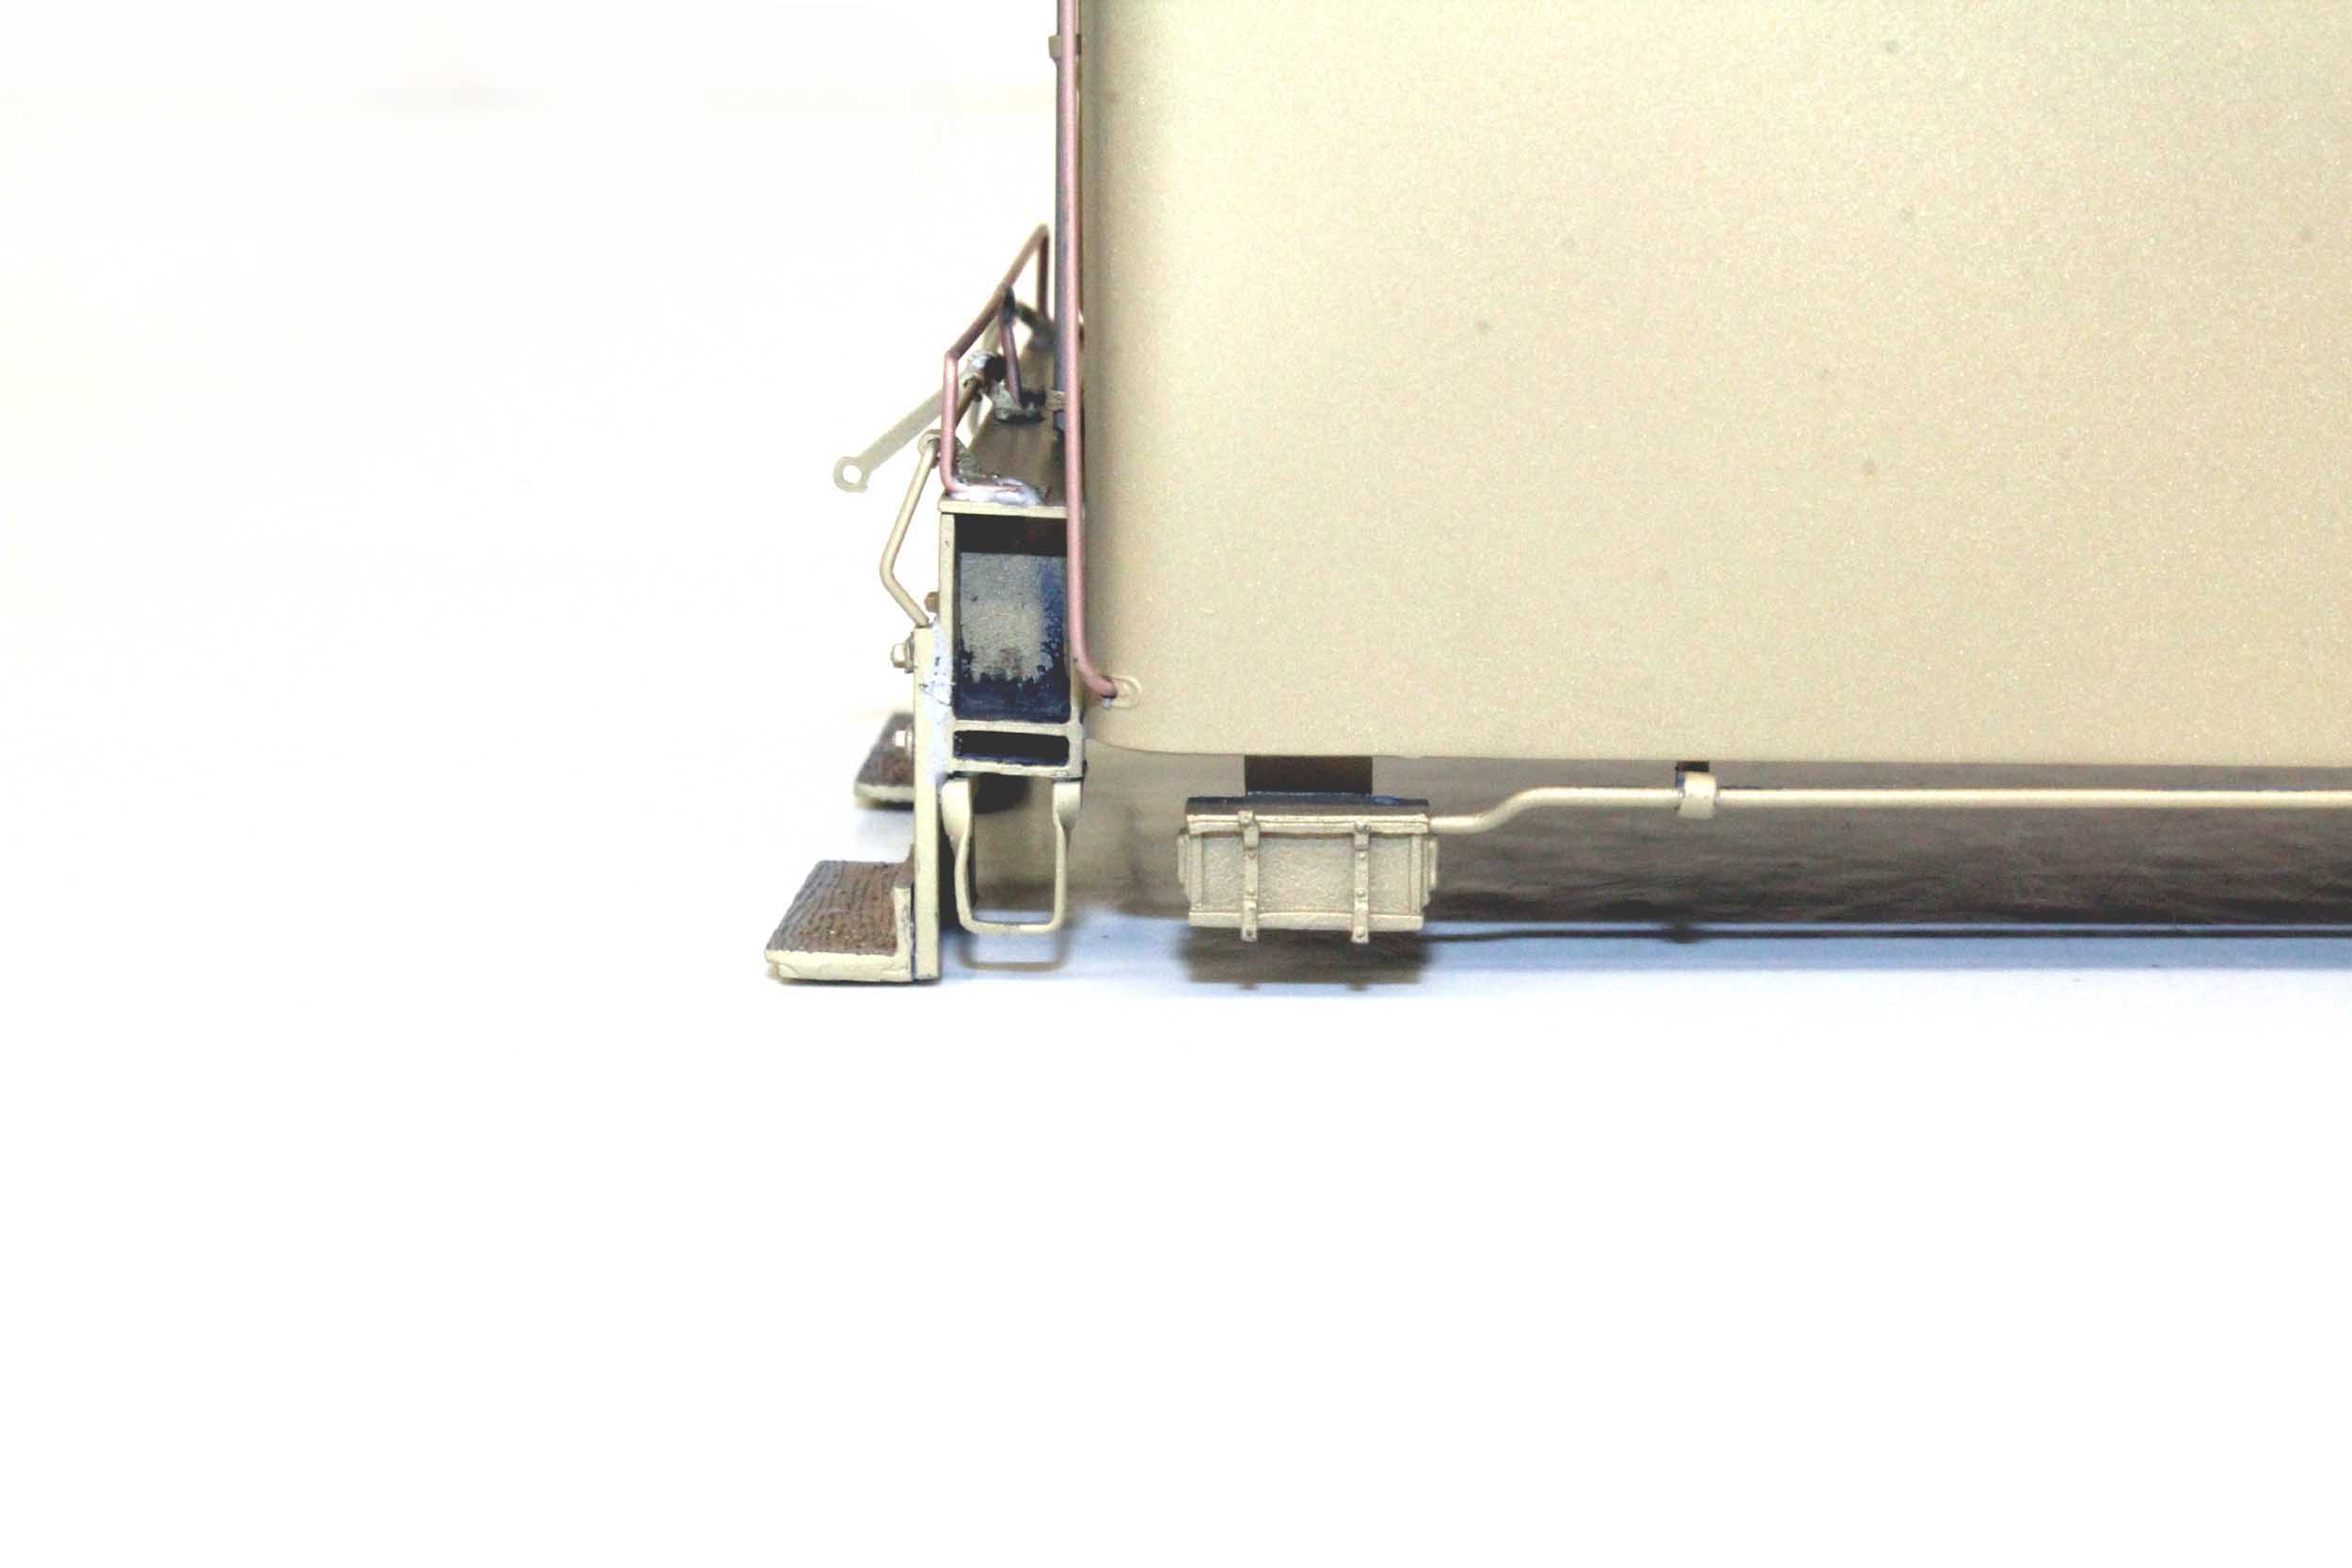
I have seen photos of a small equipment box at the rear corner
and conduit or a “droopy” cable running along the bottom edge. I added the
equipment box and wanted to try the droopy cable. The effect is just what I
wanted. This tender is now done for detailing. Onward to the
tender electric work.
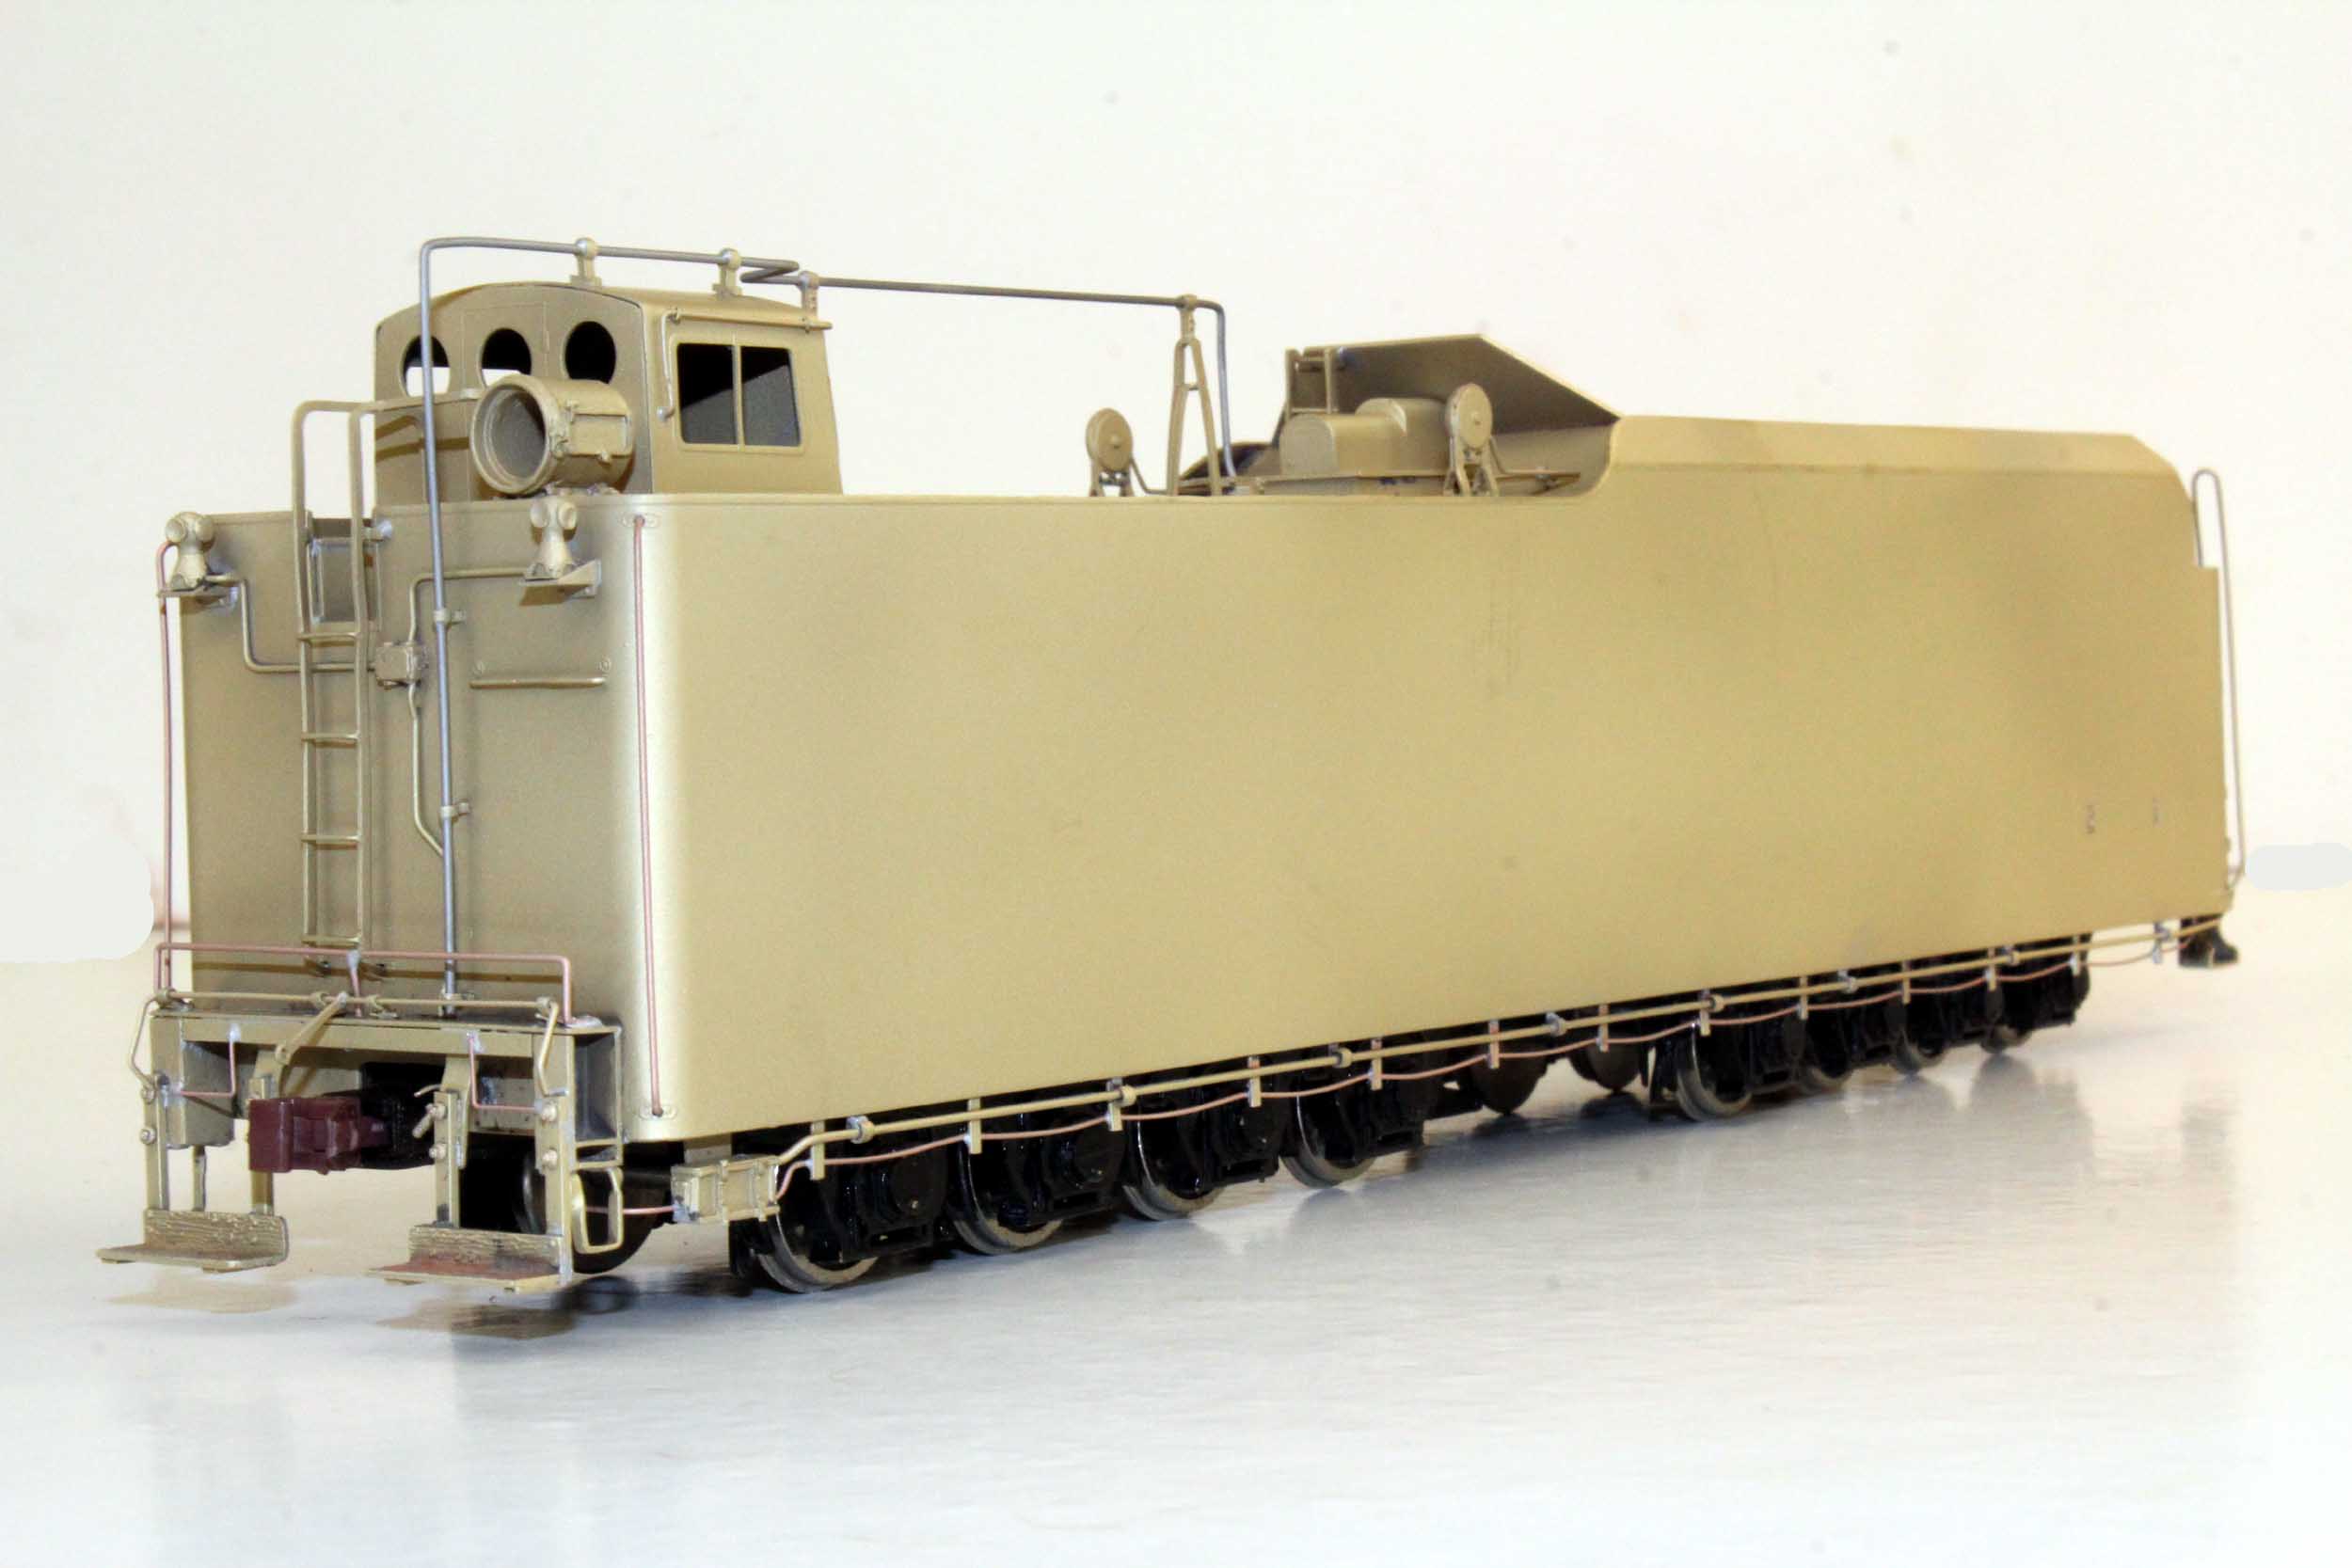
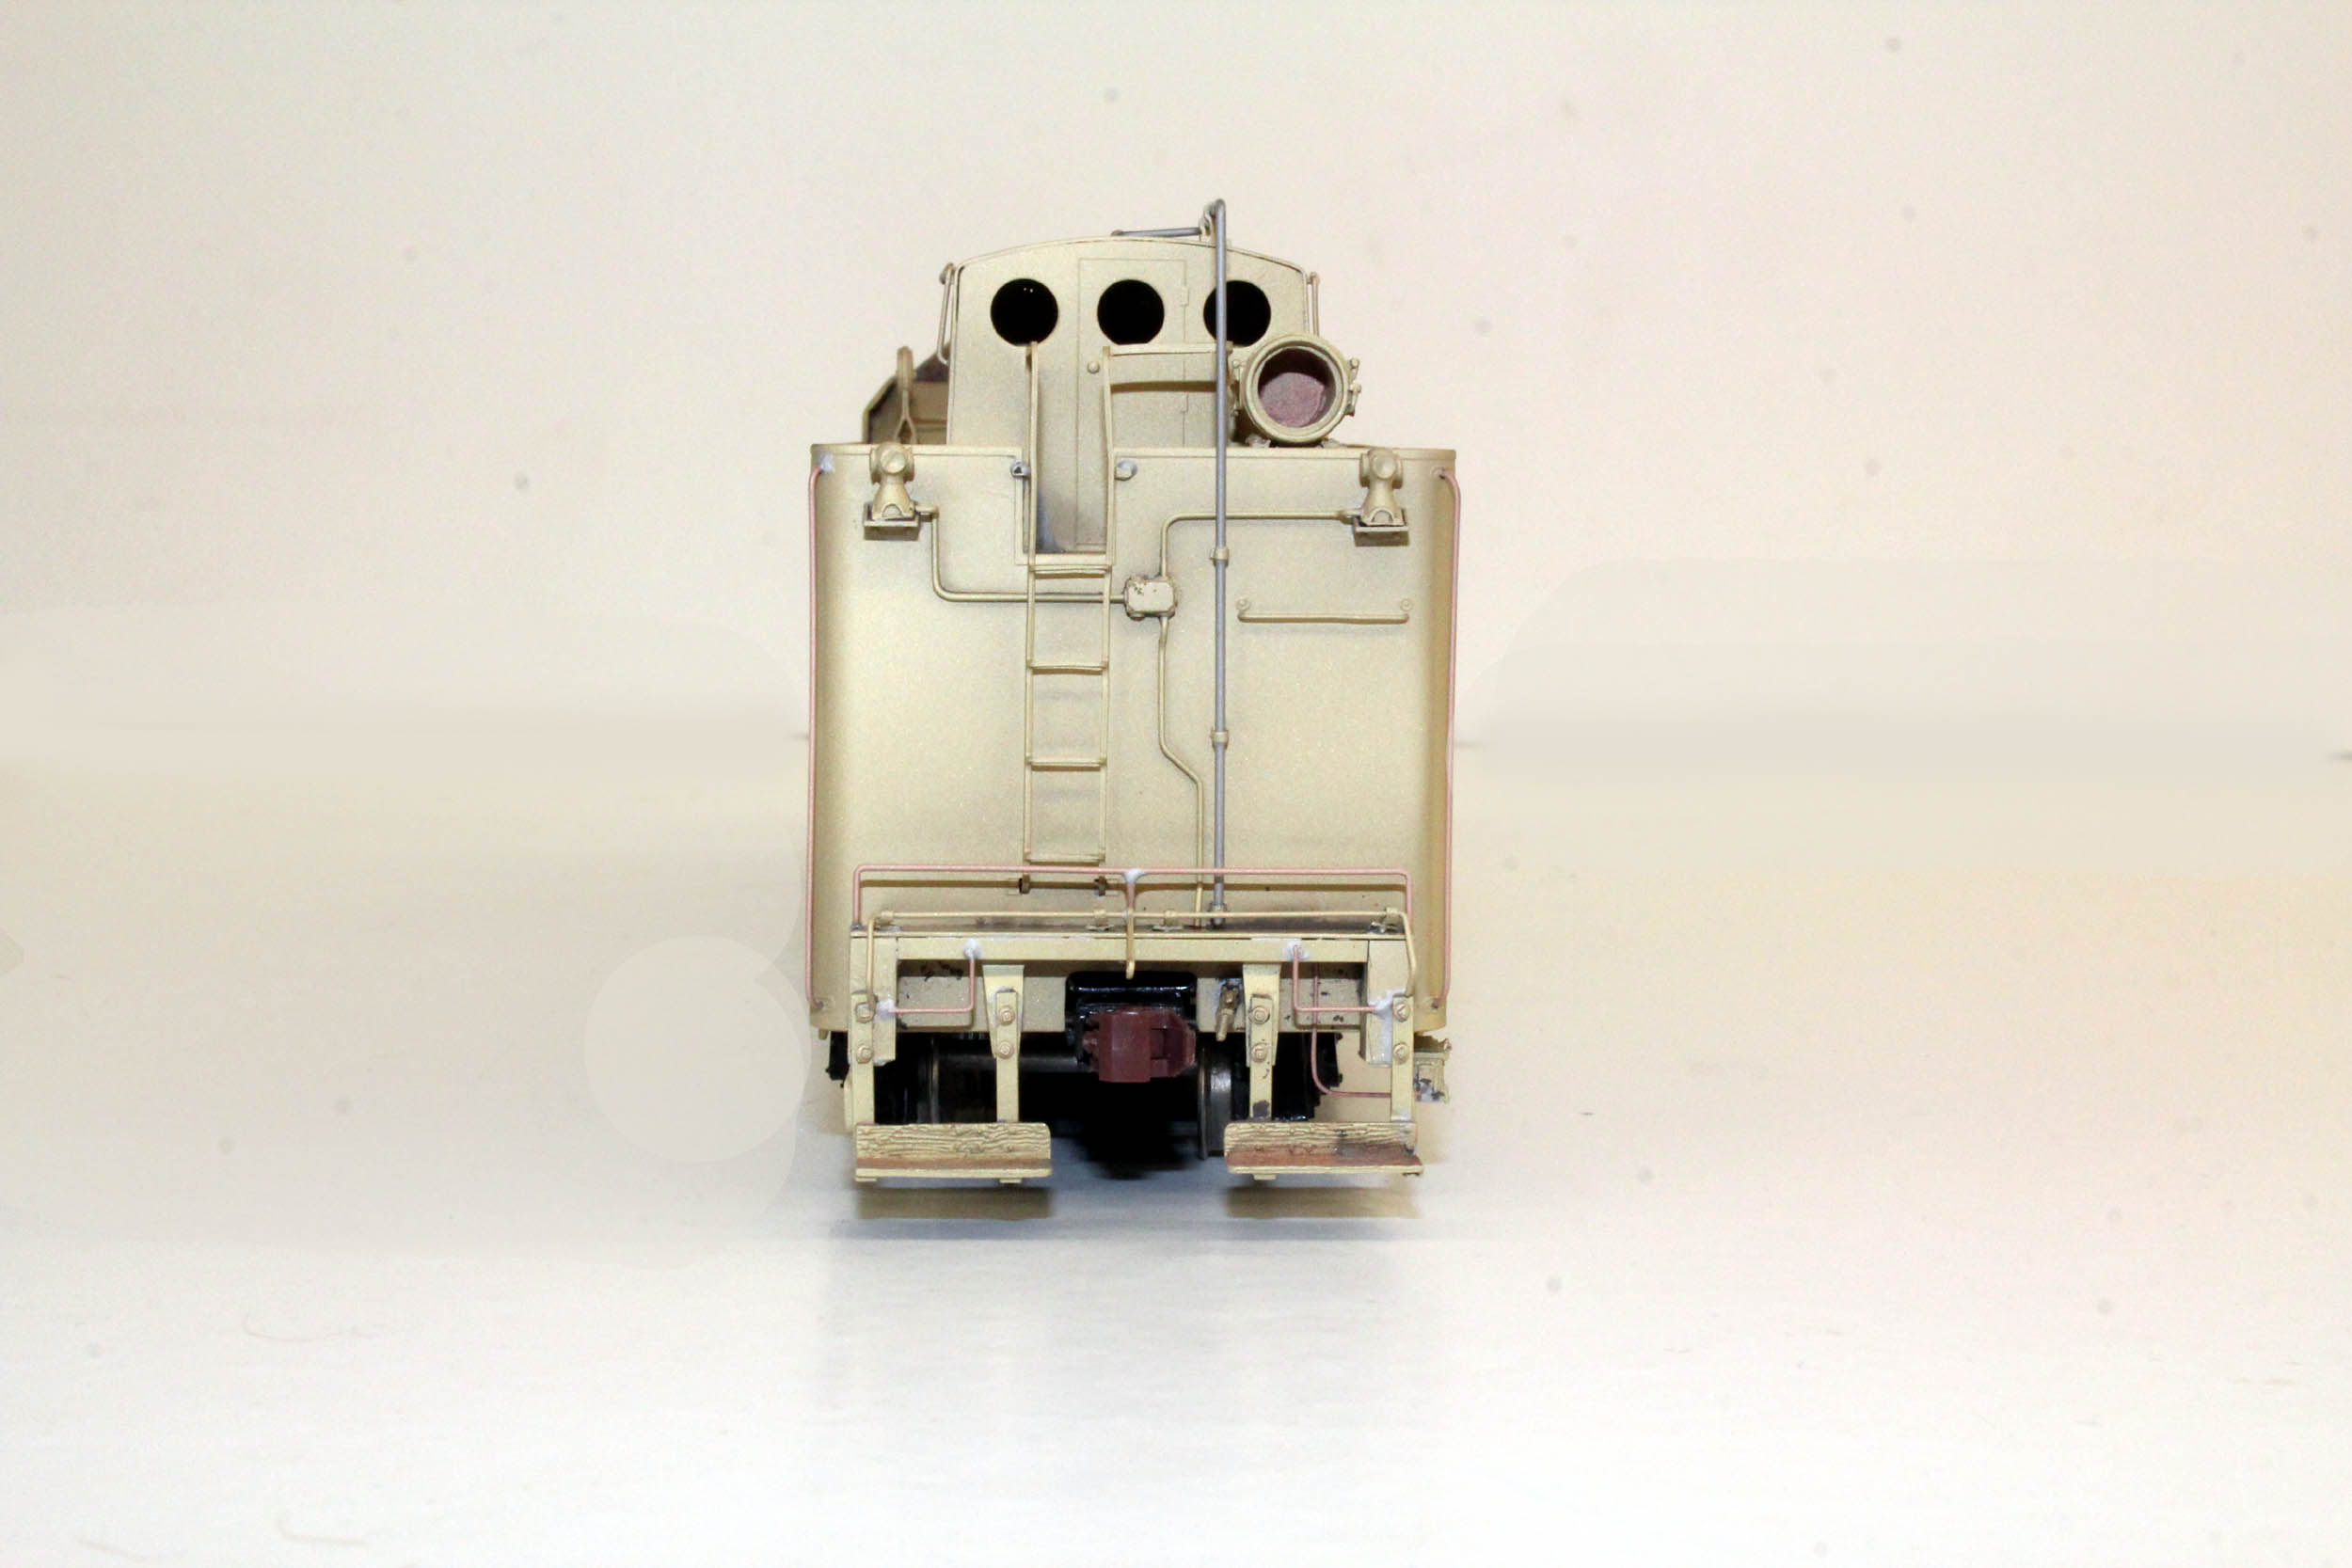
Added 3-26-17
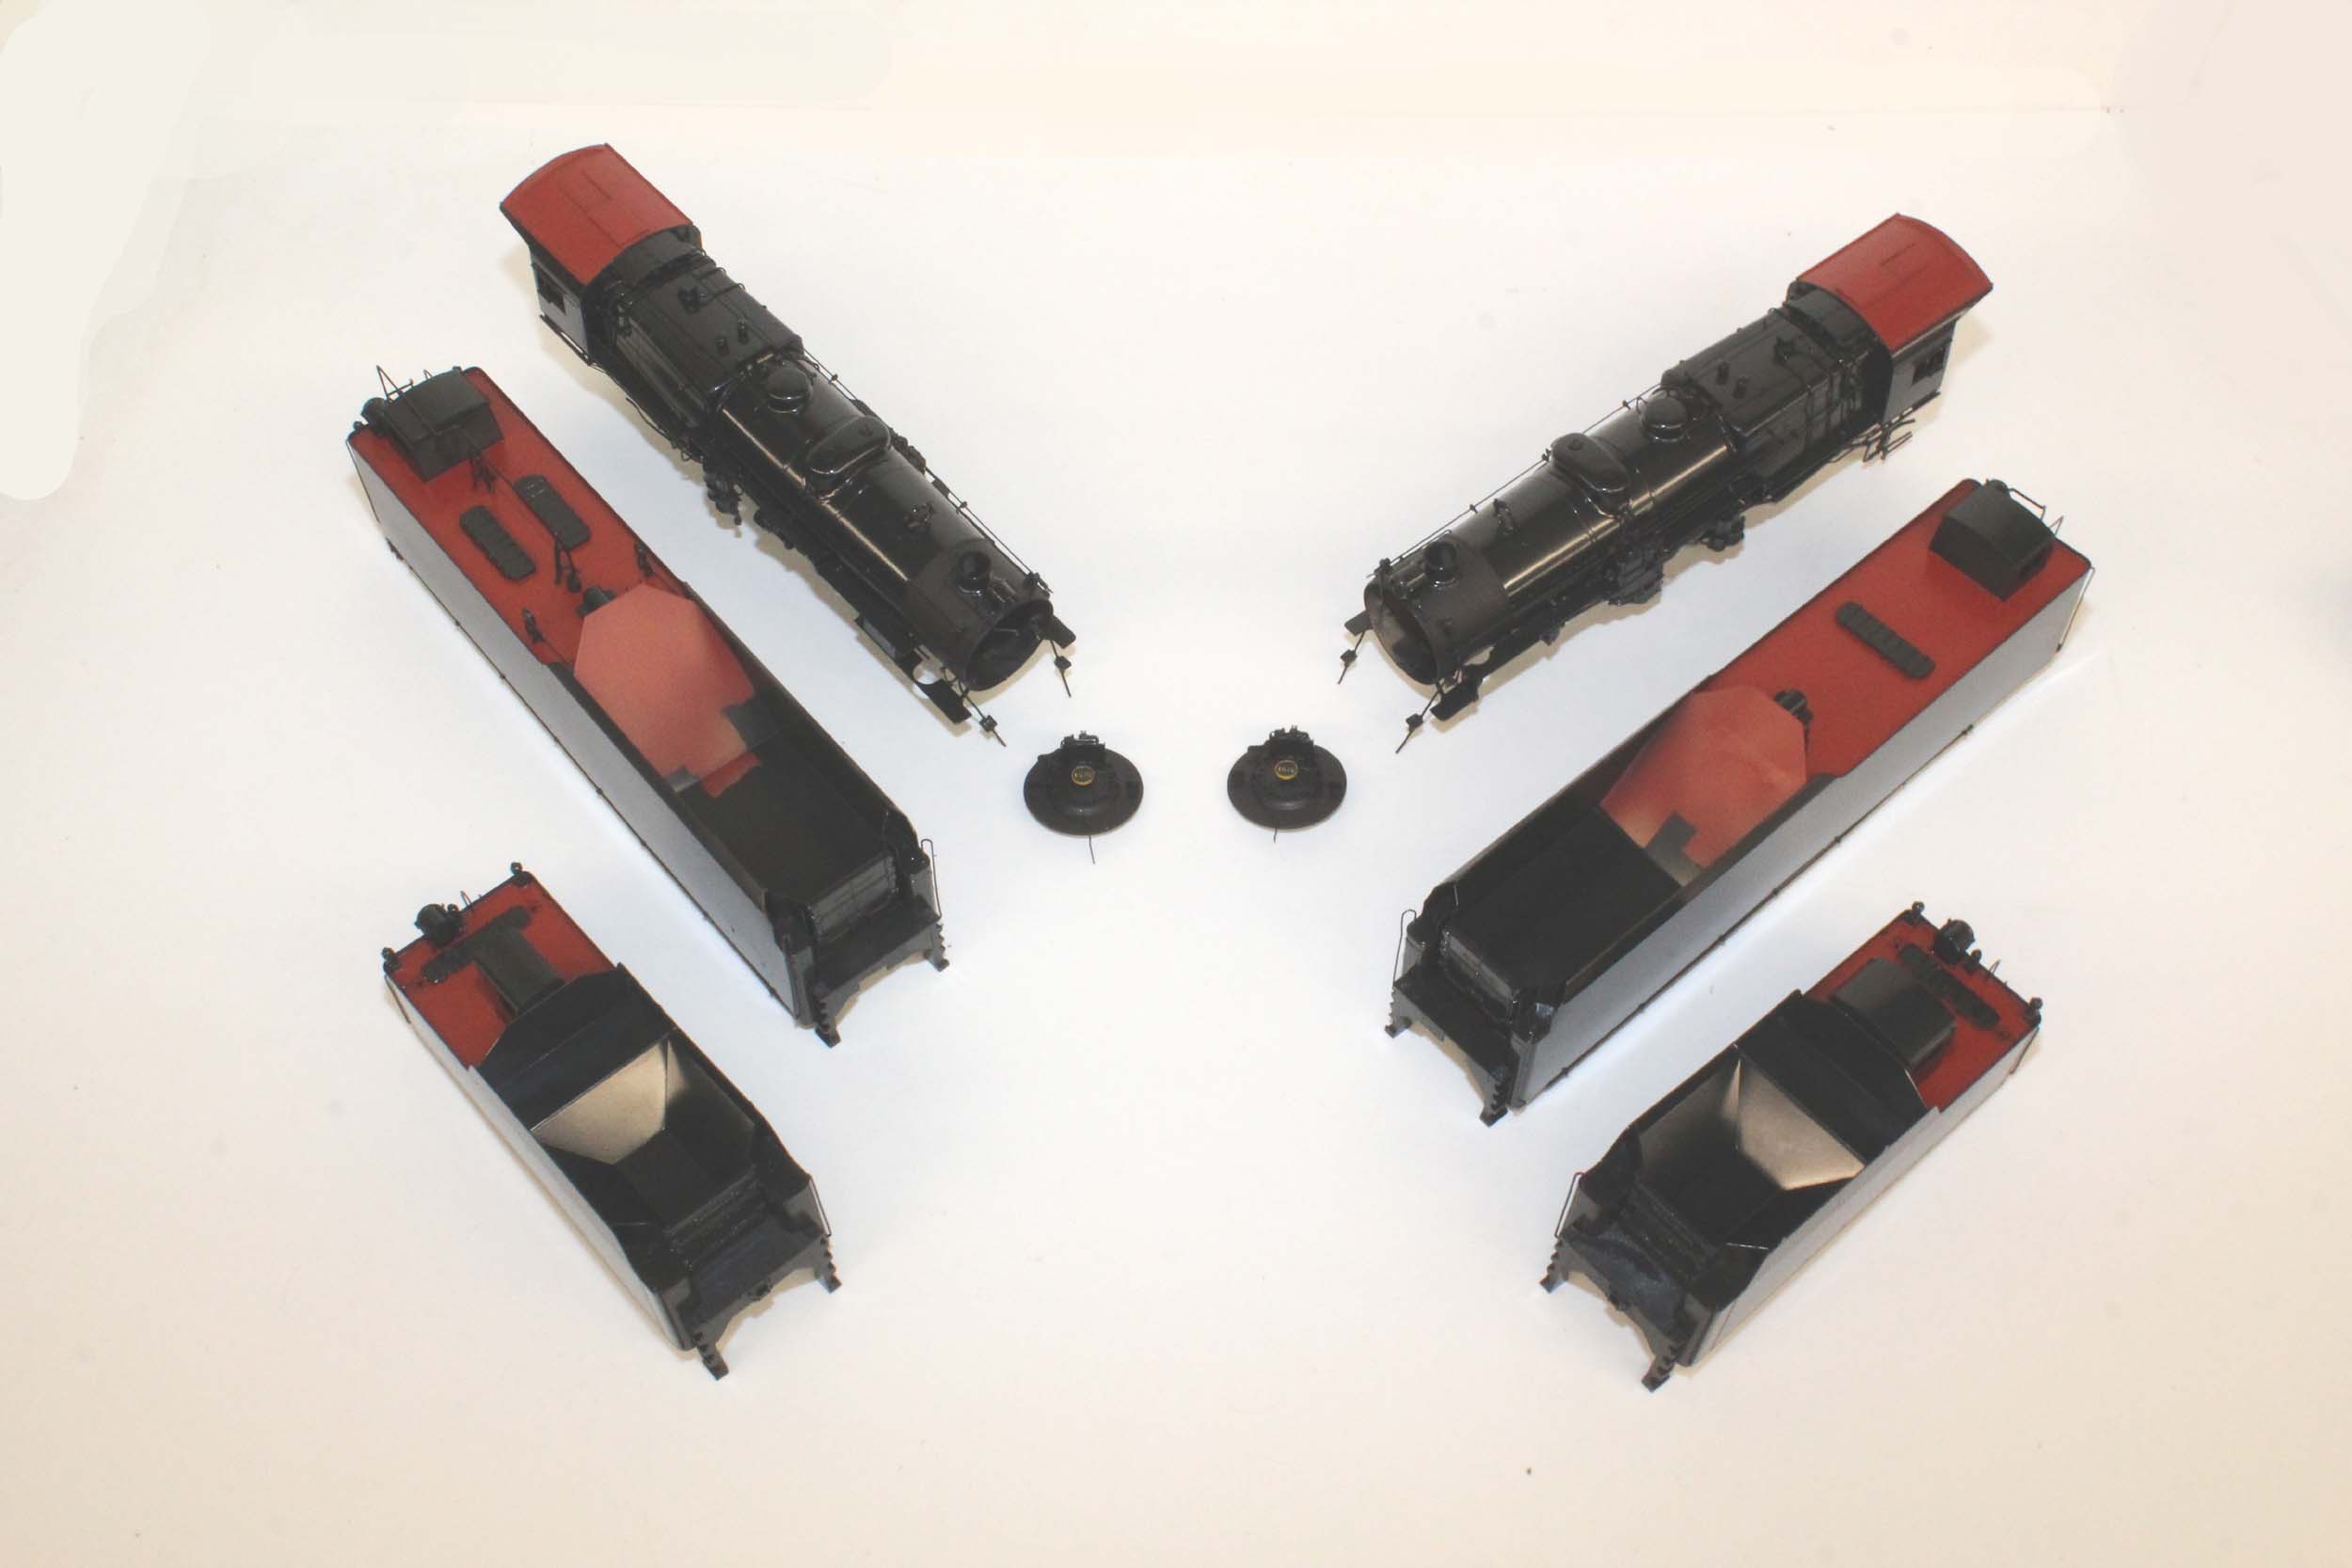
Detailing is DONE
Adding
wipers to the 8 wheel trucks was simple. Of course I replaced the brass screw
with a nylon screw.
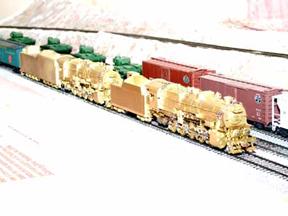
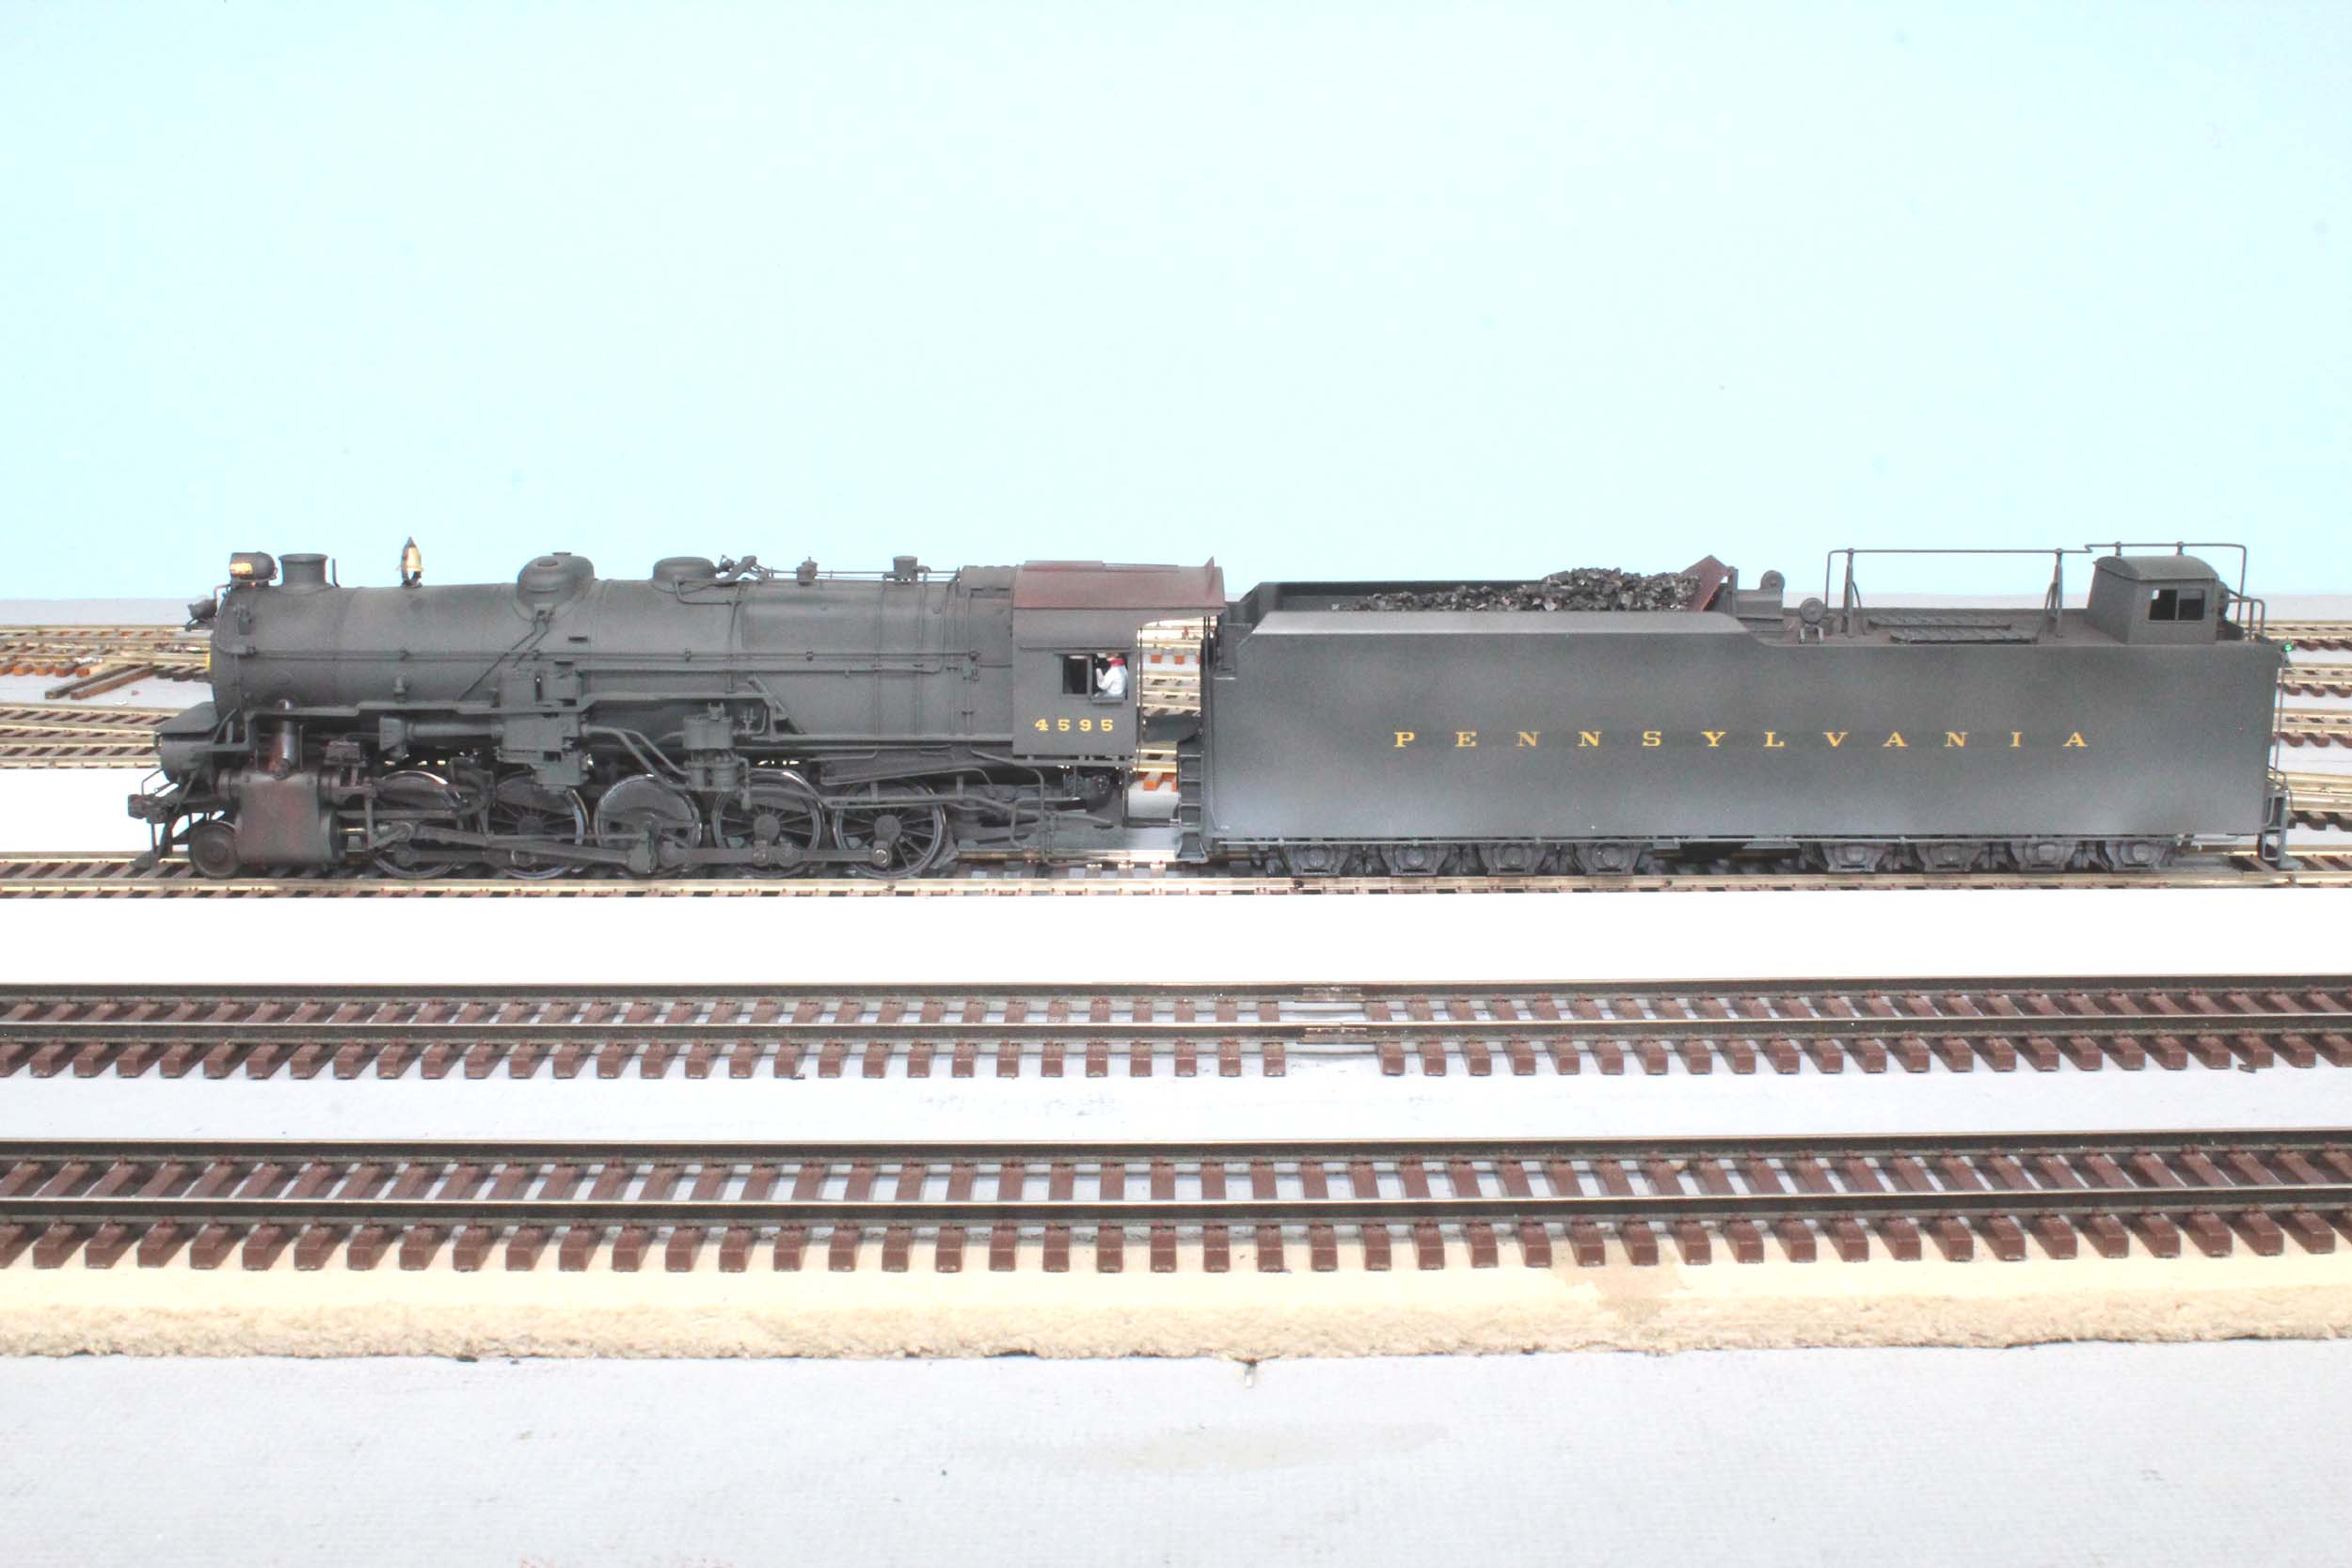
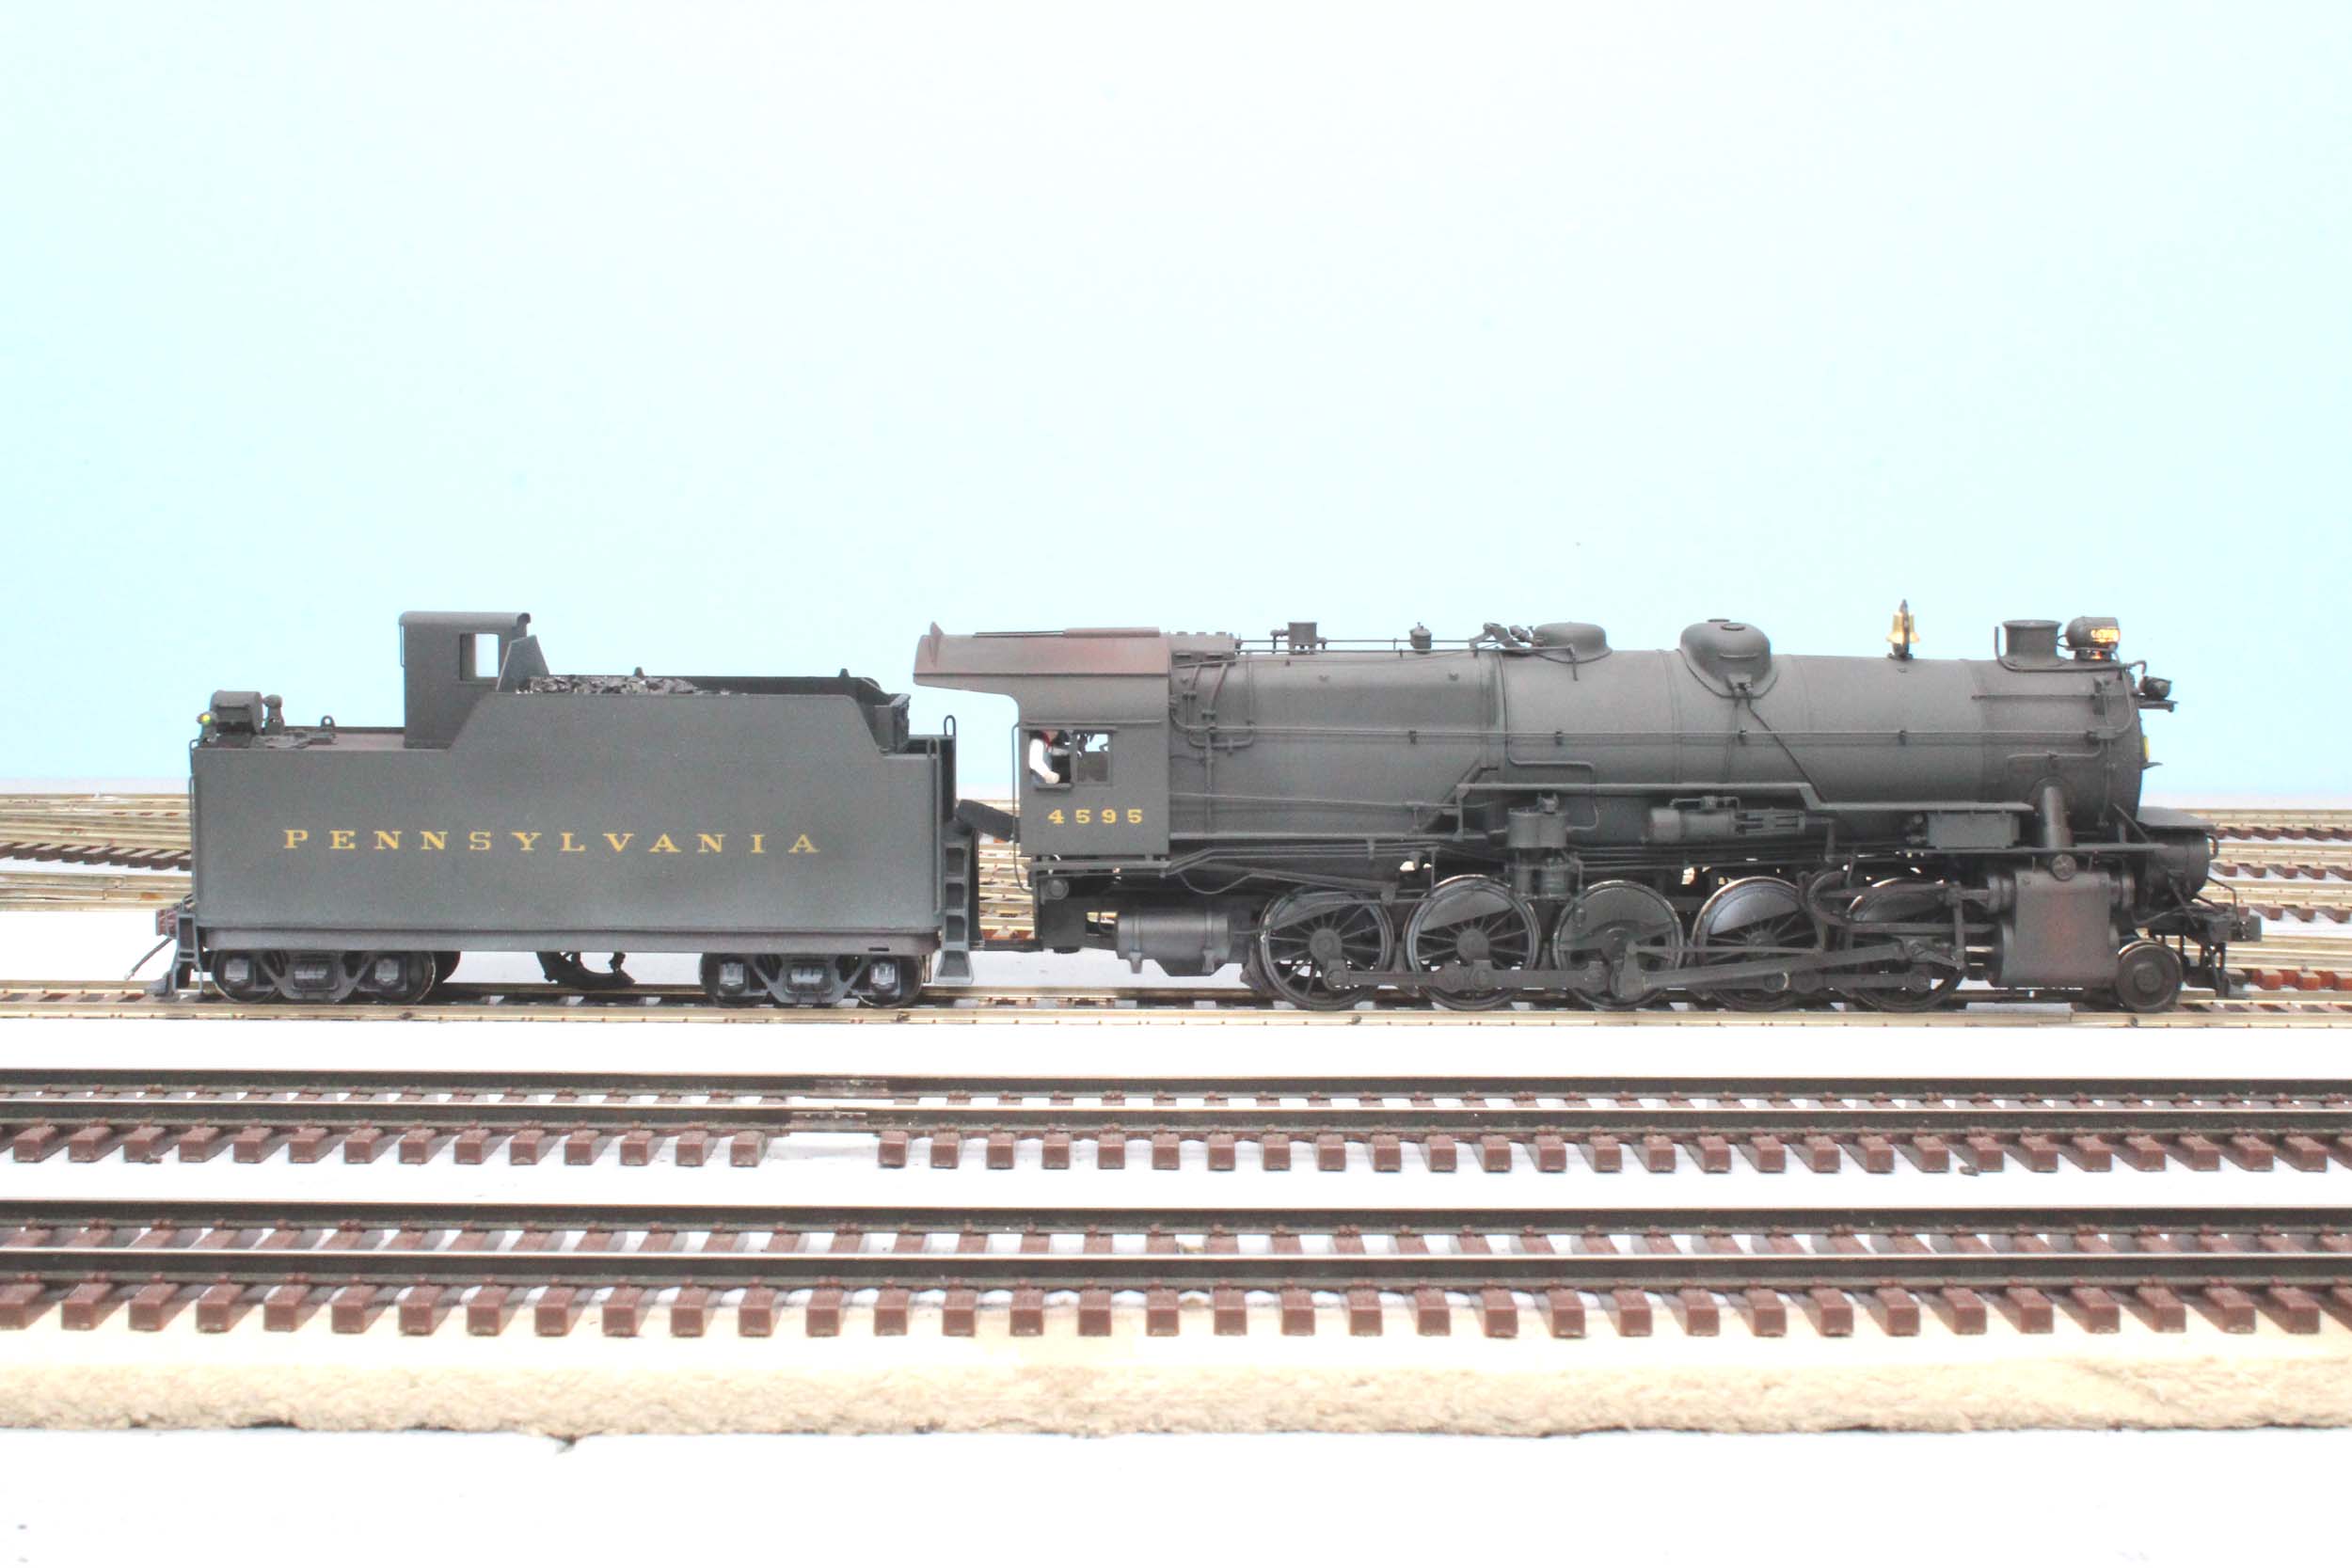
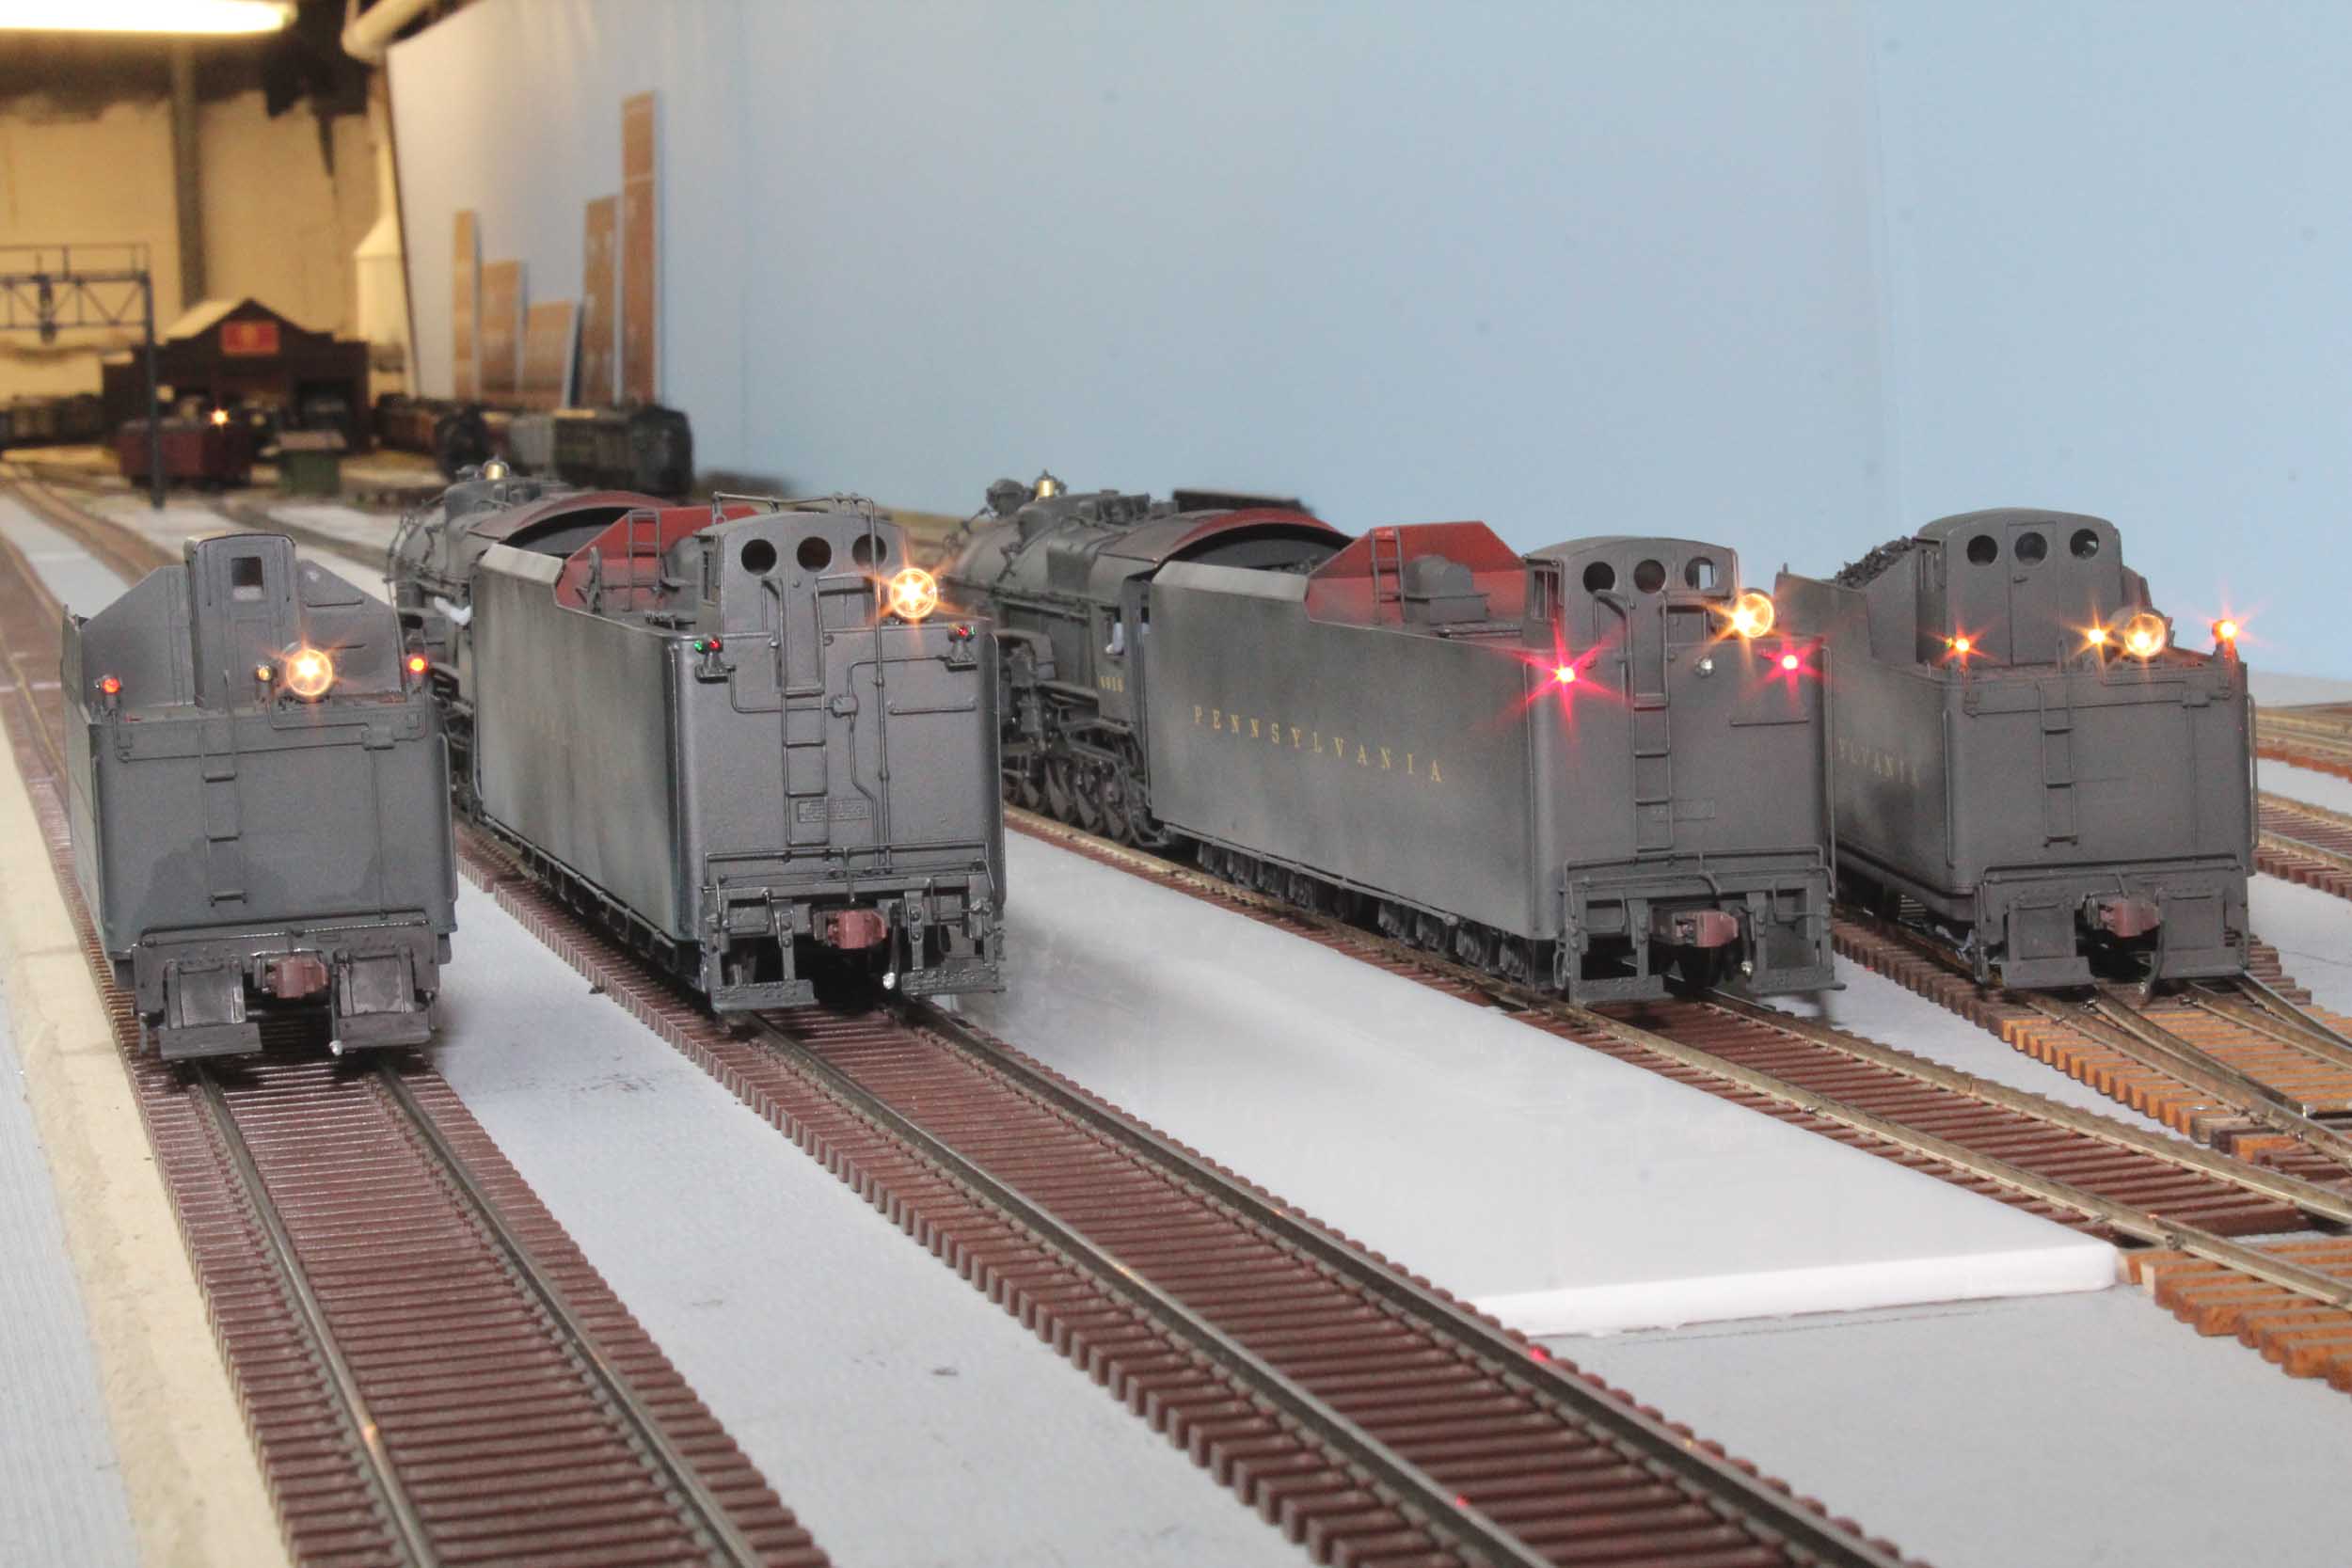
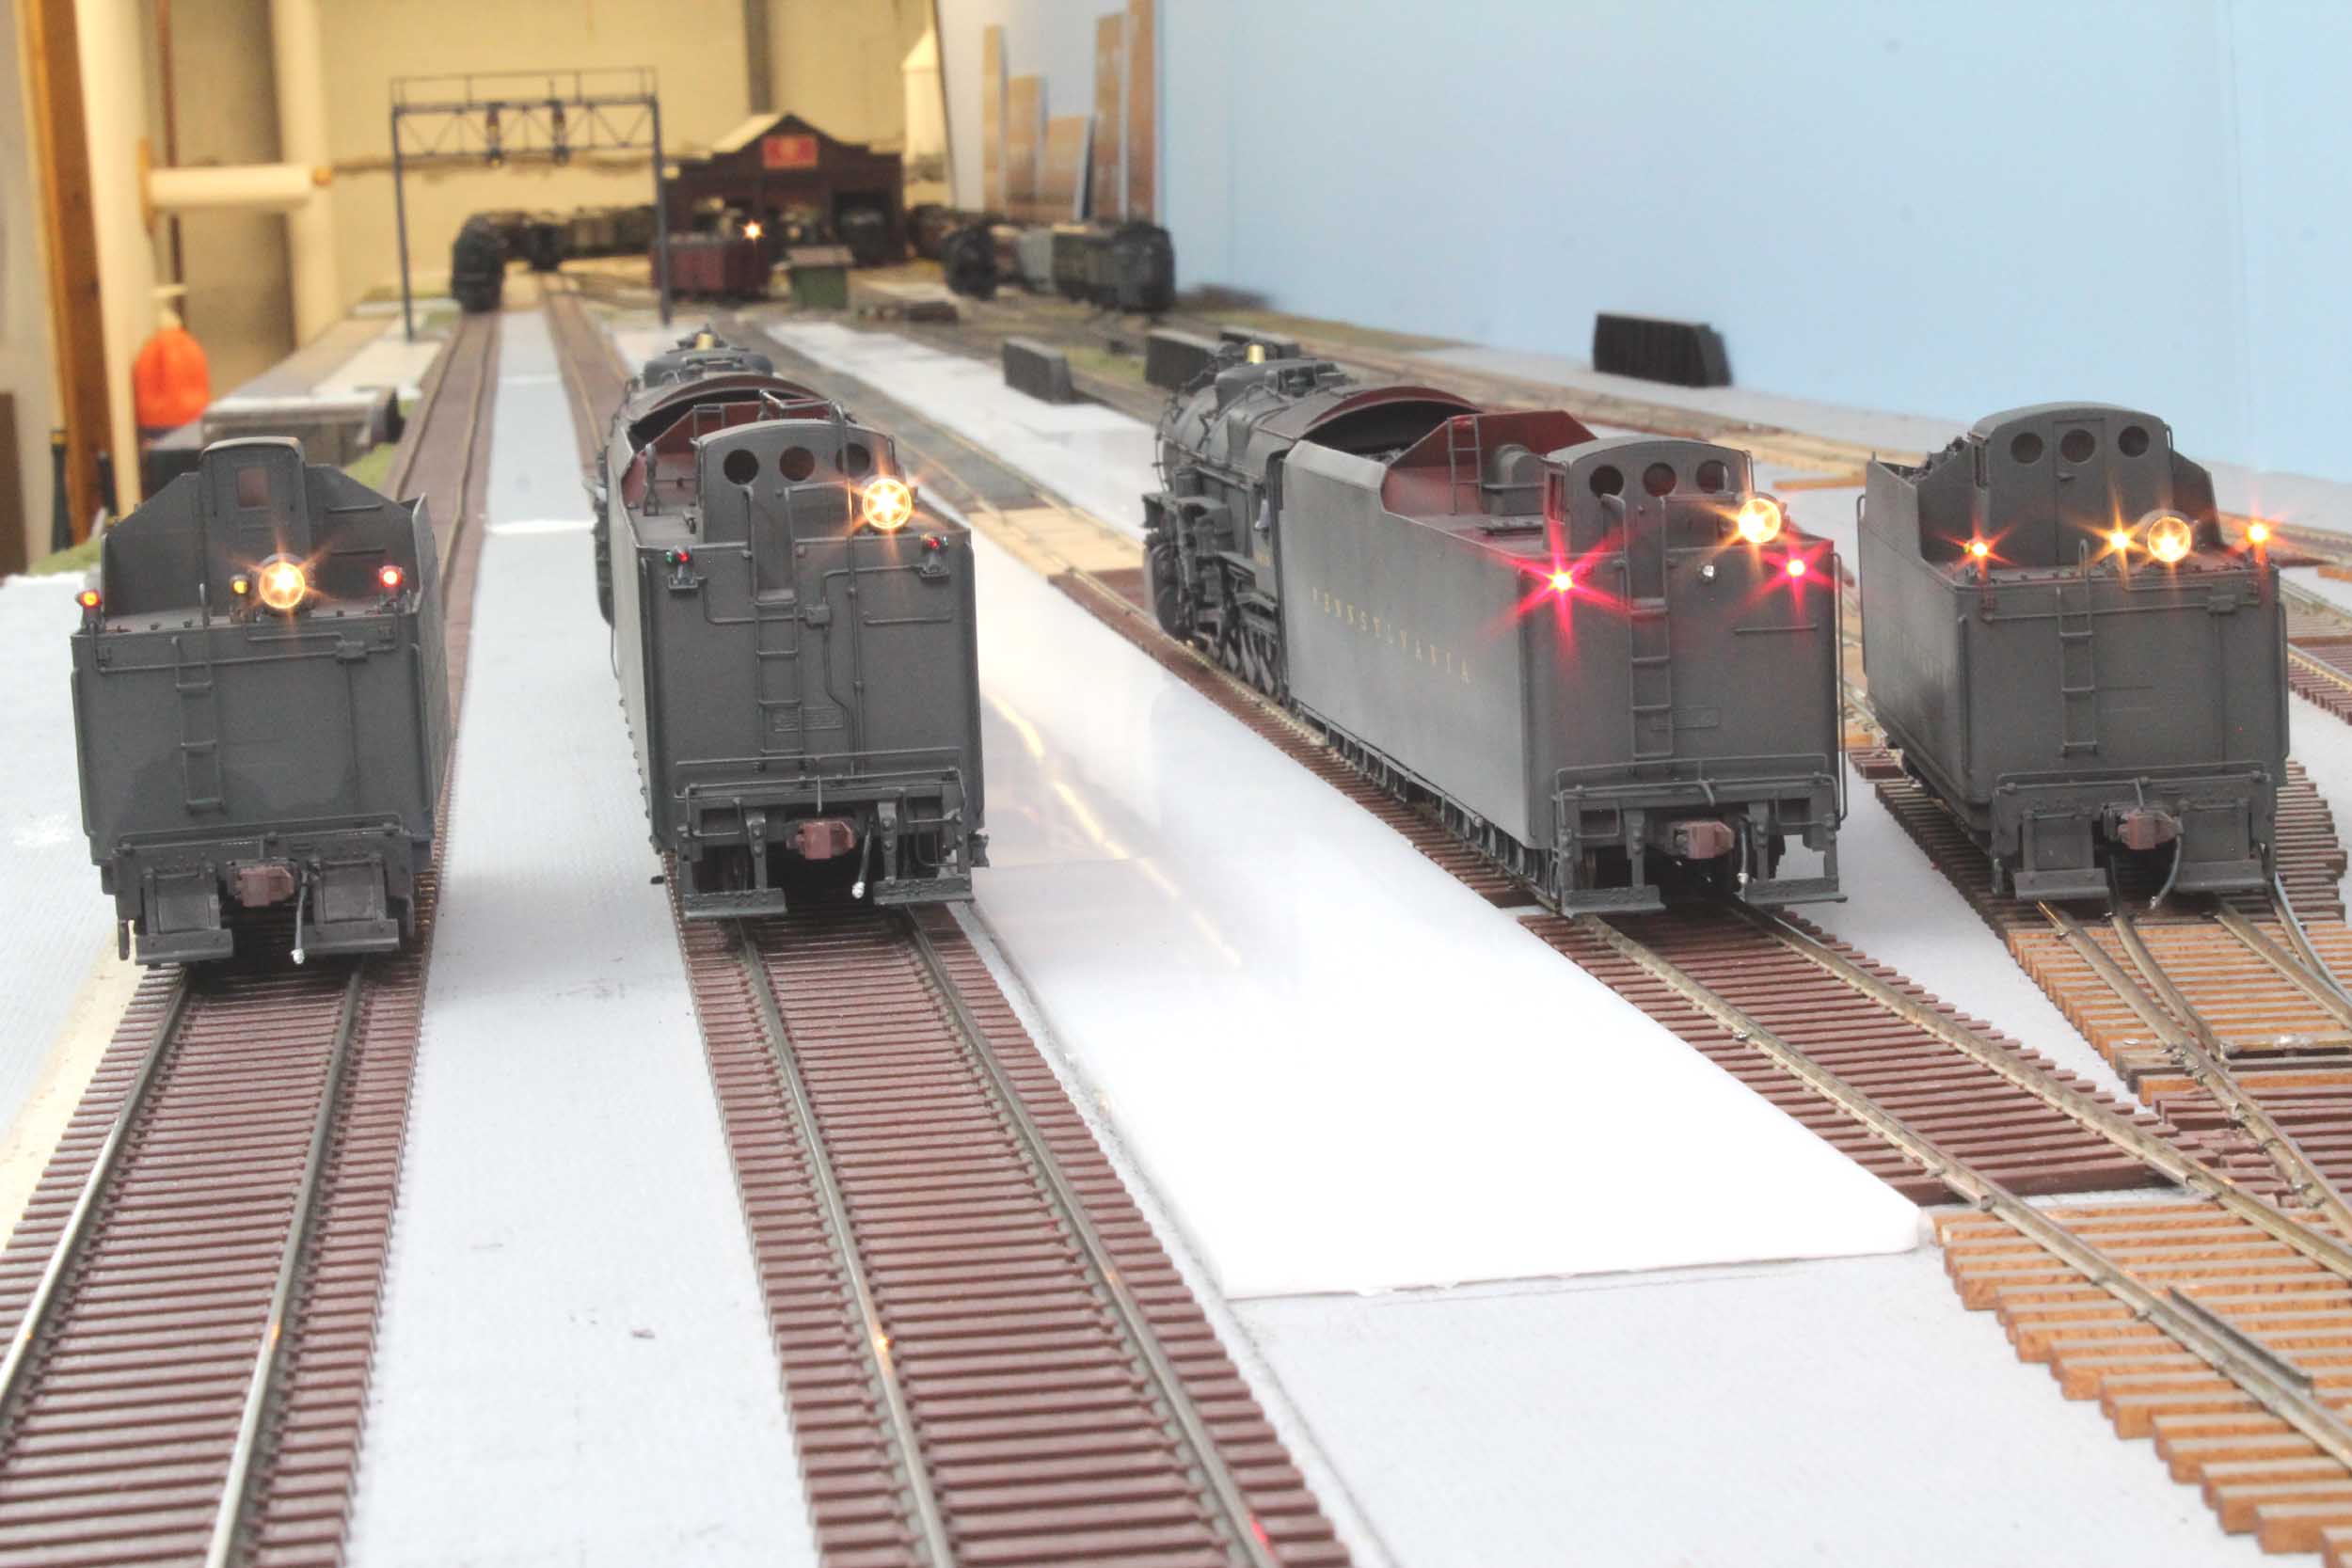
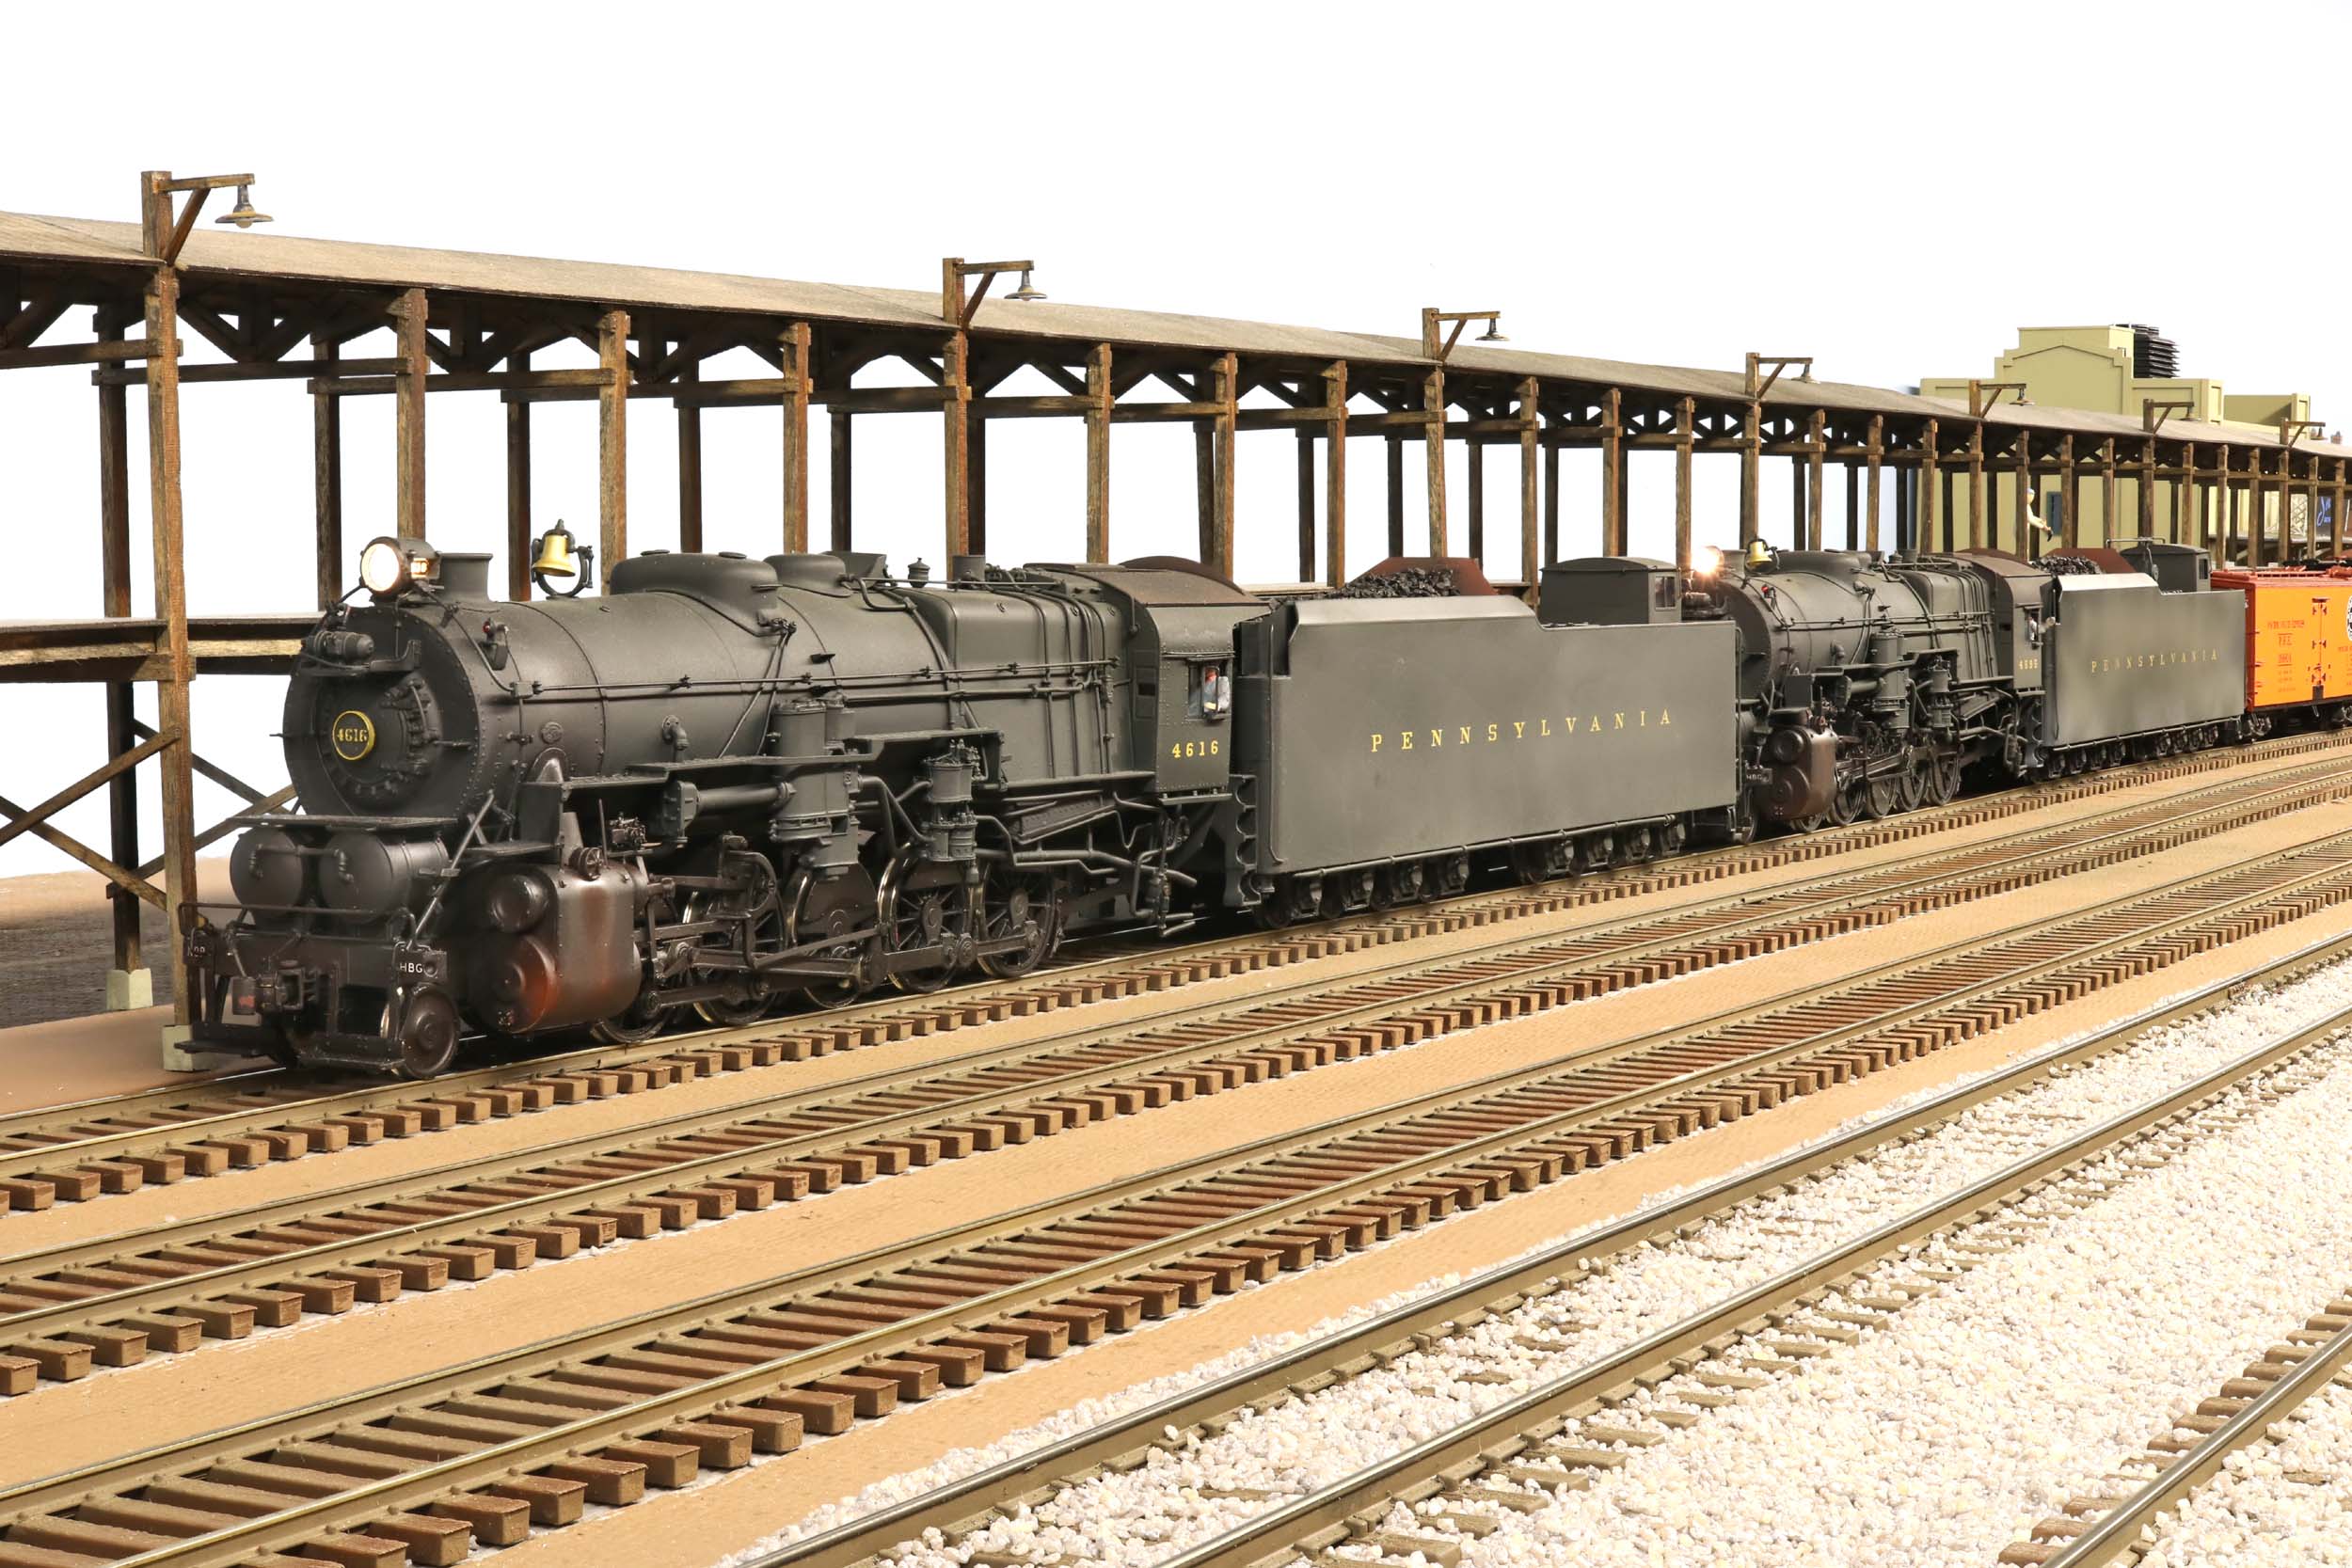
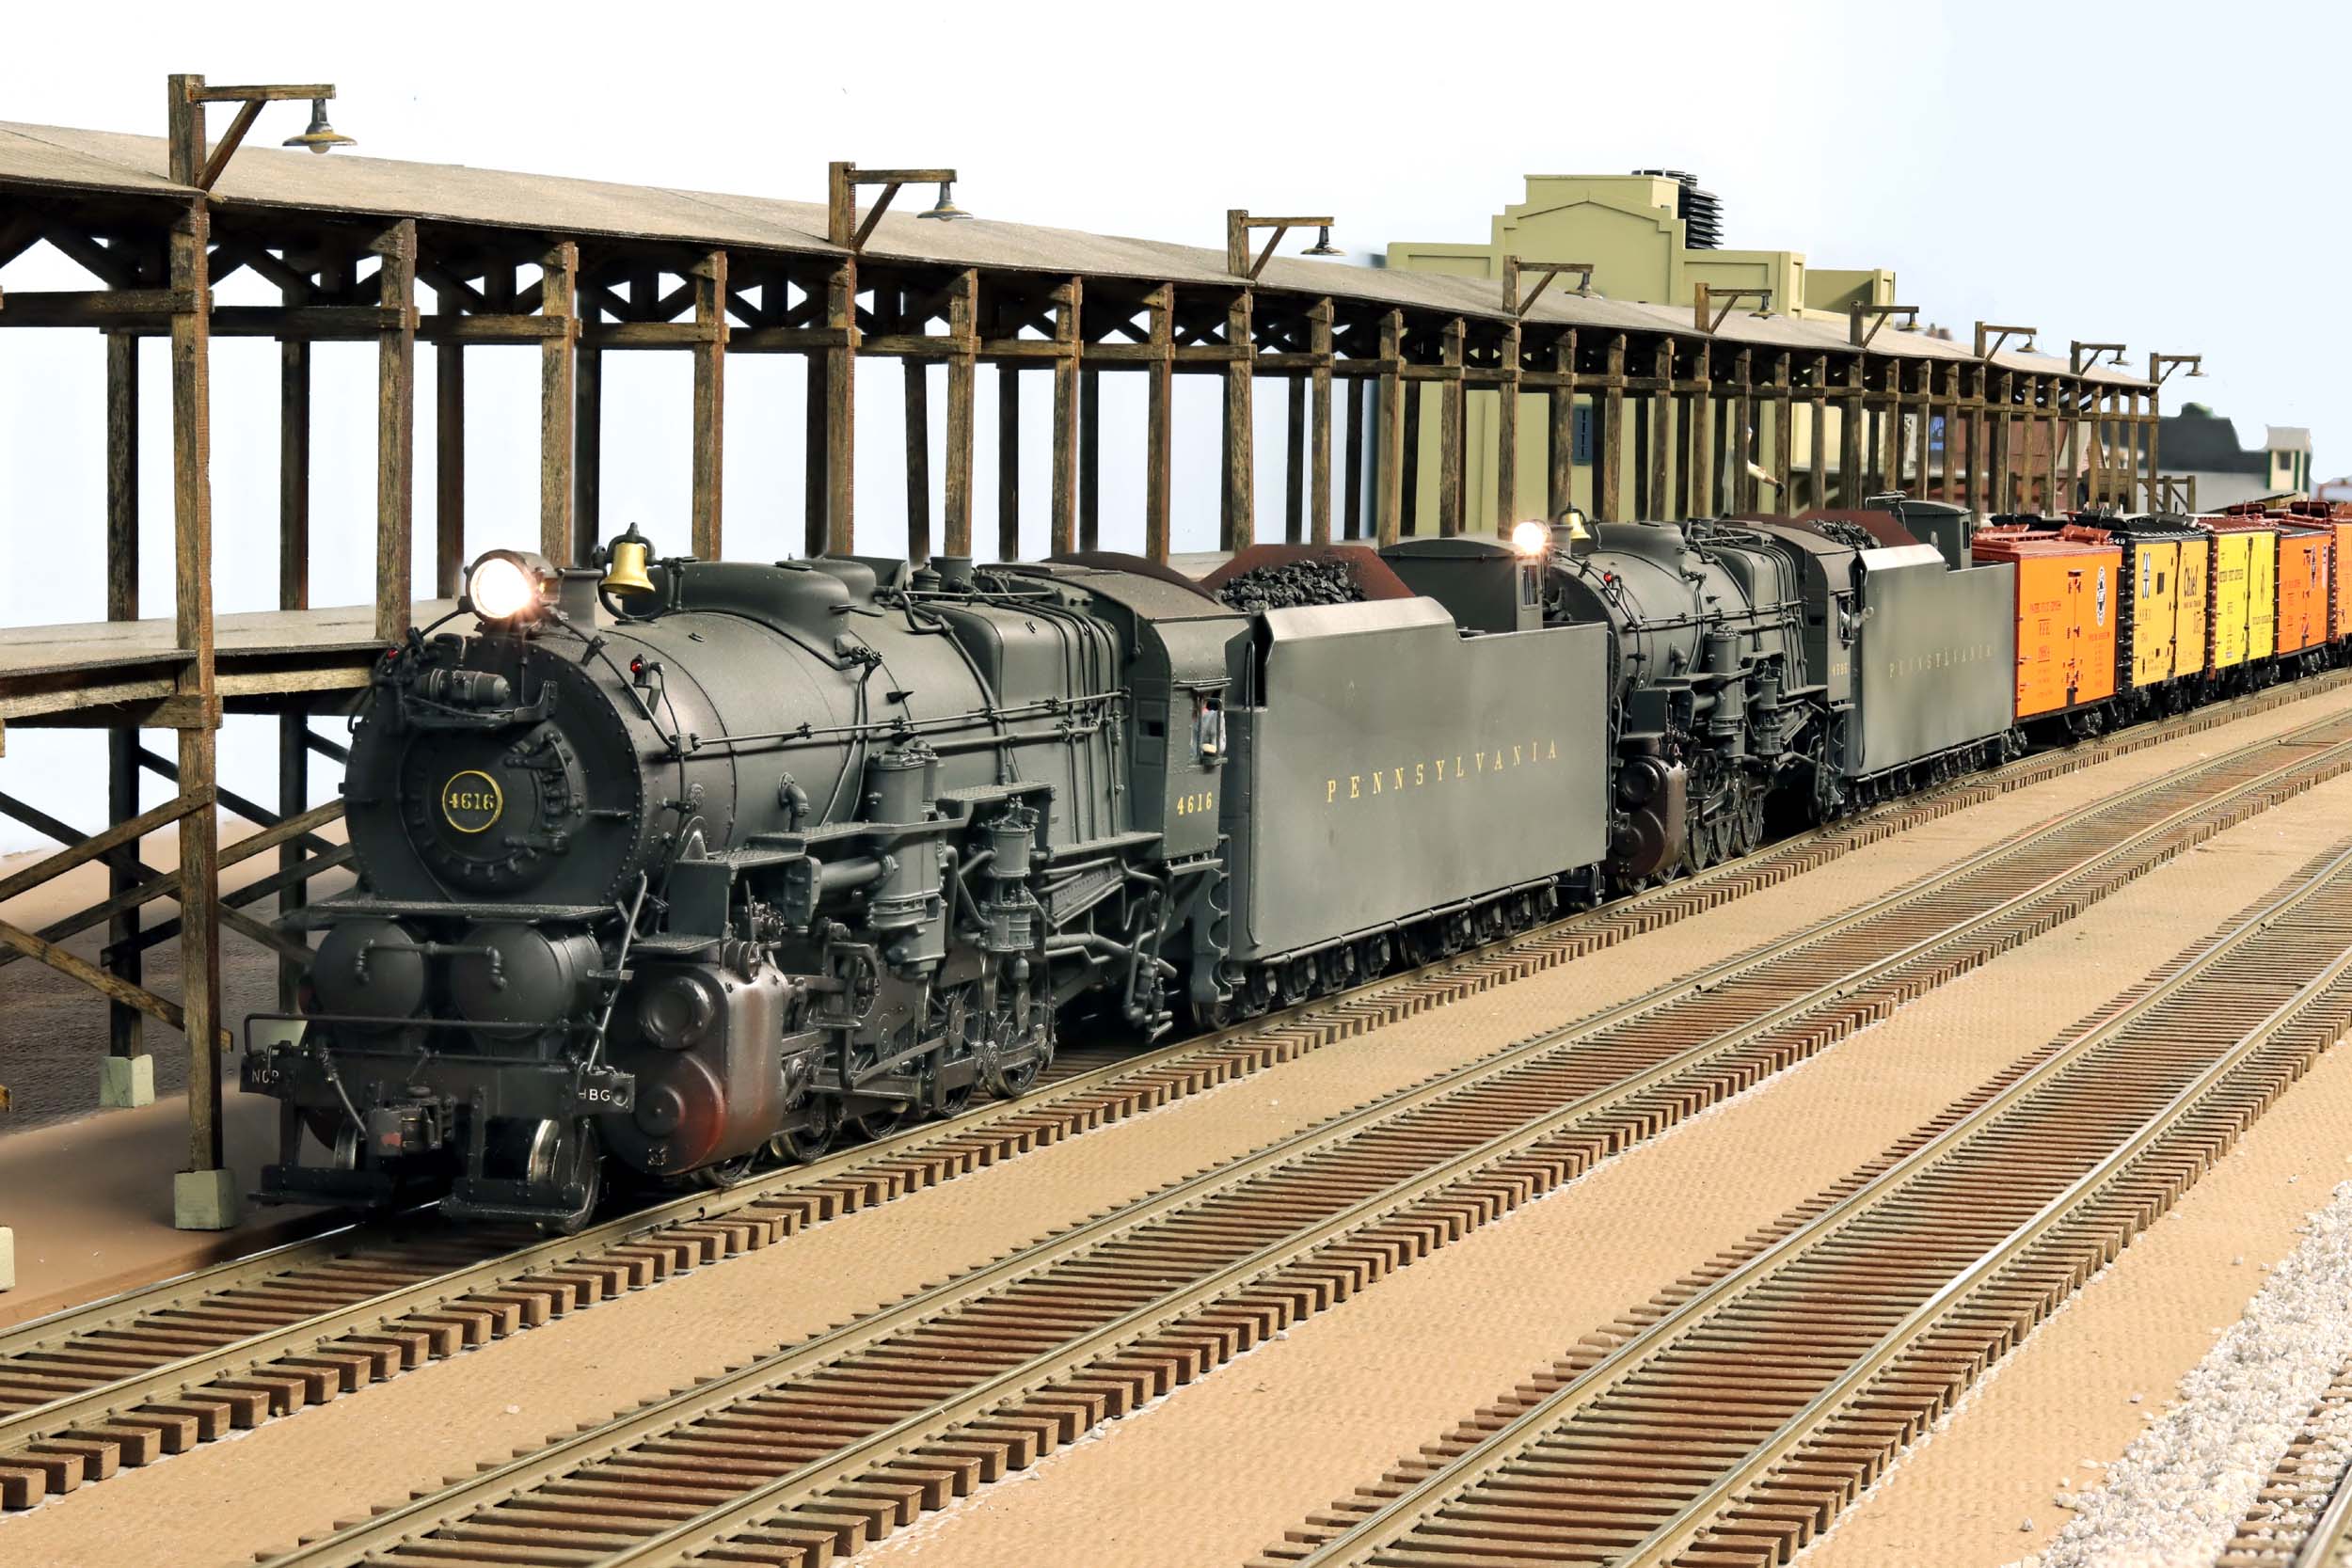
I took the Hippos on a final victory run before painting begins.
The I1 looks small with these tenders!
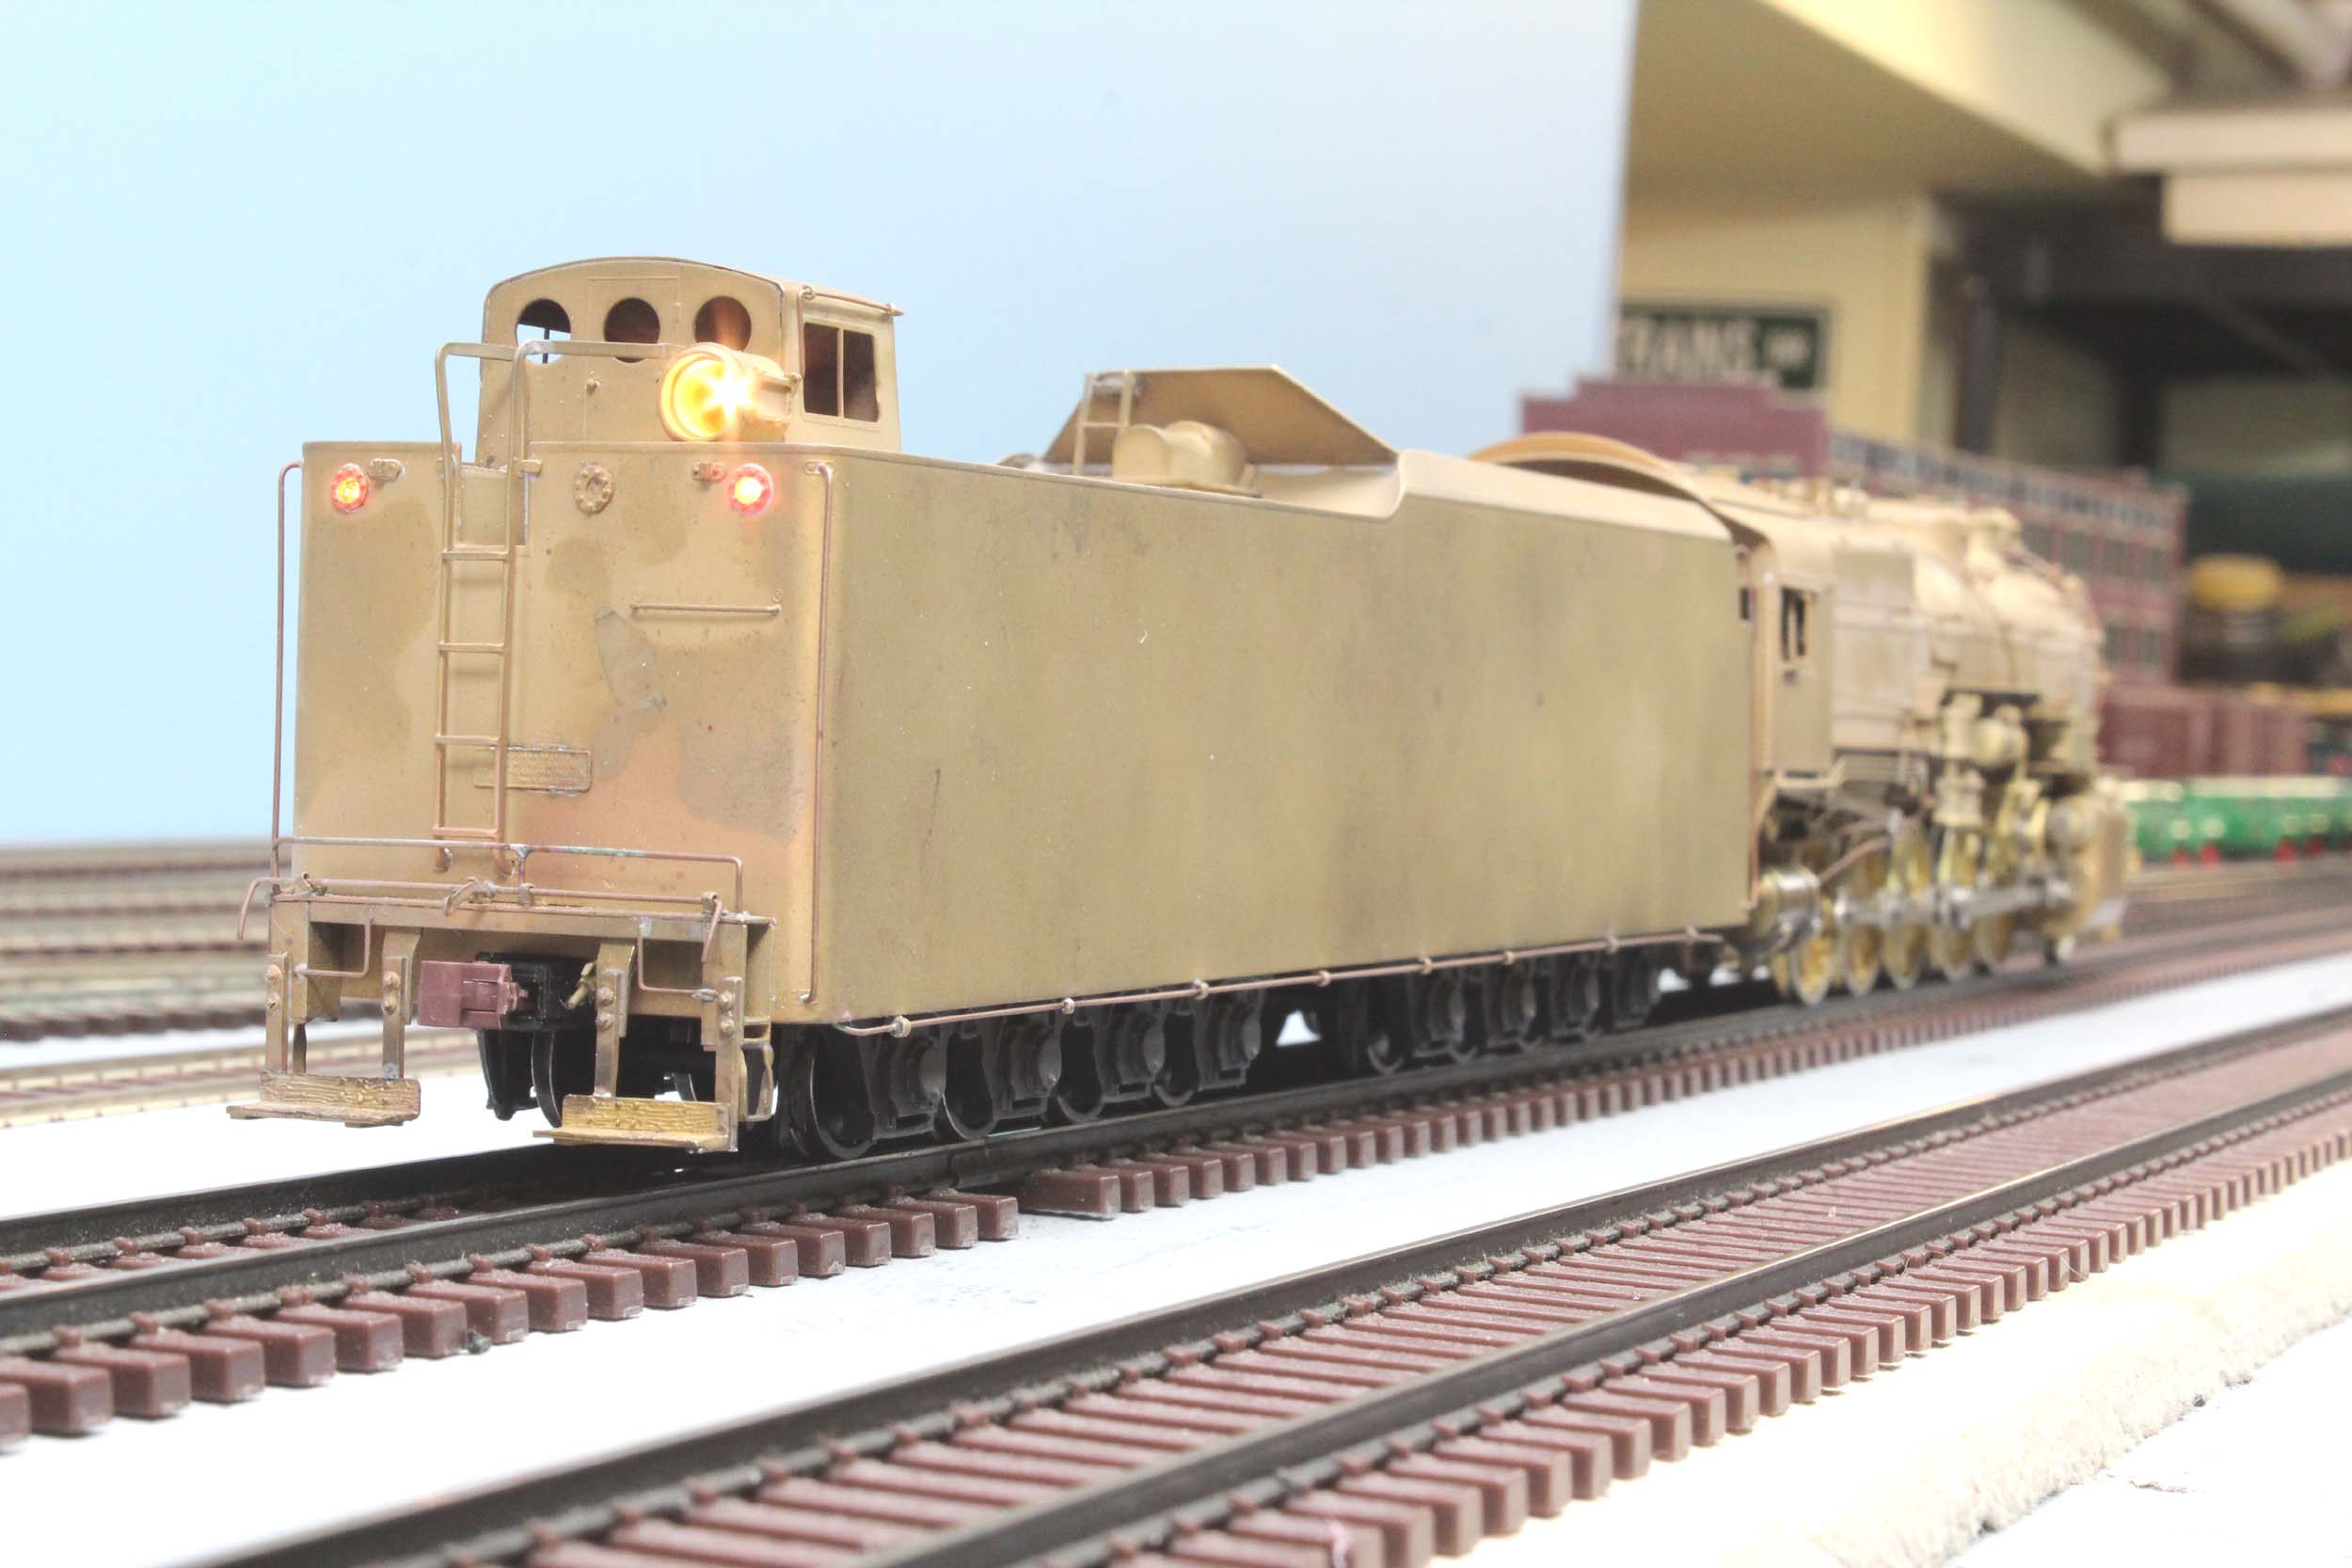
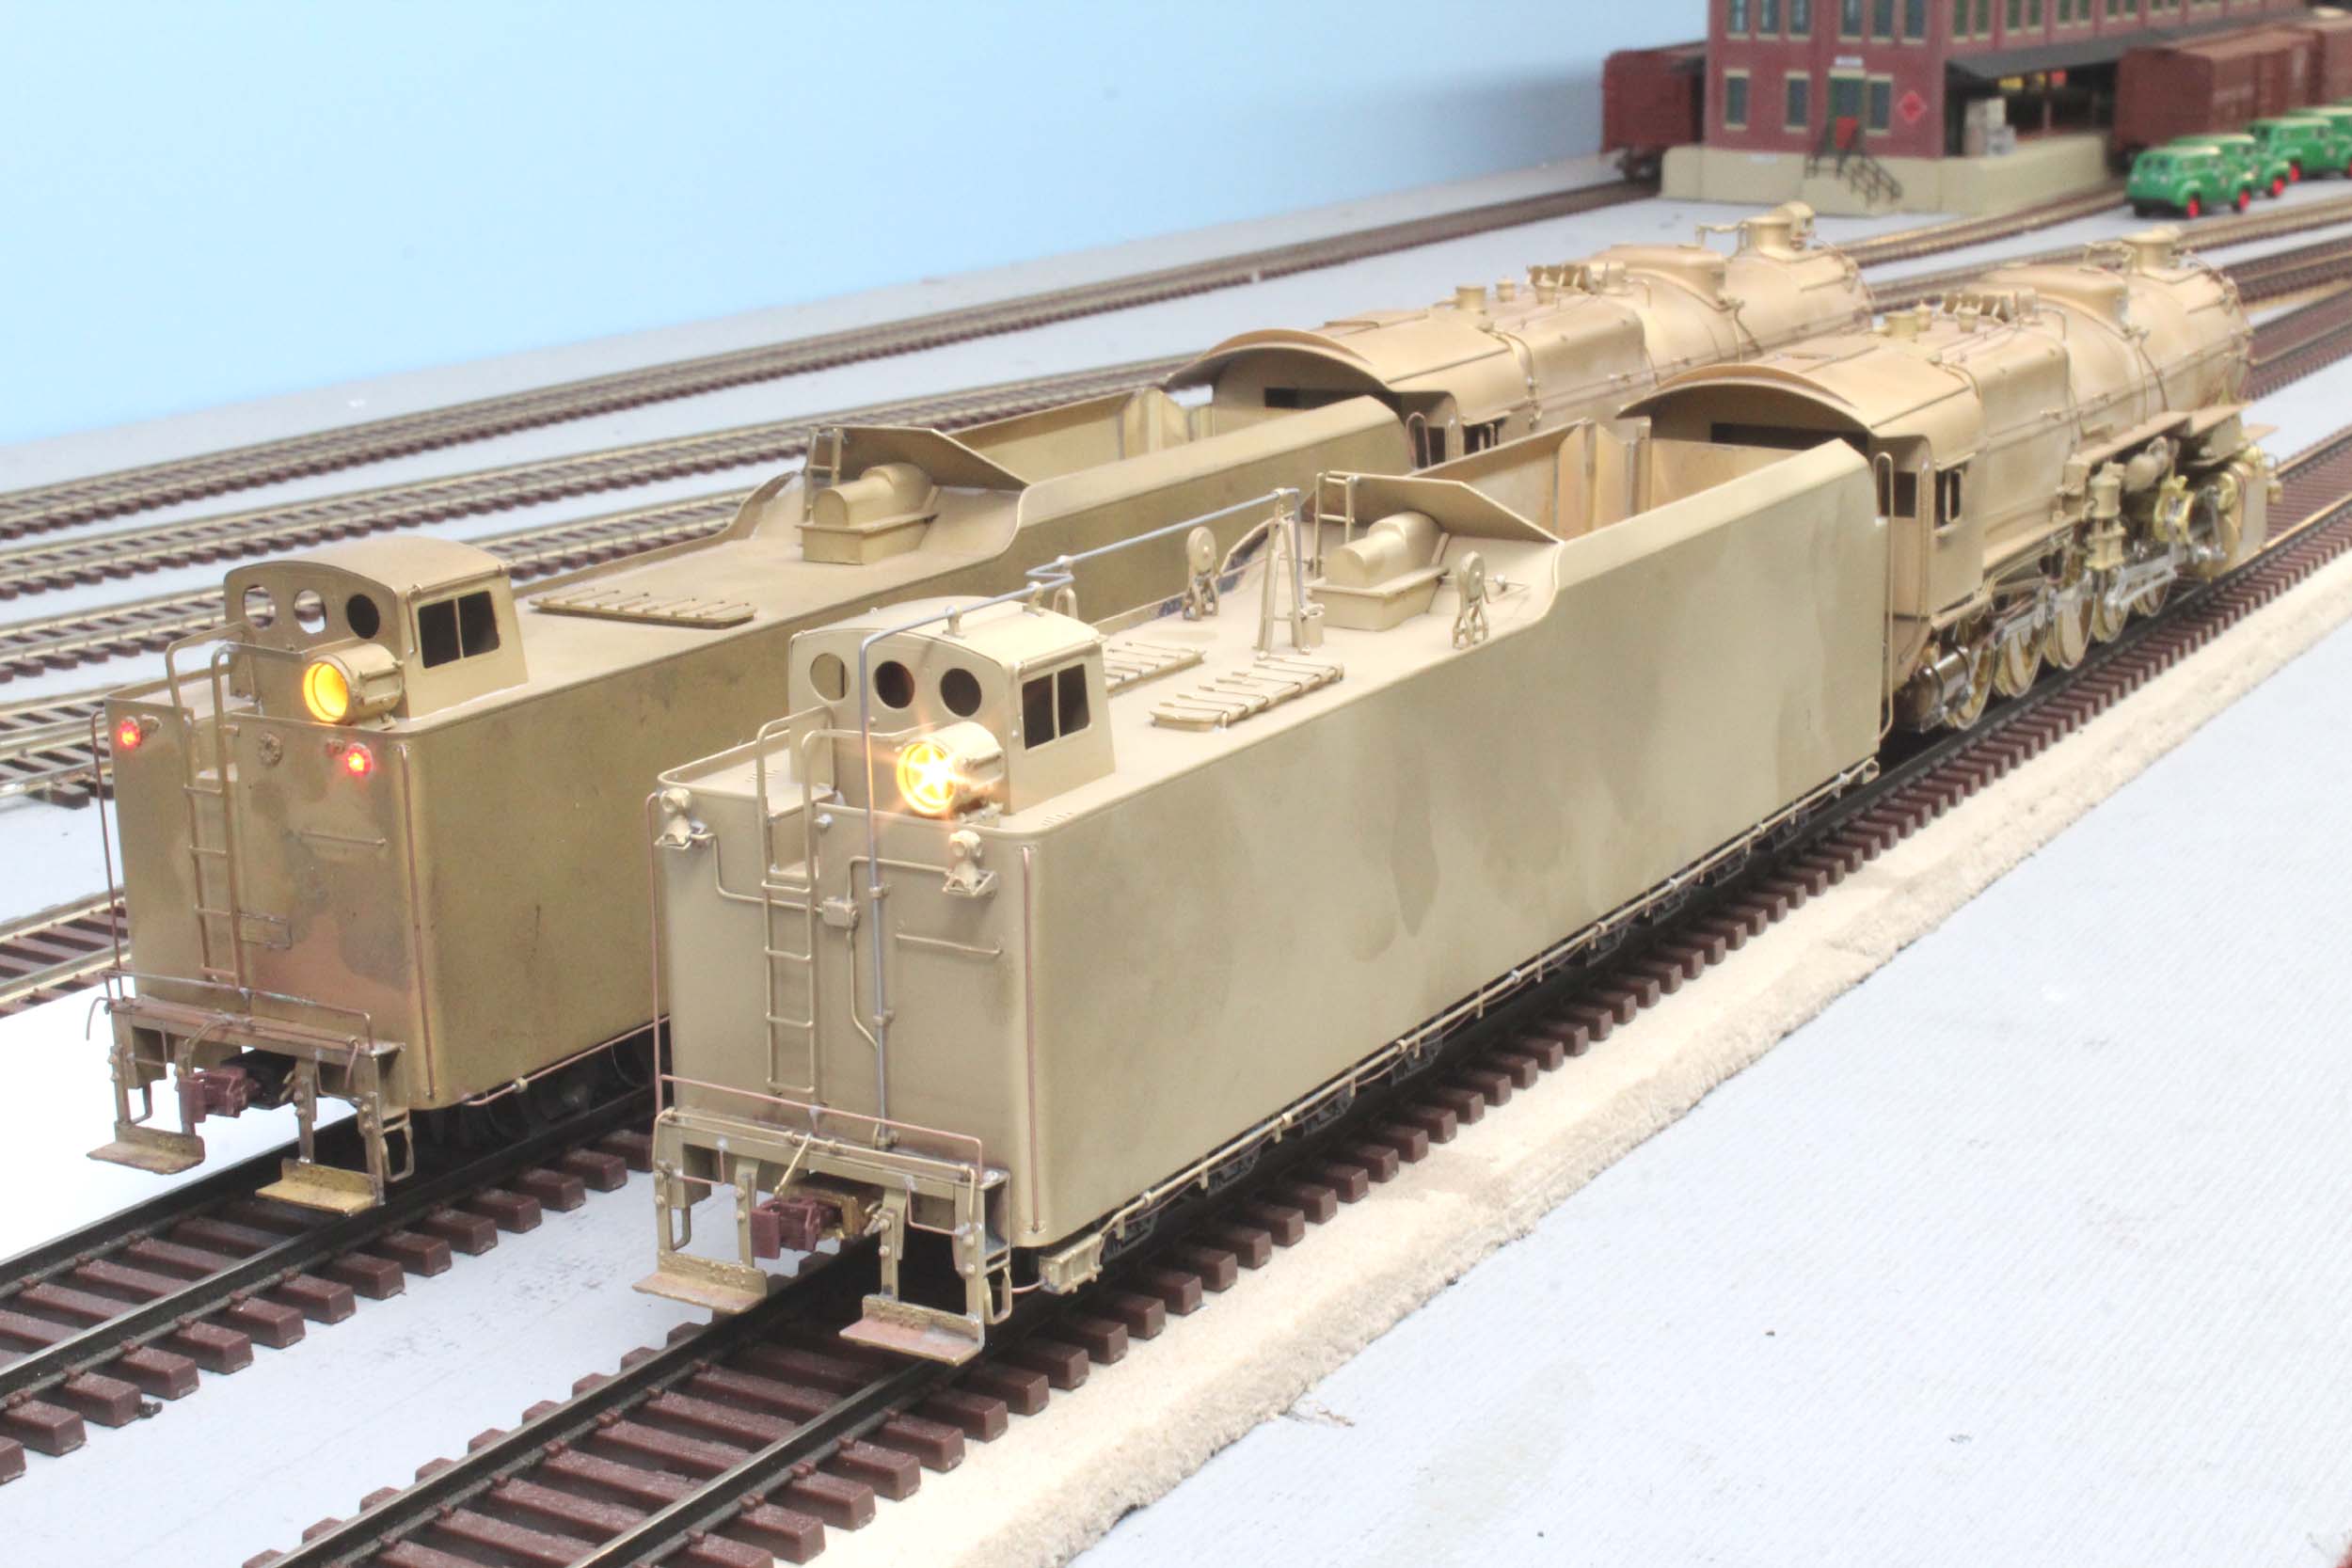
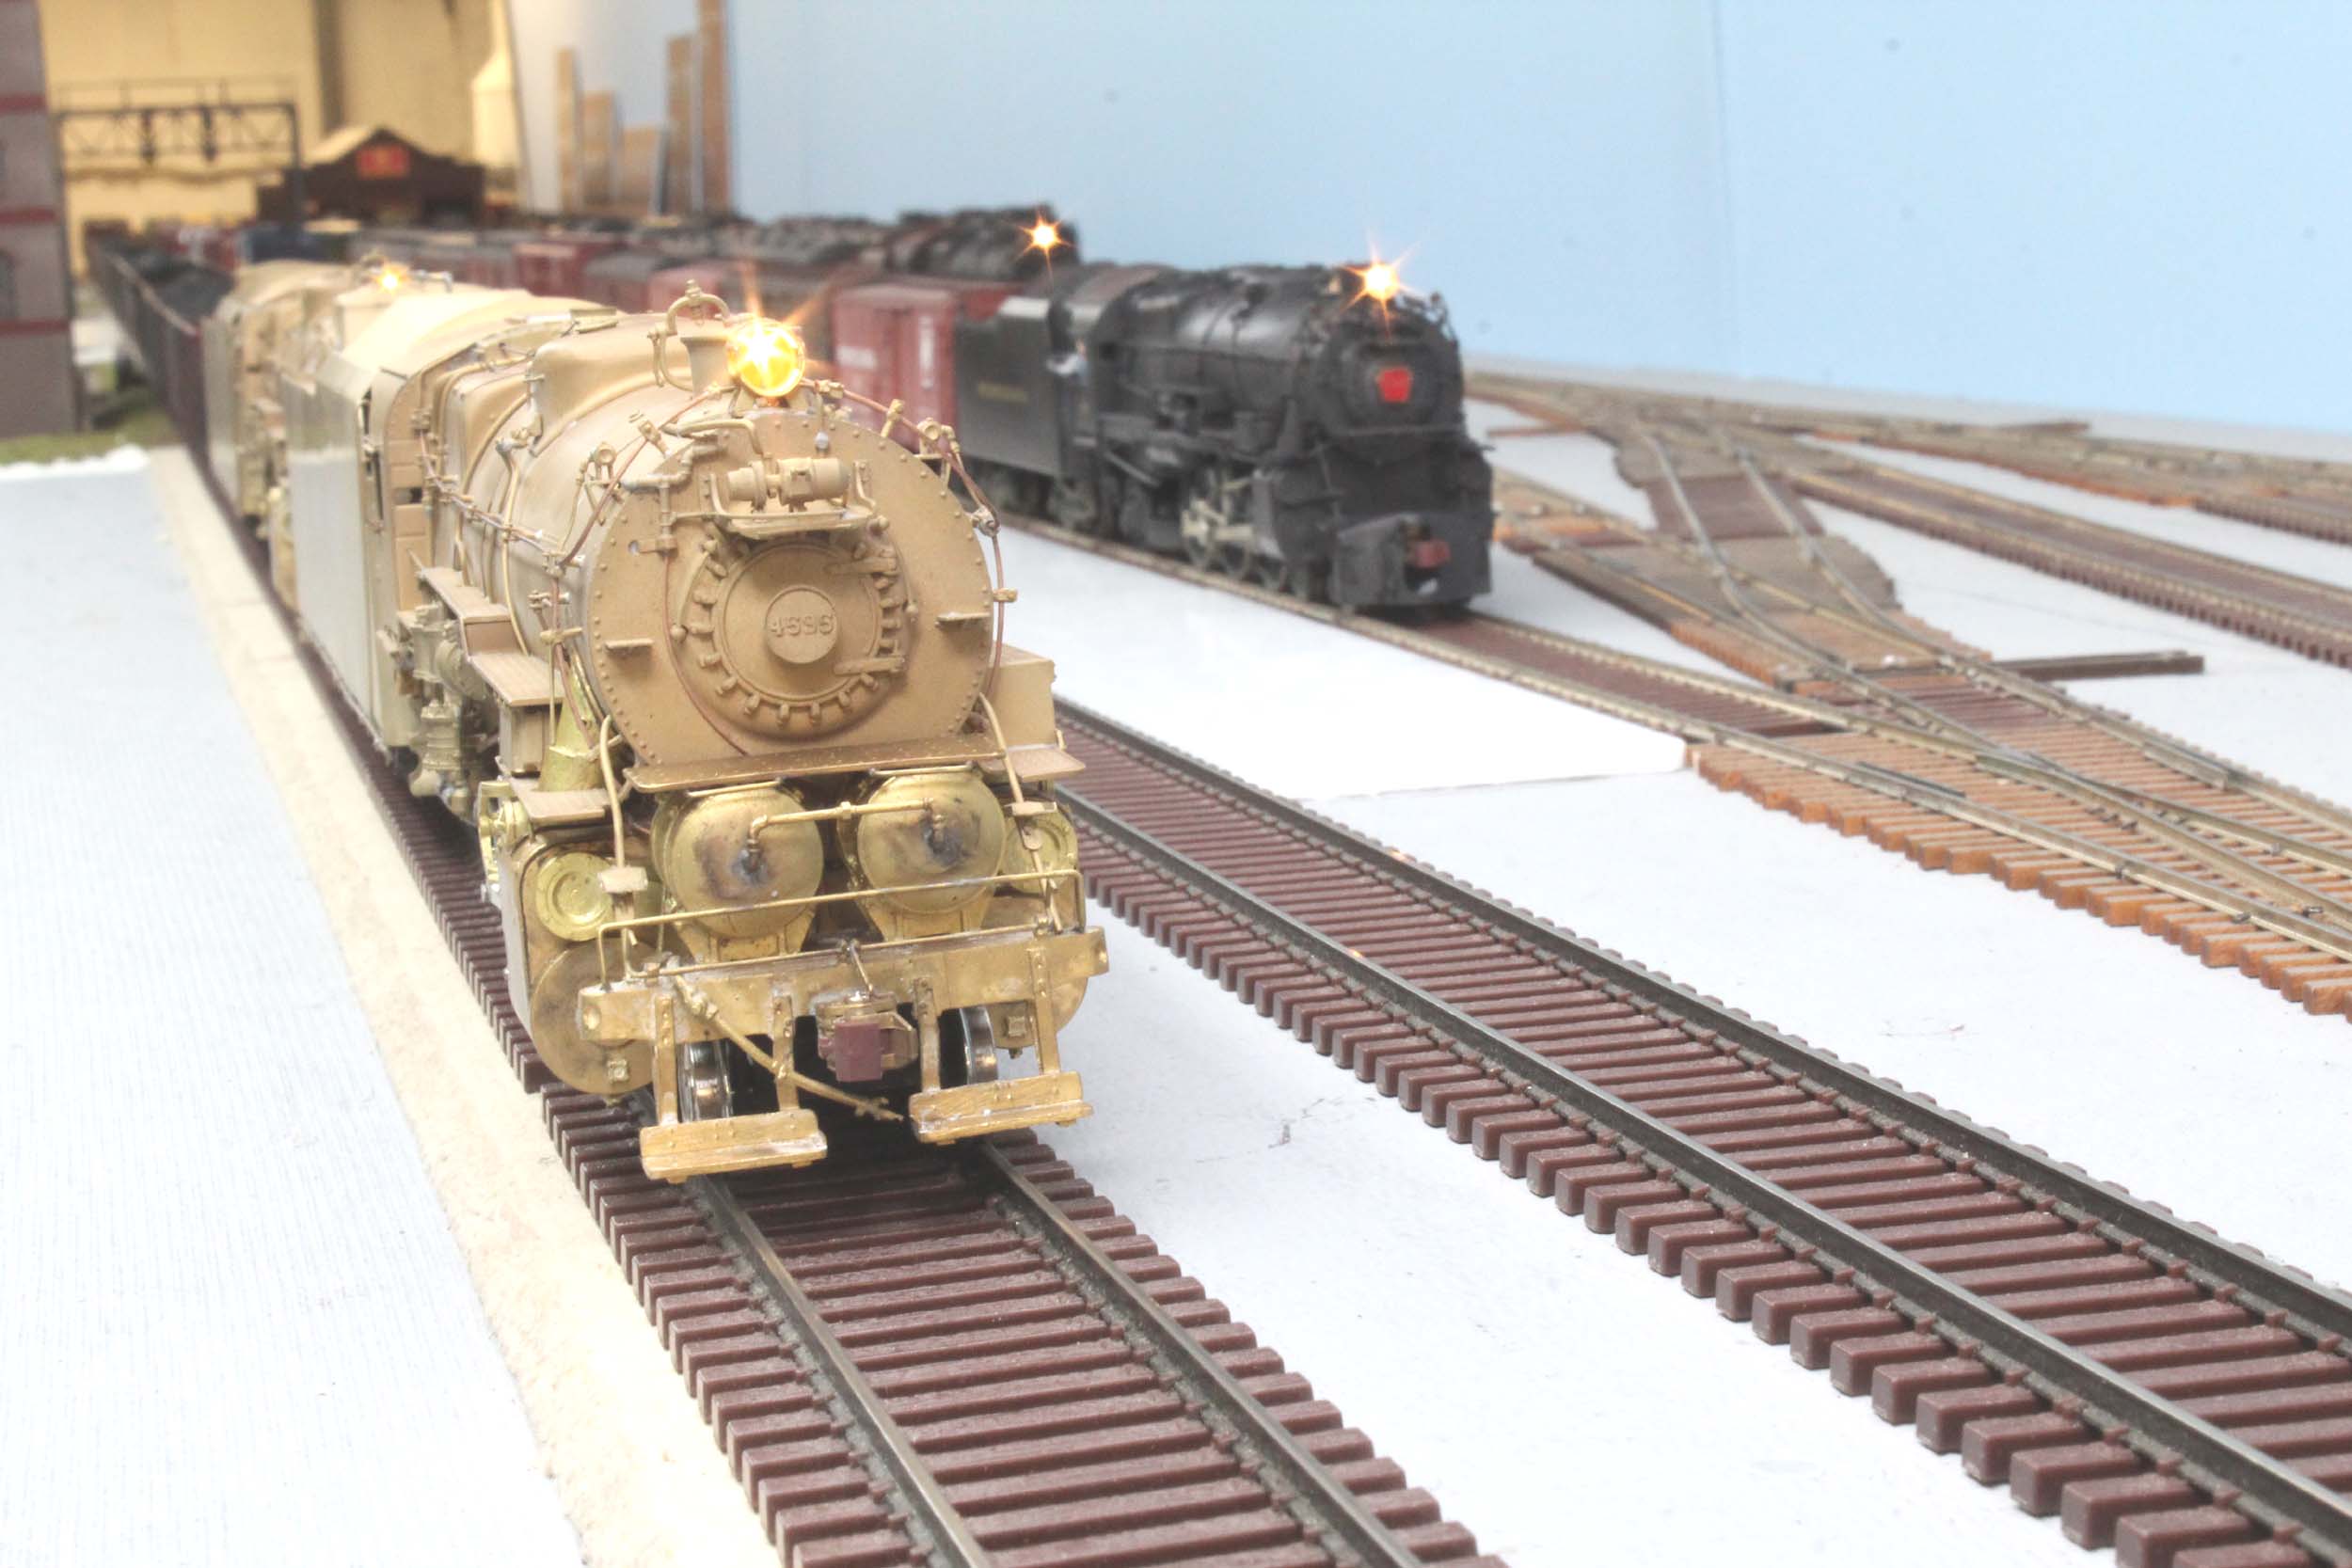
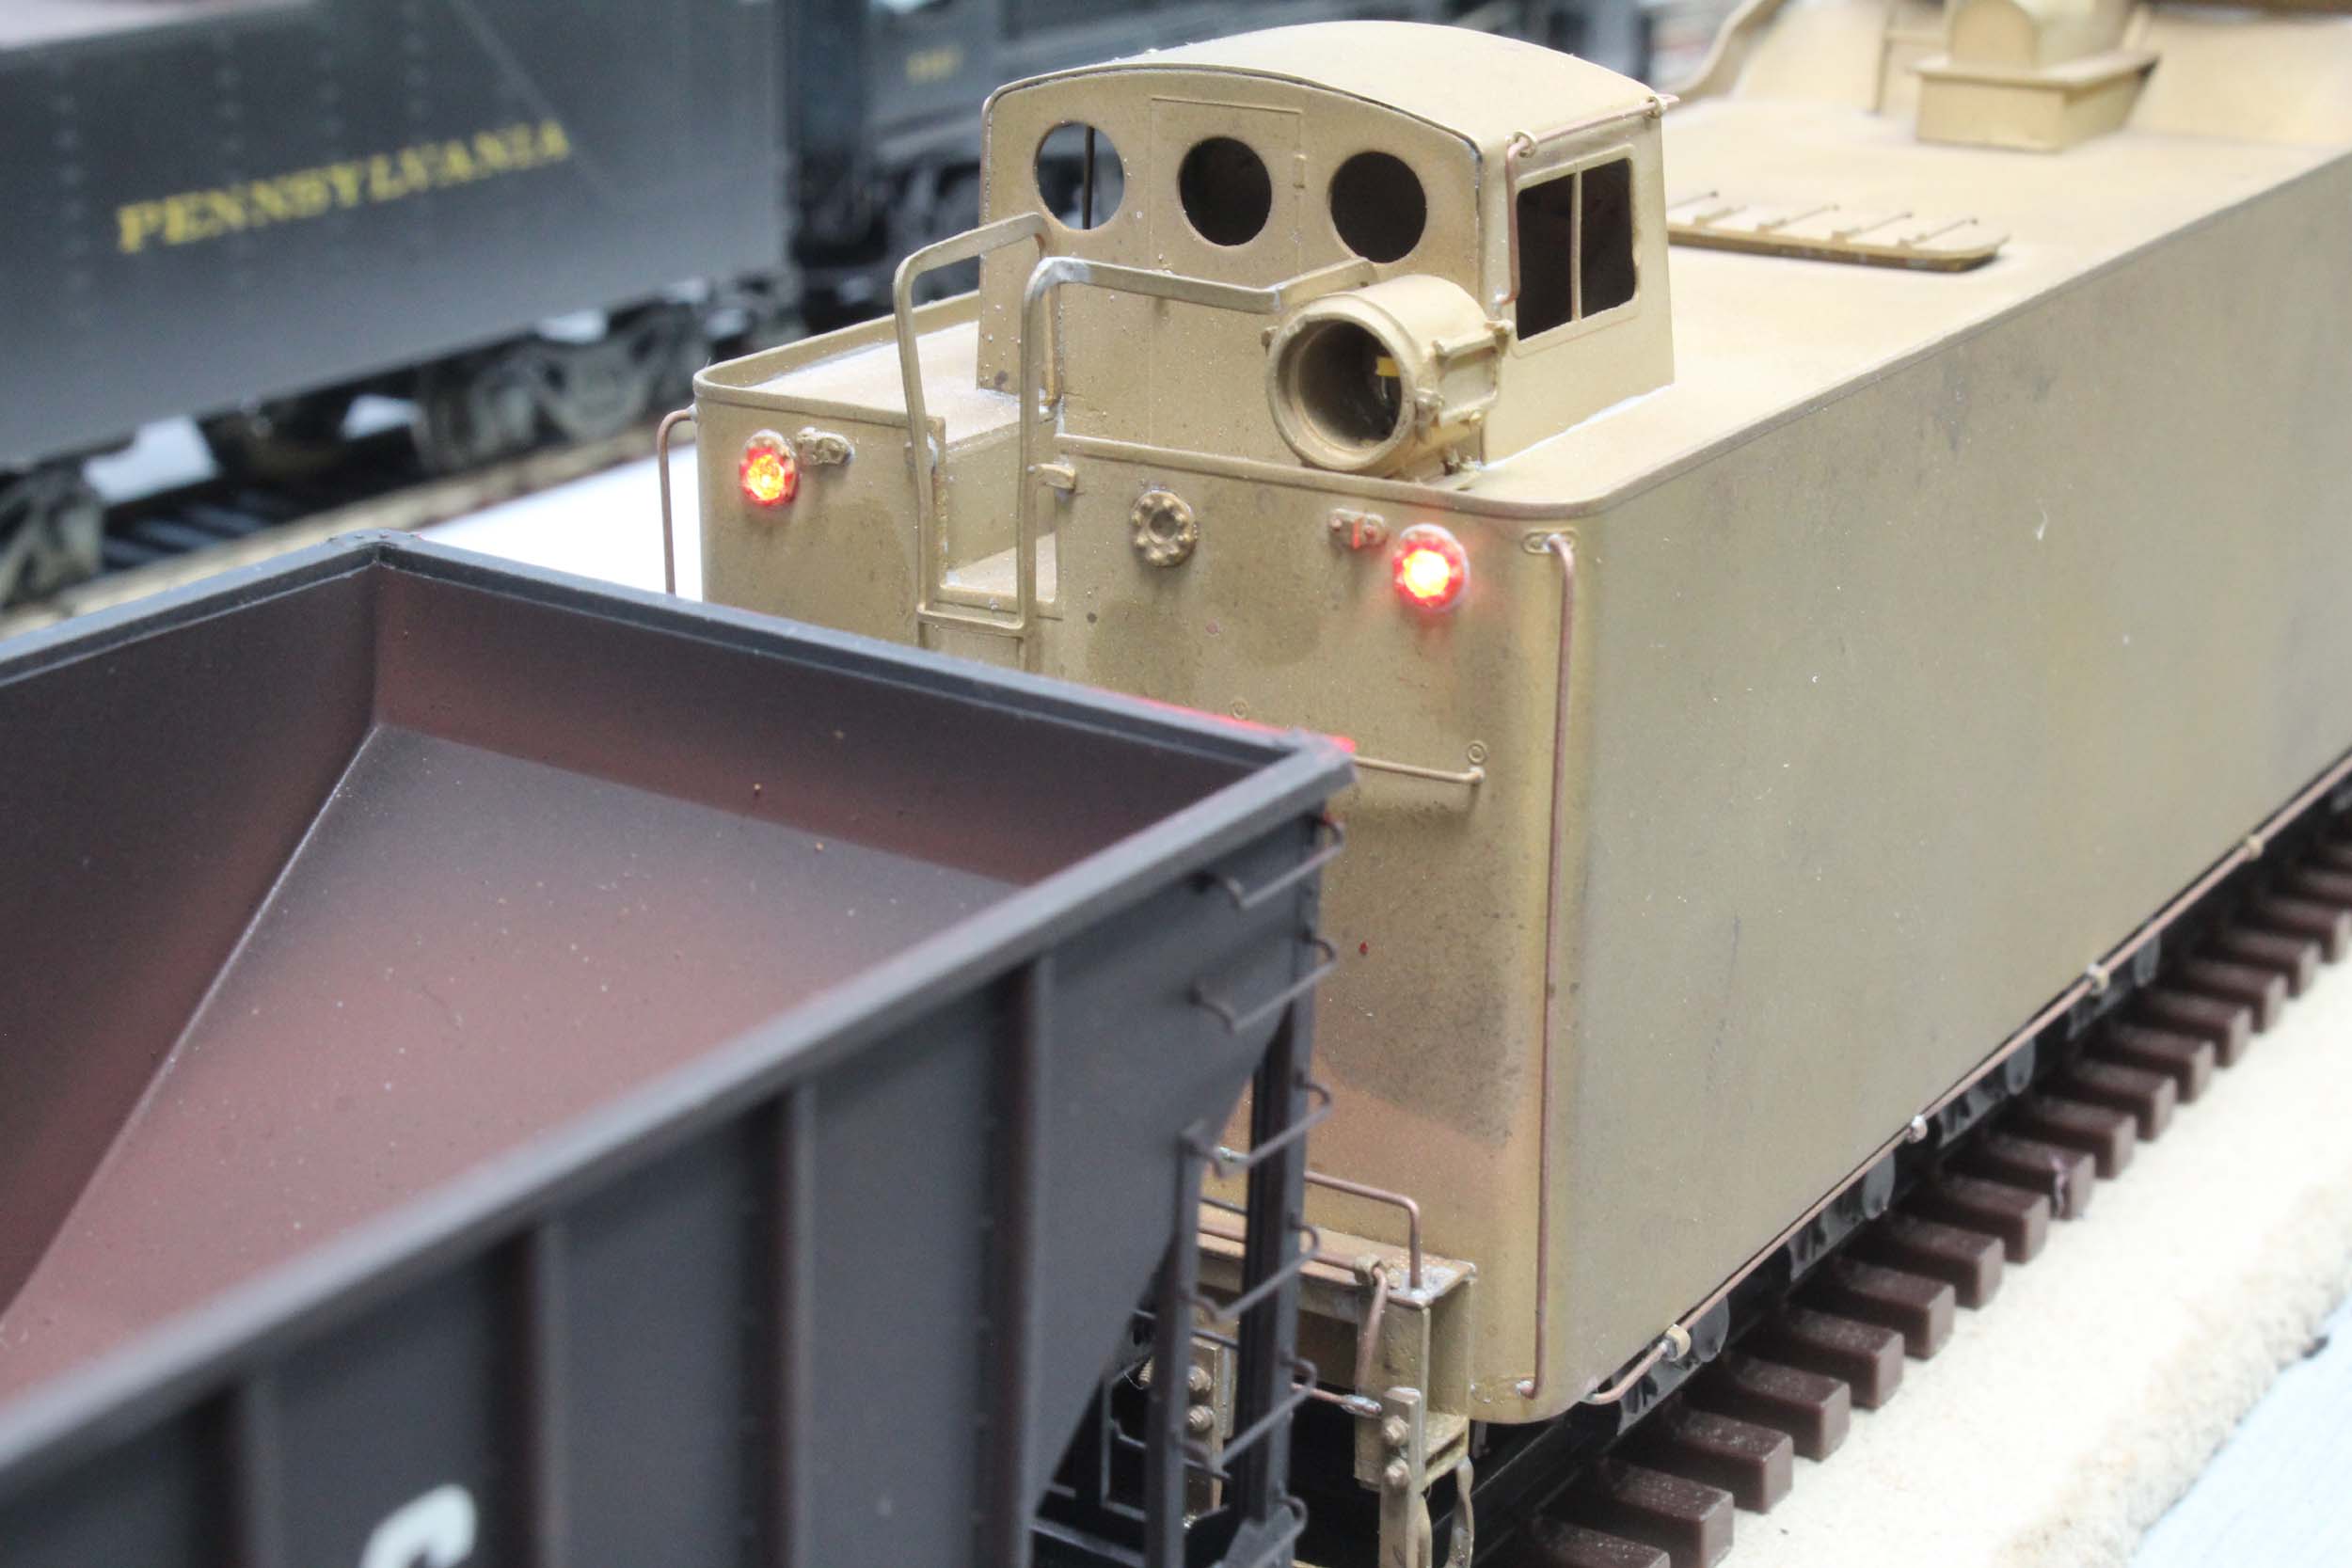
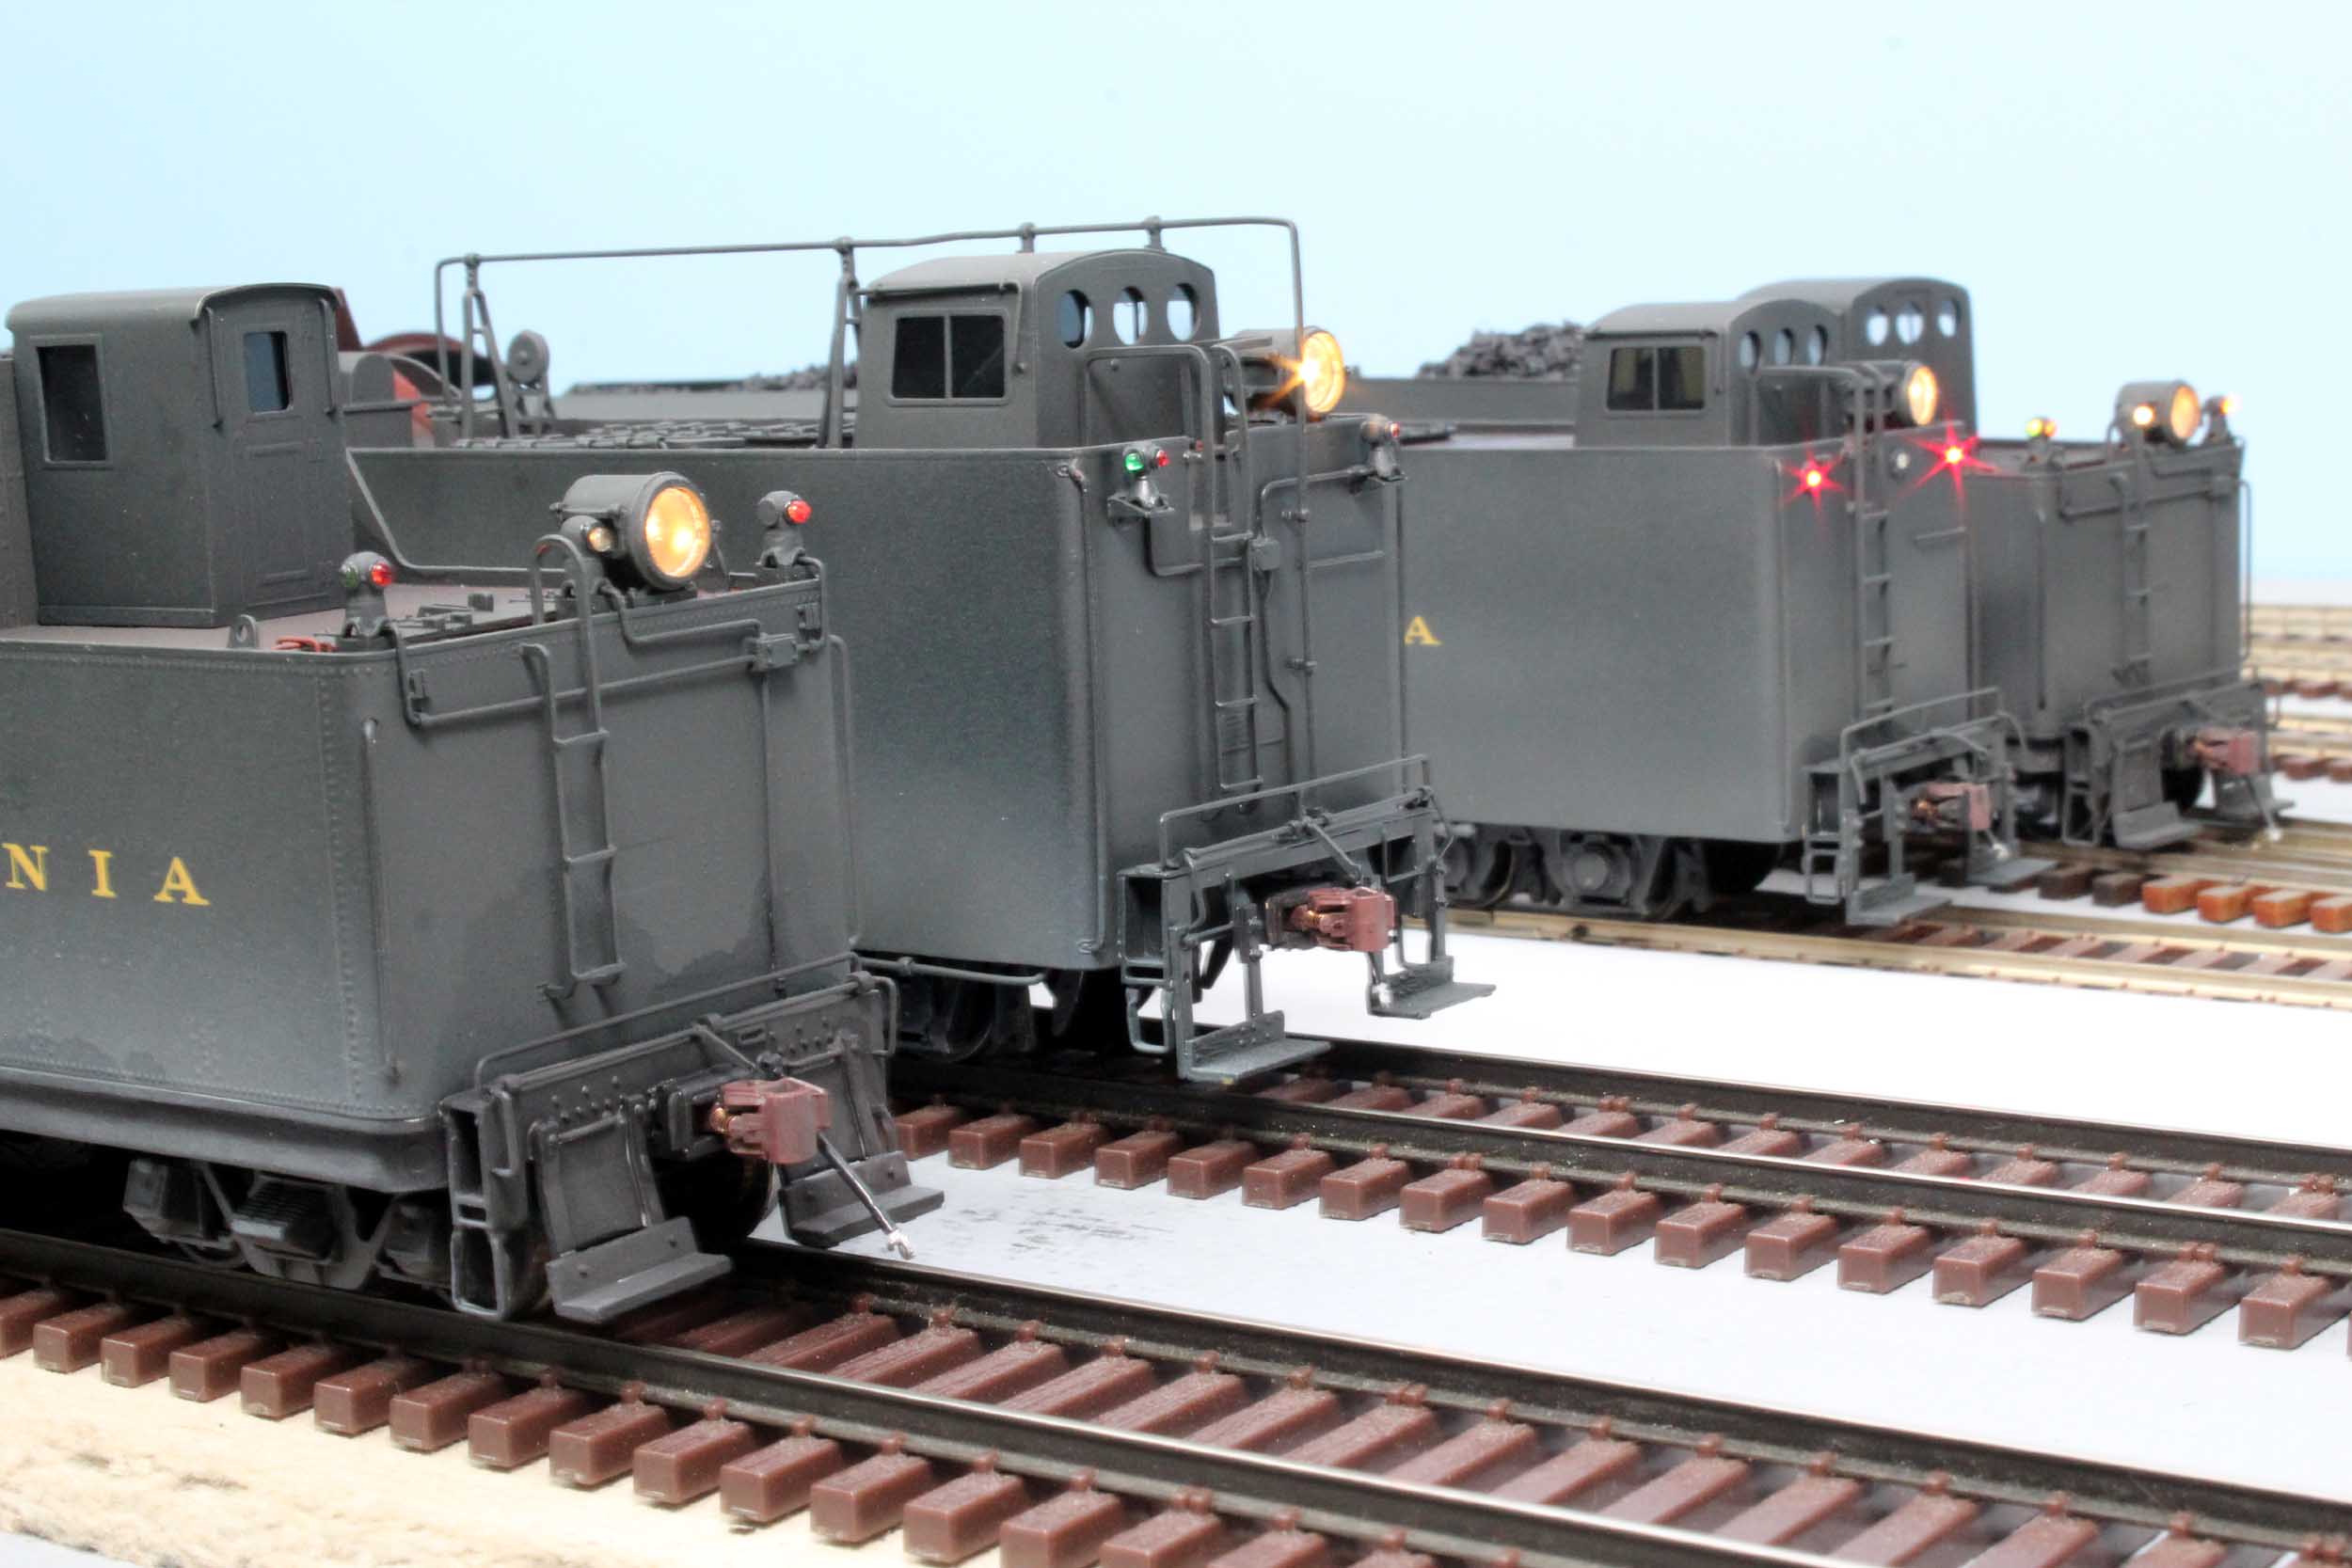
I just LOVE the red marker lights. ALL are LEDs.
Let The Painting Begin!
Added 4-2-17
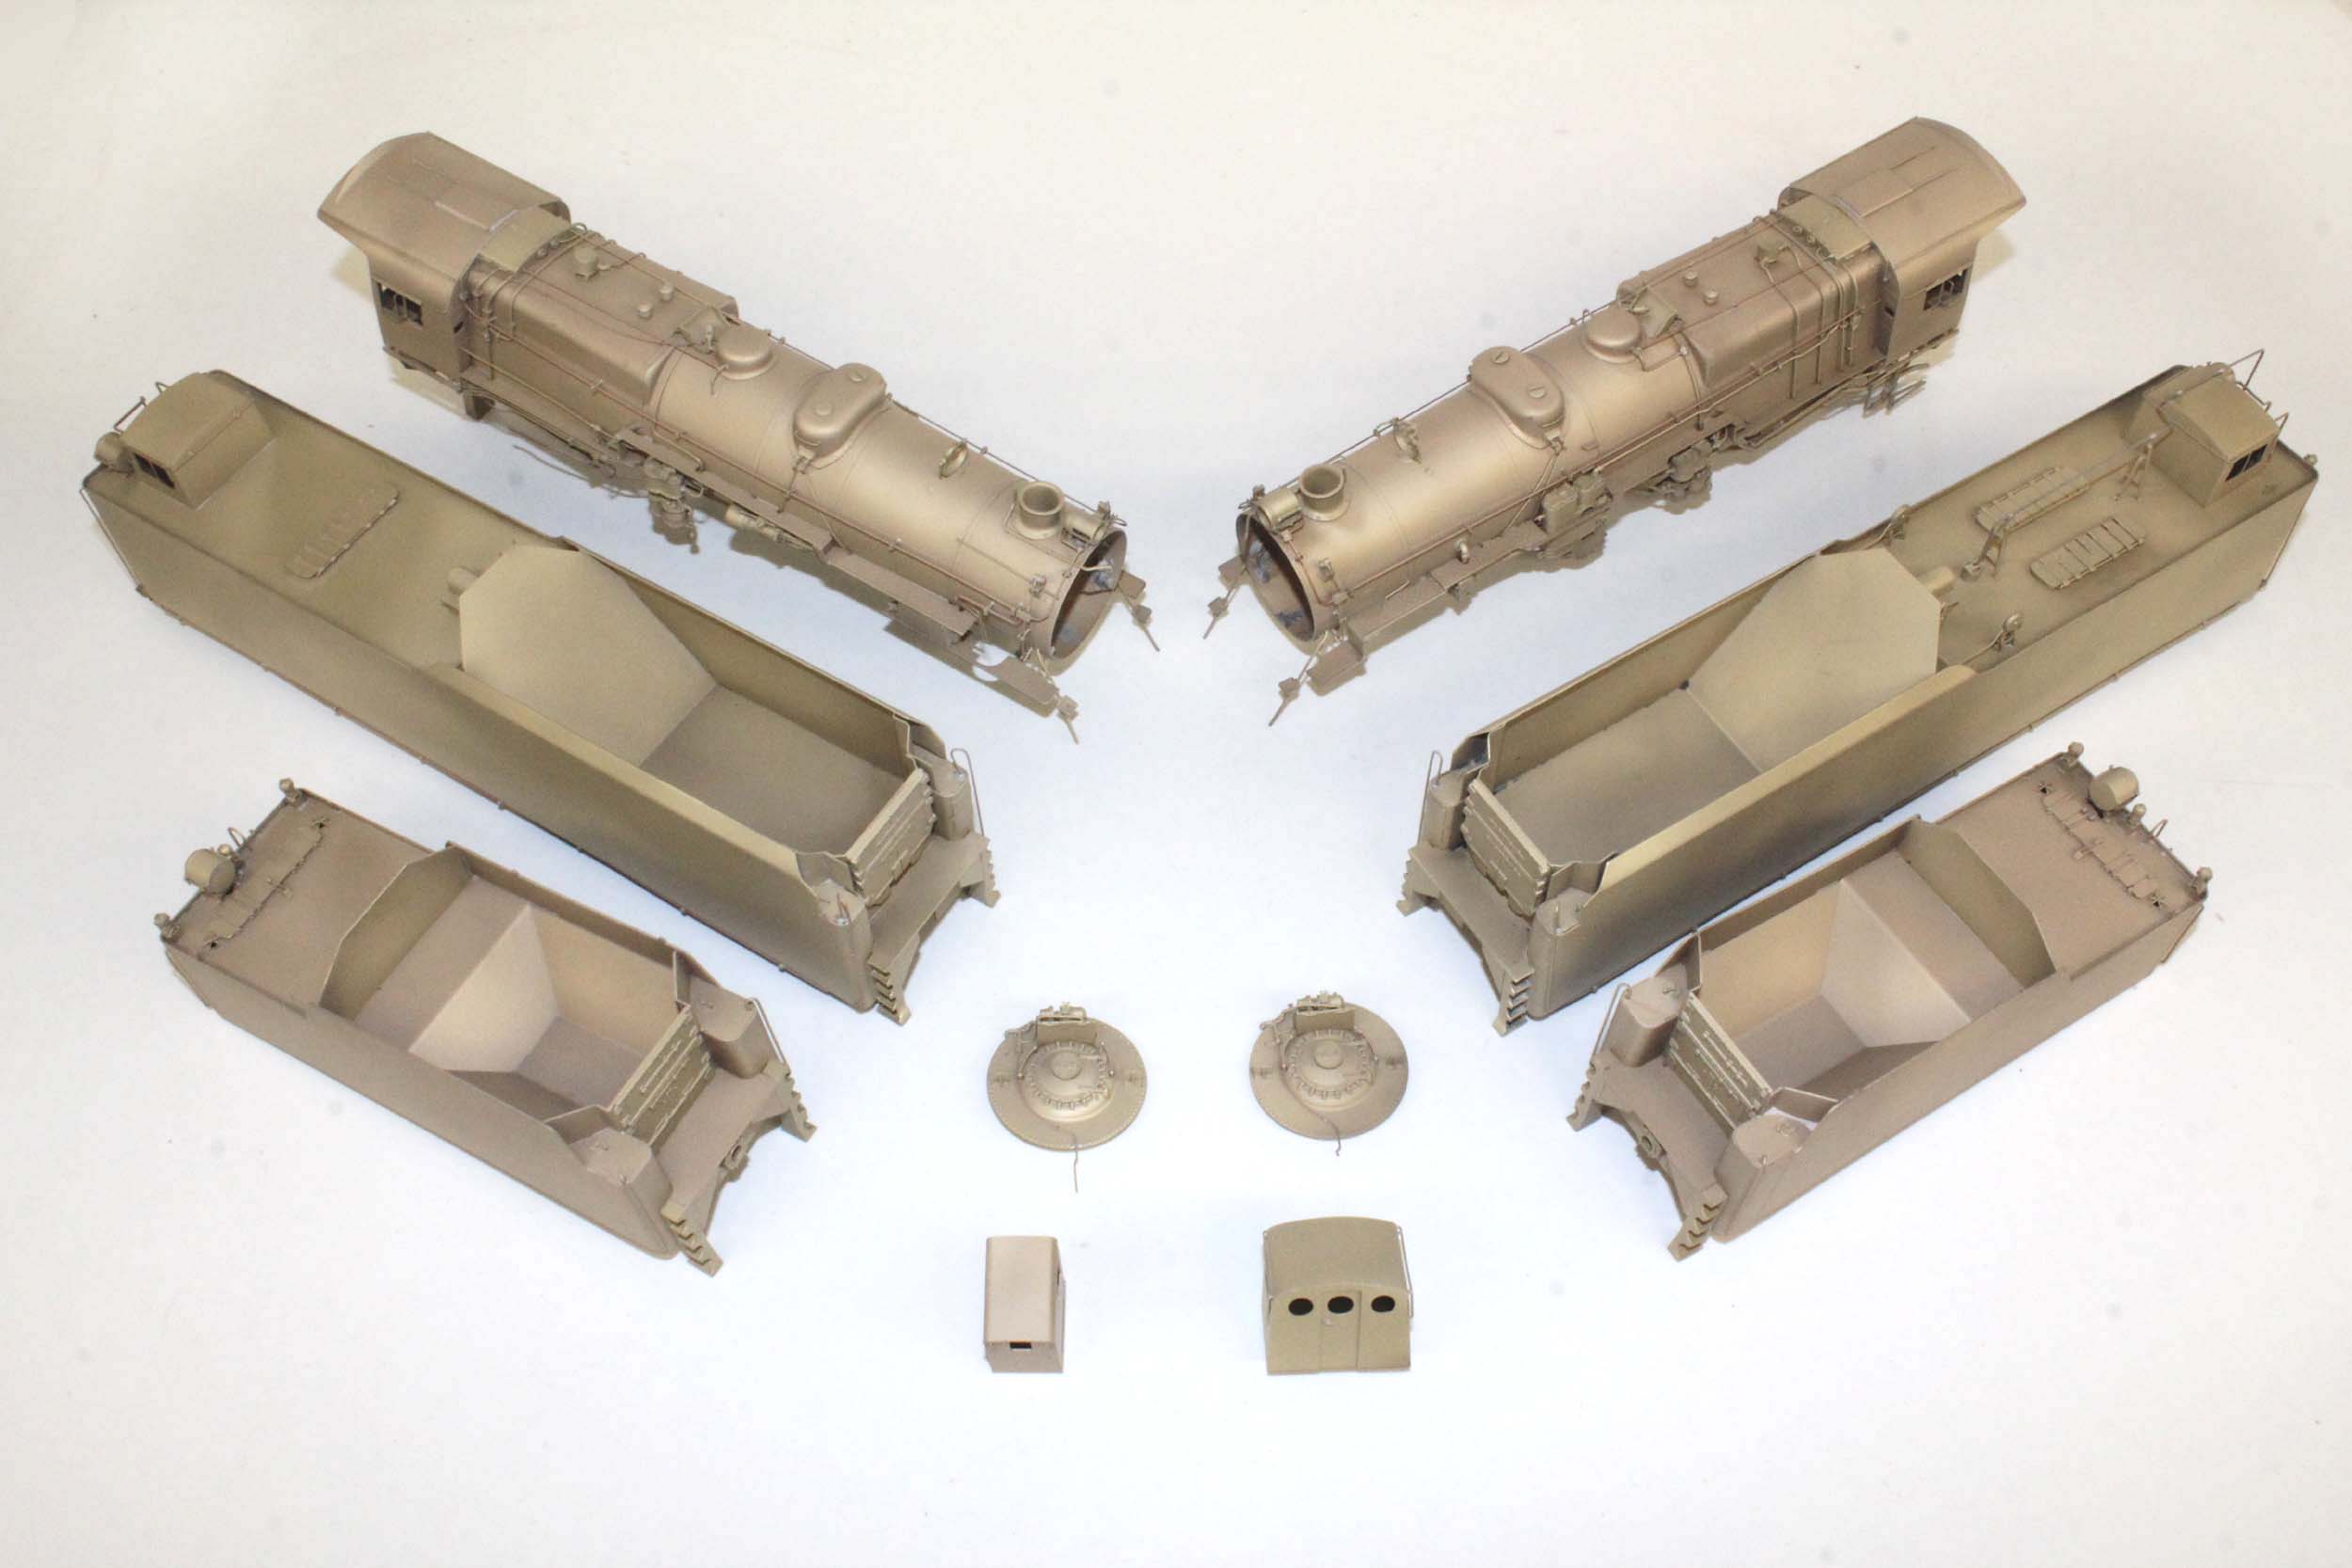
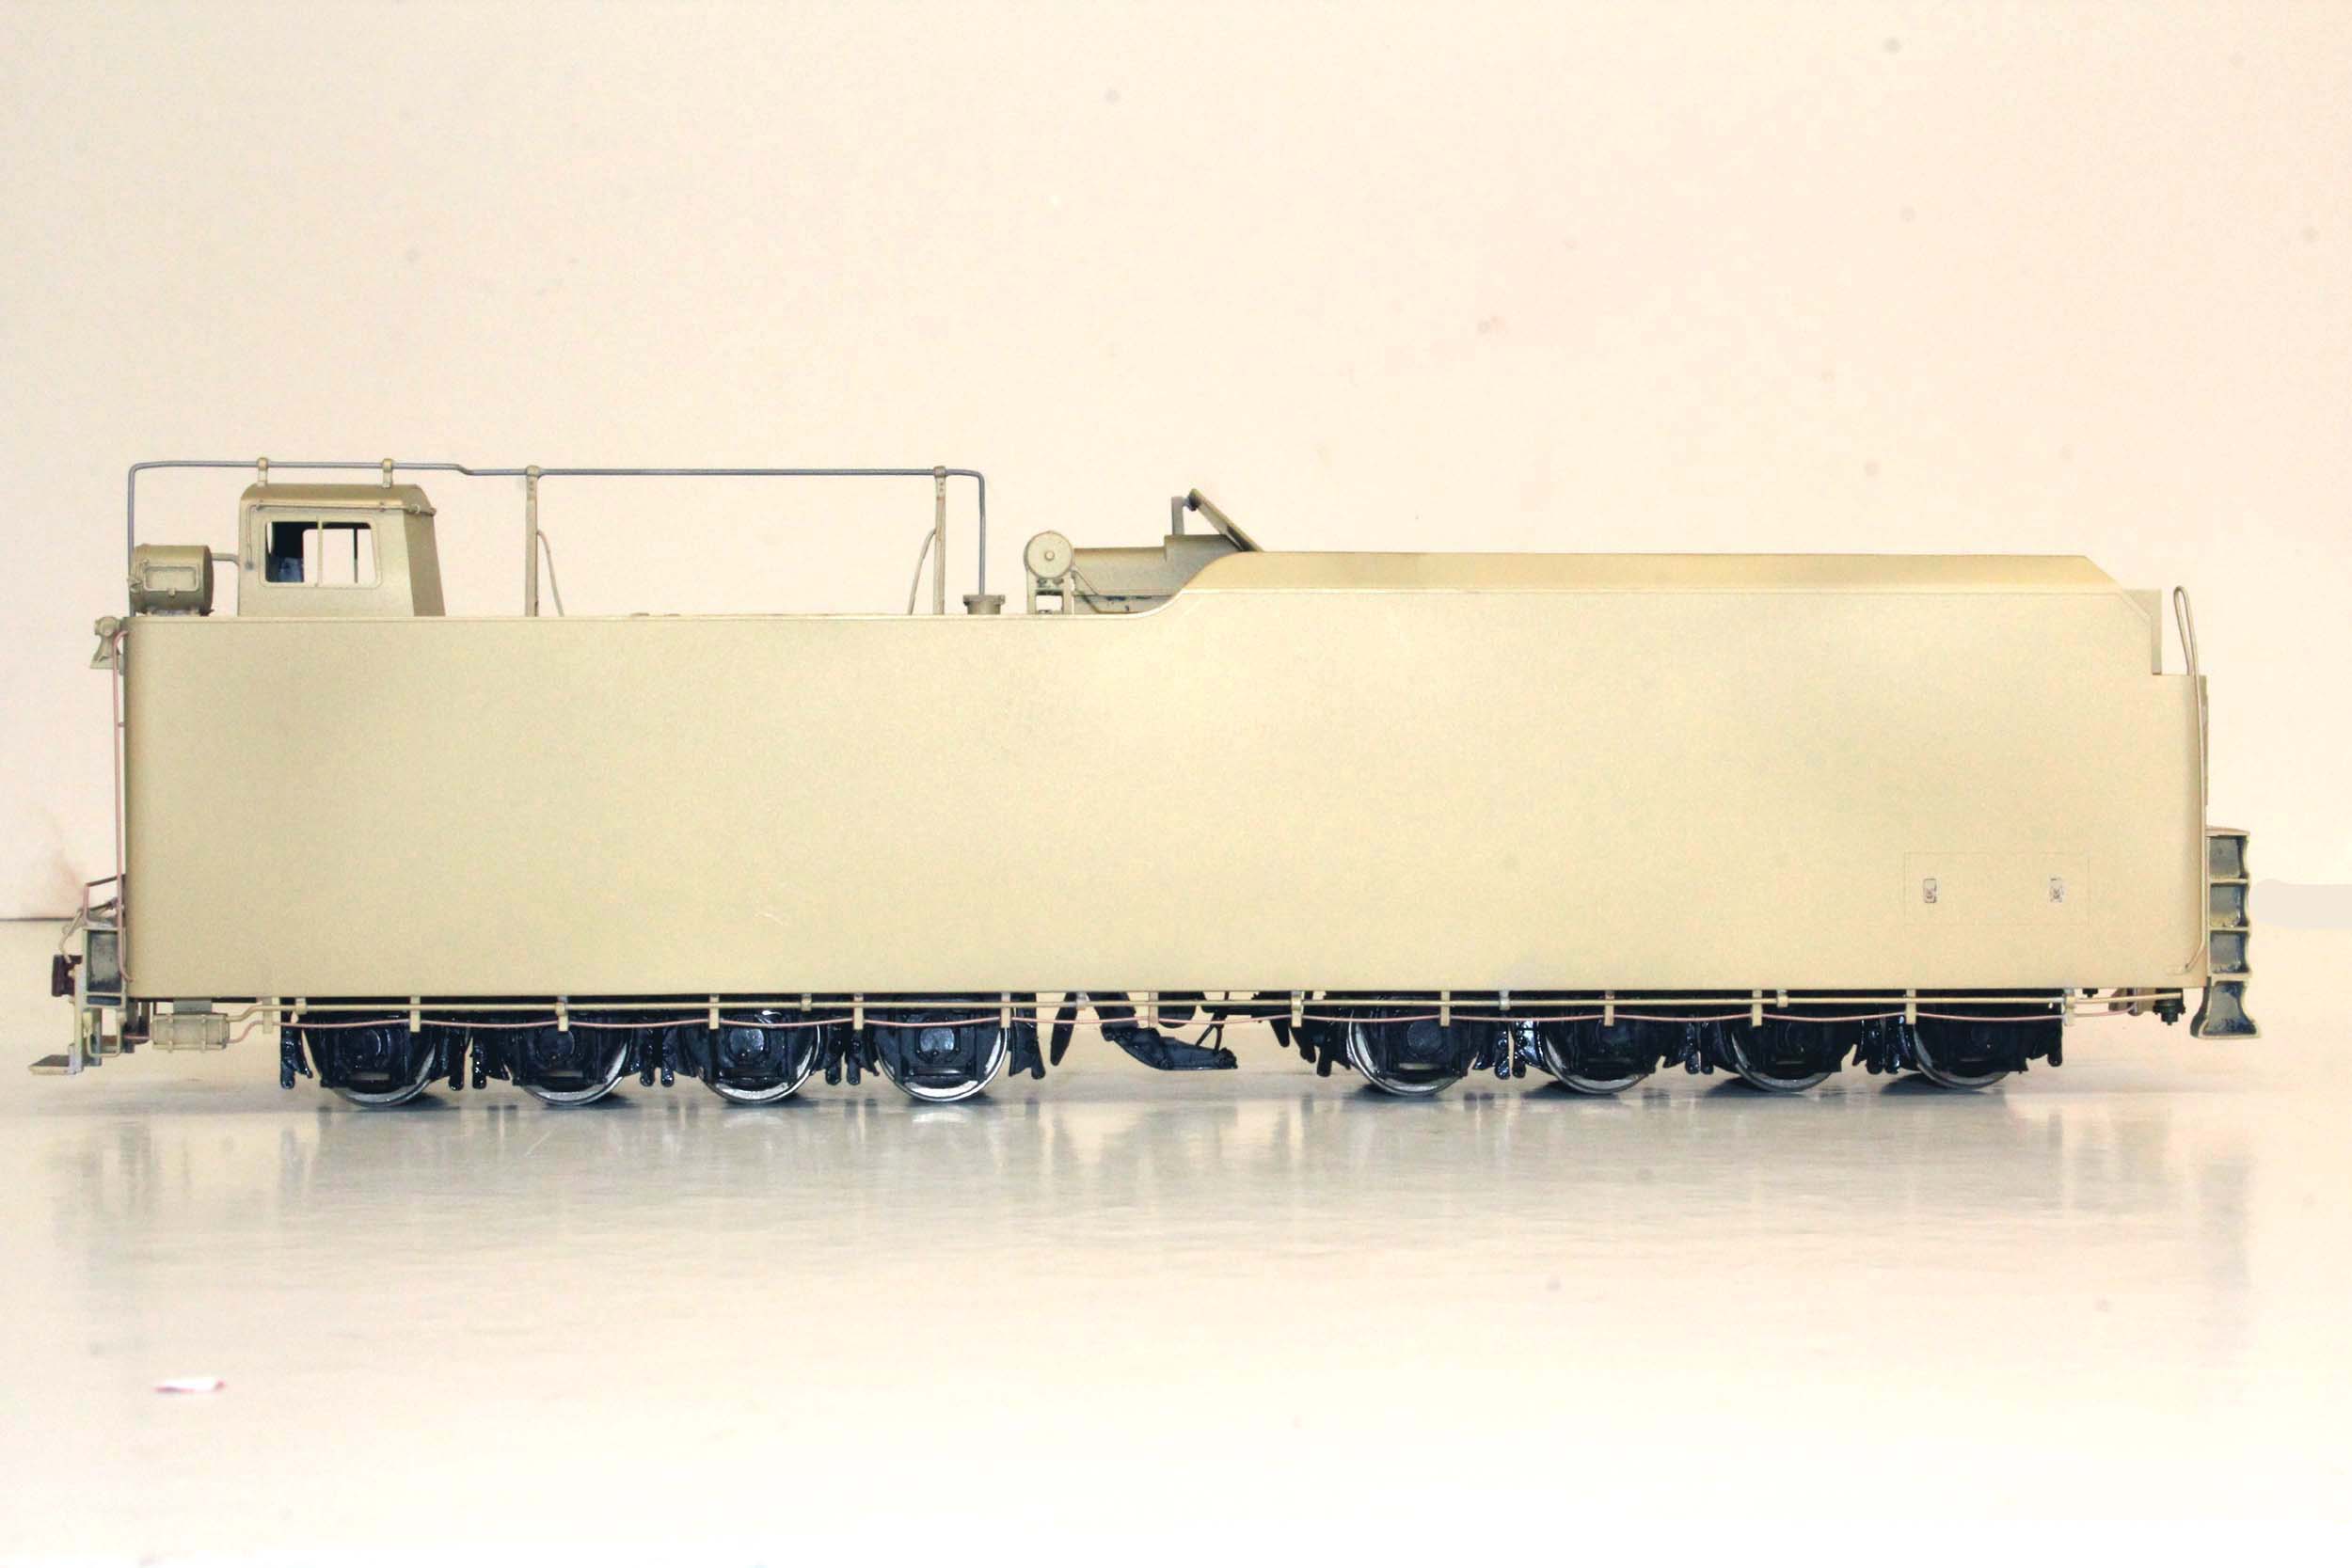
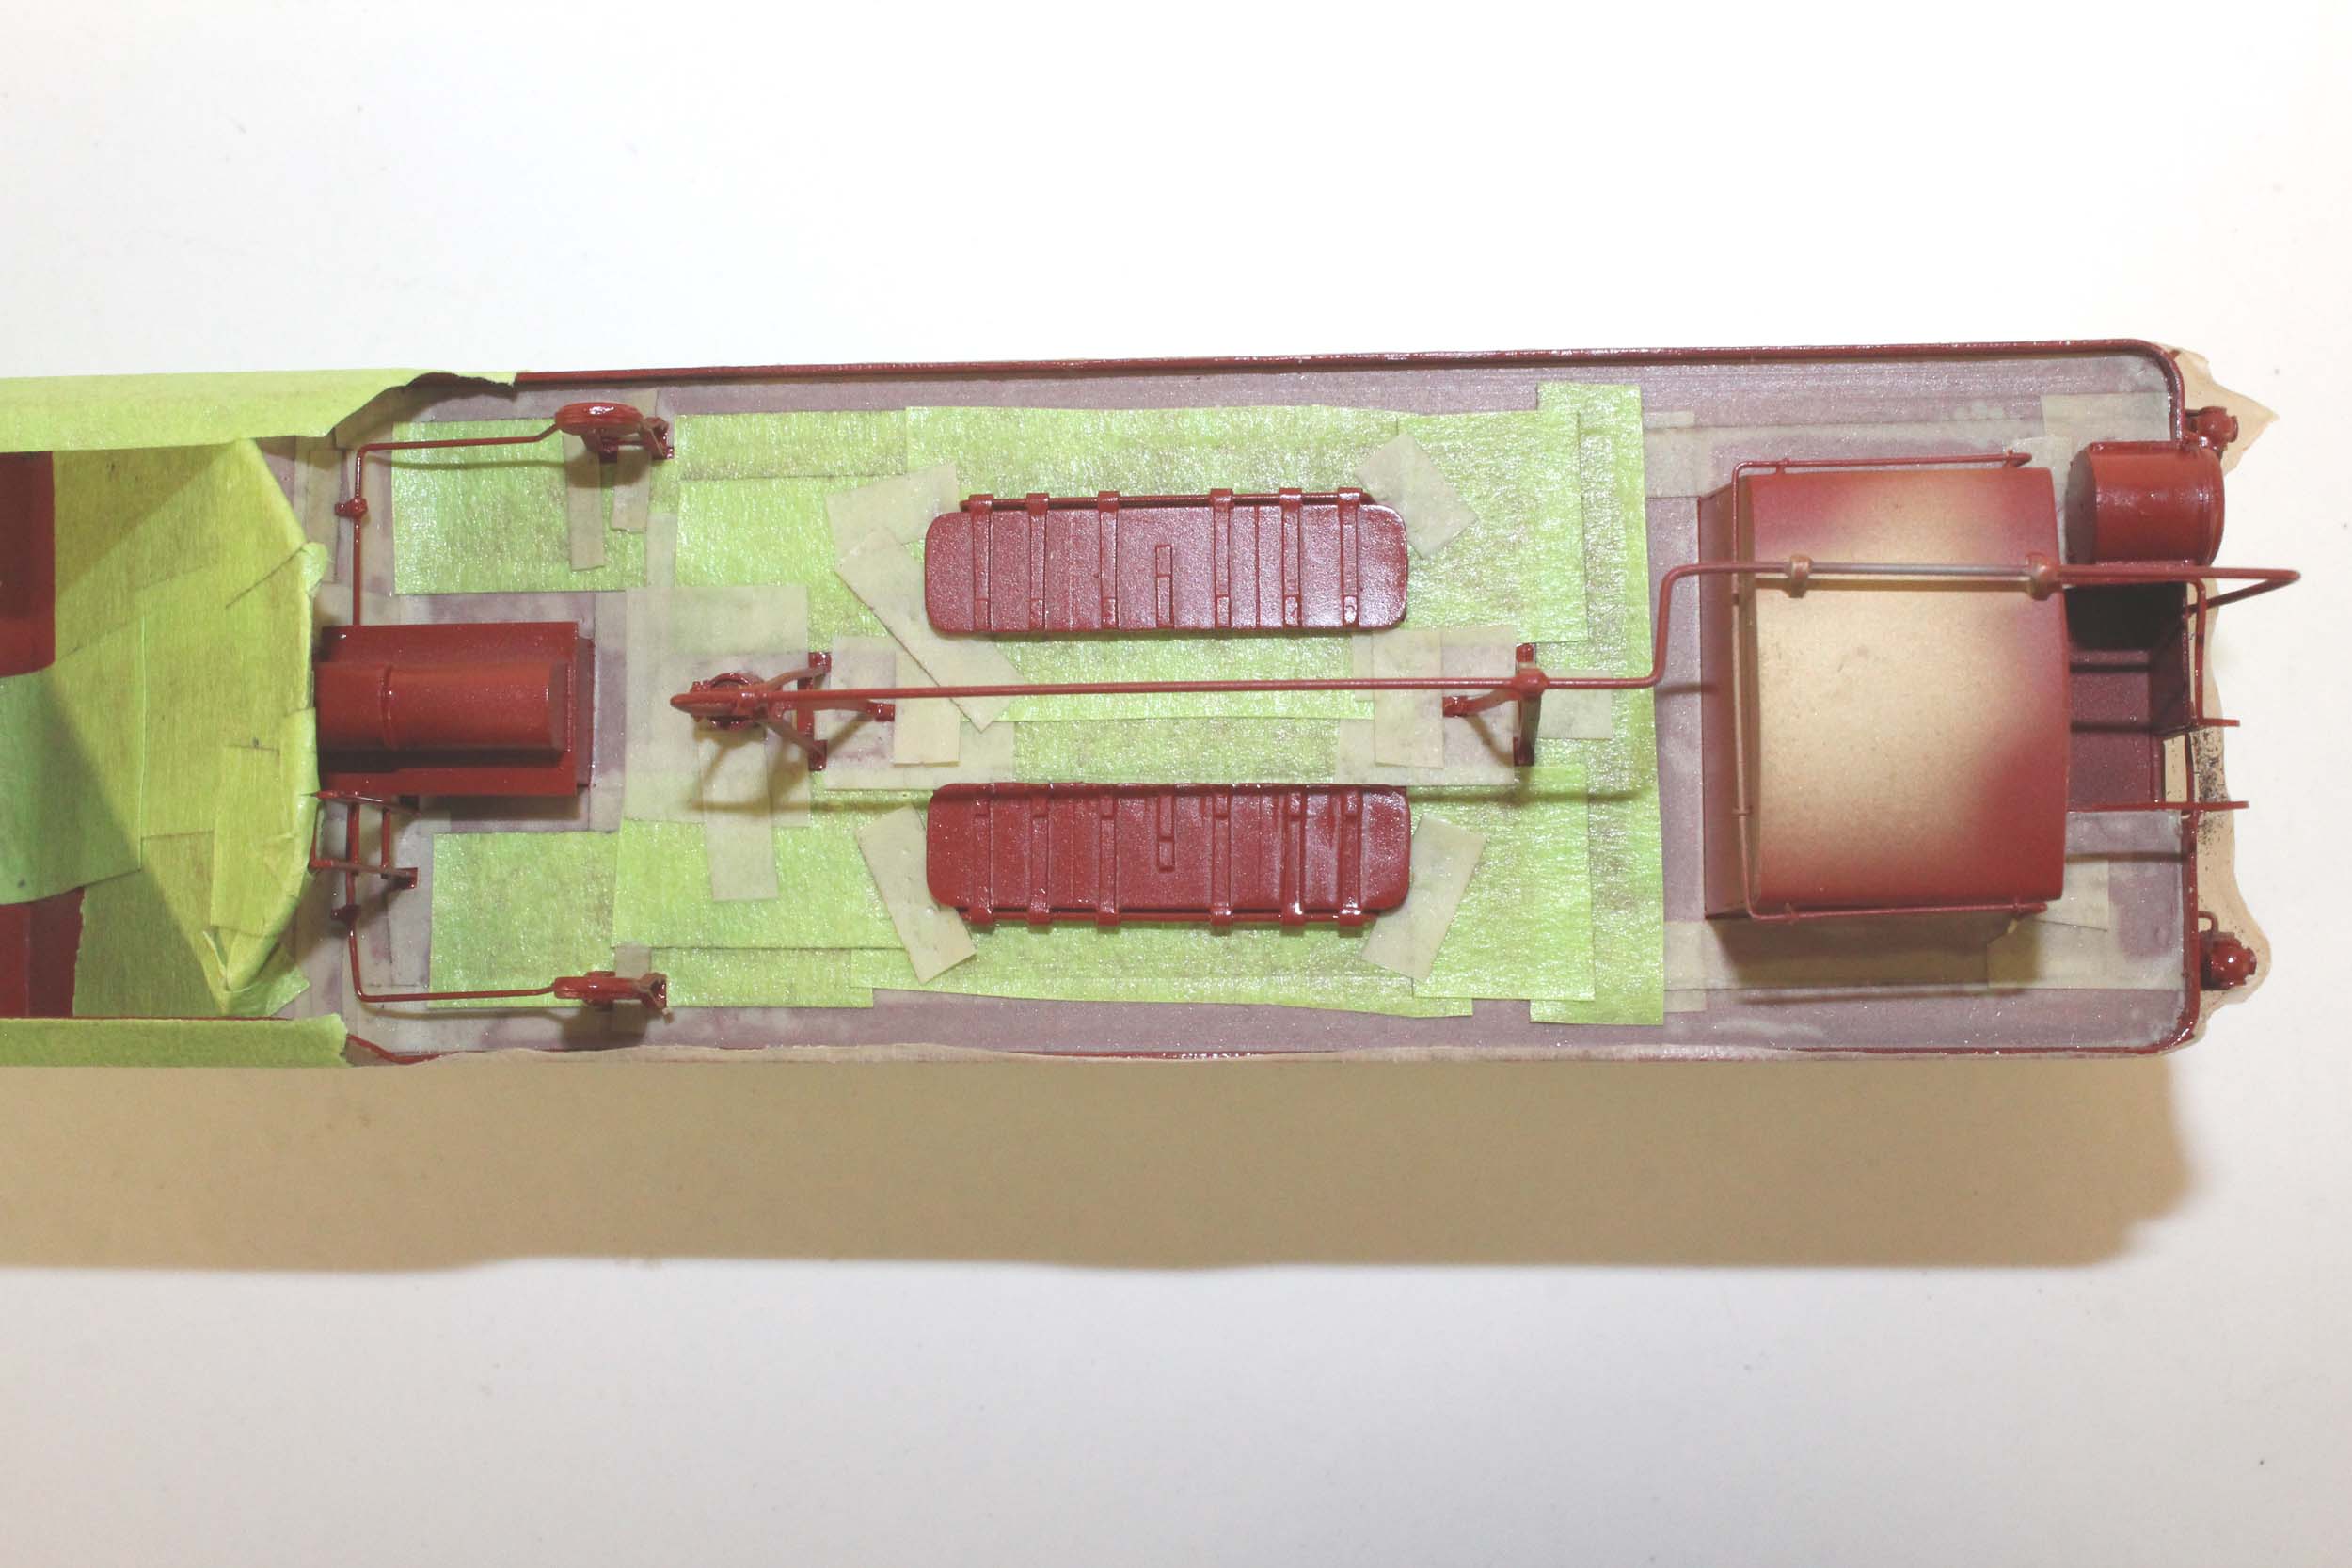
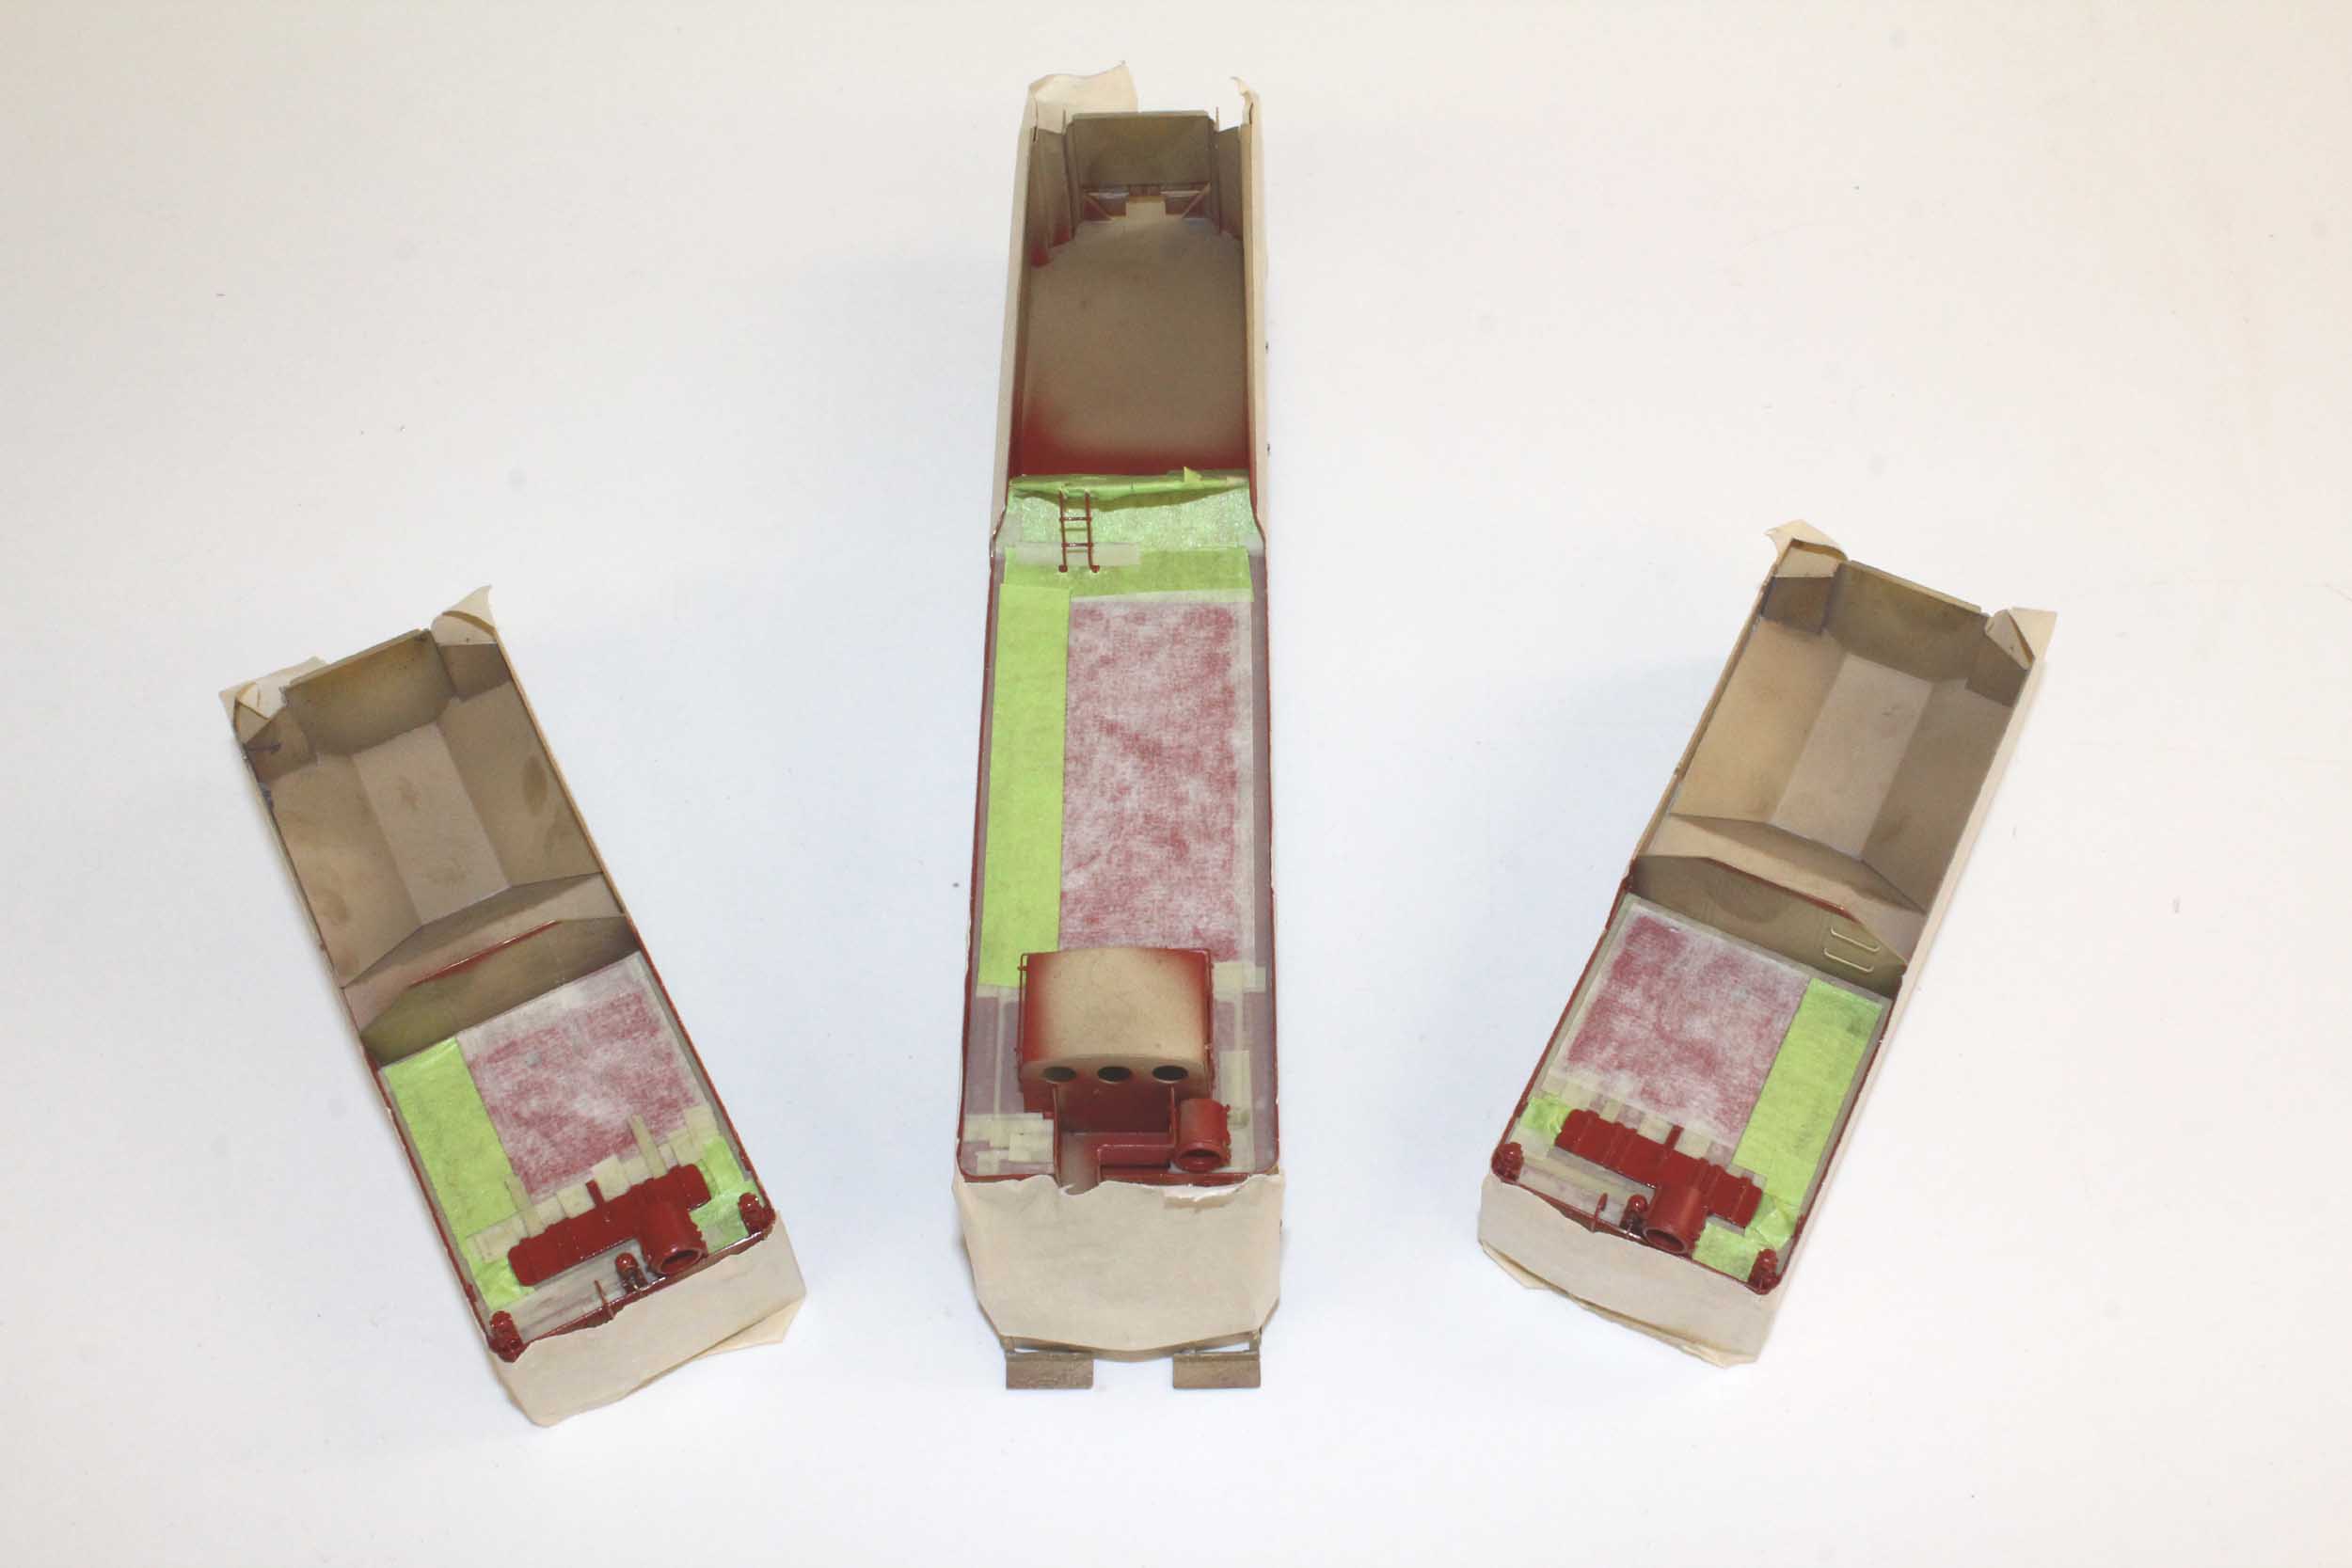
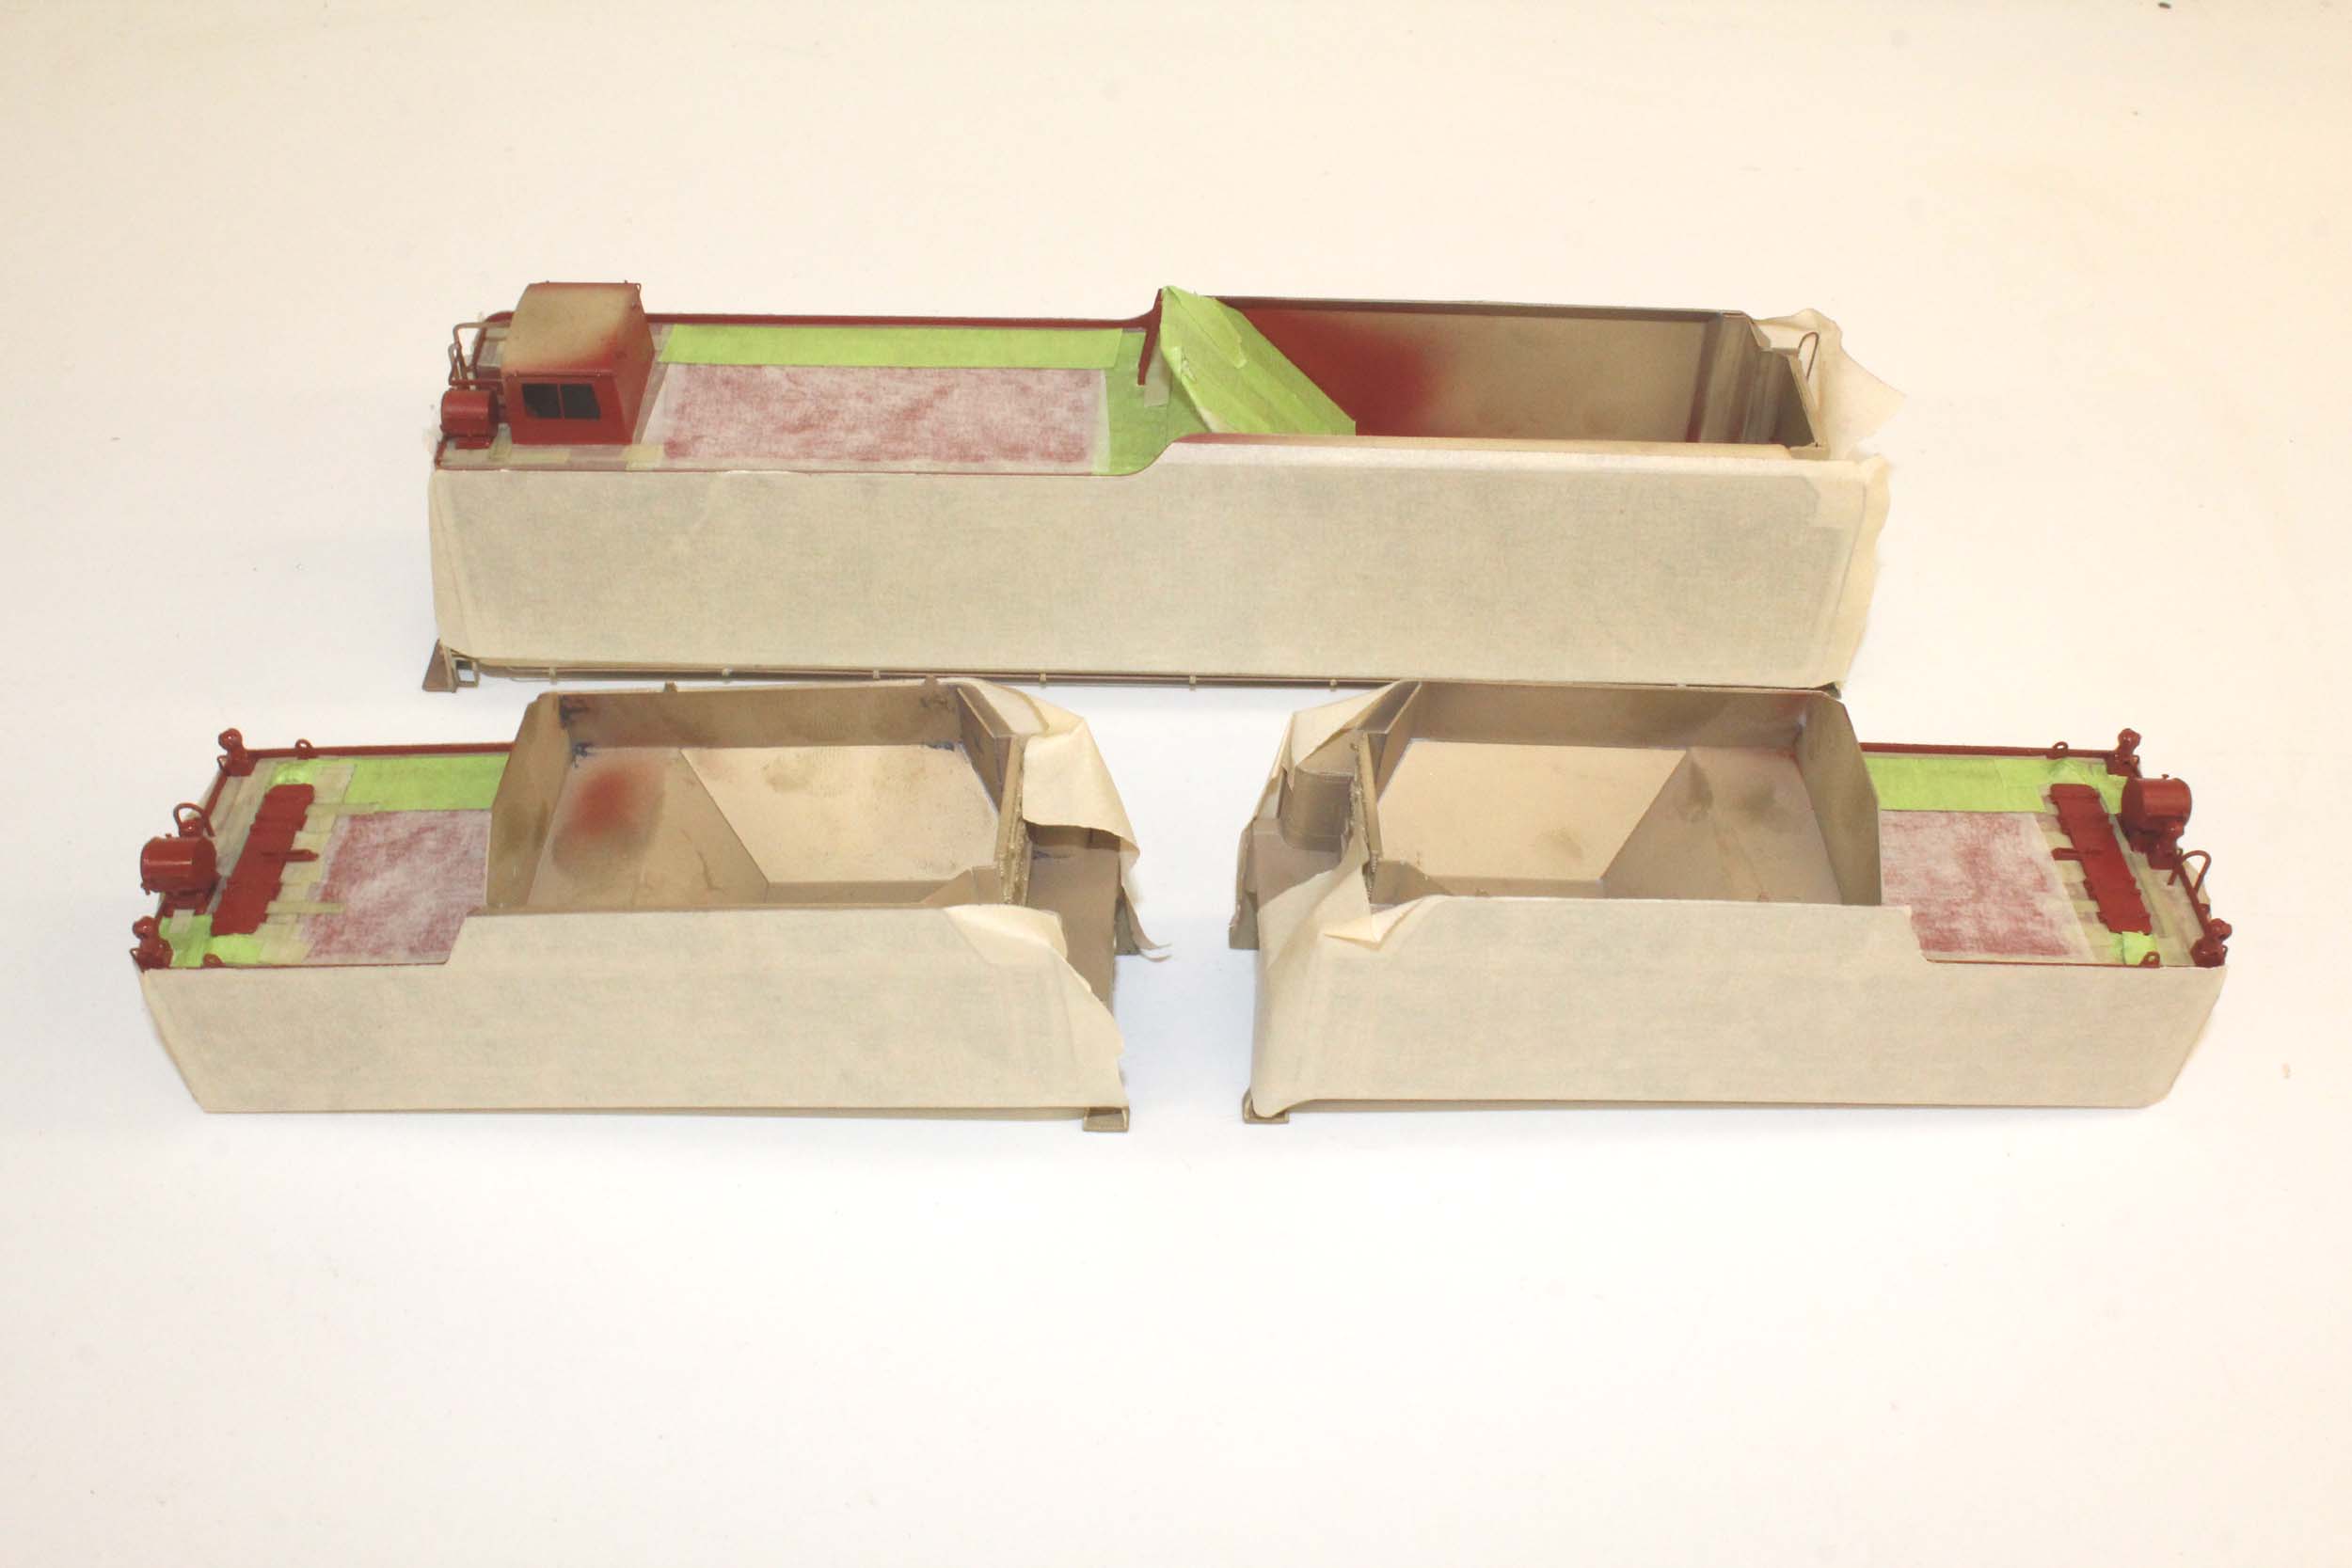
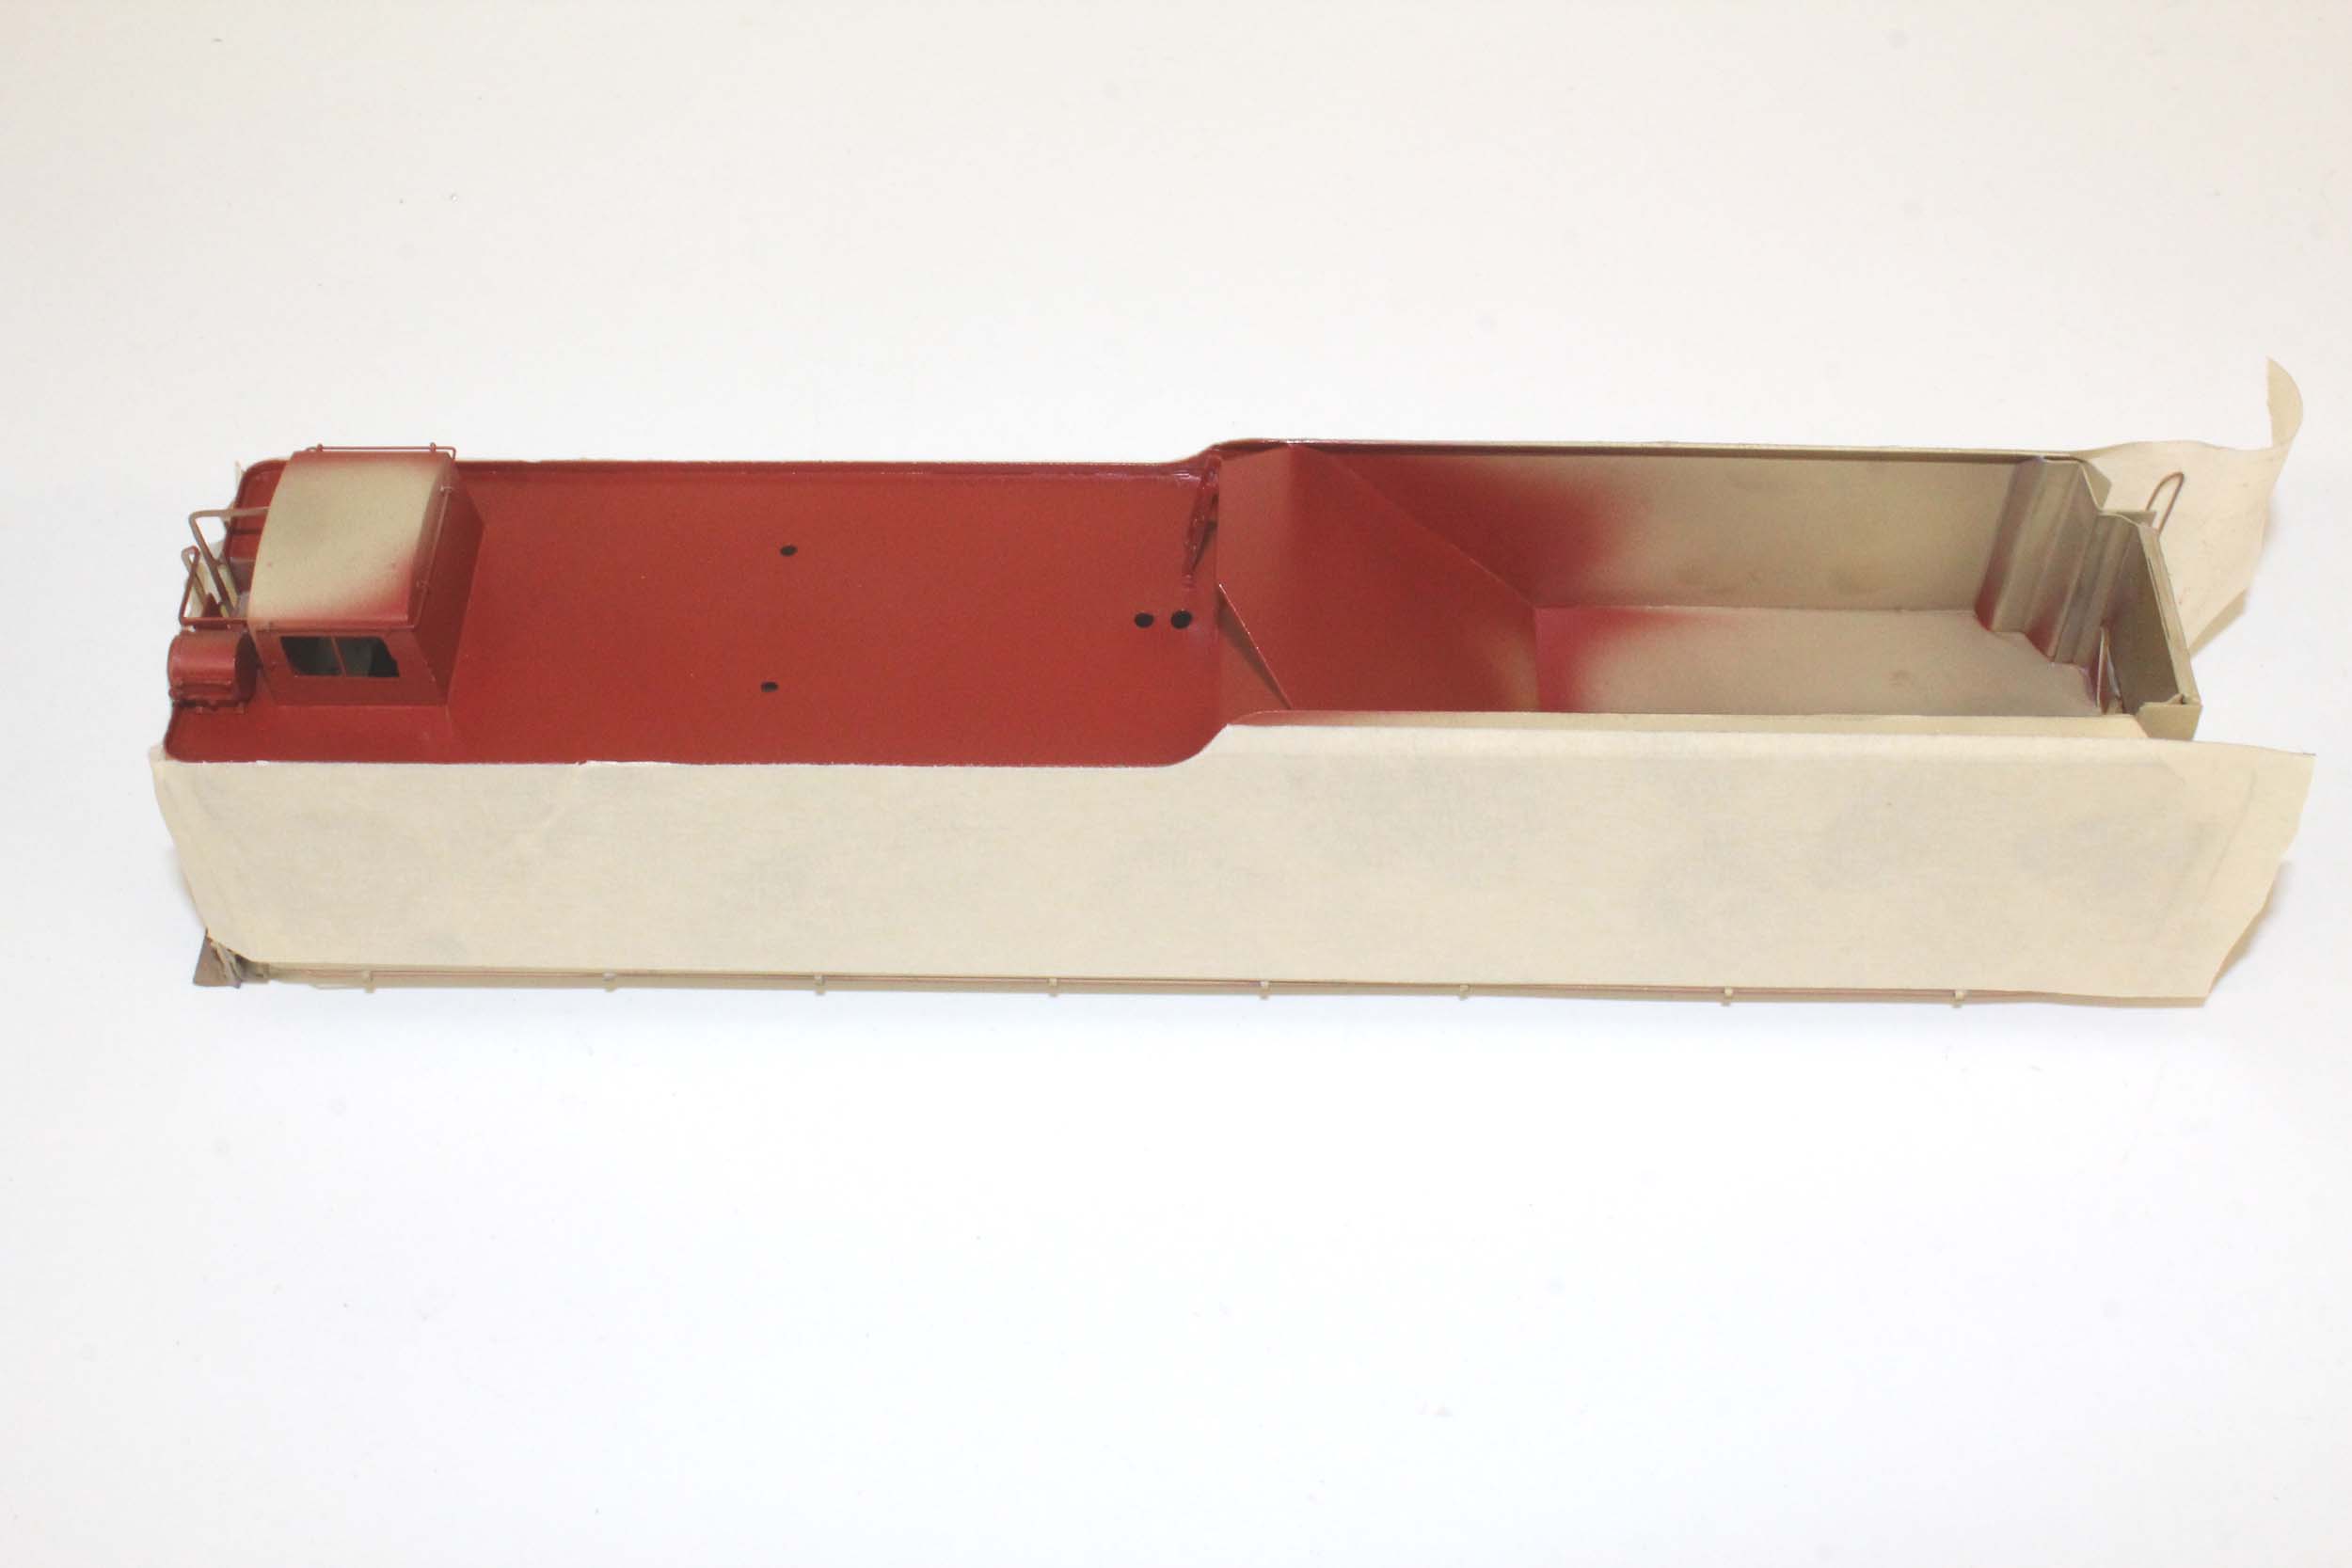
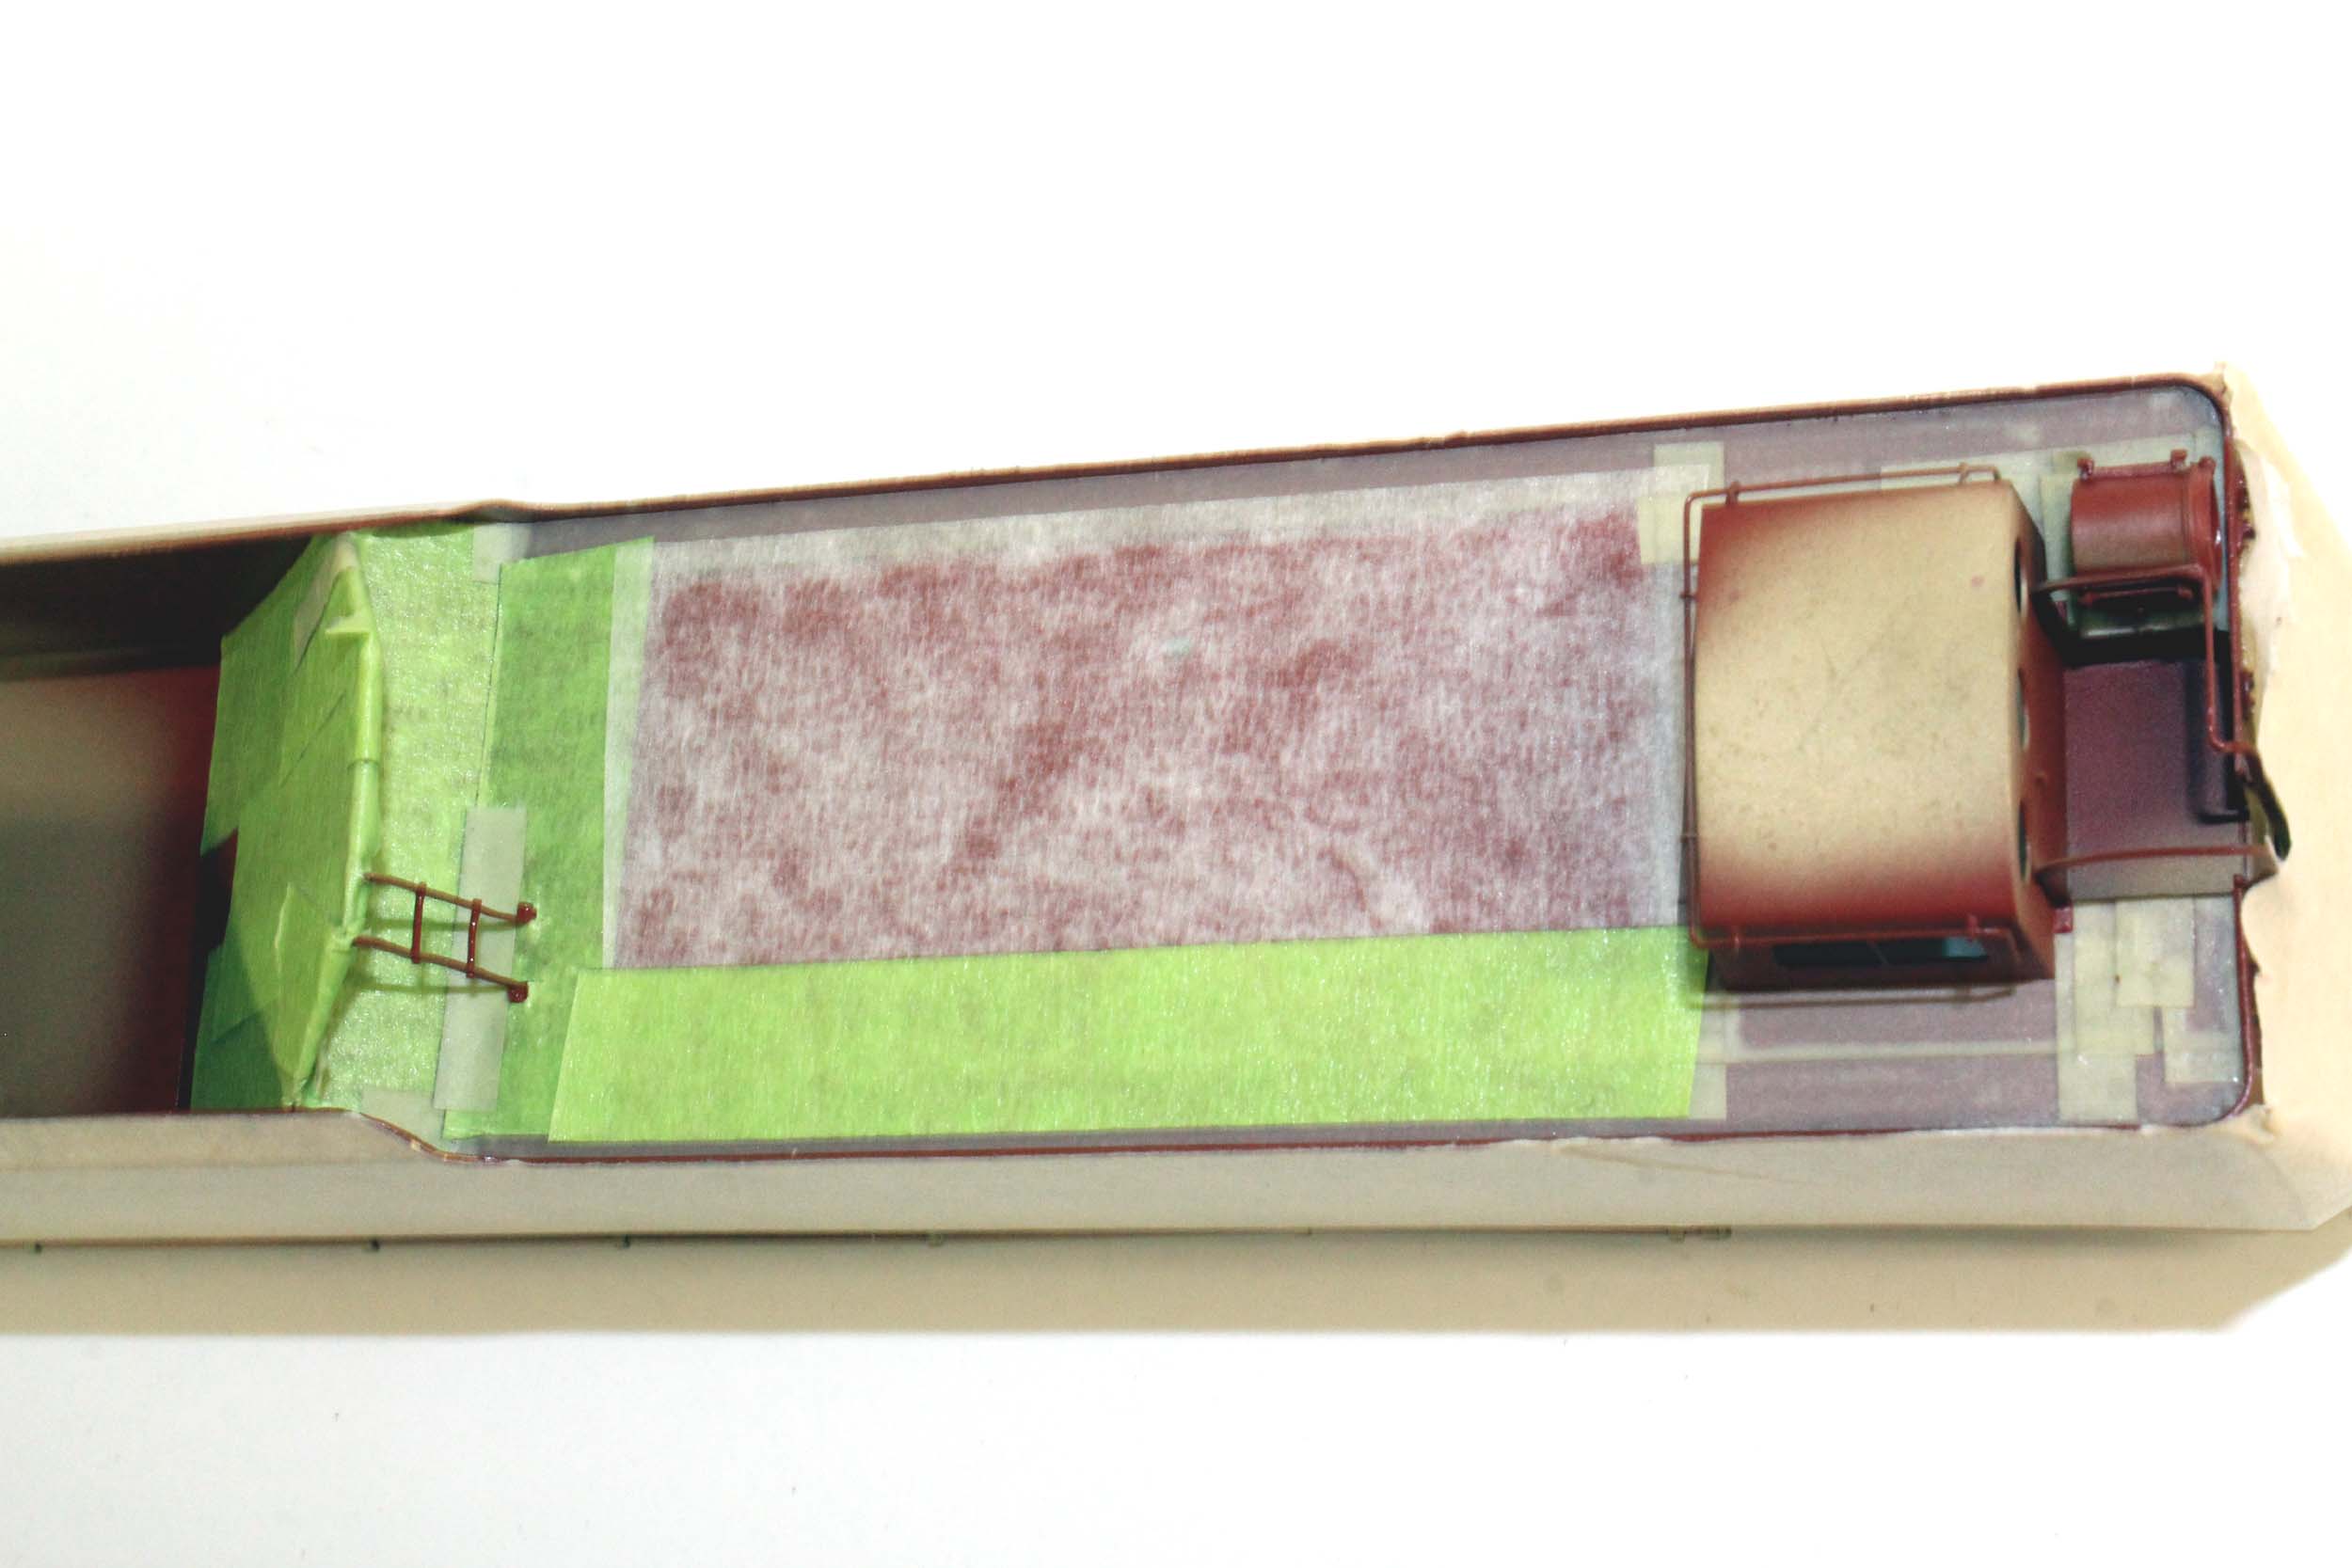
Masking, Masking, and More Masking
I
paint the minority colors first, then mask for the Brunswick Green. I am a bit obsessed
with trying to spray everything. That is why my mask jobs take HOURS. I say
this is like painting a cactus one color and masking to paint the needles
another color. It is brutally tedious. The brass starts to tarnish the second
you touch it. Since I know this was going to take a long time, for the first
time ever I masked the outside of the tender shells while I masked the parts to
be painted. It took between 20 and 25 hours of masking the 2 boilers and 4
tender shells. There is zero fun going on here. I don’t trust the masking tape
to go through the oven so all tape is removed before baking the paint. What is
hours of masking comes off in a few seconds. I did have some adhesive residue
issues anyway. I HATE MASKING.

I am
pretty sure that when I made the new tender deck I bolted the 2 castings on so
I would not have to mask around them!
Added 4-23-17
The obsessive
masking paid off. There was truly almost no hand painting touch up needed. I
was so happy to finally see my 3 man doghouse painted.

Completed 5-14-17
After
3 months of SOLID every possible minute on the weekends work, my Hippos are
finally done. Completing steam locos has to be a winter project without the demands
of swimming pool care or dachshund parties. It would drag on for much too long
otherwise. I was hitting my attention span wall as it was, and starting with
the 3 month completion of my PRR L1, I was
working on steam locos for 6 months straight. That was too much for me. I like
variety. The last 3 weeks were not much fun. It was just a drive to get them
done before spring started. Still this is by far a record for me of completing
4 steam locos and 6 tenders in 6 months.
4595

4616
The
90F82 tender has my scratchbuilt 3 man doghouse

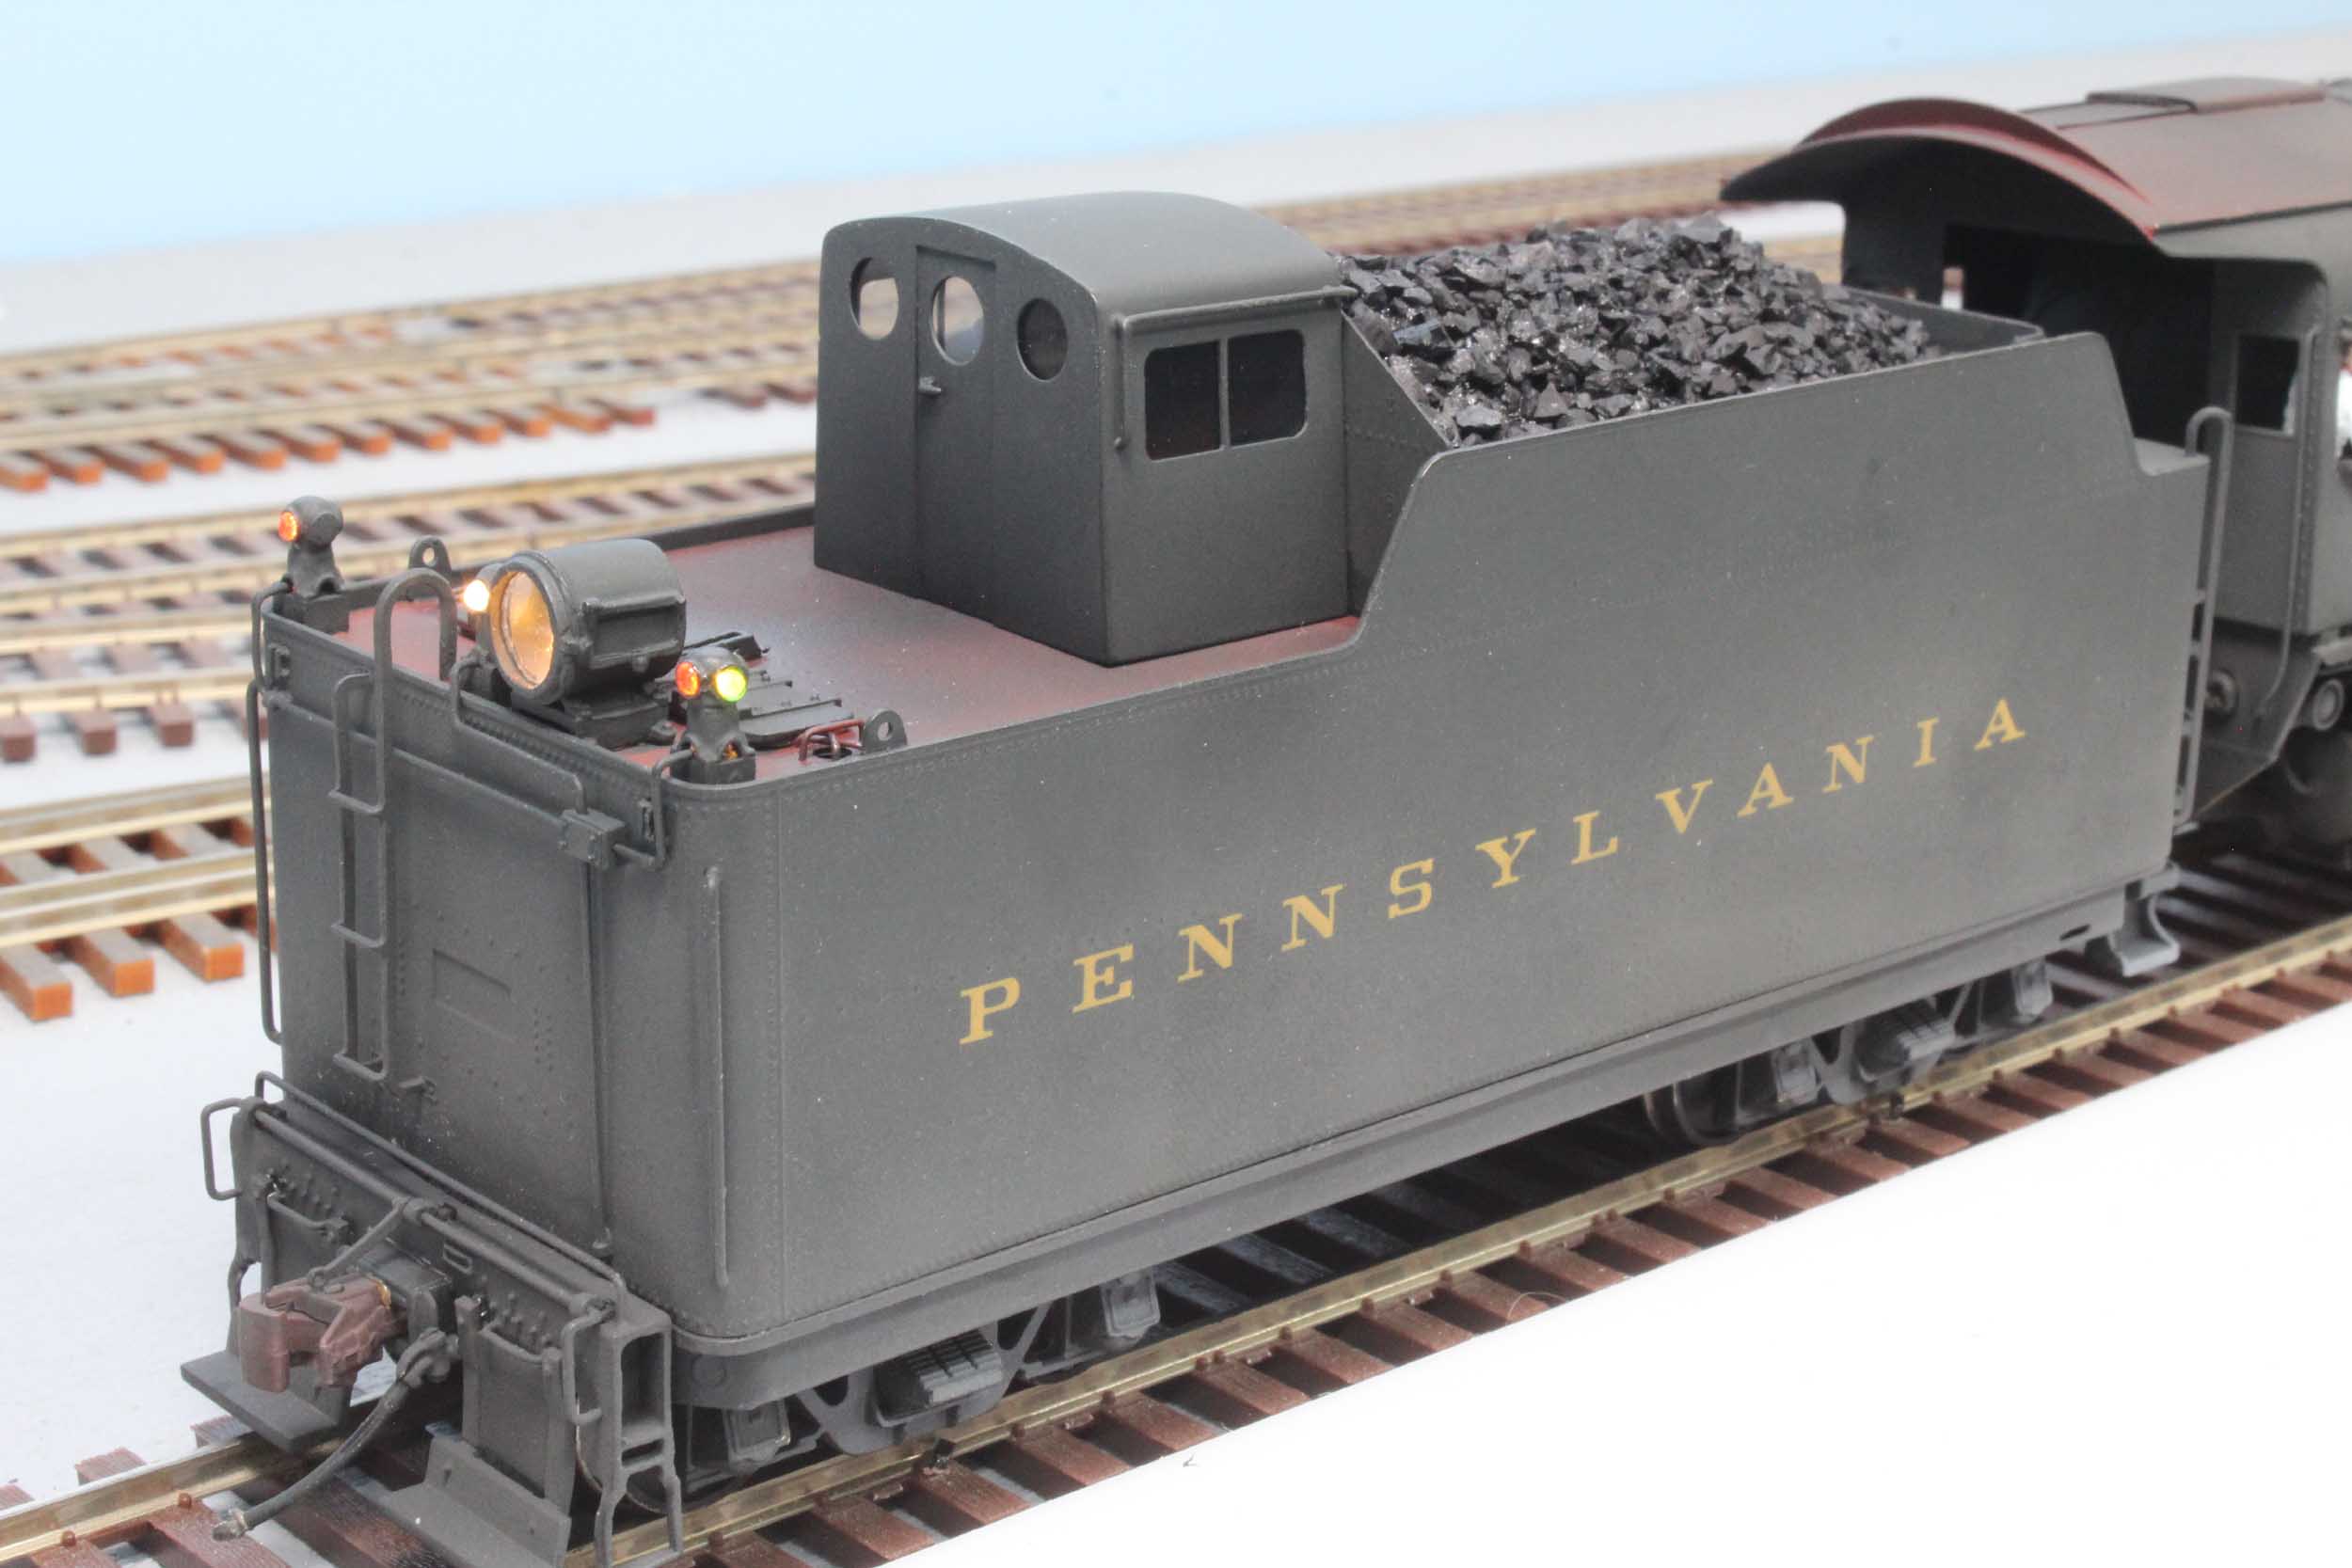
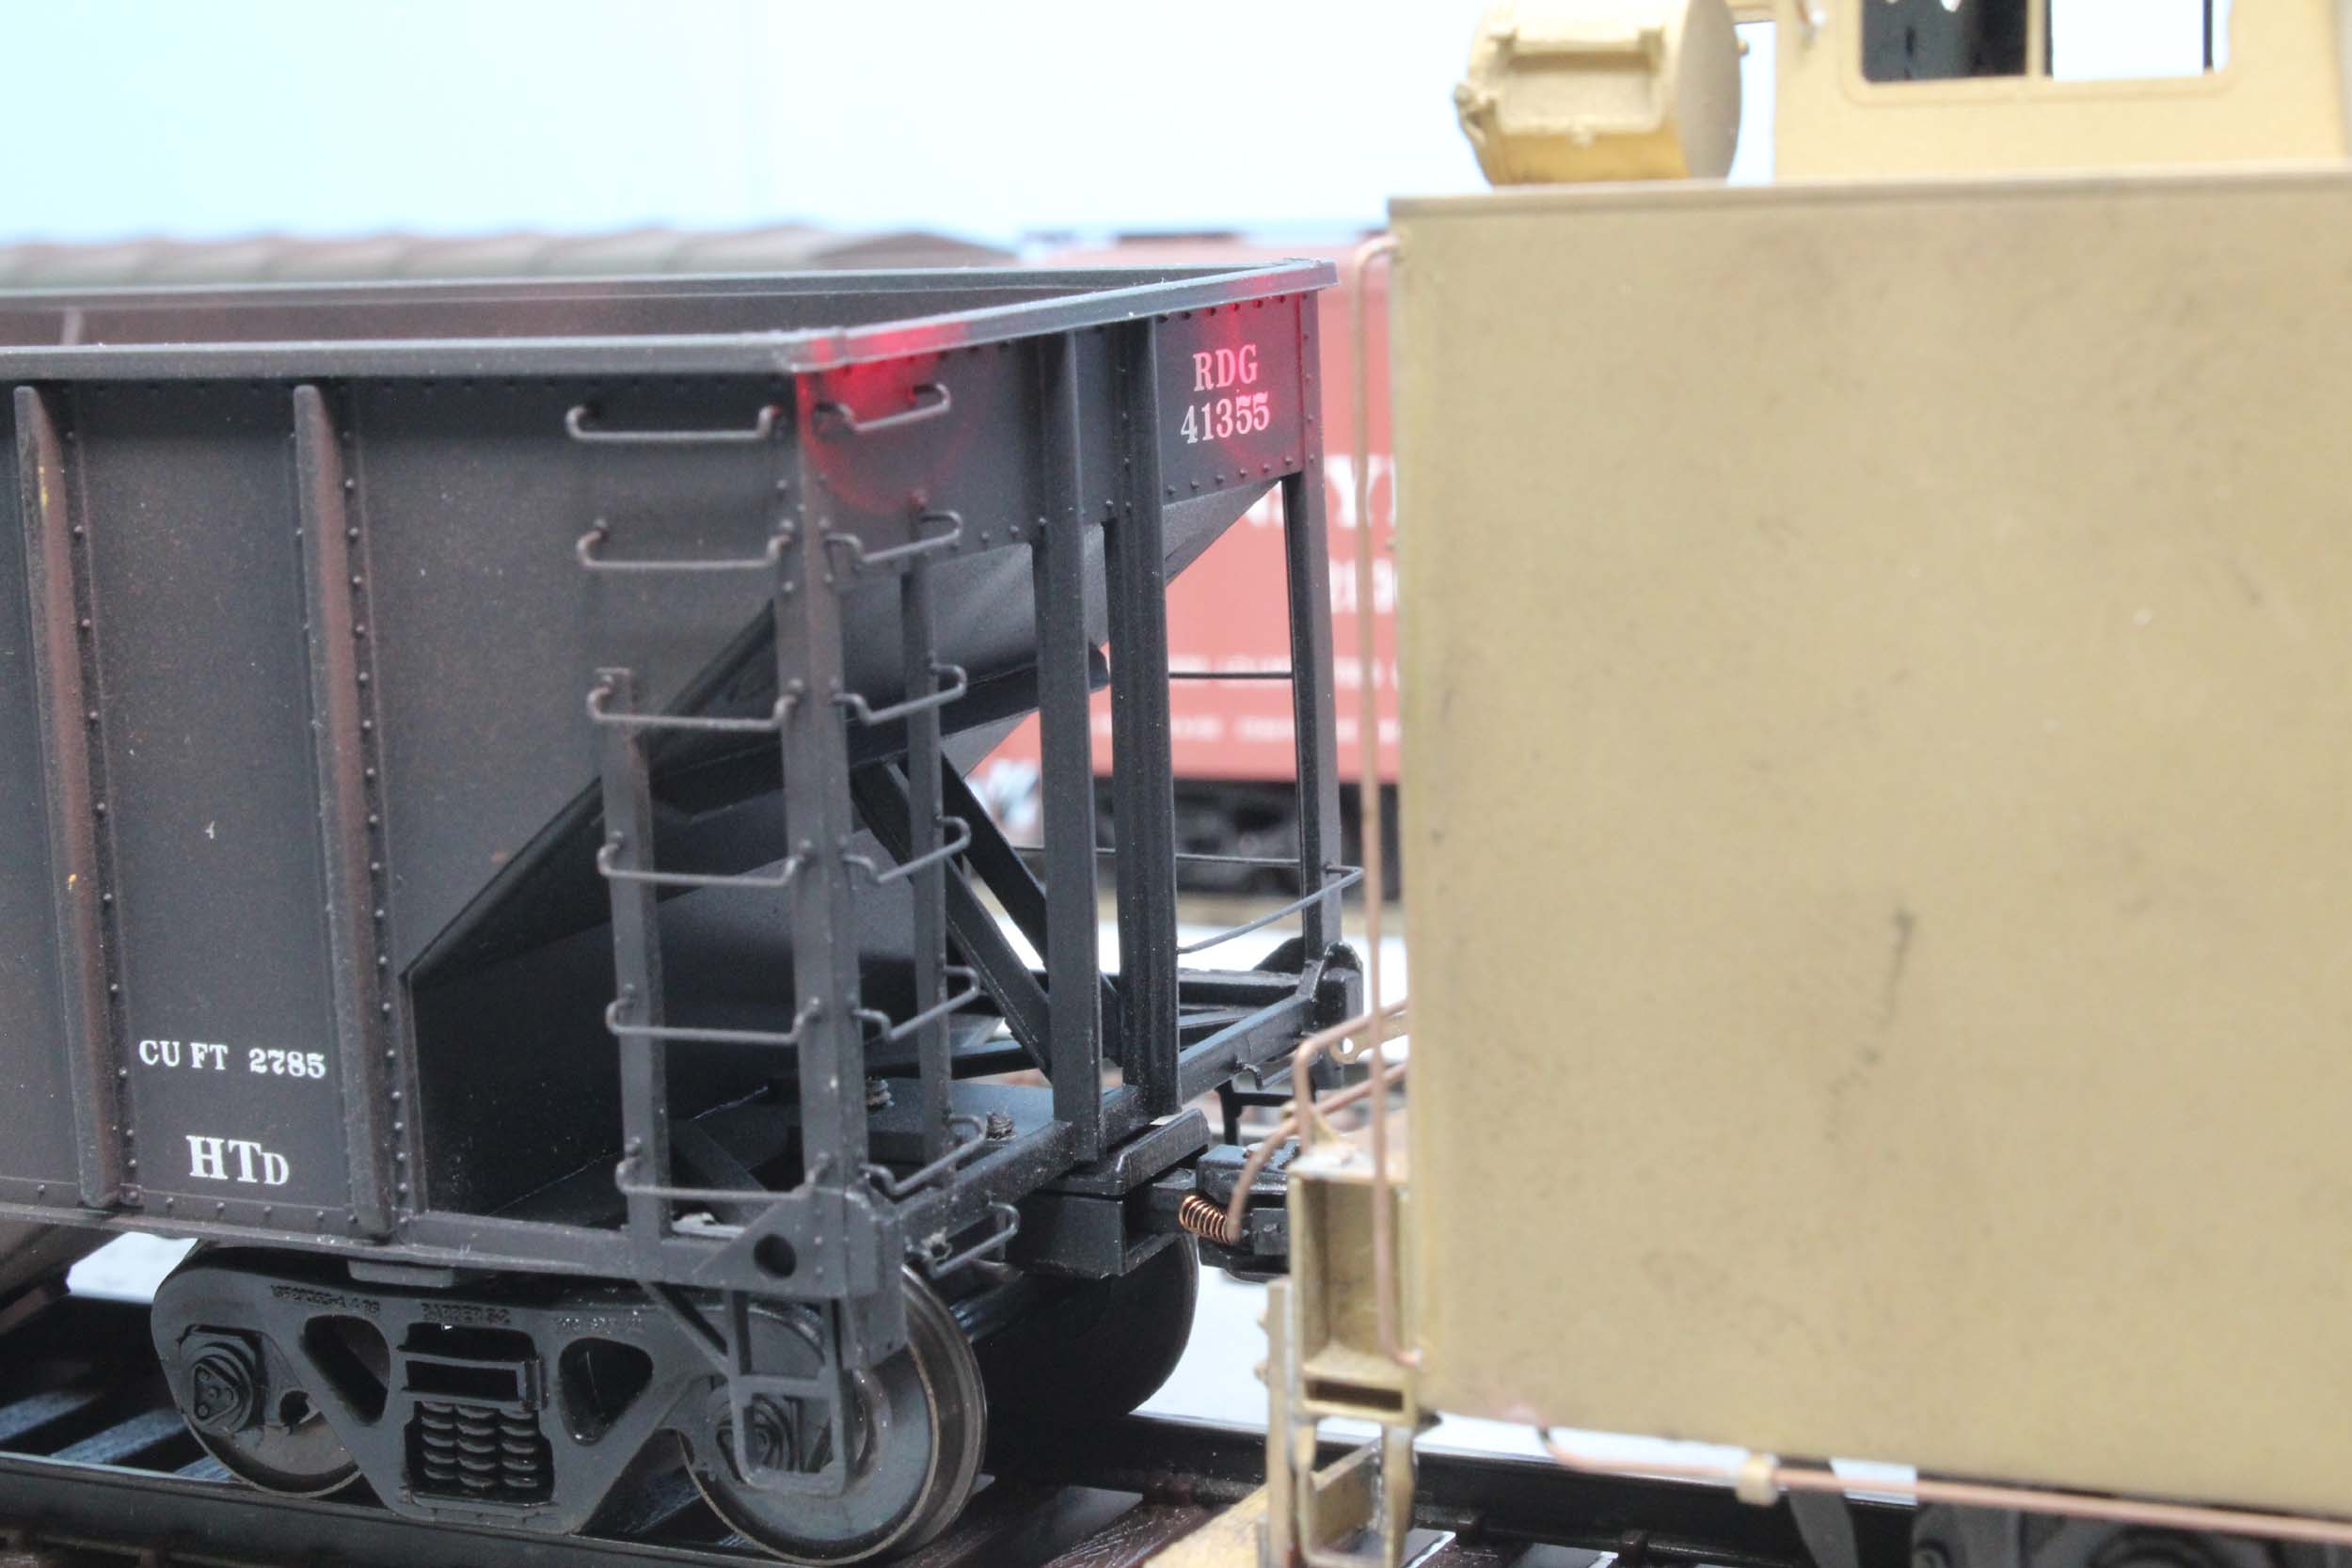
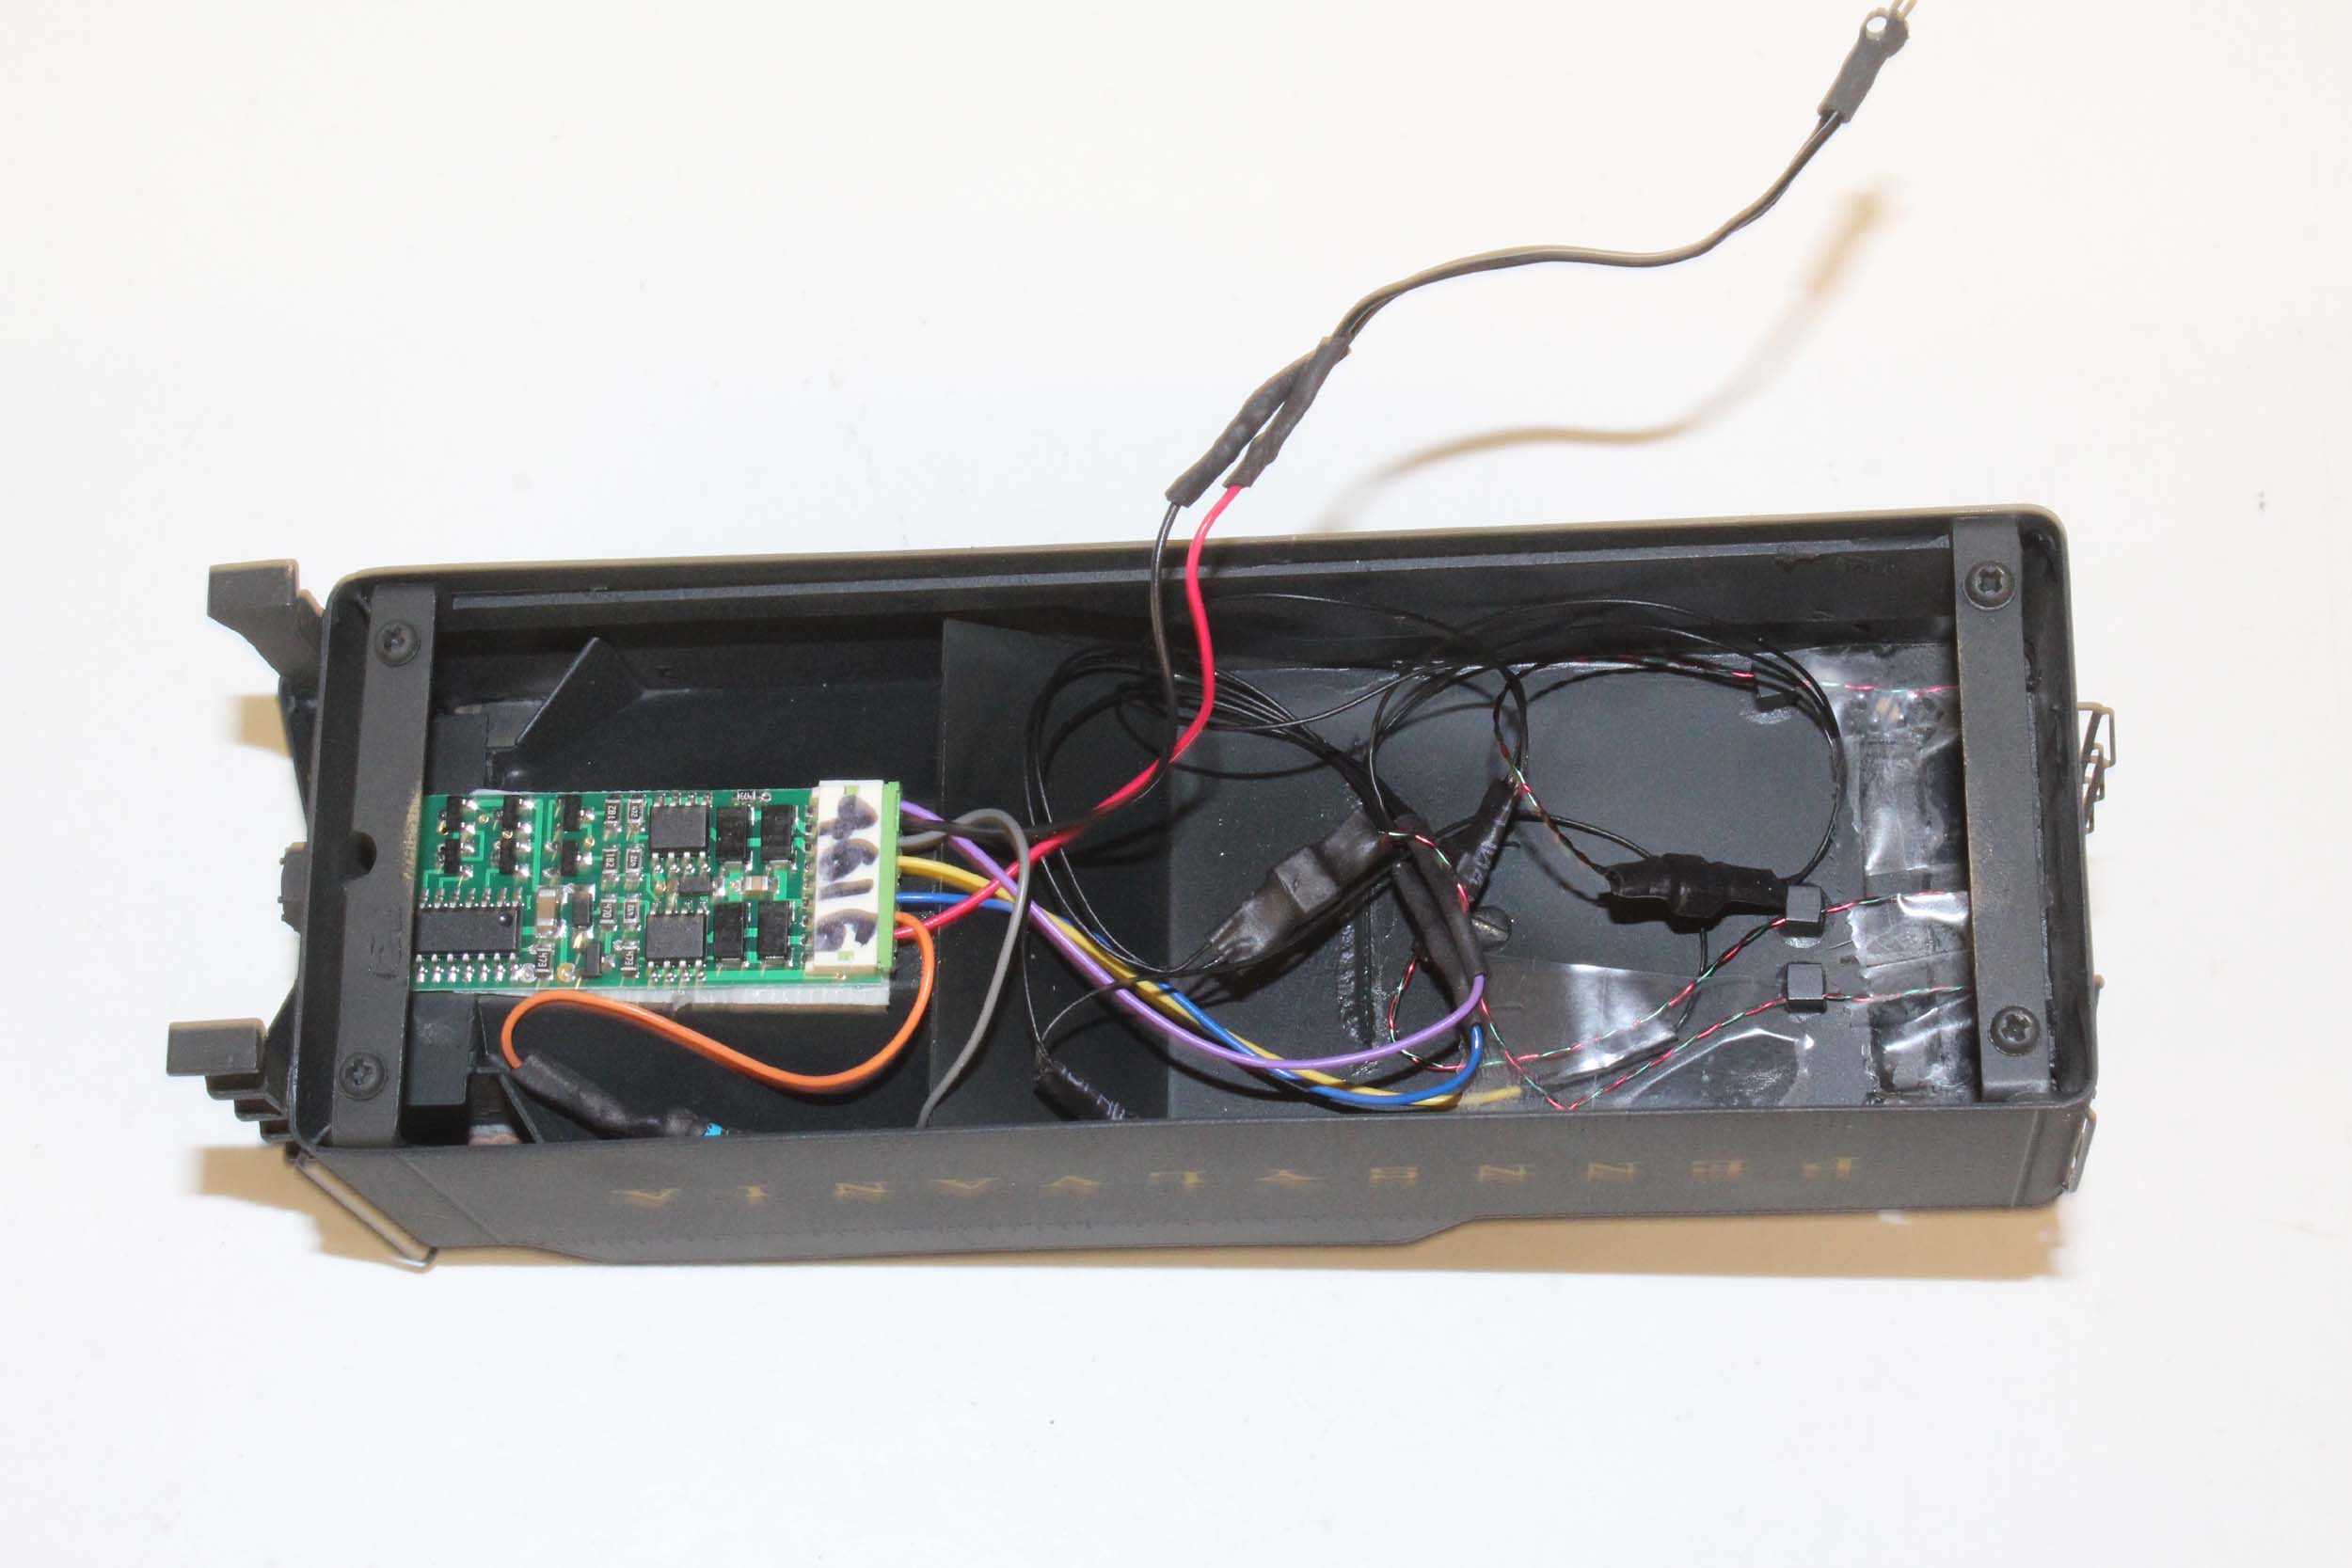
Lotsa Tender Lights
Besides
the work to the trucks and wheels there was an obscene amount of work getting
the tender lighting set up. All 4 tenders have a NCE D13SJR
decoder just to run the lights. I have a 50 ohm resistor across the orange and
gray leads to simulate the motor load. I remapped the marker lights to F6.
Almost nothing happens with the TCS sound/motor decoder using F6. This is 1 of
the 90F82 tenders with the decoder and LEDs installed. I should be able to
program the tender address number to another loco if I wanted. This is the
first and possibly last time I am making lit marker lights. Peeling the
aluminum backs off of the 1/16” diameter MV lenses so they could be lit was
very tedious.
Happy Hippos

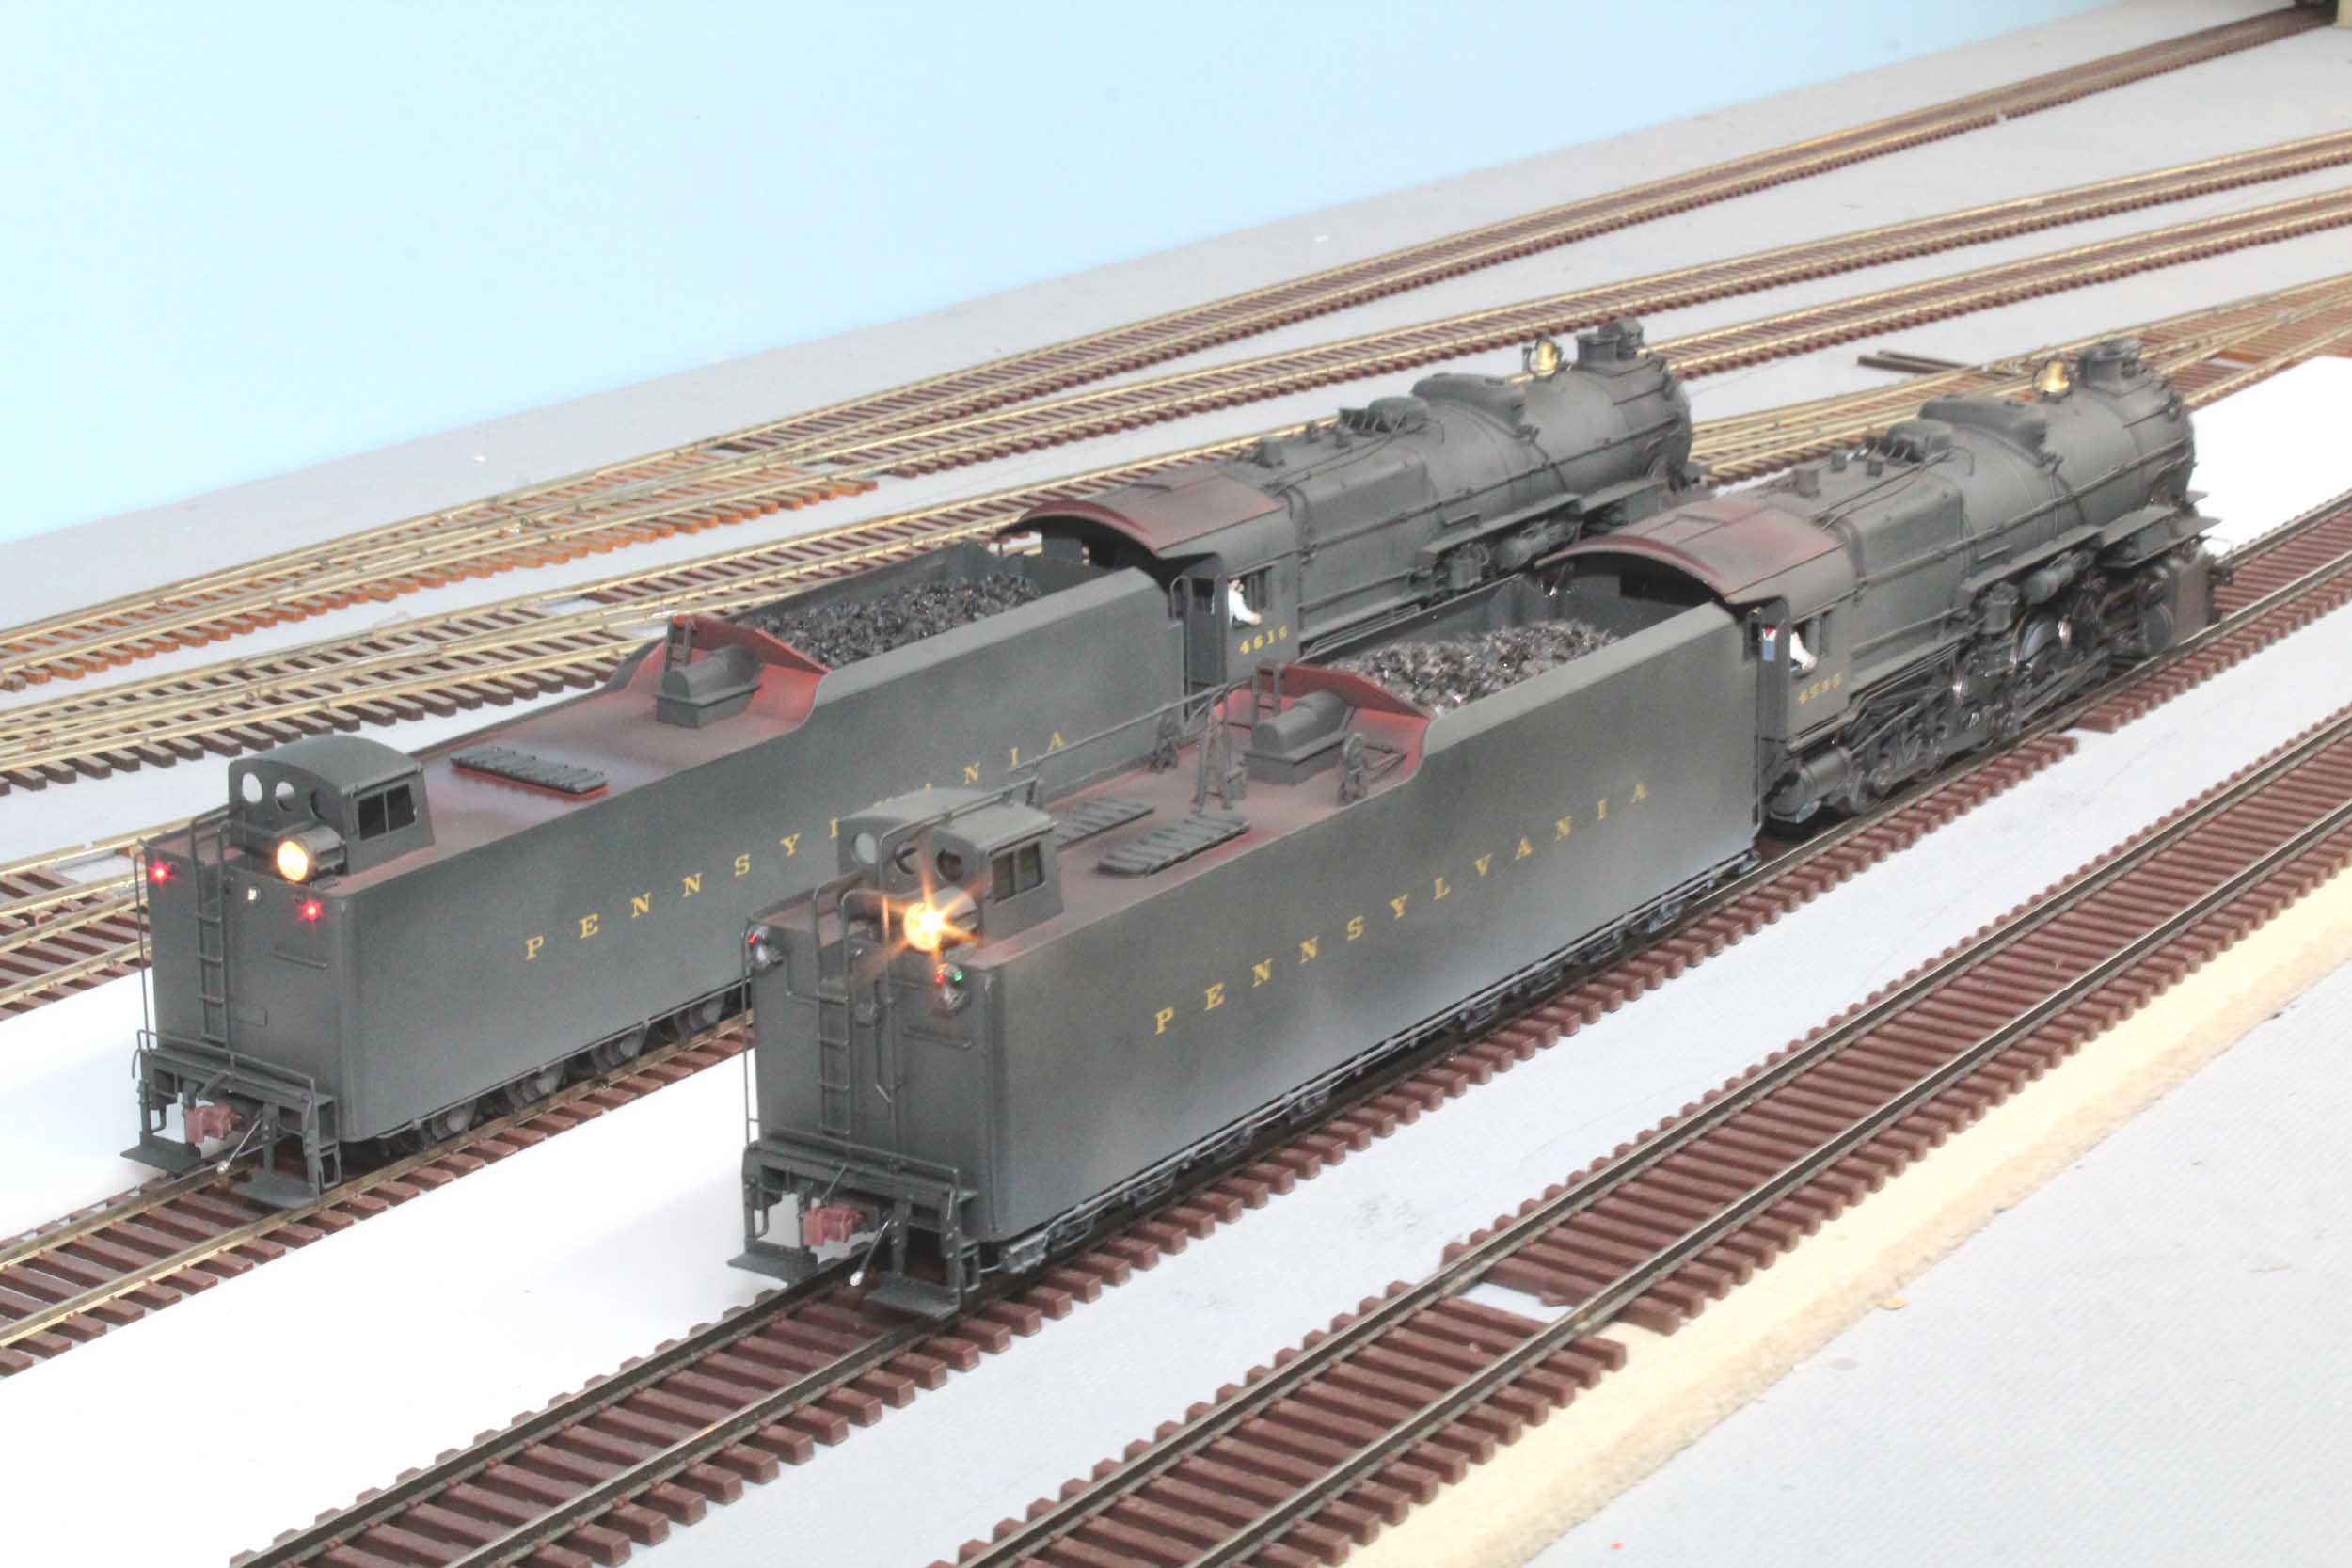
Photo Stacking with Helicon Focus
Added
12-27-19
These are a number of photos taken at very slightly different
focus points compiled by Helicon Focus into 1 photo for amazing clarity and
depth of field.

Updated
12-27-19
All photos and content © Lanes Trains 2005-2020