|
|
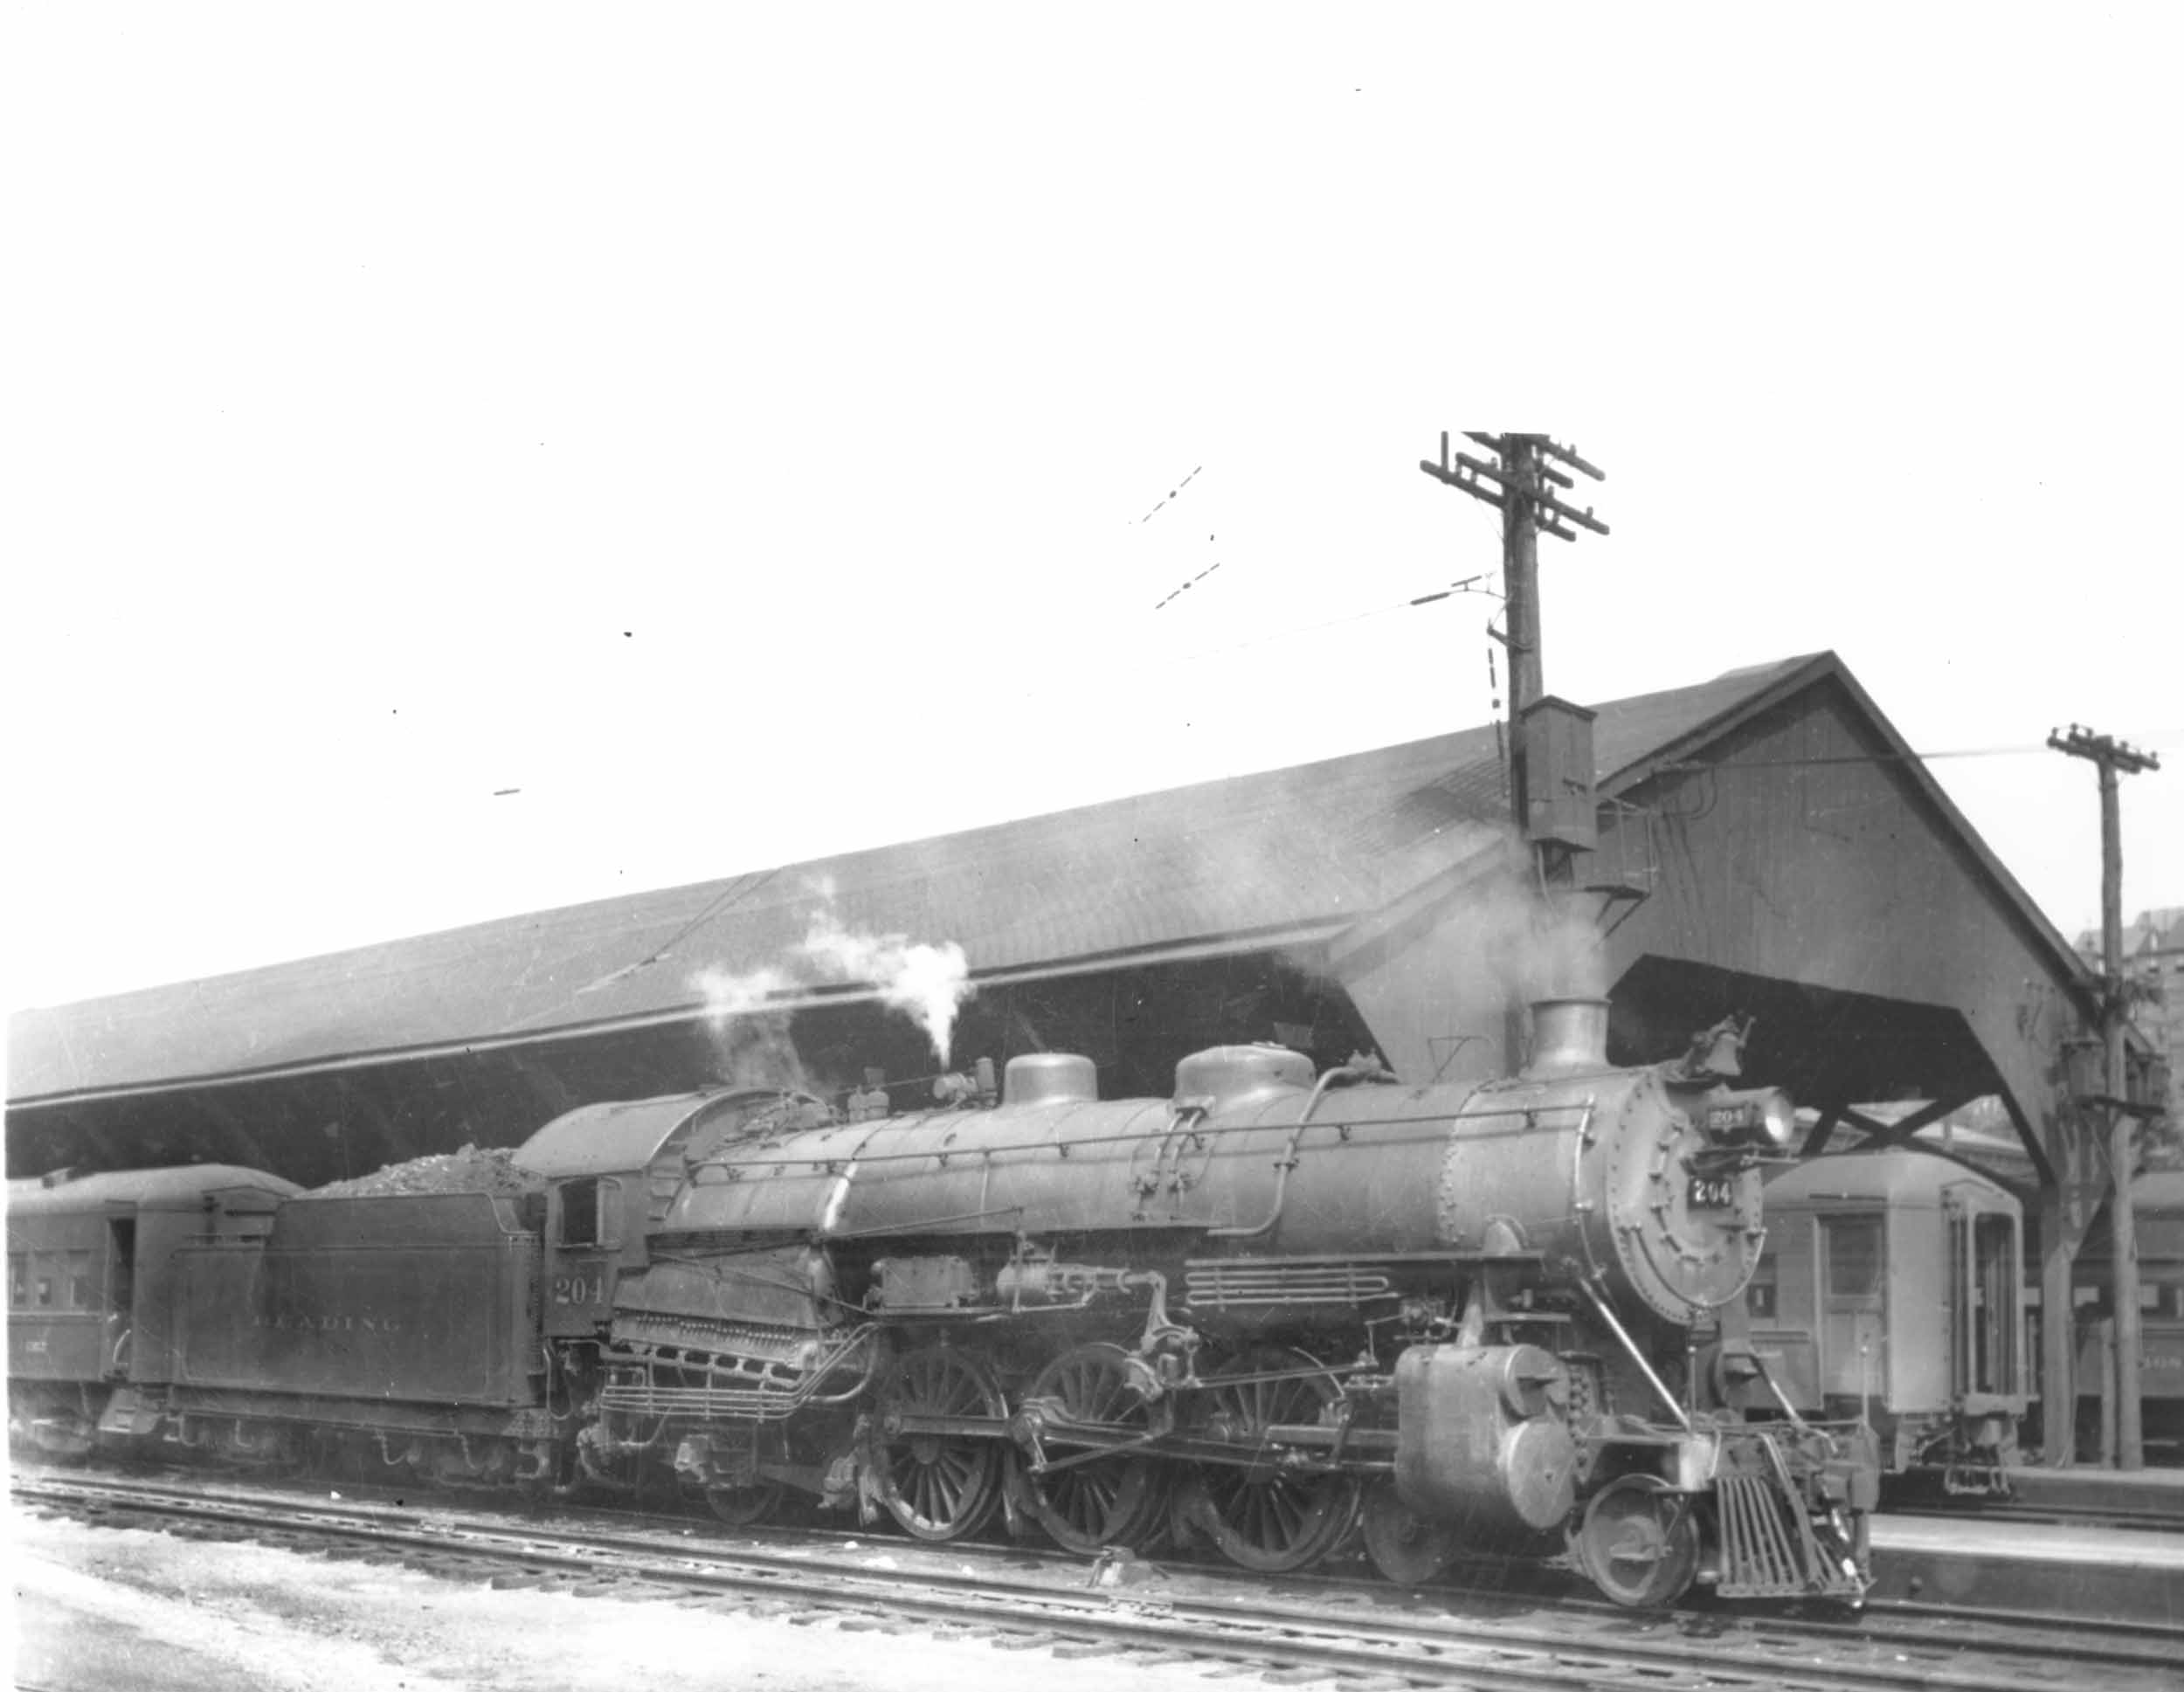
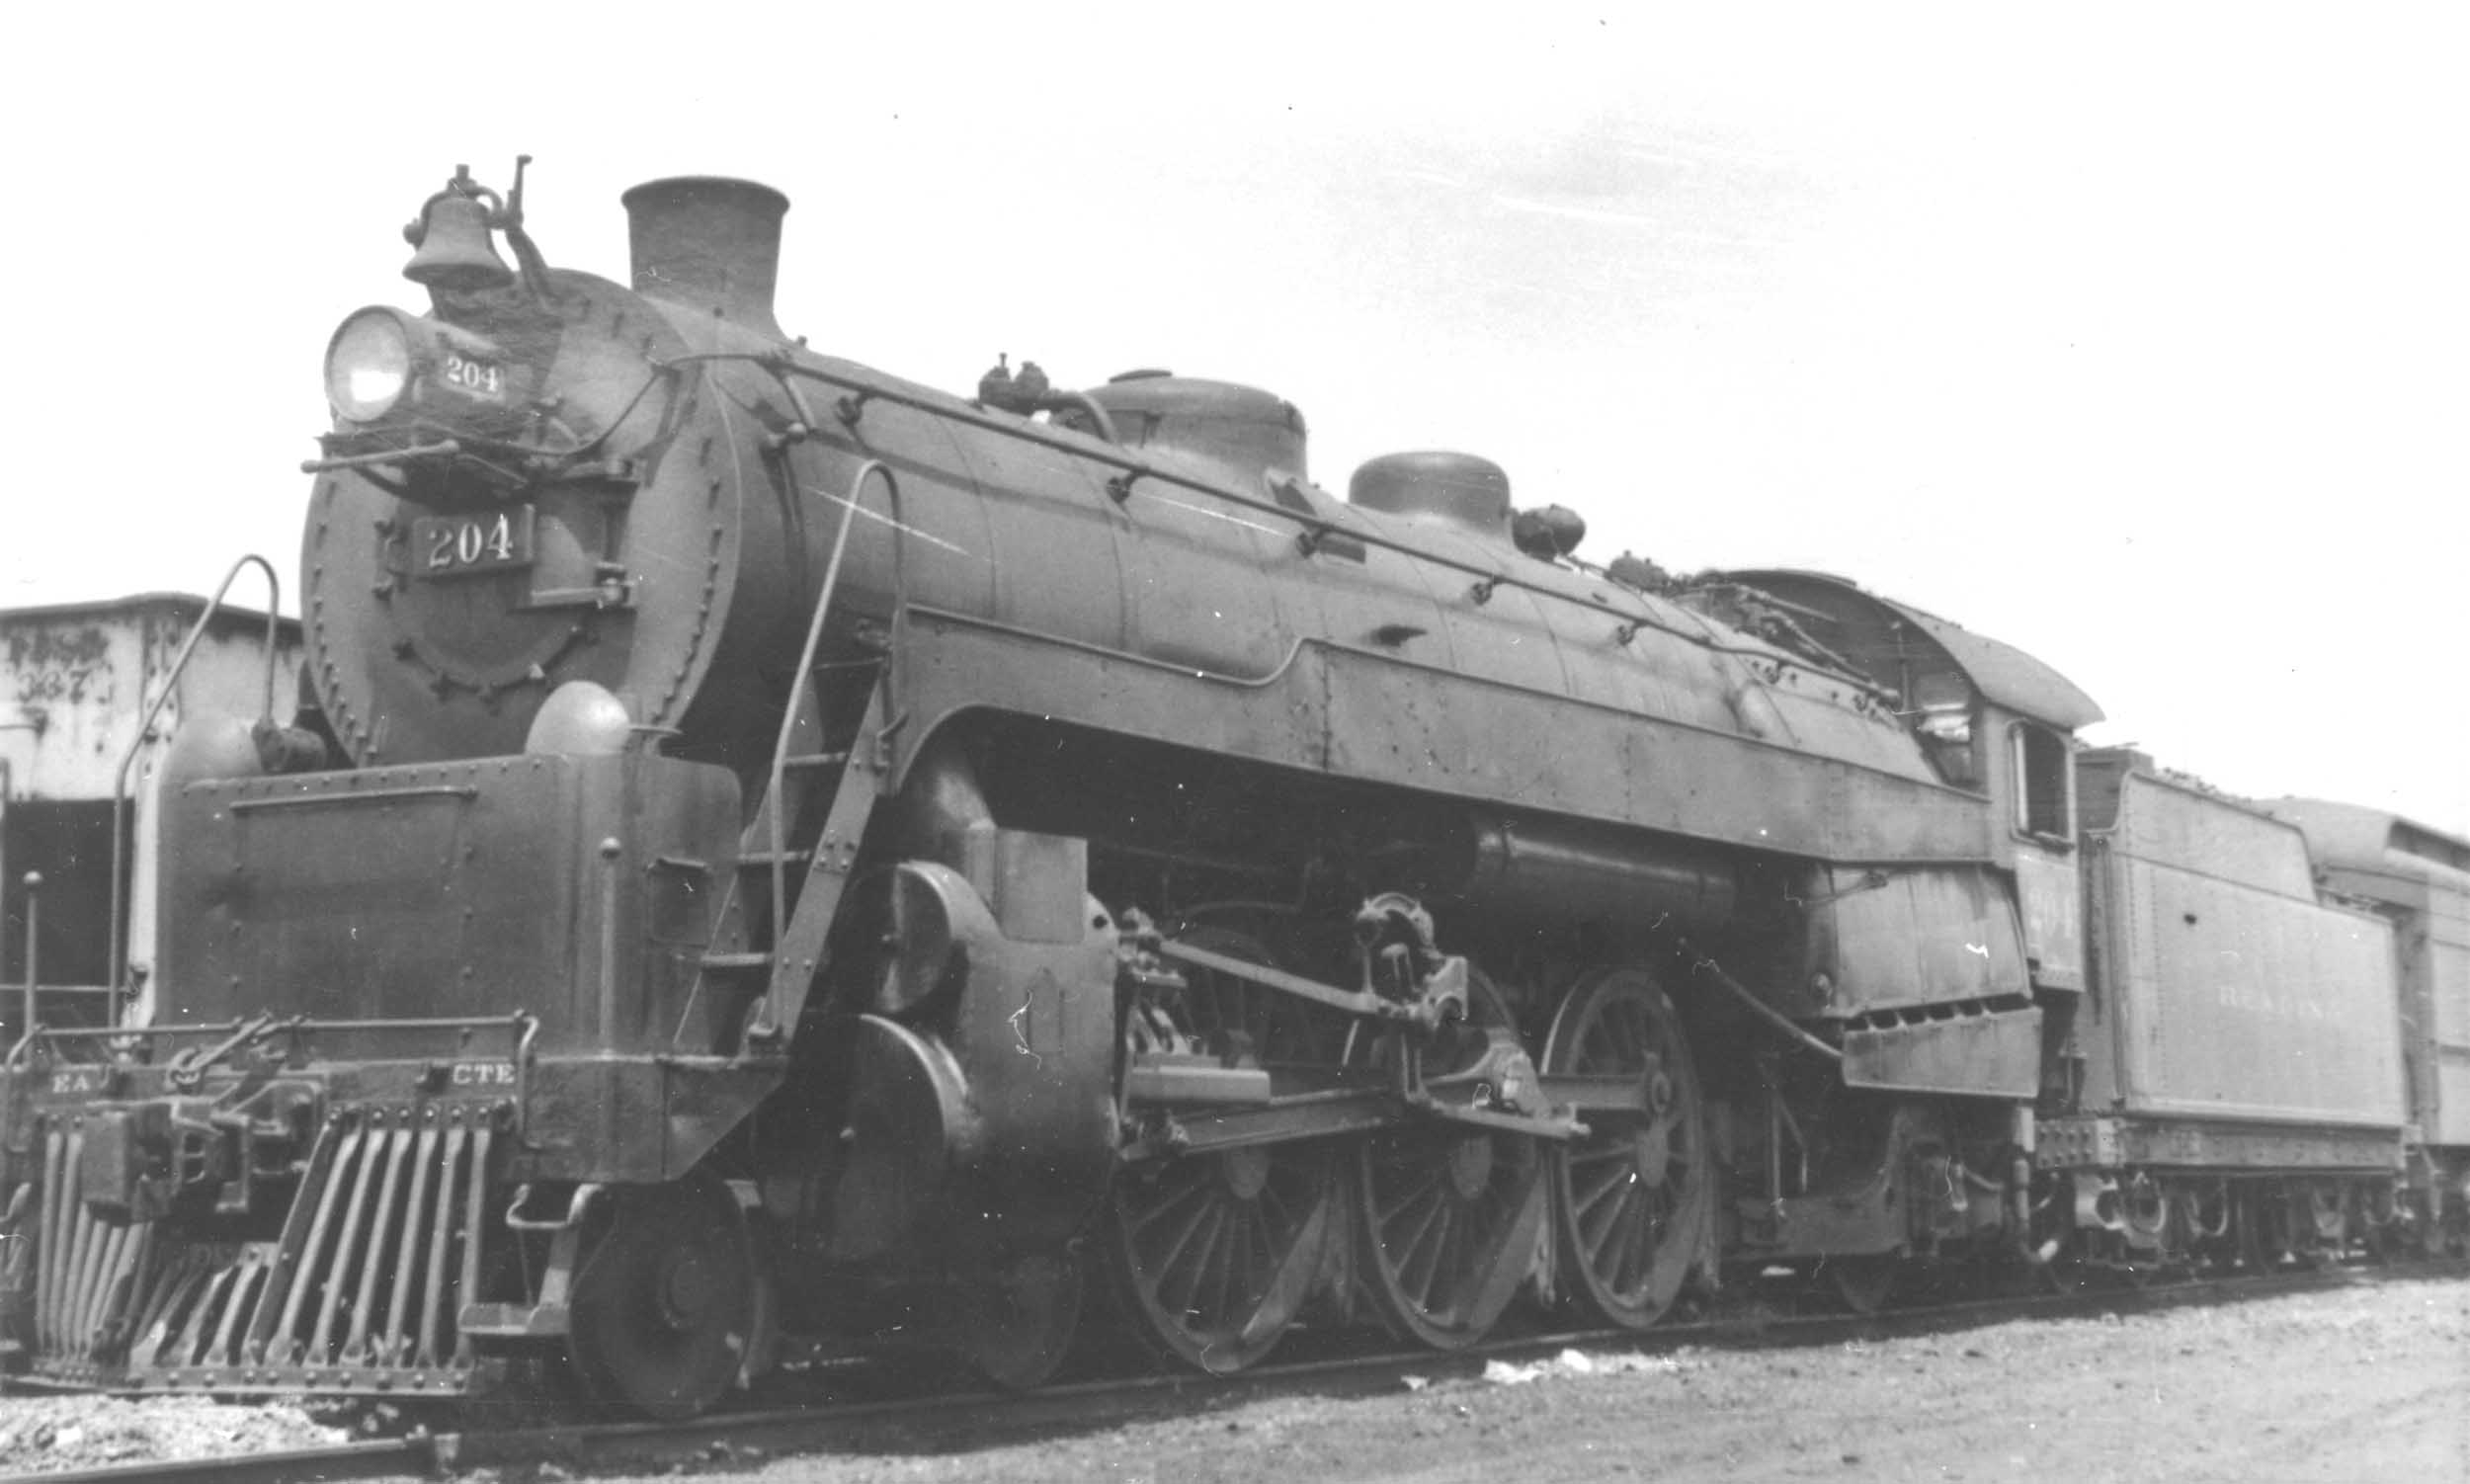
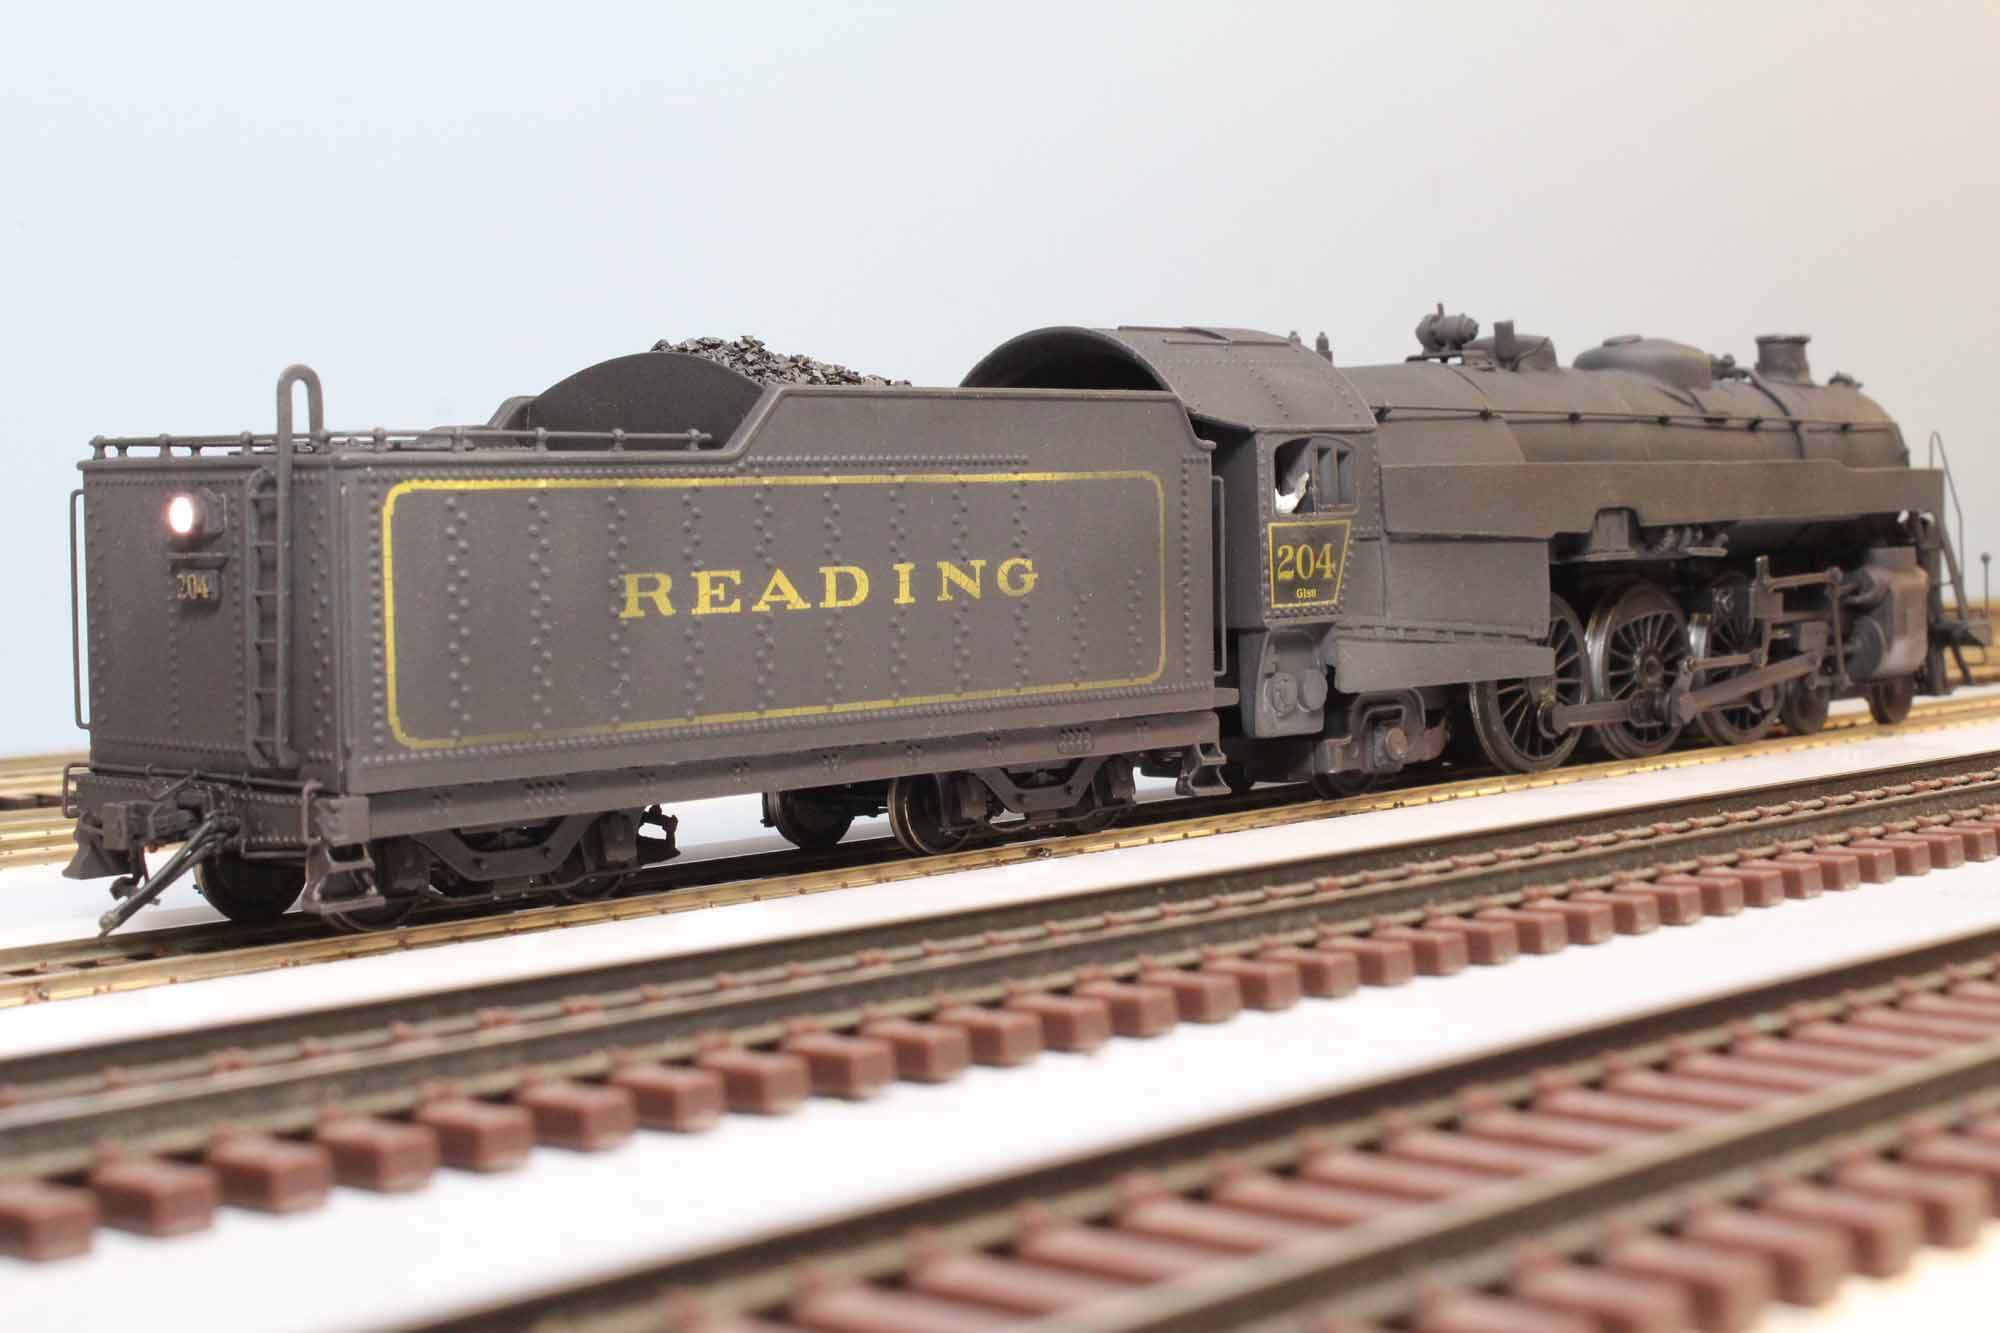
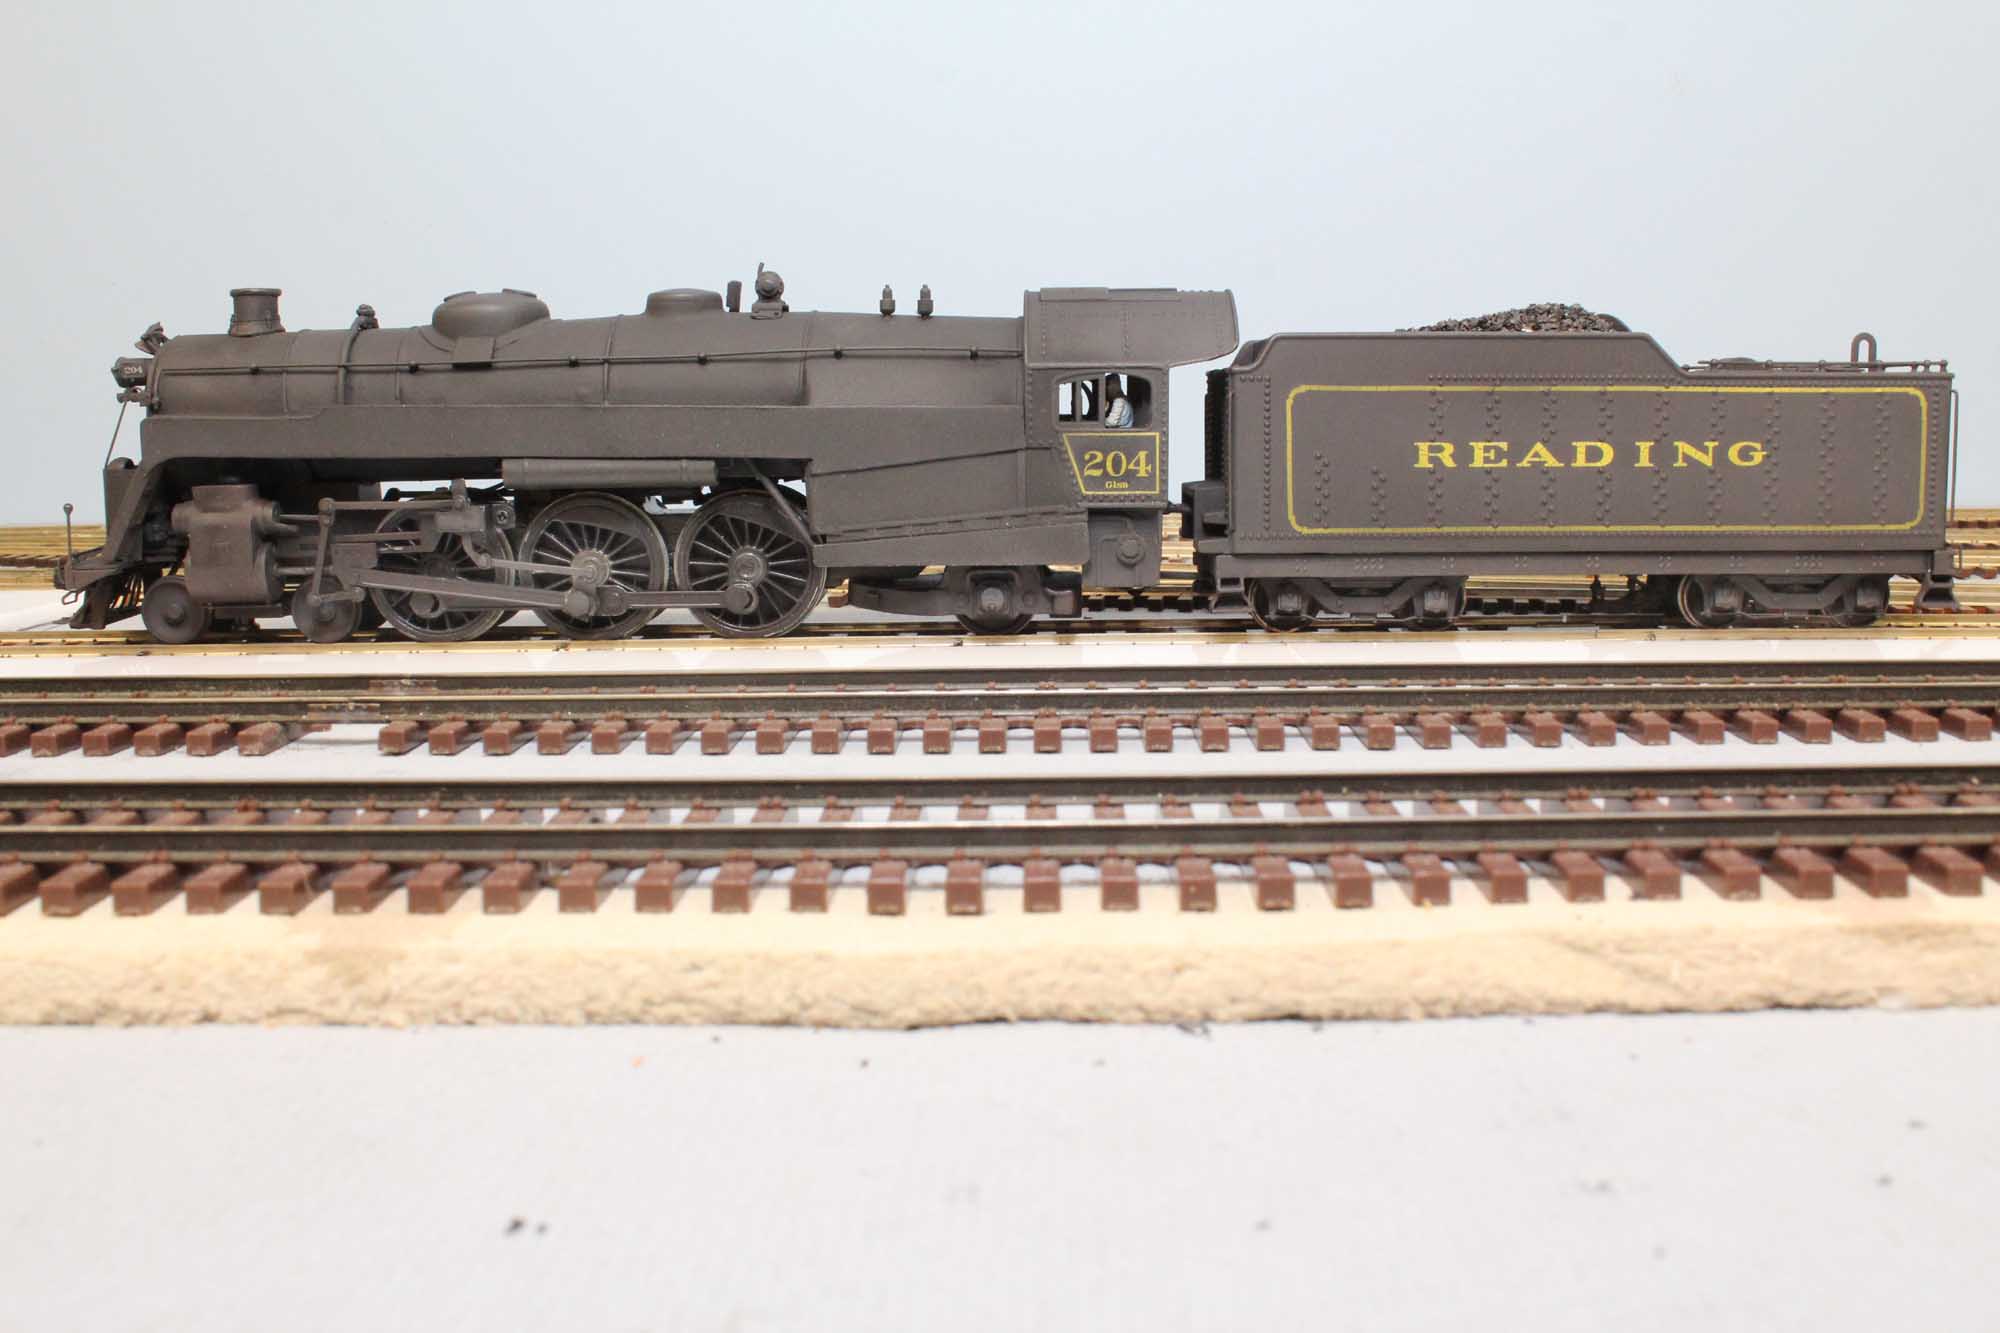
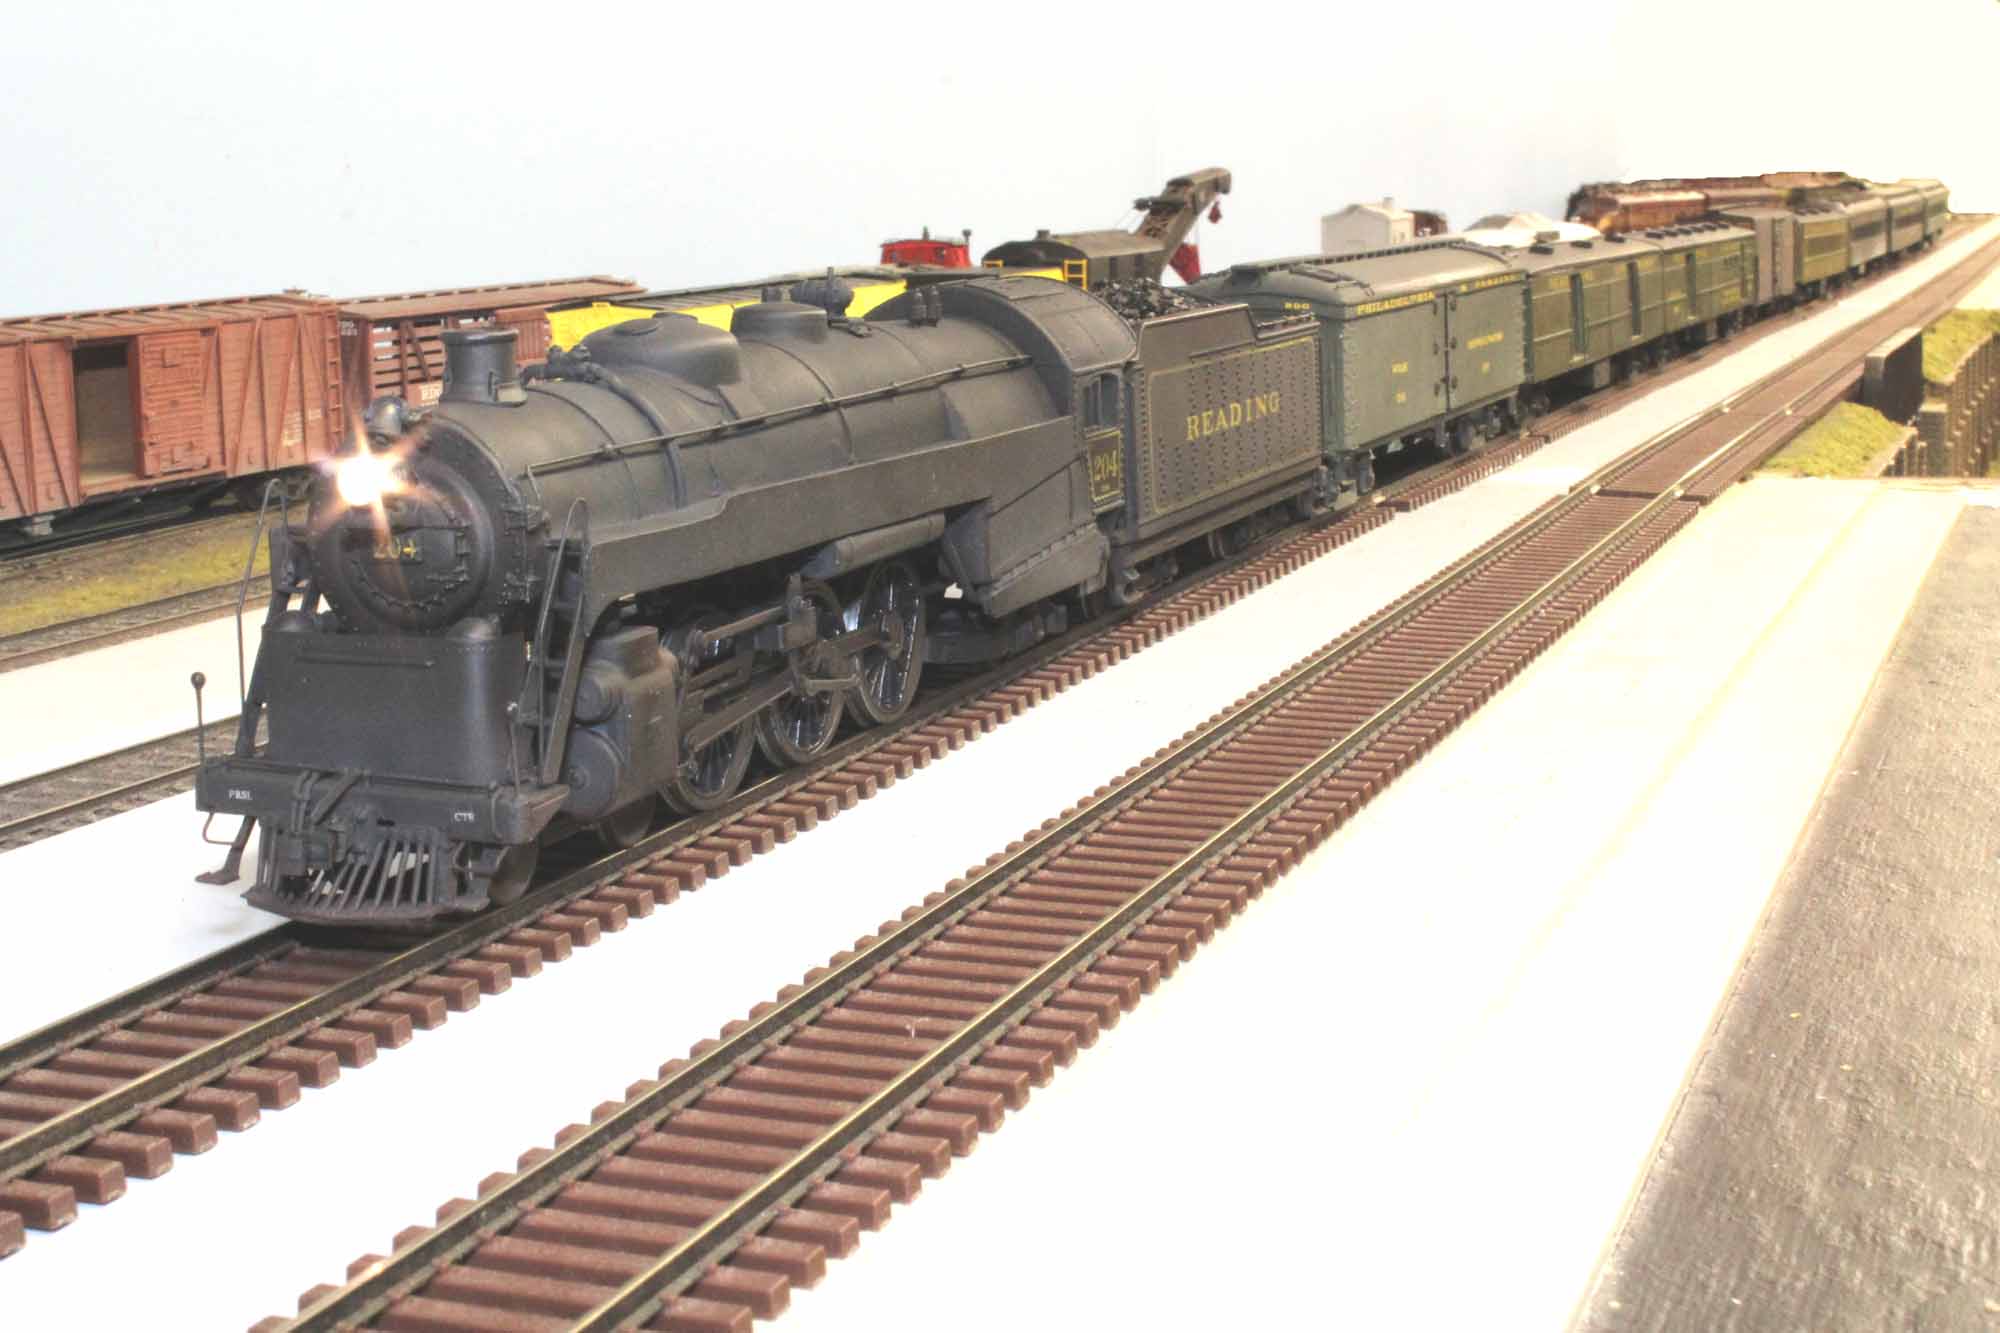
Reading G-1sb 204
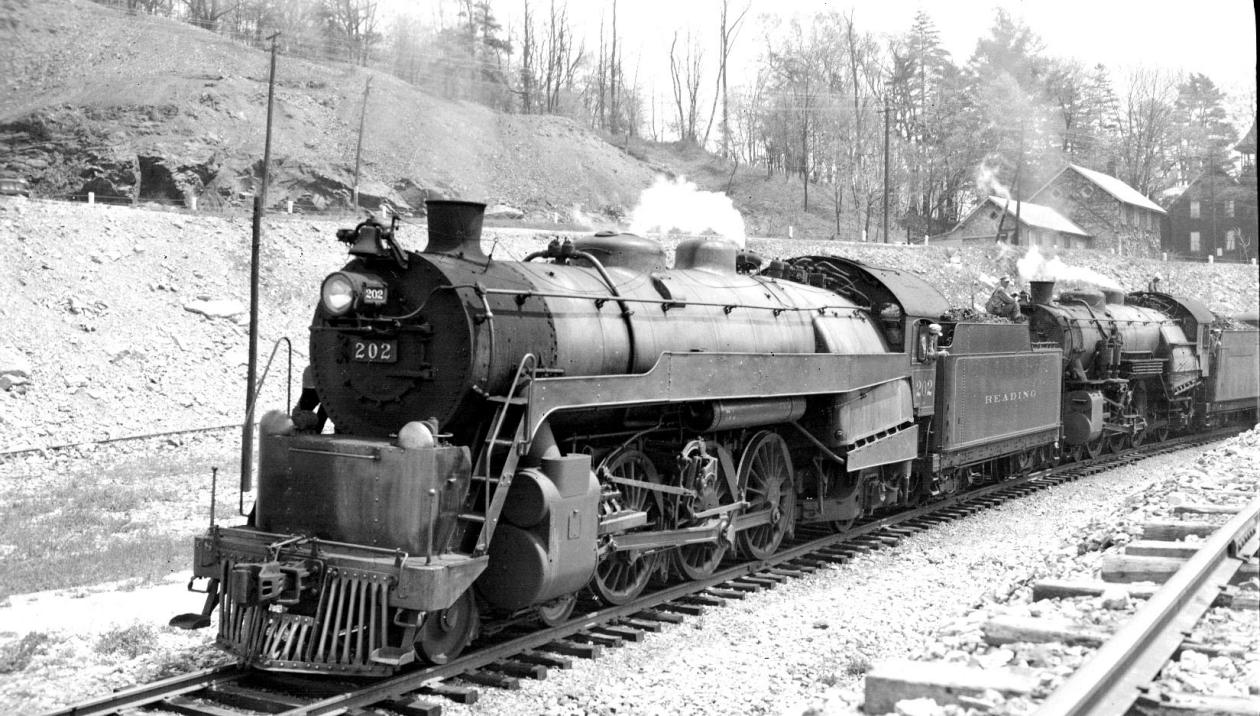
Reading G-1sb 202
Reading
G-1sb 204 In
putting more “R” in my PRSL modeling, in 2015 I started significant projects
to better represent the Reading in my rolling stock. I have been casually
buying Reading rolling stock built by others over the years. With the passing
of Frank Titman and liquidation of his layout, I bought a lot of Reading
freight cars. Besides the Reading I-8 Camelback, and I-10sa, I had no true
passenger locomotives. When Frank’s G3 was sold many years ago I had no
interest in the Reading. Later when my focus changed to mostly PRSL modeling,
I knew I needed a Reading Pacific. I made a deal with Fred Rouse, former owner
of S Scale Loco & Supply
to build it. The book “The Reading Railroad’s Mighty
Pacifics” by Benjamin Bernhart was heavily used as a reference in this
project. |
|


My
intention was to build a very nice representation not a rivet for rivet brass
model. The loco arrived February 2015 for me to take over and finish it. Fred
chose to use the American Models Pacific for the starting point. It was an
excellent decision as it runs very well.
I
also bought a detailed American Flyer tender shell years ago from John Hall in
anticipation for this project. It is stock American Flyer length instead of
Frank’s custom chopped and reassembled shells. My tender is not really correct
length for a G1 in this era, but again “good enough”.
I would like to thank Fred Rouse for building this loco for me.
I have been having such a great time running it.
This
is the first major project I completed since I got my own 3D printer. It was
very convenient to be able to design and print the parts needed the same day.
If the part was not quite right, change it and print again.
While
I did not make the loco, the start to finish effort was a very involved
significant project only second in effort and complexity to my PRR K4 5495
project here. I did more “bodywork” with auto body
putty, multiple coats of primer, and wet sanding than ever before.
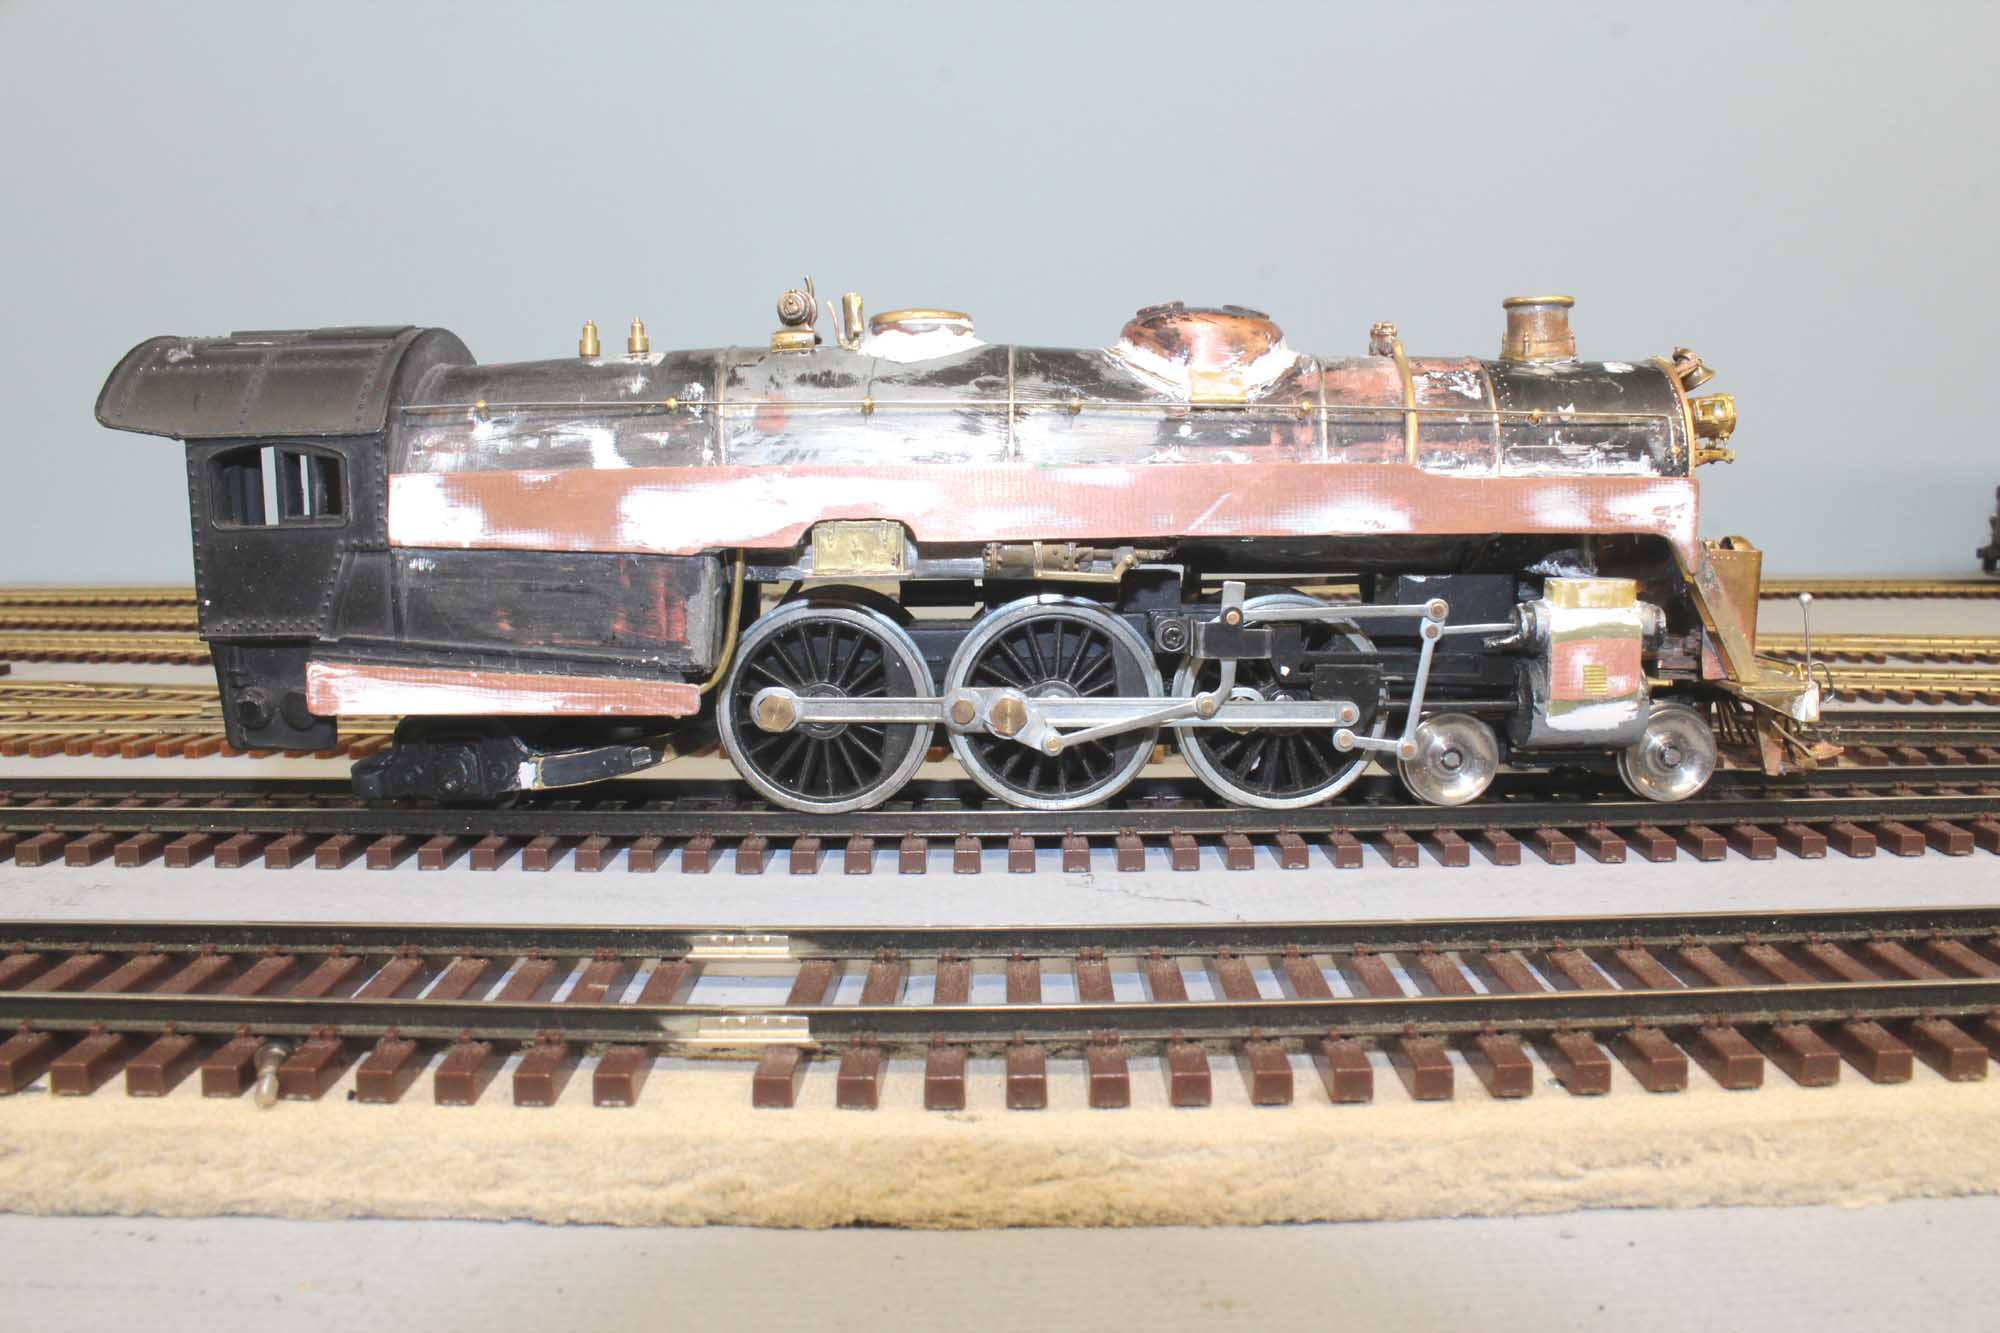
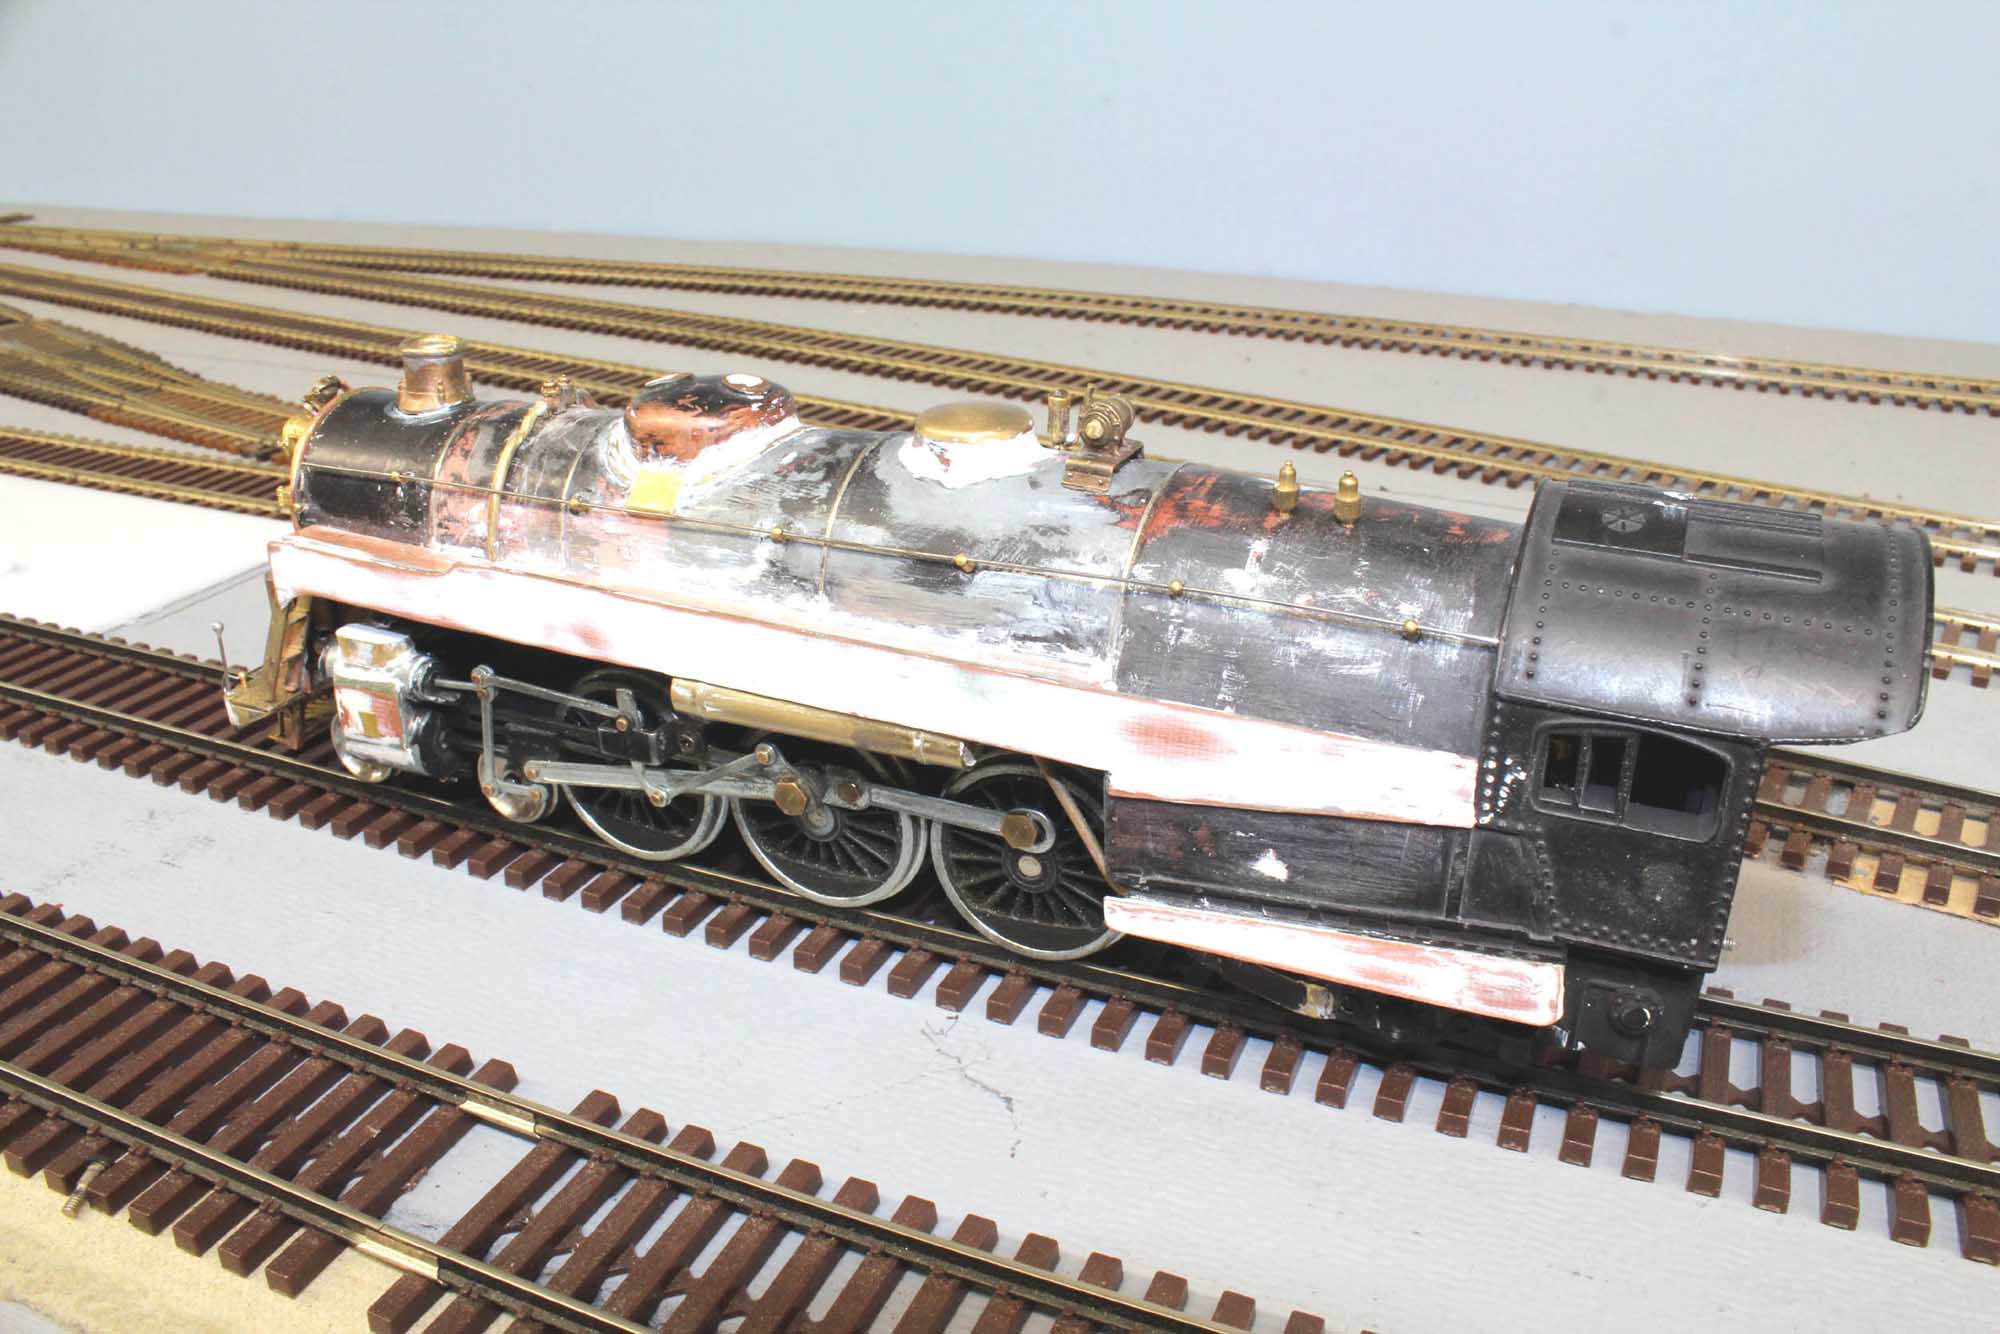
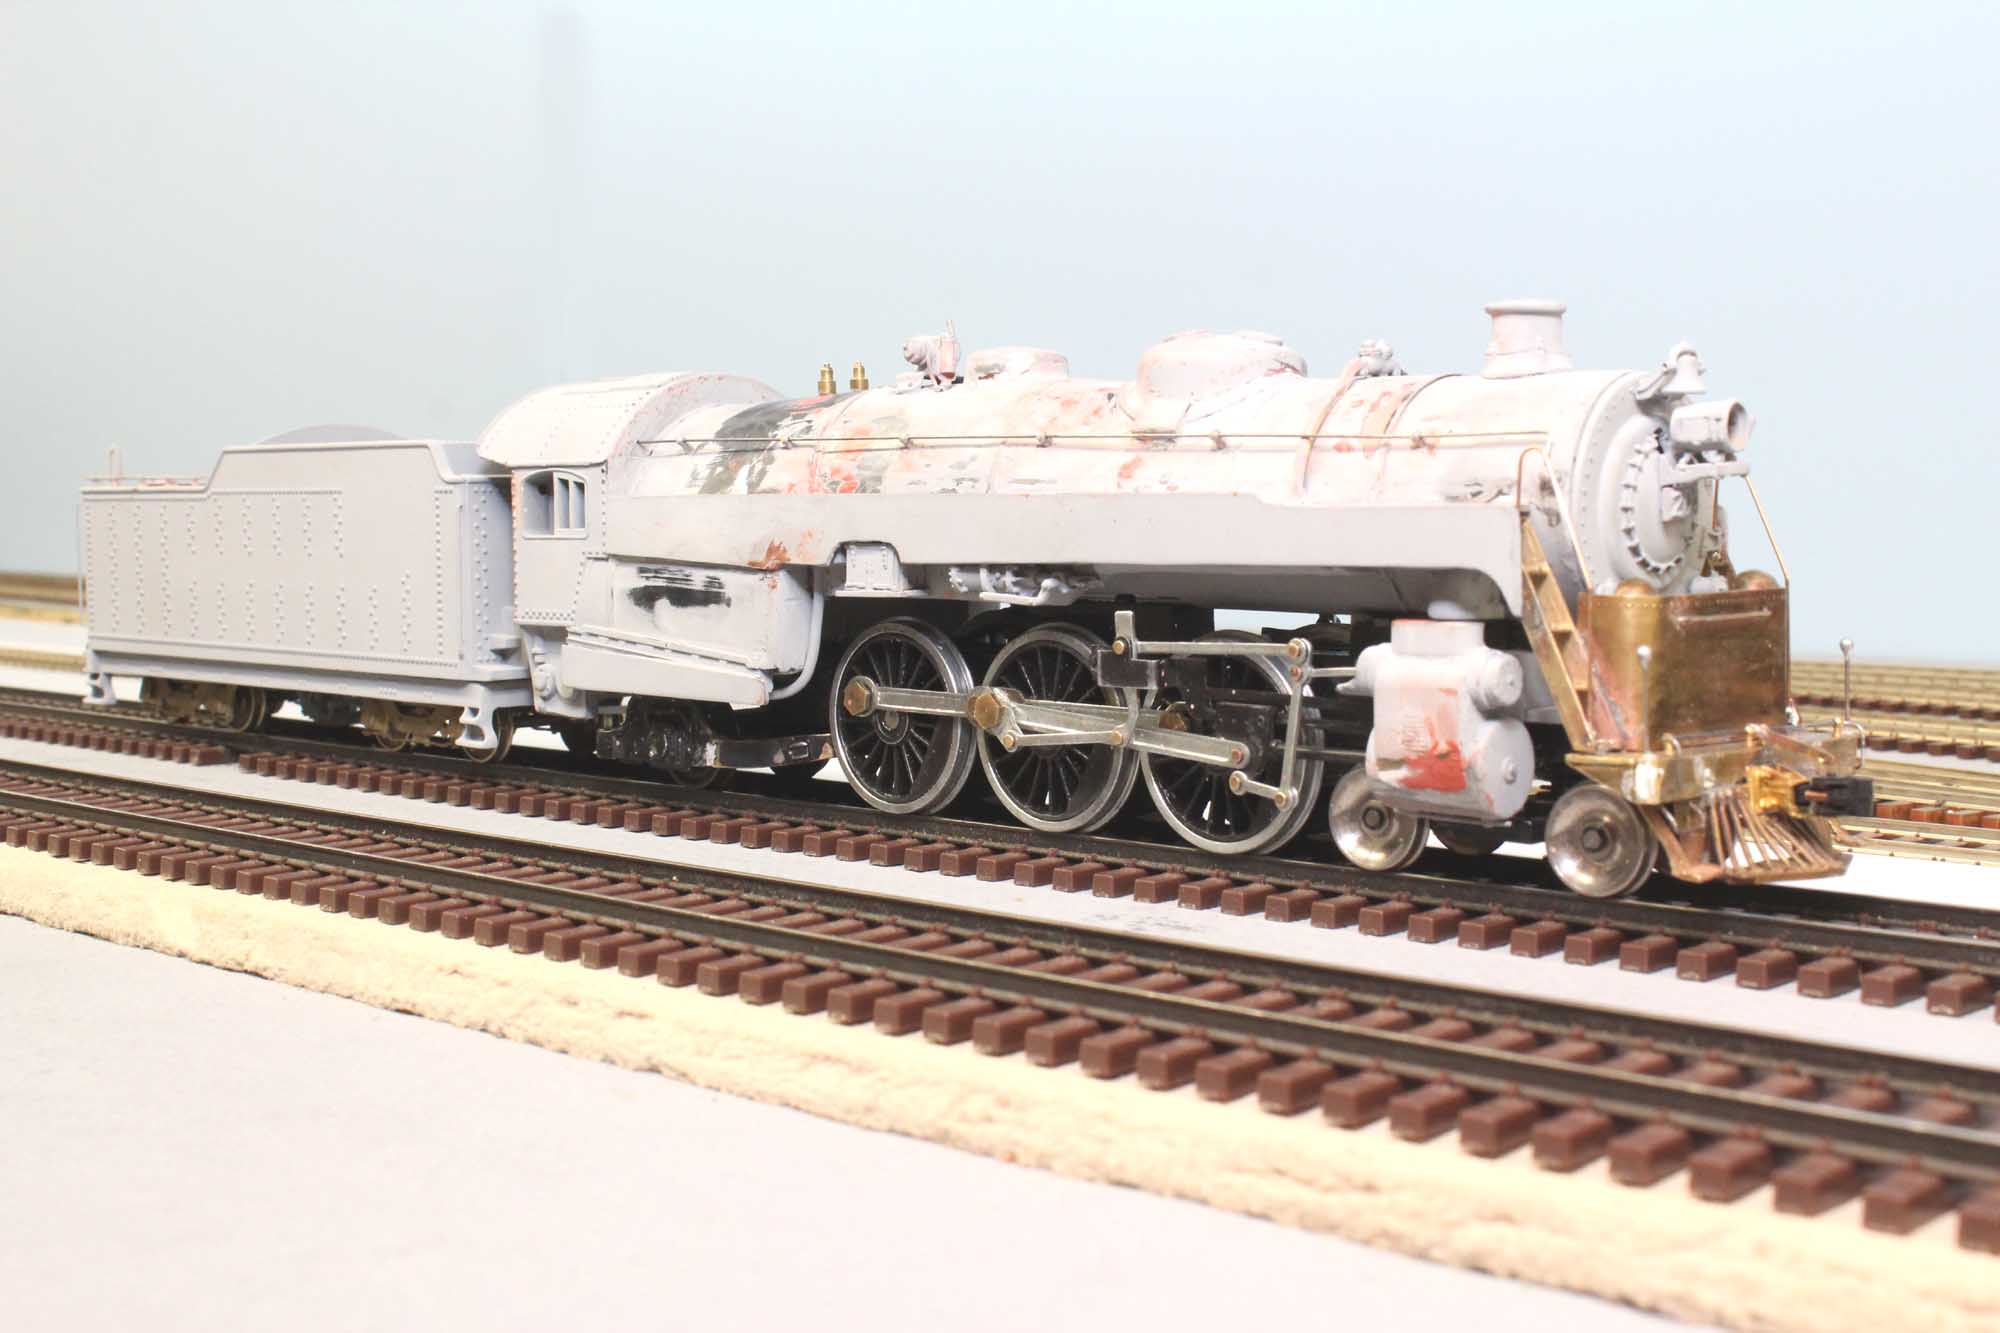
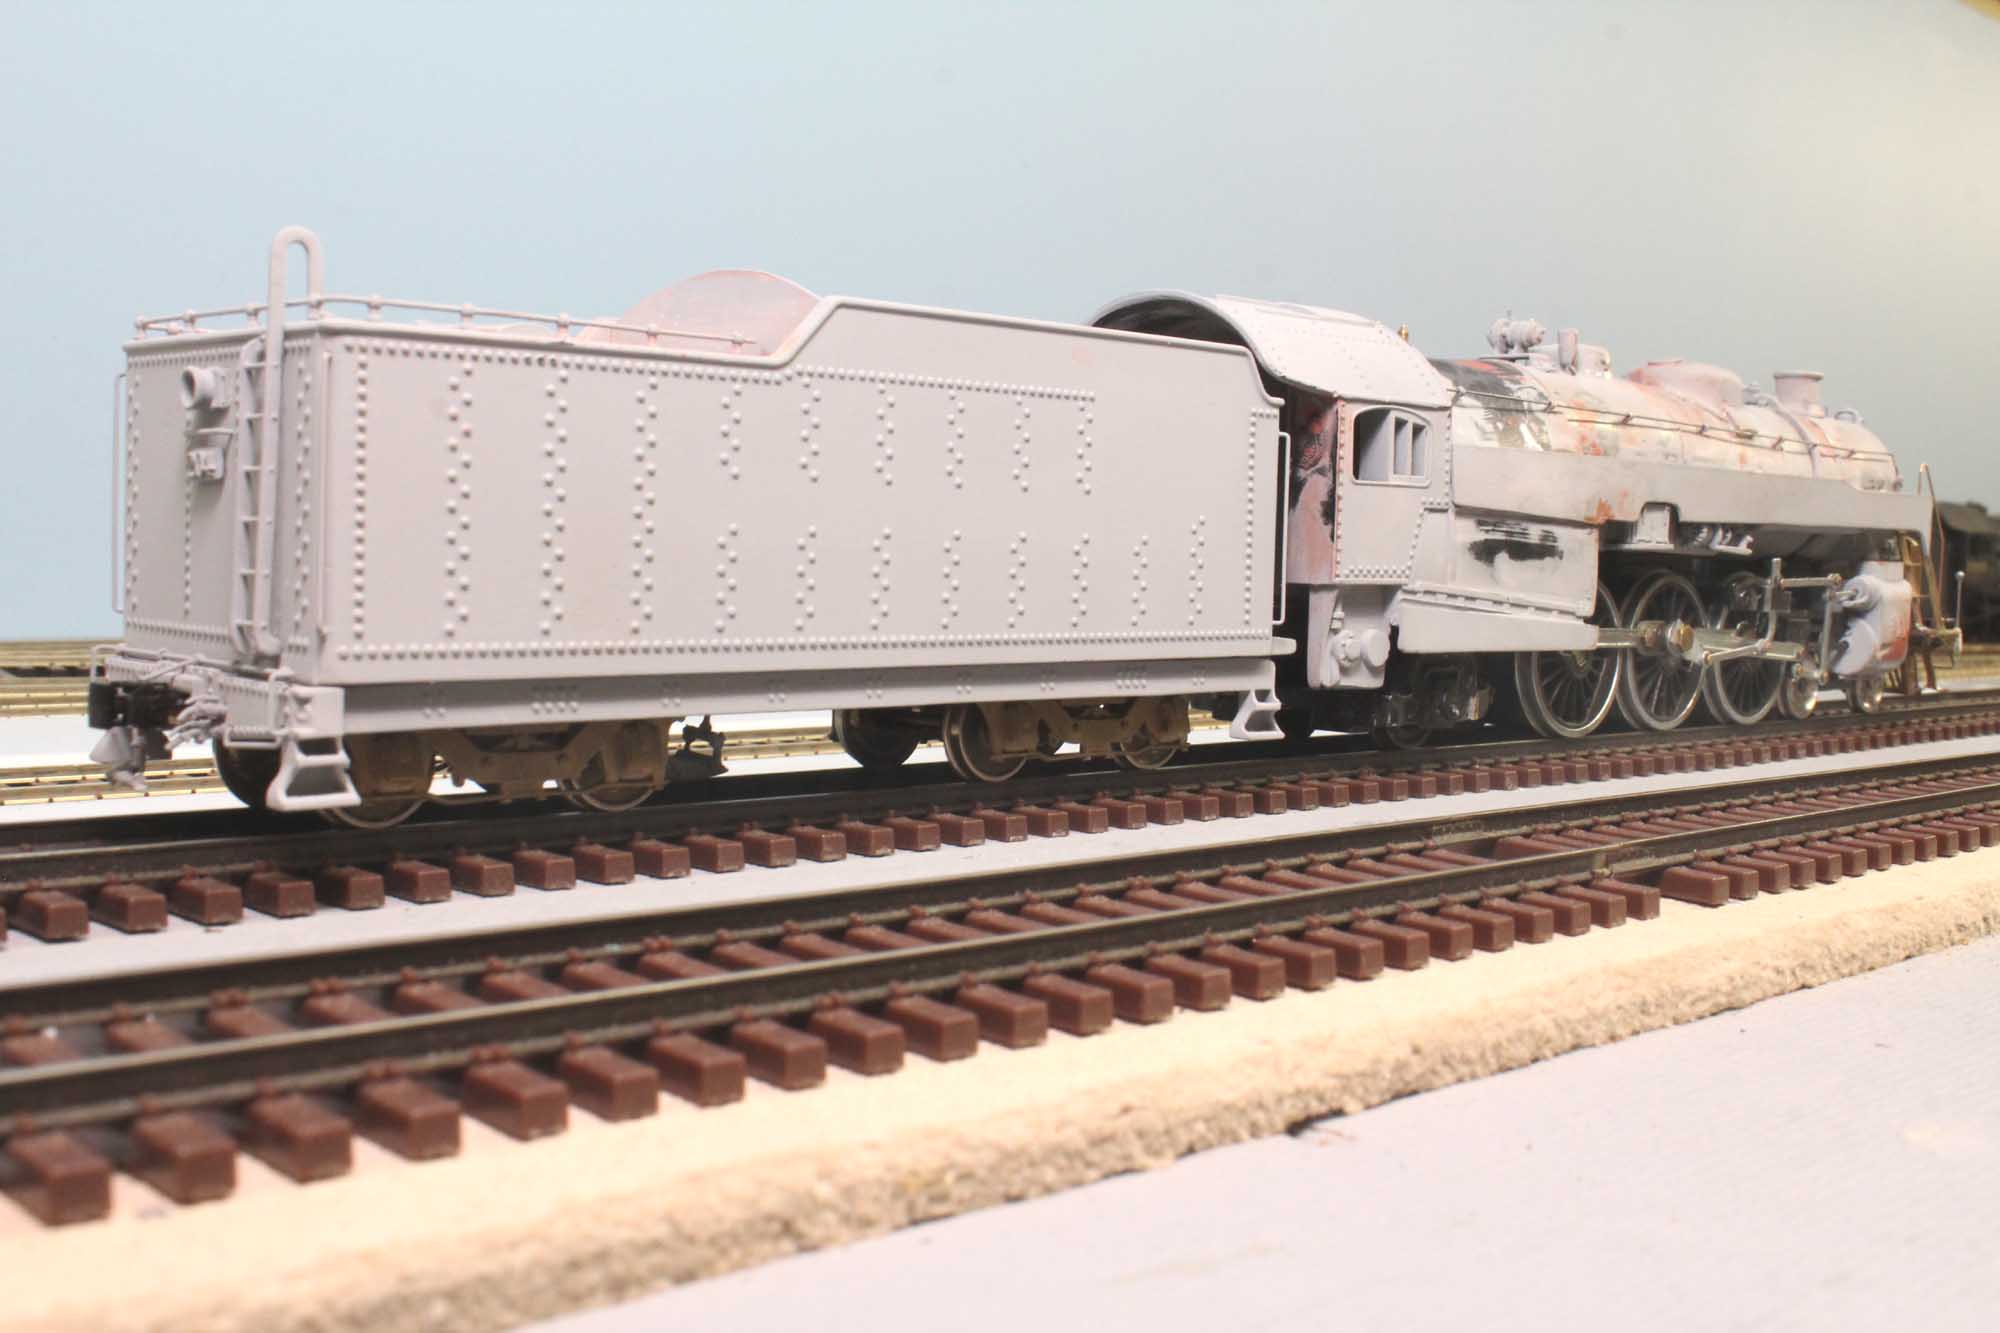
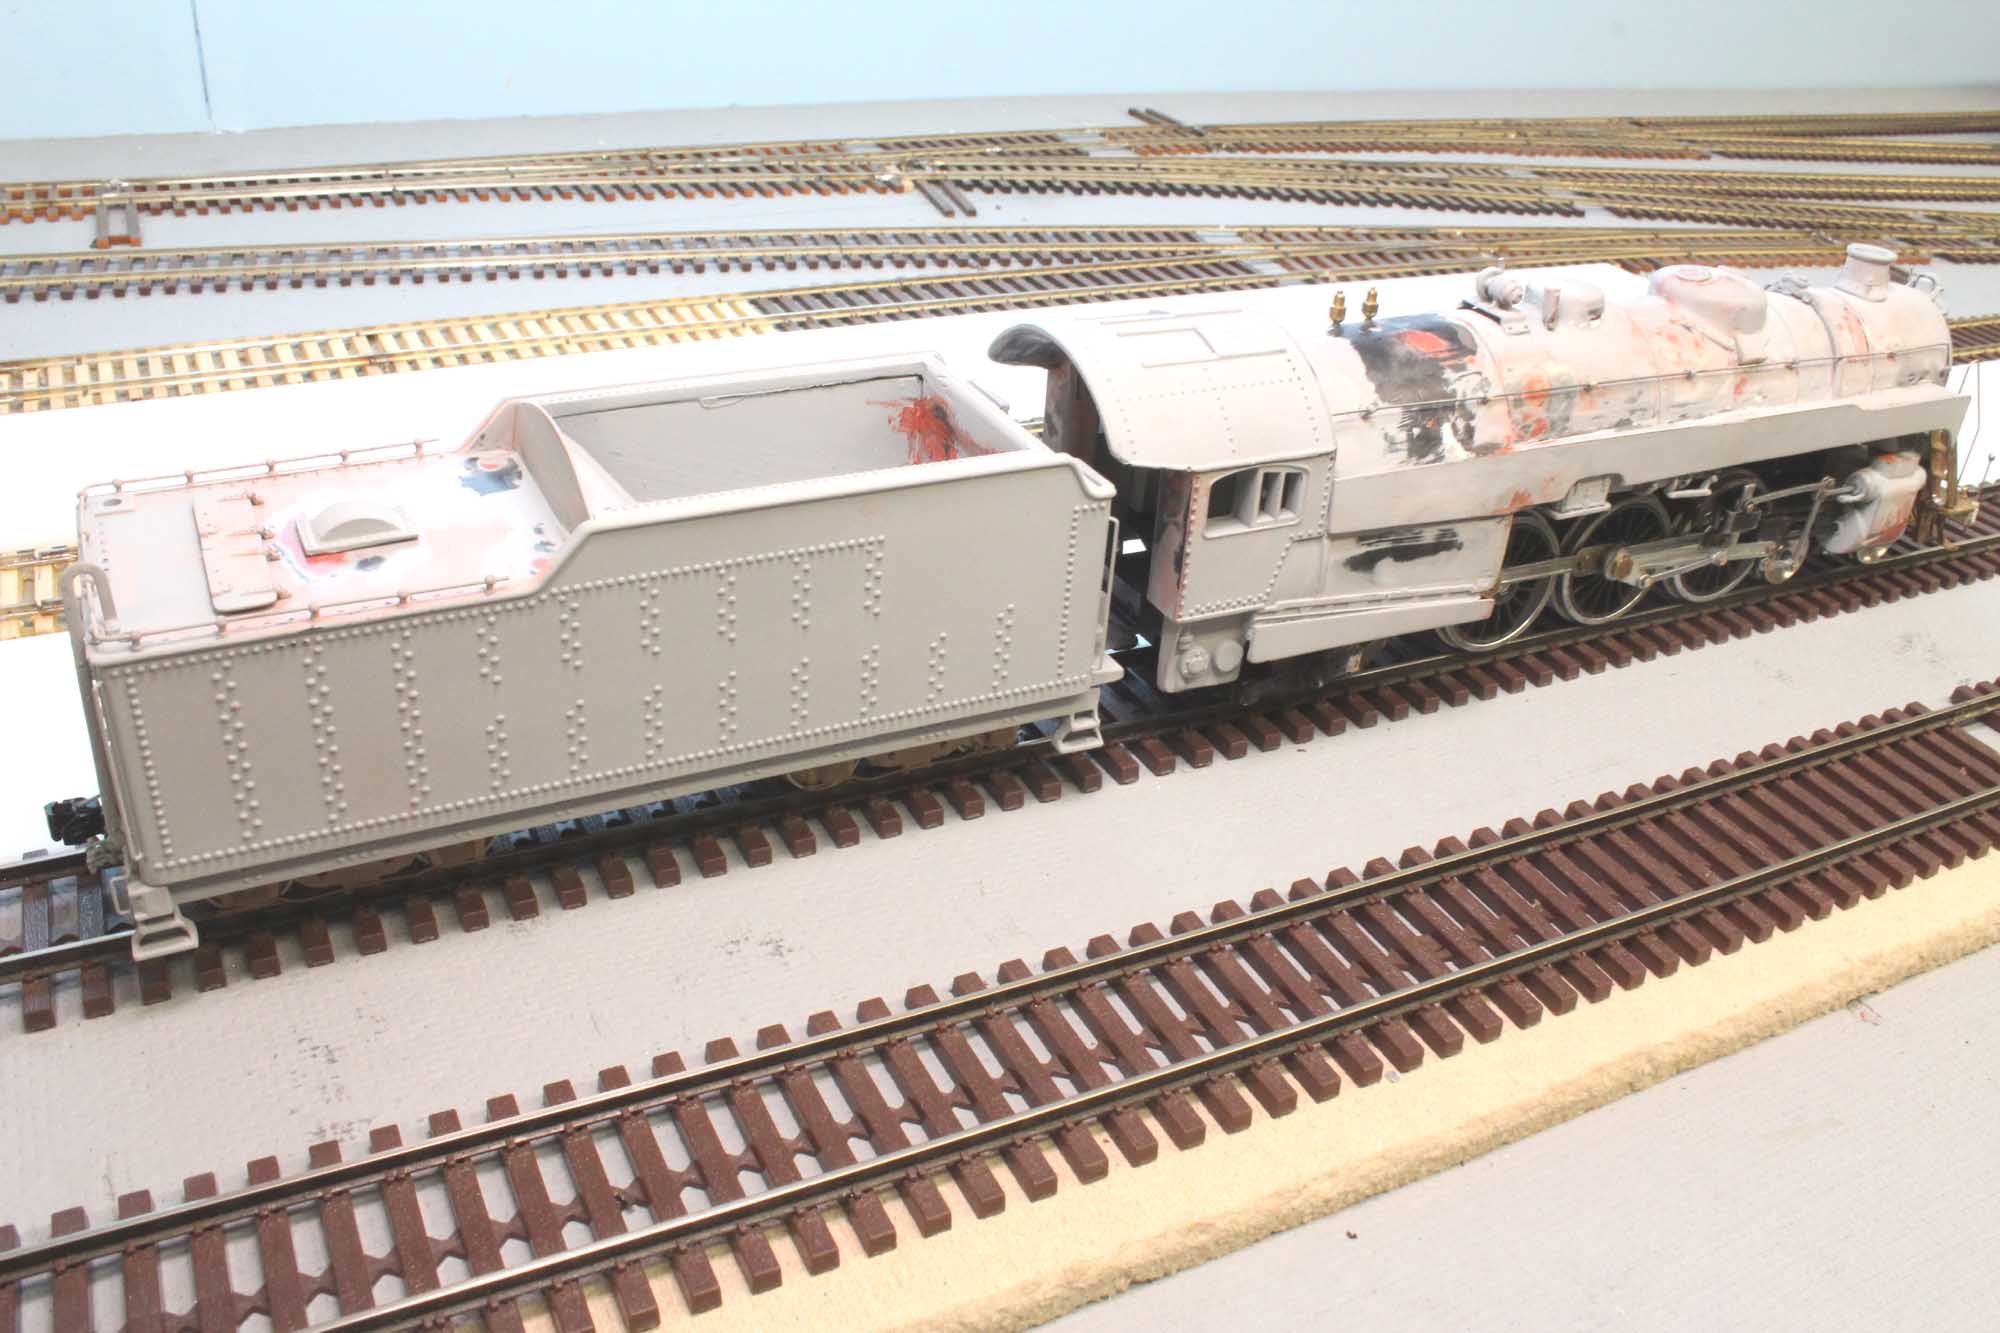
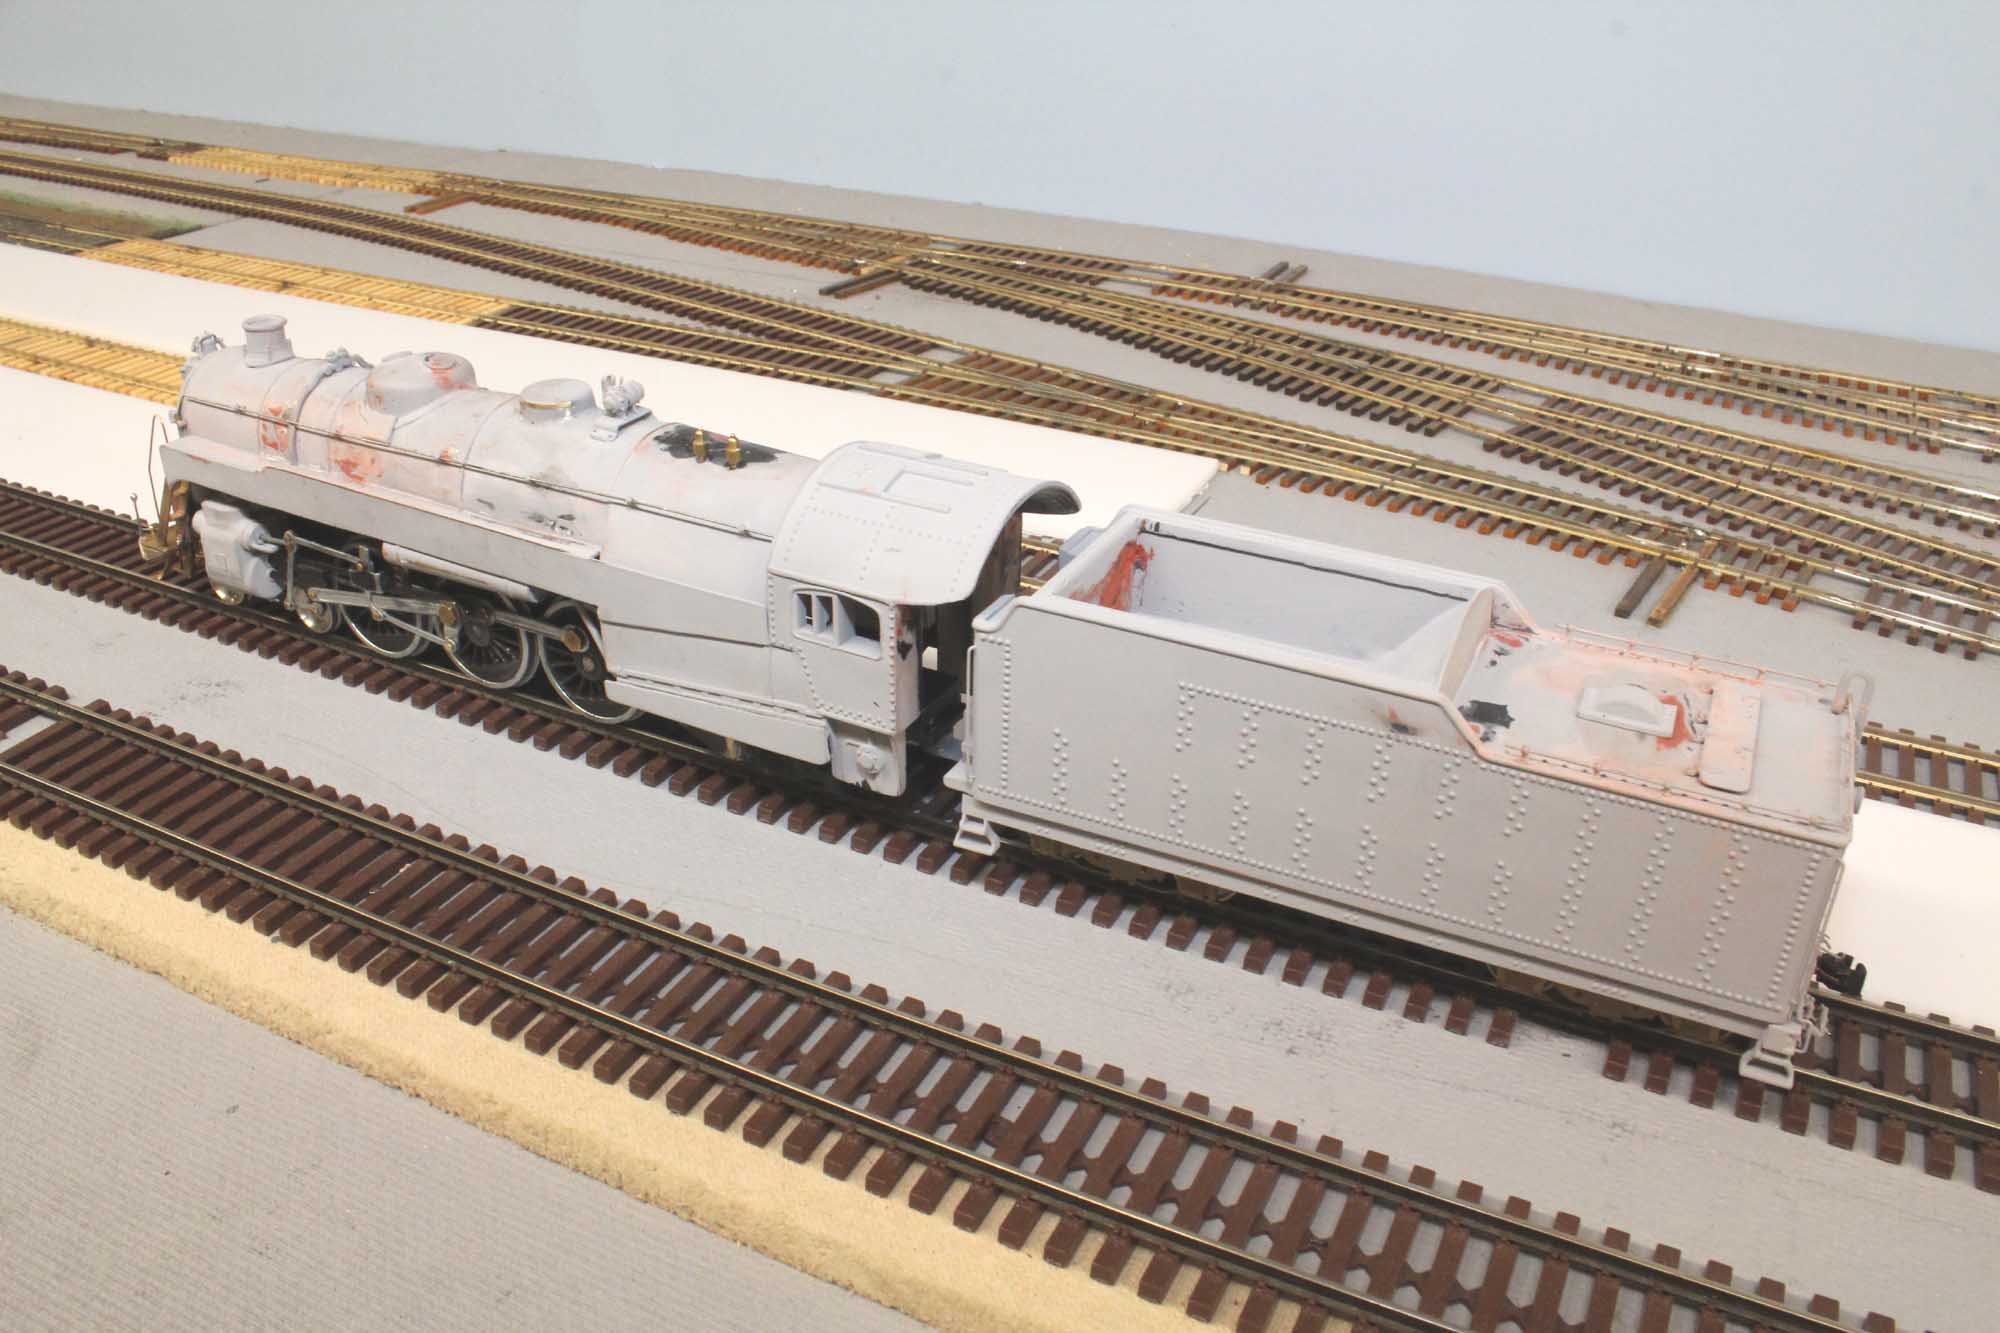
First Photos
These are the first photos when I got the loco only from Fred
Rouse.
2-17-15
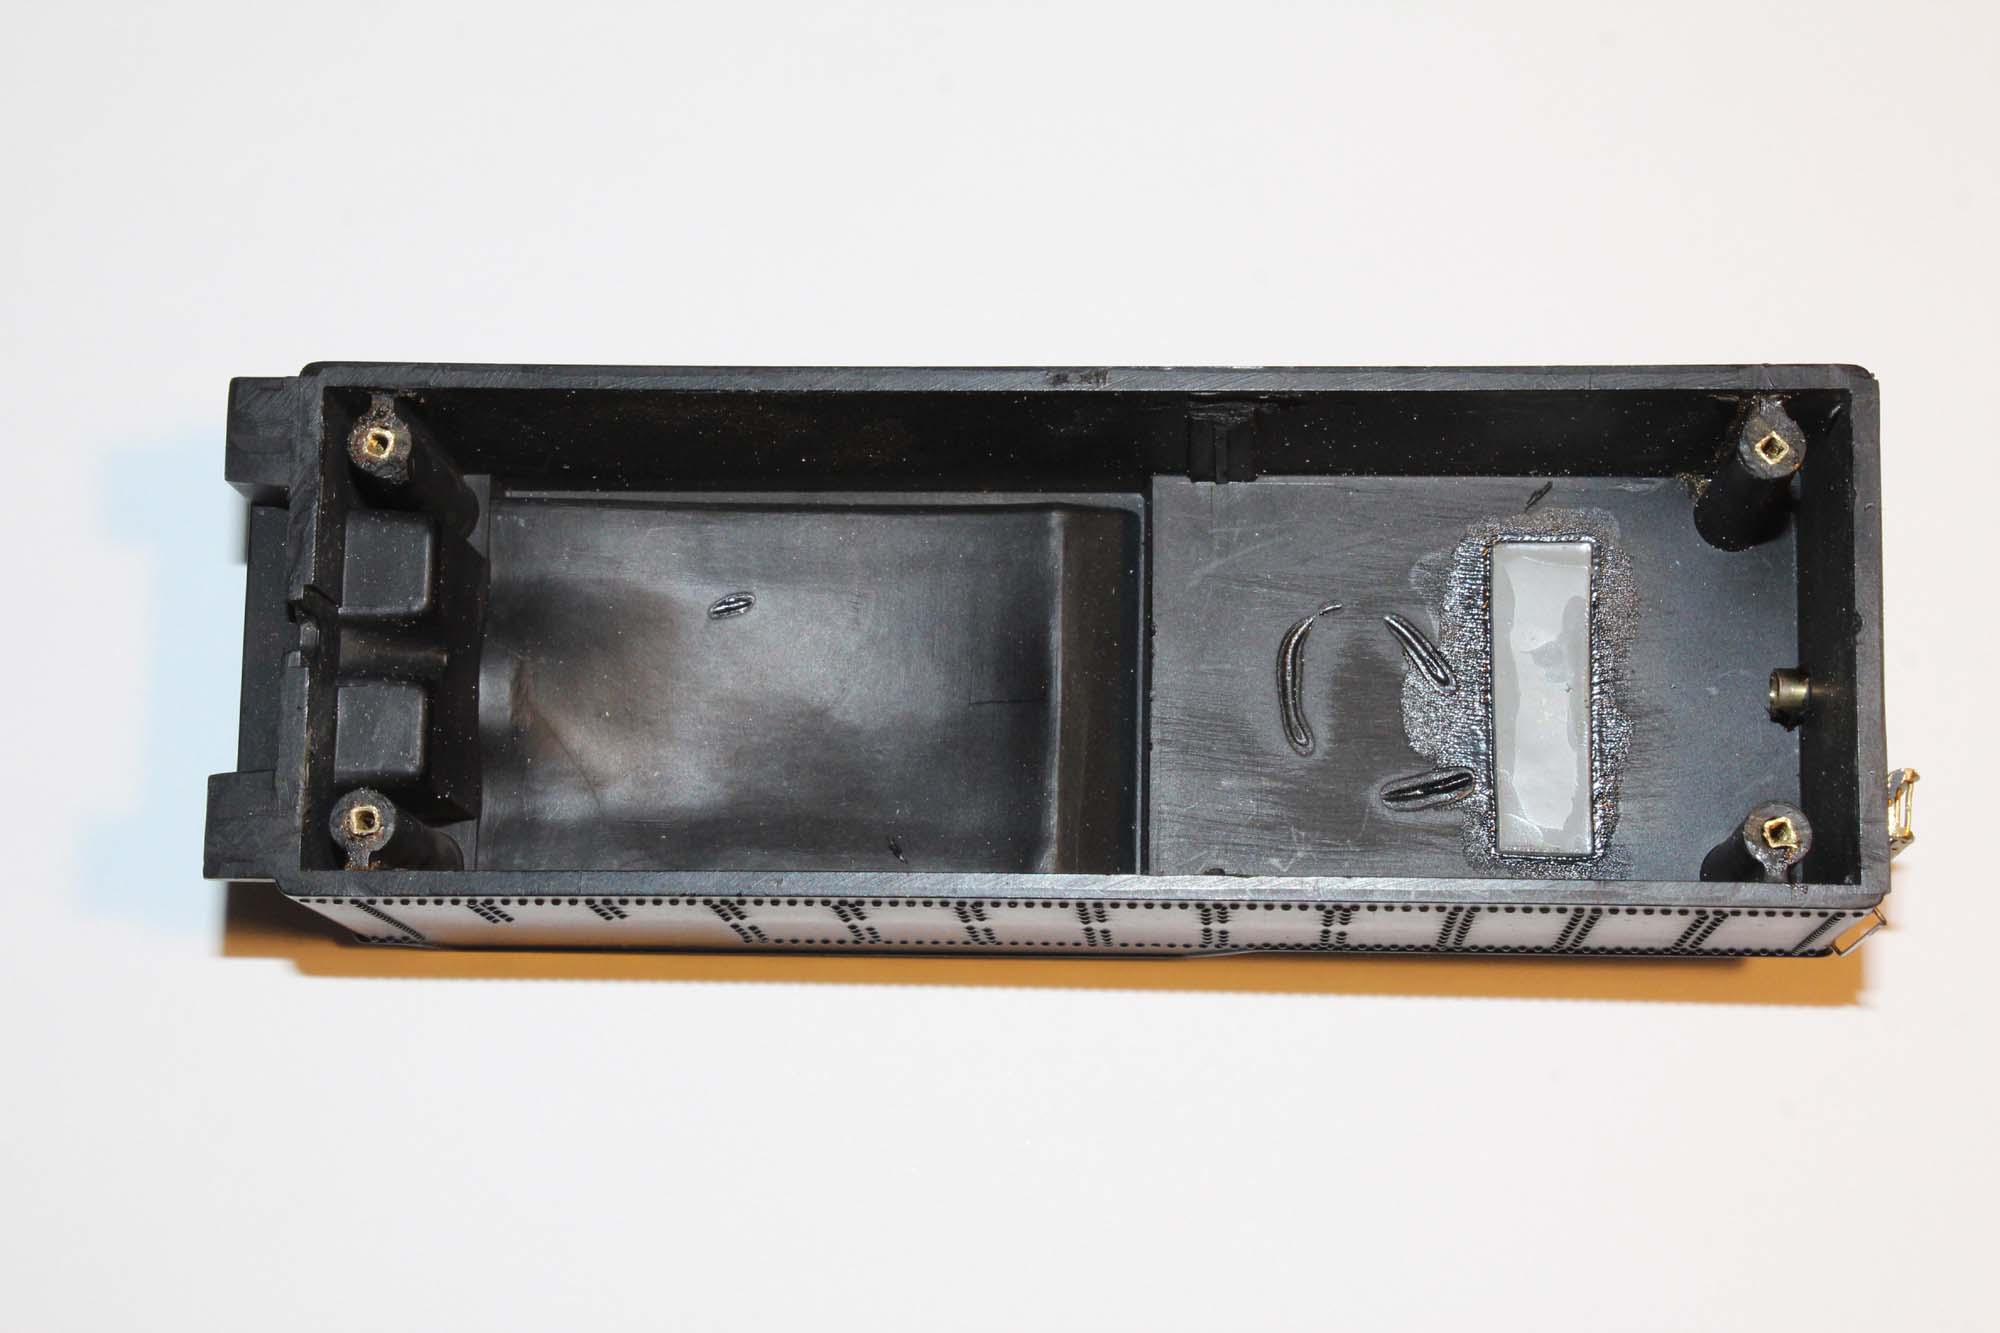
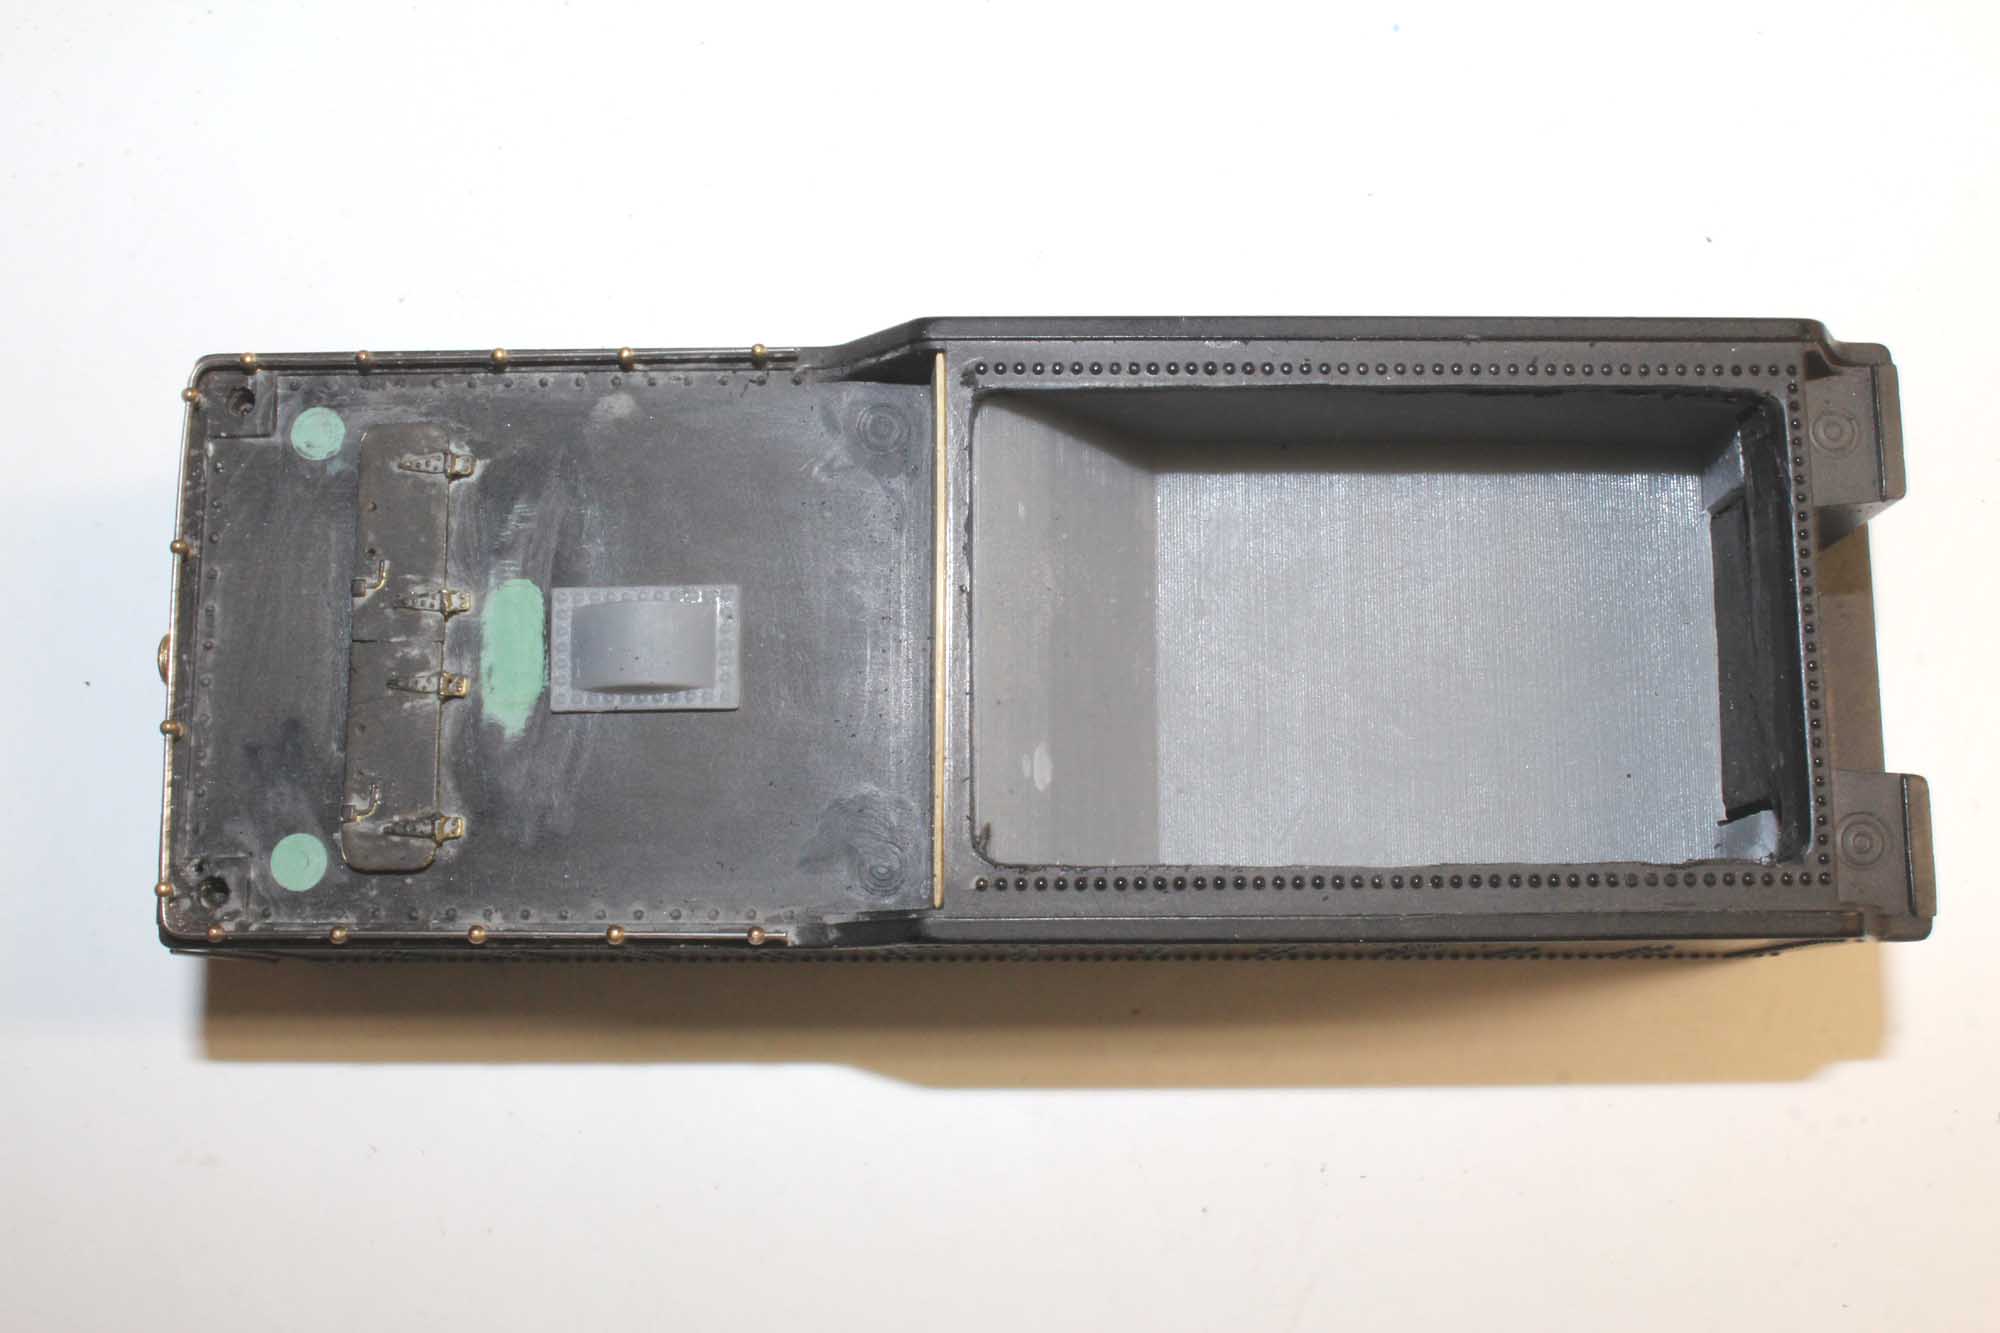
Threaded Inserts
The
American Flyer screws are very large. I wanted to use 2-56 screws. I tapped
some square brass tubing and glued them as threaded inserts in the tender
shell. It worked very well.
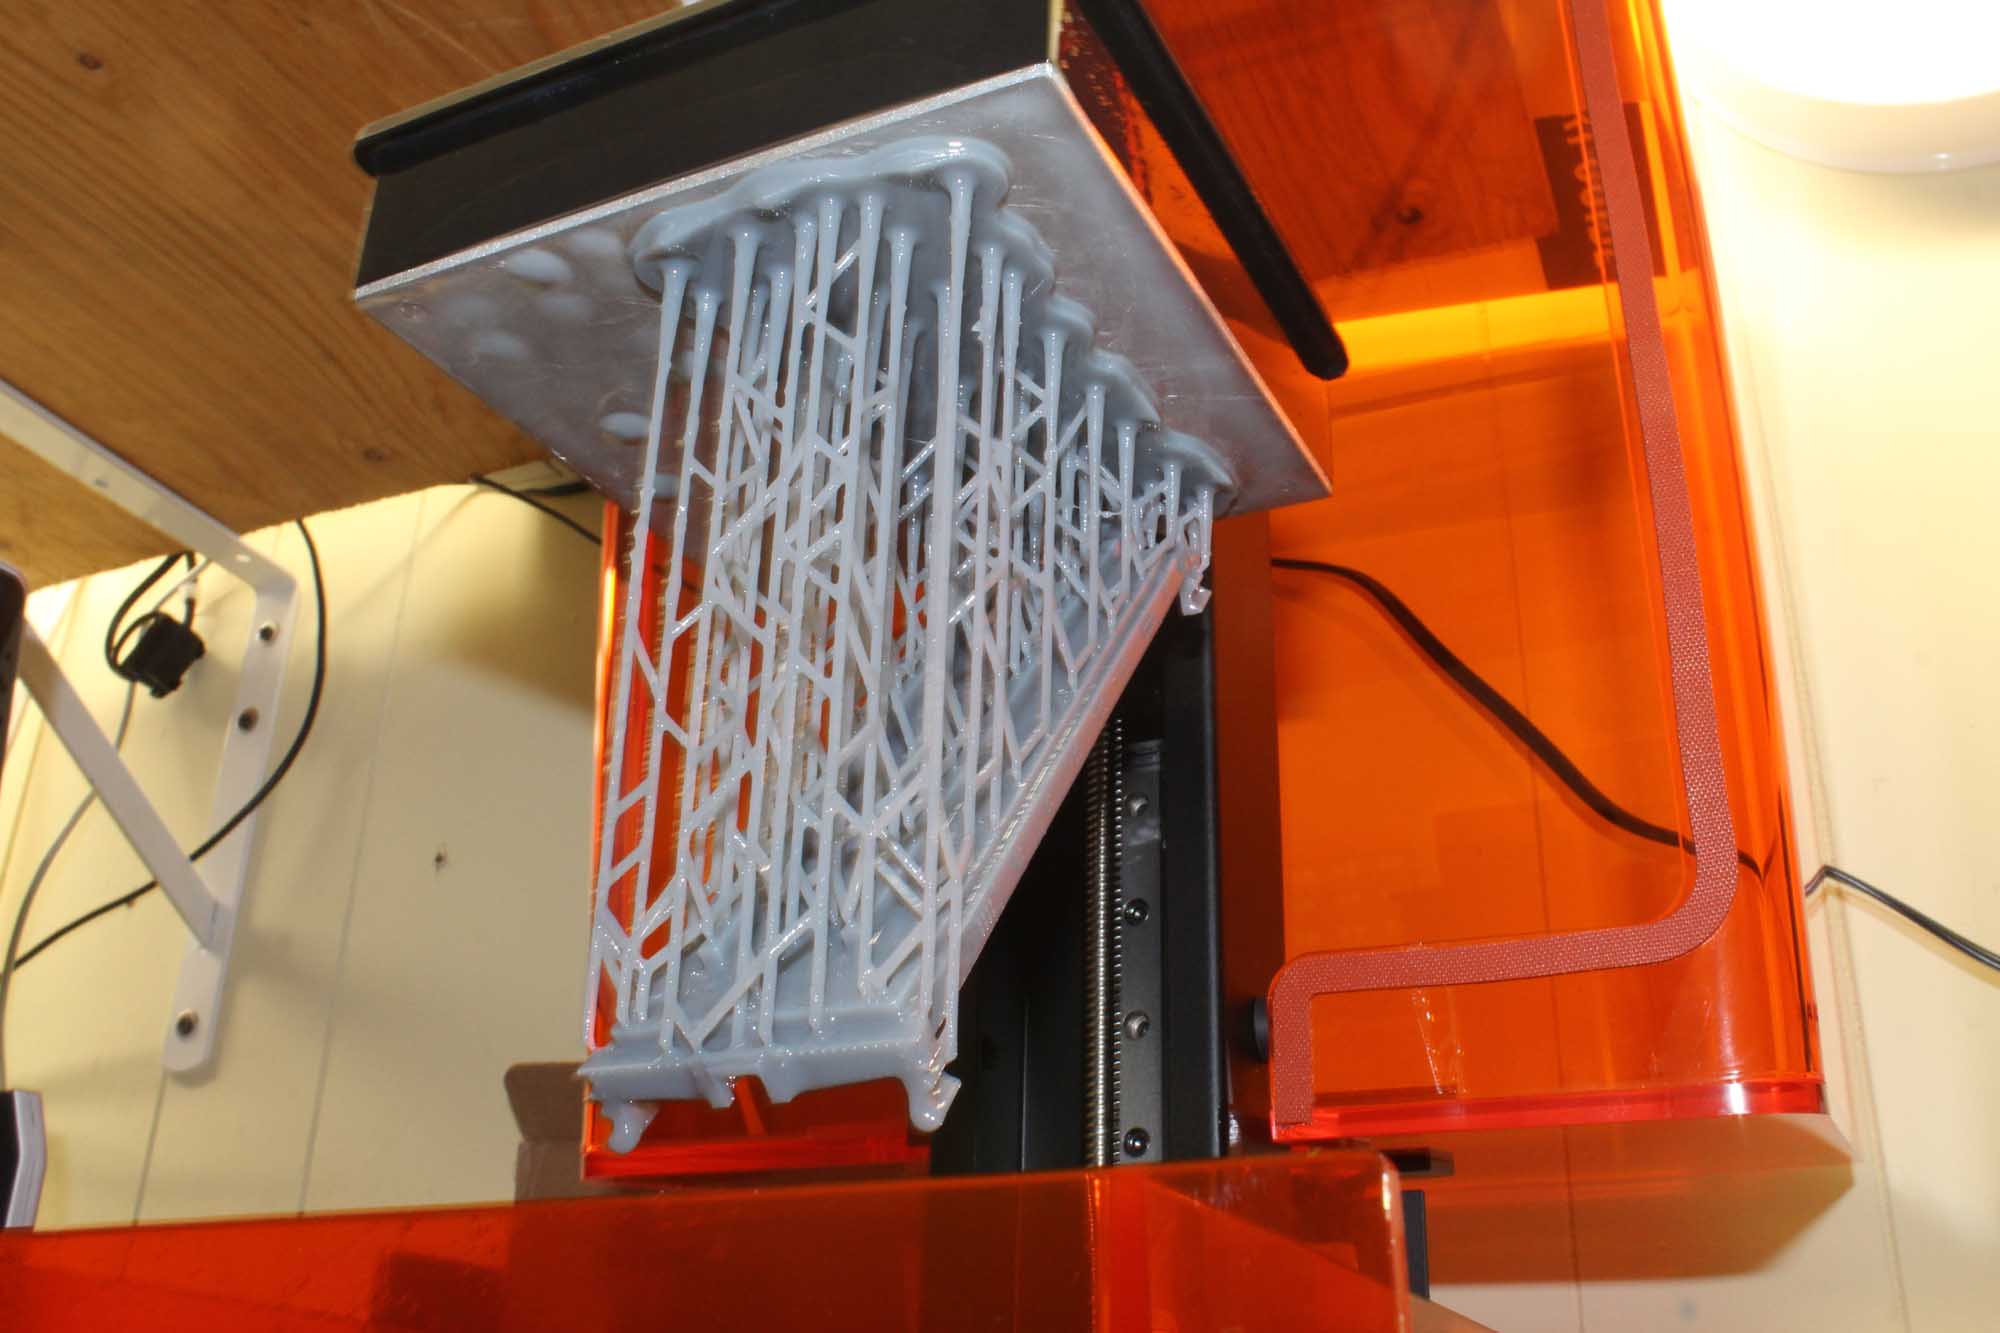
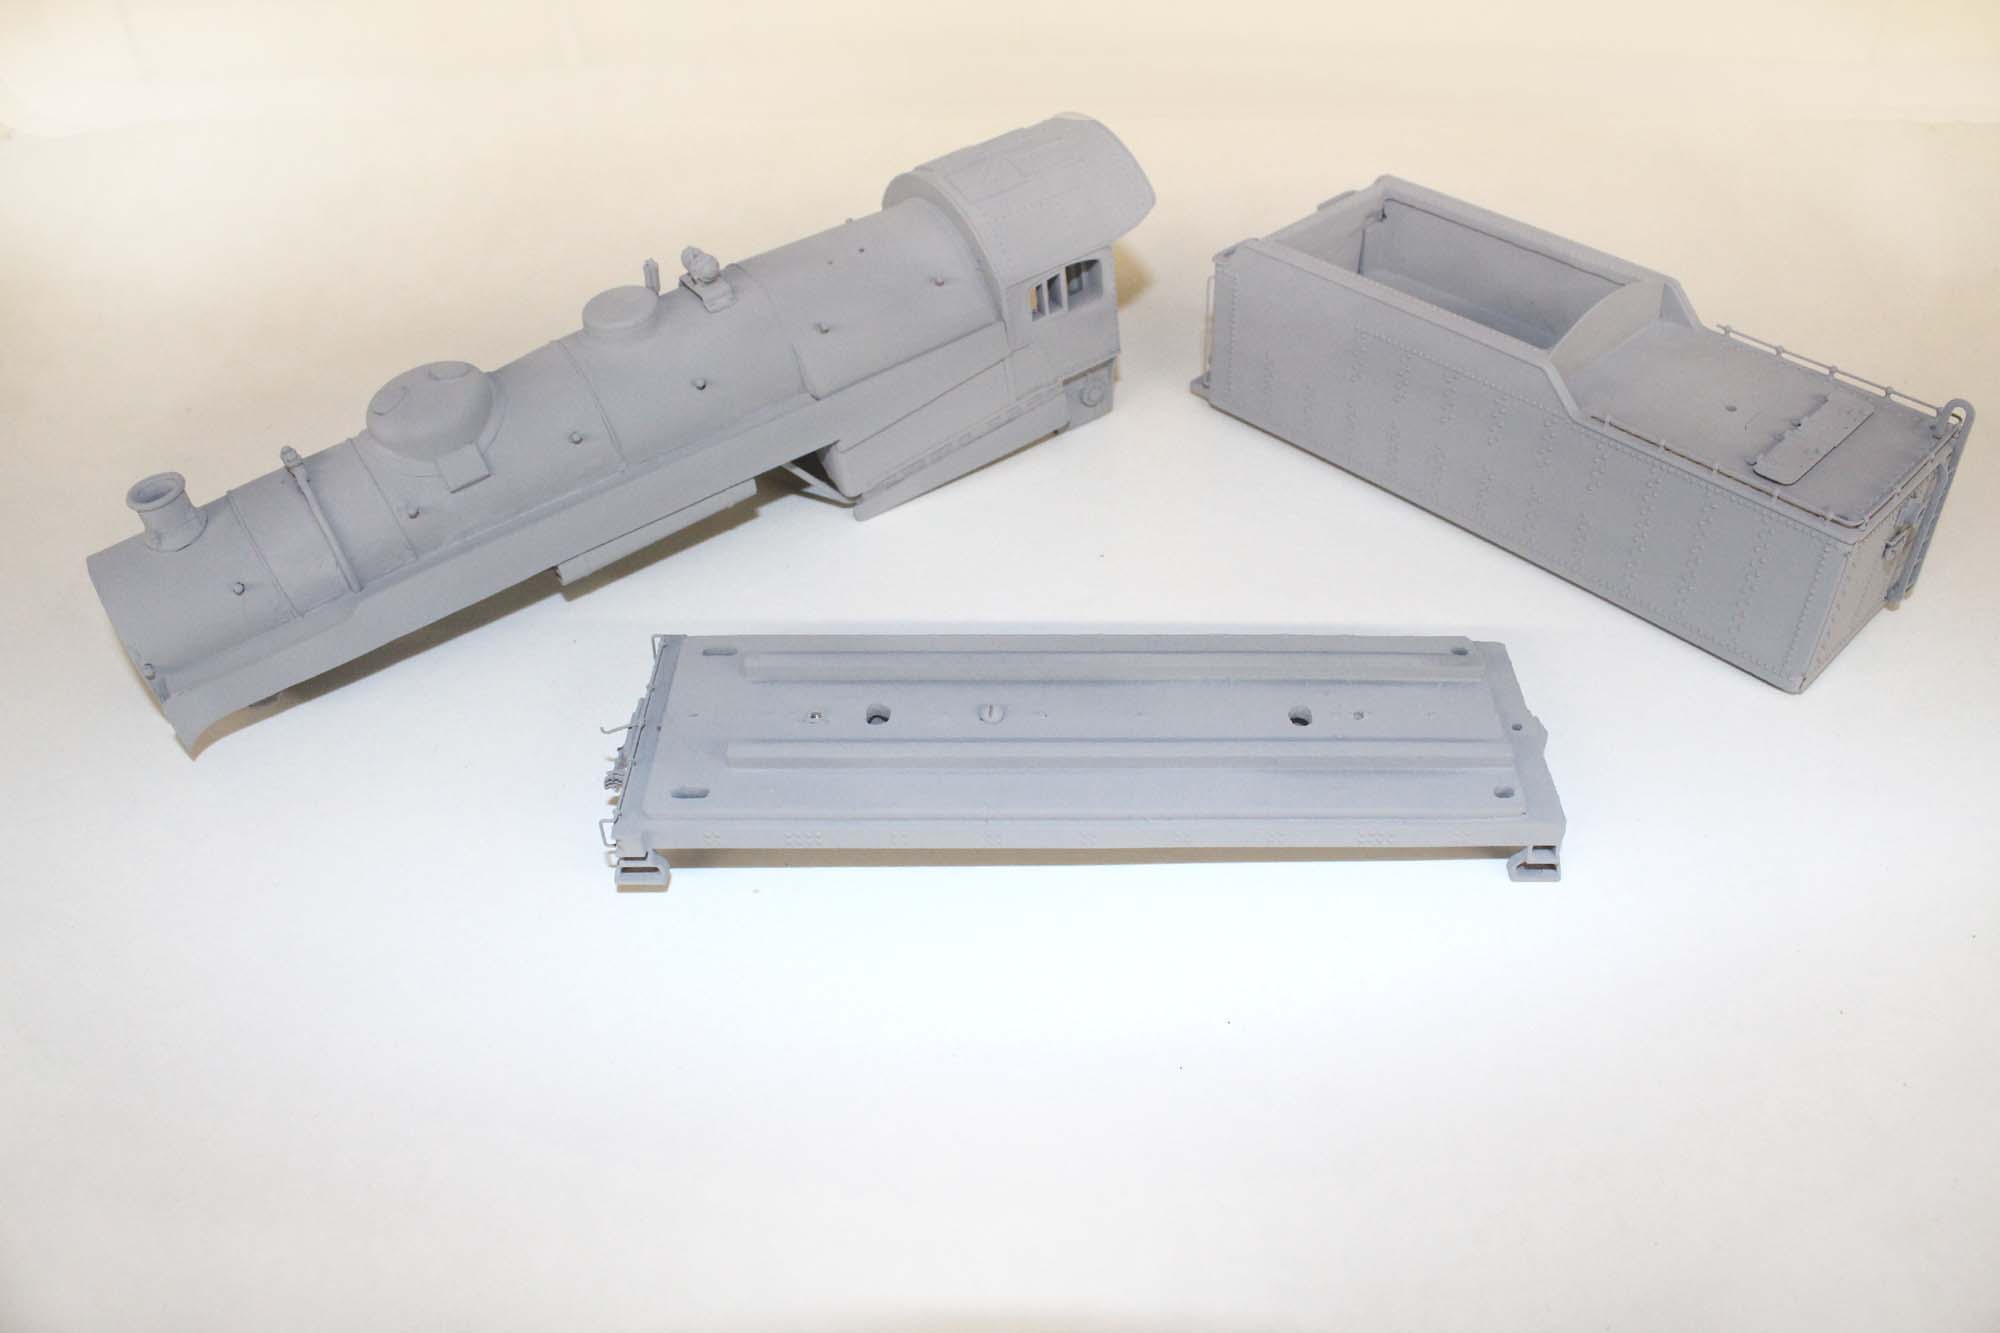
These are some of the parts I designed and 3D printed.
The
face of contact with all the supports is usually the worst and mostly not
usable without significant clean up. This needs to be considered in the design
process.
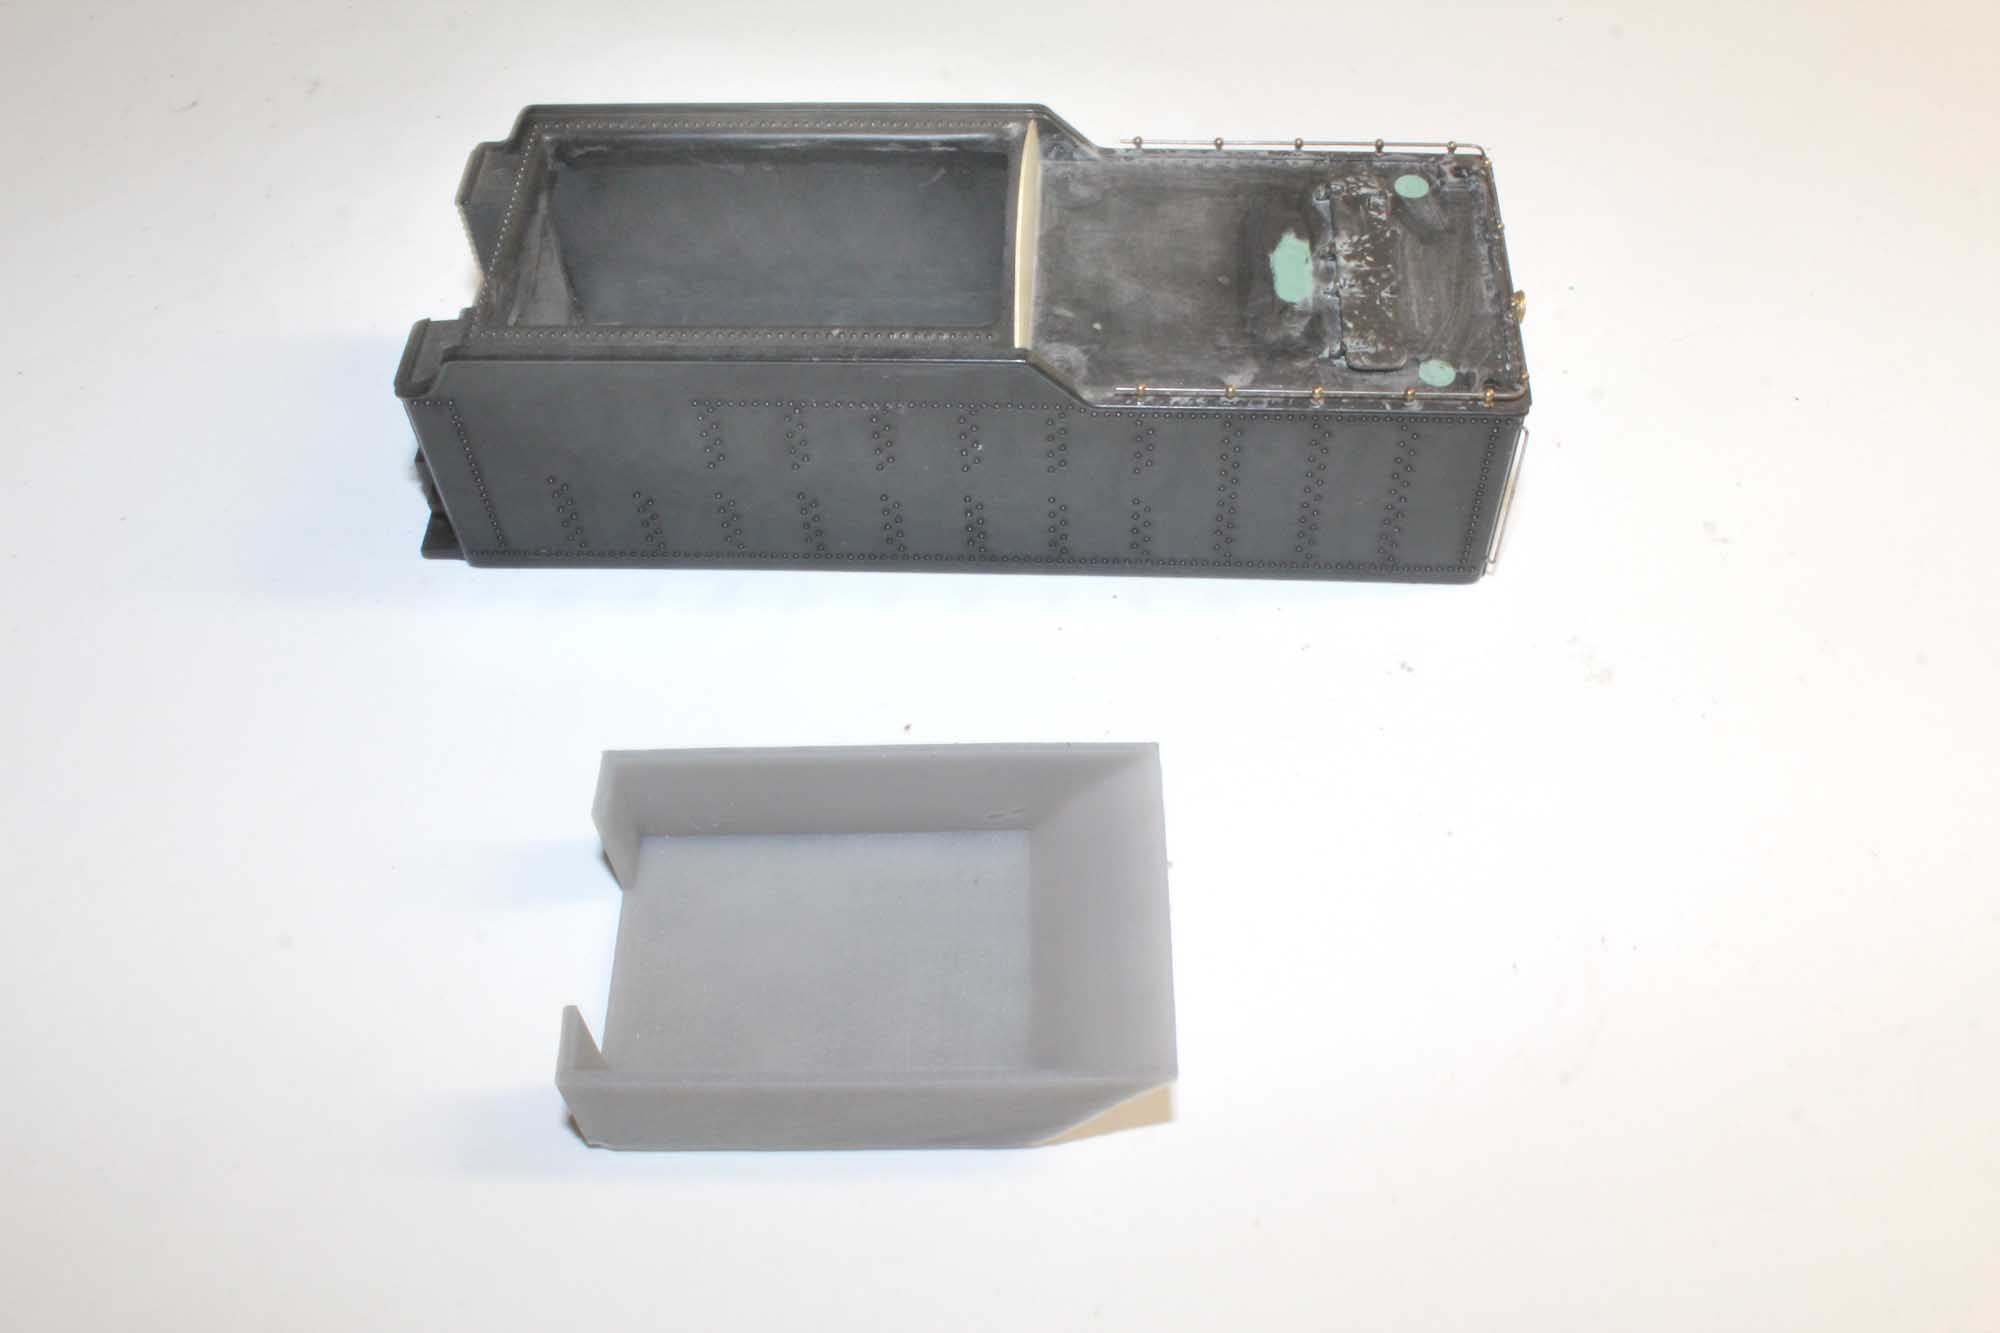
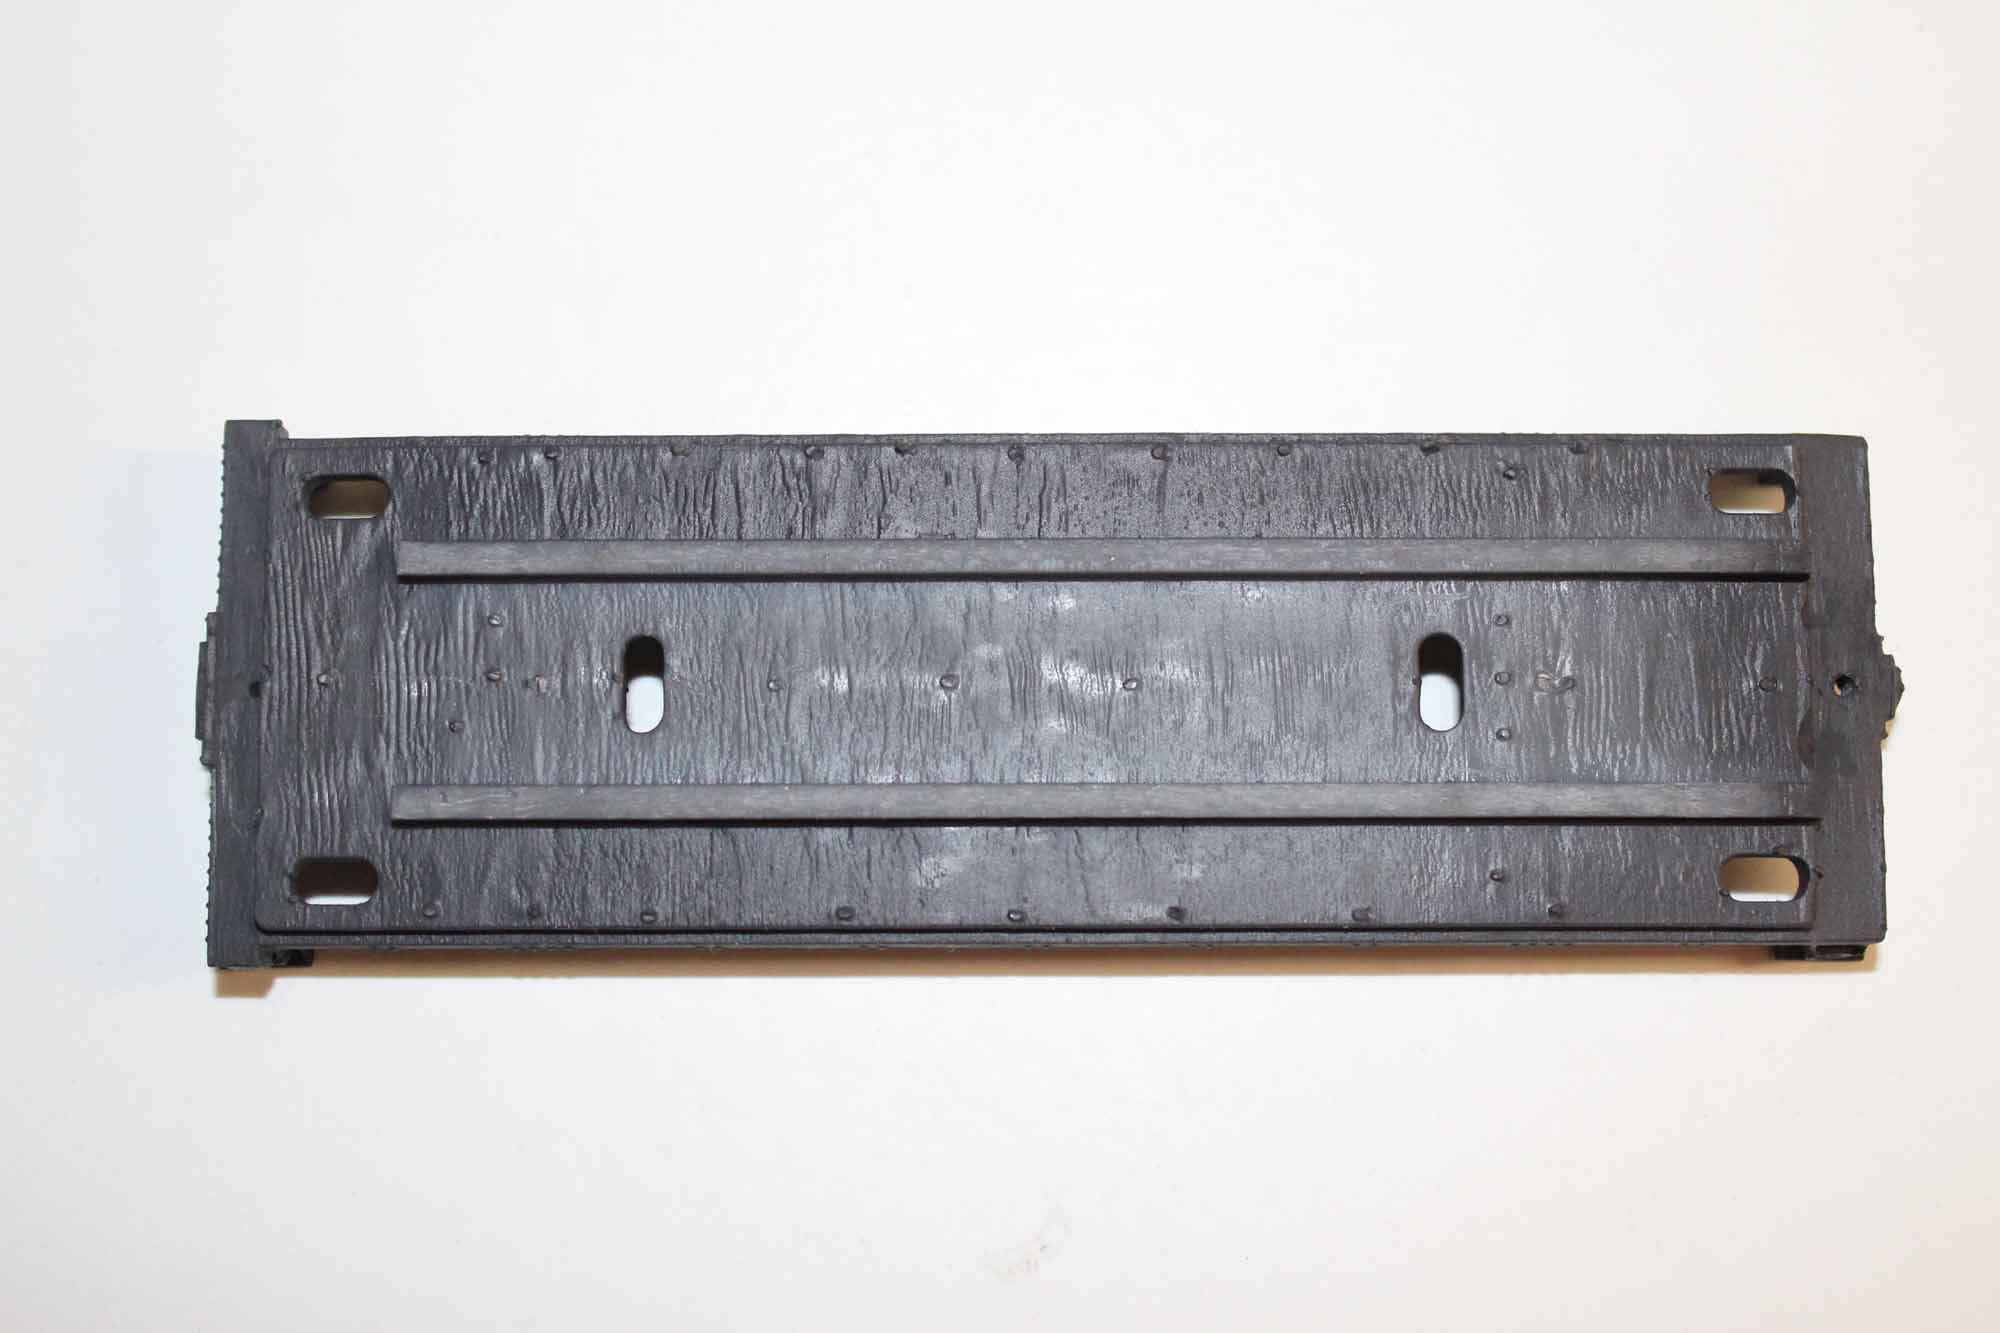
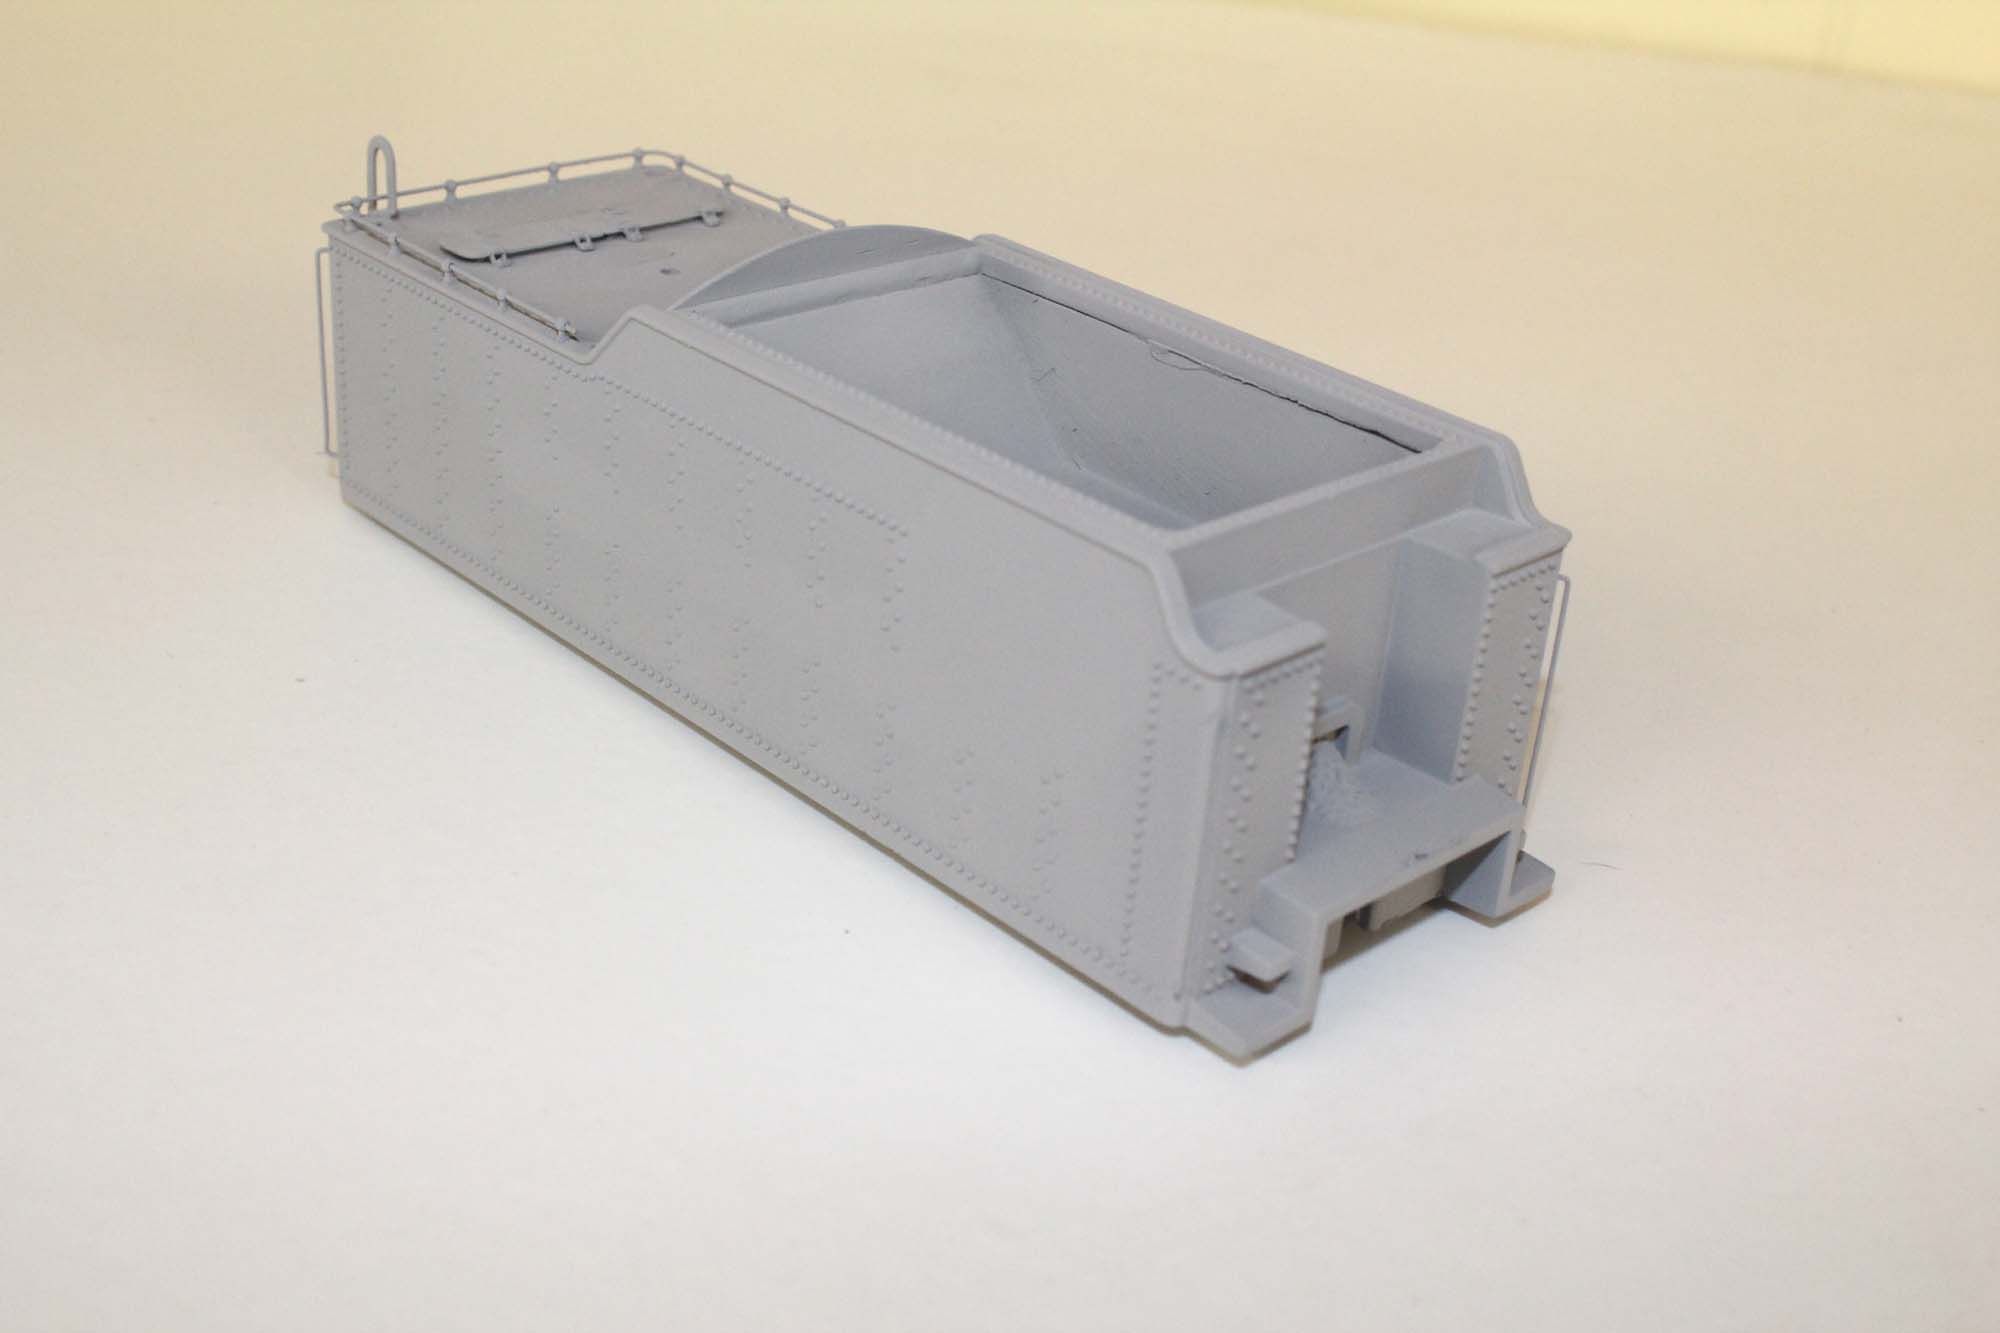
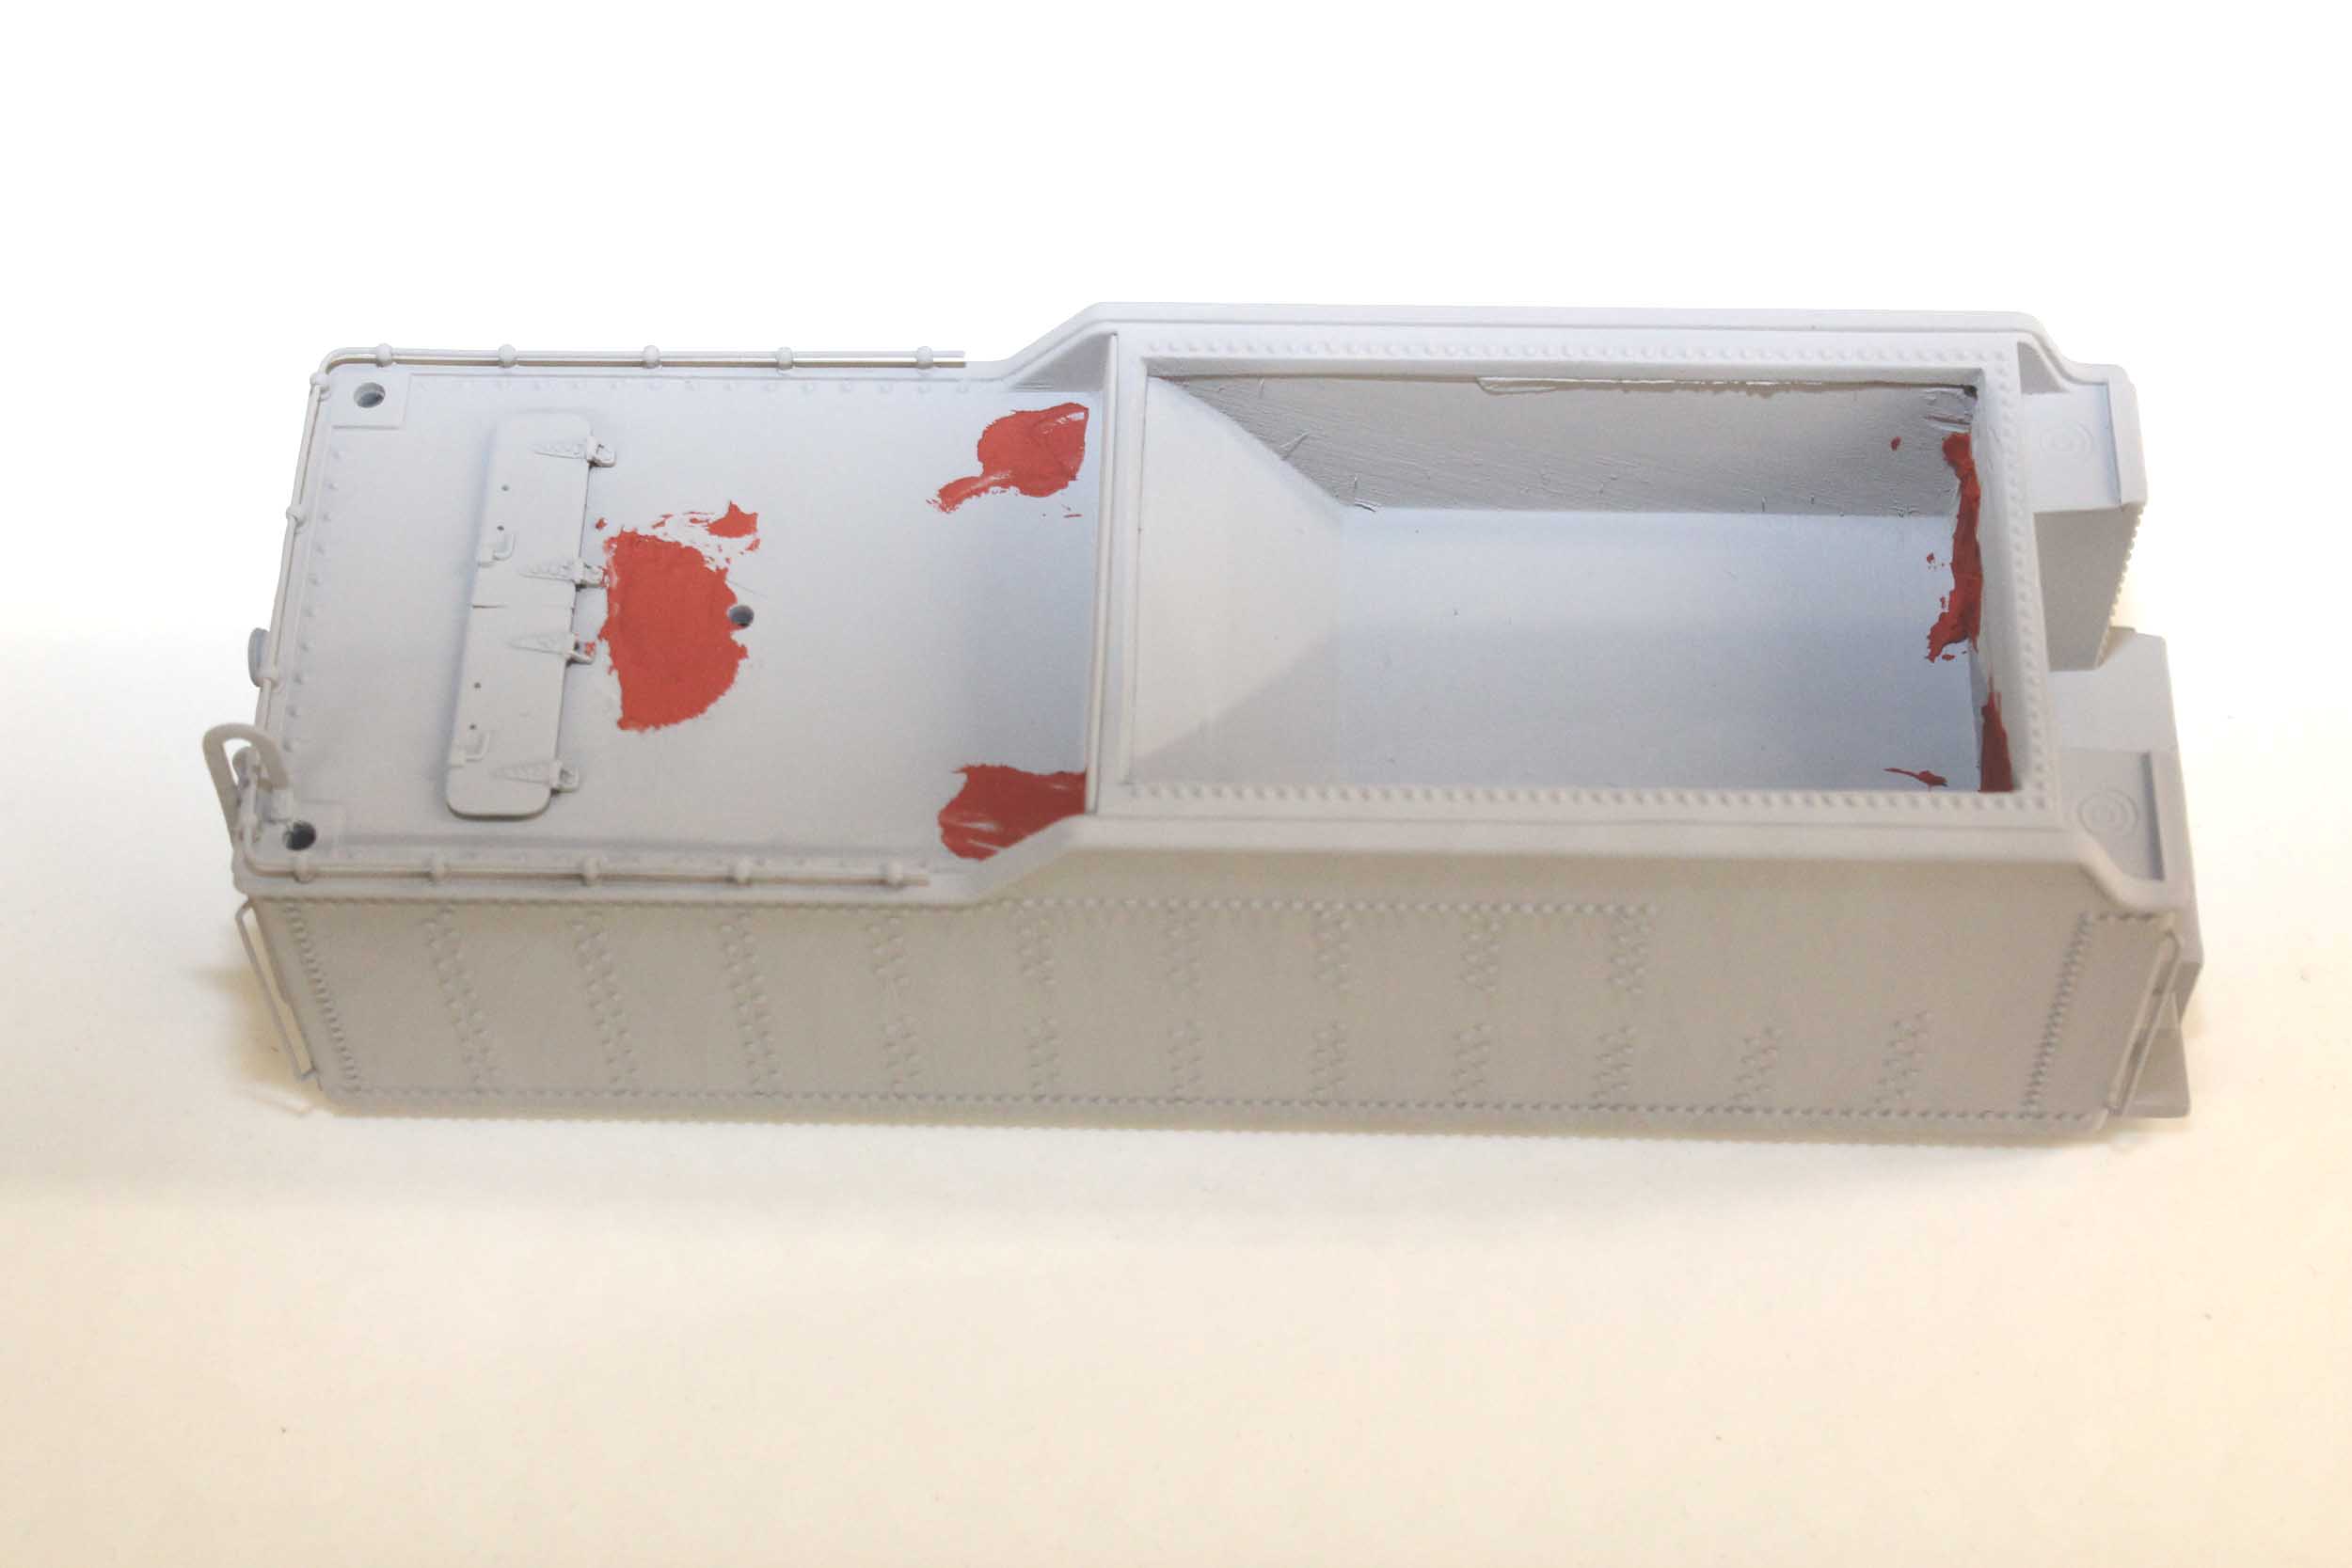
Coal Bunker
Most
of the American Flyer tenders I have on scale locos have a heaping coal load
with coal sprinkled on top of the fake plastic load. I wanted to show a
partially consumed coal pile so I cut out the plastic and printed a coal
bunker. The effect was so worth the effort. It wound up being watertight as
well when I was making the coal load.


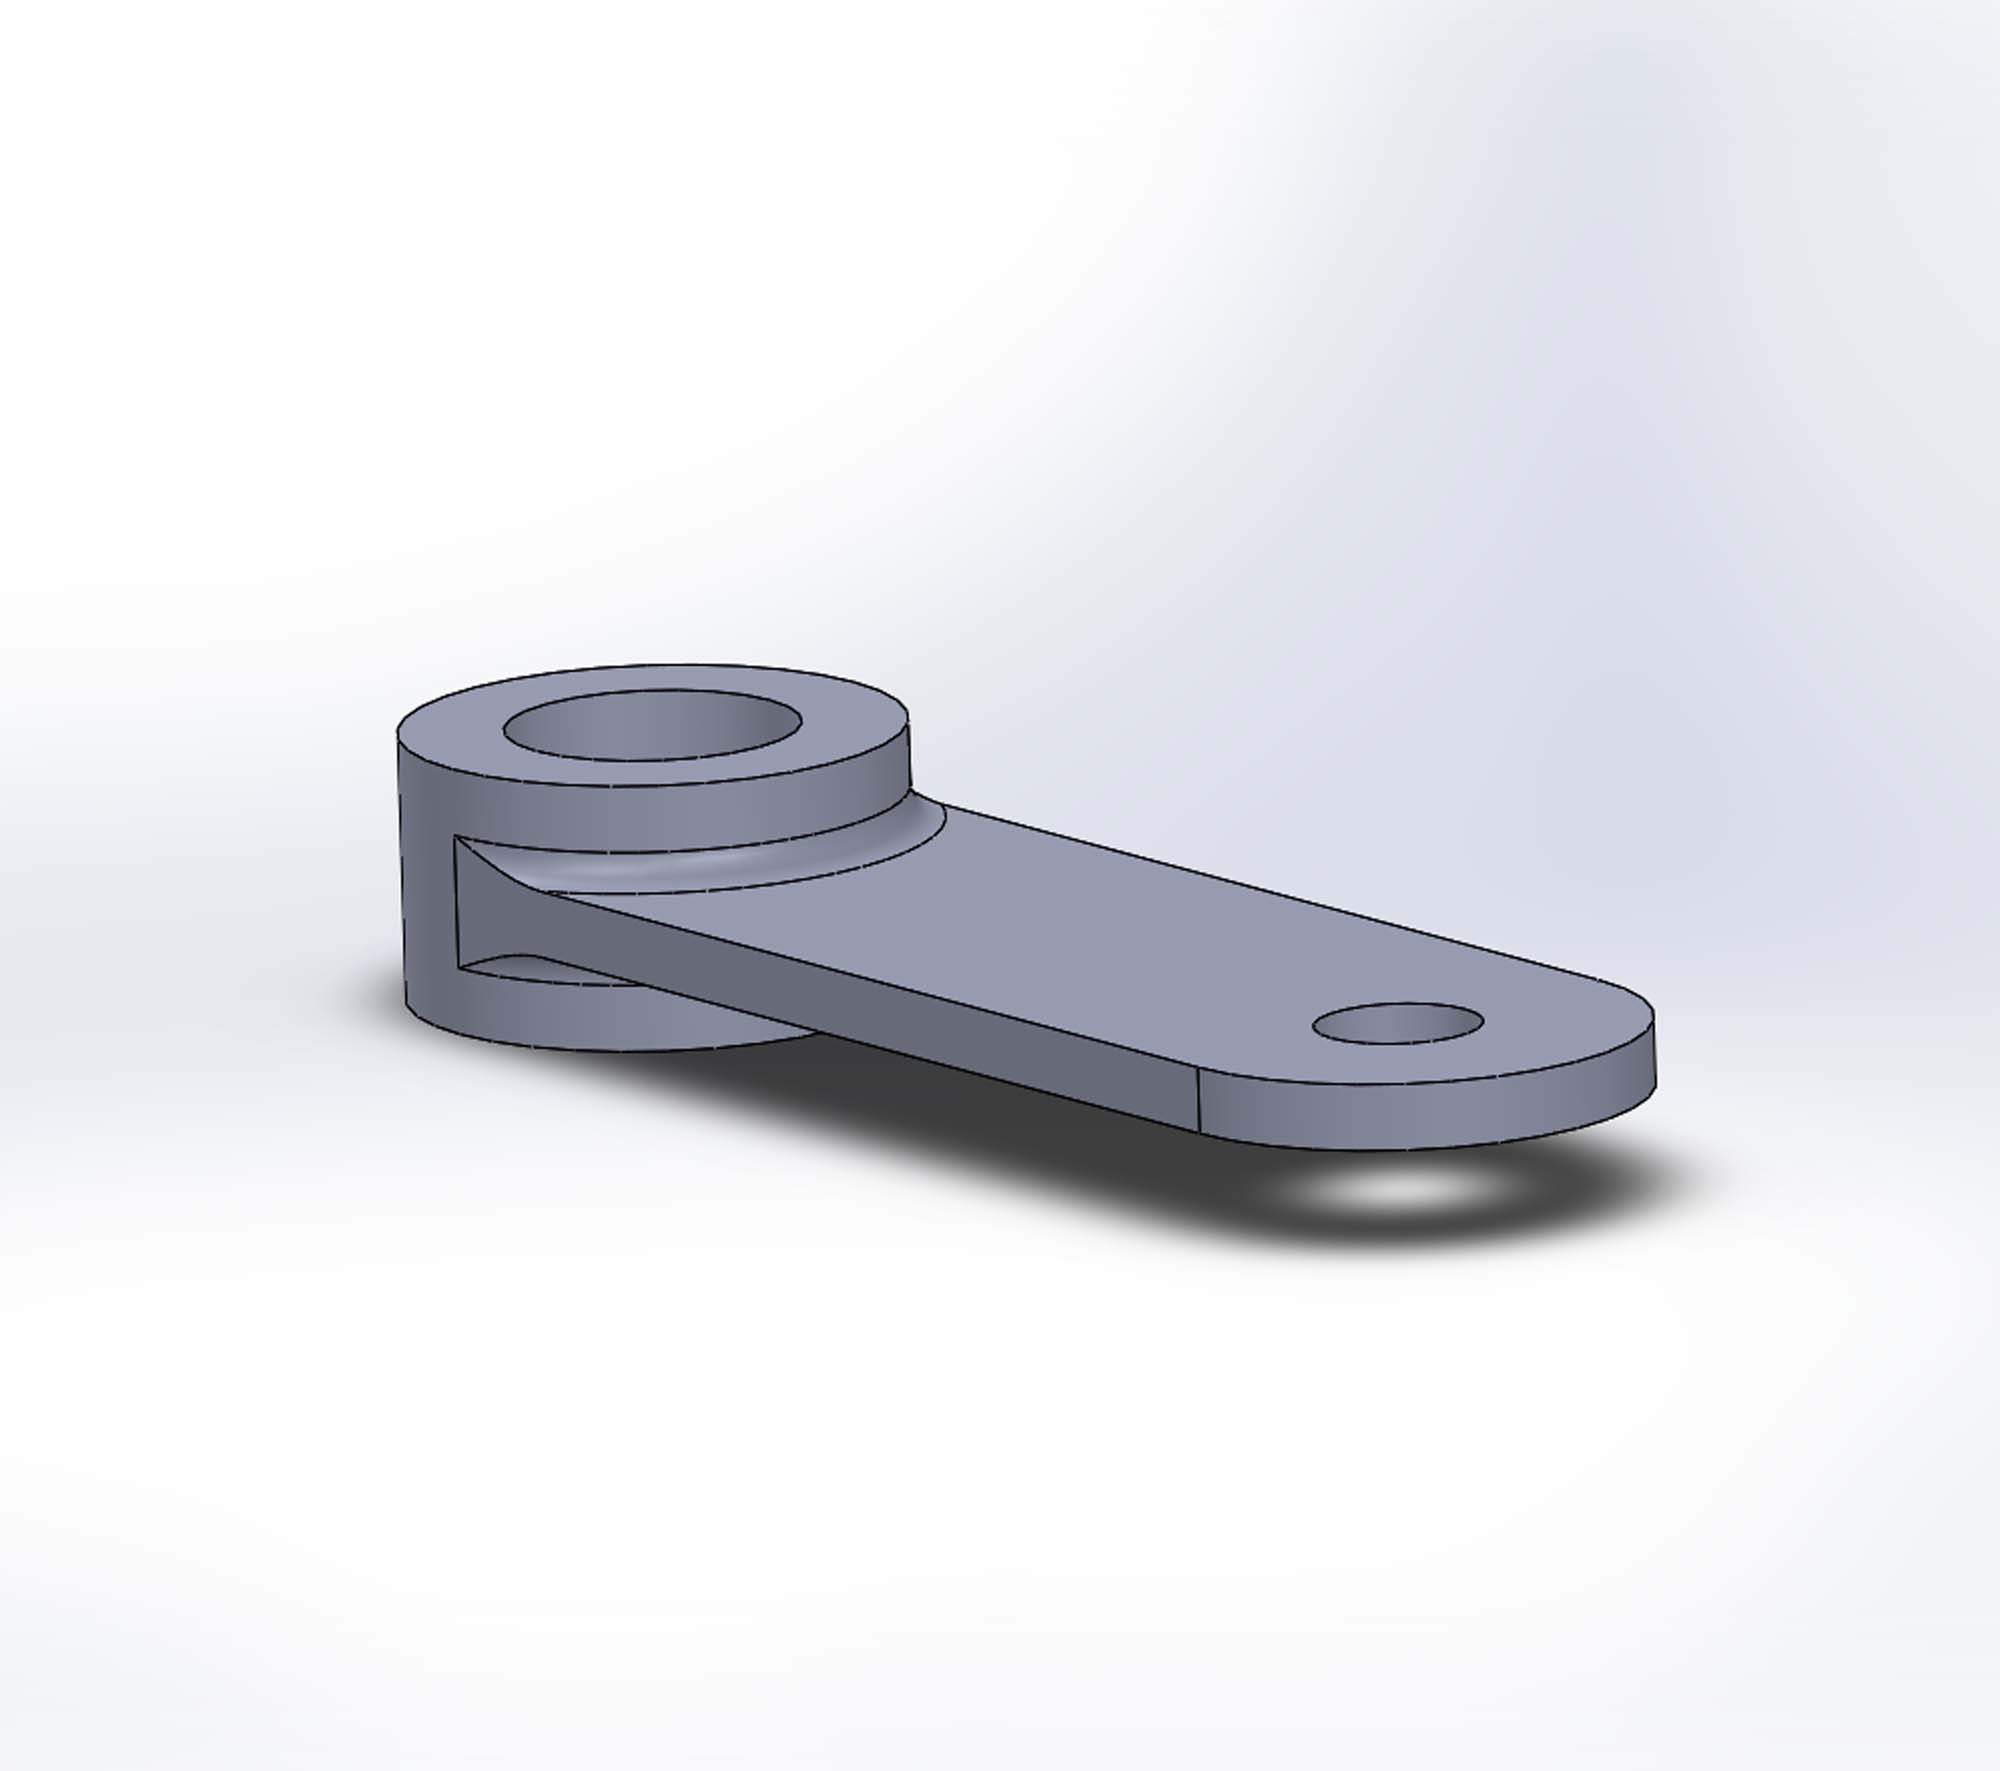
Drawbar
It was very easy to make varied lengths in Solidworks until I
got what I wanted.
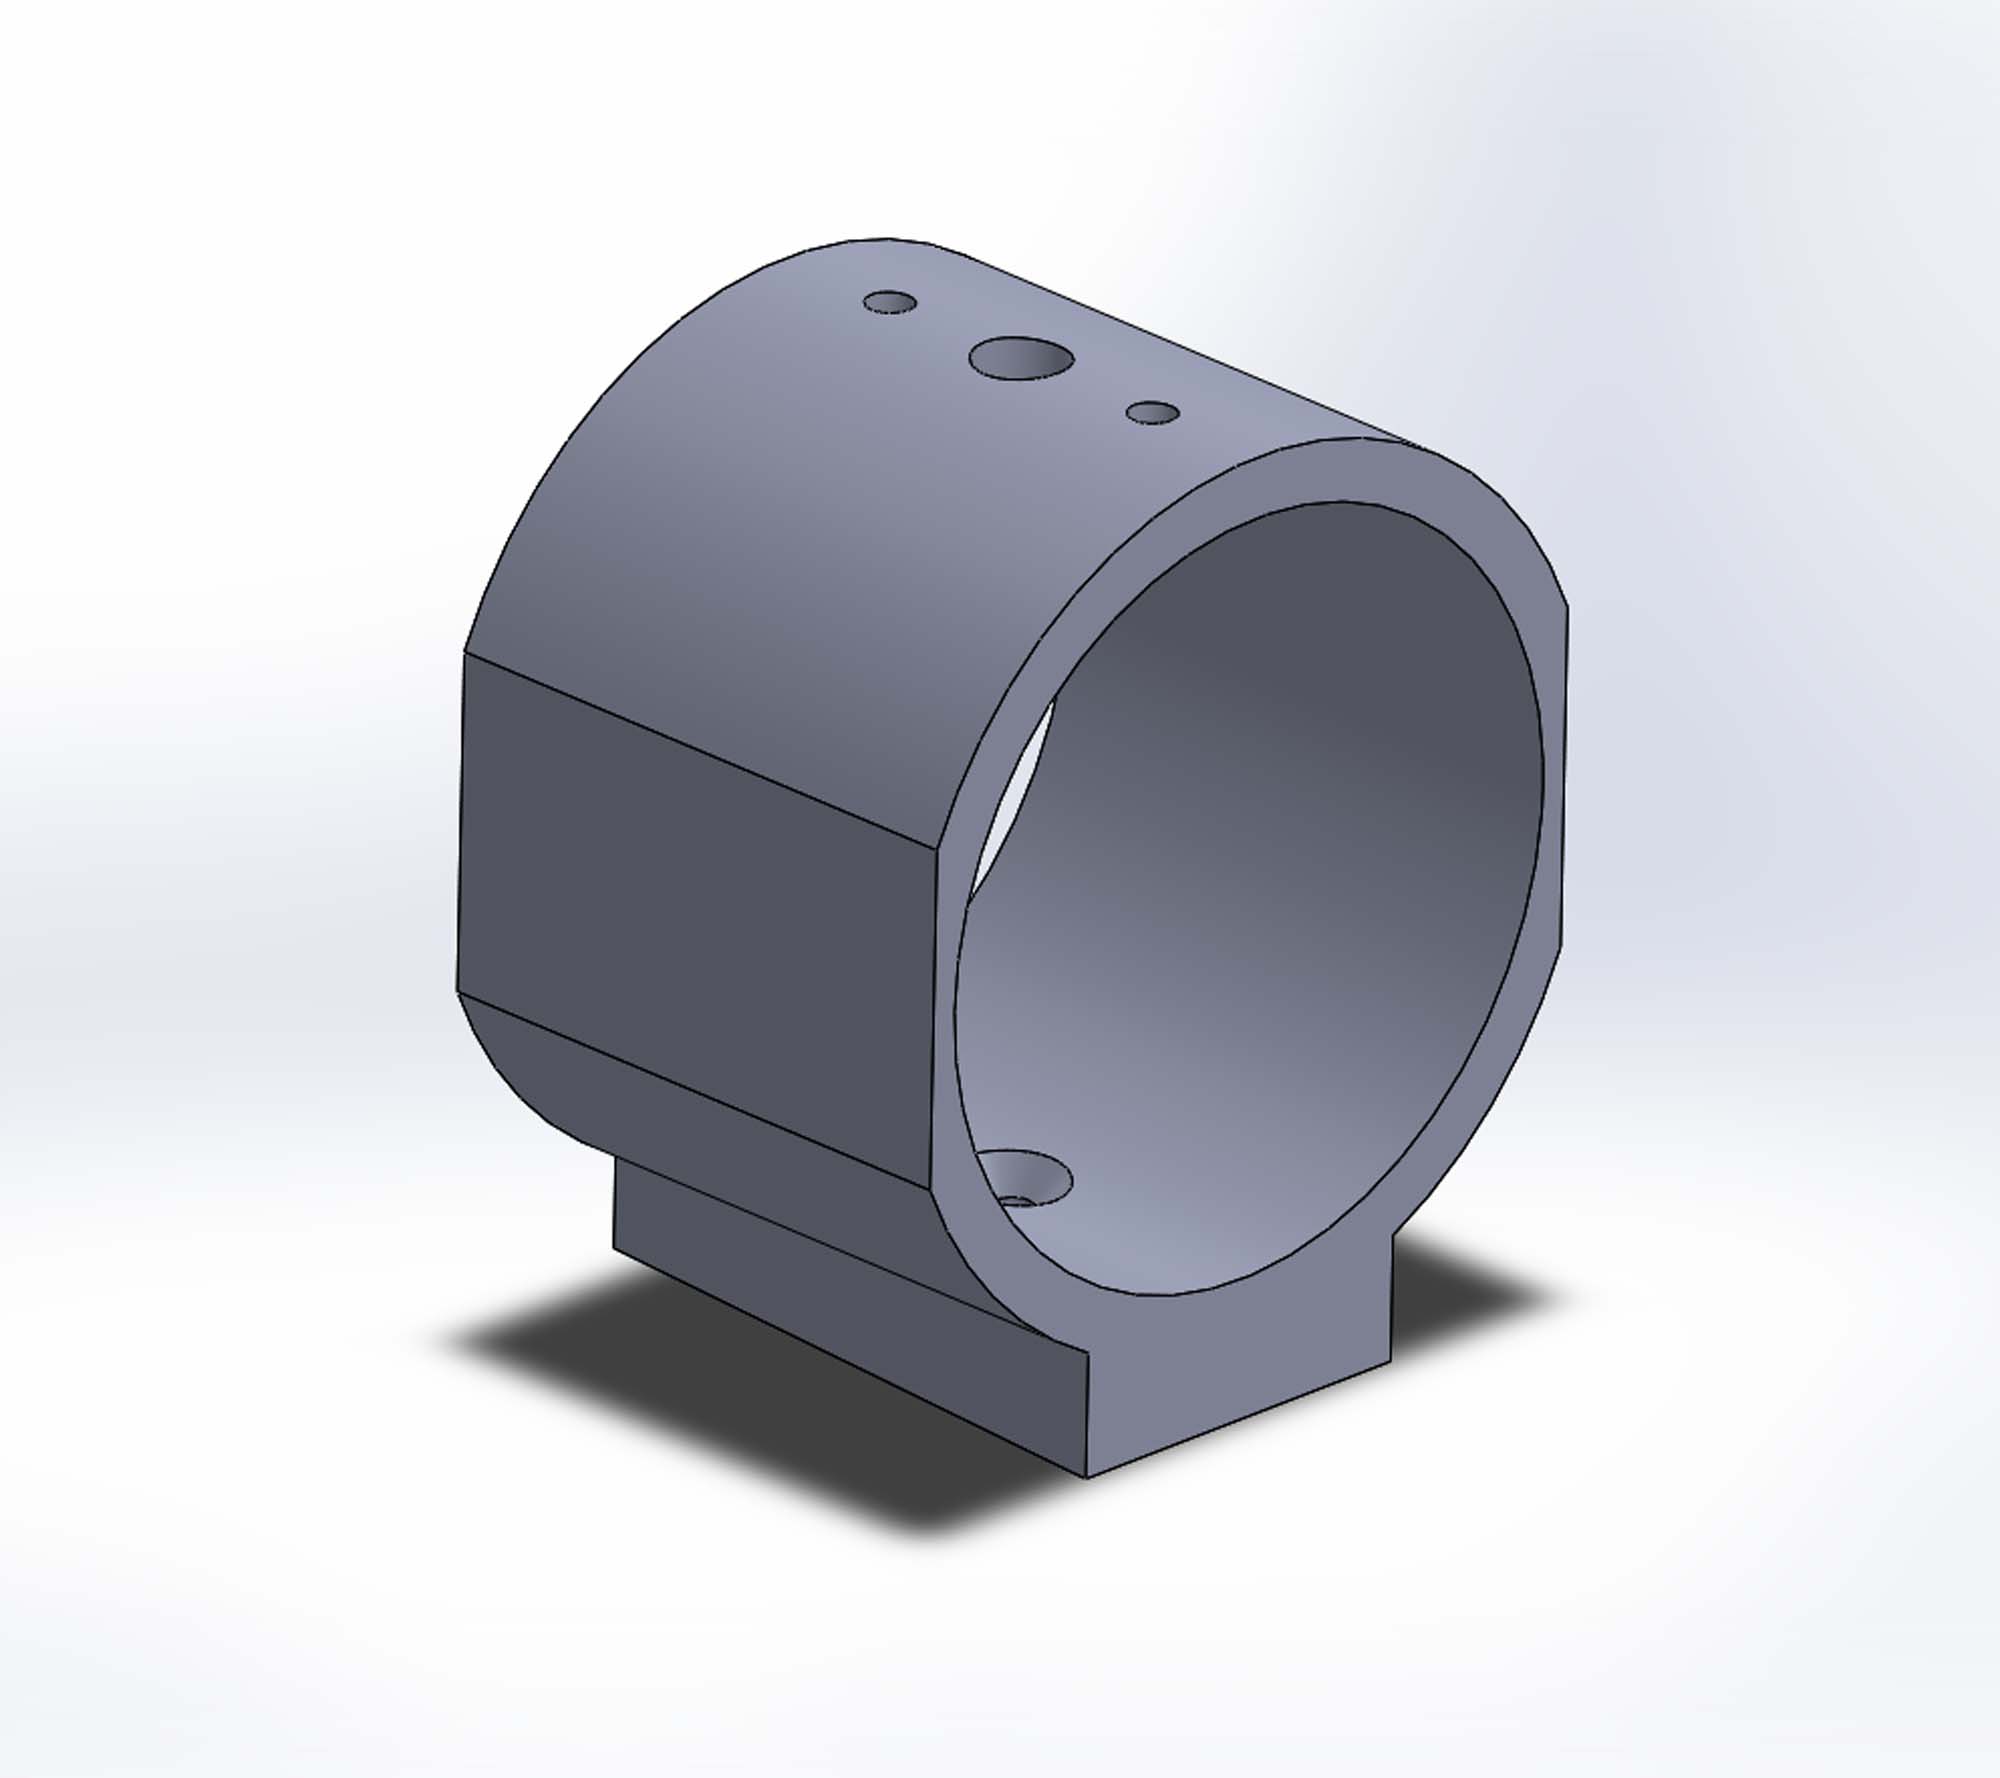
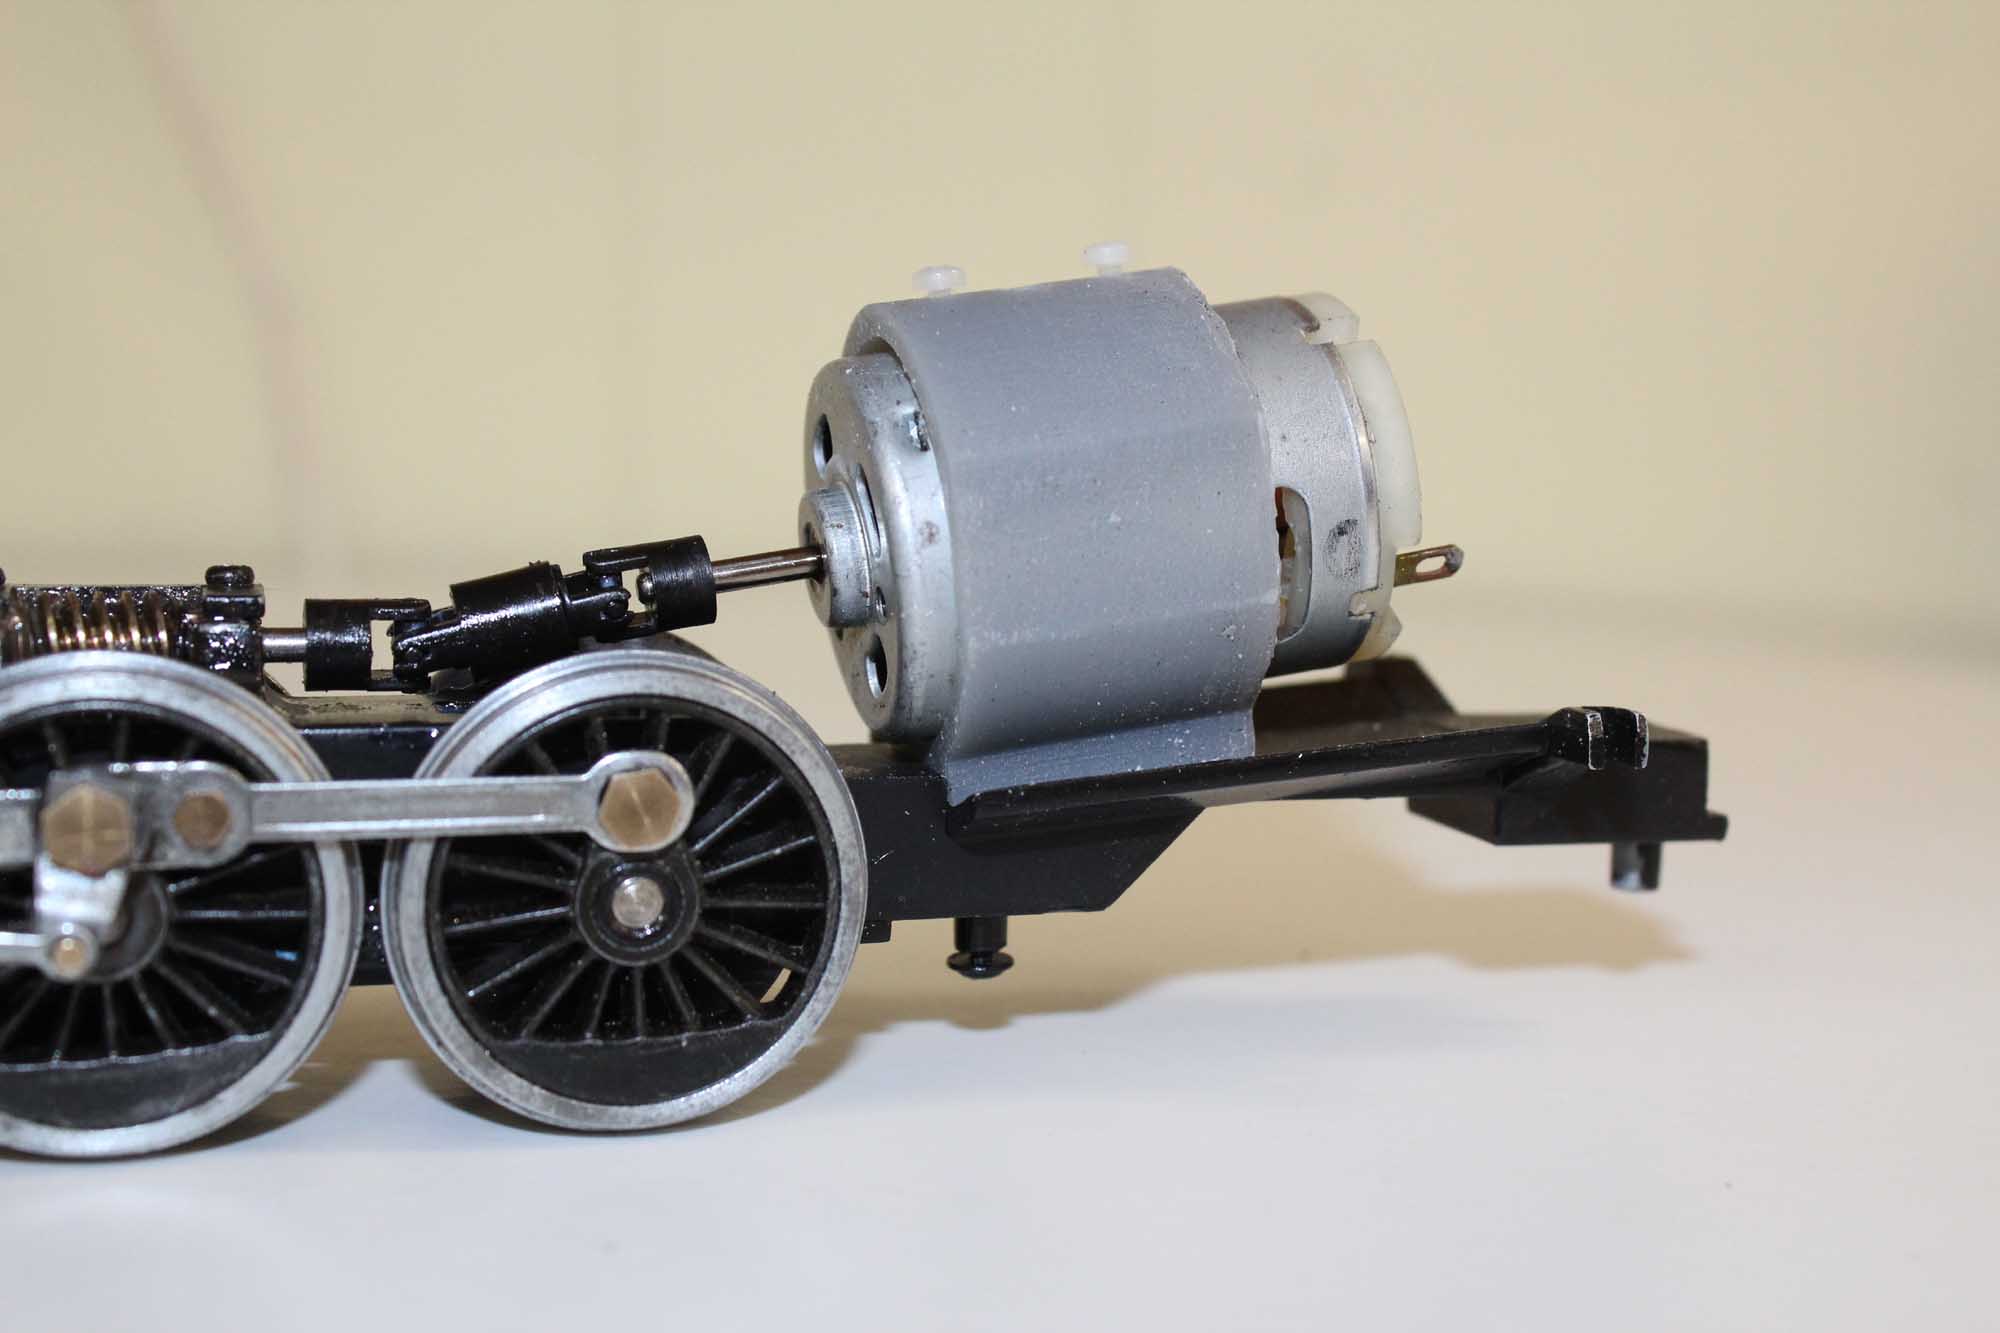
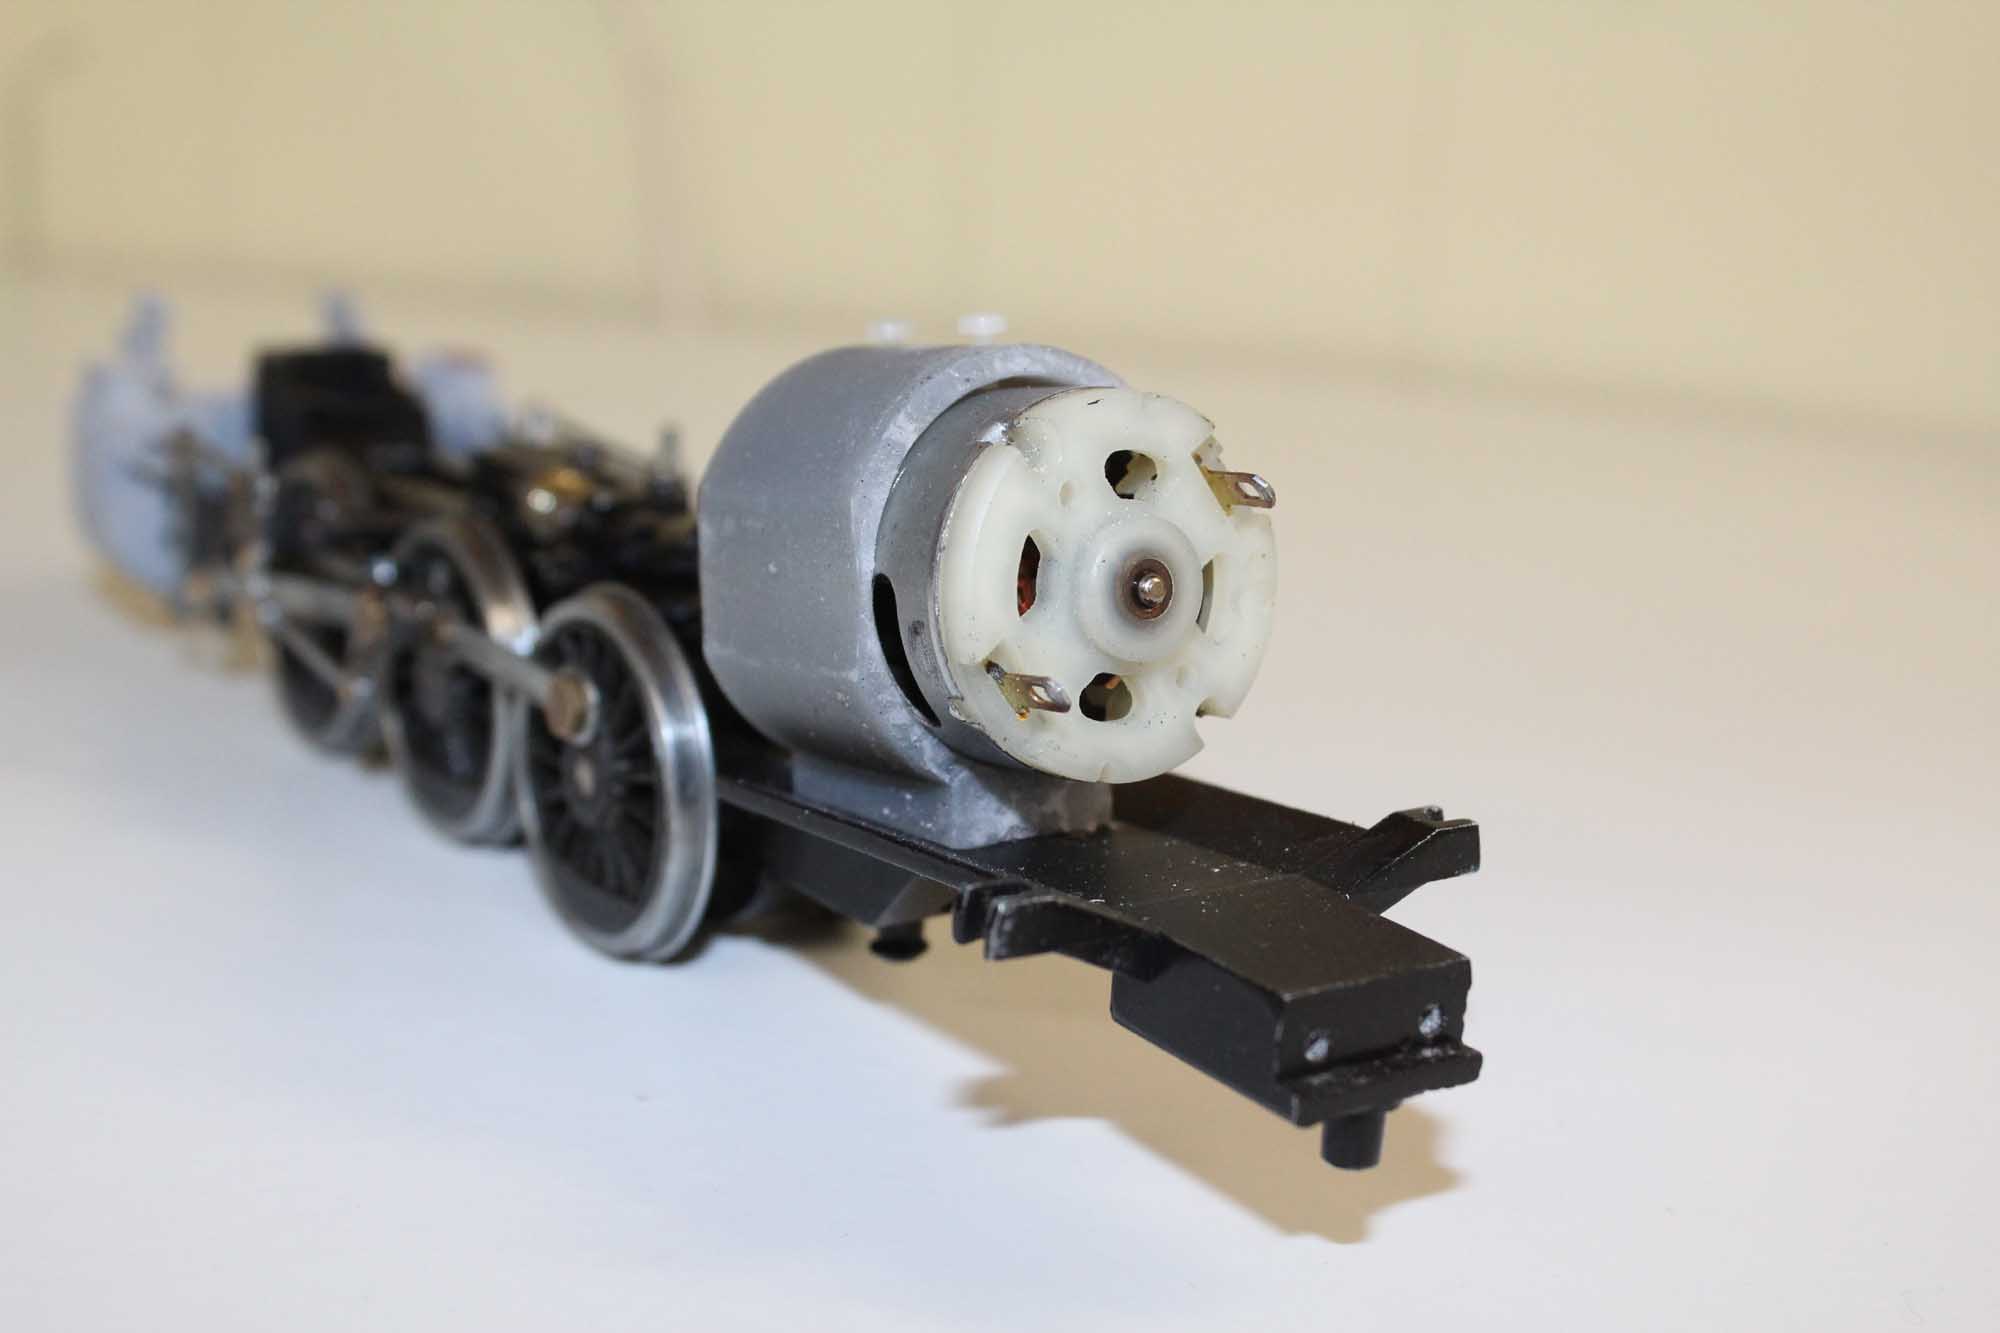
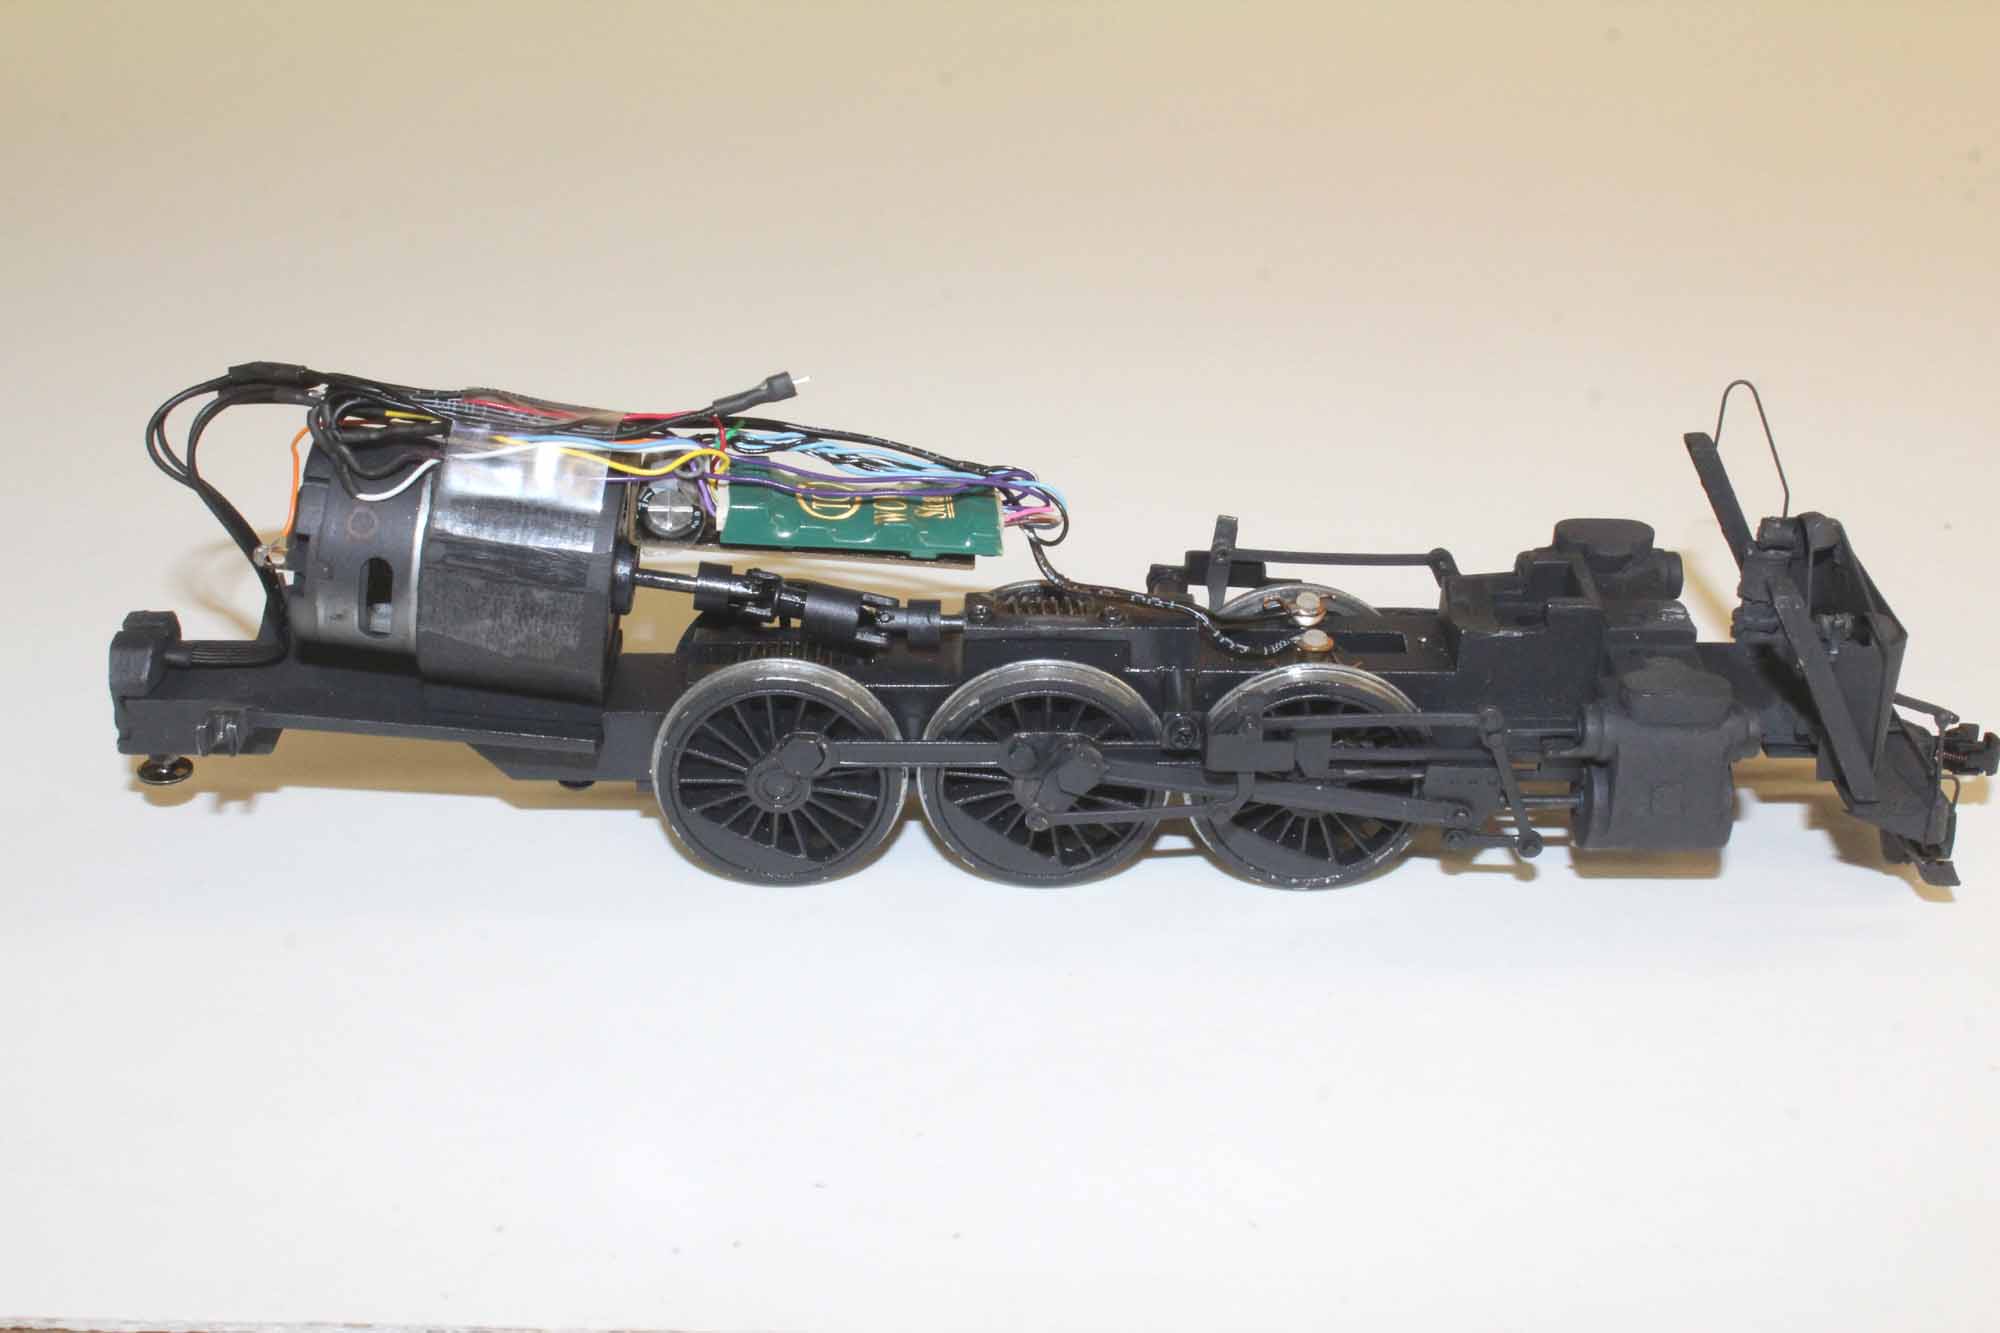
Motor Mount
I angled the bottom a bit to help with the very
offset driveshaft. There are 2 nylon screws on the top holding the motor in
place.
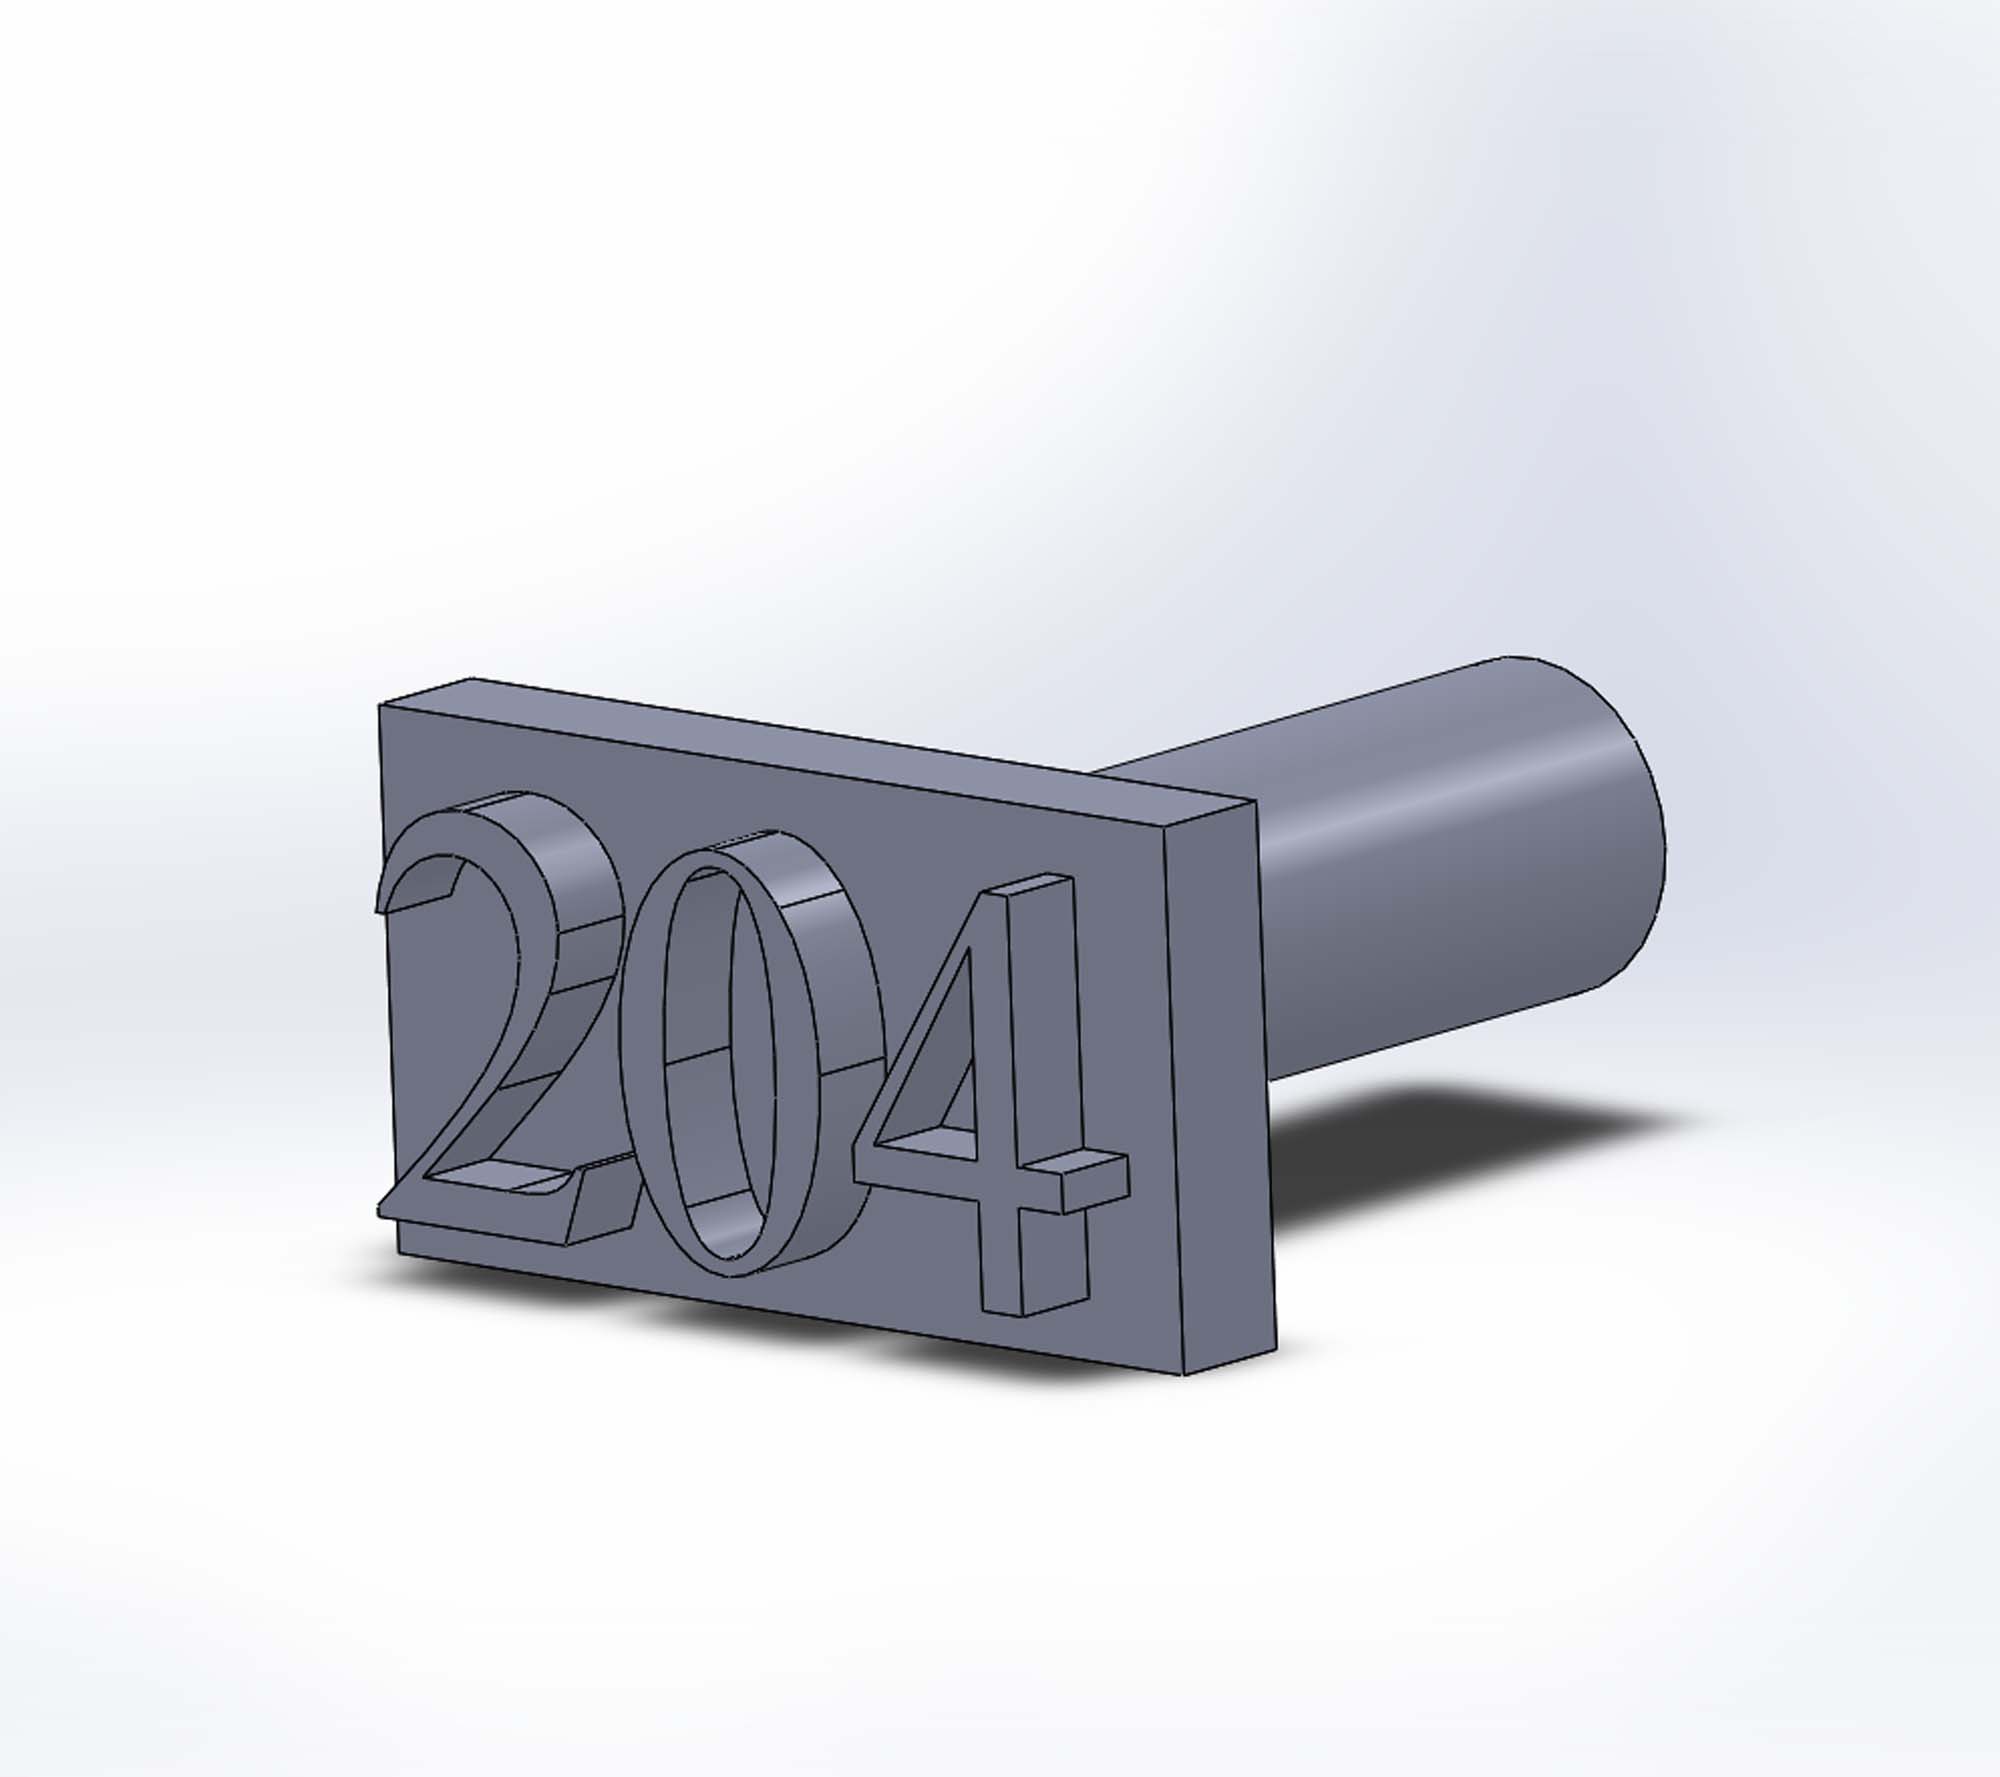
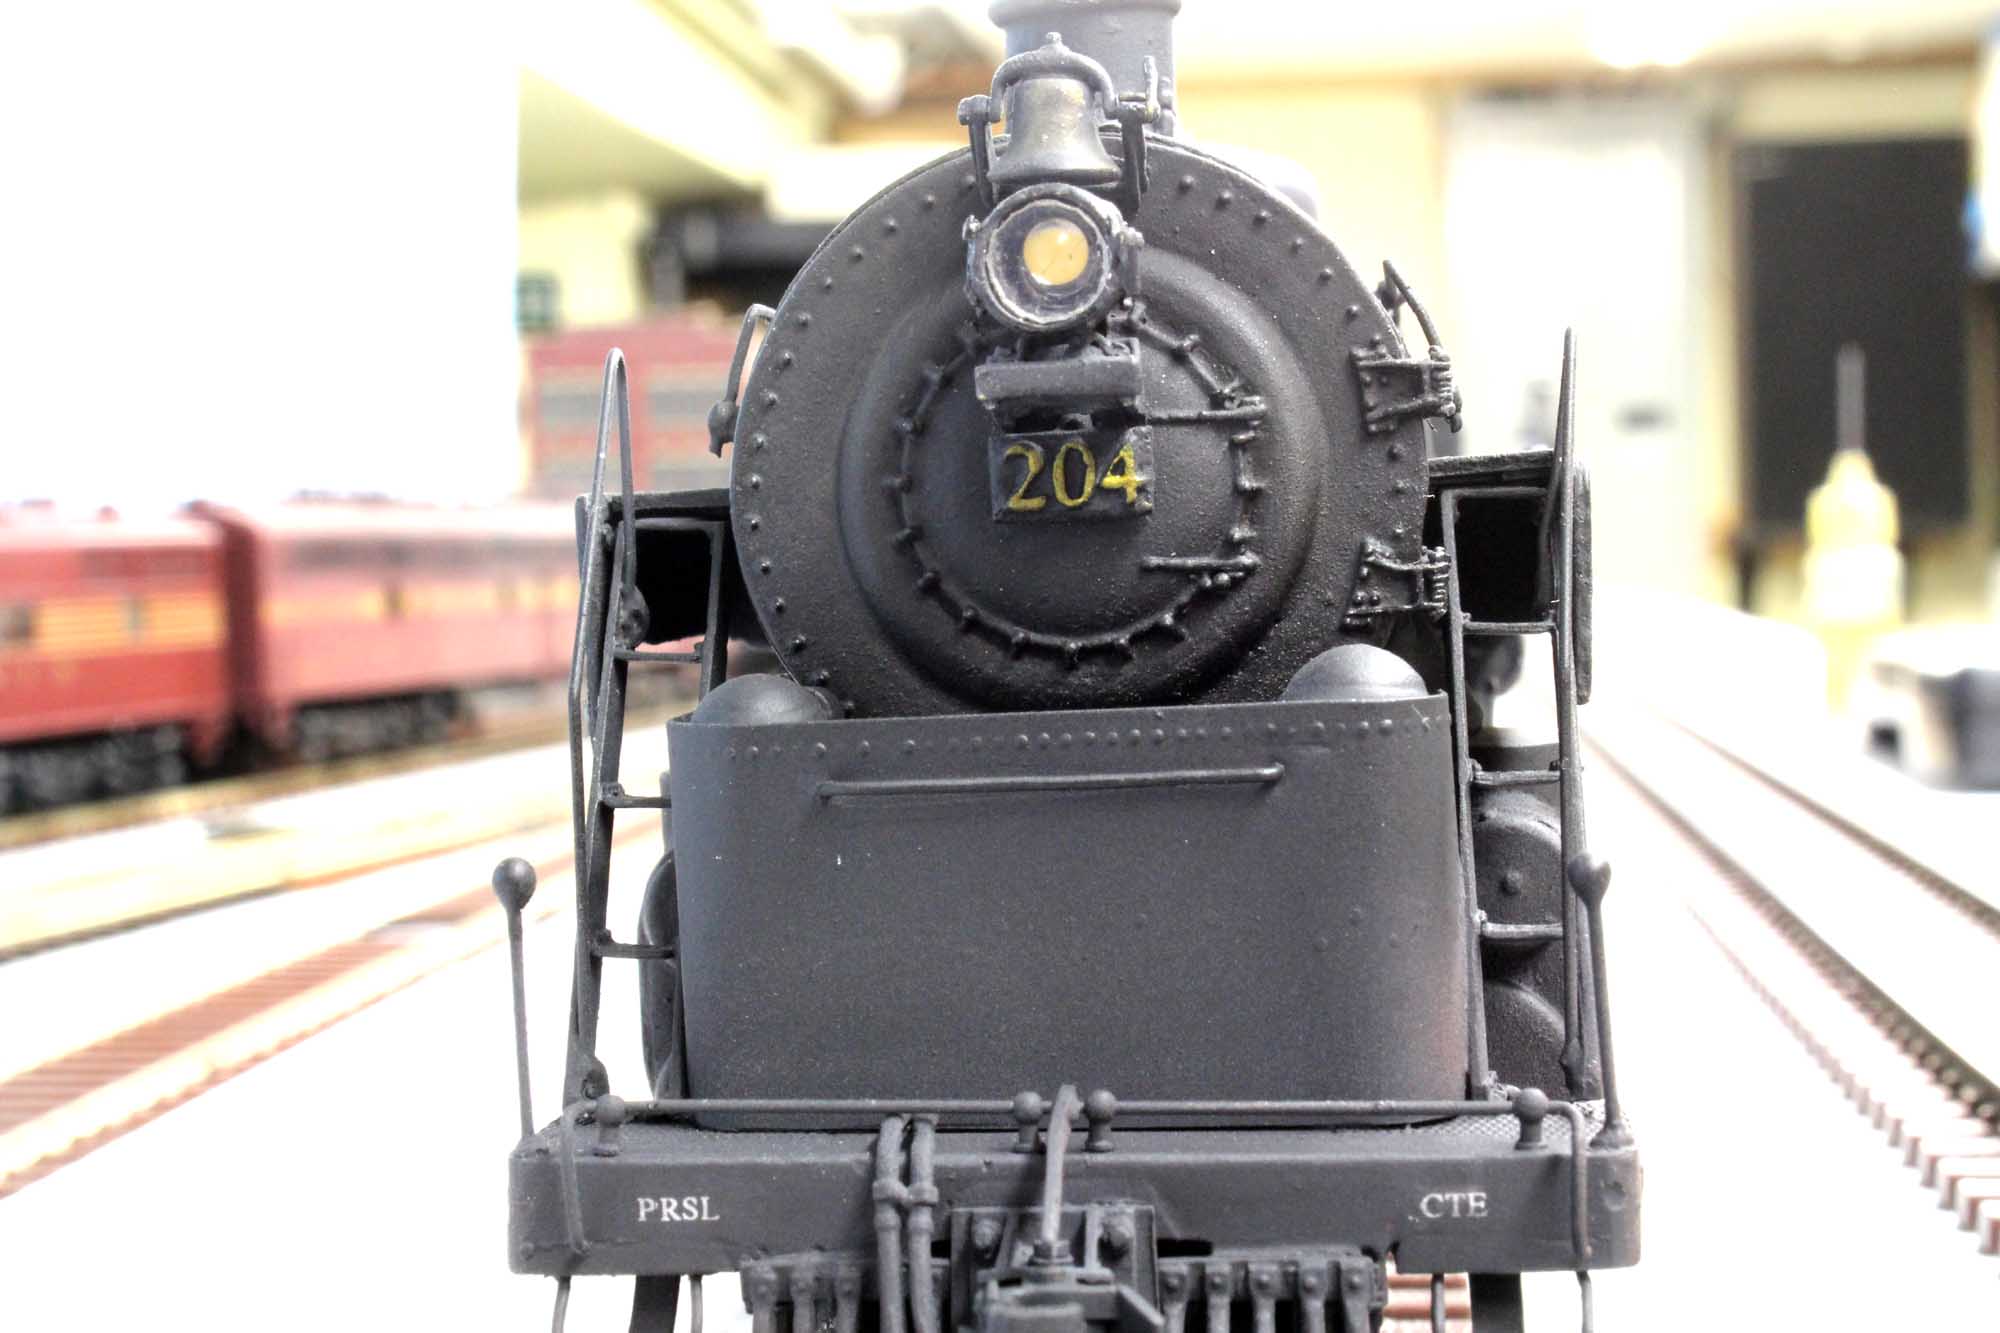
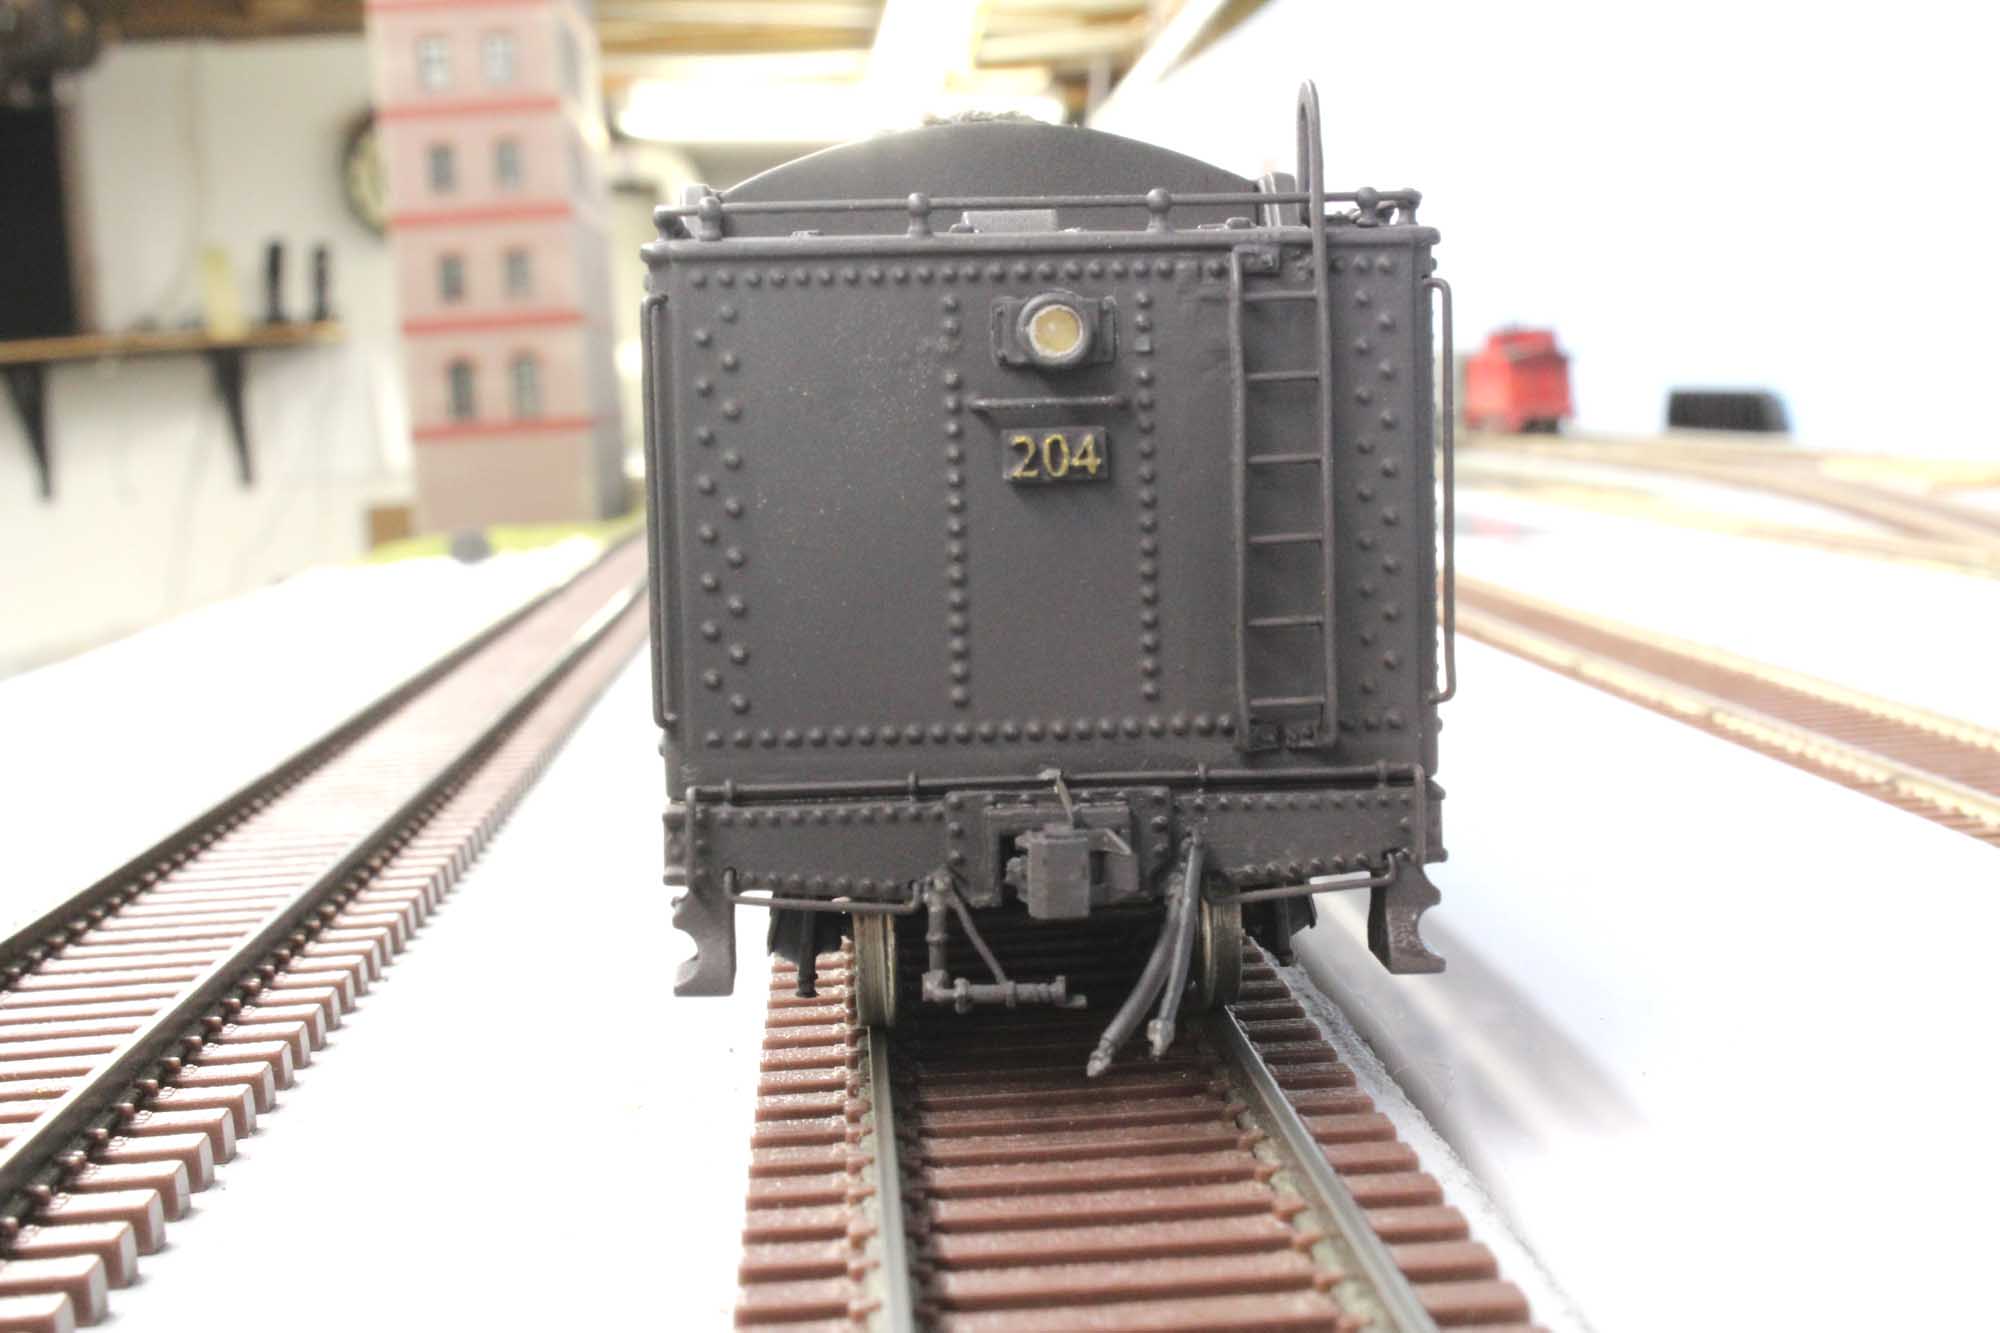
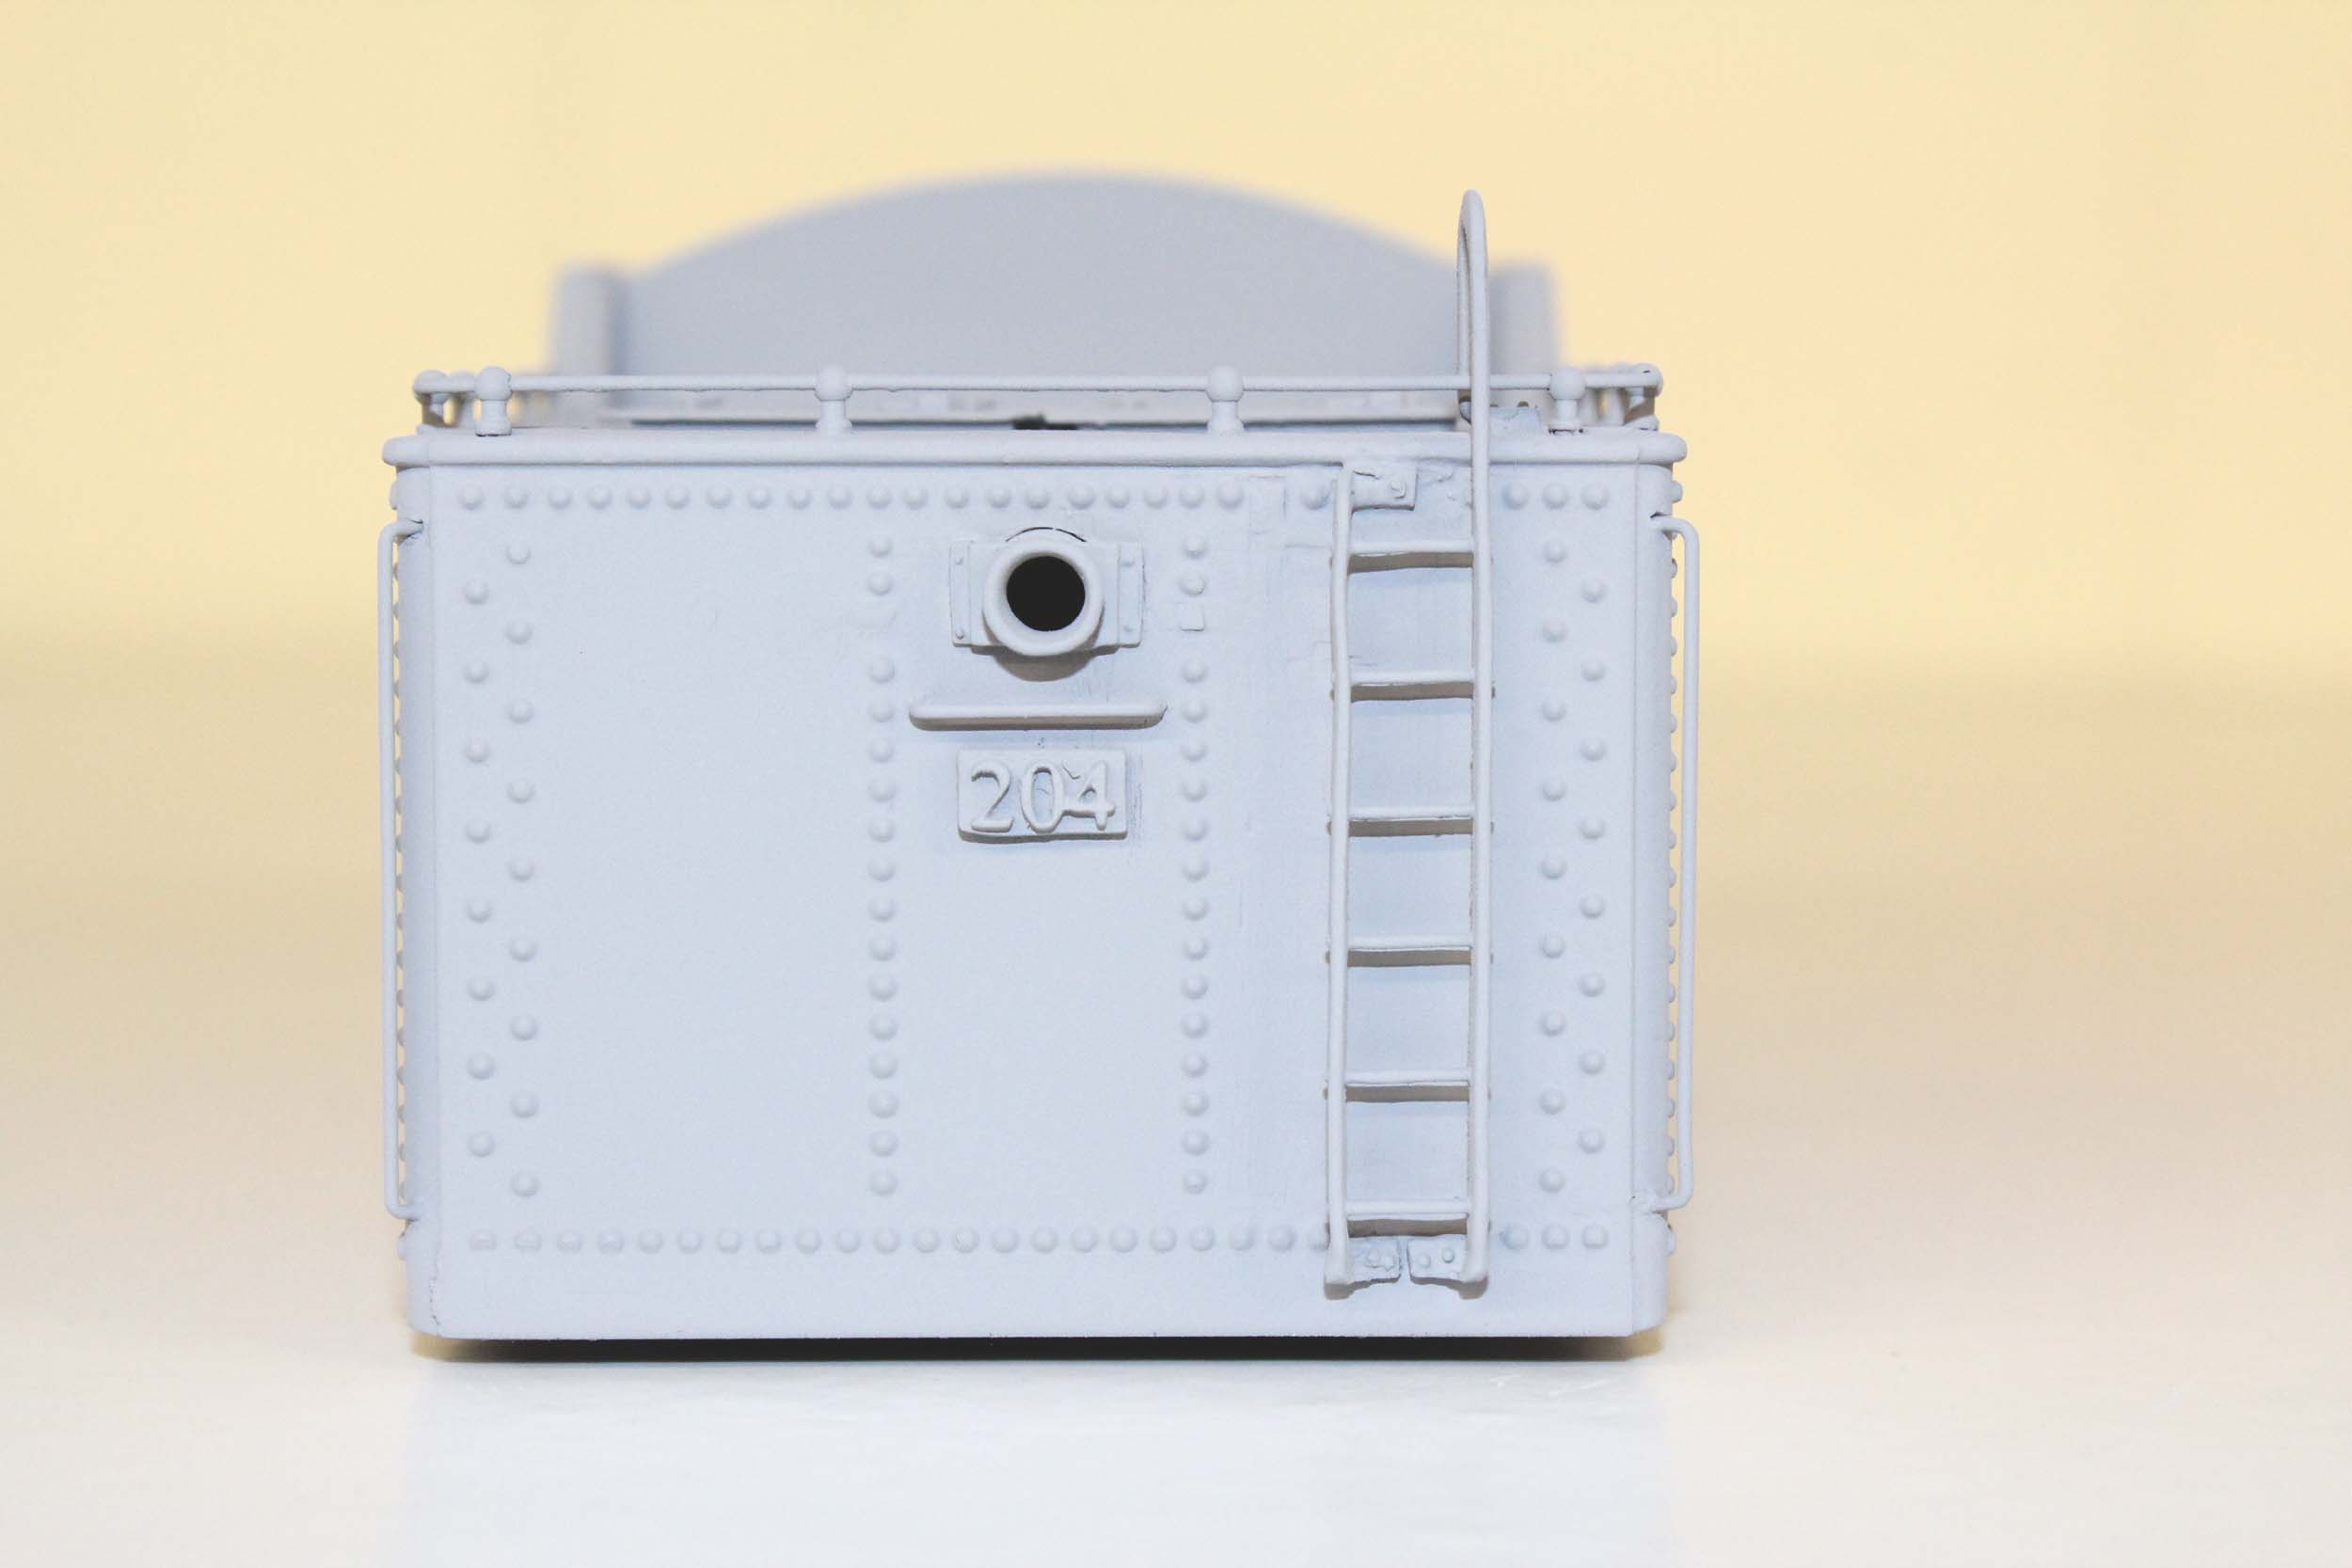
Numberboards
I used 1 I had cast in brass for the boiler front. The tender
numberplate was right from my printer.
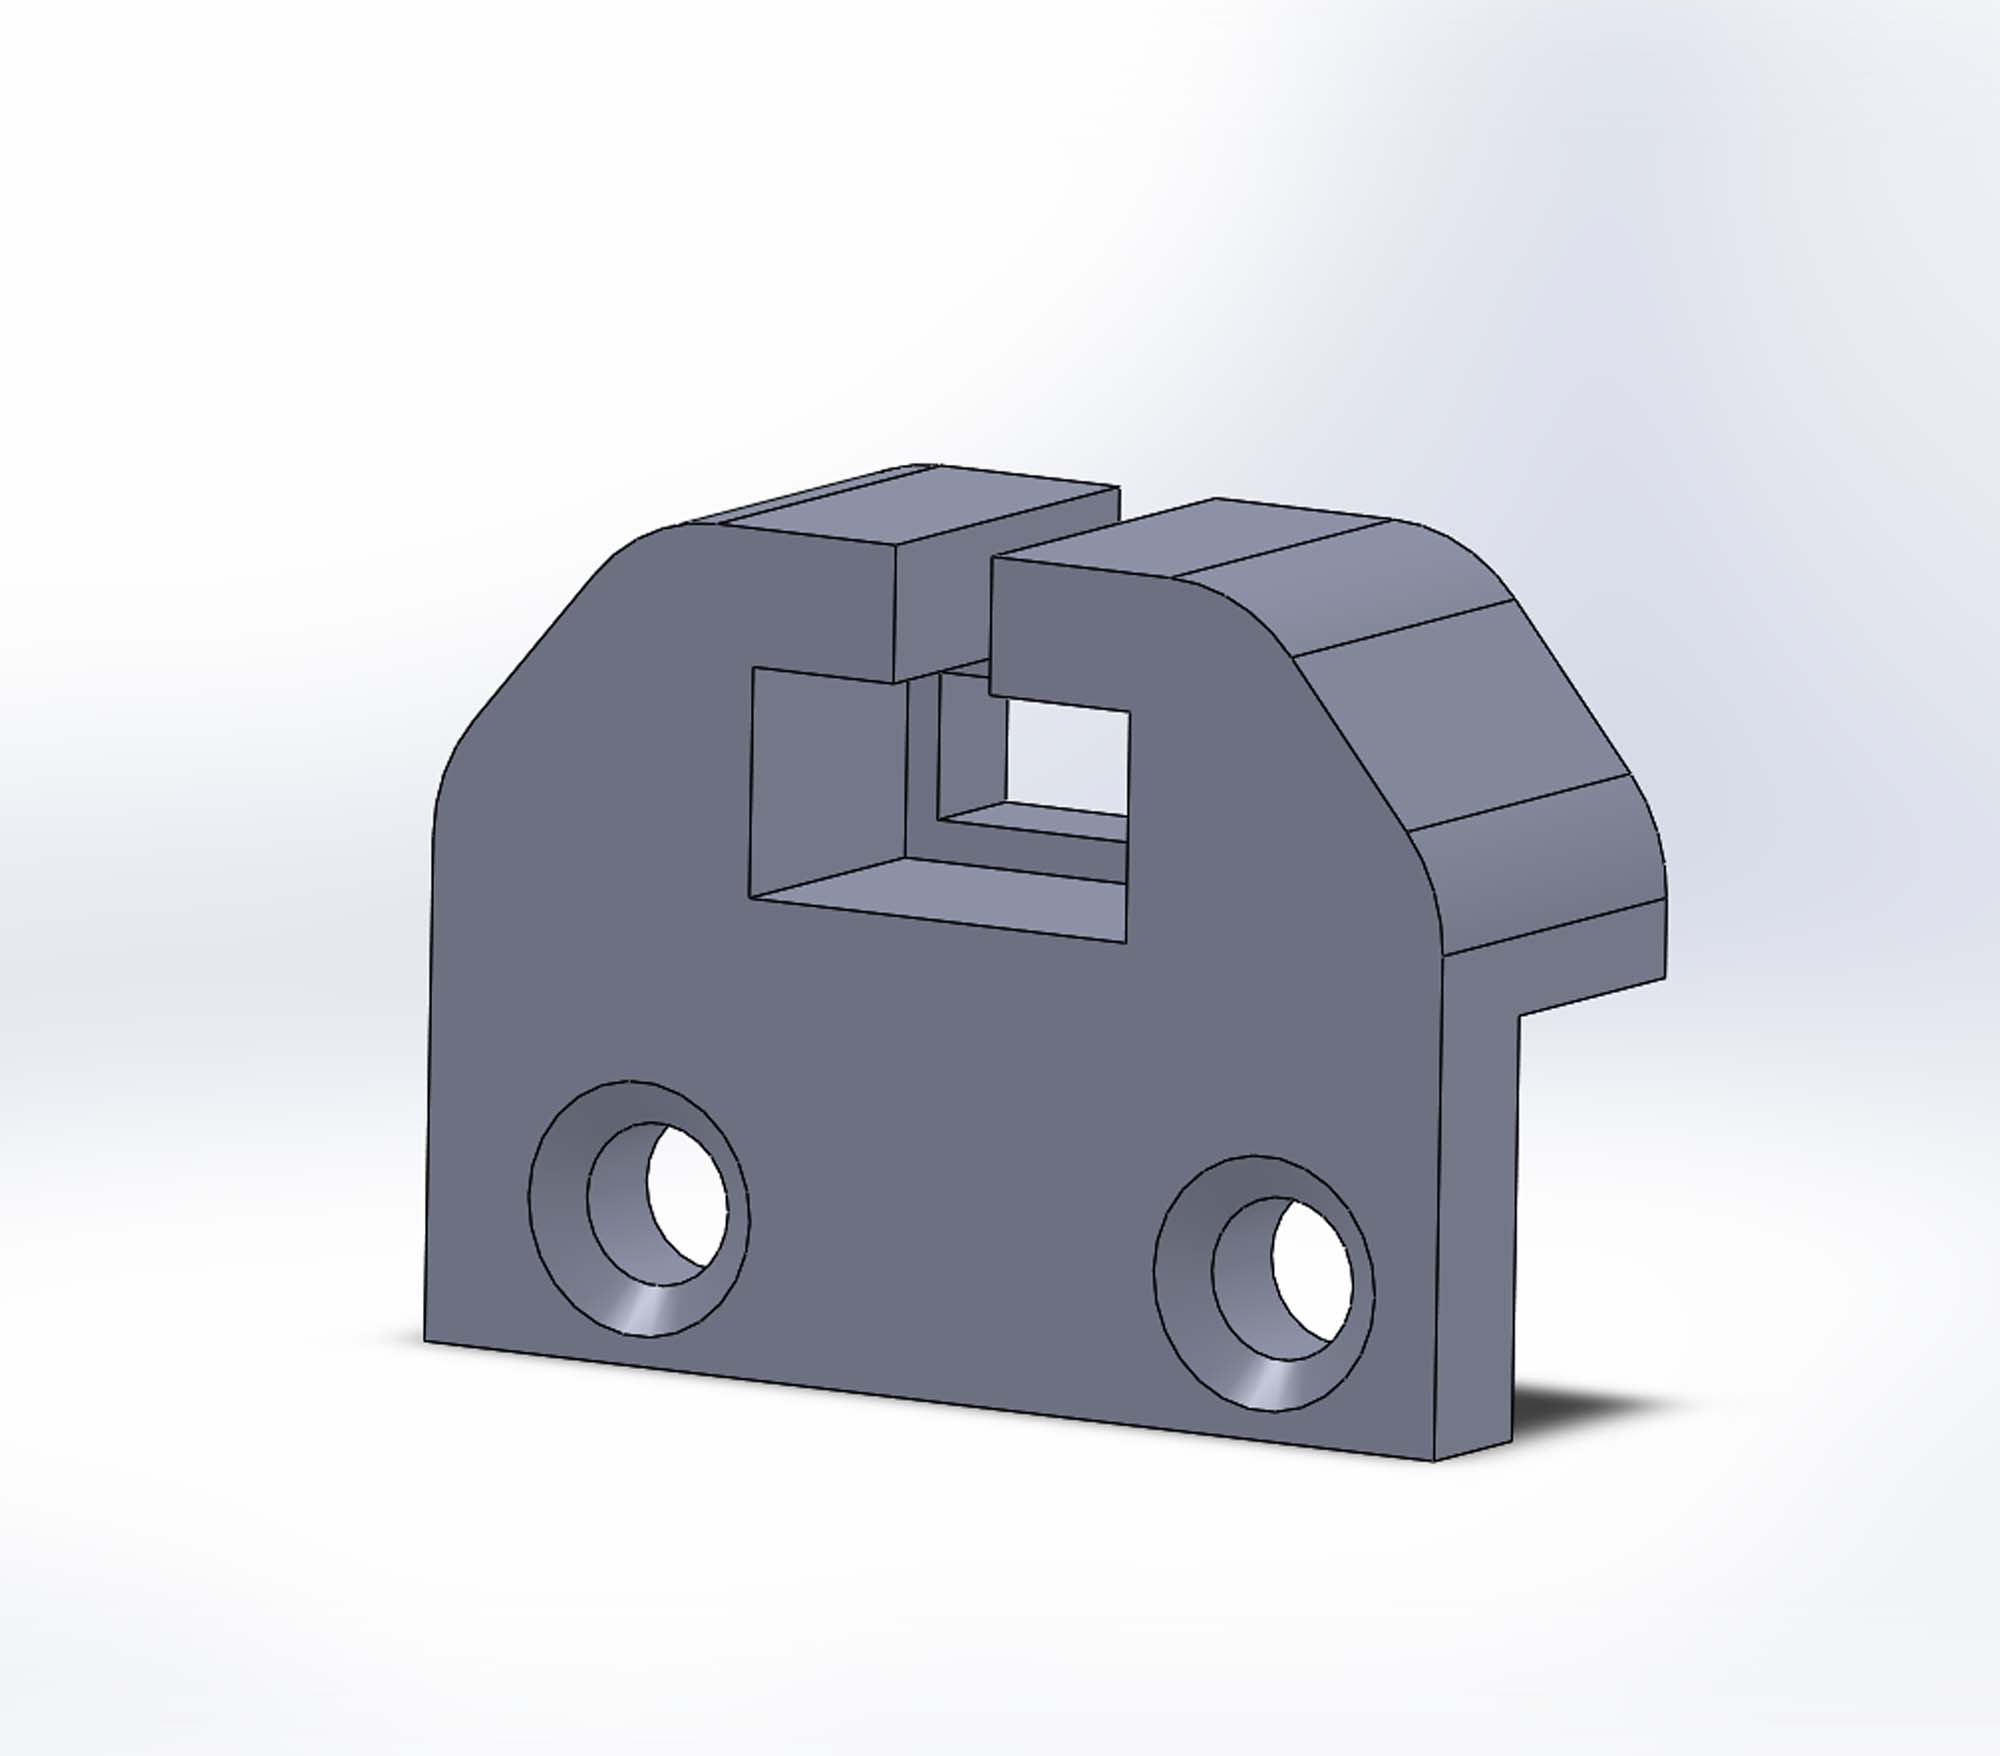
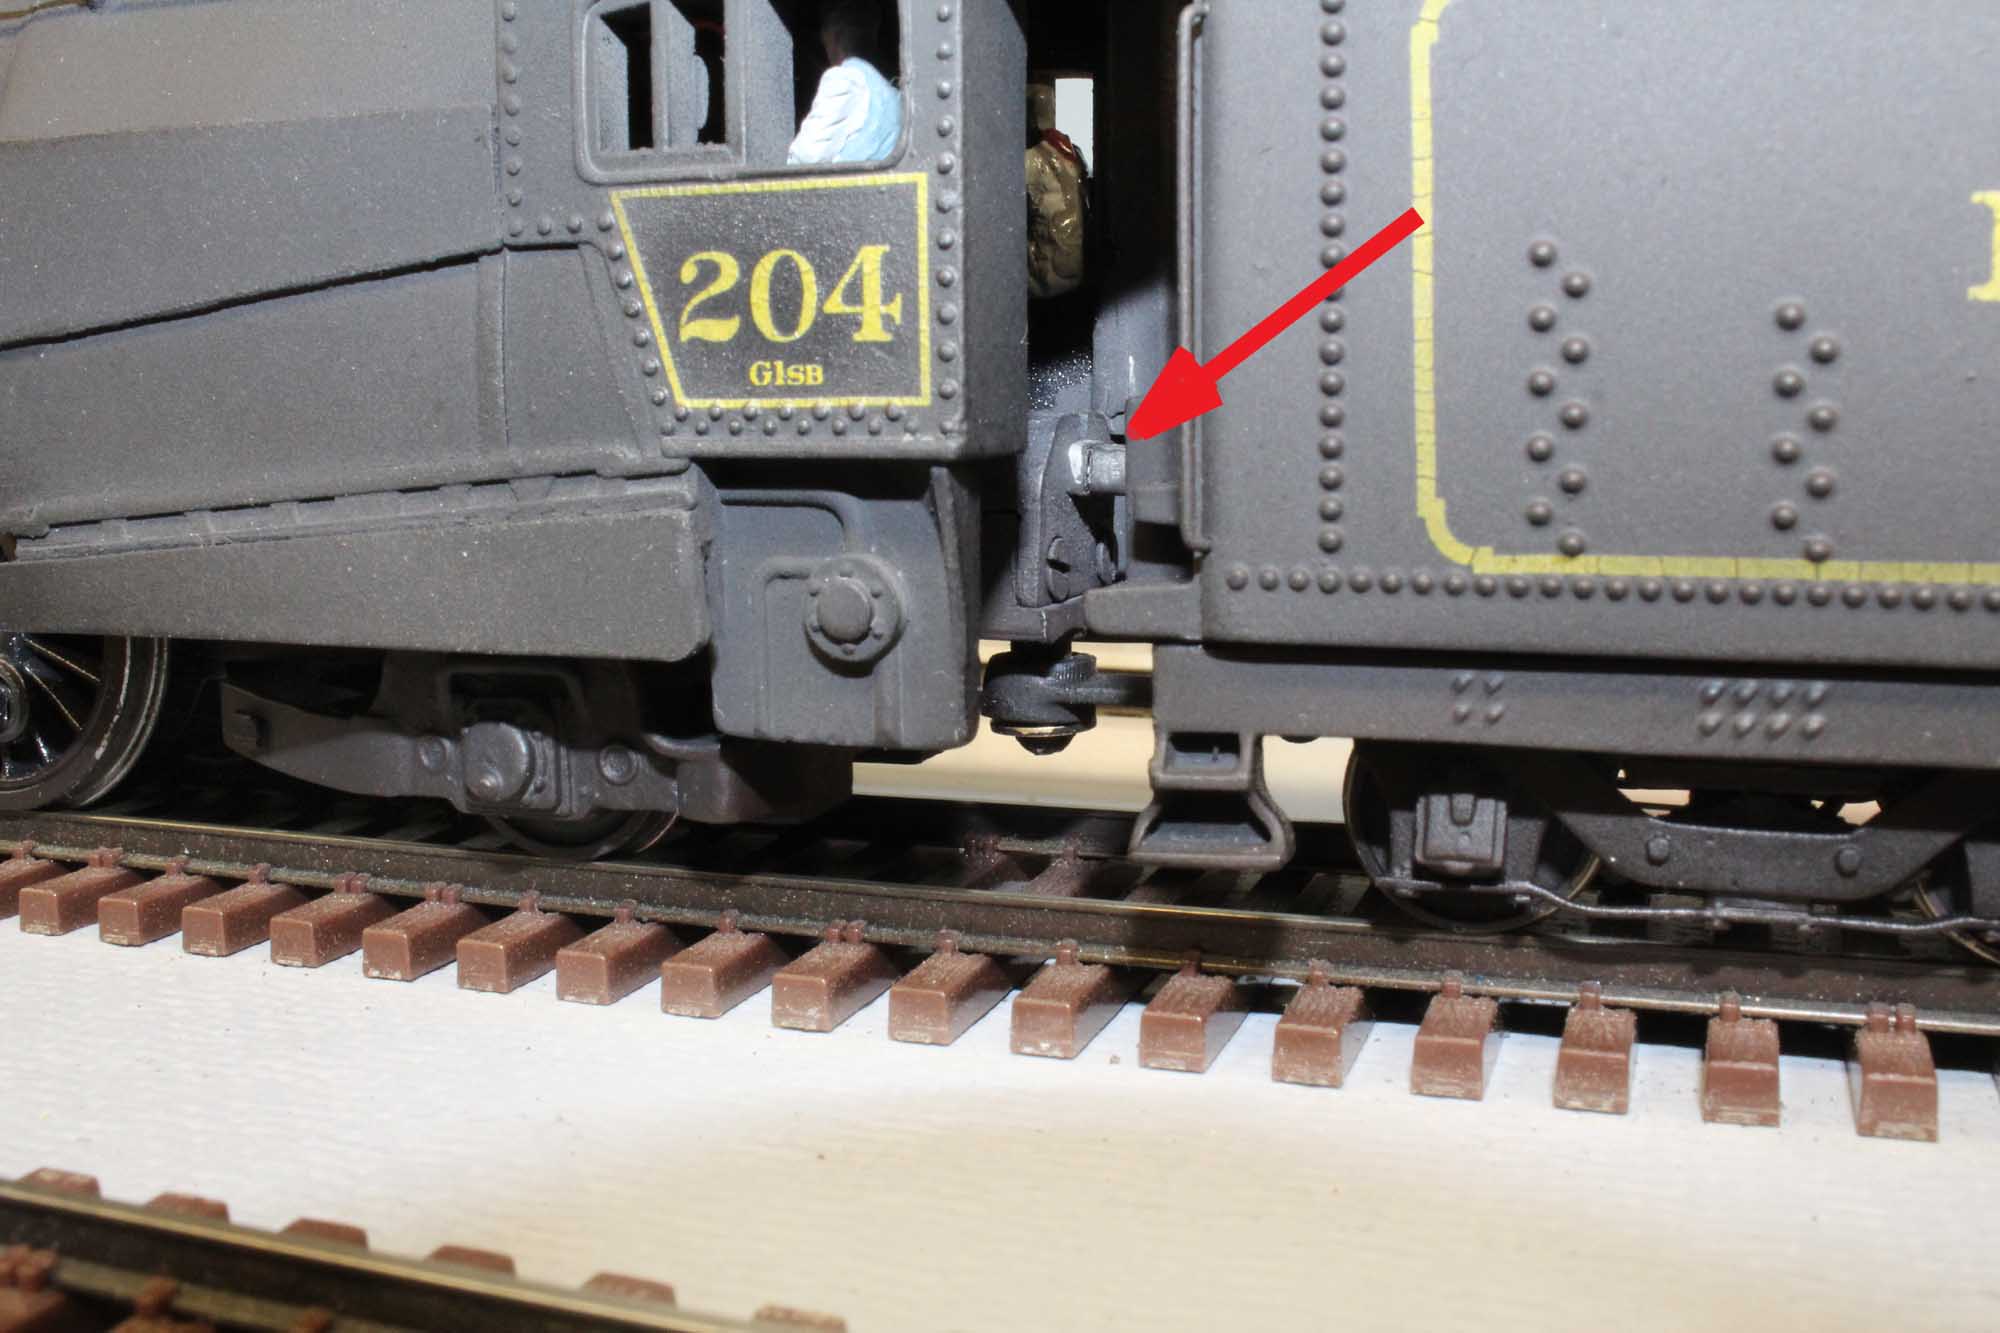
Power Plug Bracket
This
bracket holds the Miniatronics 2 pin power plug form the tender to the loco in place on the
frame at the drawbar of the loco. Just having fun making parts!
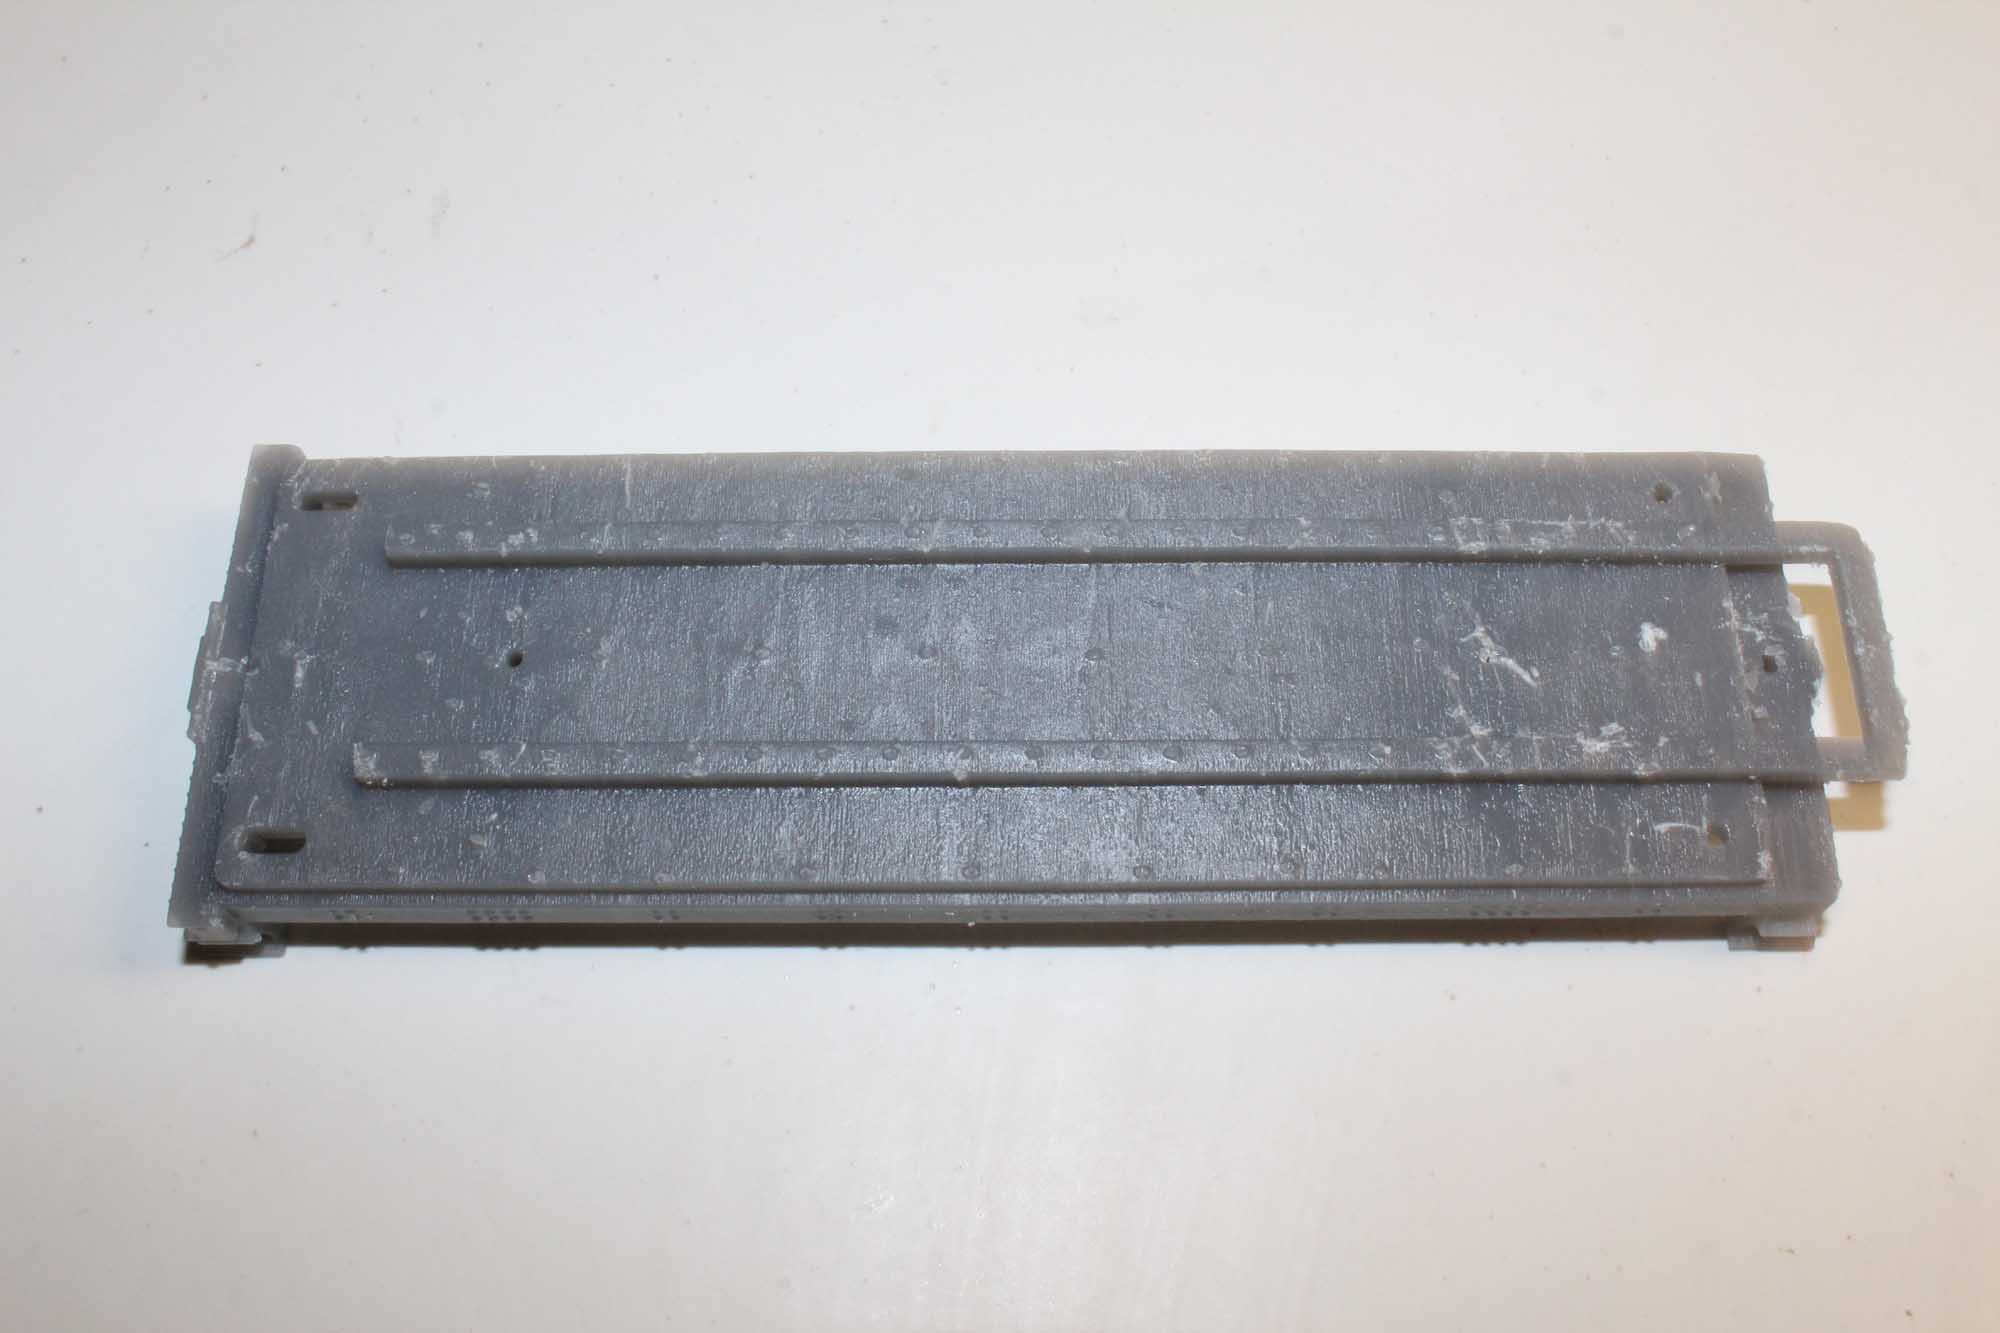
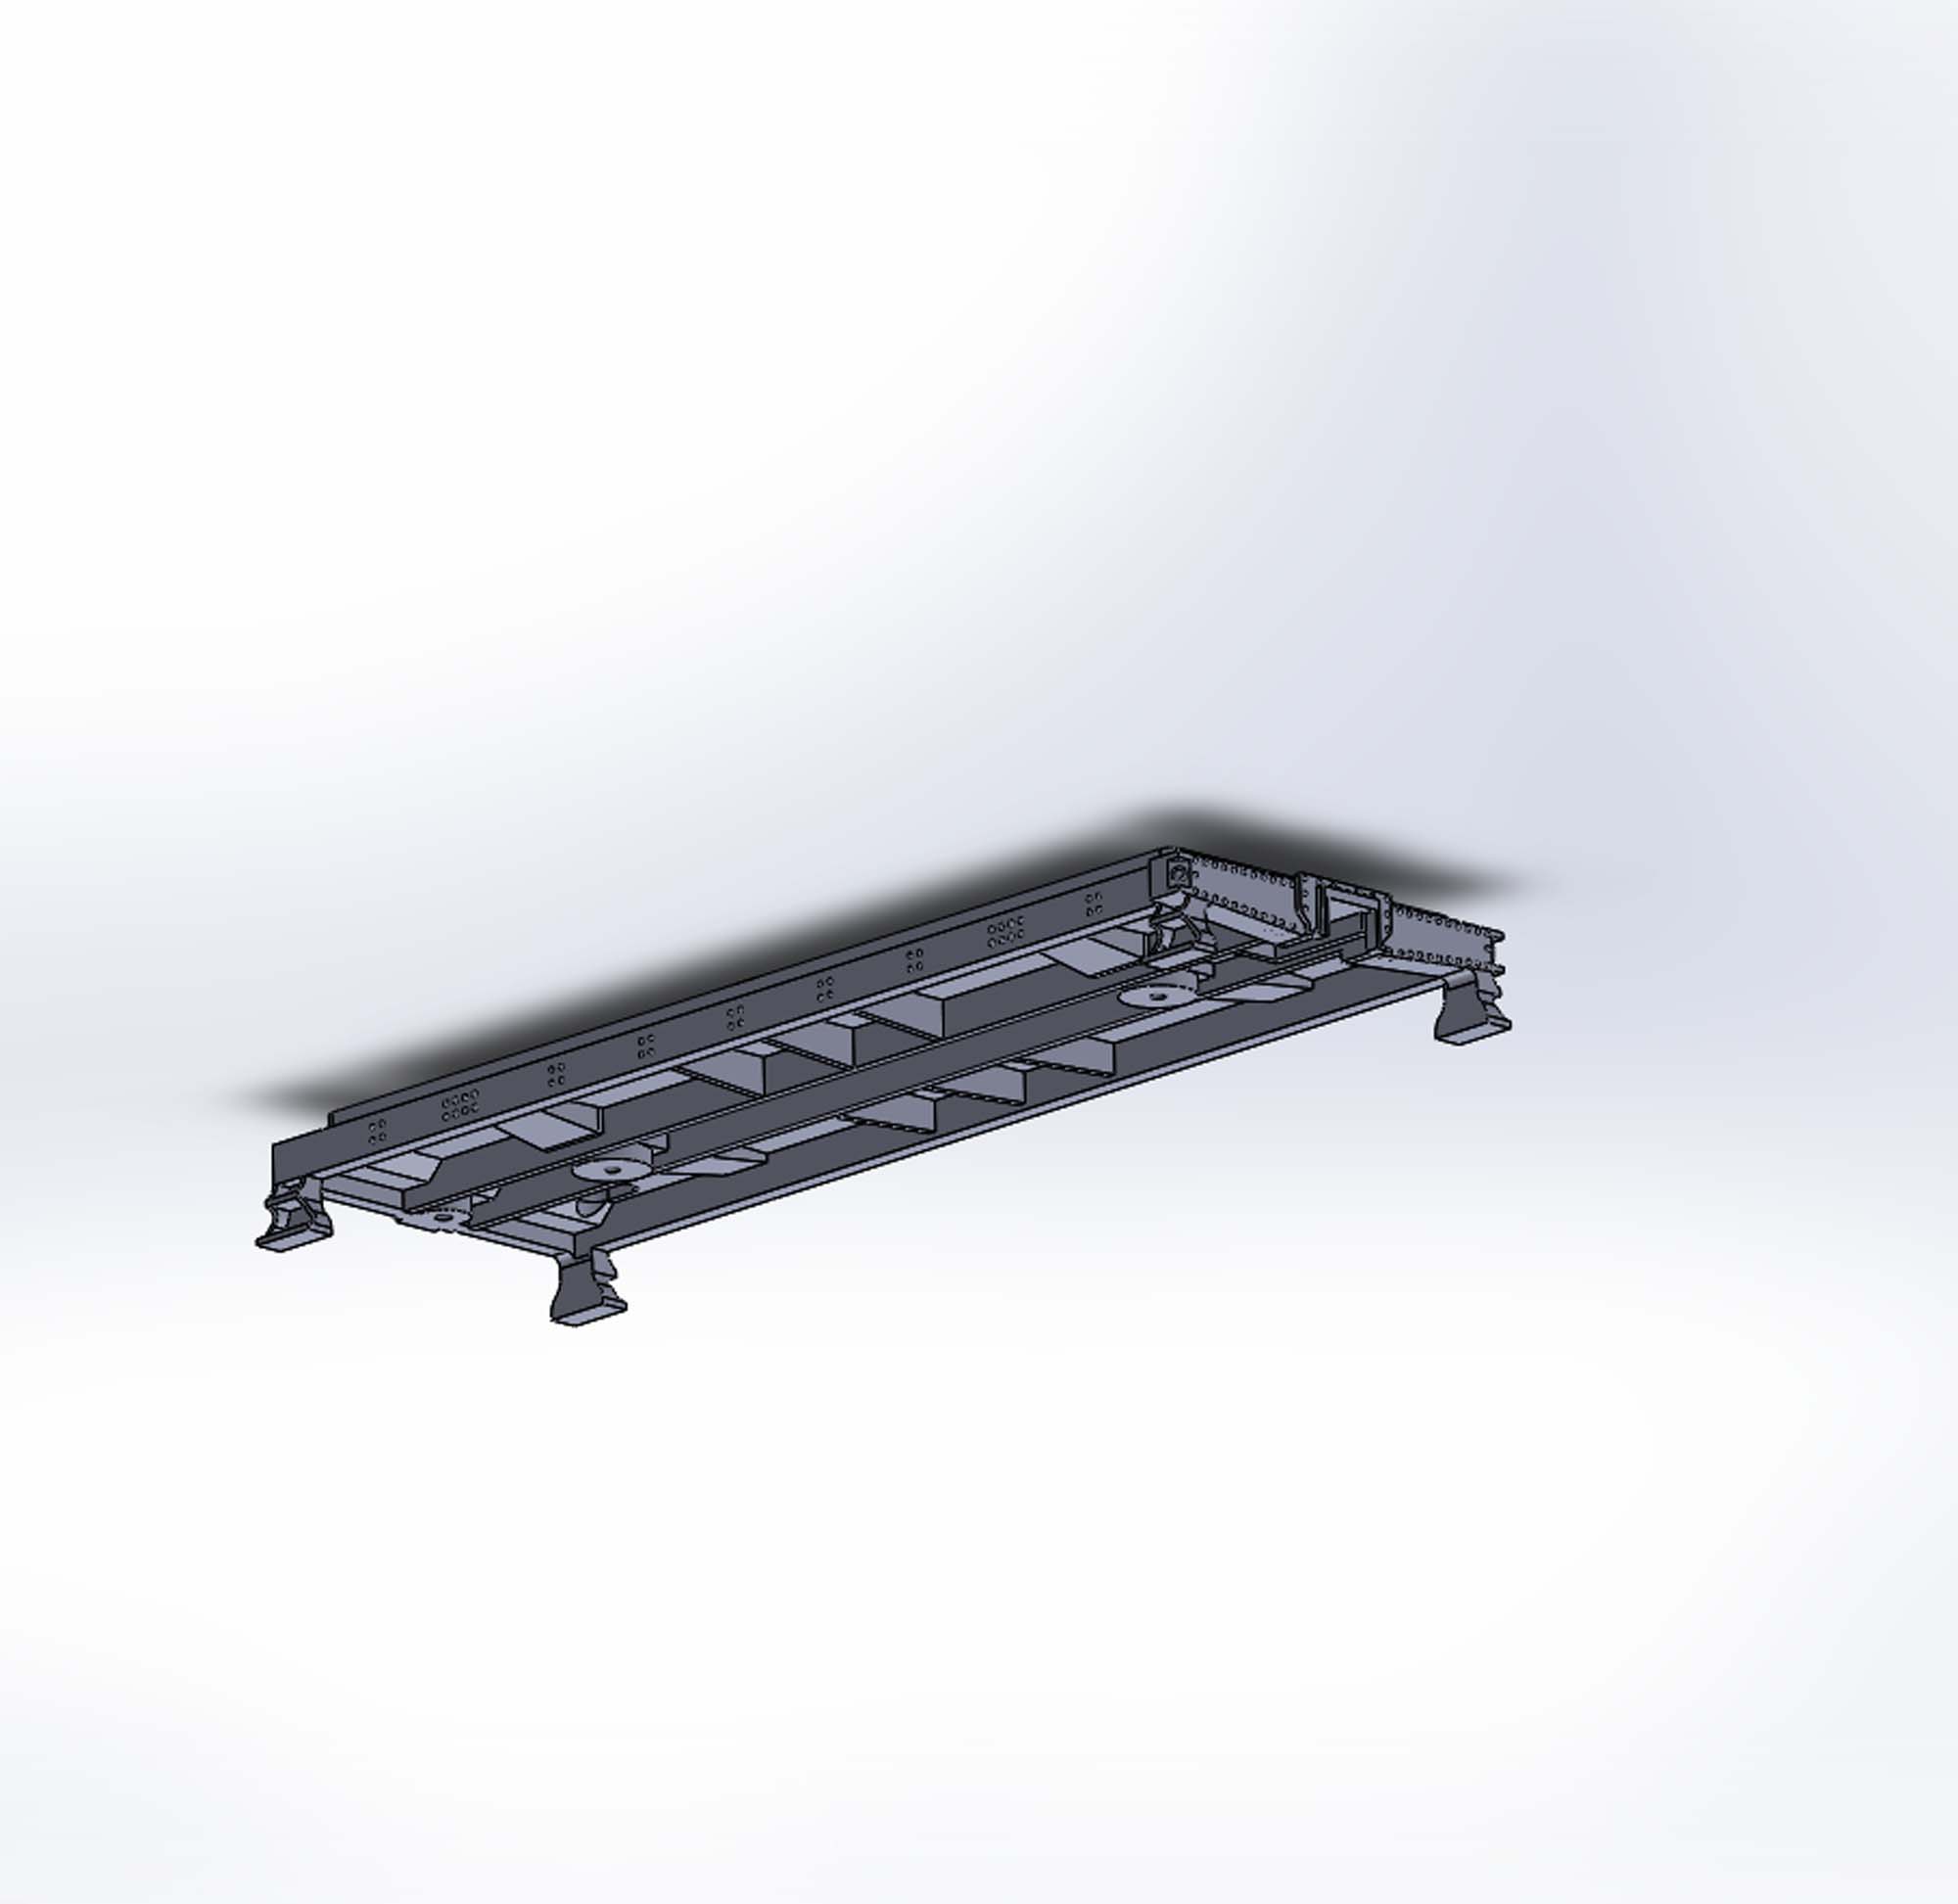
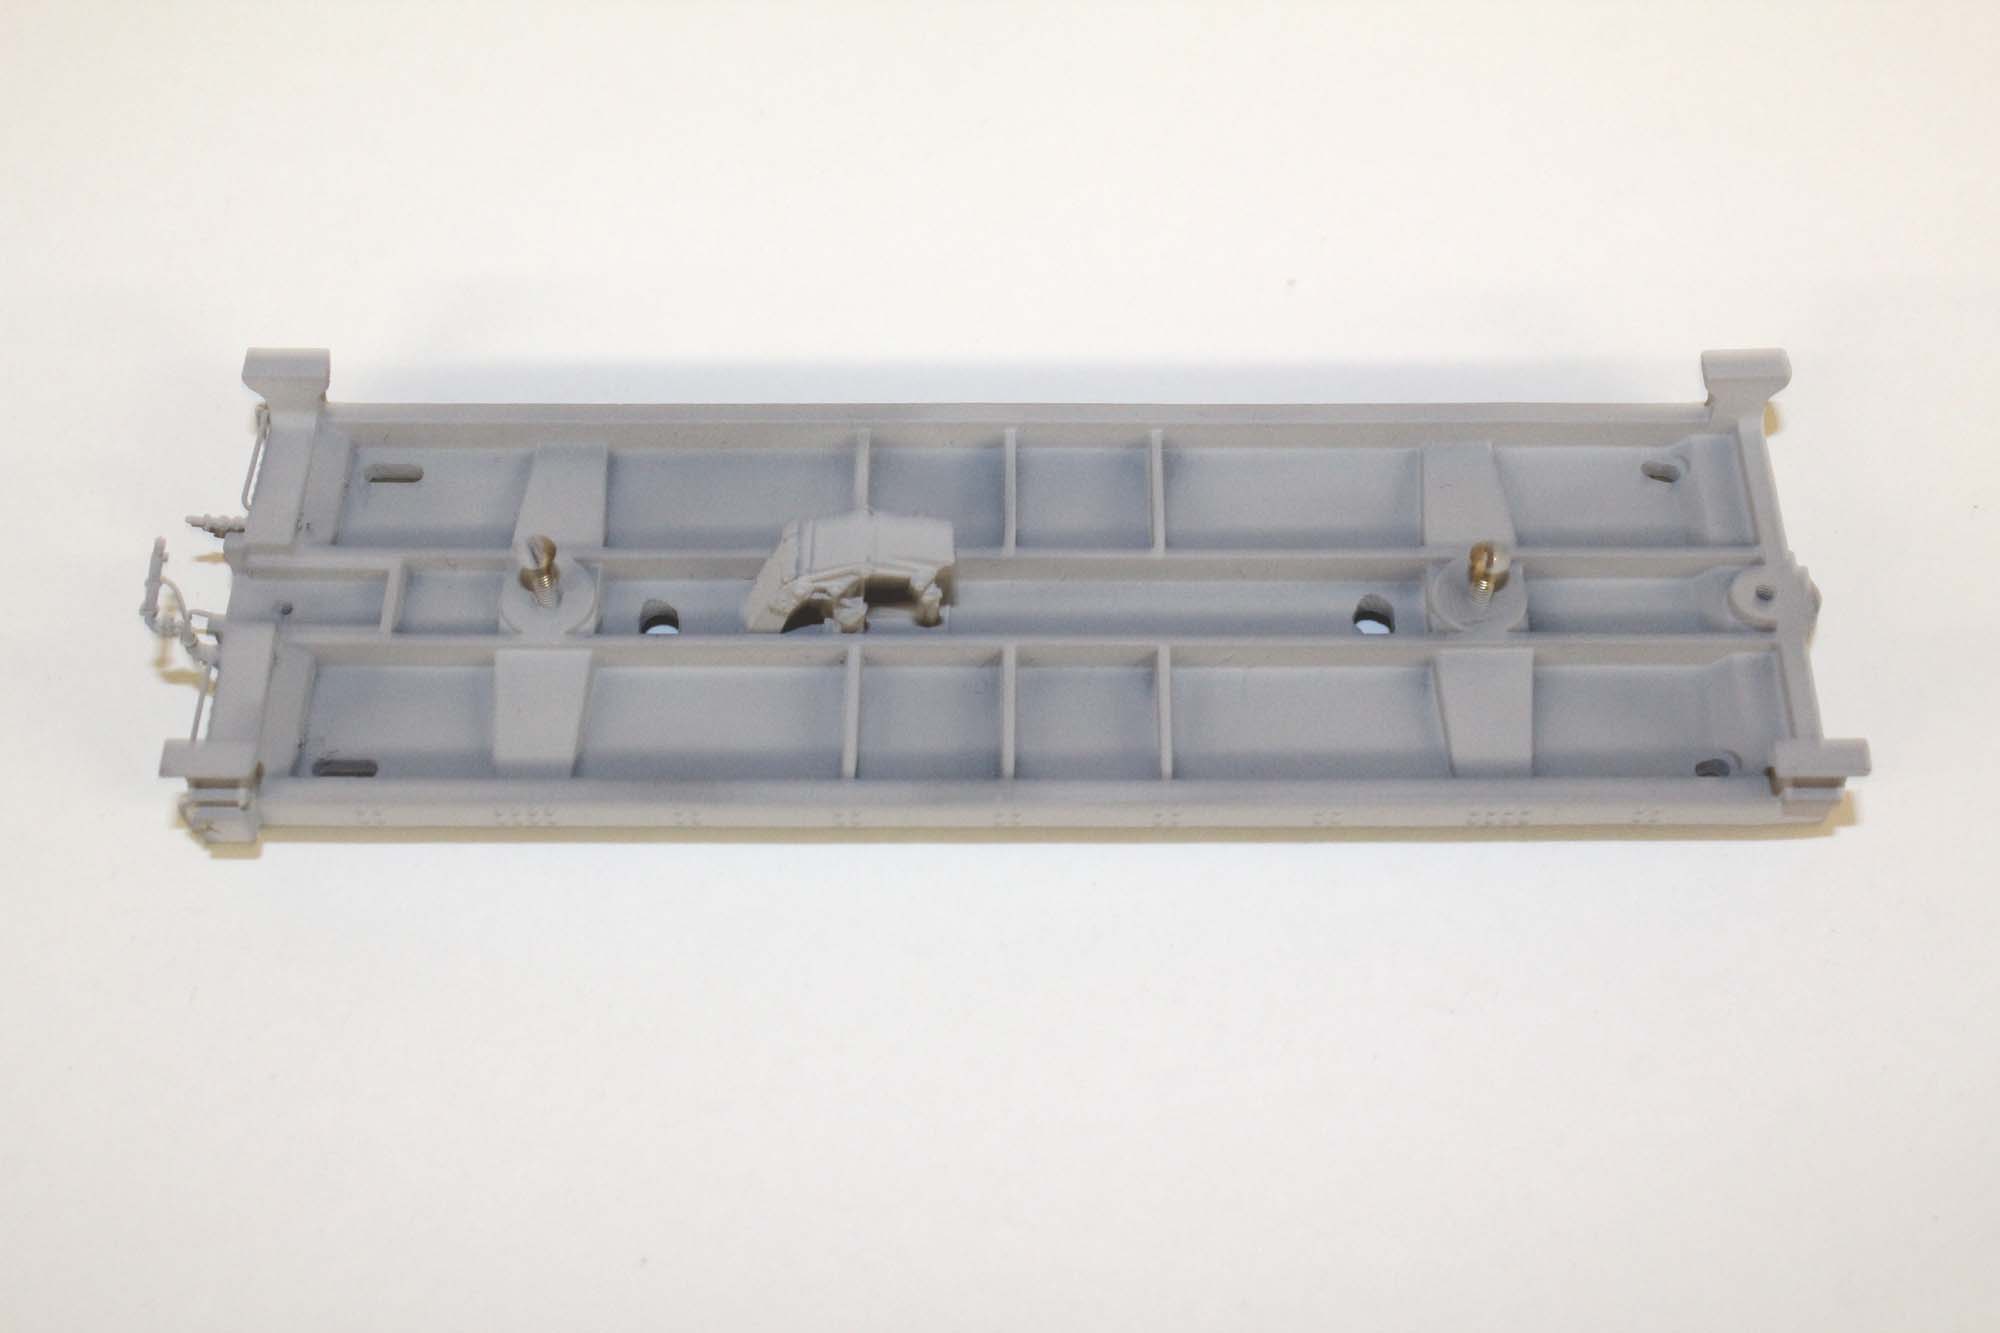
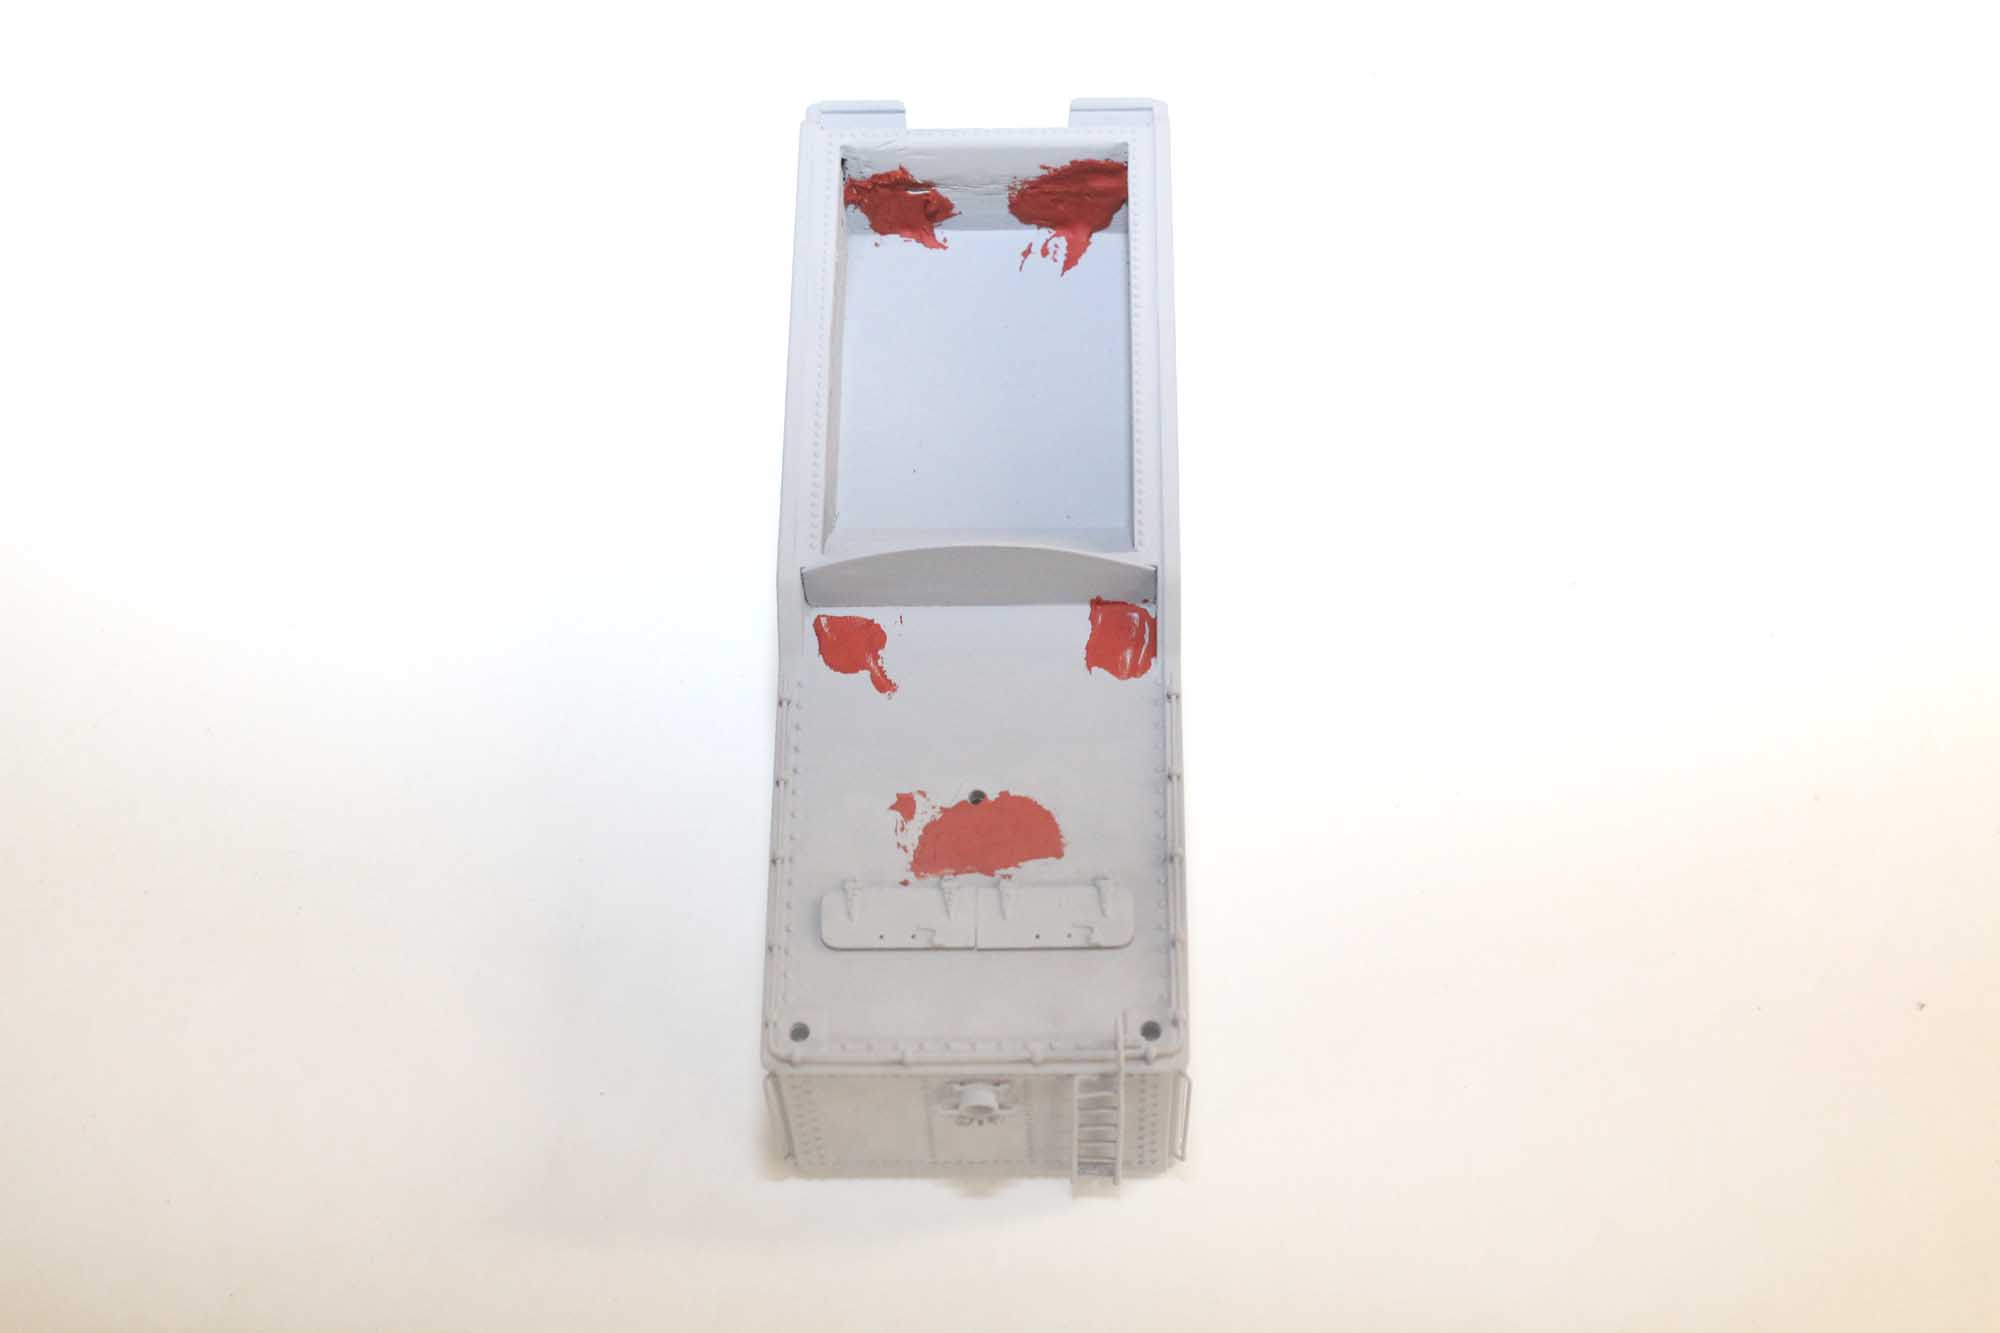
Tender Floor Base
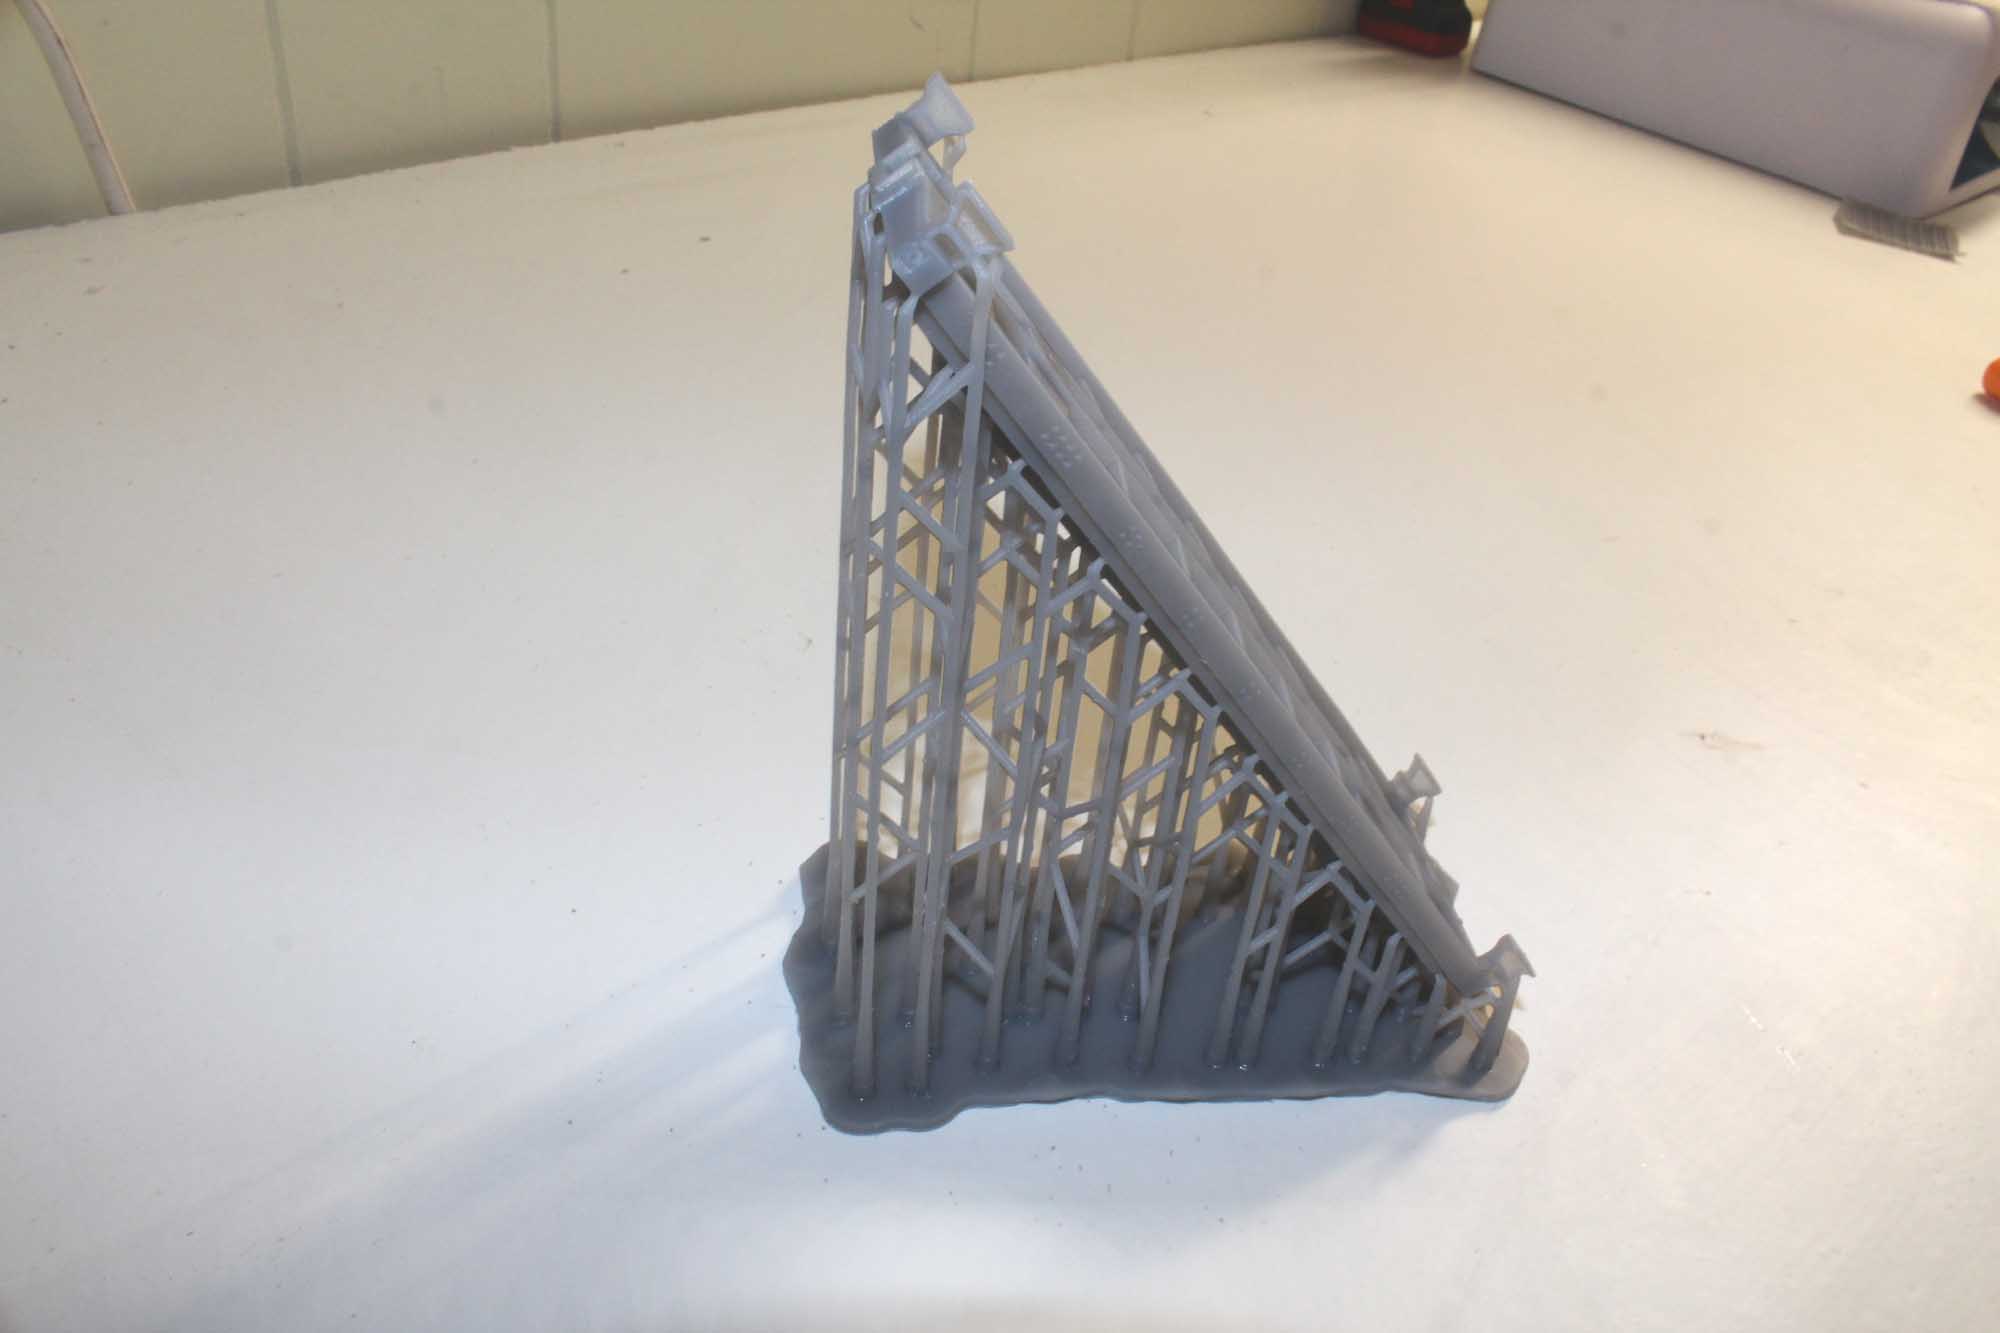
The
tender base is the largest item I have ever printed. It JUST fit in the build
area of my printer. I don’t claim the tender base is completely accurate but I really like it.
3-29-15
This
is the first round of designing for the tender floor. There are always changes
and things you cannot account for until you try it. Getting the coupler height
correct is always a guess.
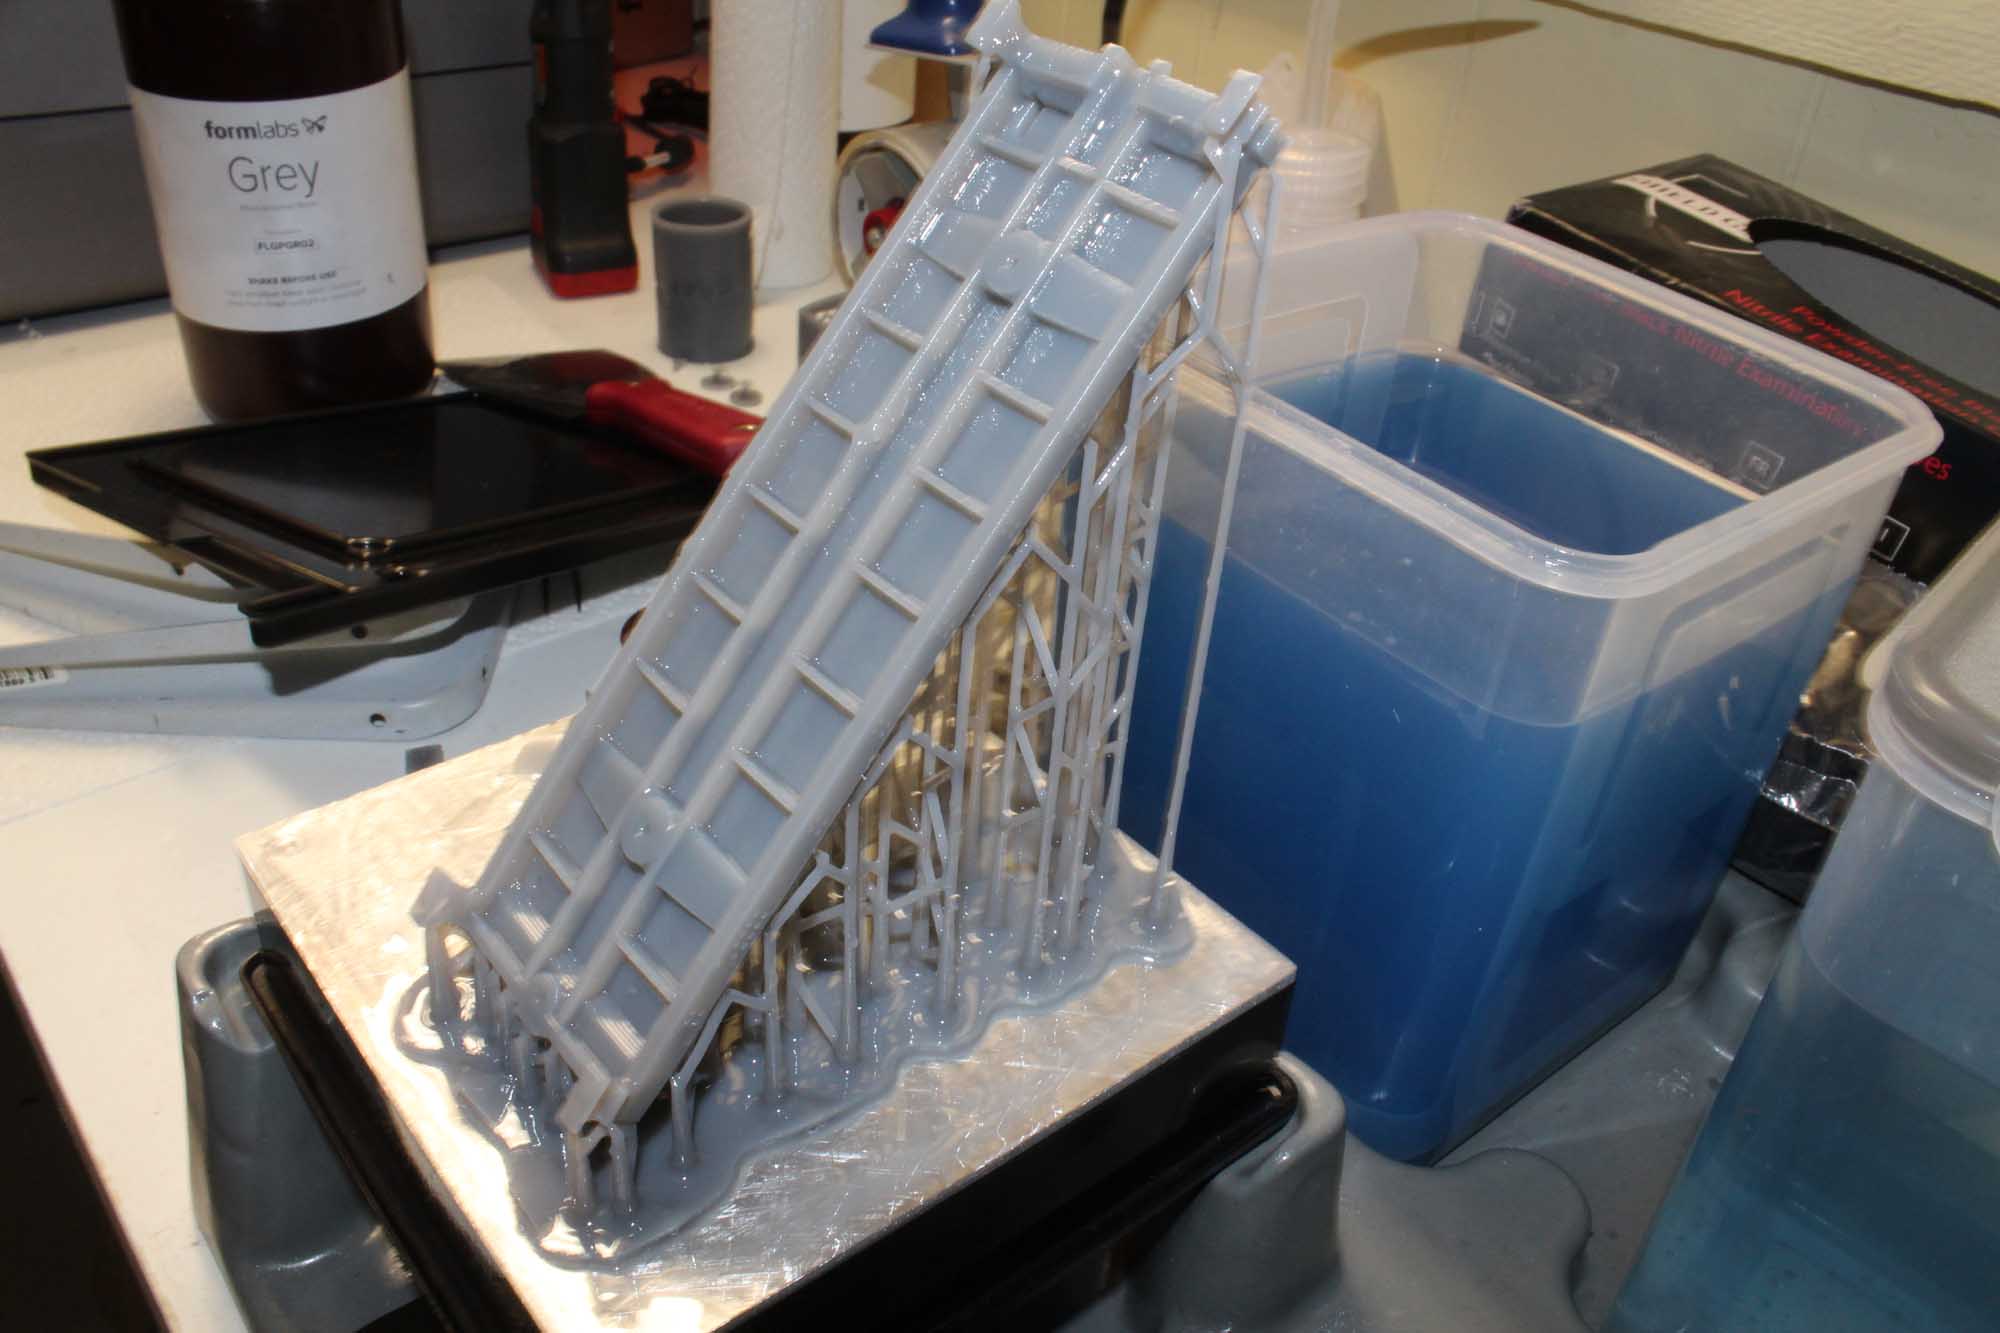
The
first photos are of the first floor just completed and still on the base of my
3D printer. You can see how it JUST fits! This was the fastest print speed to
get it done which was still 3 hours. There are 2 slower speeds that give a much
better finish. The tubs are alcohol which cleans and cures the material. The
whole base and lattice like support structure is waste and cannot be reused.
The U shape near the drawbar pin was a design feature as first point of contact
to the build plate. It is also waste.

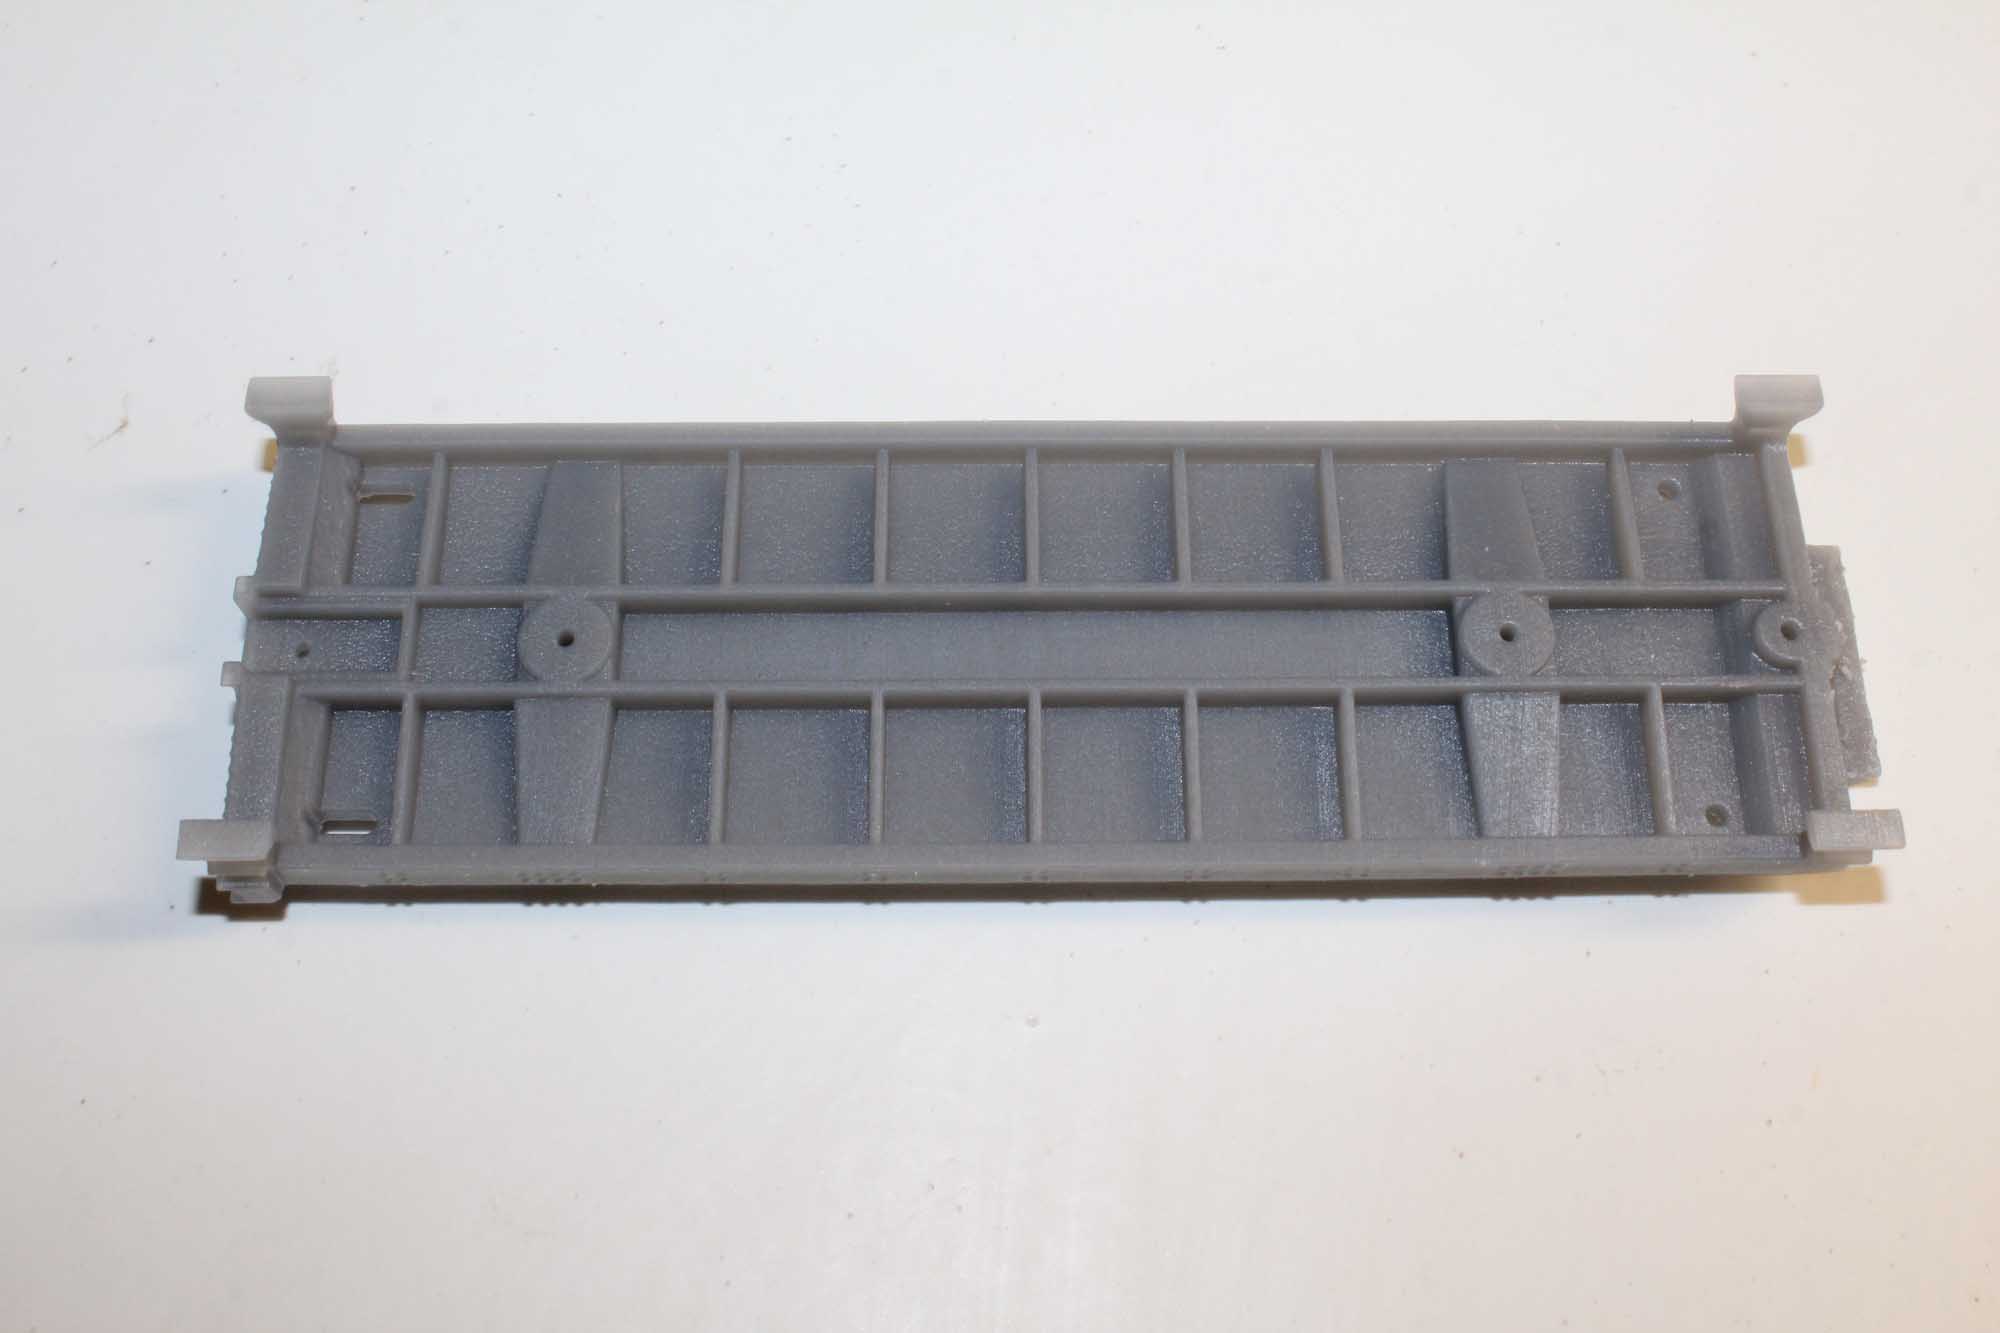
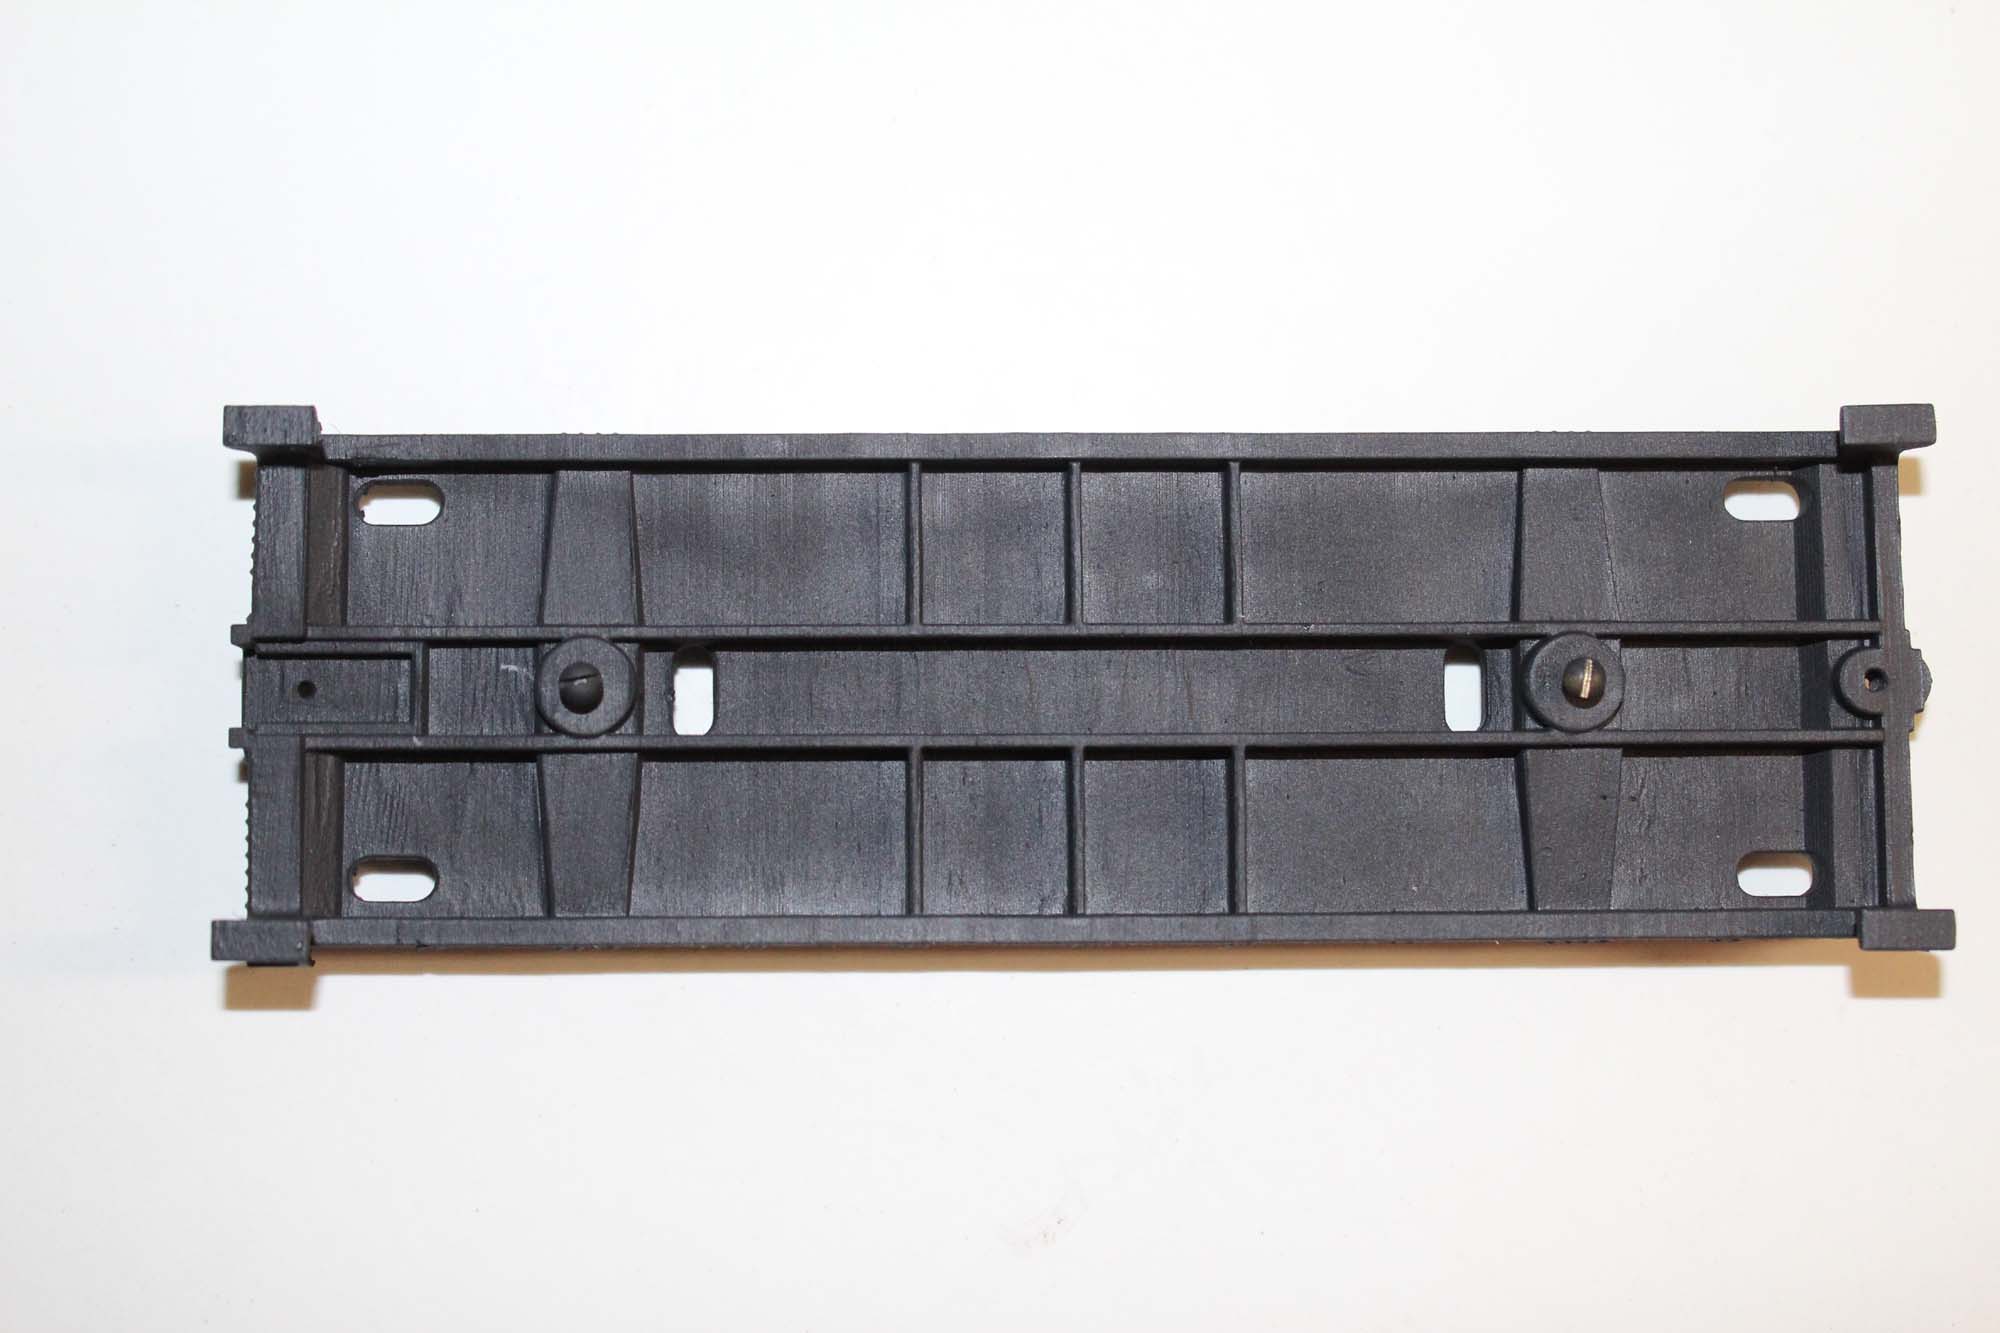
After some changes this is the final version. I had to remove
some ribs because they hit the wheels.
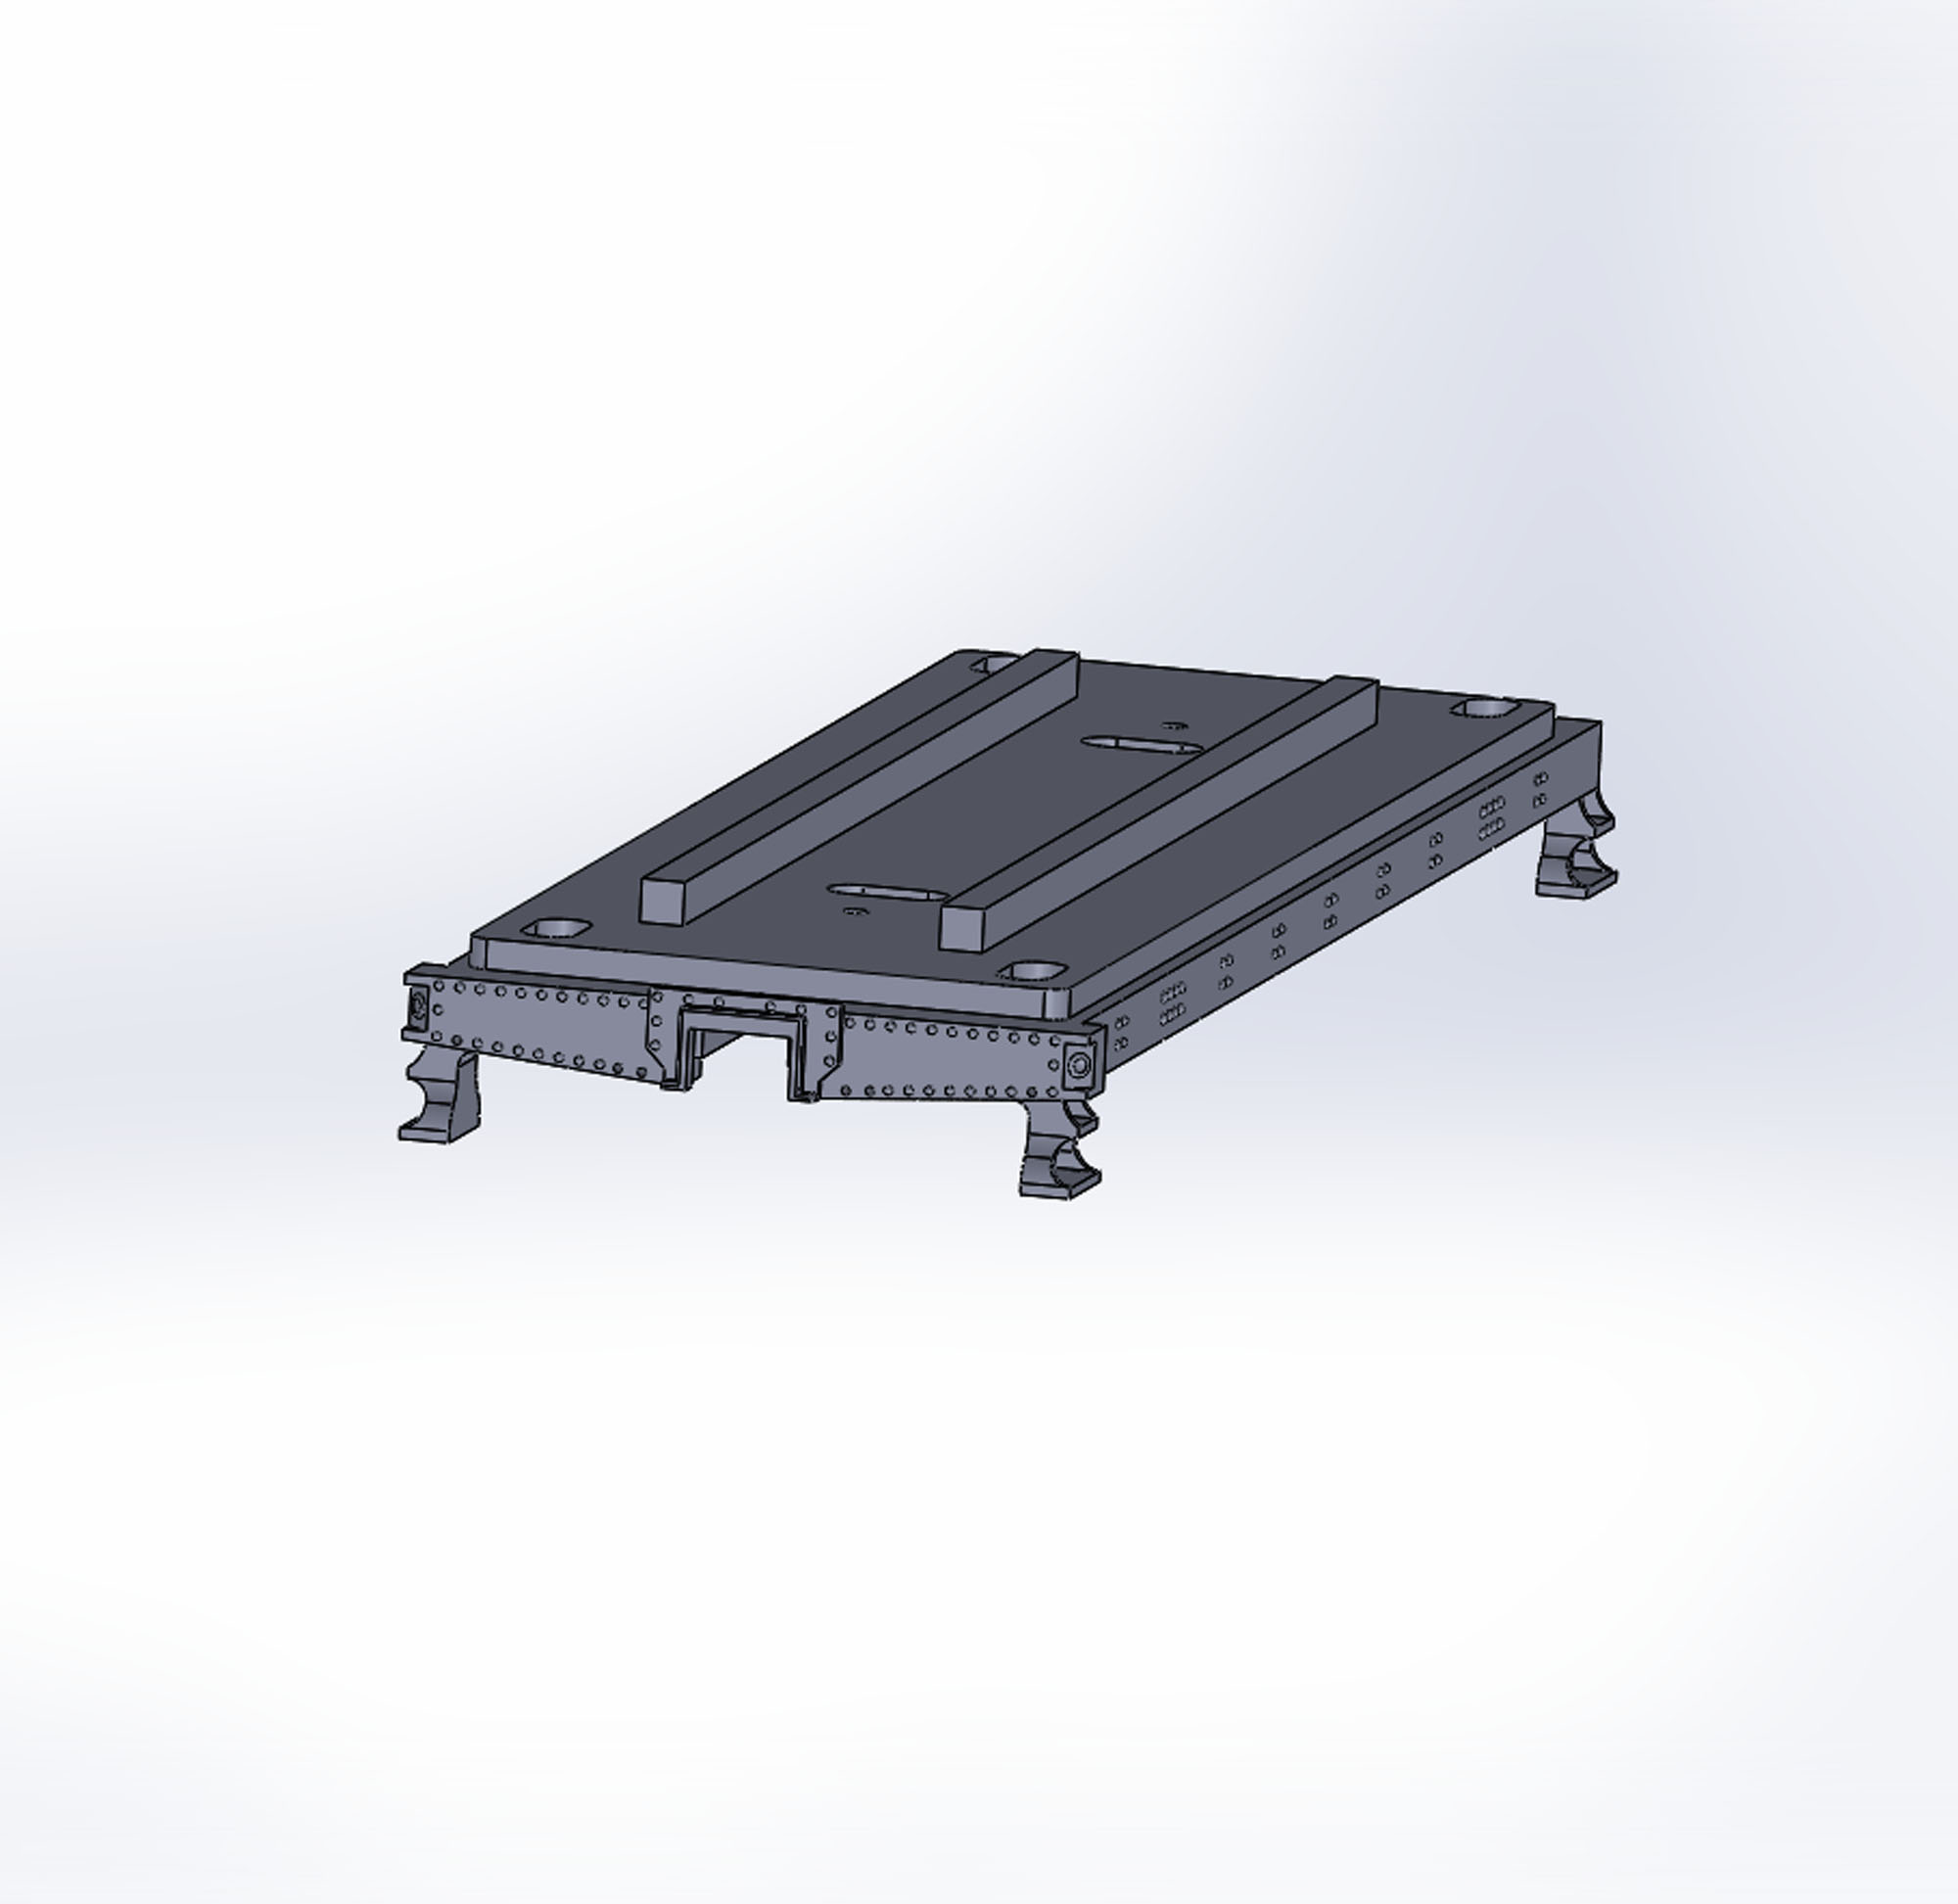
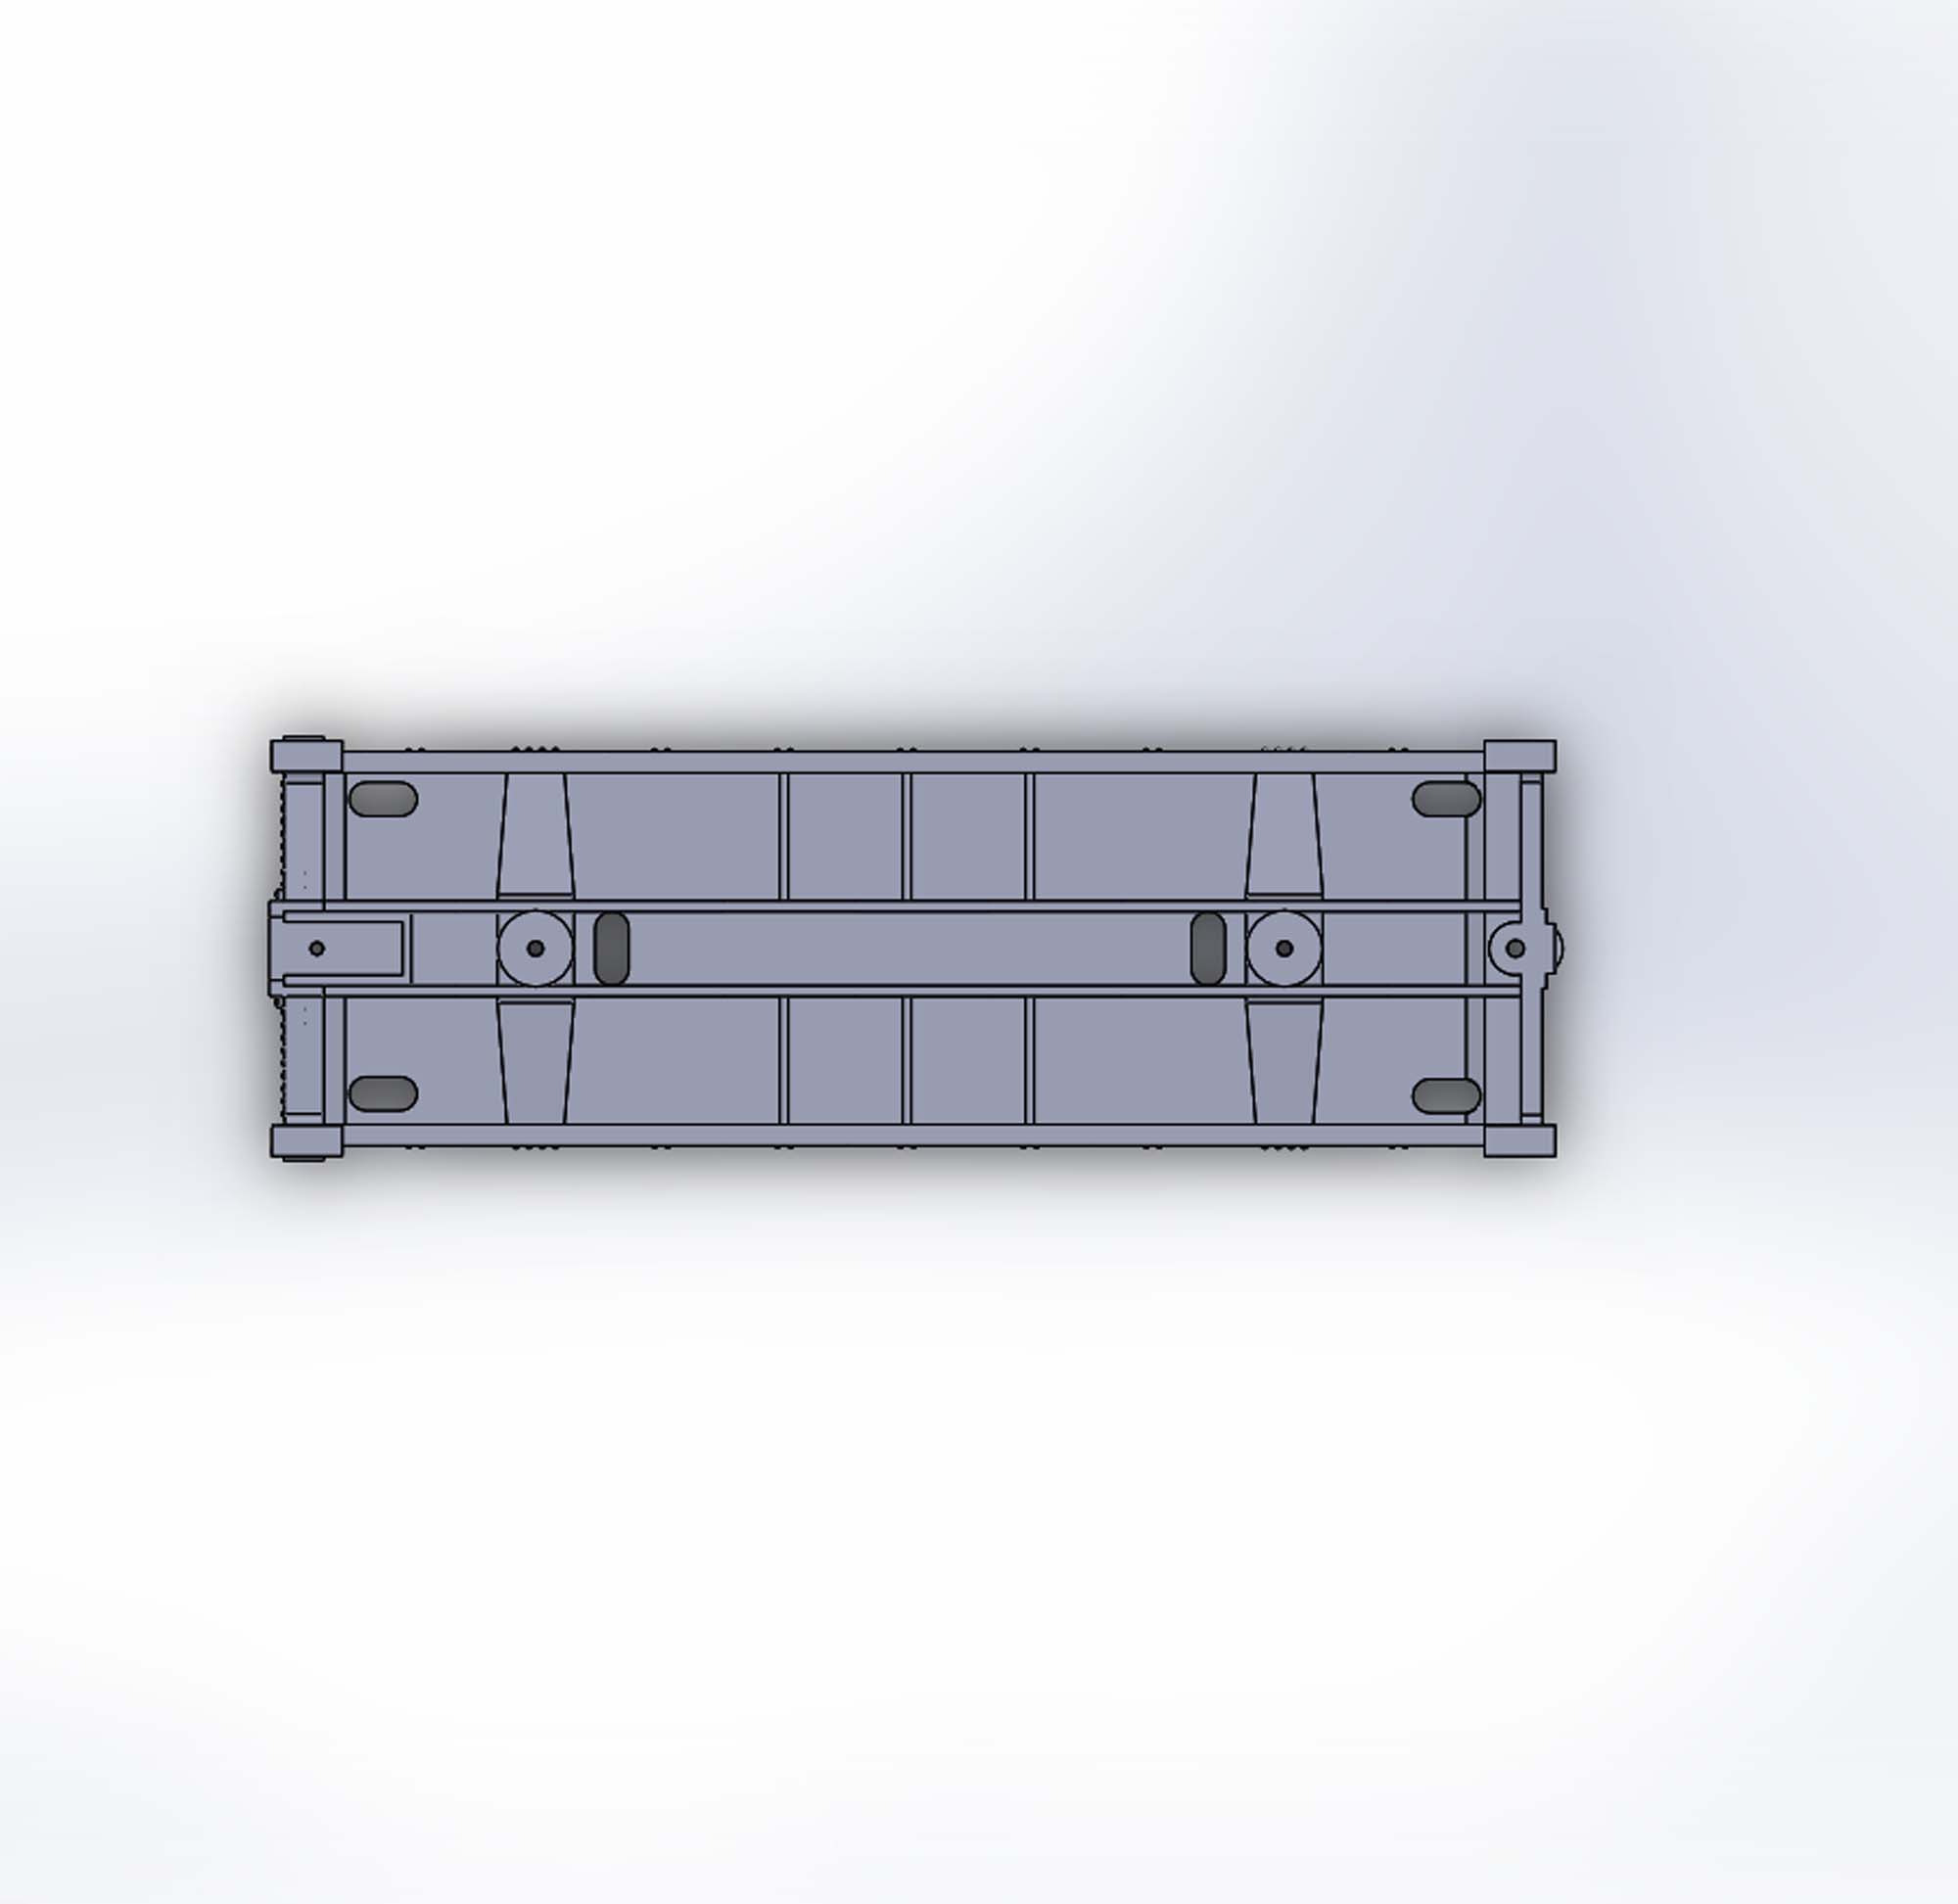
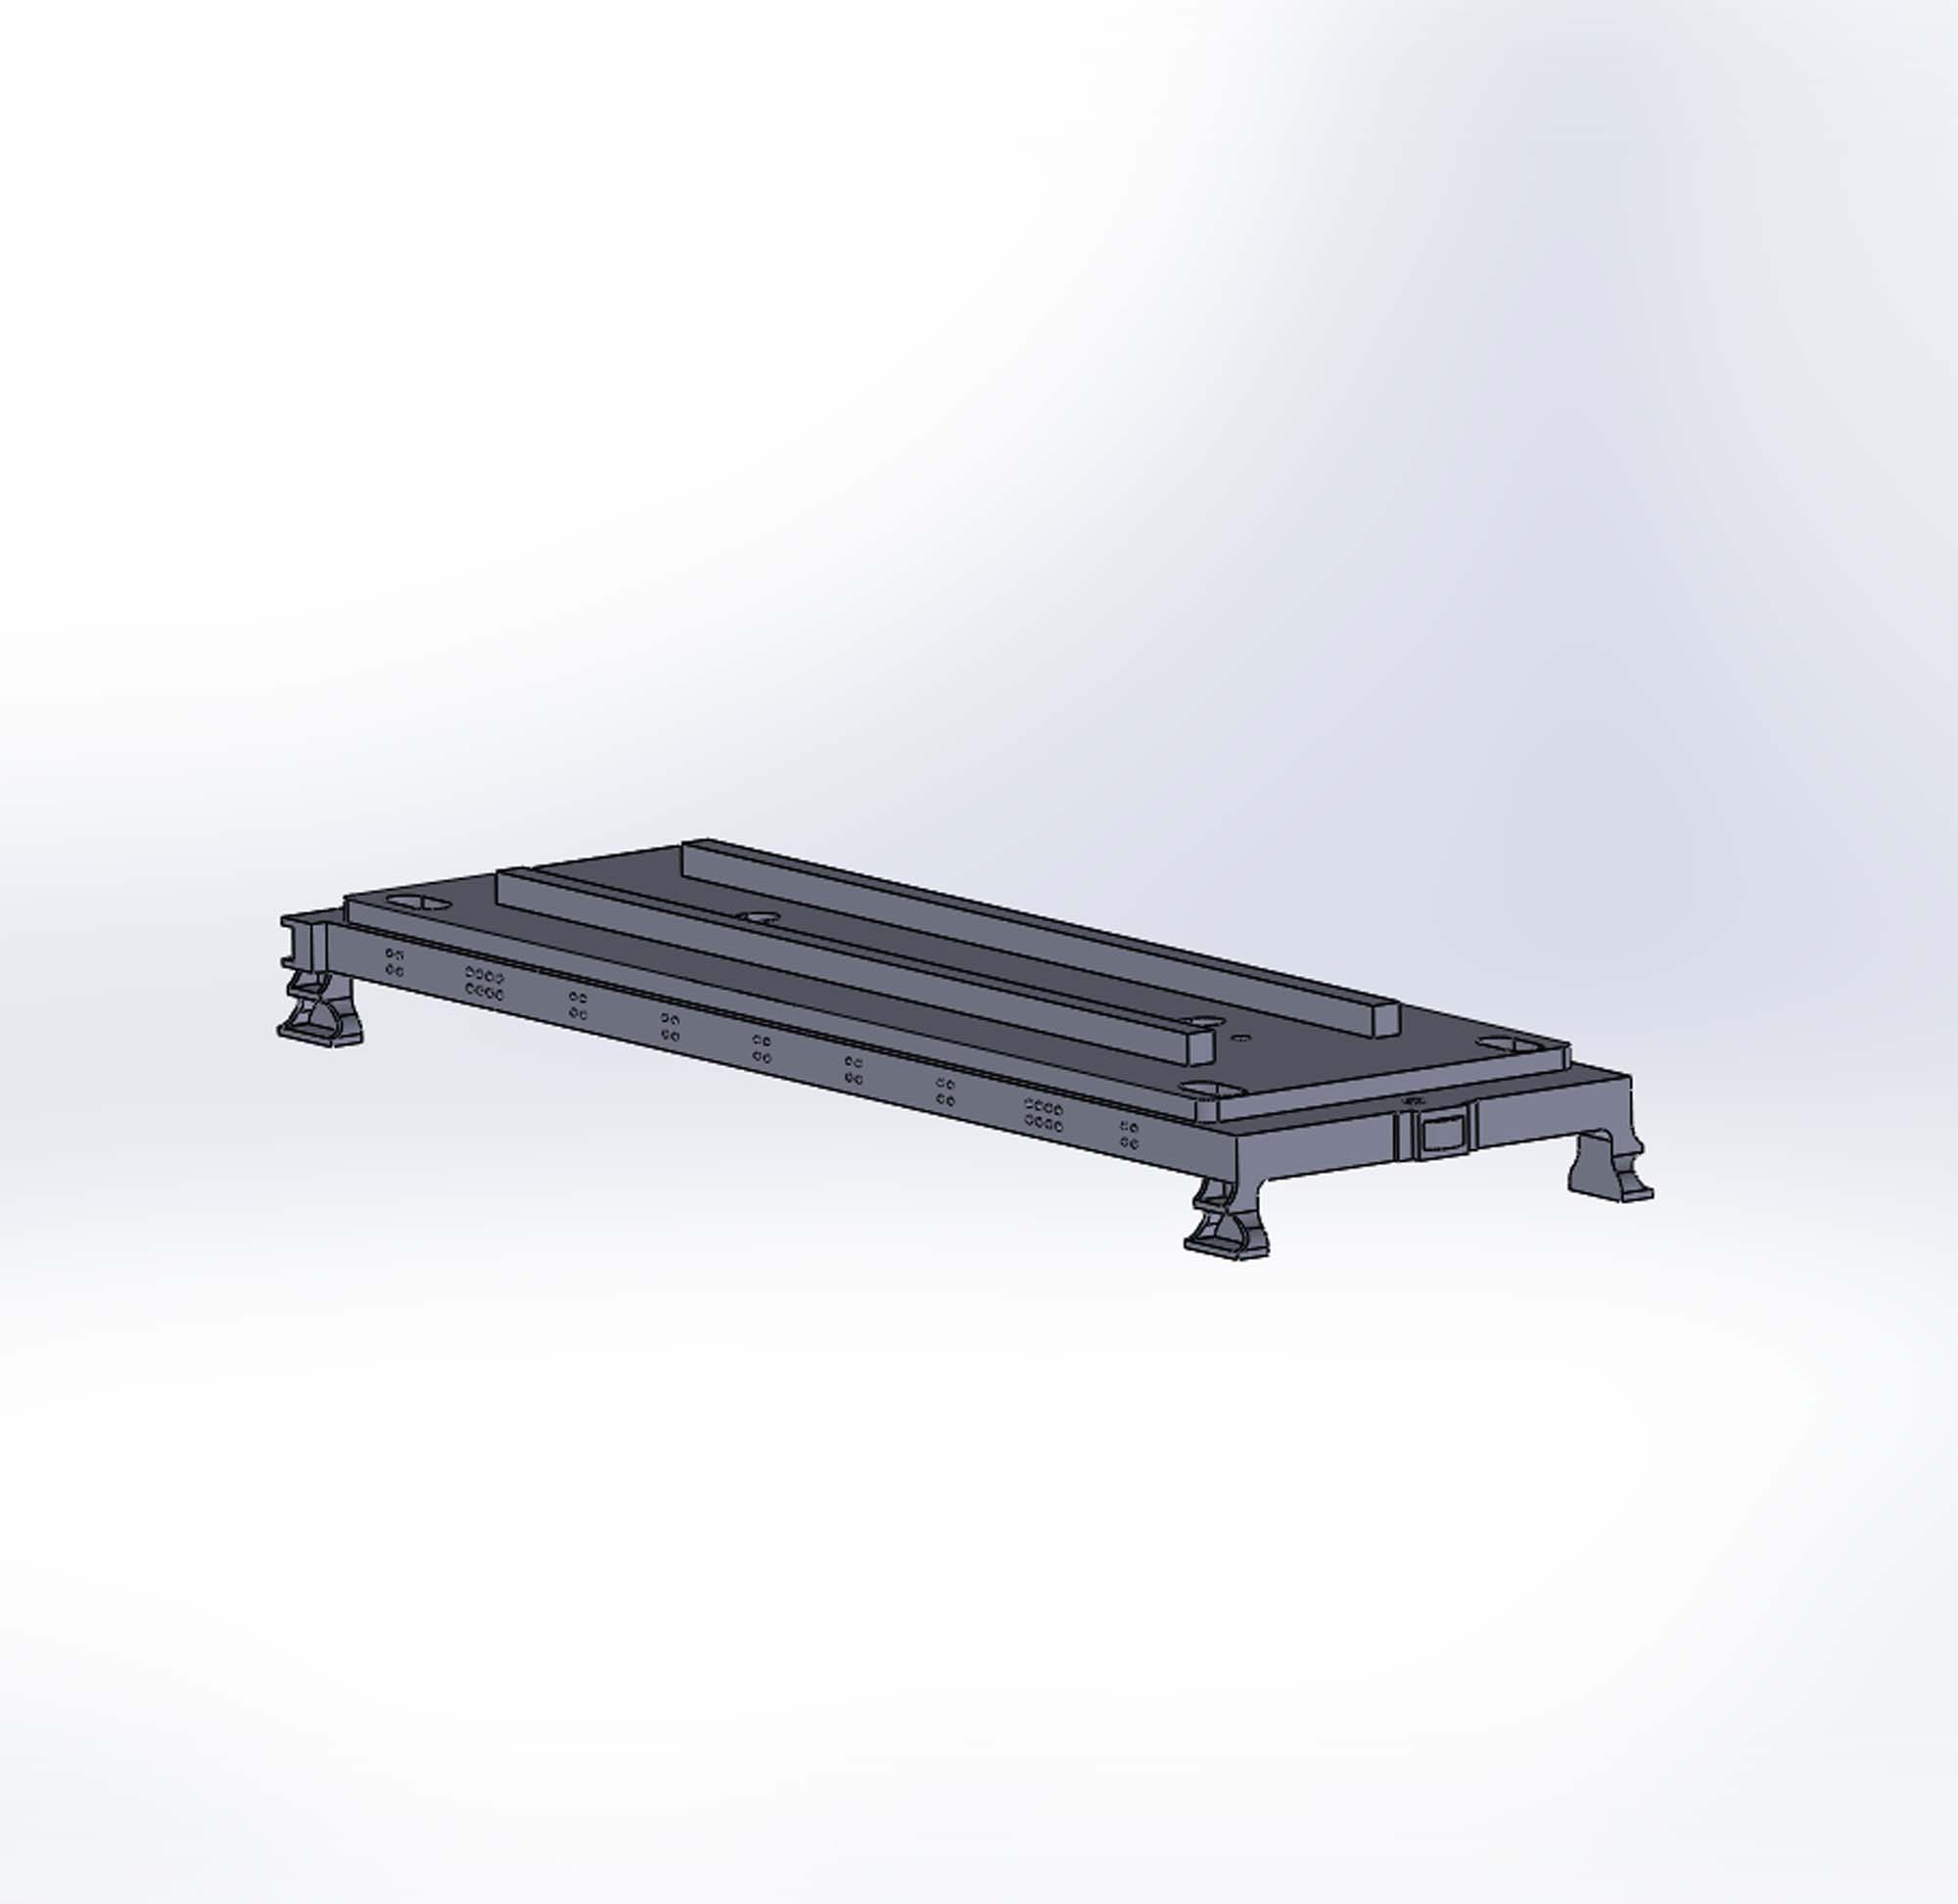
And the final print after painting.
Water Deflector

4-11-15
I
made the first test tender base and temporarily put a decoder in for some test
running. I had to get some Reading cars out for a proper first run!
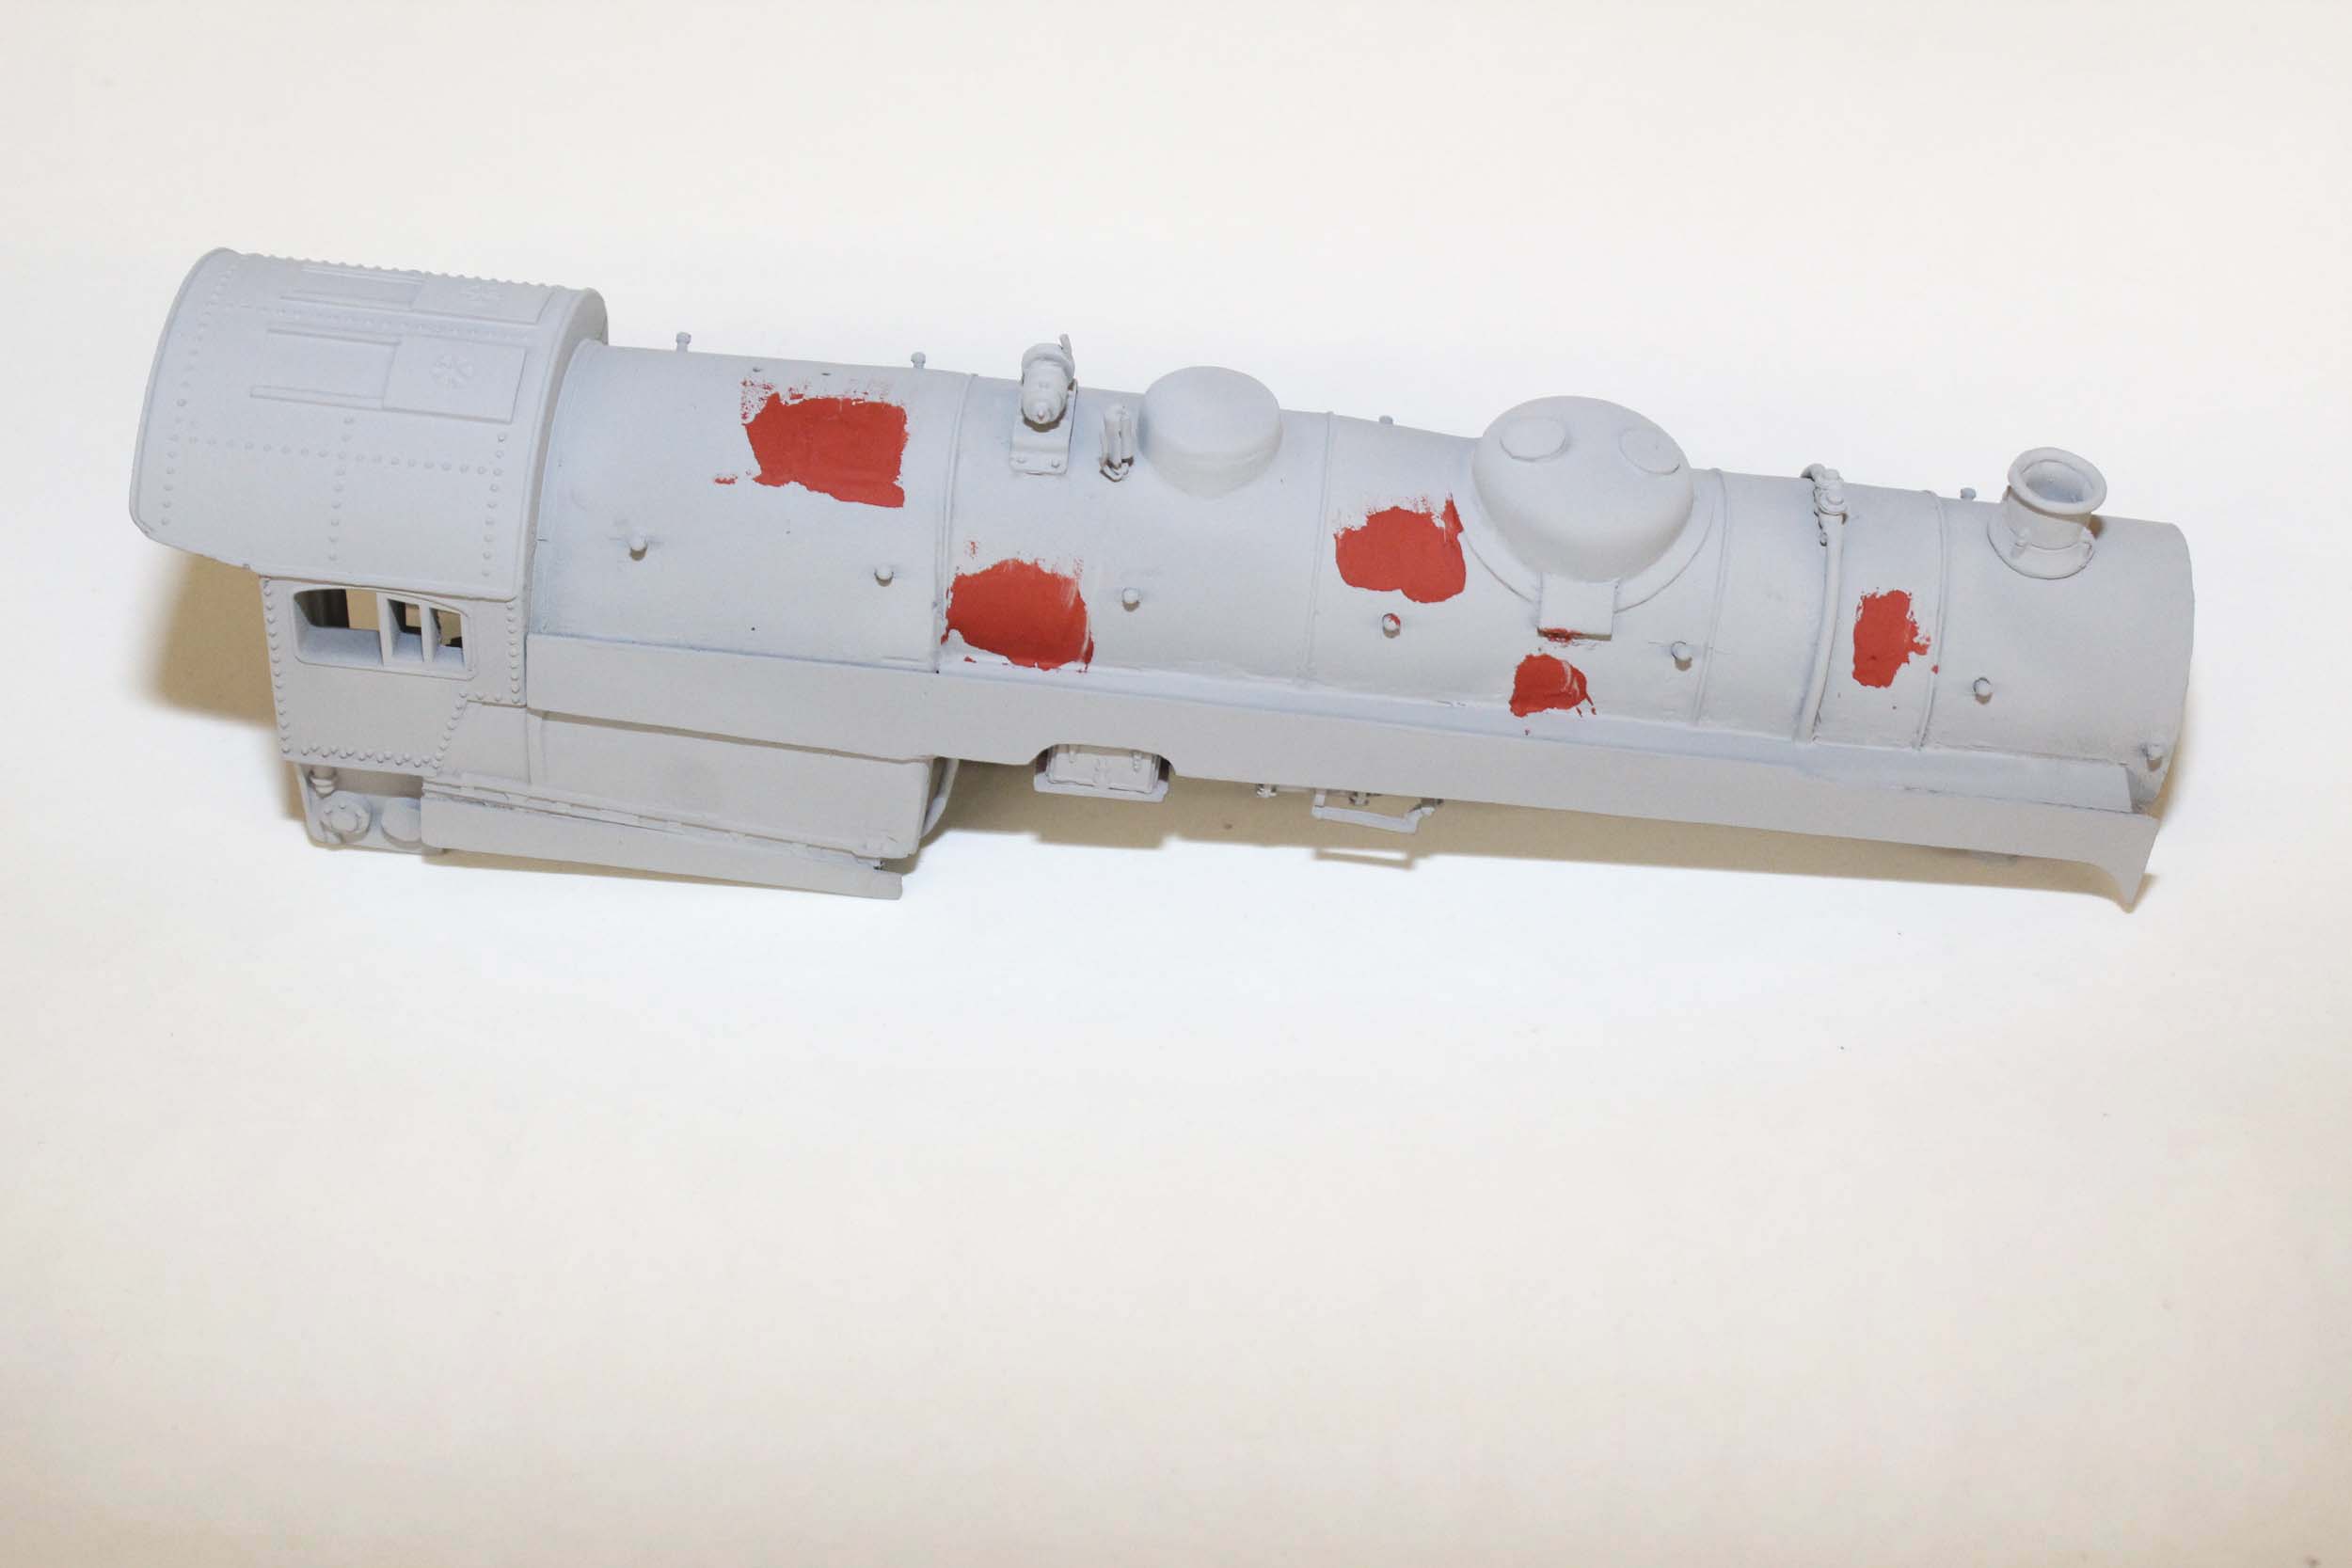
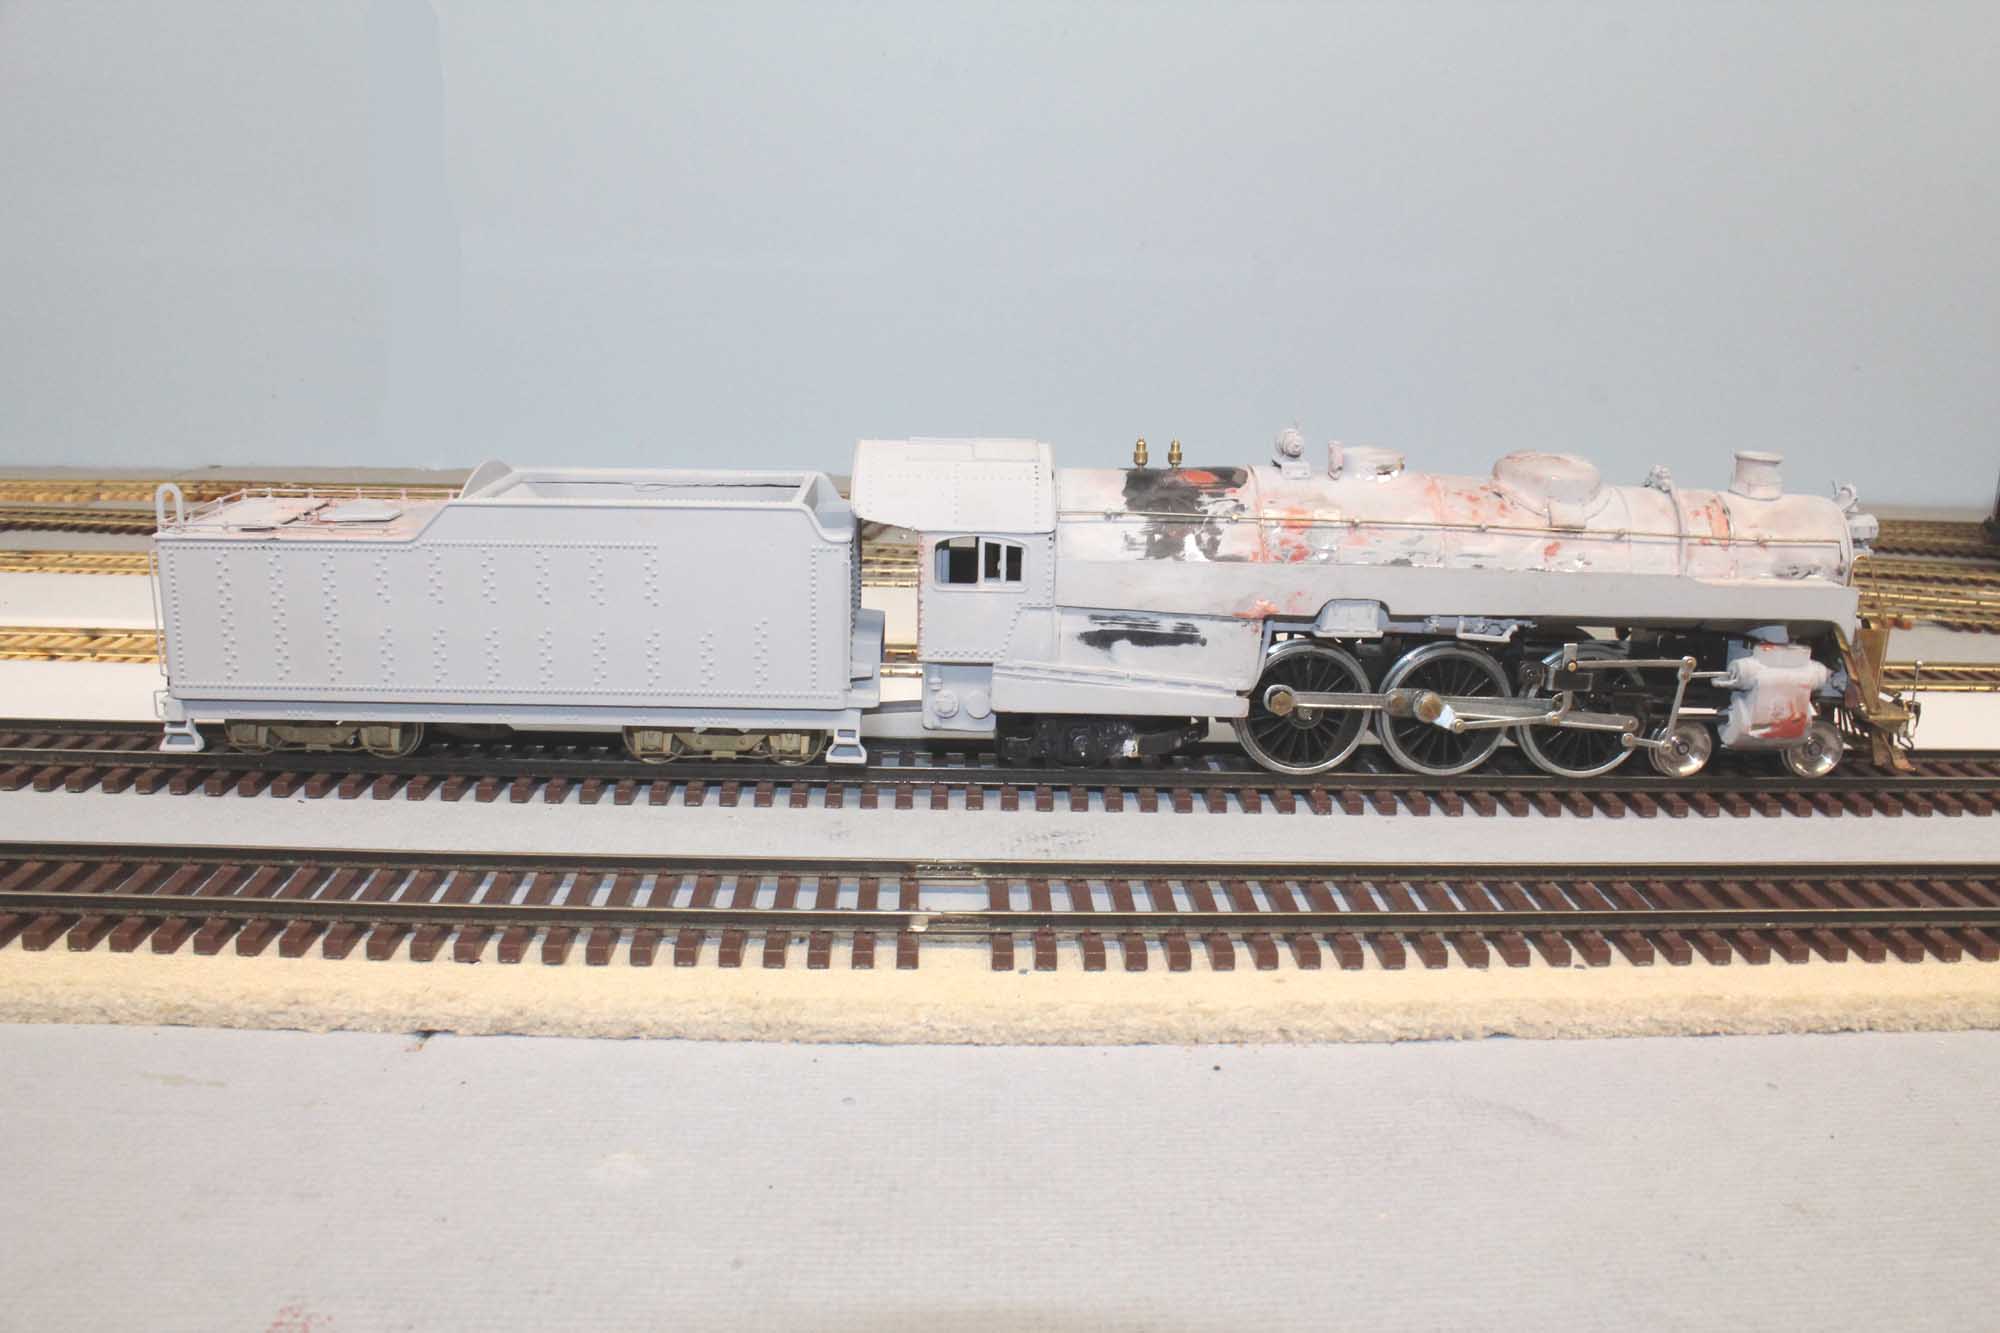
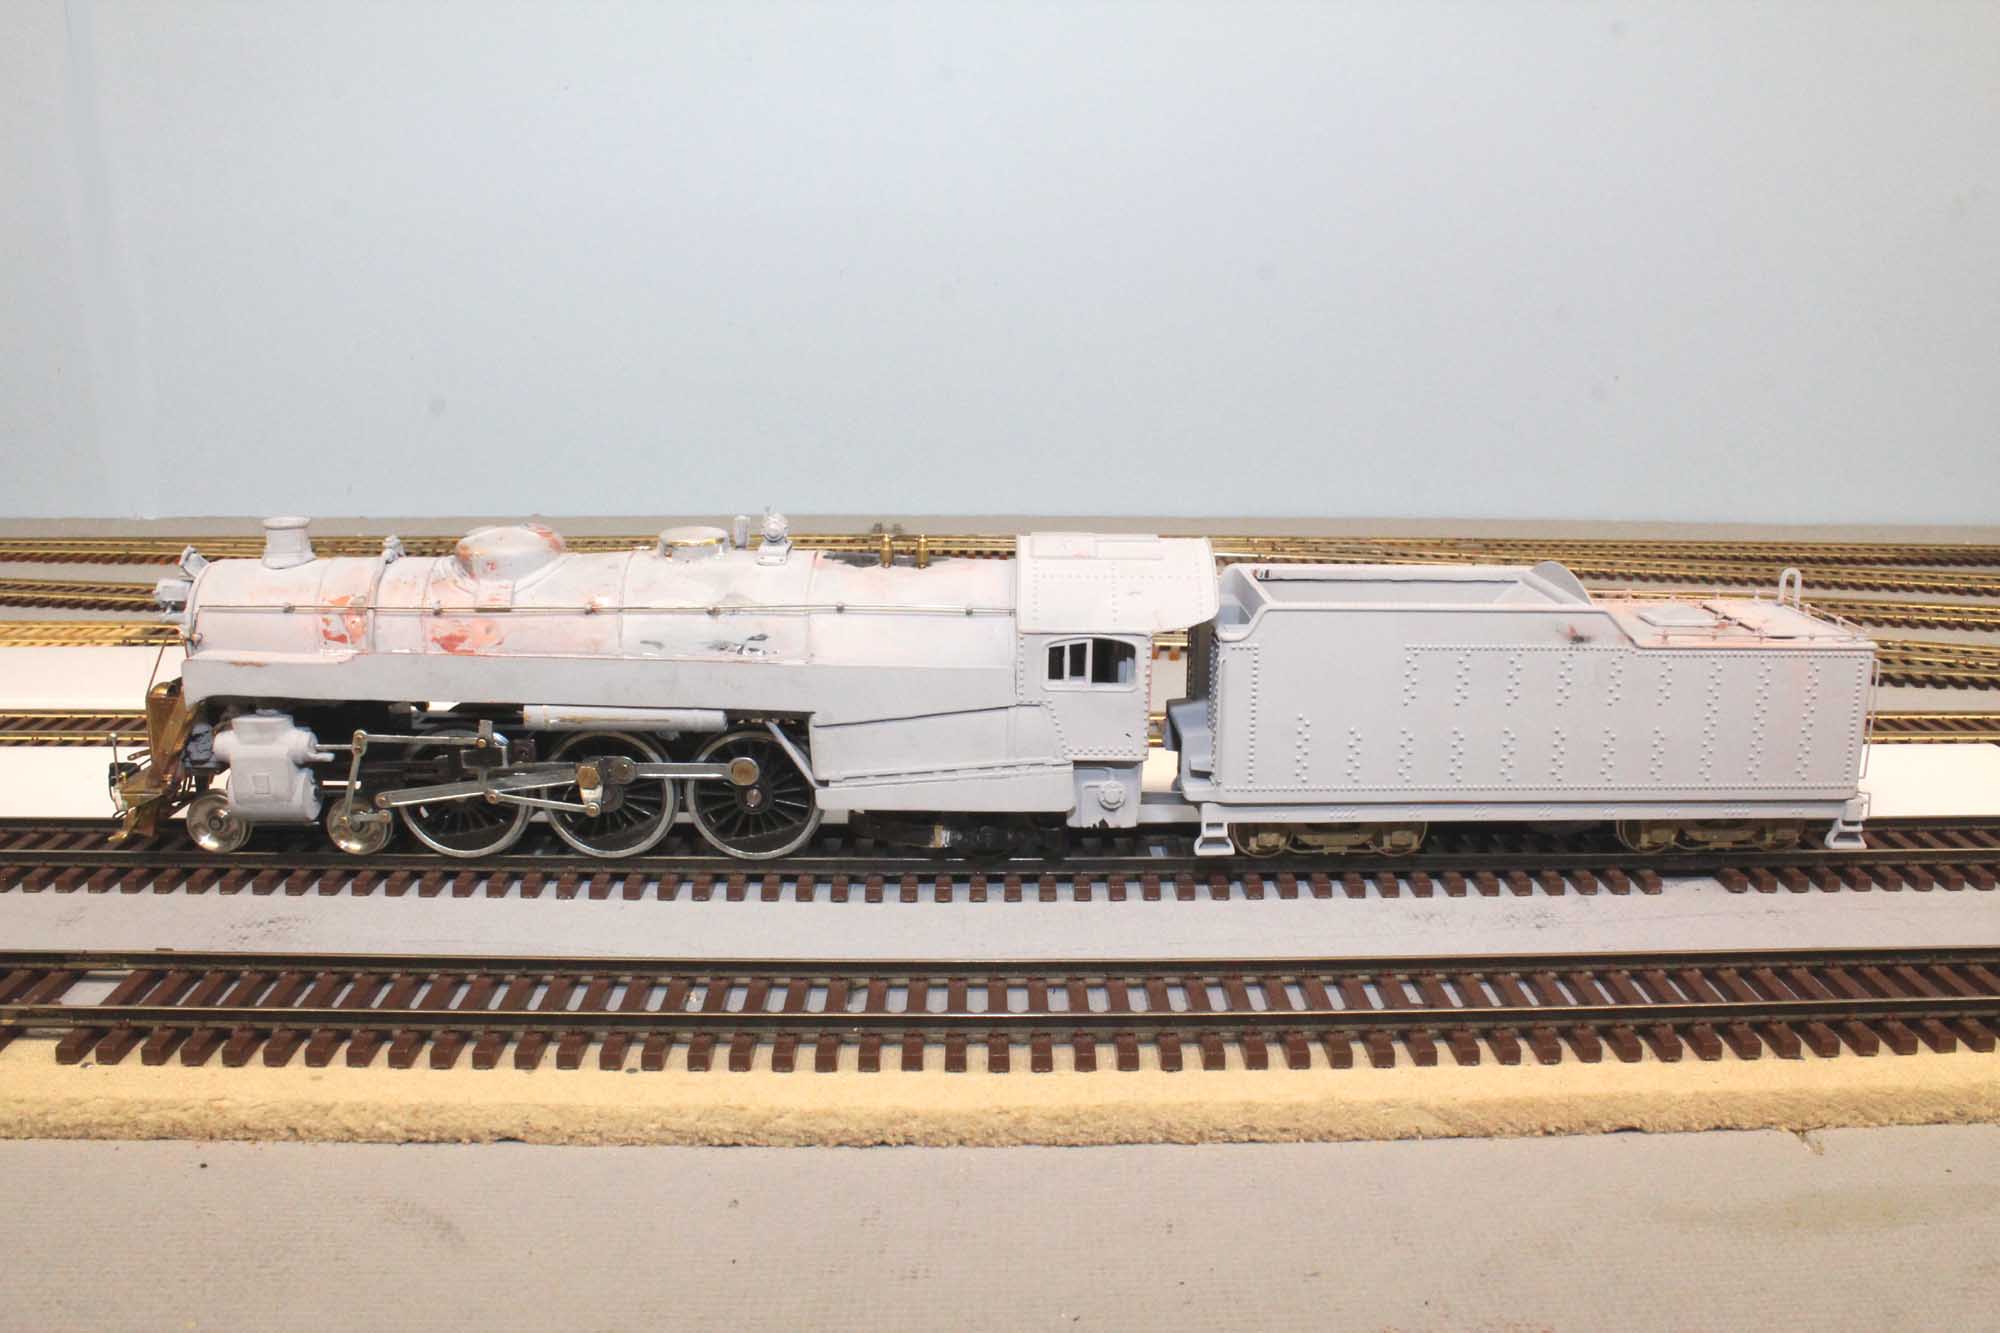
Some Primer and Bondo
5-27-15
Actually
I used Floquil primer and an auto body product called NitroStan.
It is a one part filler that dries quickly. It has a
finer consistency than the Squadron putties. Some significant effort was made
here with puttying, and repeatedly wet sanding with more primer sprayed, only
to be wet sanded again. It was very time consuming. At some point you just have
to say enough and call it done.

6-14-15
Another quick test run before final
paint.
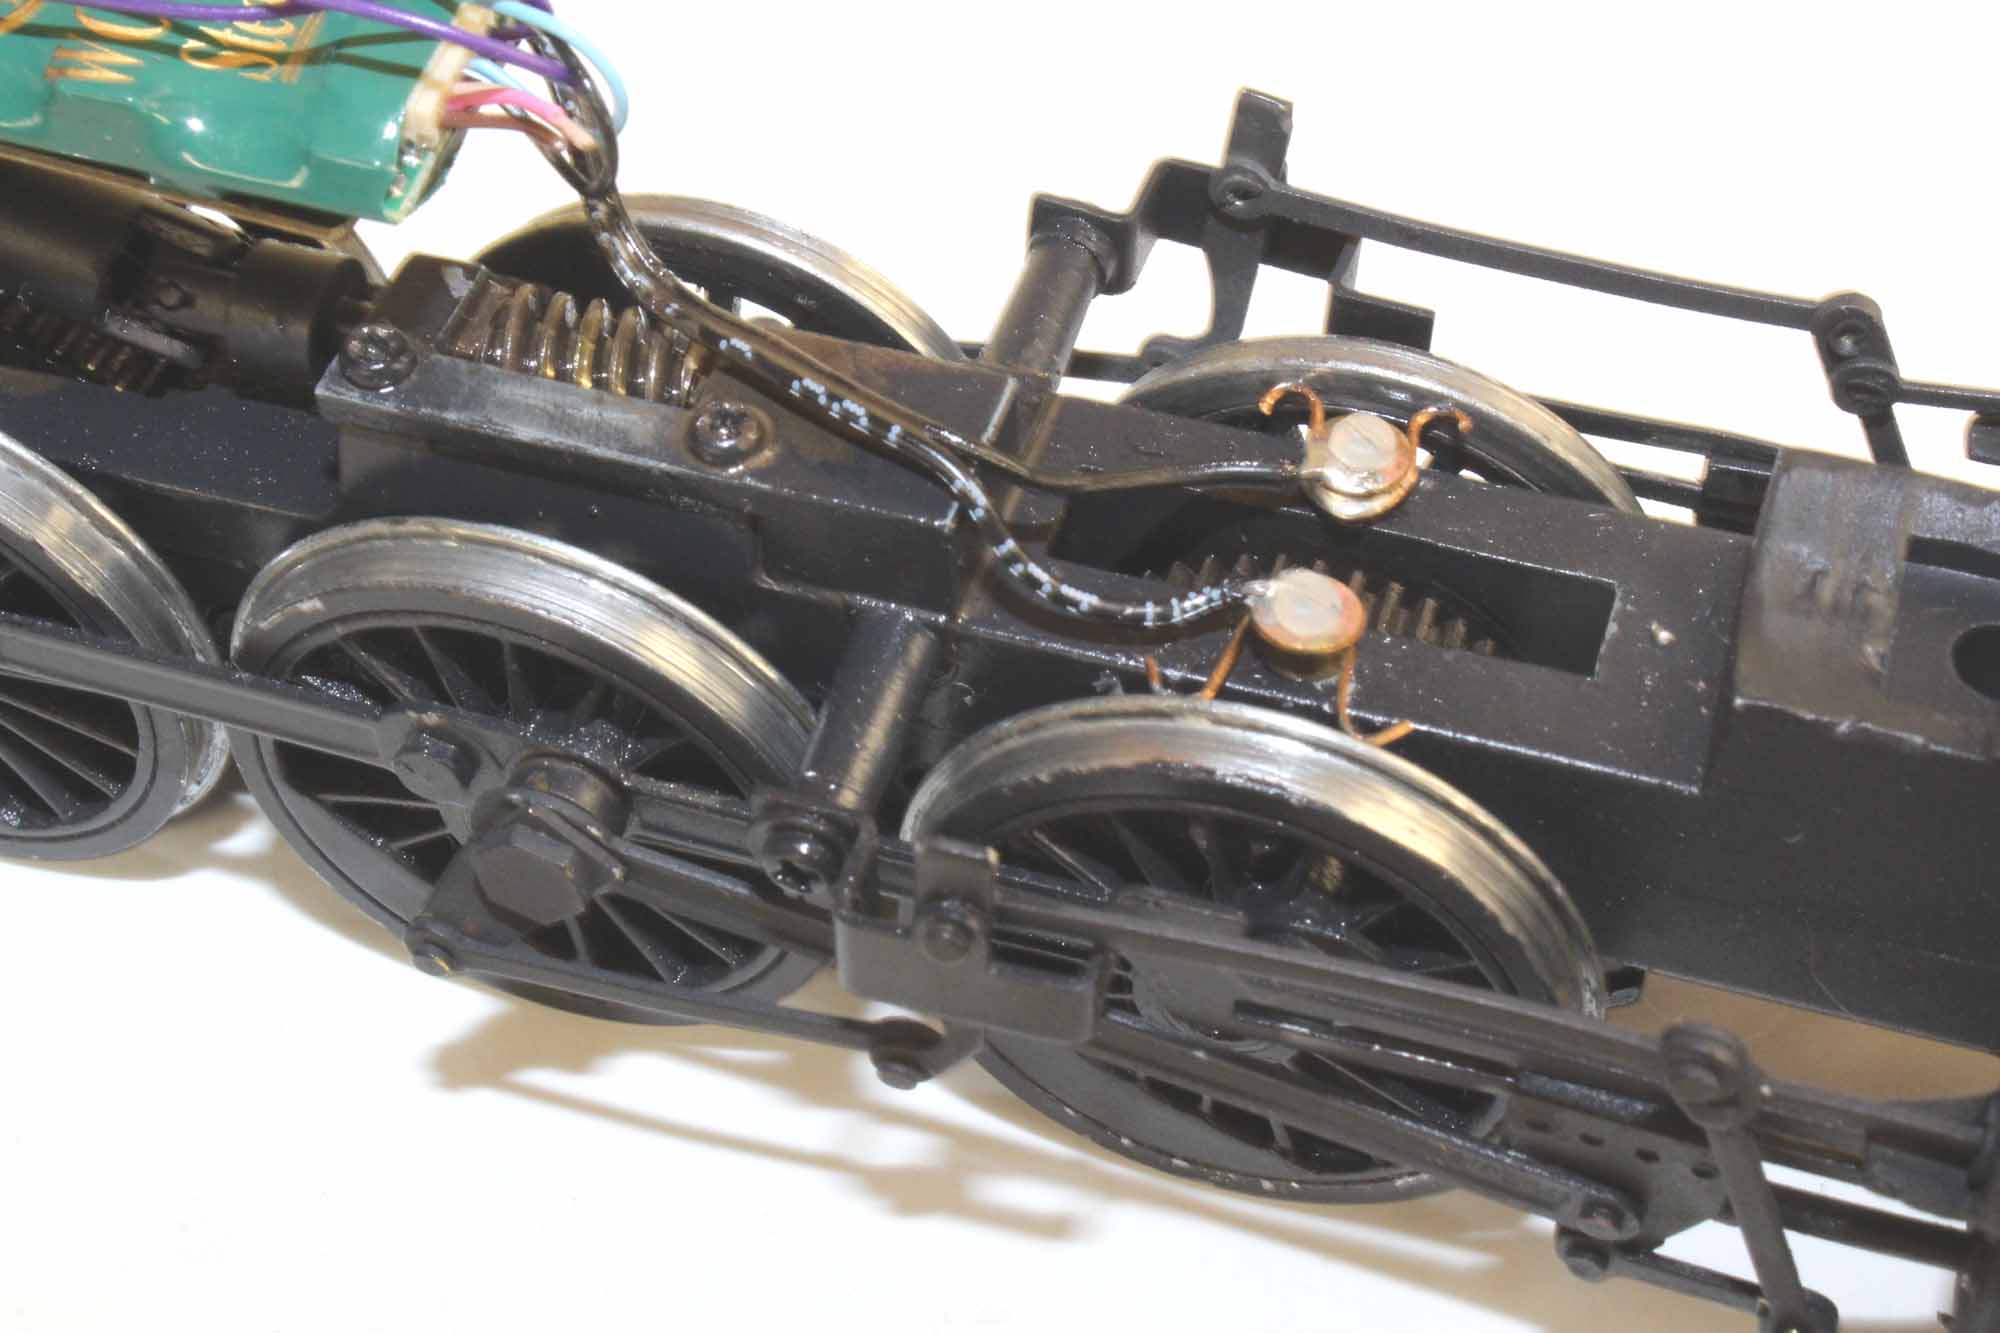
Power Pickup
It
is very time consuming but mandatory to have good operation. I make as many
wheels as possible pickup power. I use phosphor bronze wire for the pickups. I
cut grooves in the back of the wheels to keep the pickups from wandering and
shorting. Everything is isolated with nylon screws and washers. There is some
difficulty in getting the pickup tension just right so it picks up power but
does not create wheel drag. I also regularly oil the grooves. It does not seem
to have any effect on the power pickup.
I
am also showing where I mounted the decoder. It almost fit on top of the motor
but I had to make this bracket instead. Note I use a lot of Miniatronics plugs
throughout the design for easy maintenance.

Decoder and Electronics
I
used a TCS WOW Decoder for the first time. I mostly use Soundtraxx Tsunamis
previously. The WOW was recommended to me because I did not have a sound cam to
utilize. It was a bit difficult at first as 1 change takes multiple CVs to
program. I have warmed up to the WOW a bit and might use 1 again. There is a
very slight random change to the chuff sound and rate when running at a
constant speed that I like. With this loco forward I am using all LEDs for
lighting. The Railmaster Deep Bass has been my speaker of choice for many years
now. They come already sealed in an enclosure baffle and sound great to me. I
put the speaker right under the stack pointing up. That is where the sound
really comes from anyway.
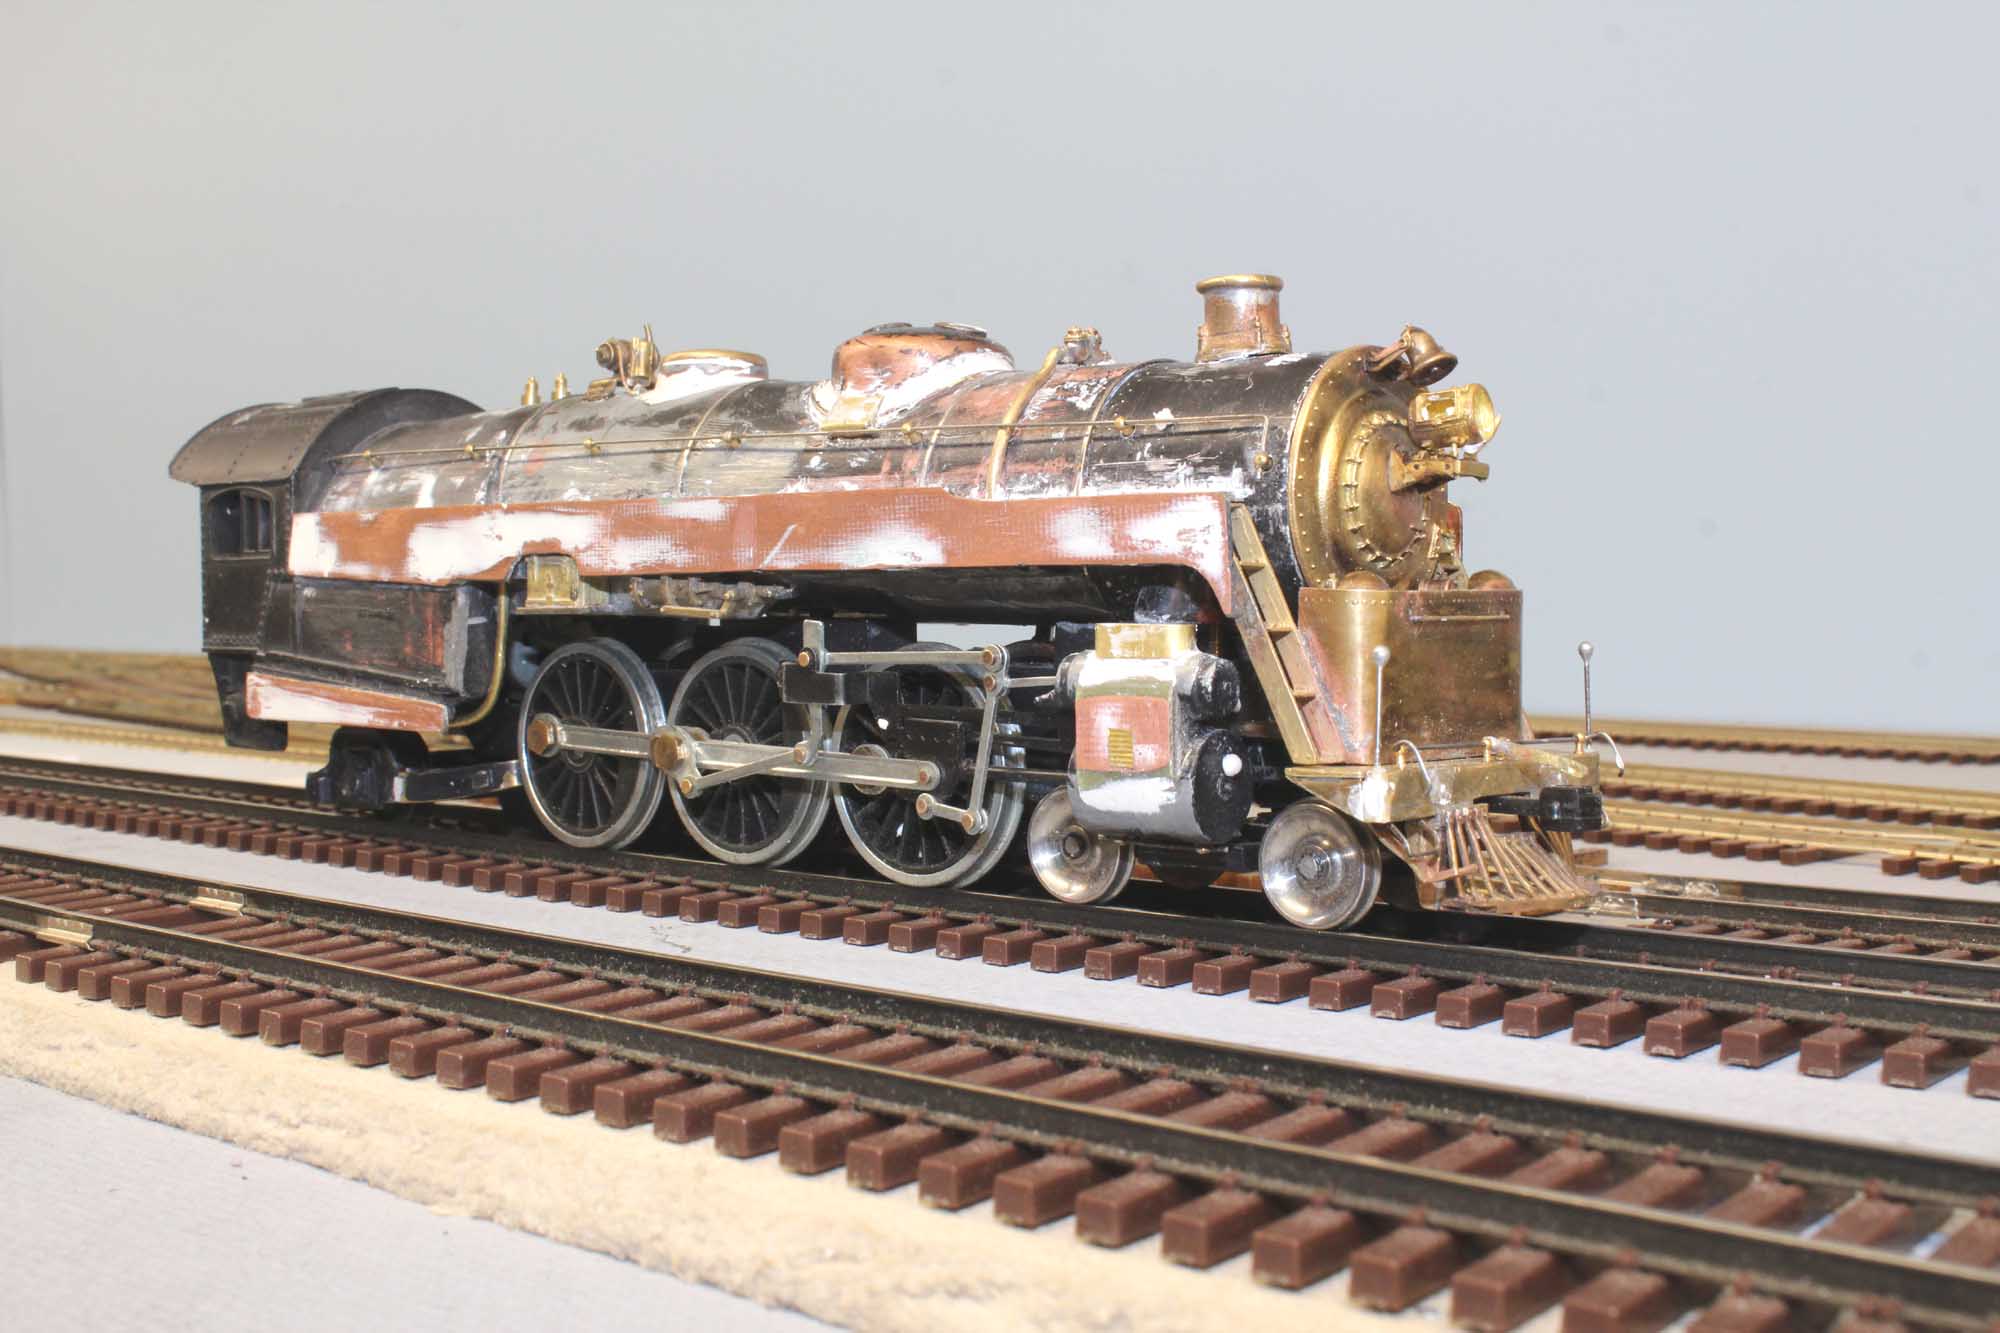
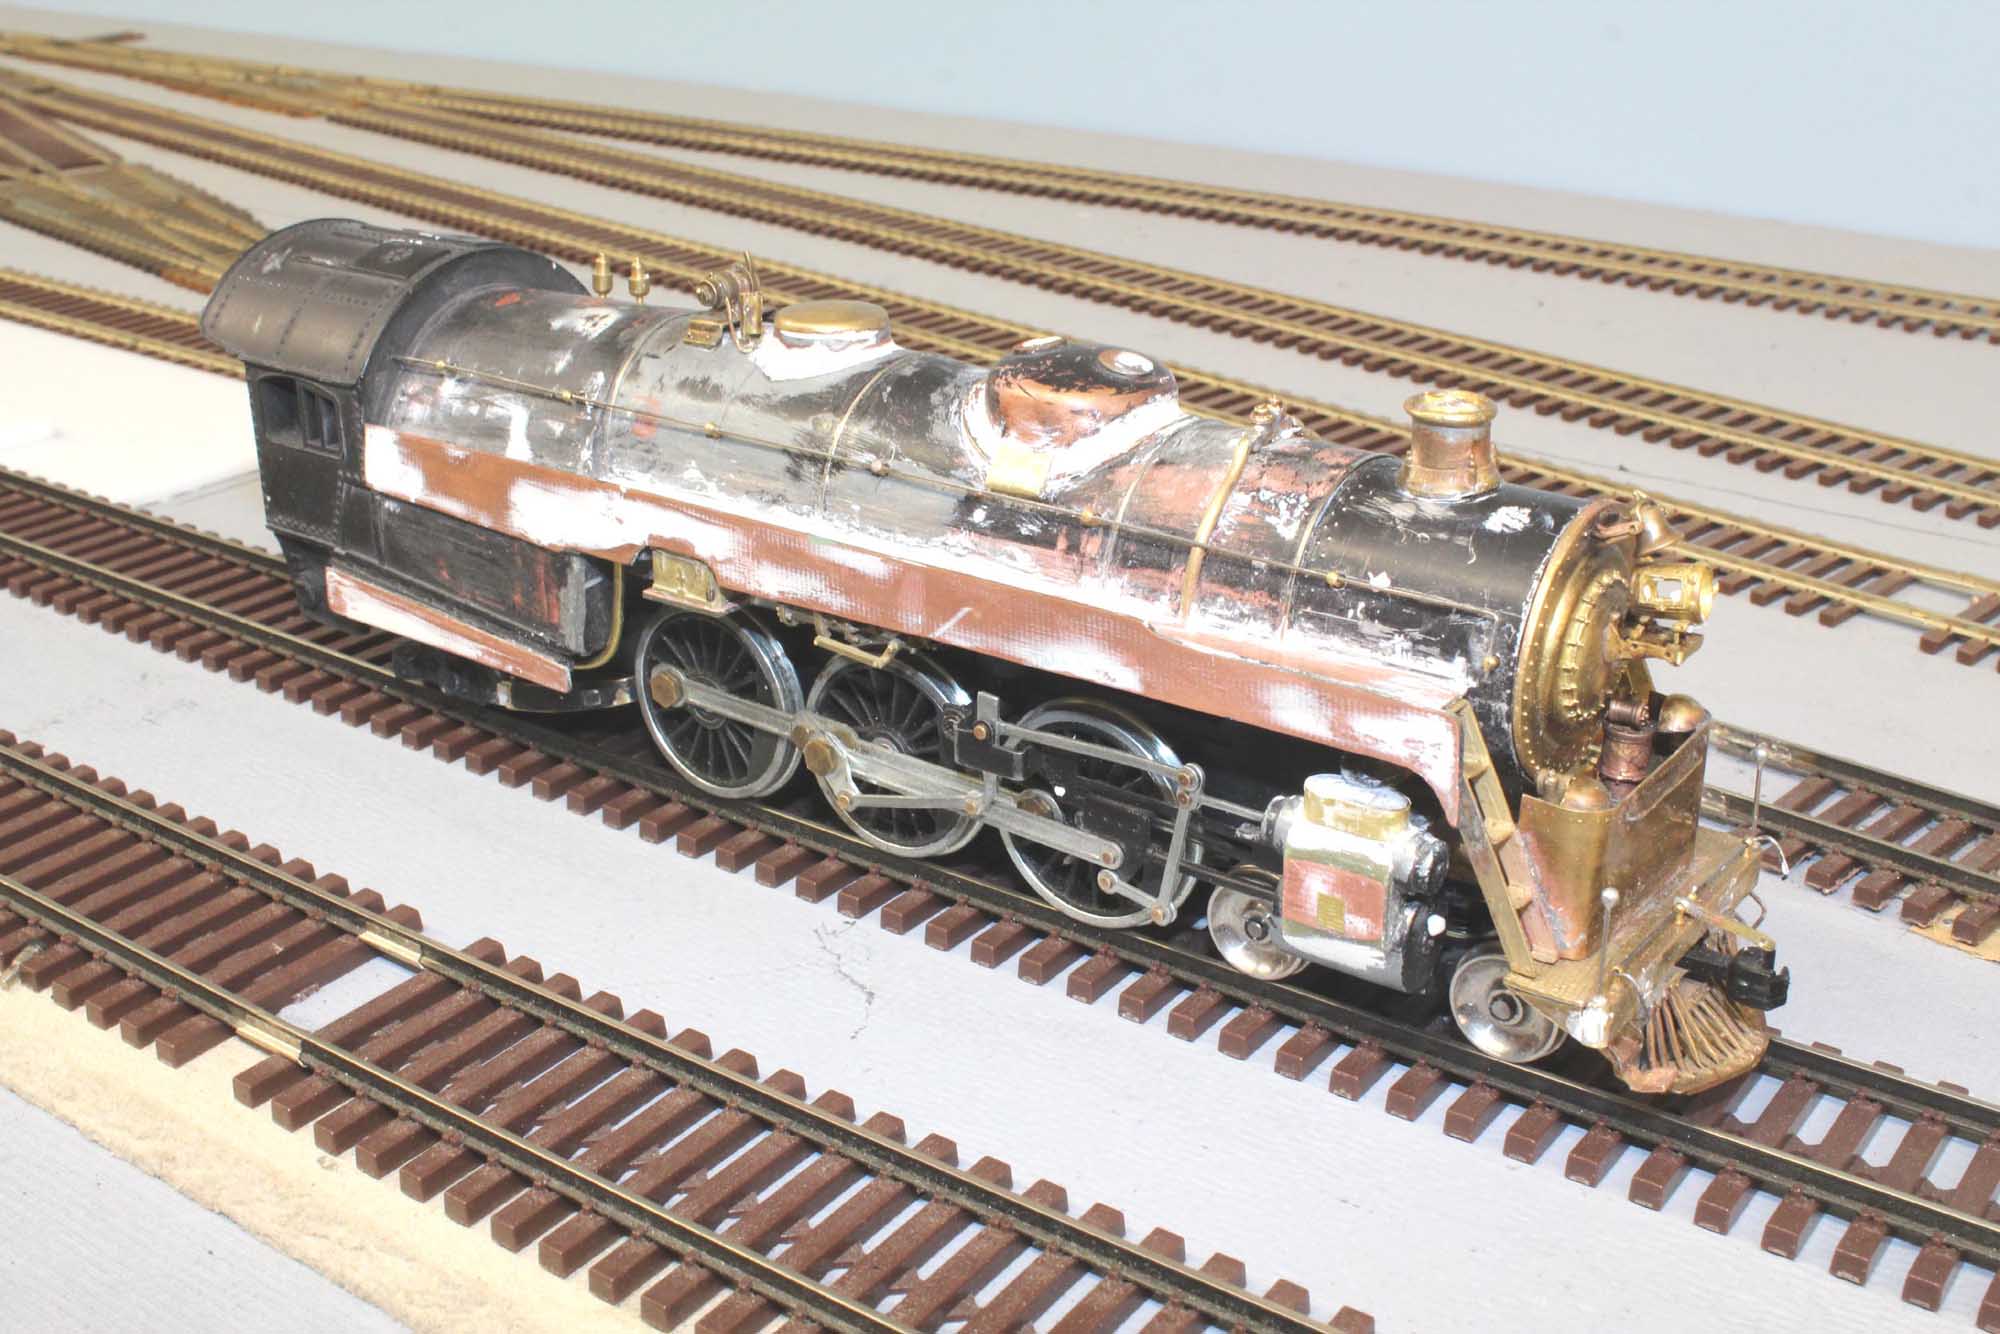
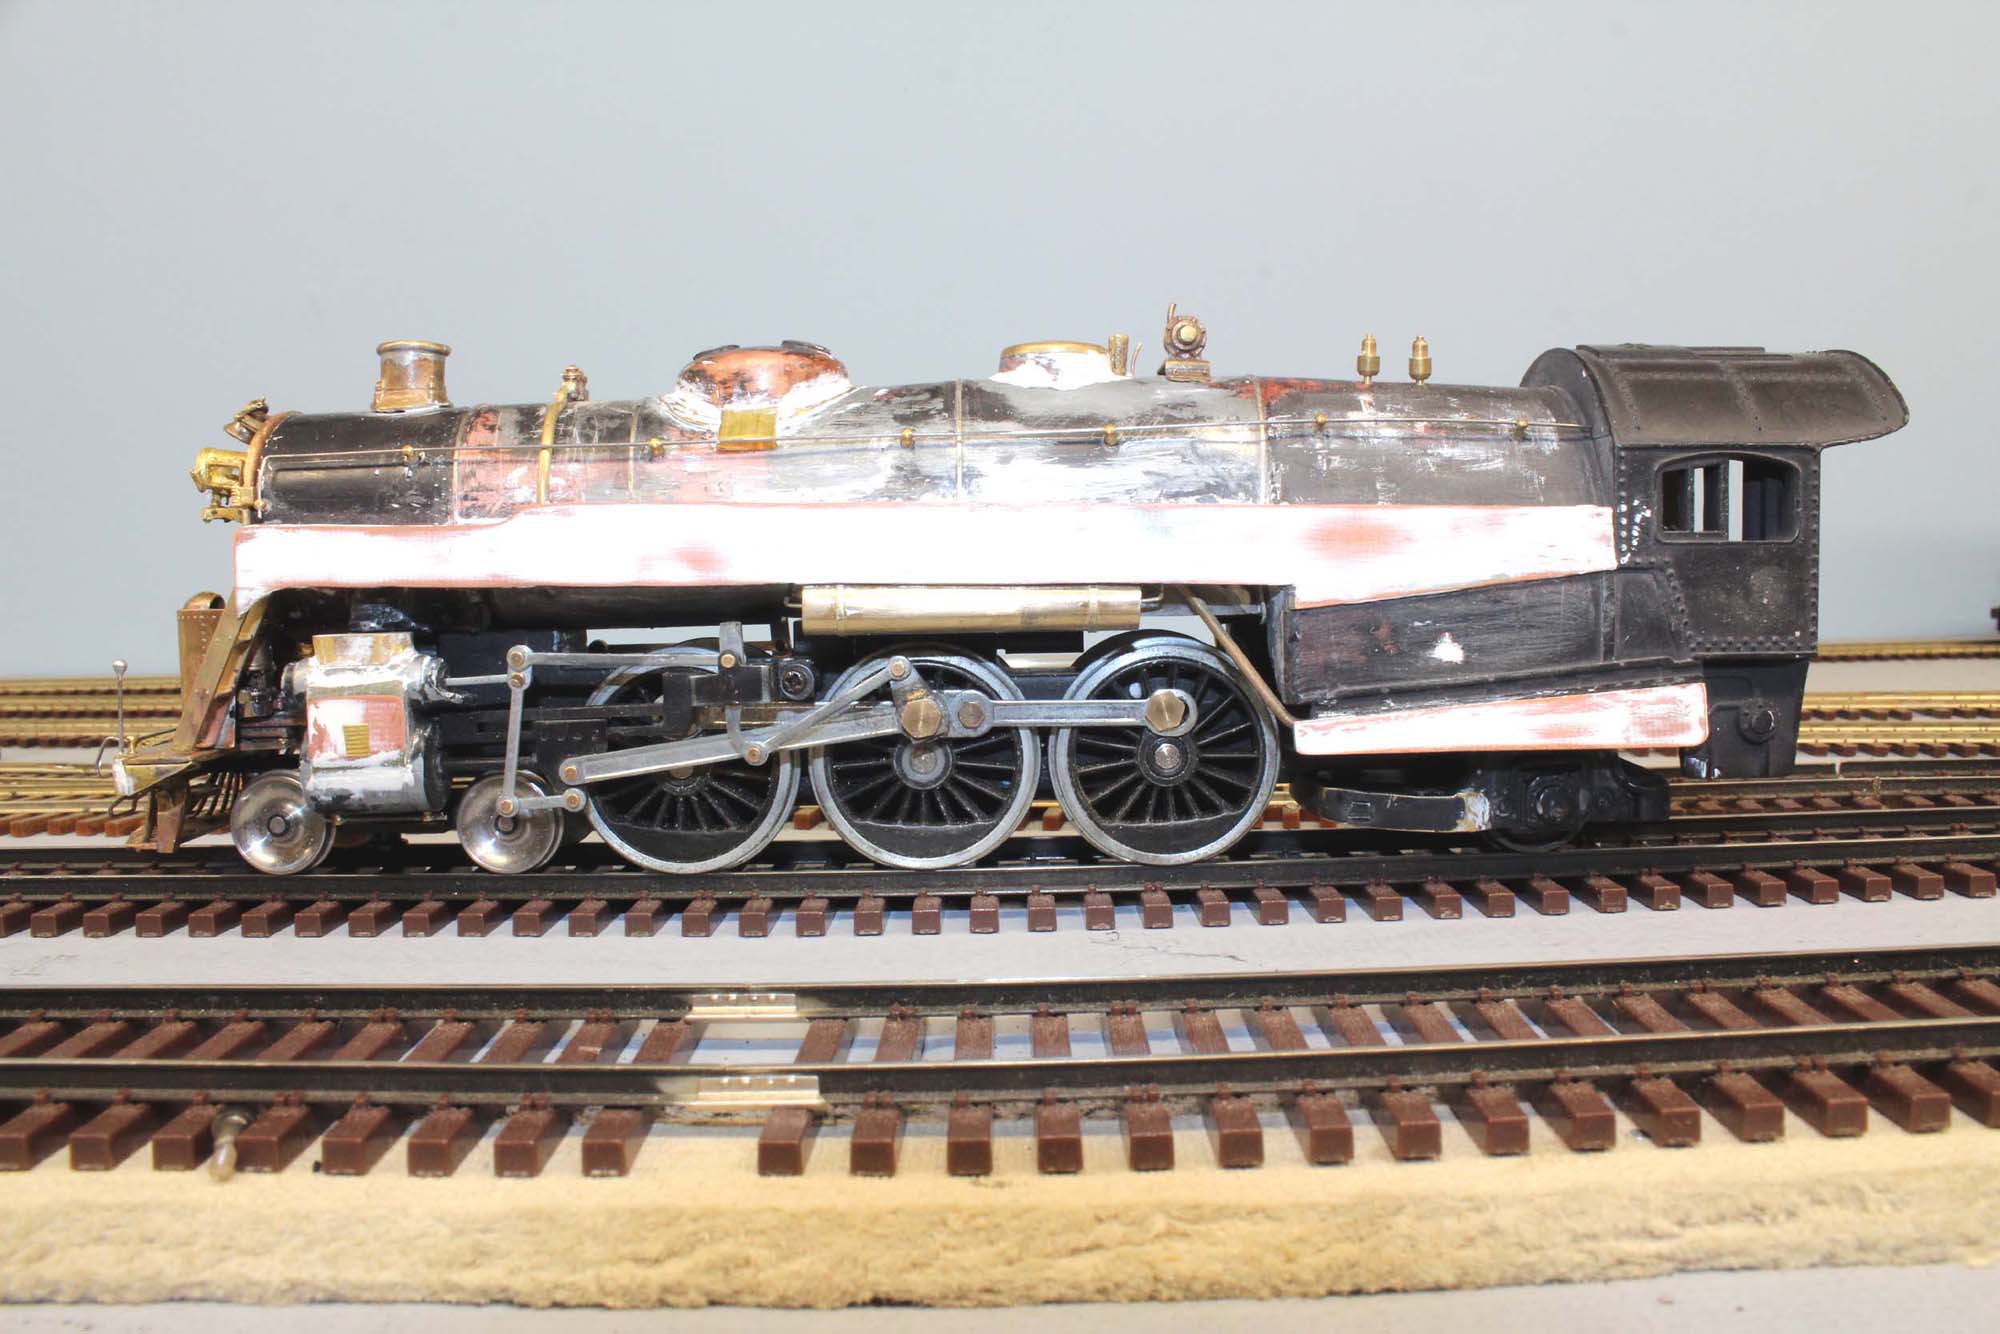
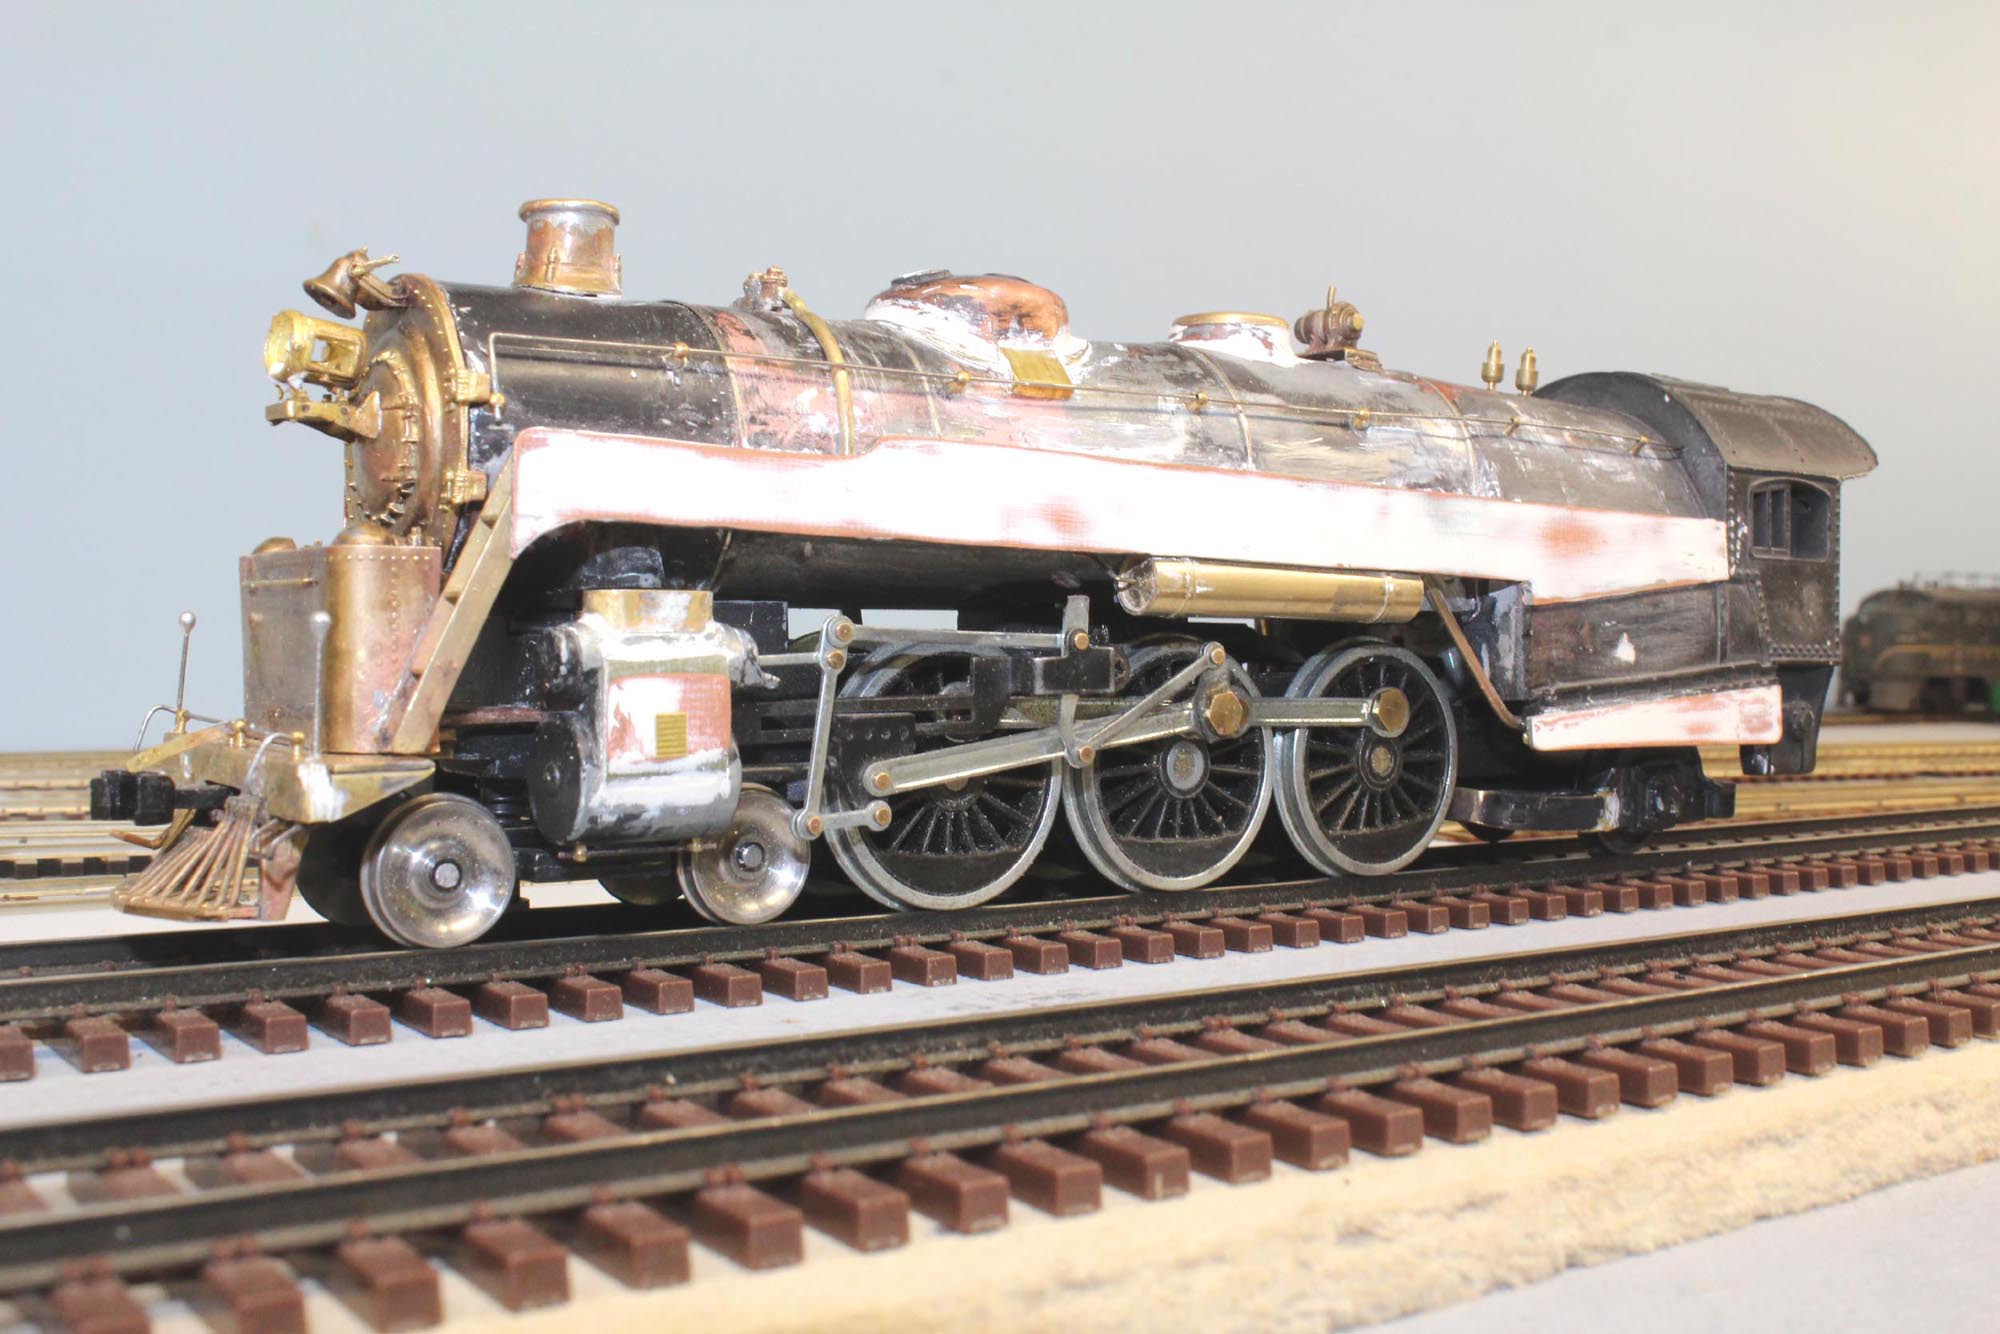
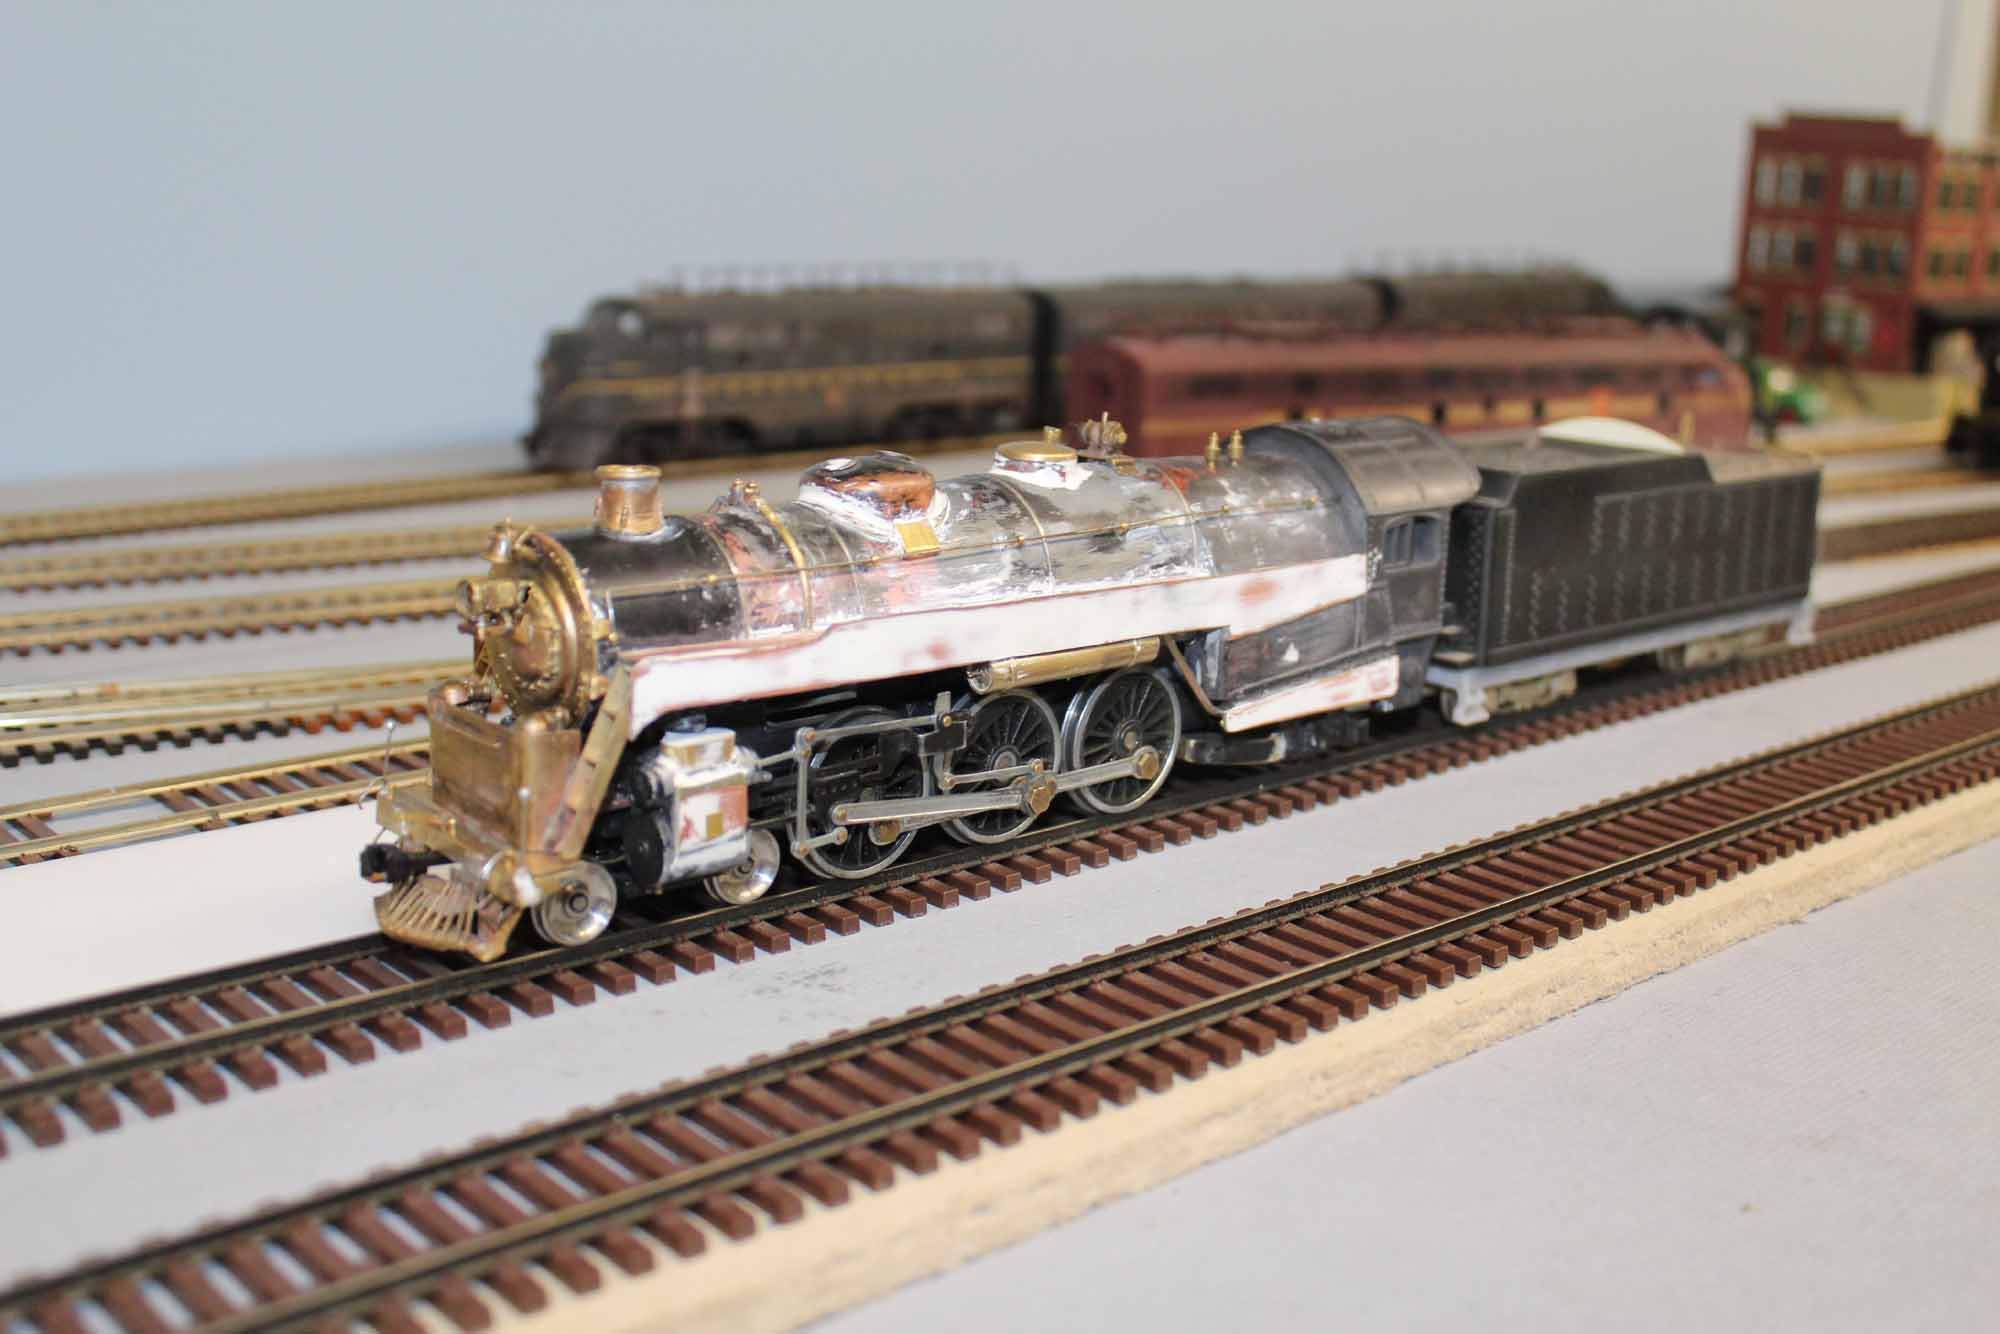
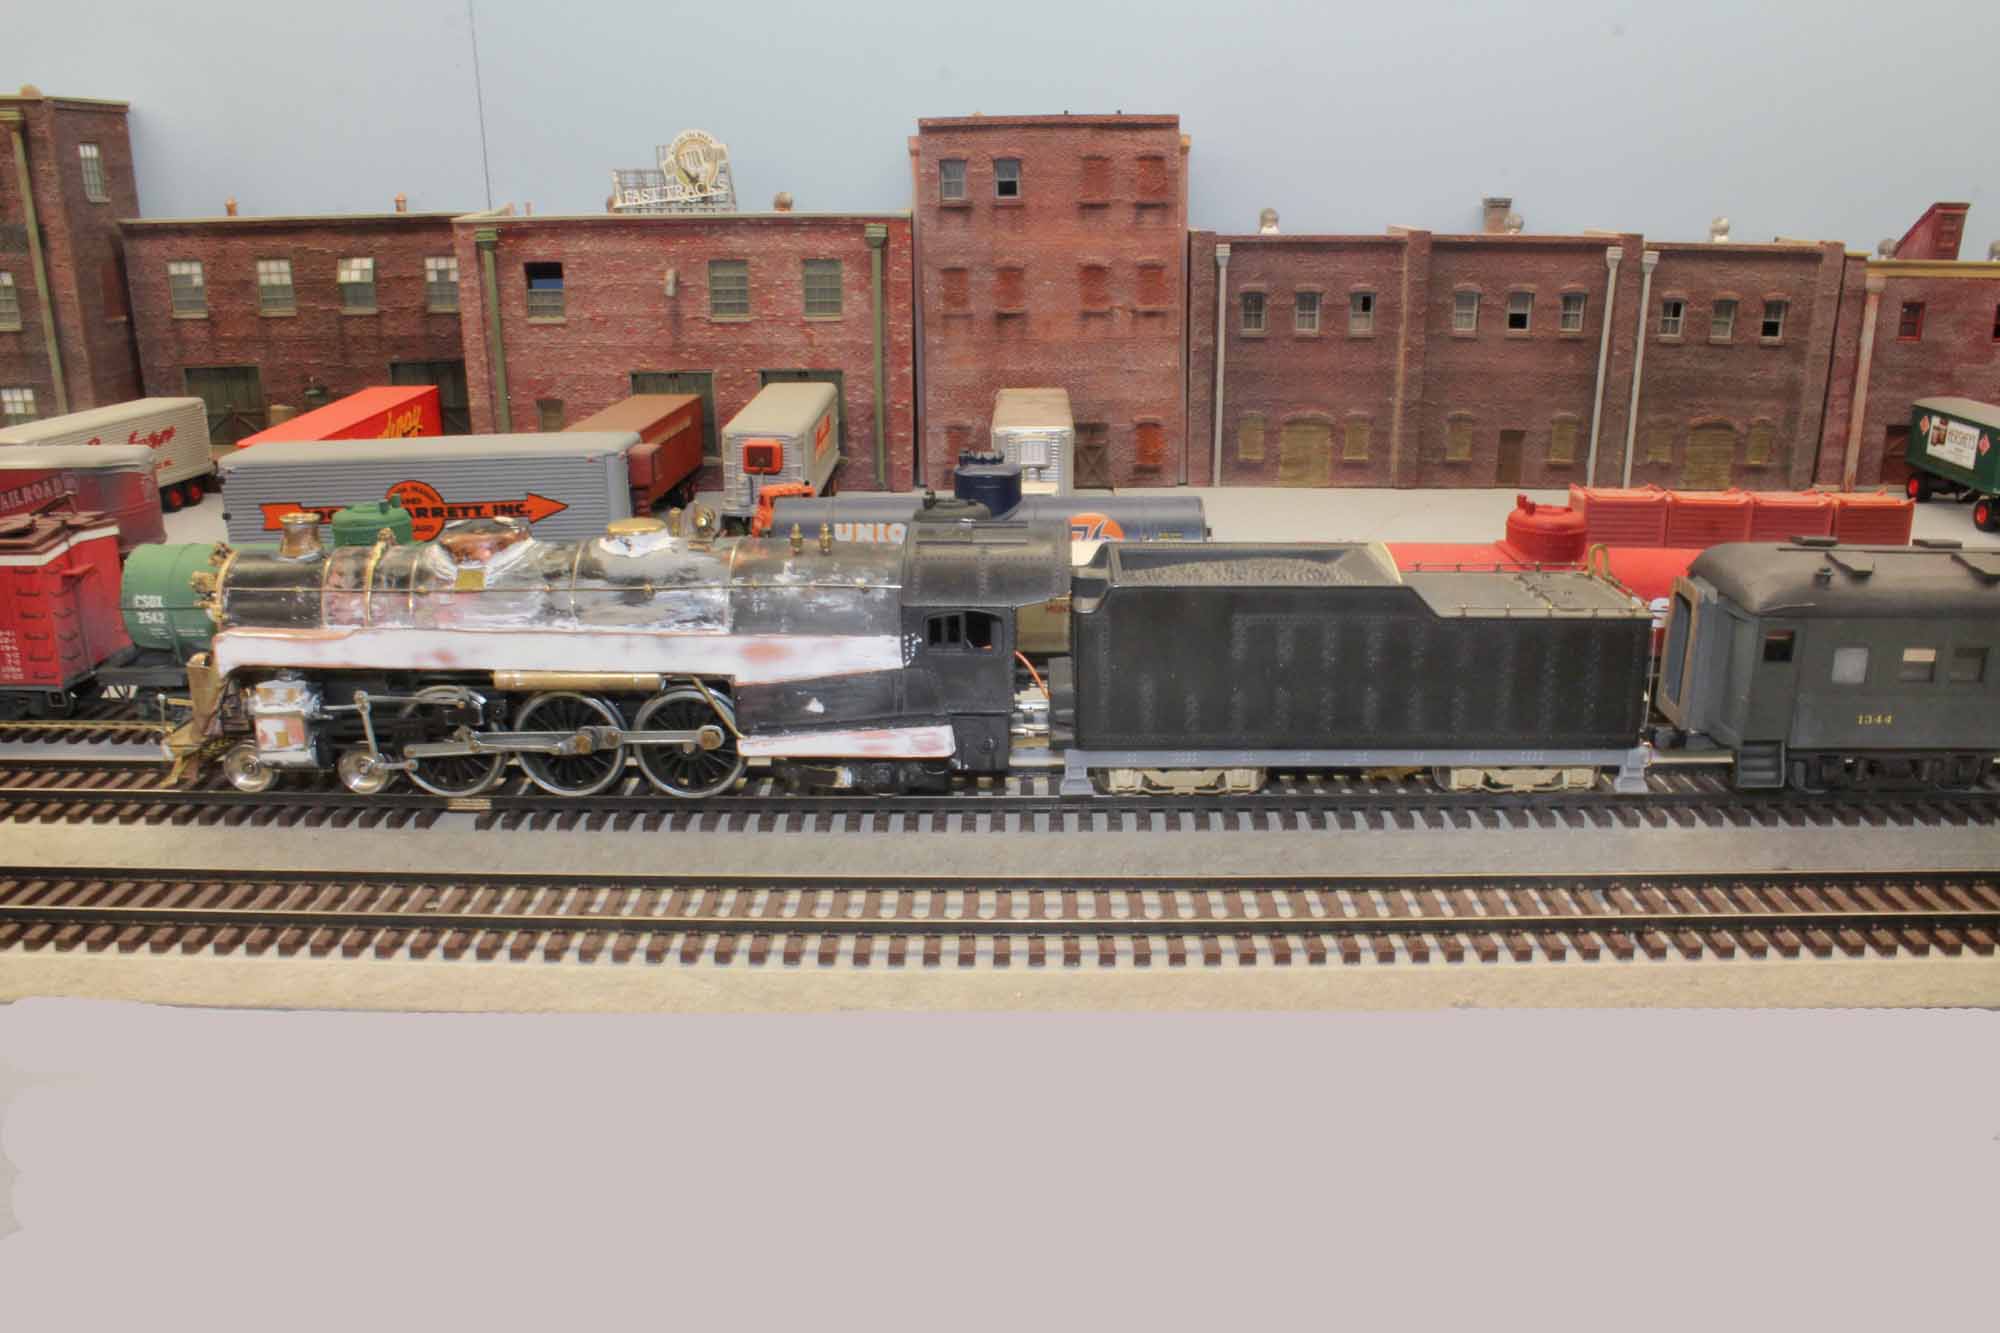
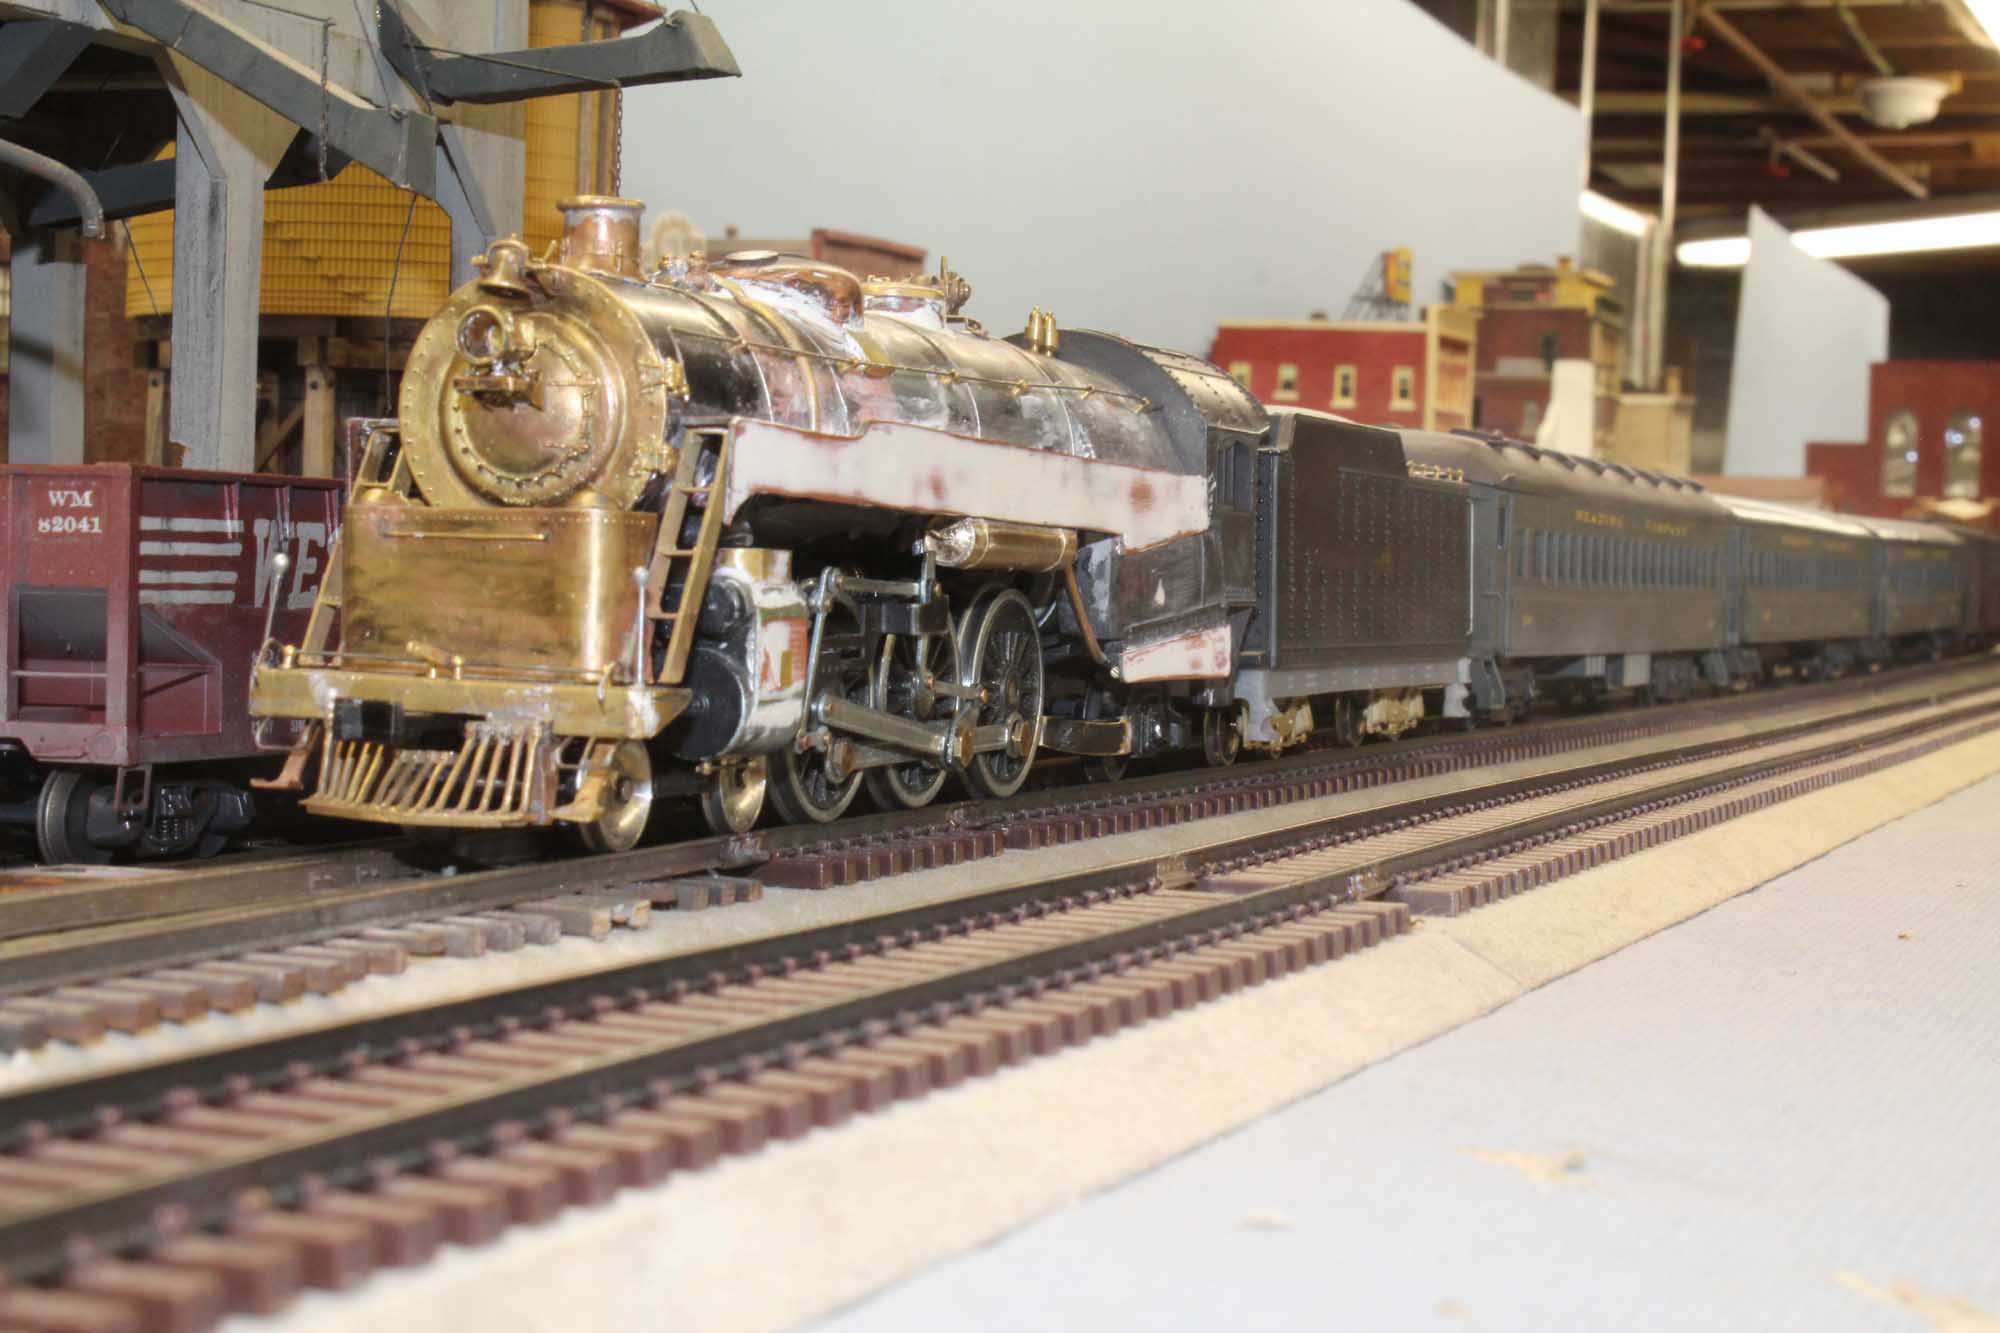
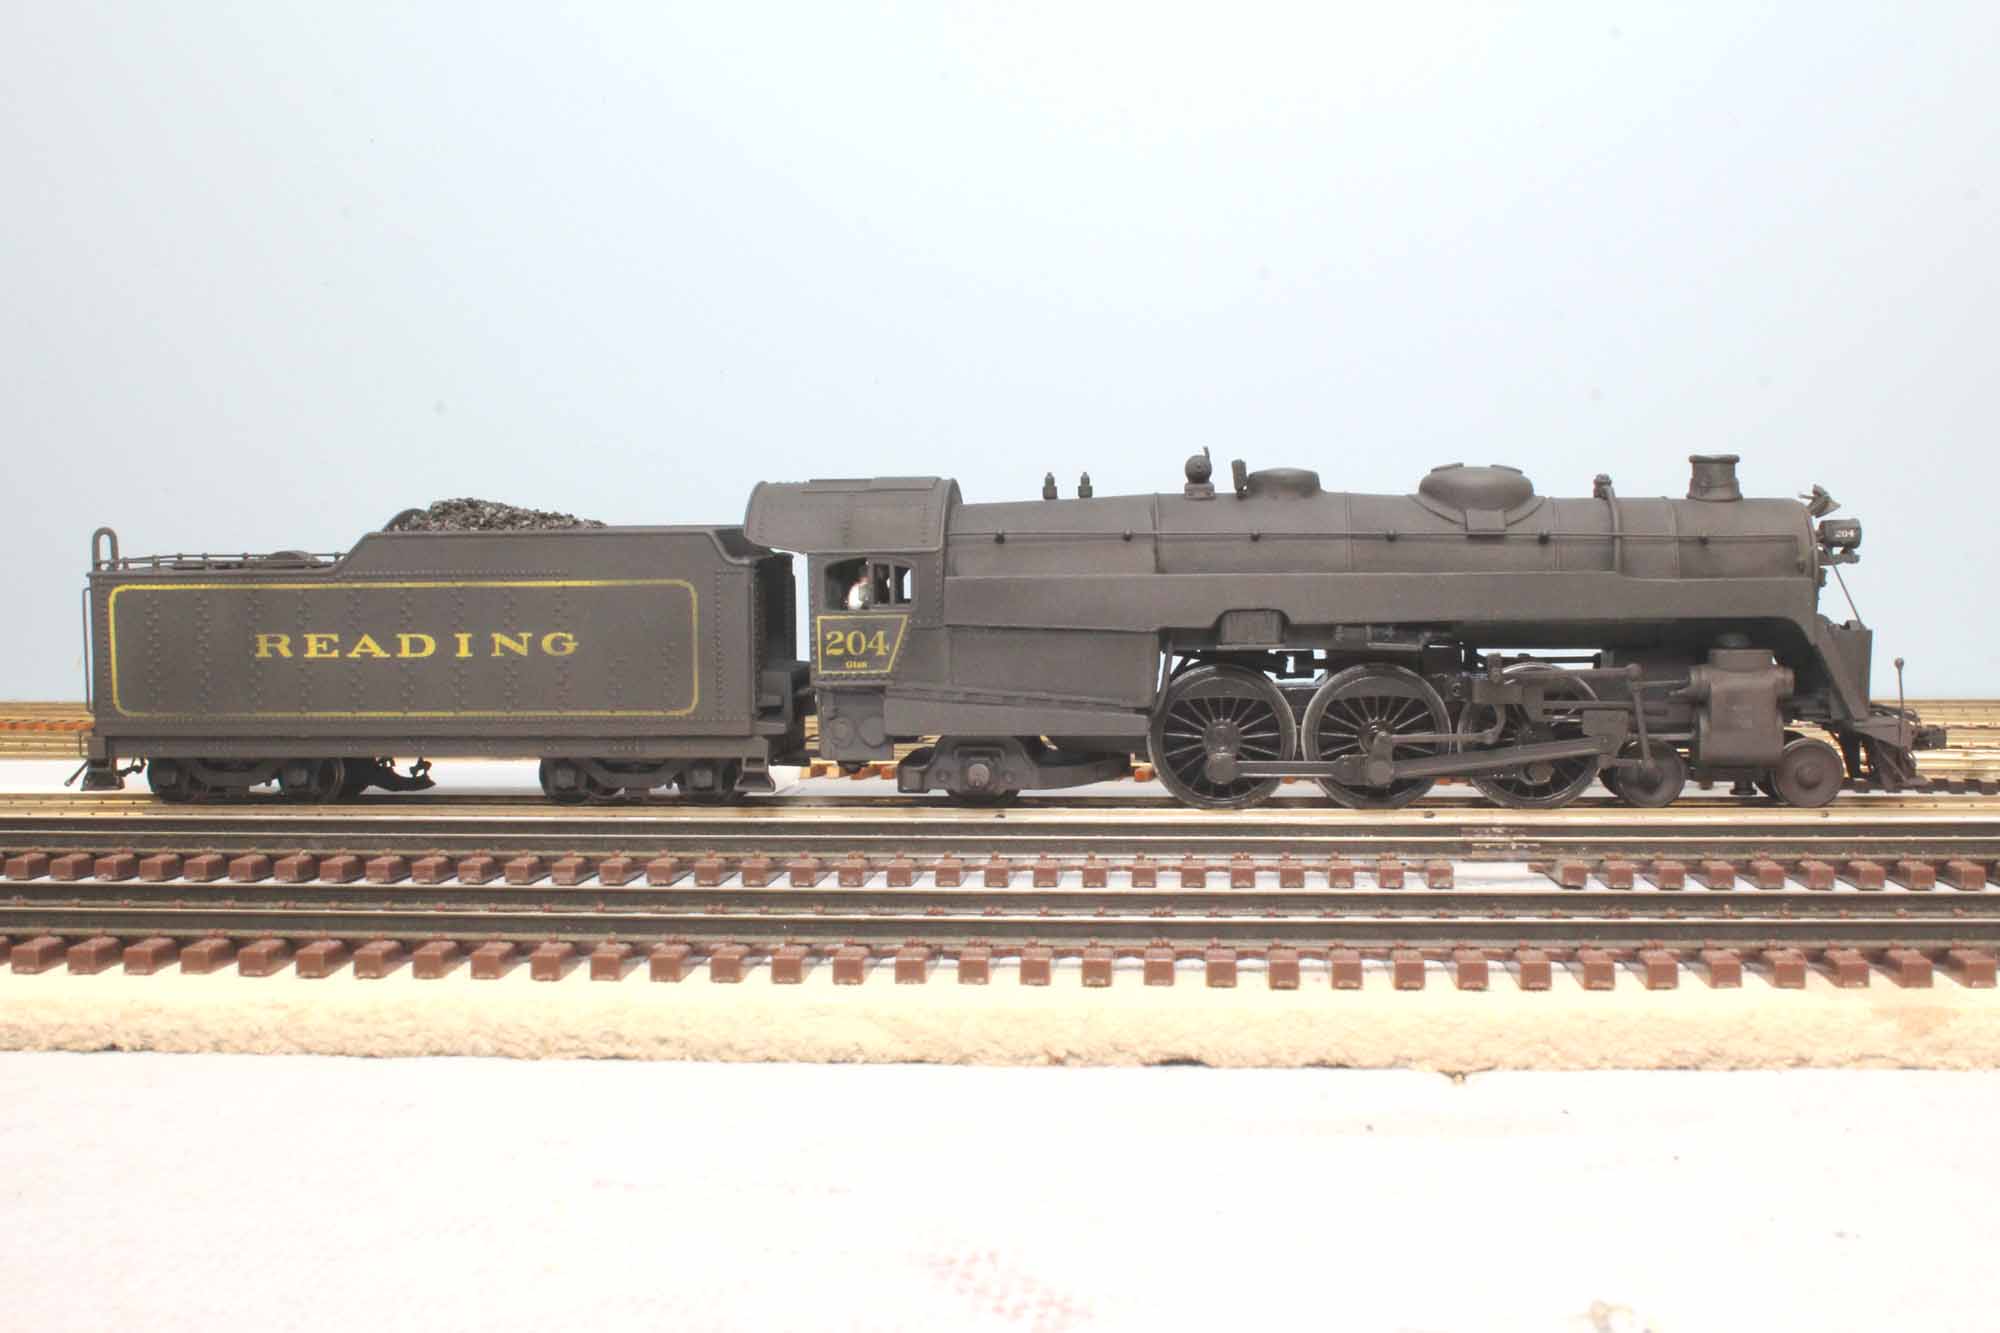
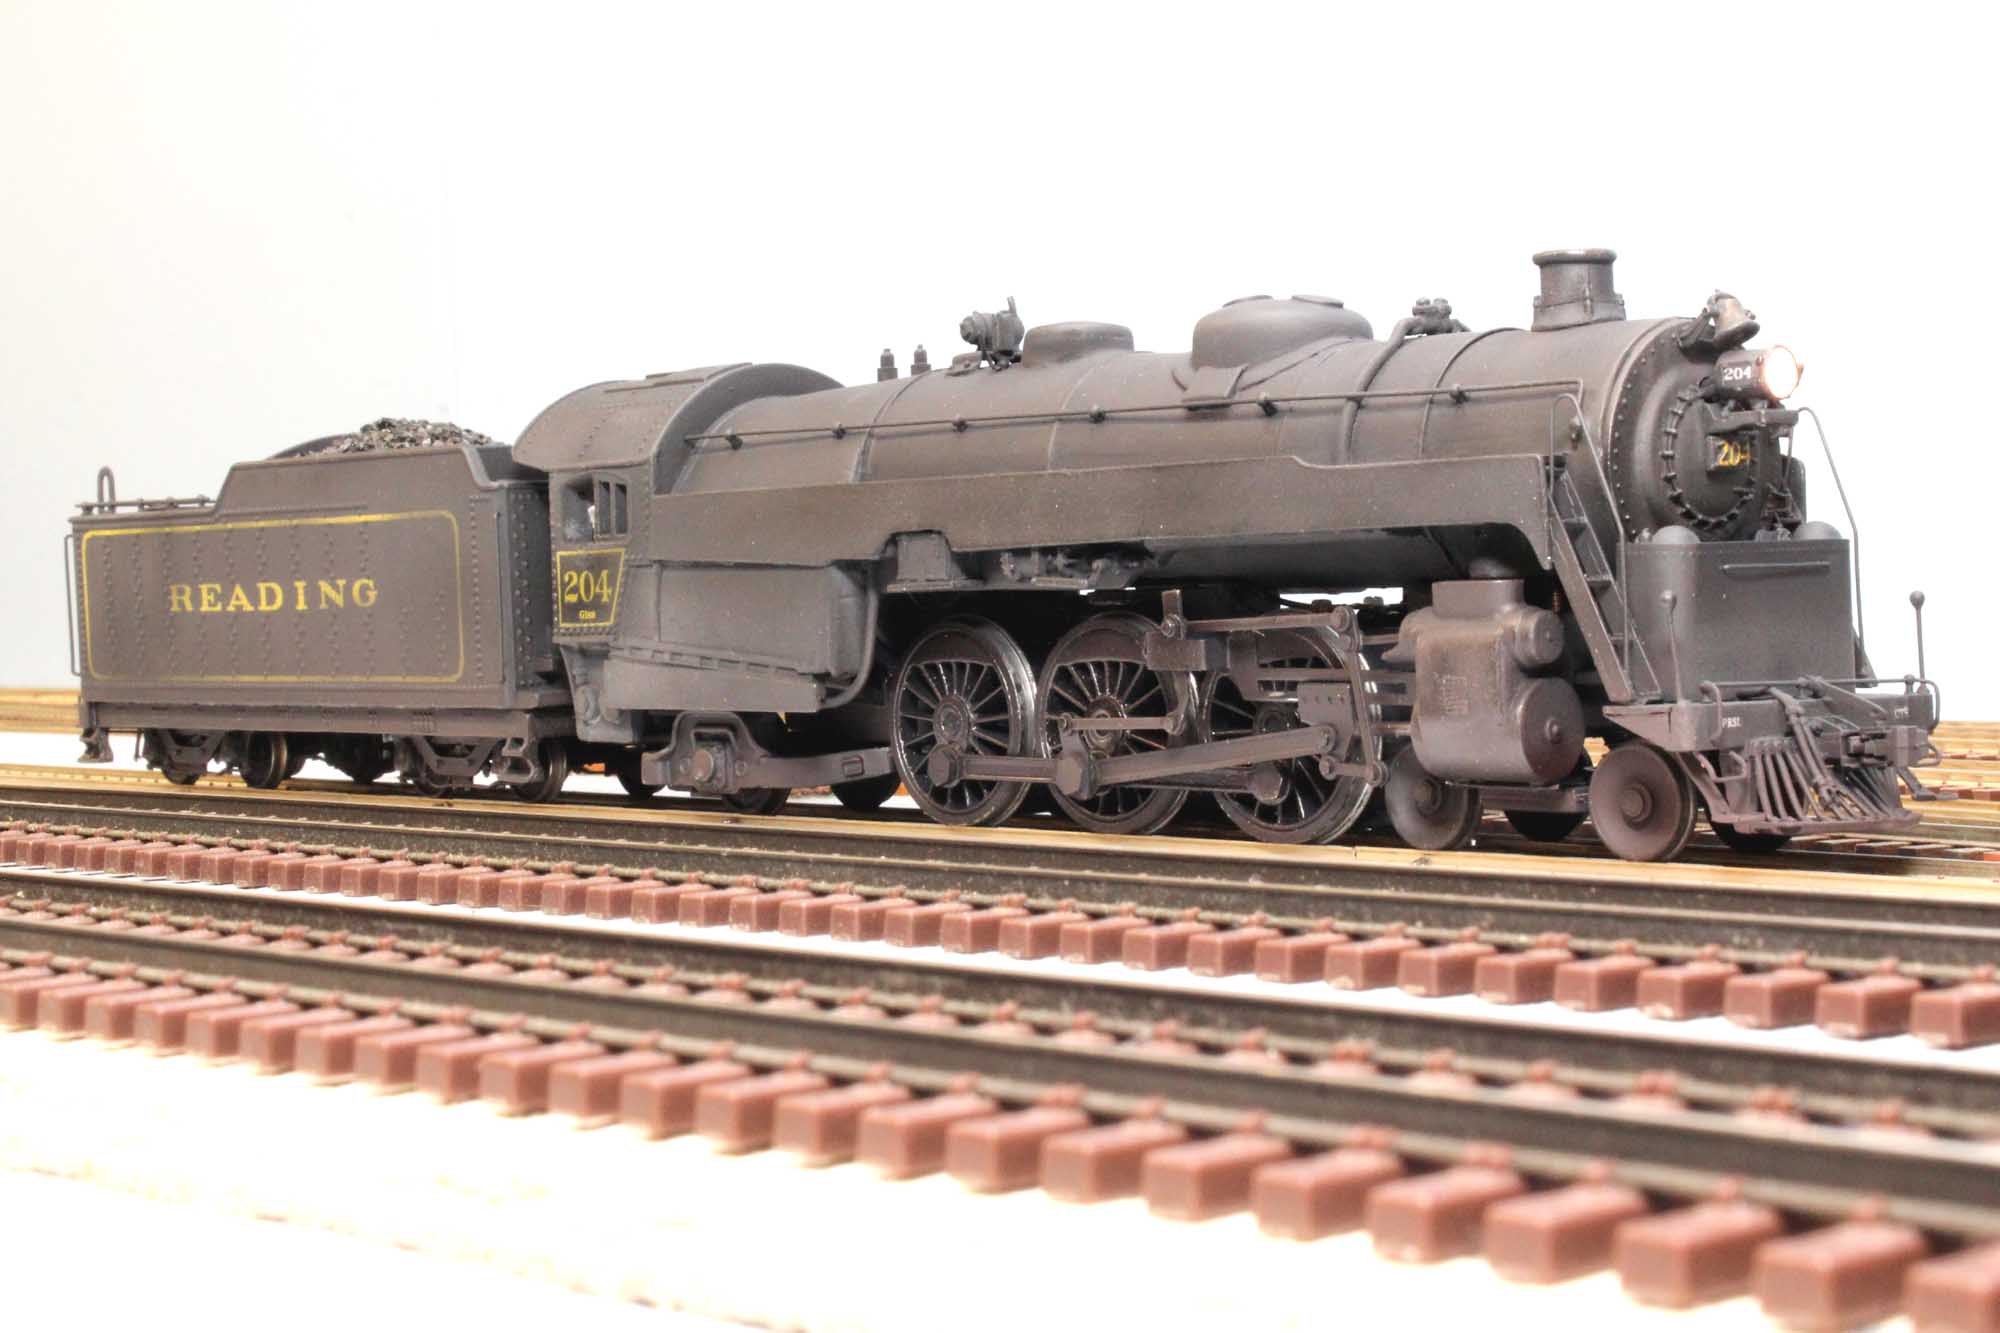
Completed Model
Rods Down Portraits
8-2 to 9-6-15
I have taken a LOT of photos of the finished model.

Updated 2-25-18
All
photos and content © Lanes Trains 2005-2021