|
|
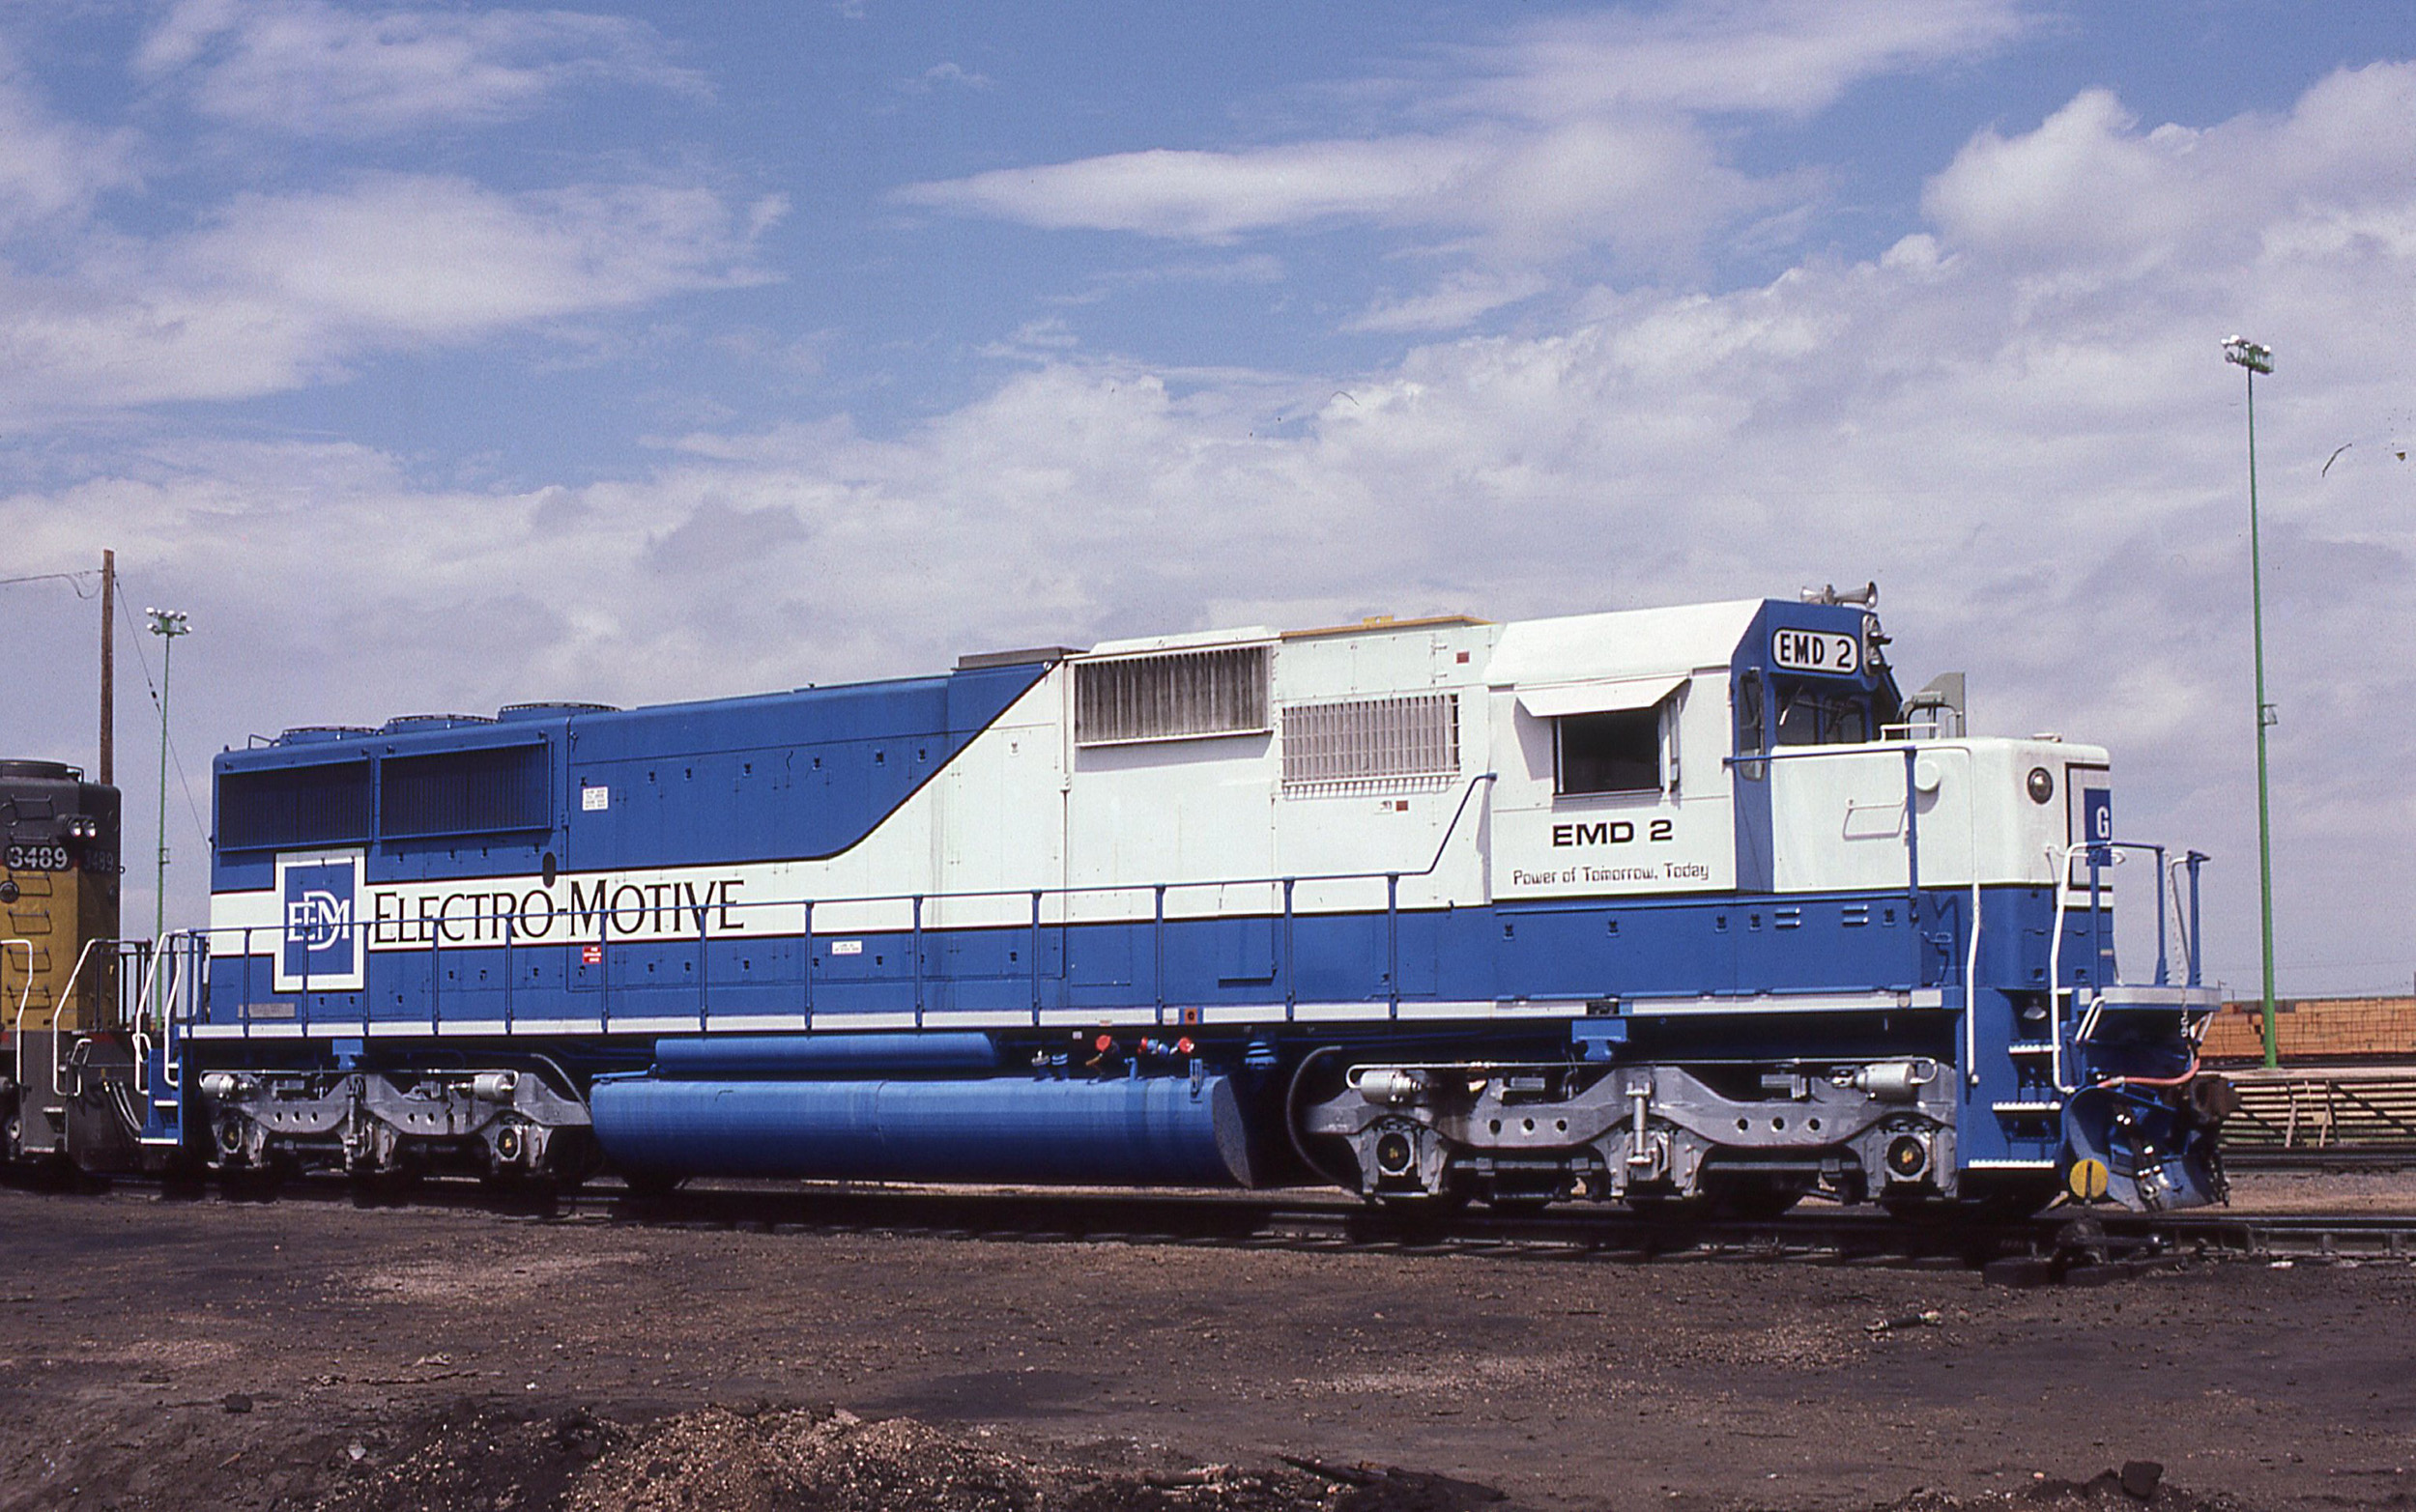
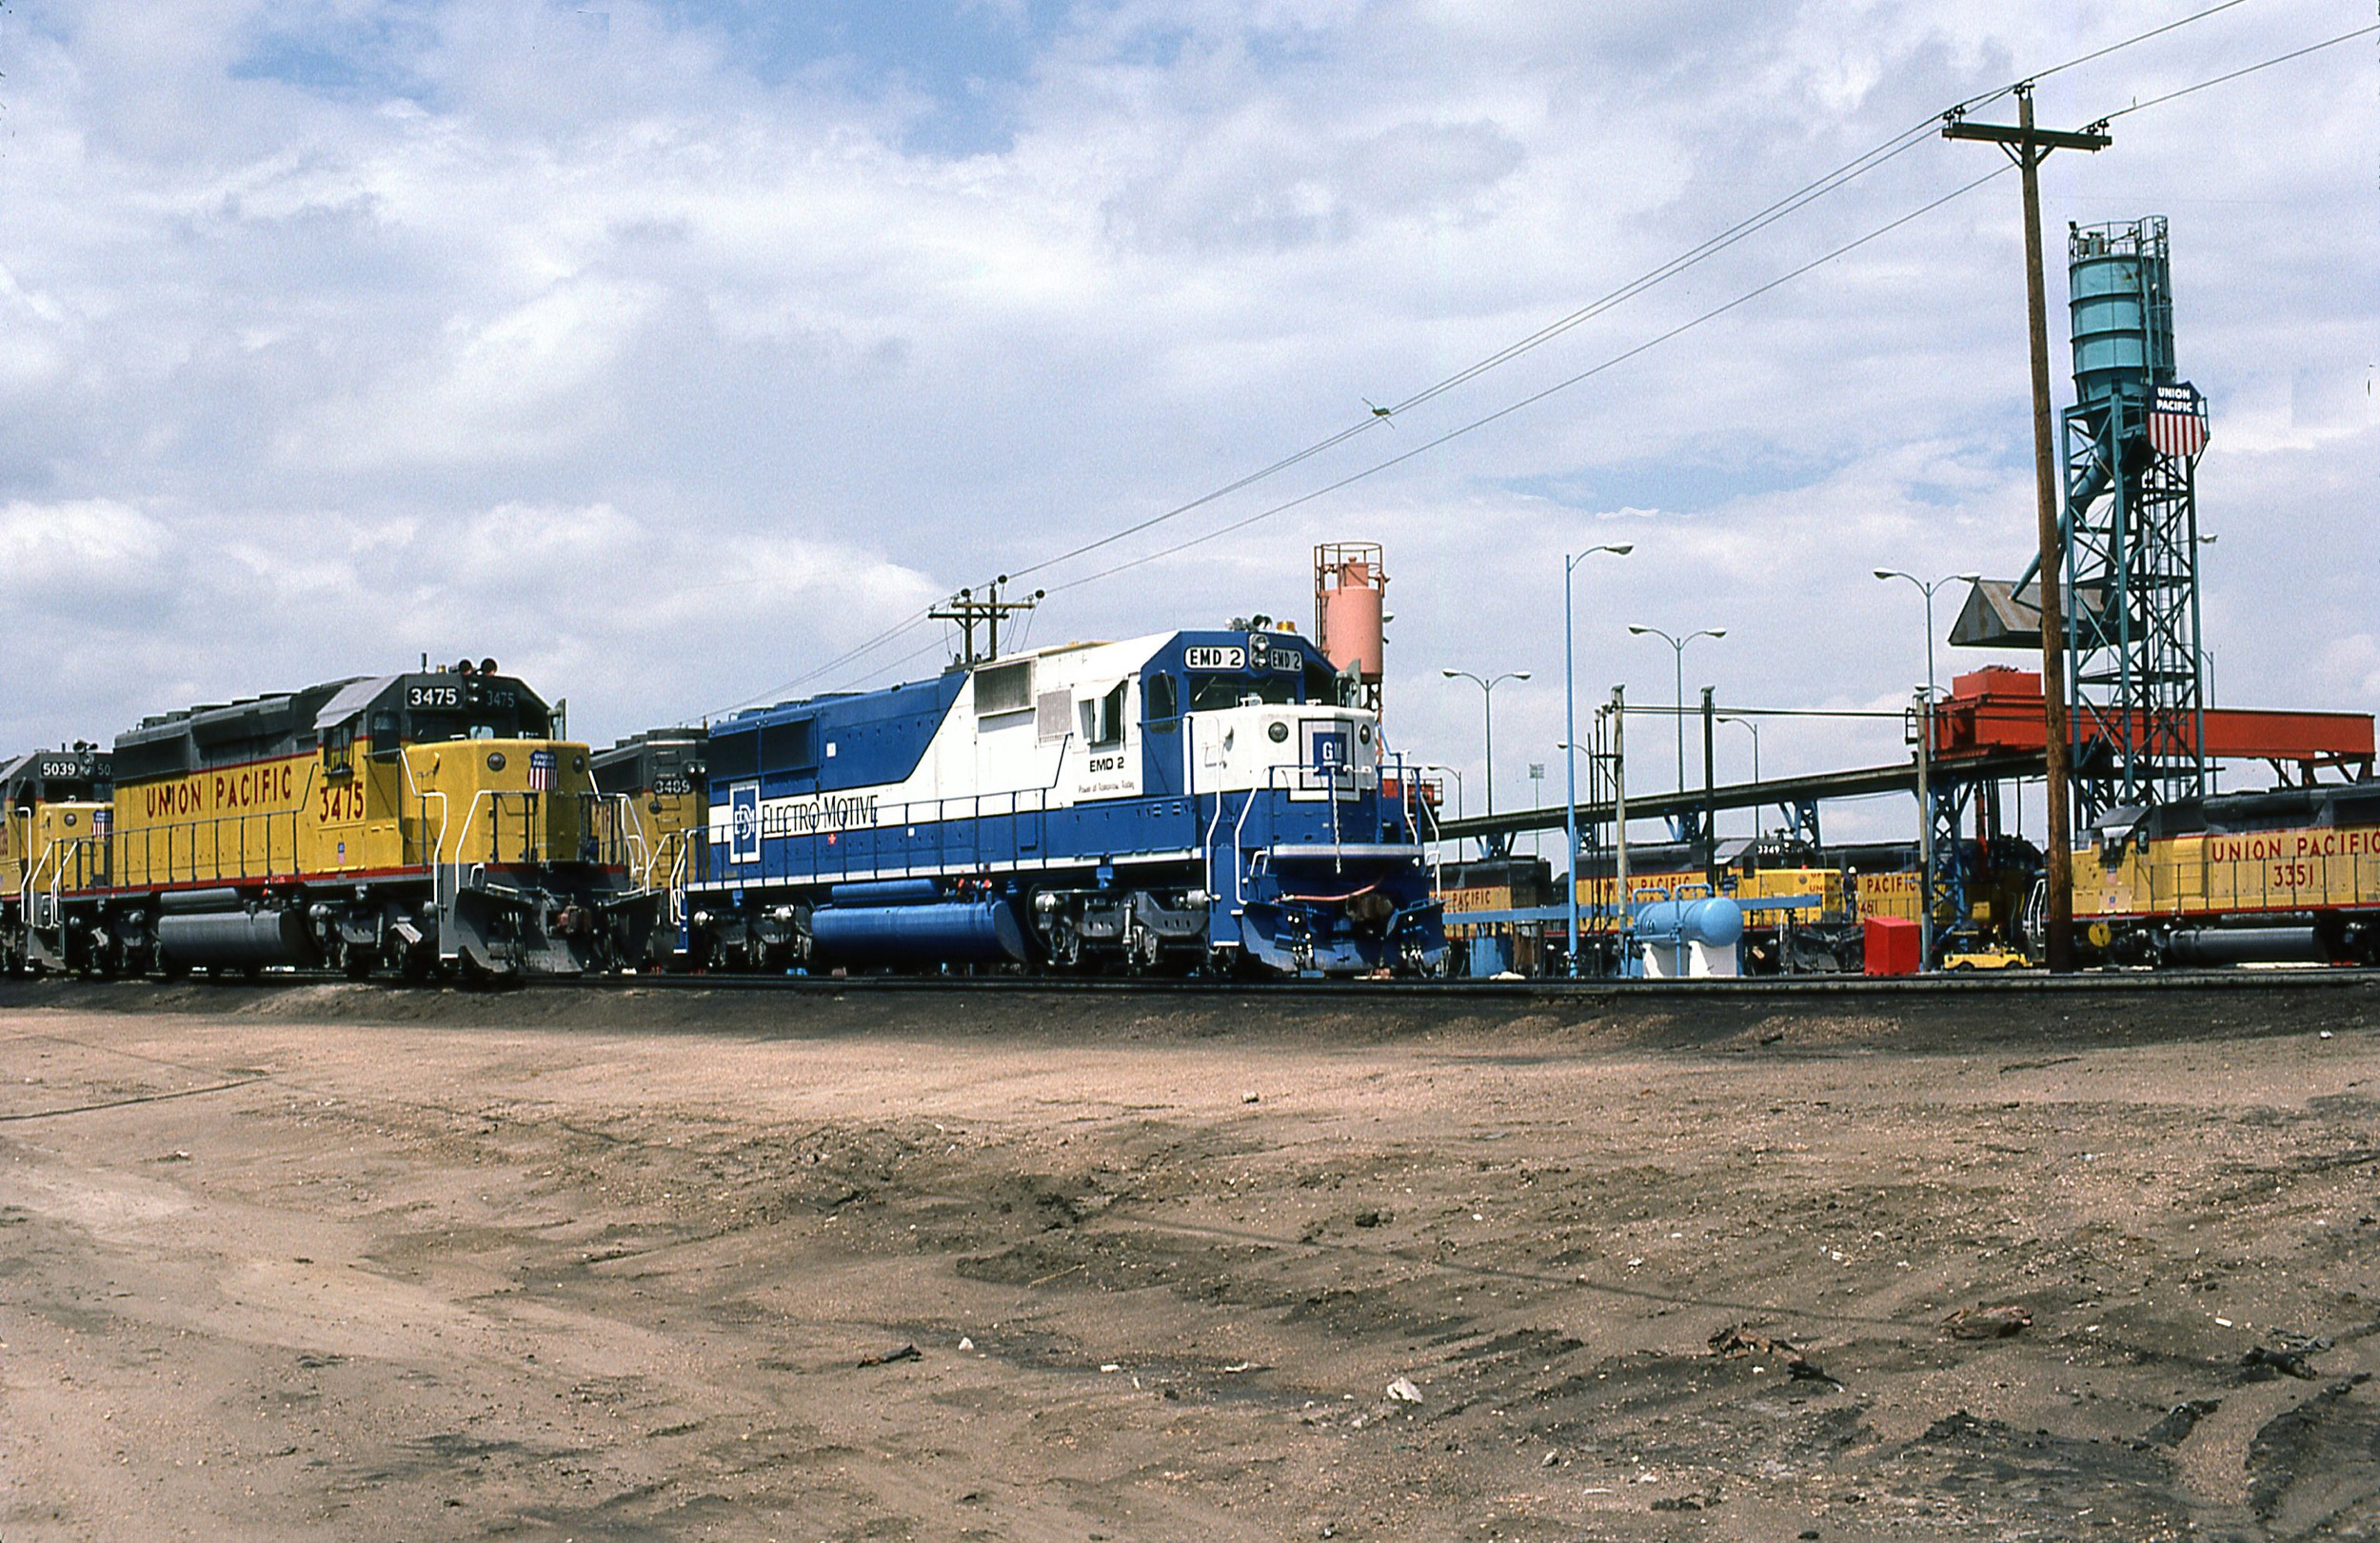
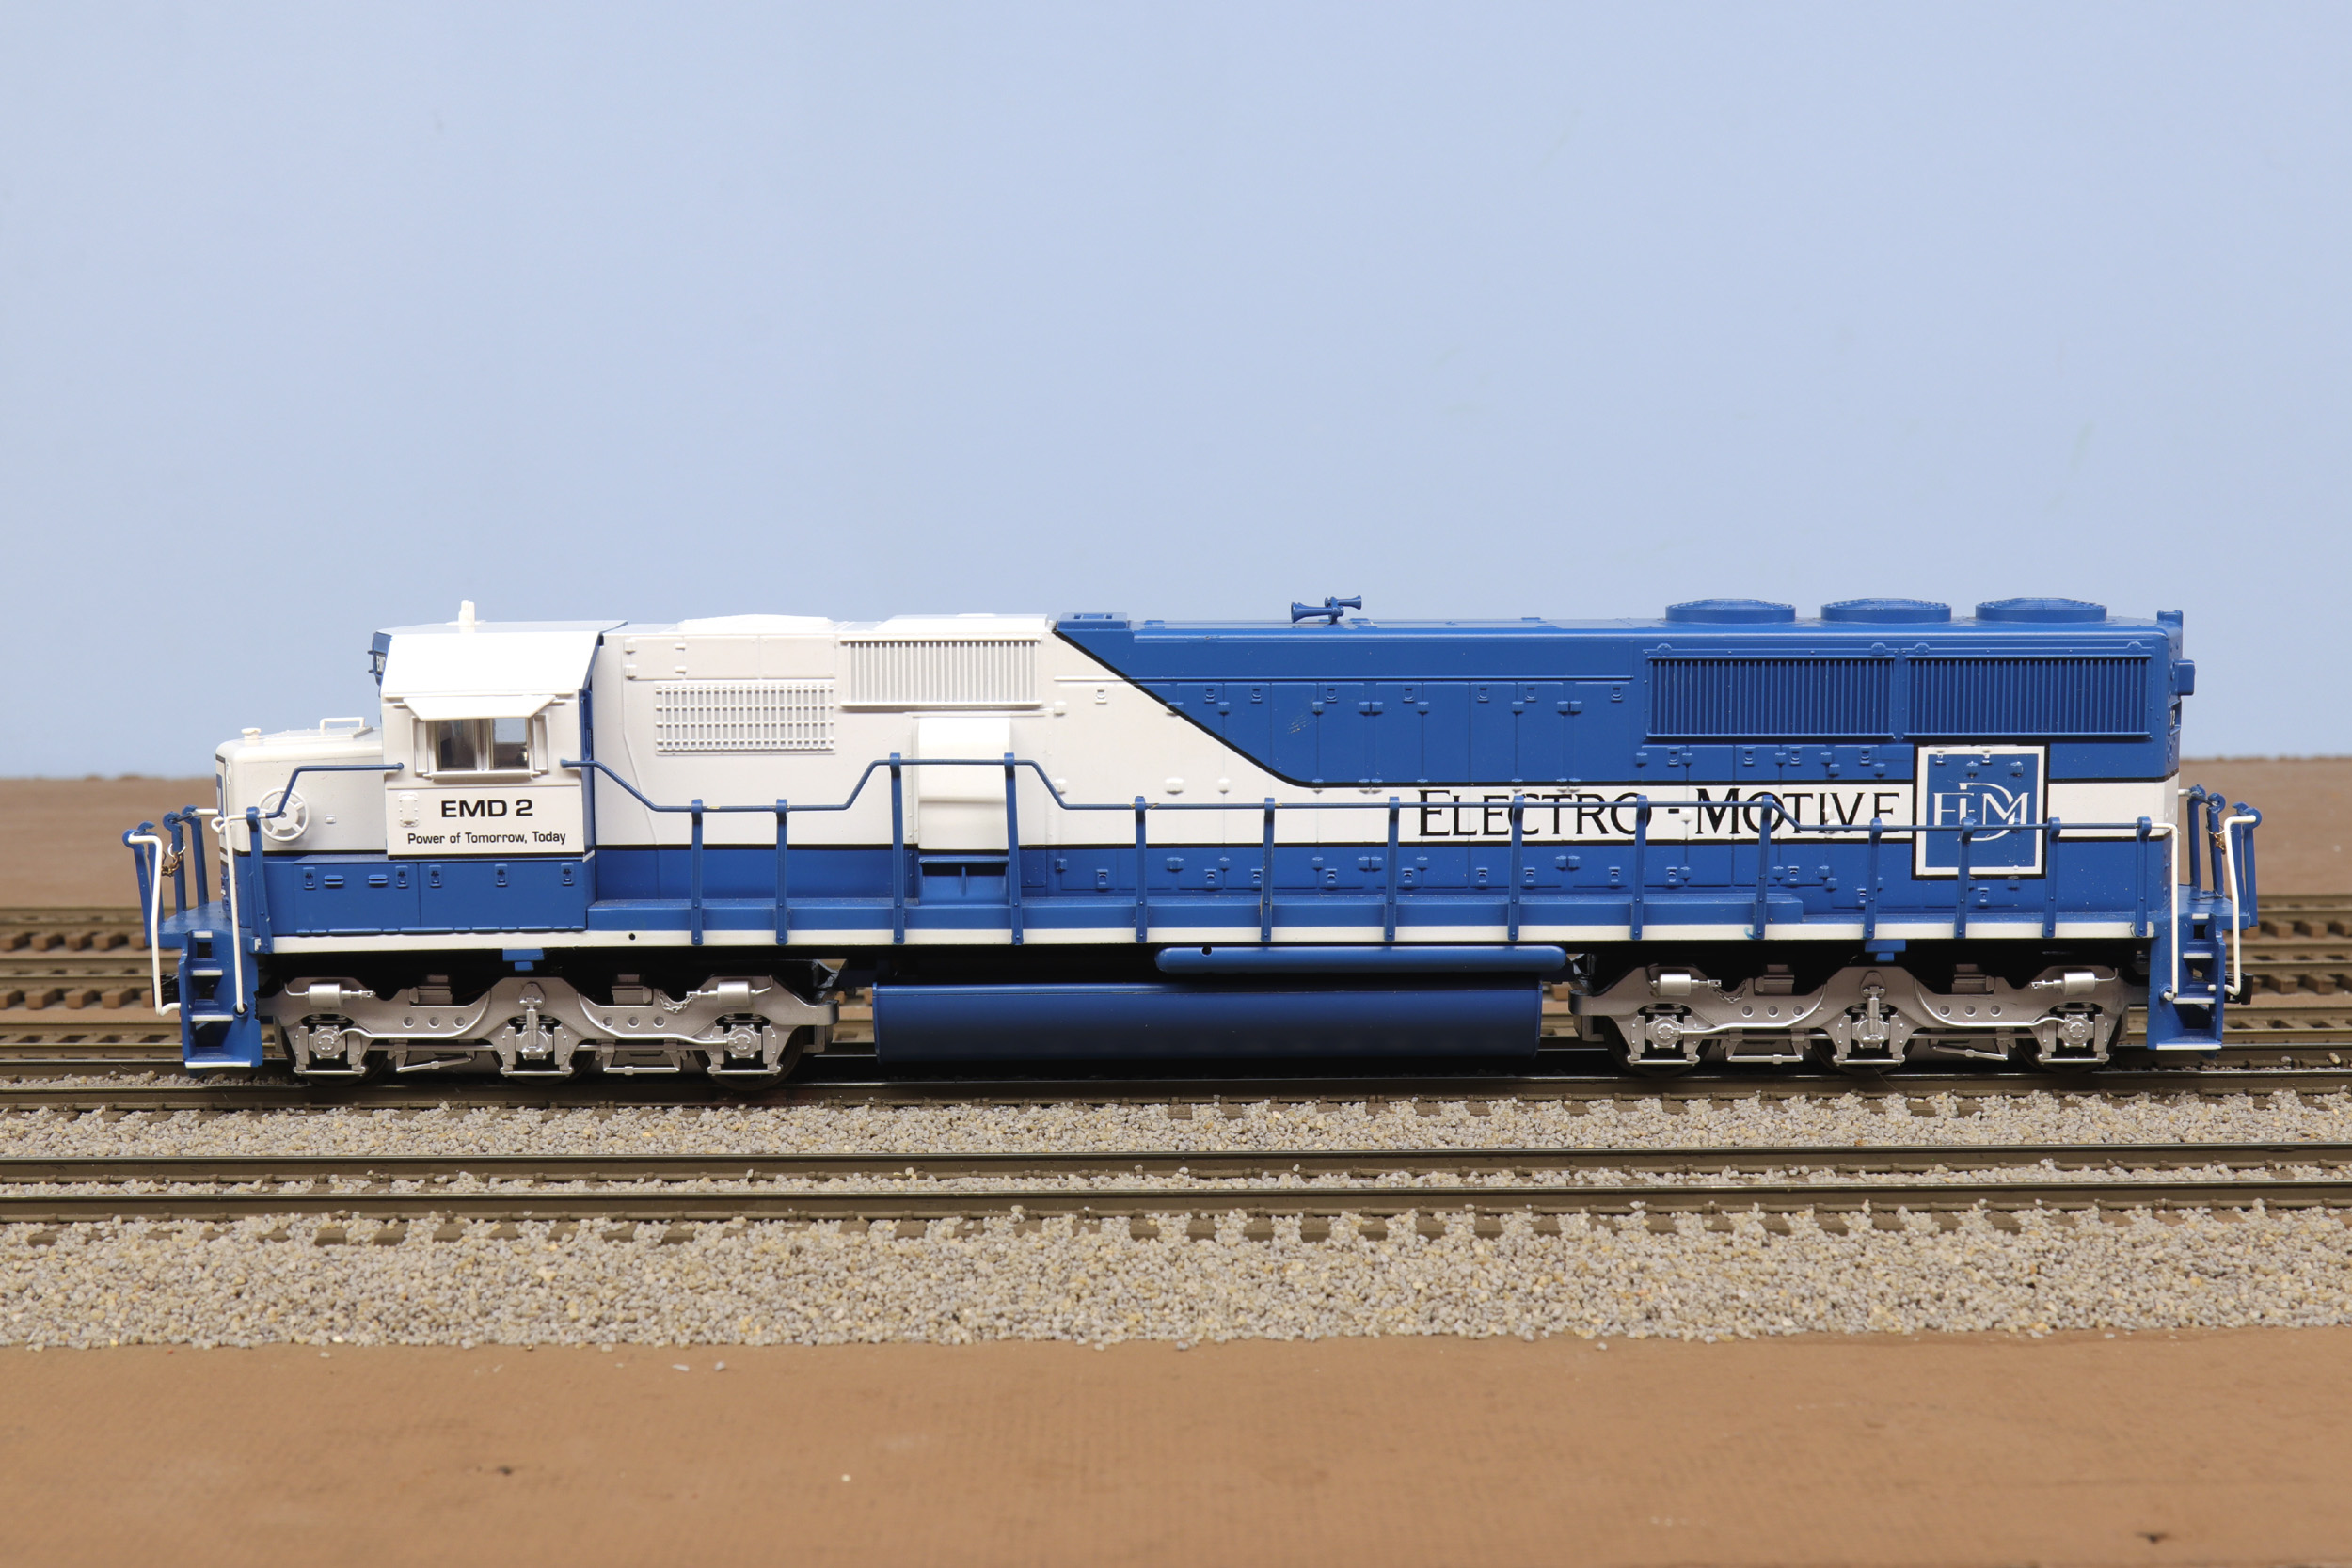
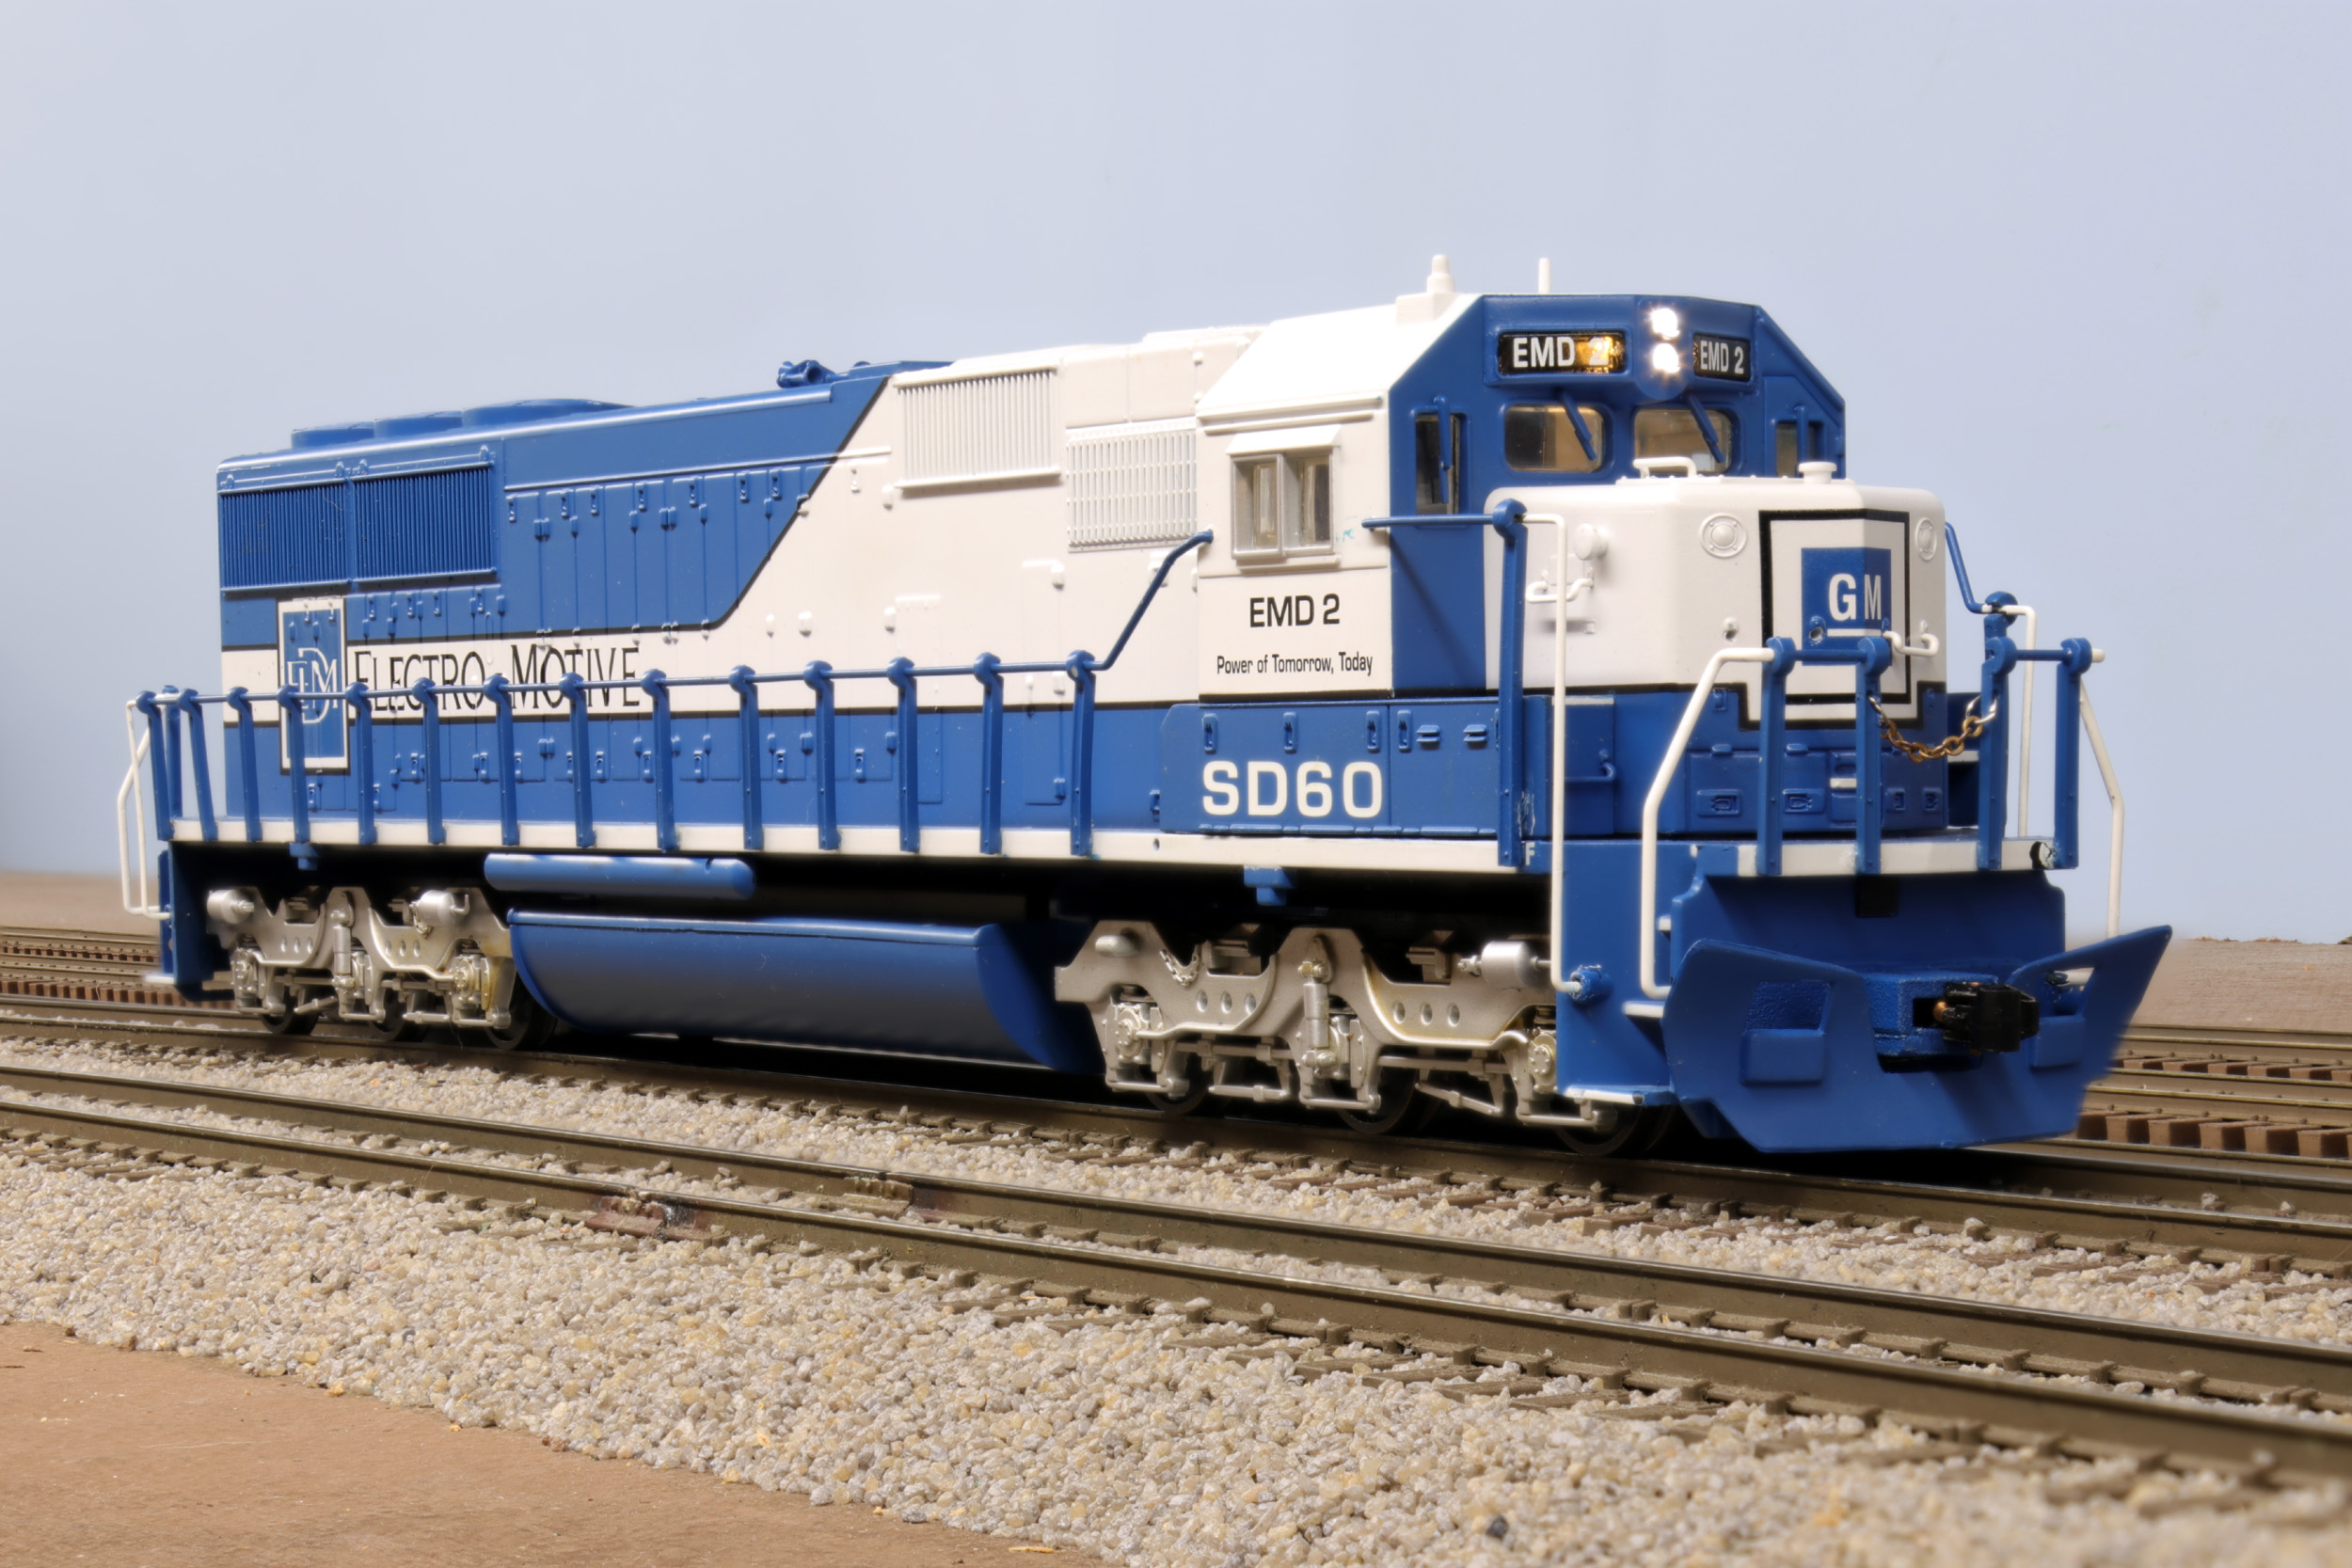
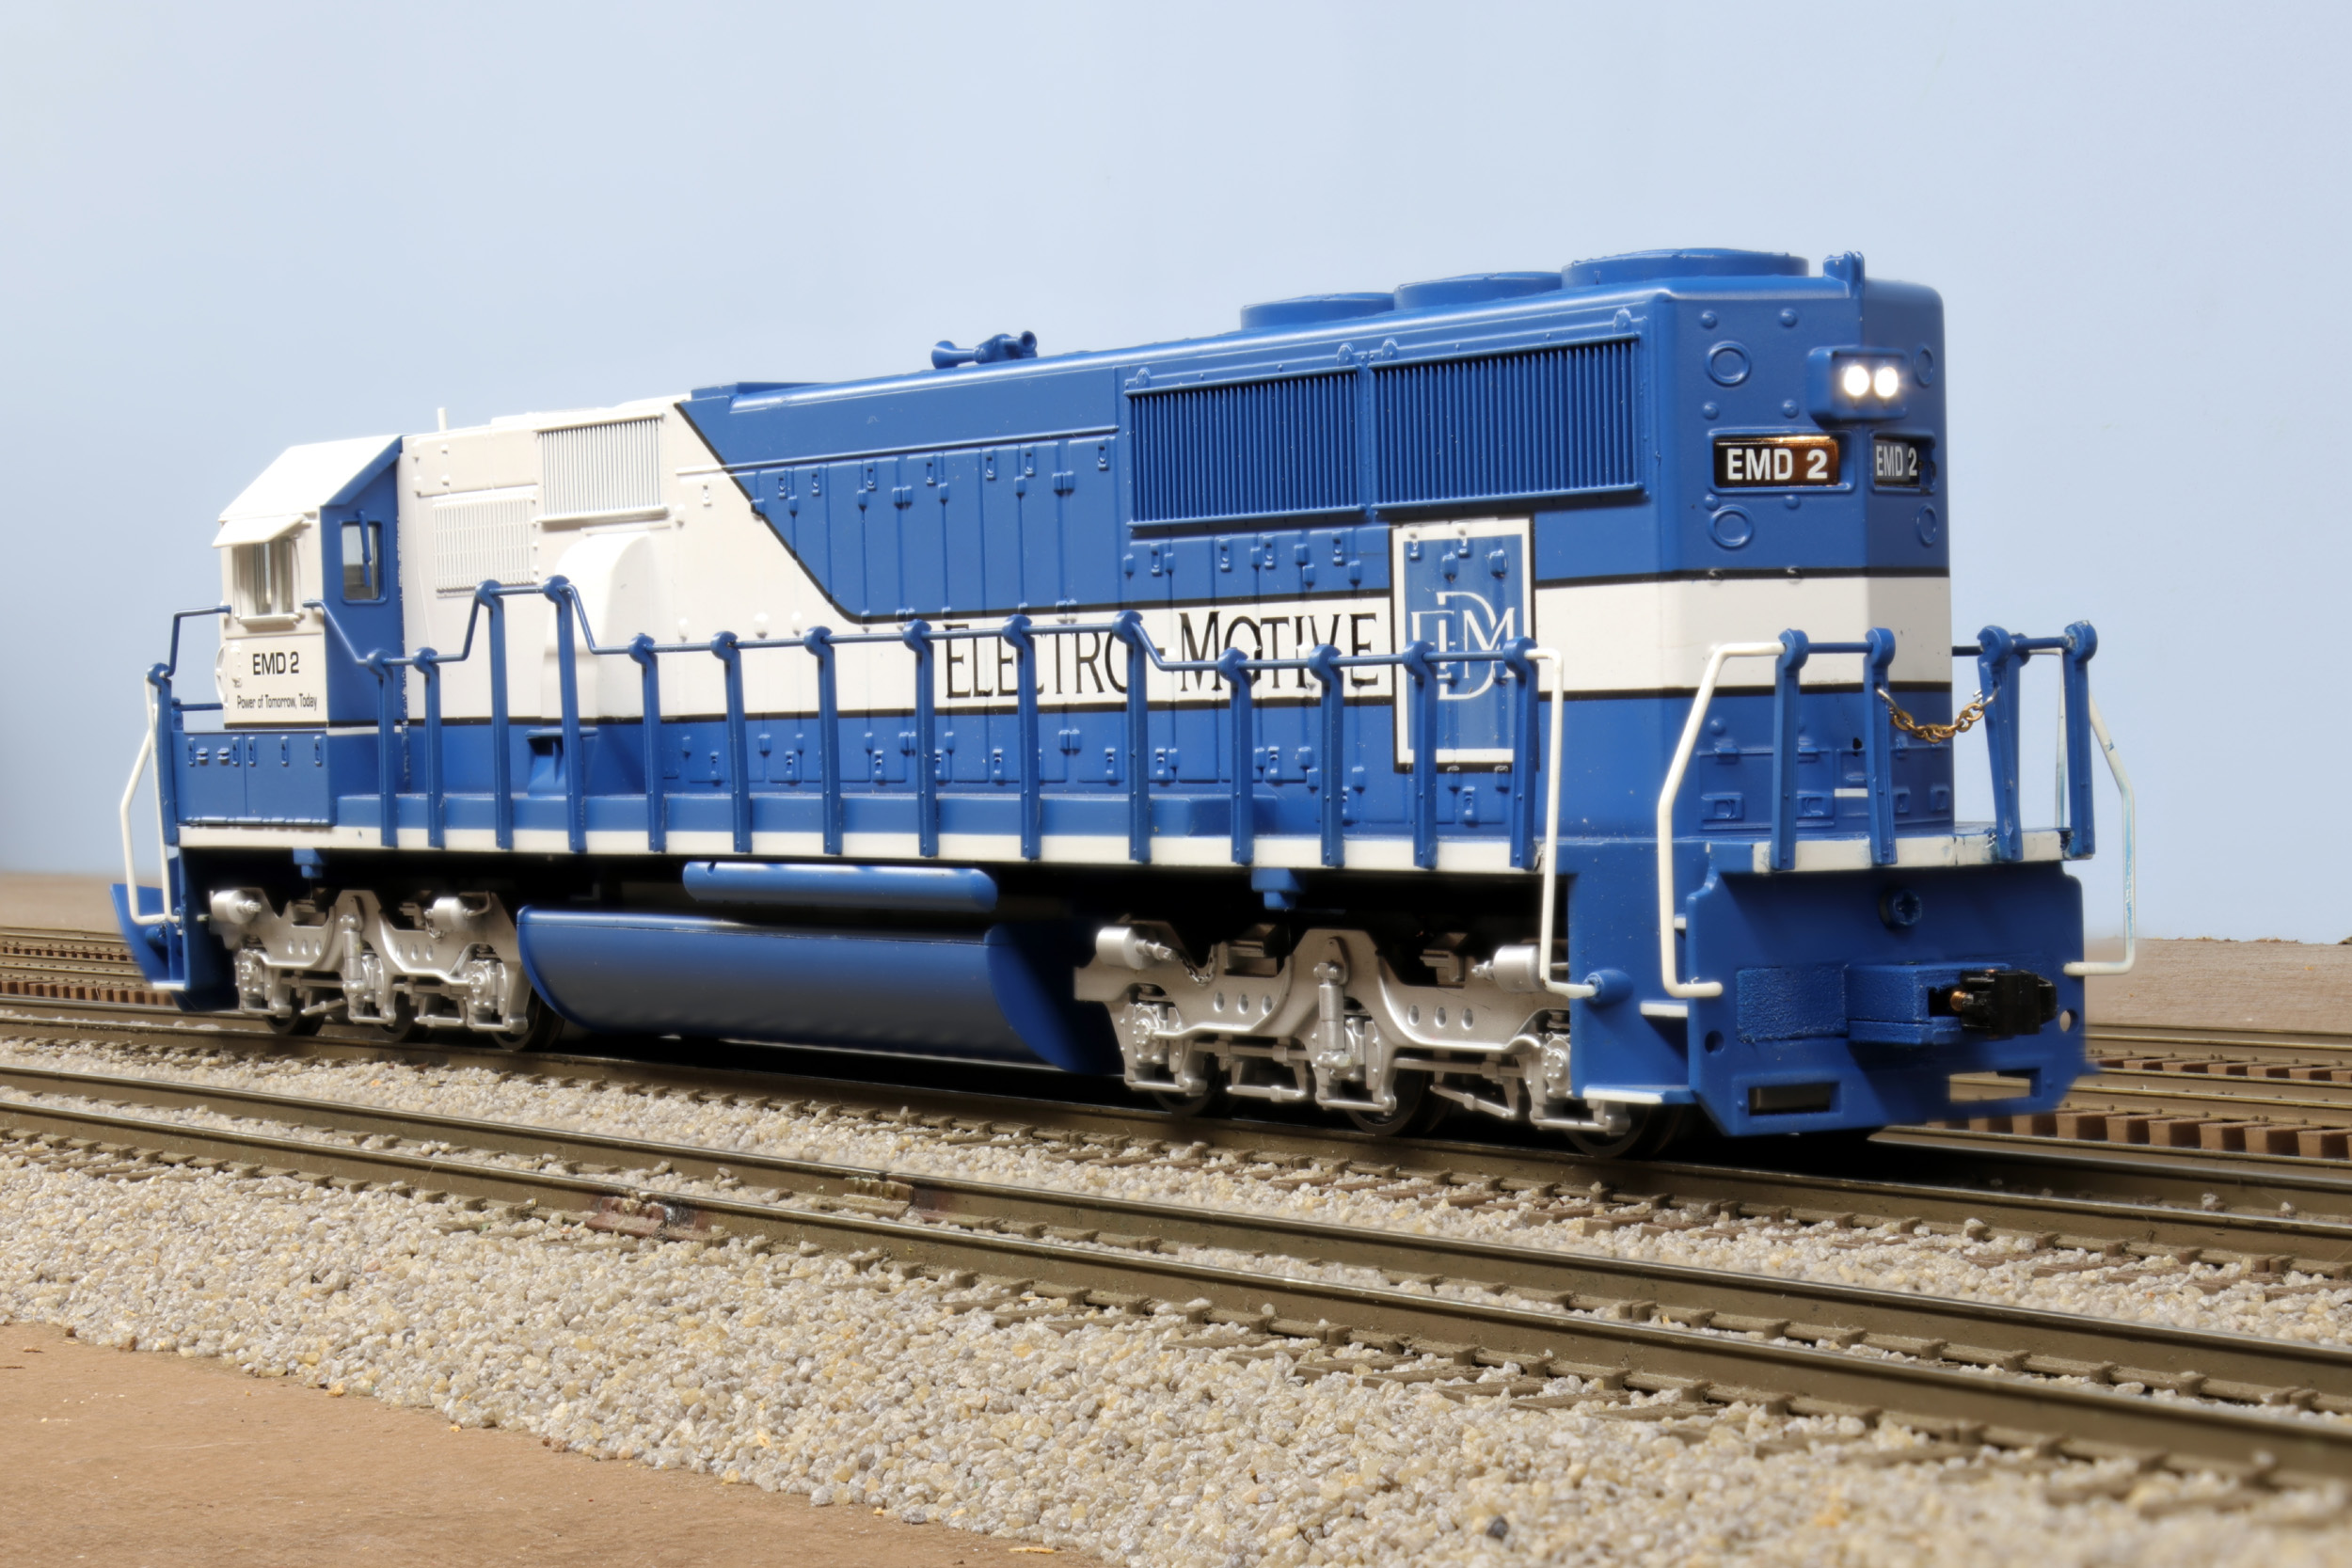
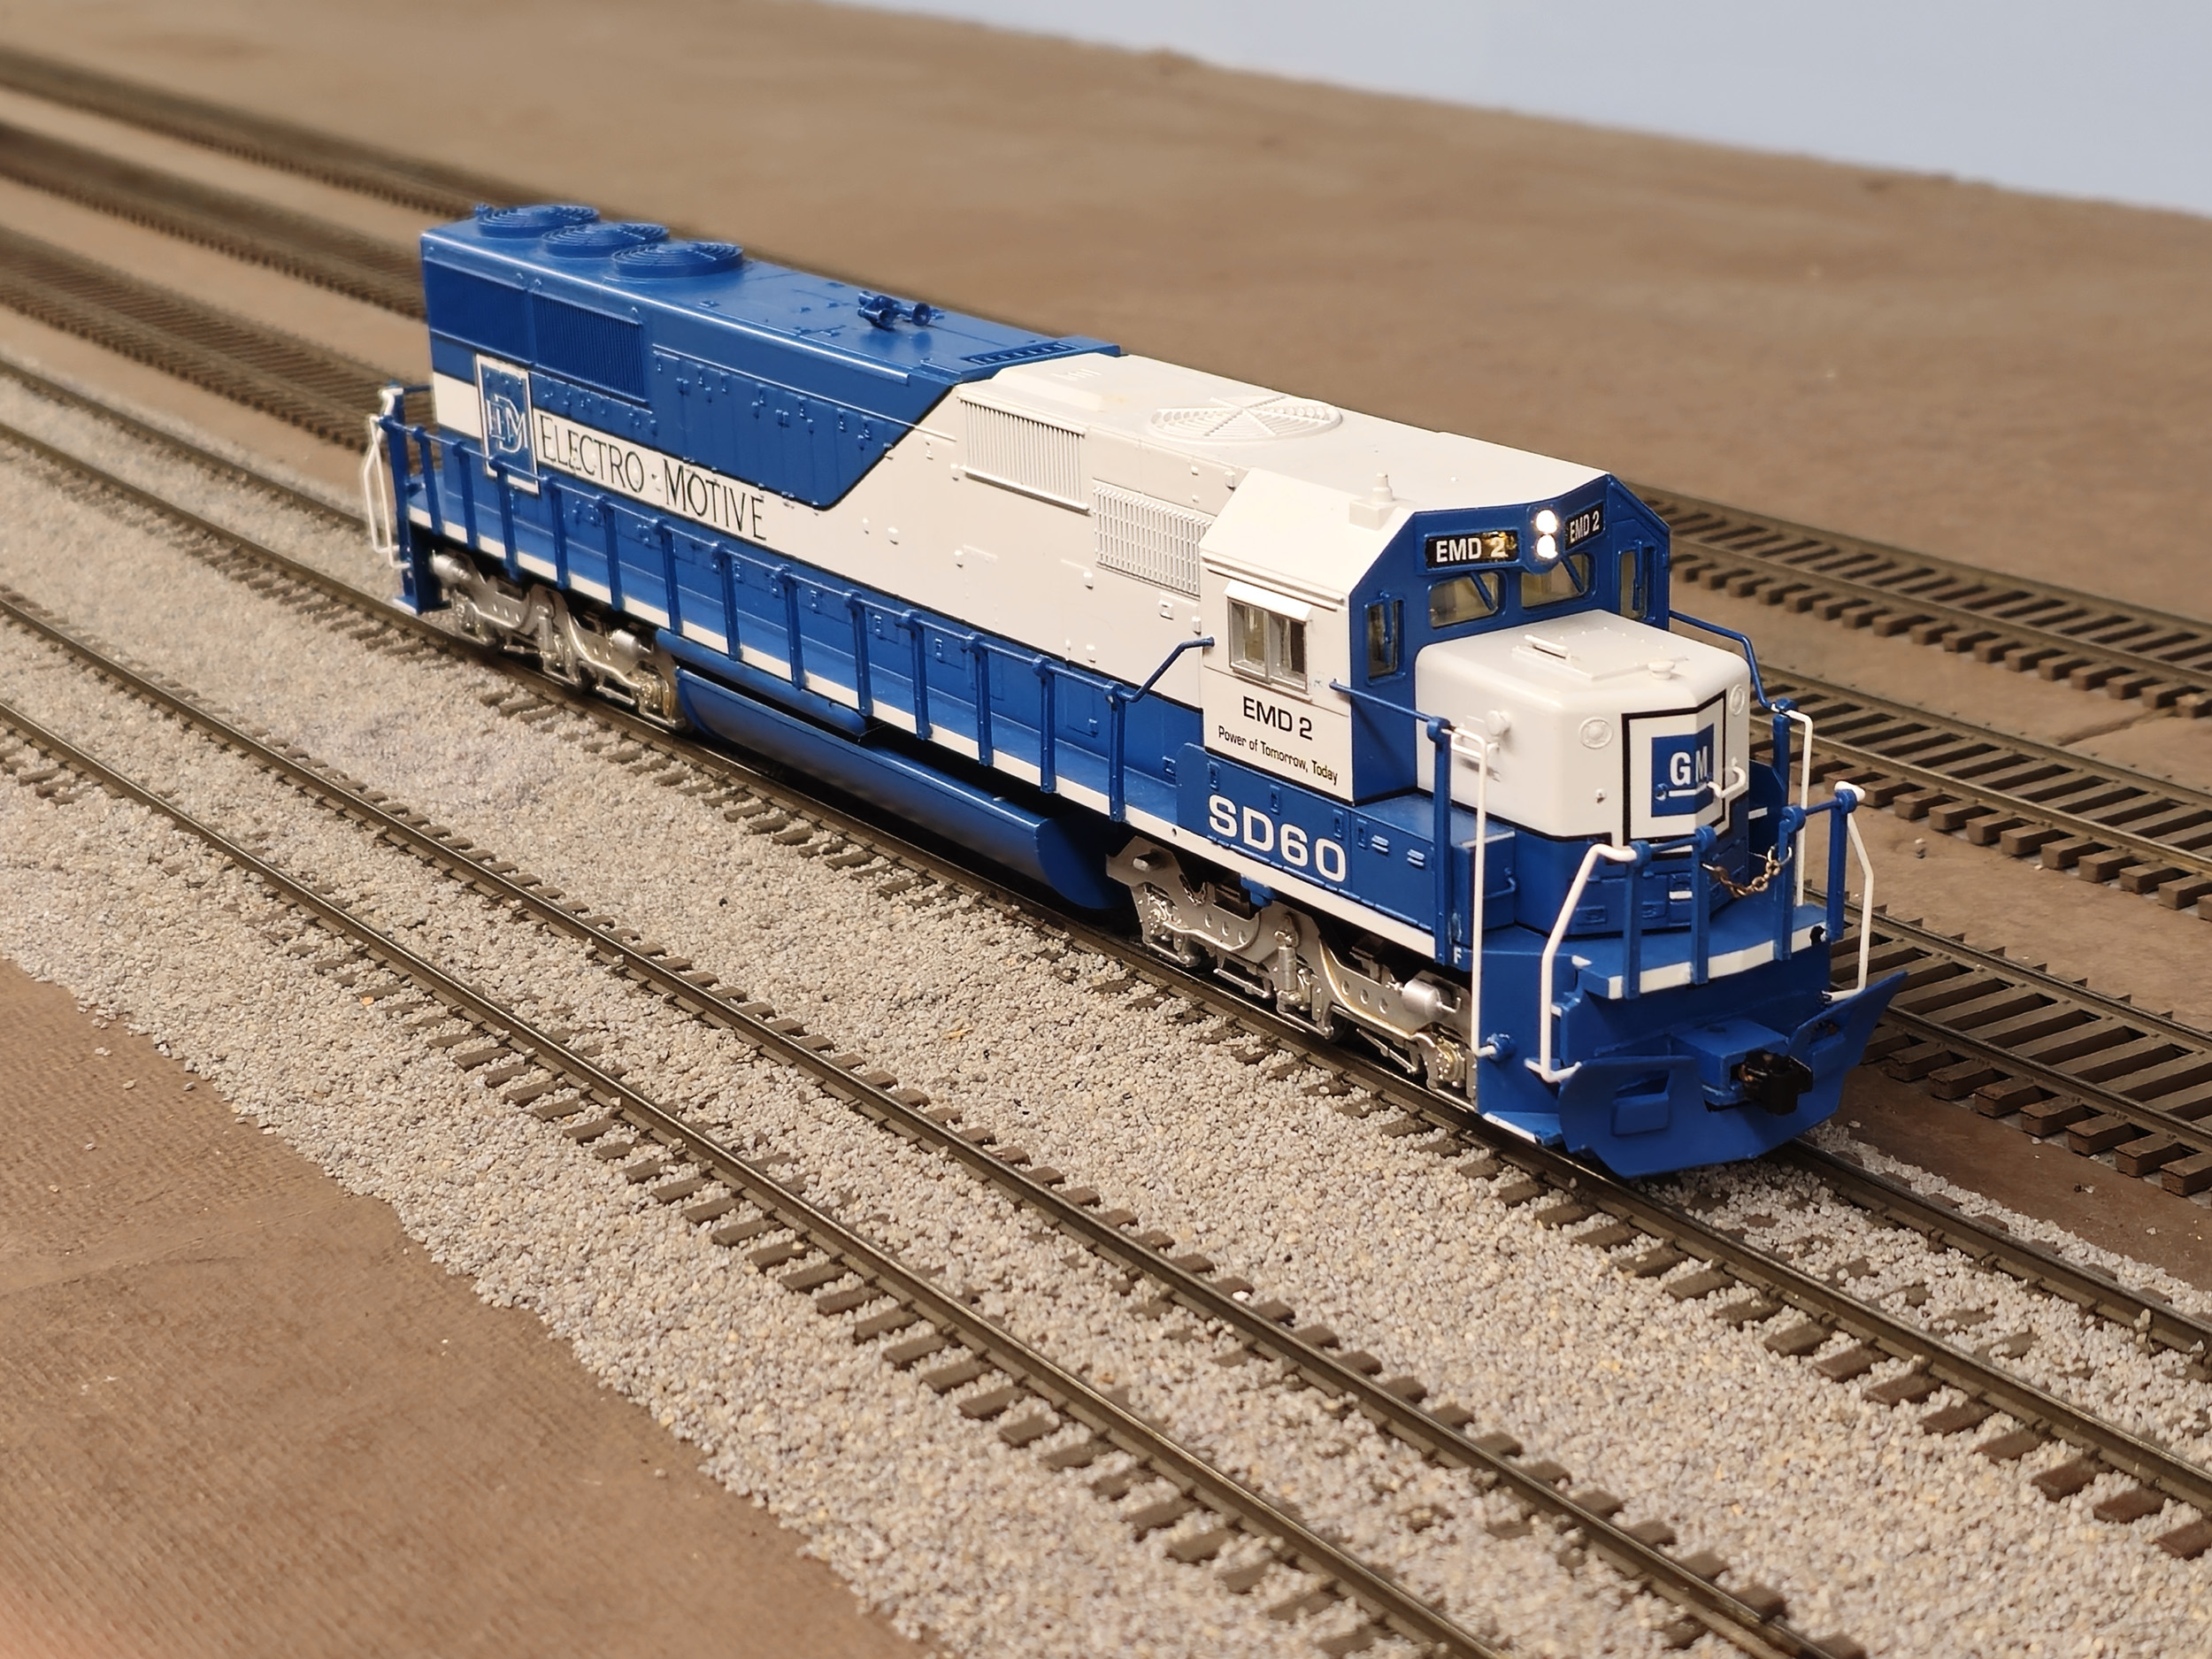
This is an American Models SD60 released in 2001. I saw the EMD
2 SD60 Demonstrator scheme for sale on eBay in October 2023 for a great
price. The seller did an awful job packing causing some handrail repairs to
be needed. I did the repairs and got 1/3 refunded! I never saw this scheme
made by American Models before. I liked the earlier EMD Demo schemes on the SD40-2 and SD45 but the SD45 does not exist in S. The SD40-2 is 1986 Overland brass. This would be a very difficult scheme to paint. American Models did a great job painting the SD60. |
|


Like the Norfolk Southern SD60
this is not going to be a big project. Mostly just add DCC and draft gear to
get the couplers off the swinging truck bracket and added to the shell.
The great thing about Demo locos is they assume road name of
whatever railroad they are running on. I frequently change the locos to the
same address to run together without making consists. This will be the only
loco I have that will likely never be correctly programmed to the cab number. I
am not making it address 2 for long.
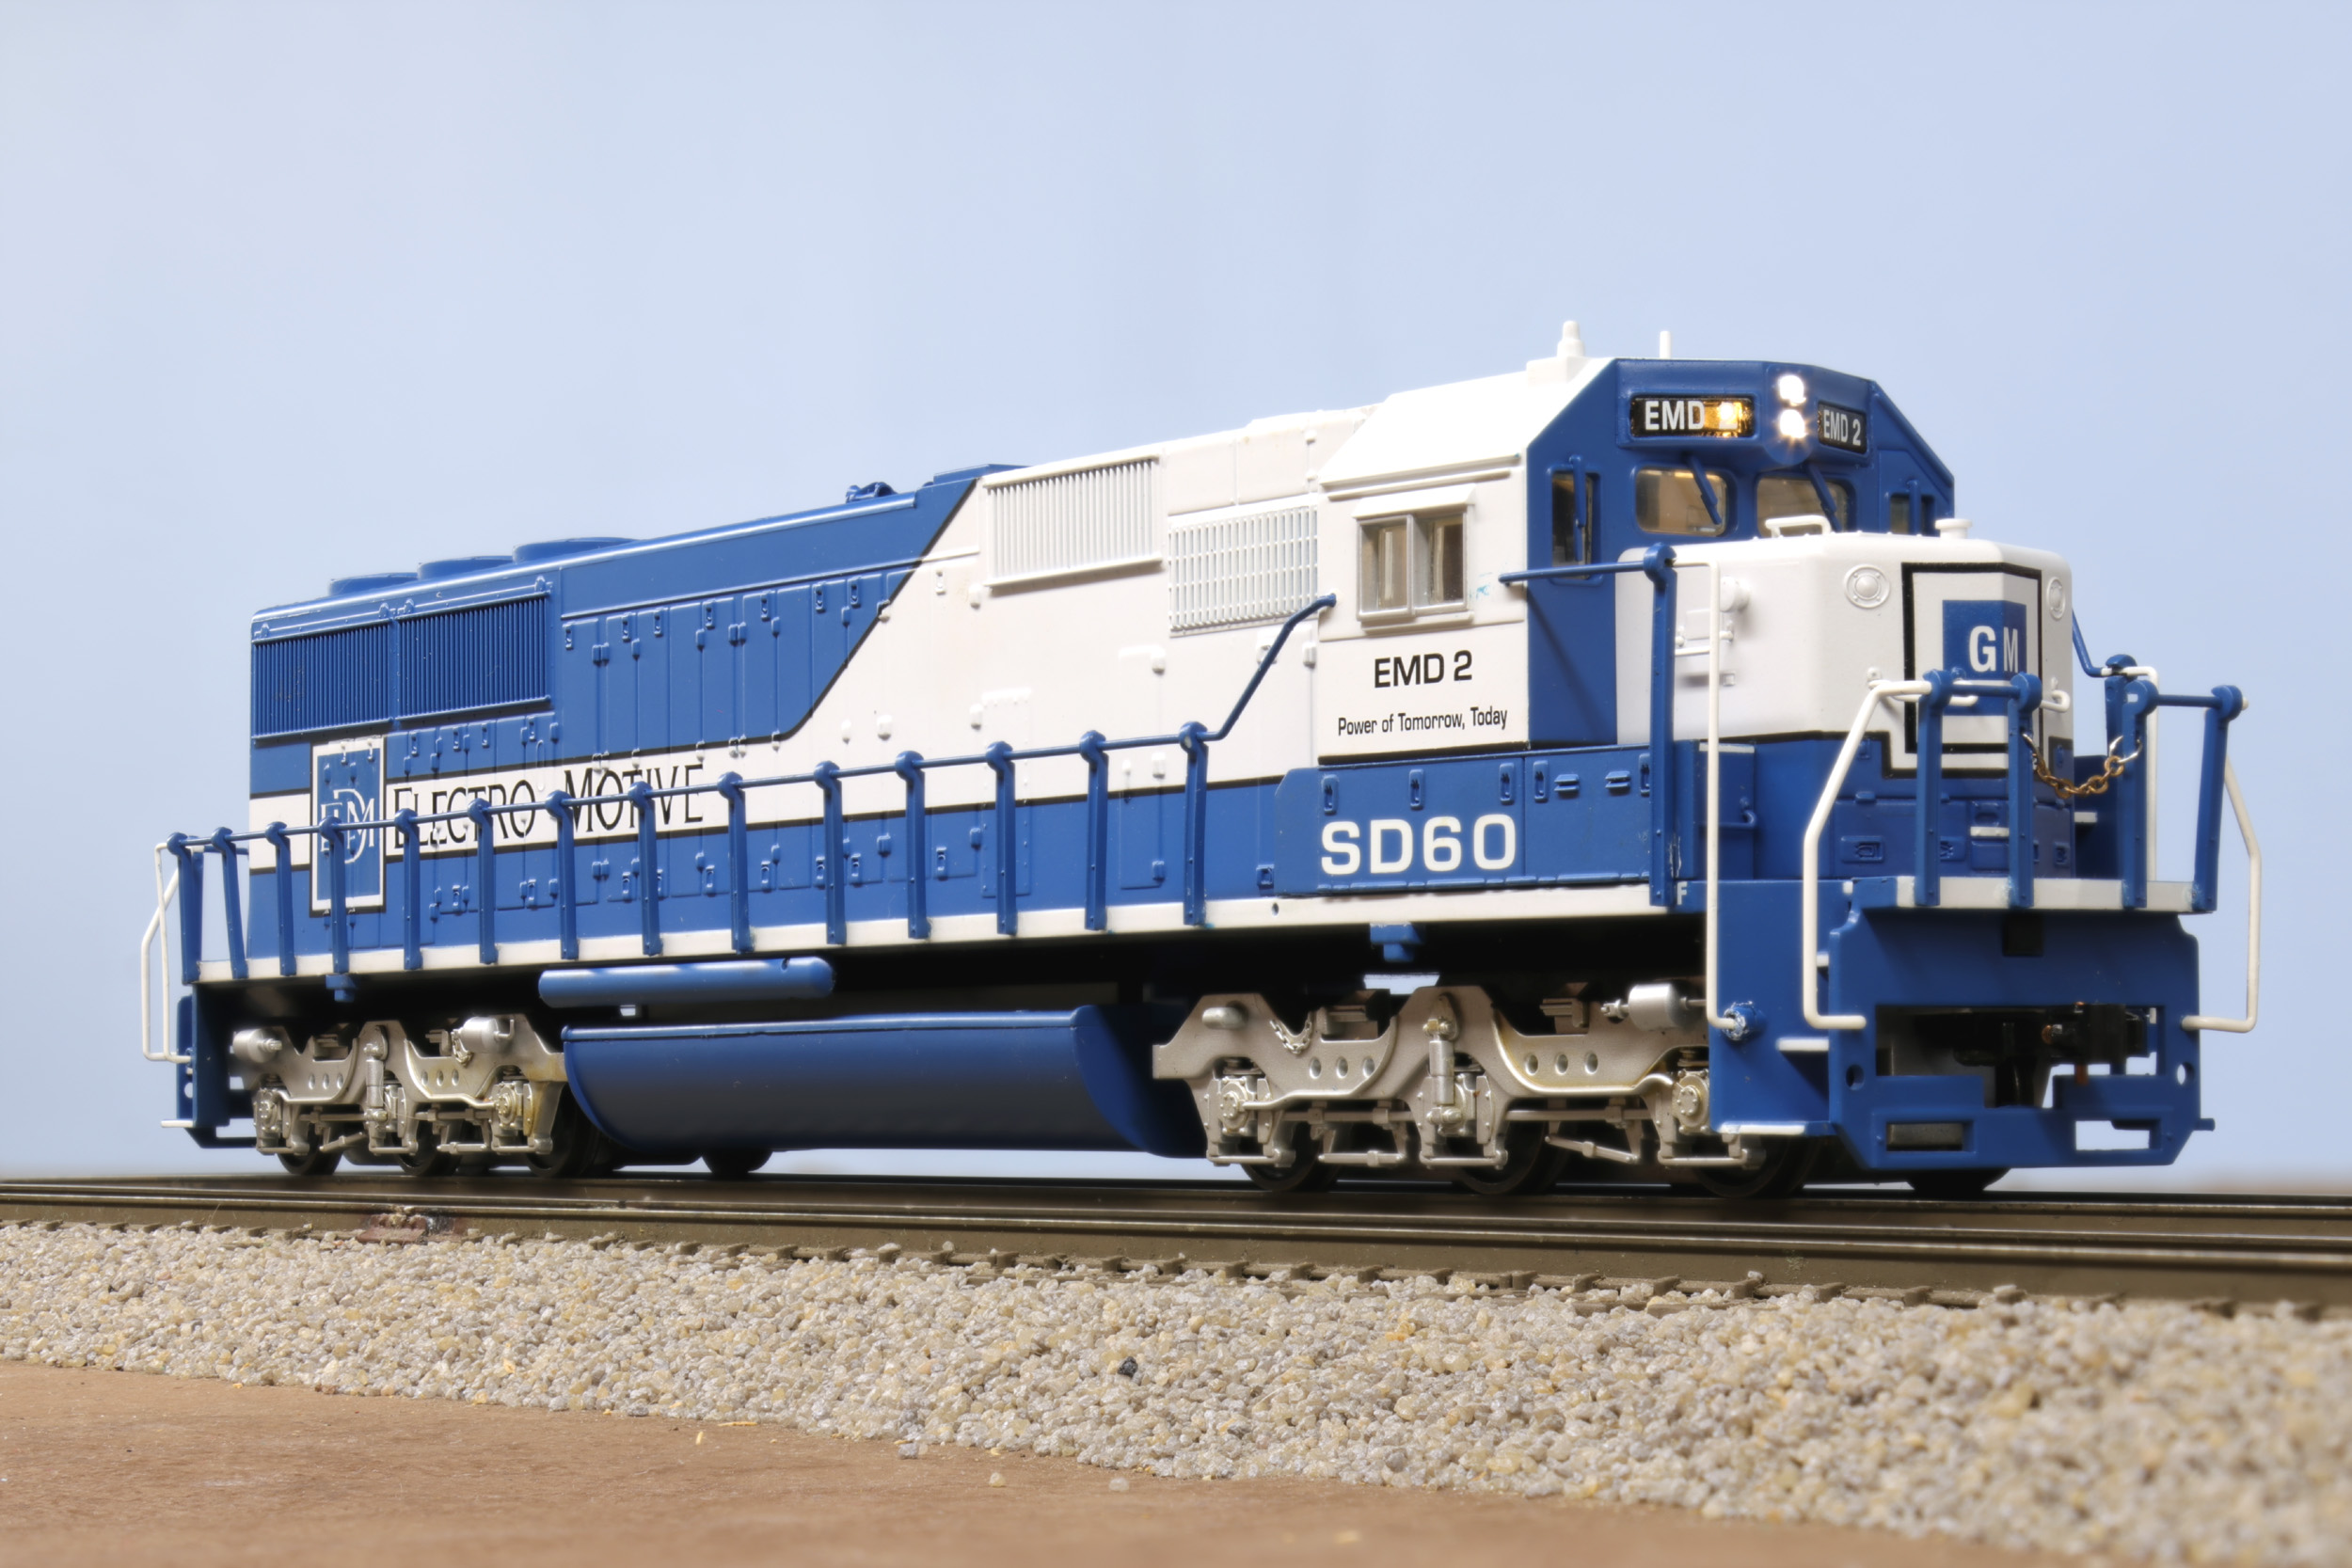
Stock
Out Of The Box
This is pretty much stock out of the box from American Models.

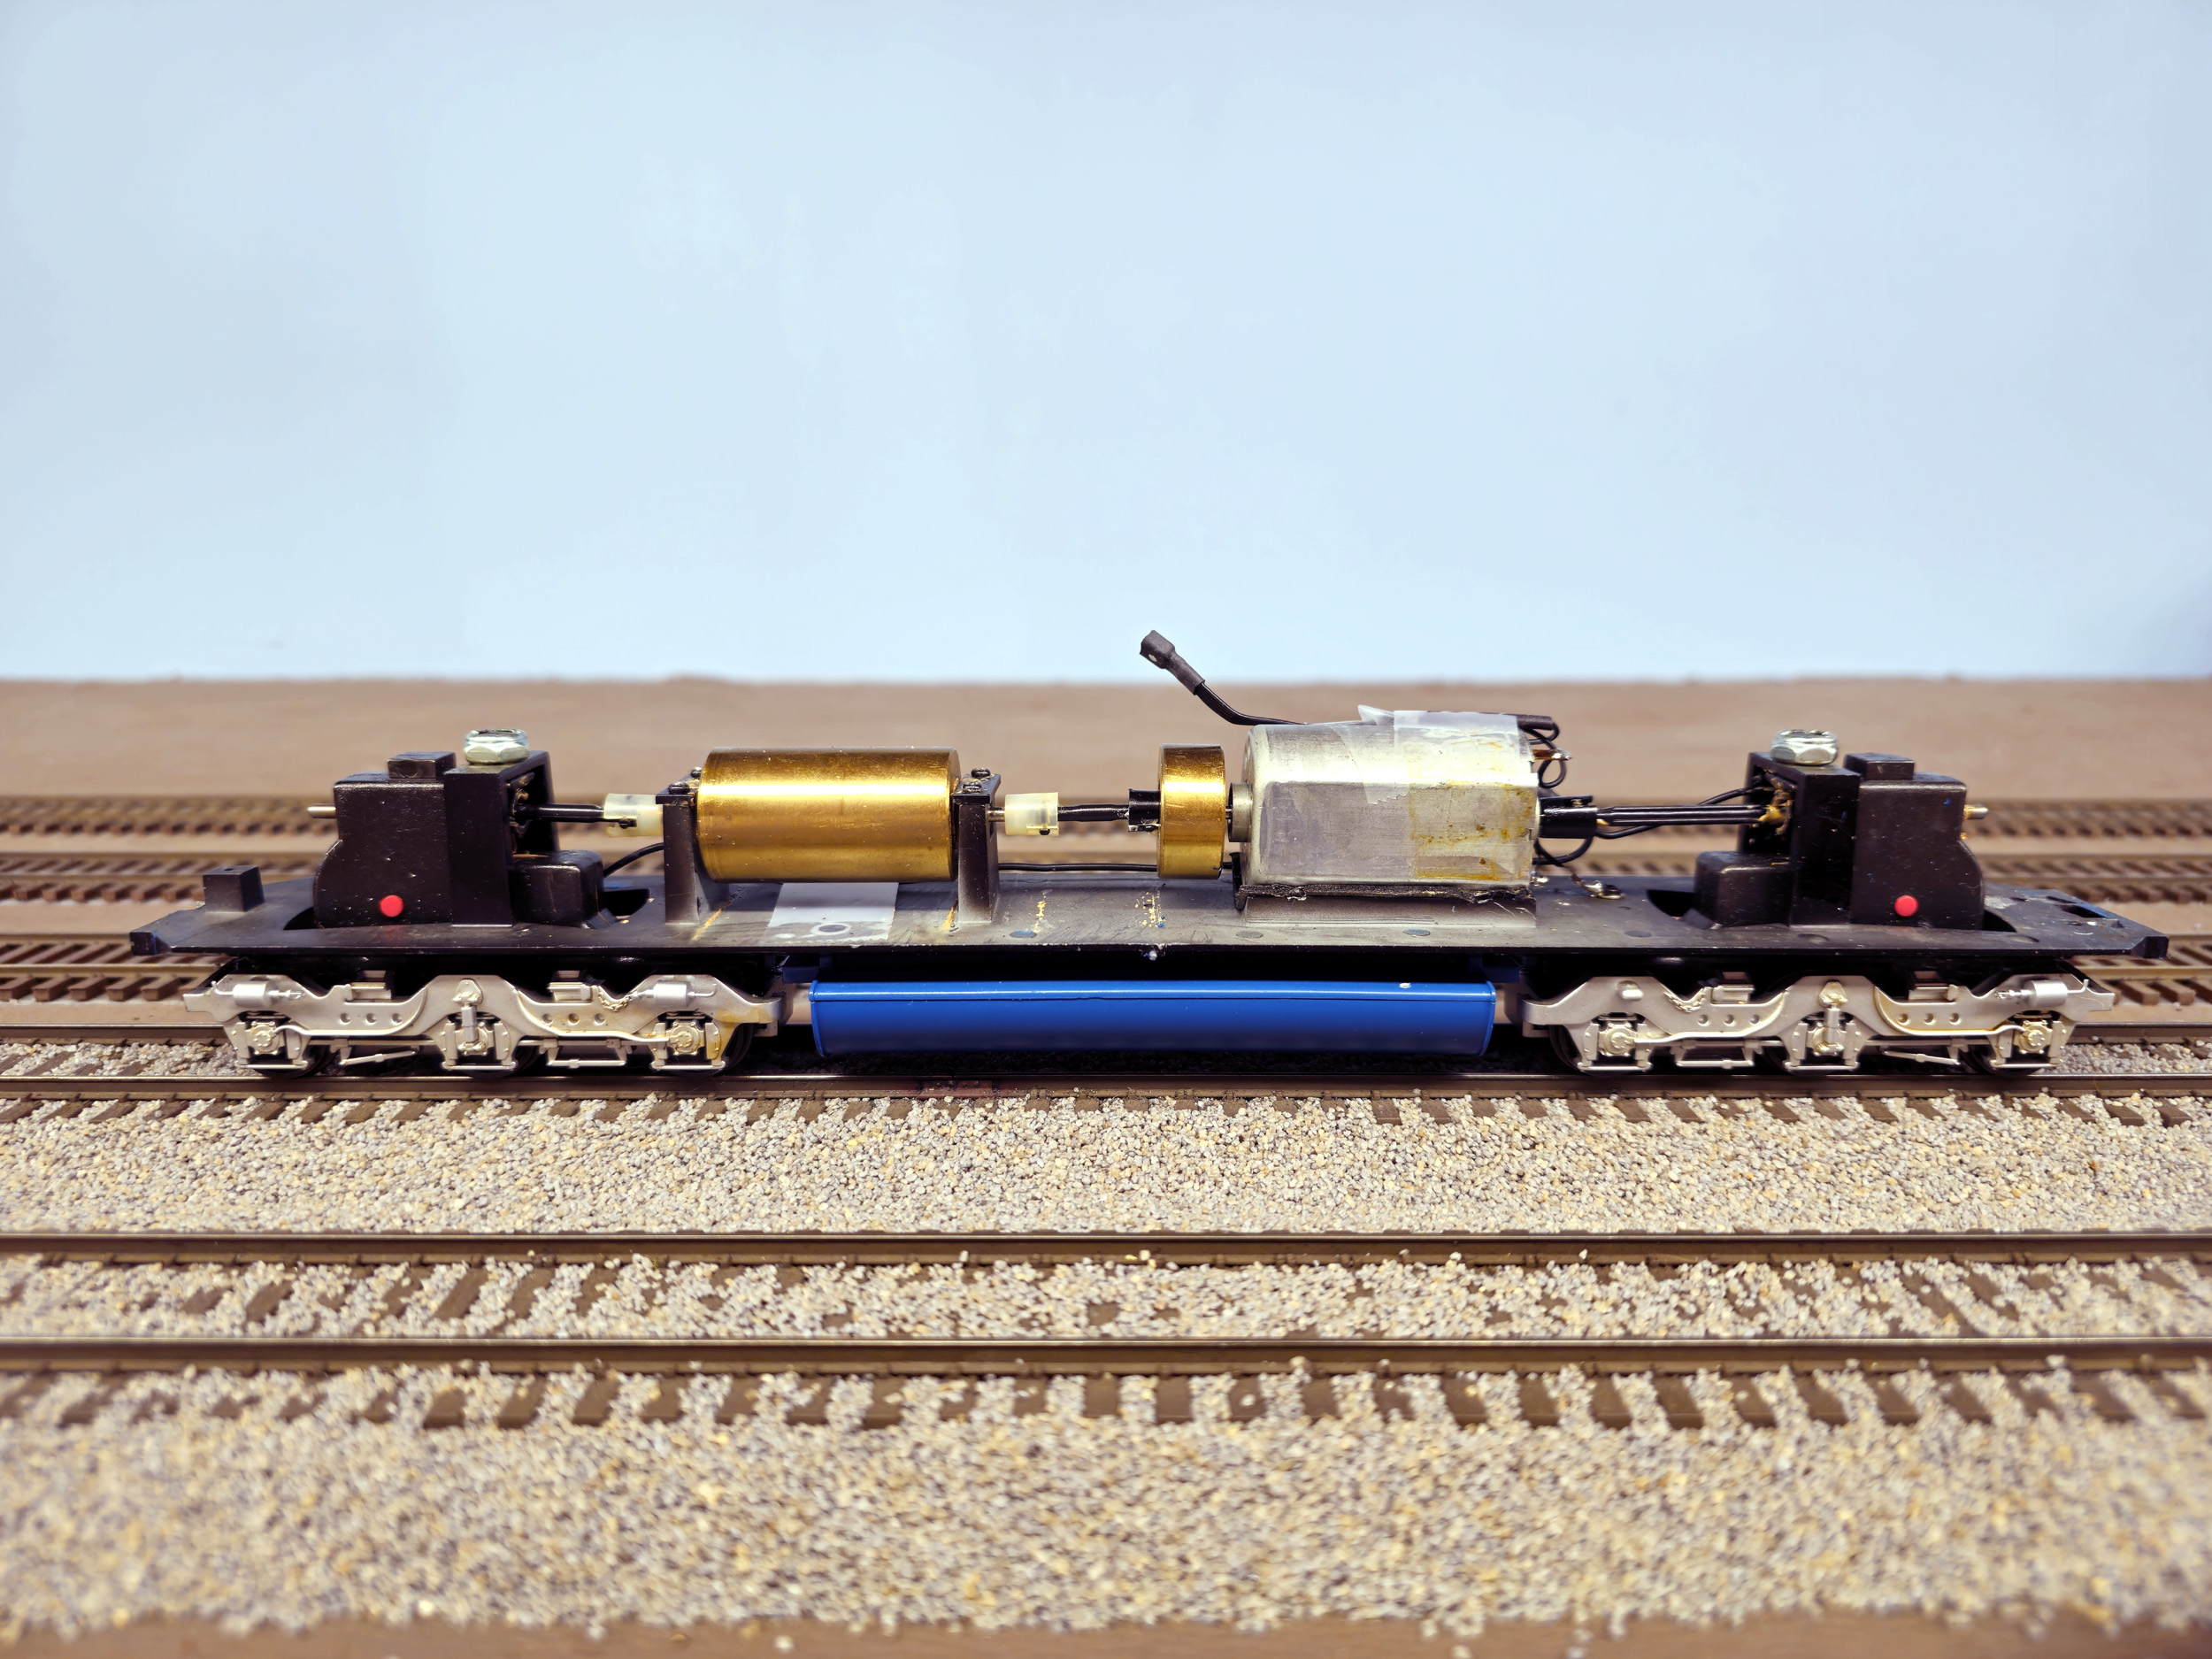
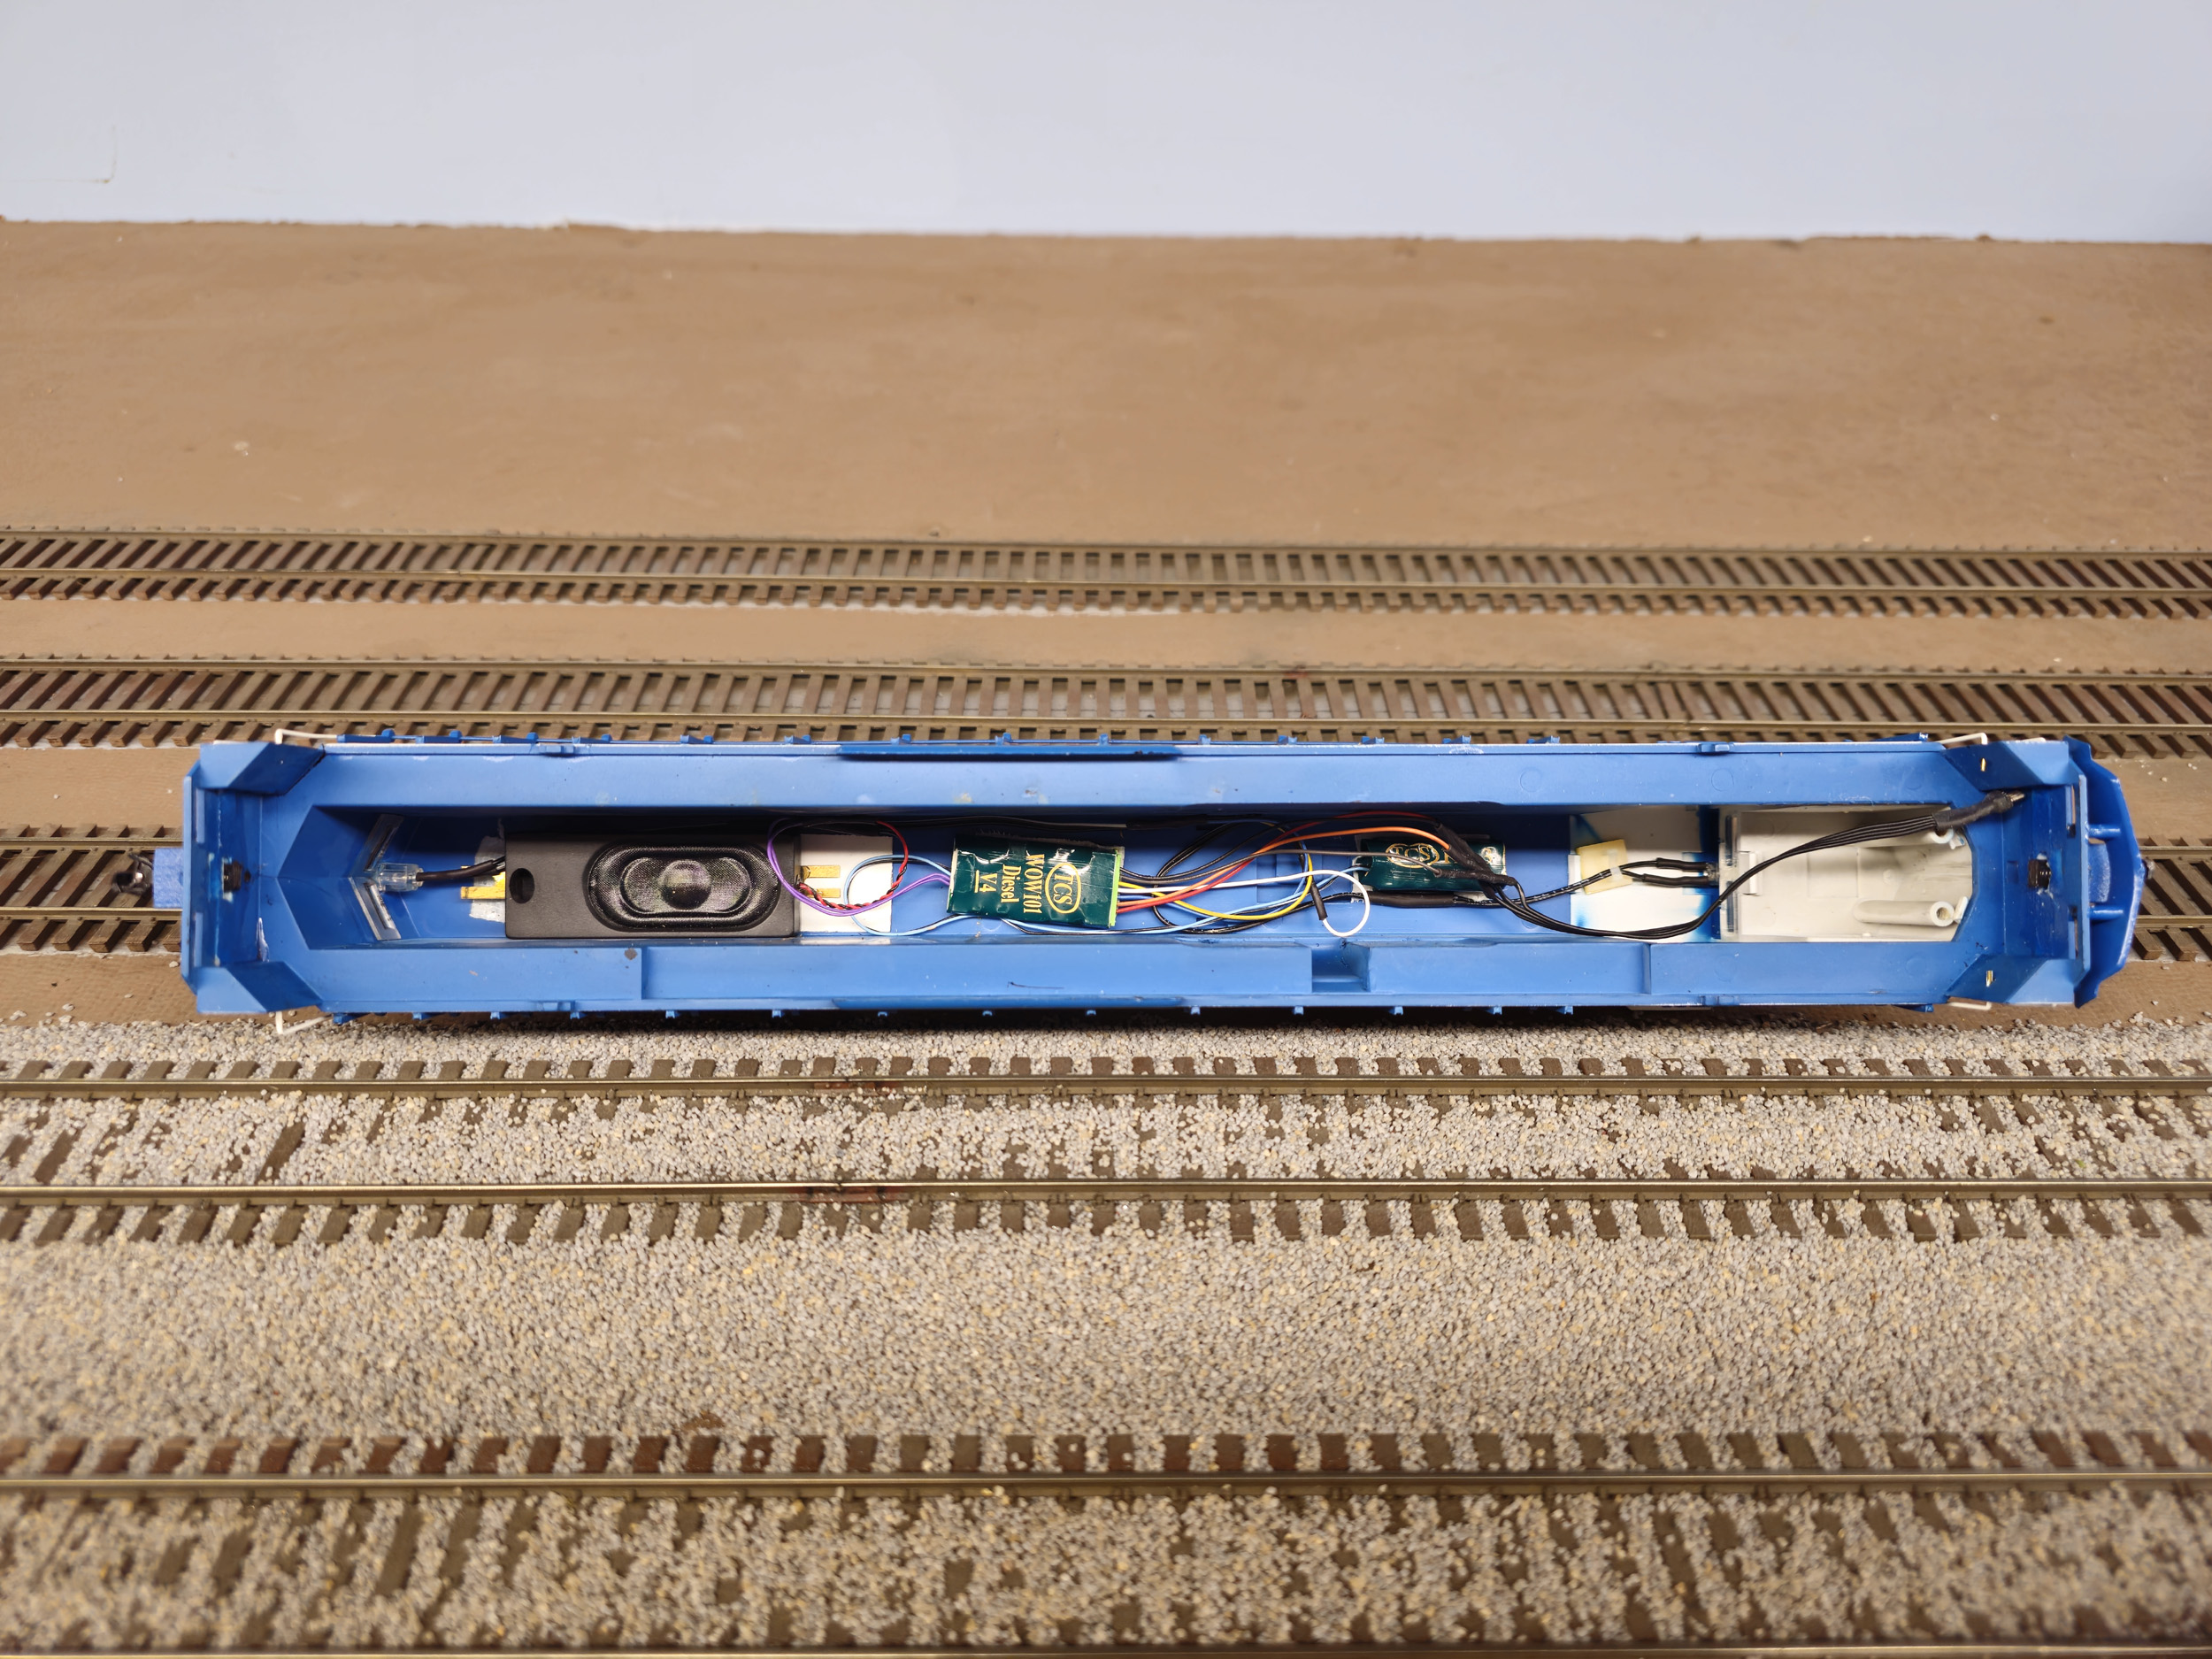
DCC
This is a very typical DCC installation for me with a TSC WOW4
and Keep Alive. I use Miniatronics 4 pin plugs between
the drive and loco shell. The TrainMaster DLG8
speaker is pointing down here because this shell is sealed. There are no open
grills or fans. I normally point the speaker upwards through an open fan or
exhaust stack if possible.
Draft
Gear and Snow Plow
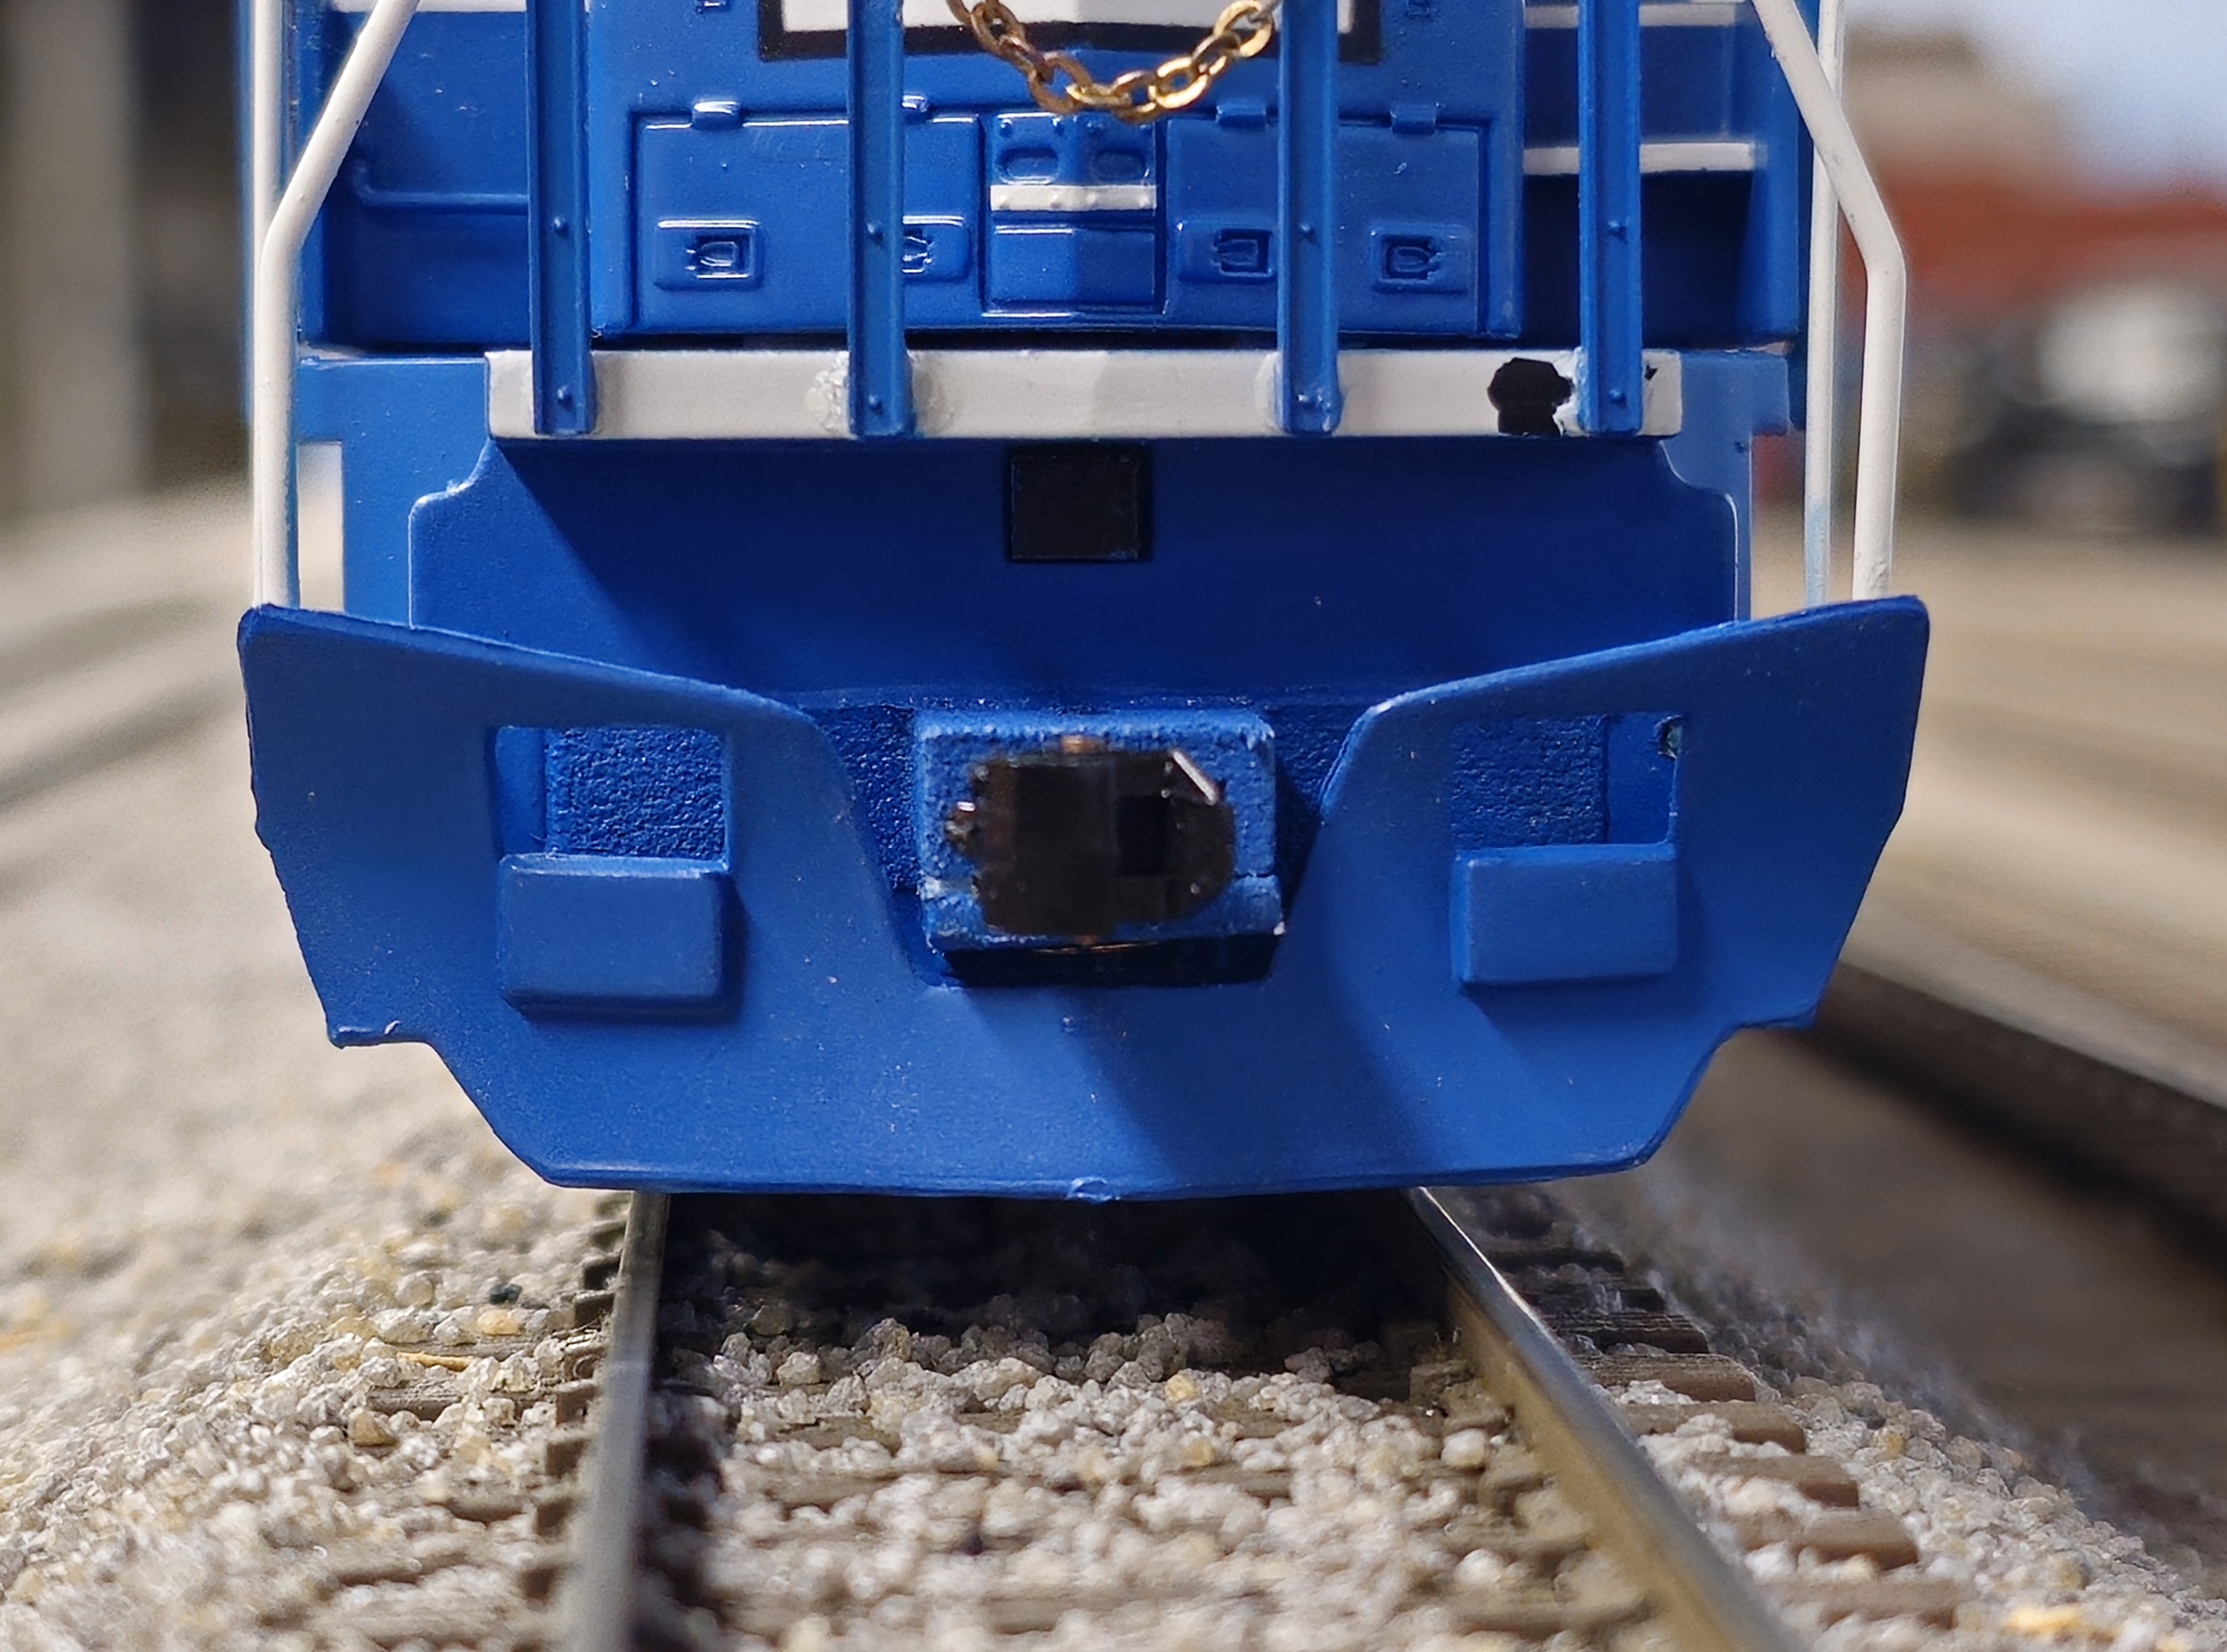
My second goal for this project was moving the coupler from the
swinging truck bracket to body mount on the shell pilot. This is my third
American Models SD60. The other 2 have been converted as well. My intention
previously was to use the American Models snow plows on the front and rear. So
when I designed the draft gear it is strictly a utility part without any
detail. You are not going to see any of it. If I had a SD60 I could measure and
design with detail I might have done it differently but I did not.
The draft gear was available in my Shapeways store but they closed
in June 2024. I originally chose fine detail plastic as the material. It was
translucent white that was strong enough with a reasonable finish and accepted
the Zap A Gap Green glue I use very well. Sometime in 2023 Shapeways made a HUGE
MISTAKE and changed what was fine detail plastic to a tan material that
was glossy and although has a better glossy finish but it was rather brittle
and did NOT glue at all. I did not want to risk breaking the draft gear in
normal running so I changed the default material to versatile plastic which is
something like a flexible nylon and glues well but has a texture to it. I did
not spend much time trying to sand the draft gear out. Some very minor filing
of the shell was needed to get the draft gear to fit in flush.
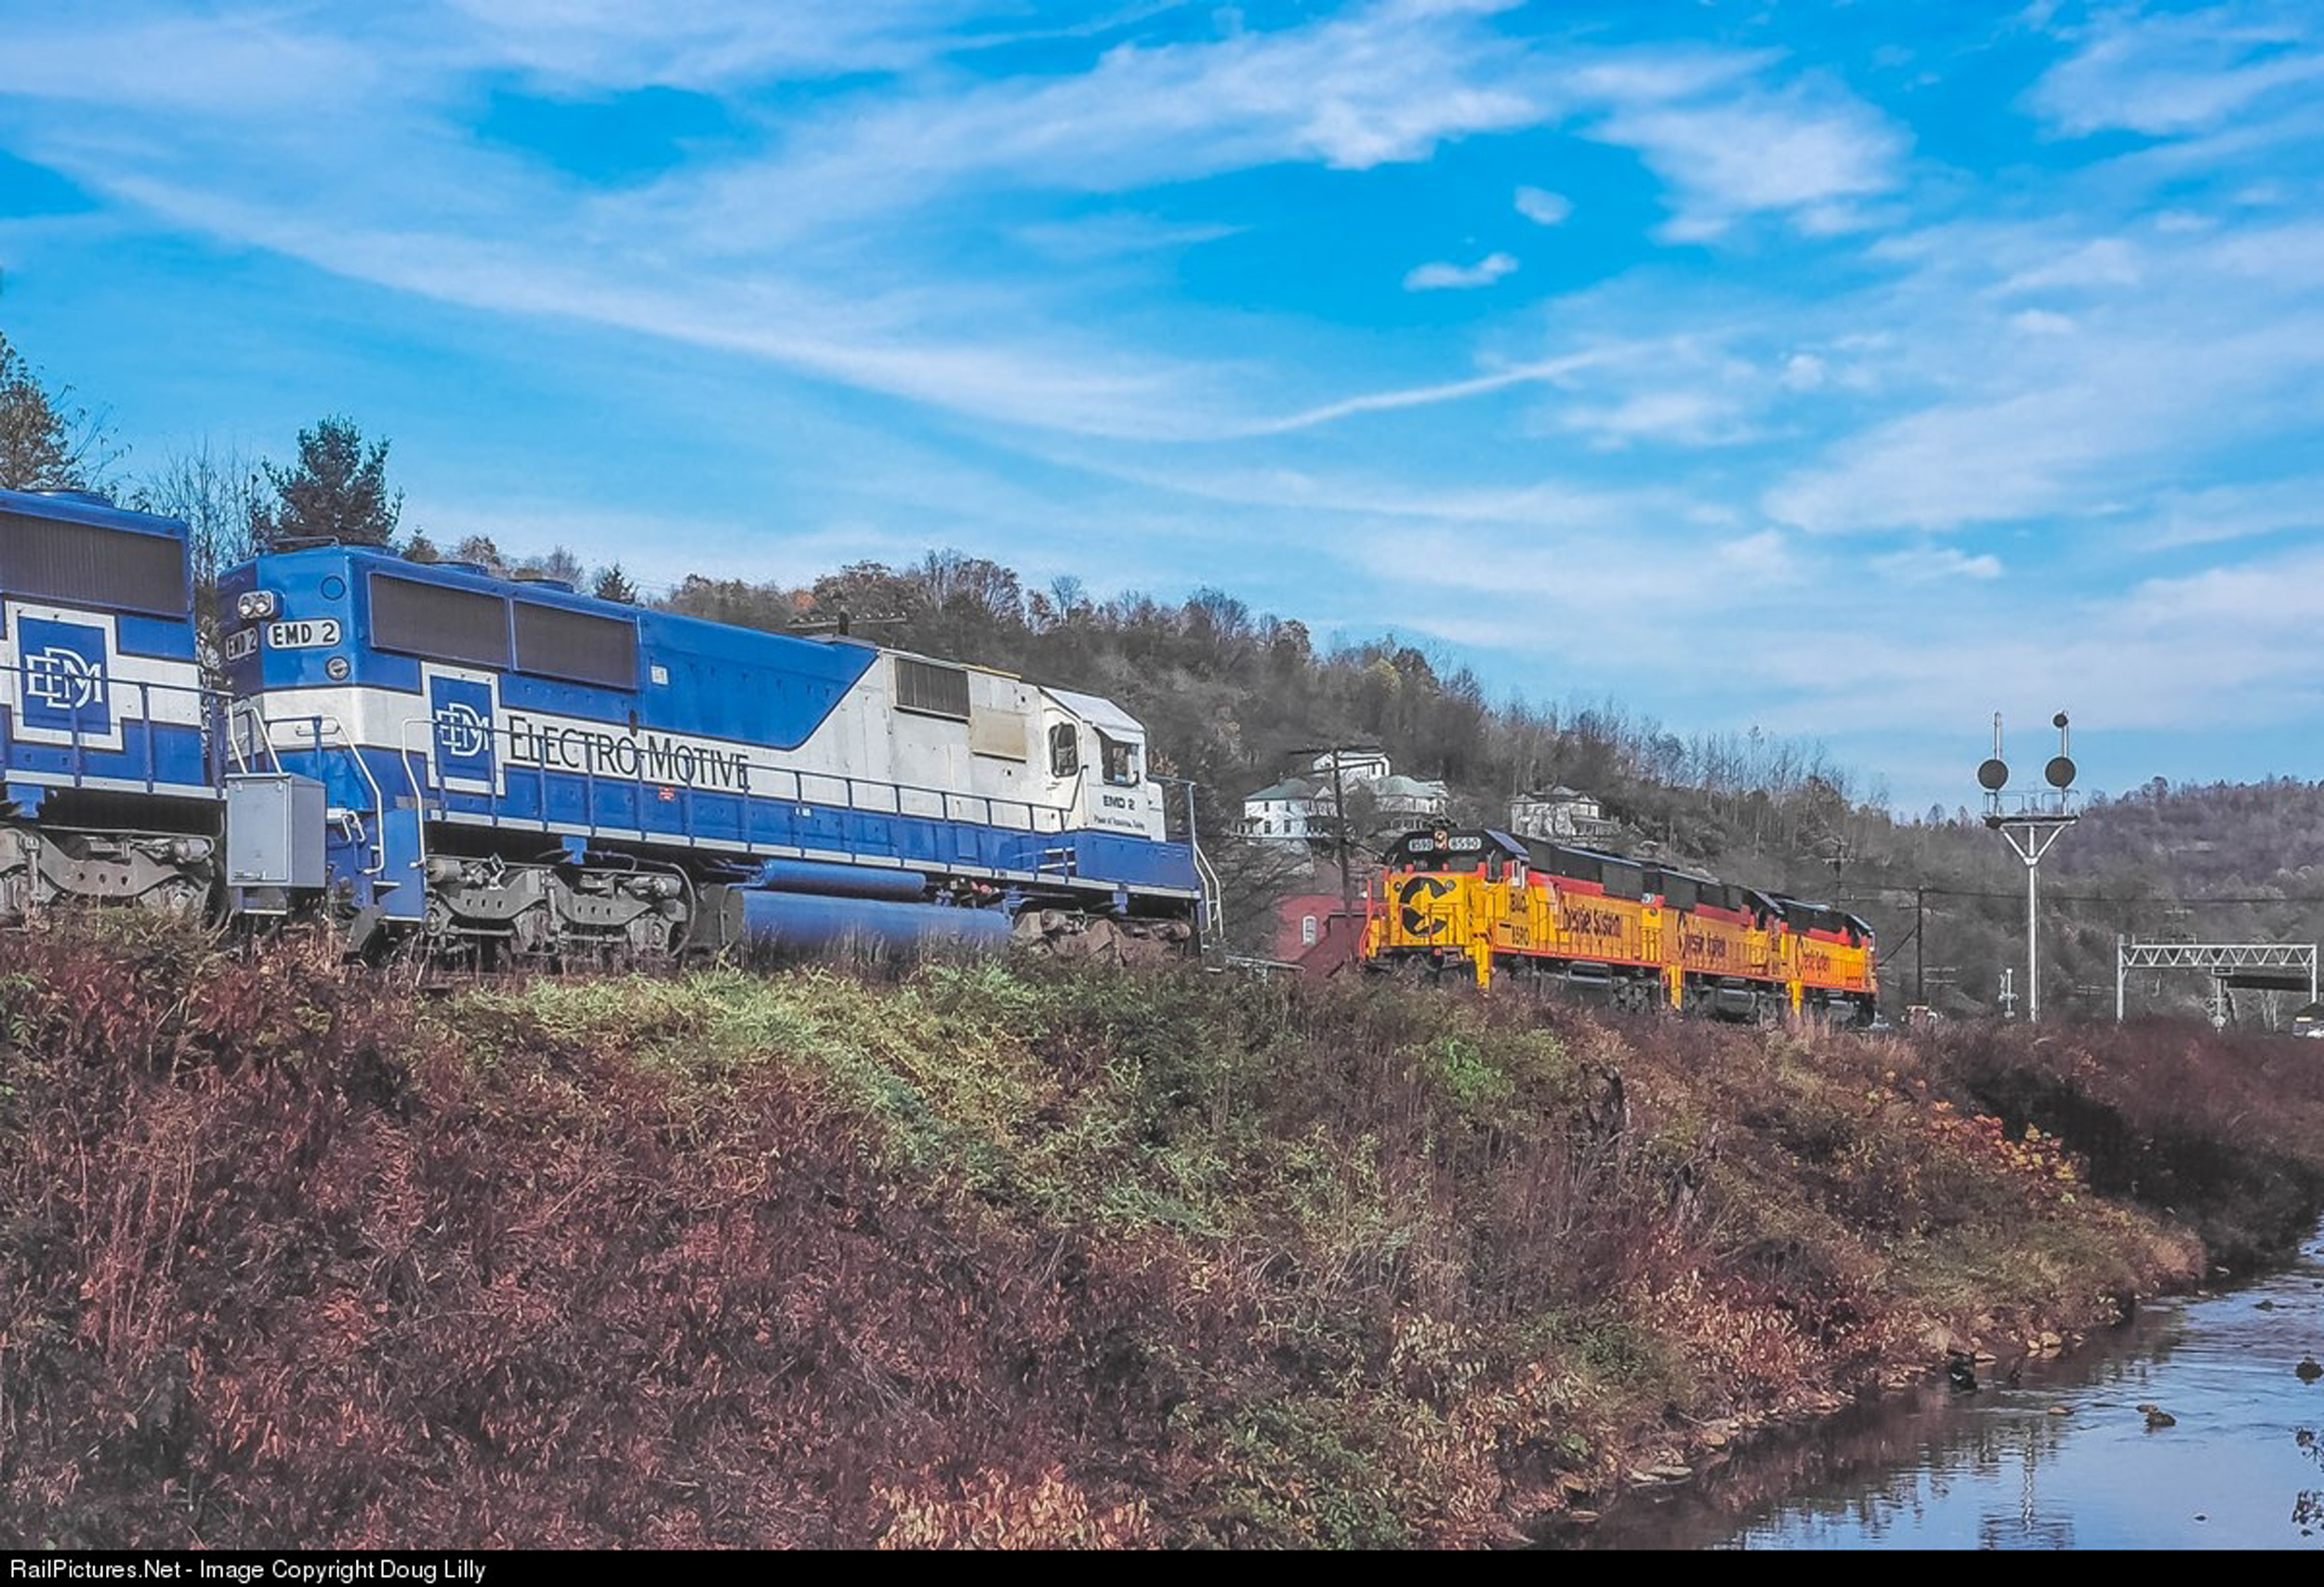
Since the real EMD2 only had 1 snowplow on the front I have left
it off the rear for now. I thought I did a pretty good job of matching the
paint. It is Tru Color Conrail Blue that I added Chessie Blue until it was dark
enough.
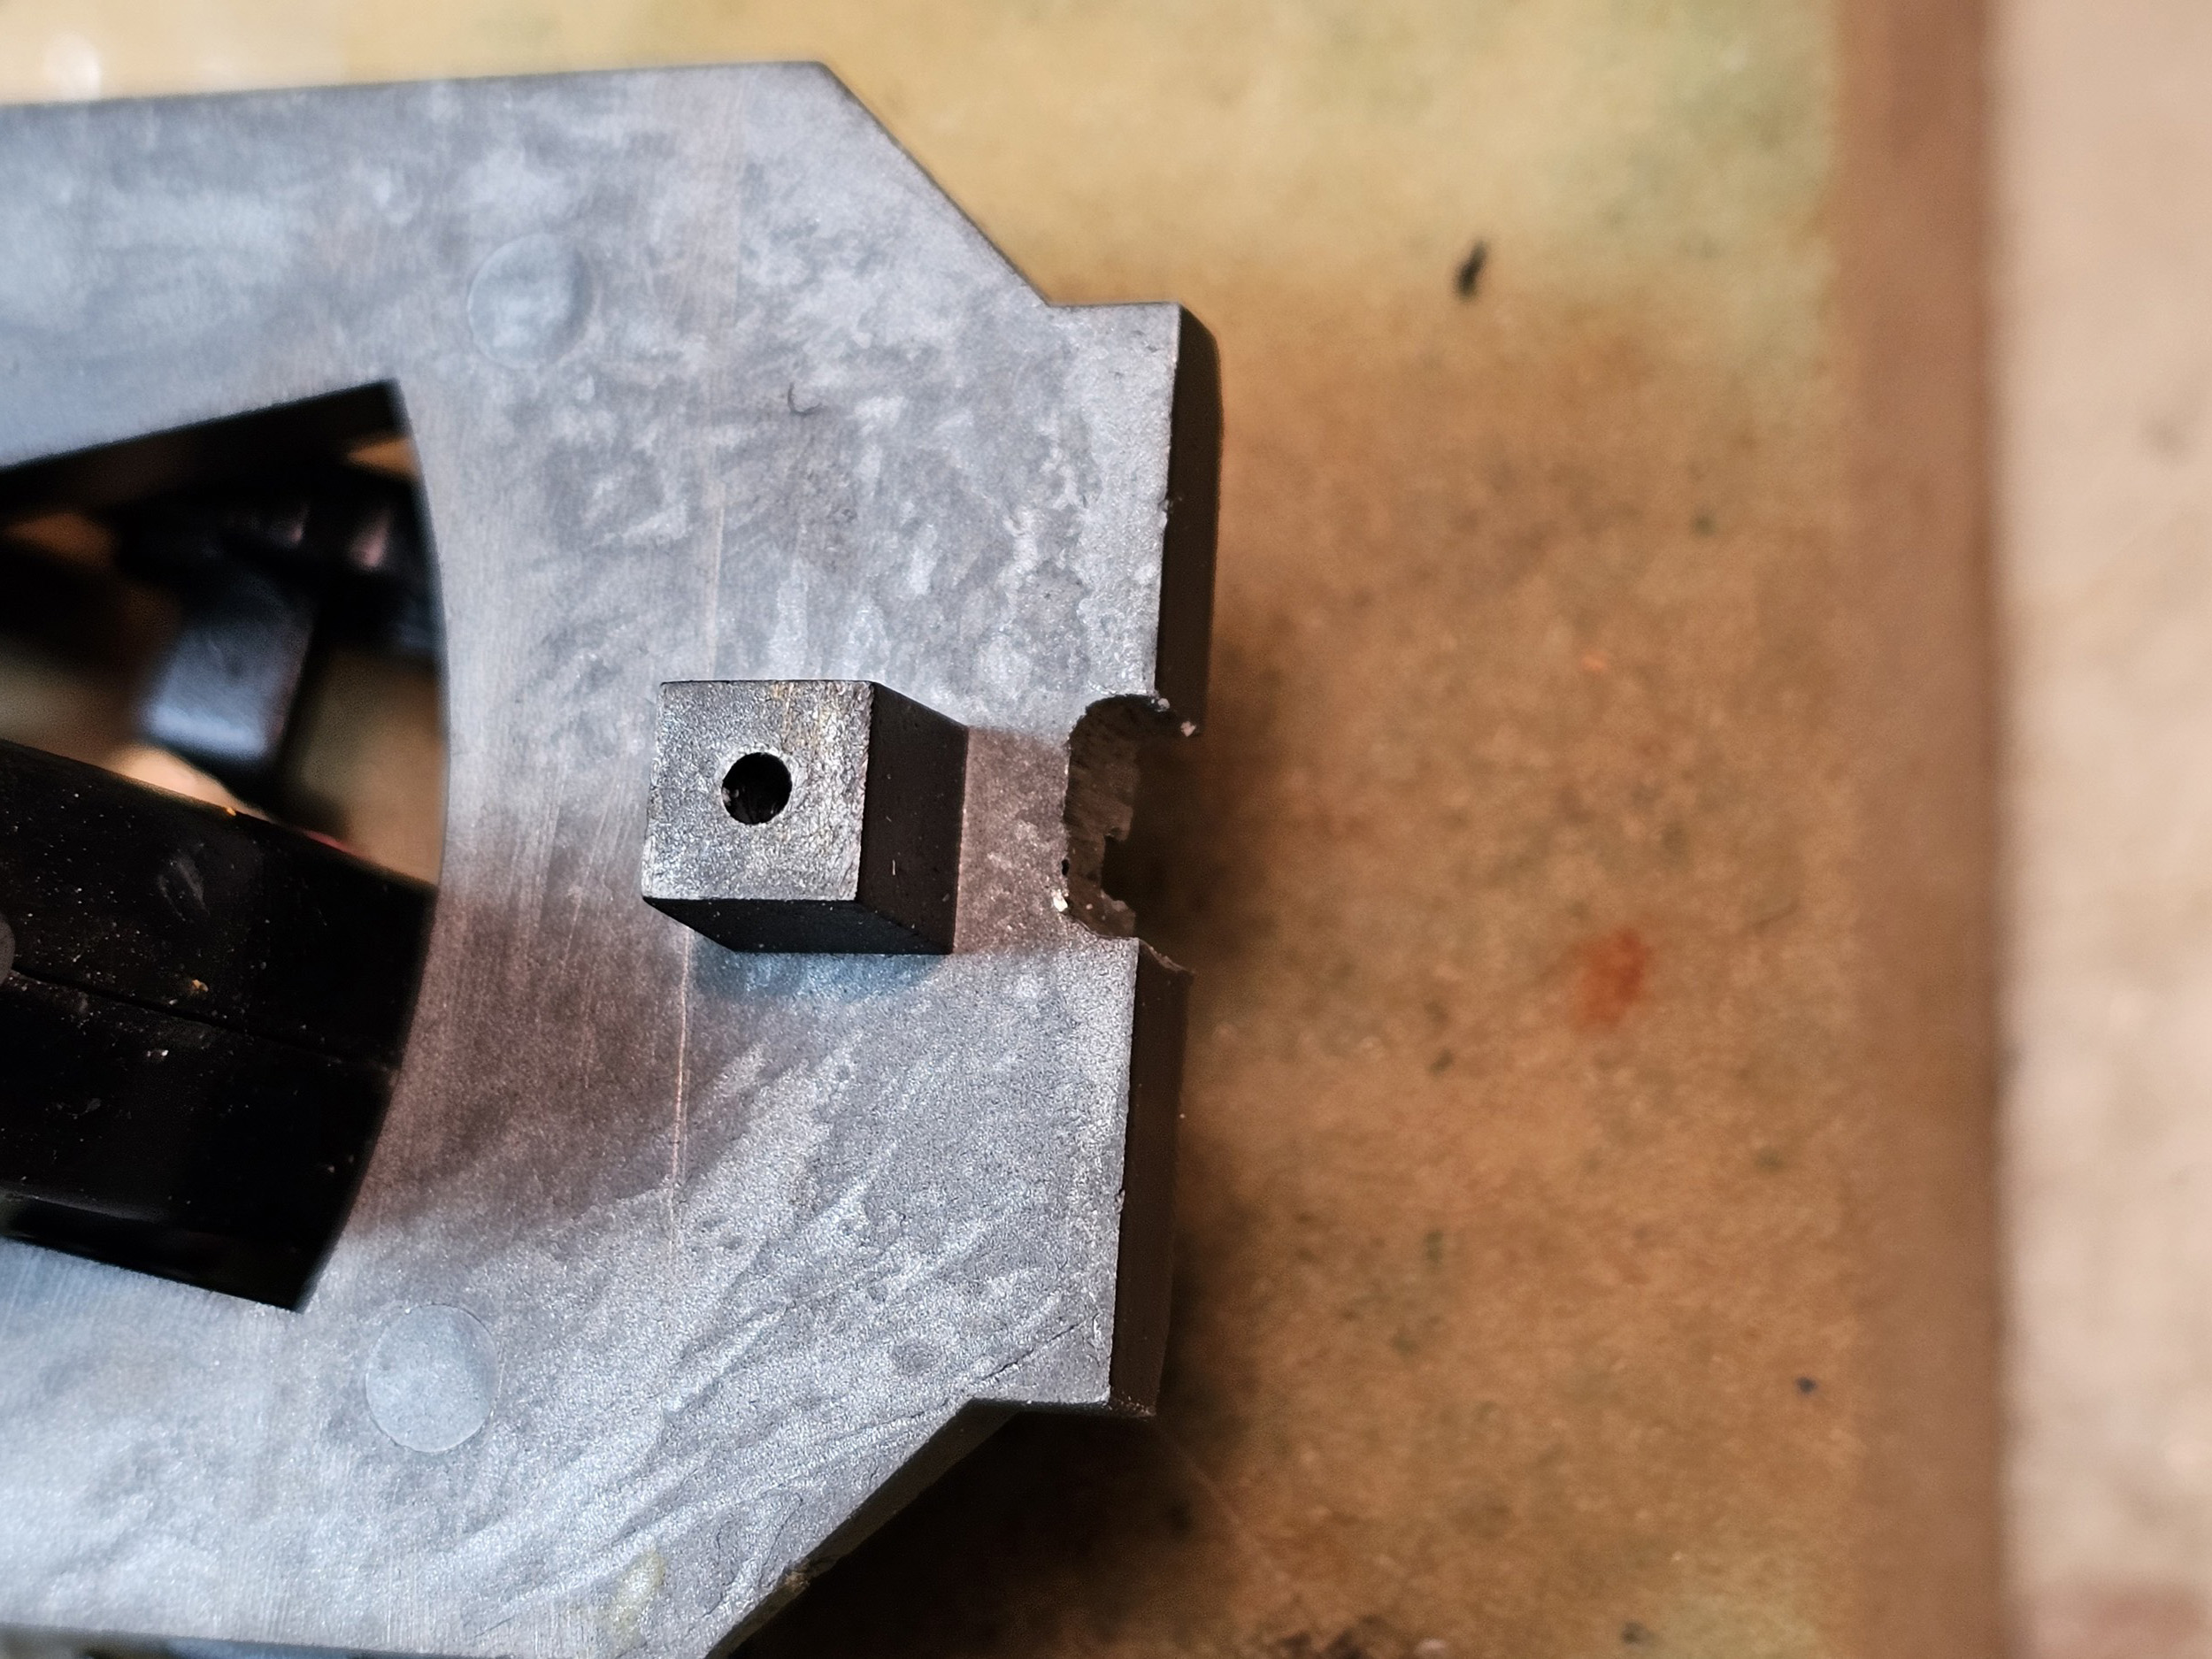
Install
the coupler before adding the snow plow! I
used a 2-56 flat head screw that attaches the lid and acts as the coupler pivot
too. Some additional cutting of the draft gear was needed to stuff the spring
in to the rear of the coupler with everything screwed in place
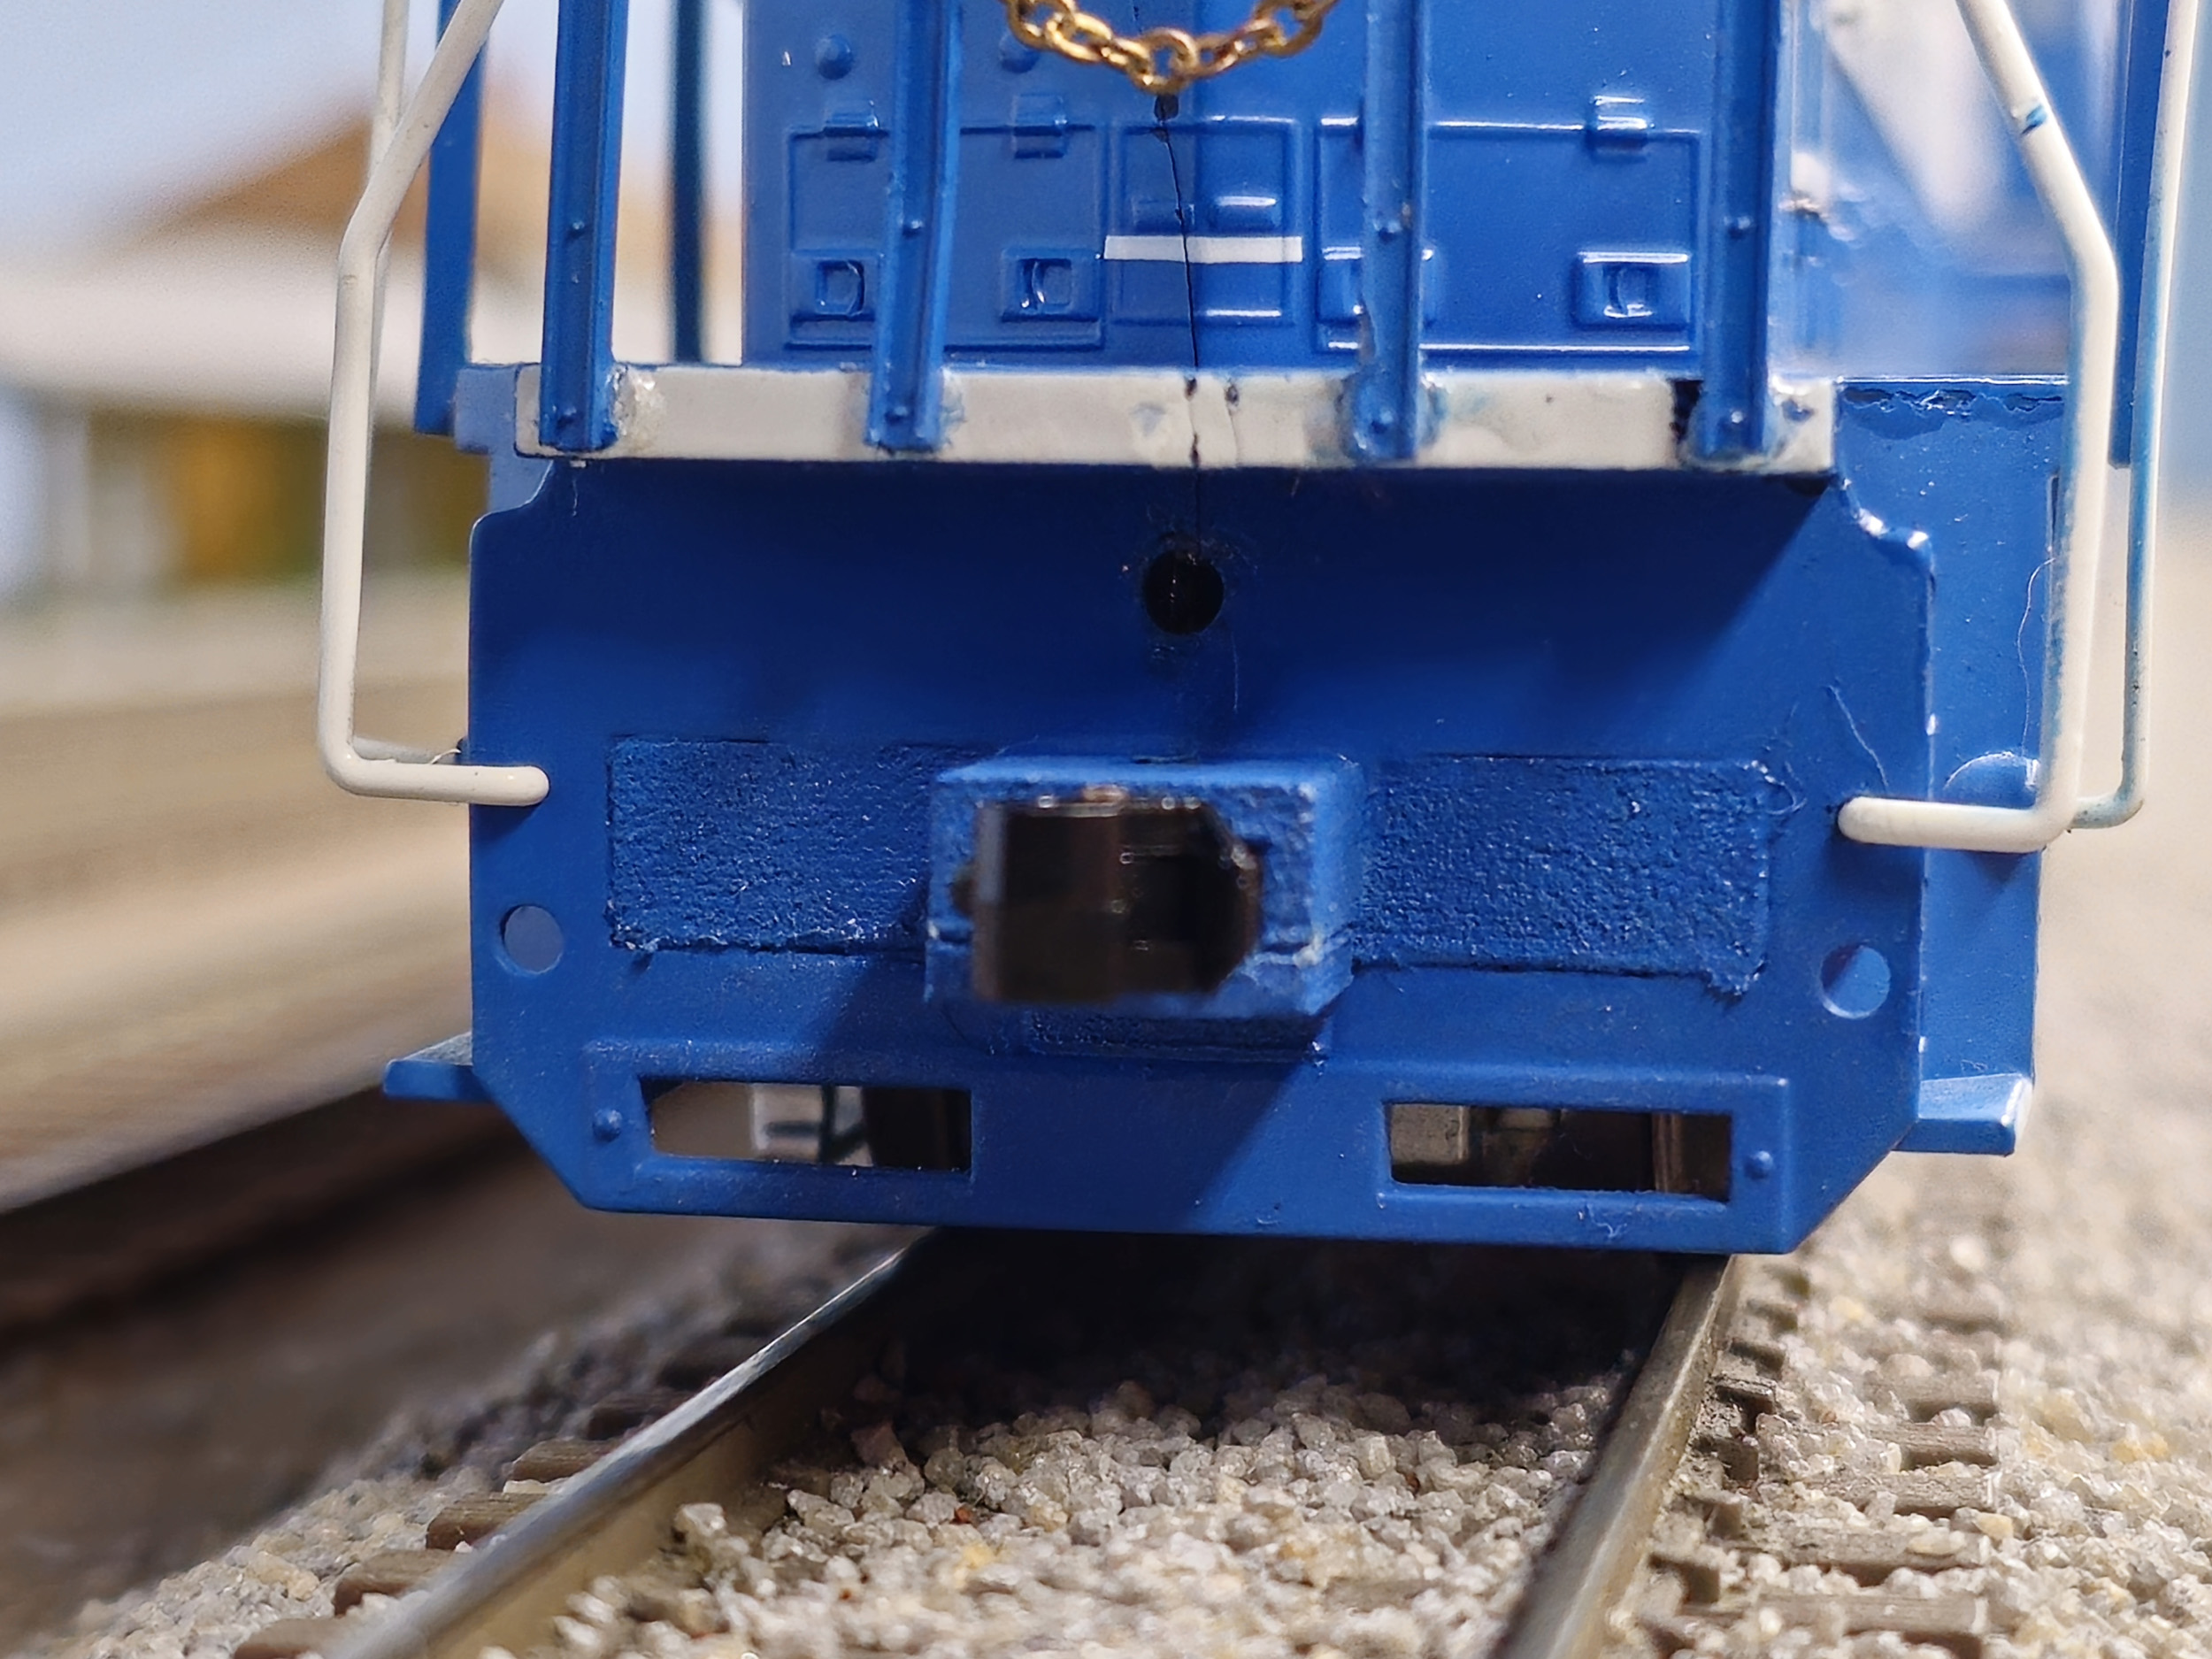
I notched the frame on the rear only about ½ the length of the
mounting hole for the coupler to clear. I have to pull the coupler outward to
remove the shell.
Completed
11-21-23
Updated 11-23-23
All
photos and content © Lanes Trains 2005-2025