|
|
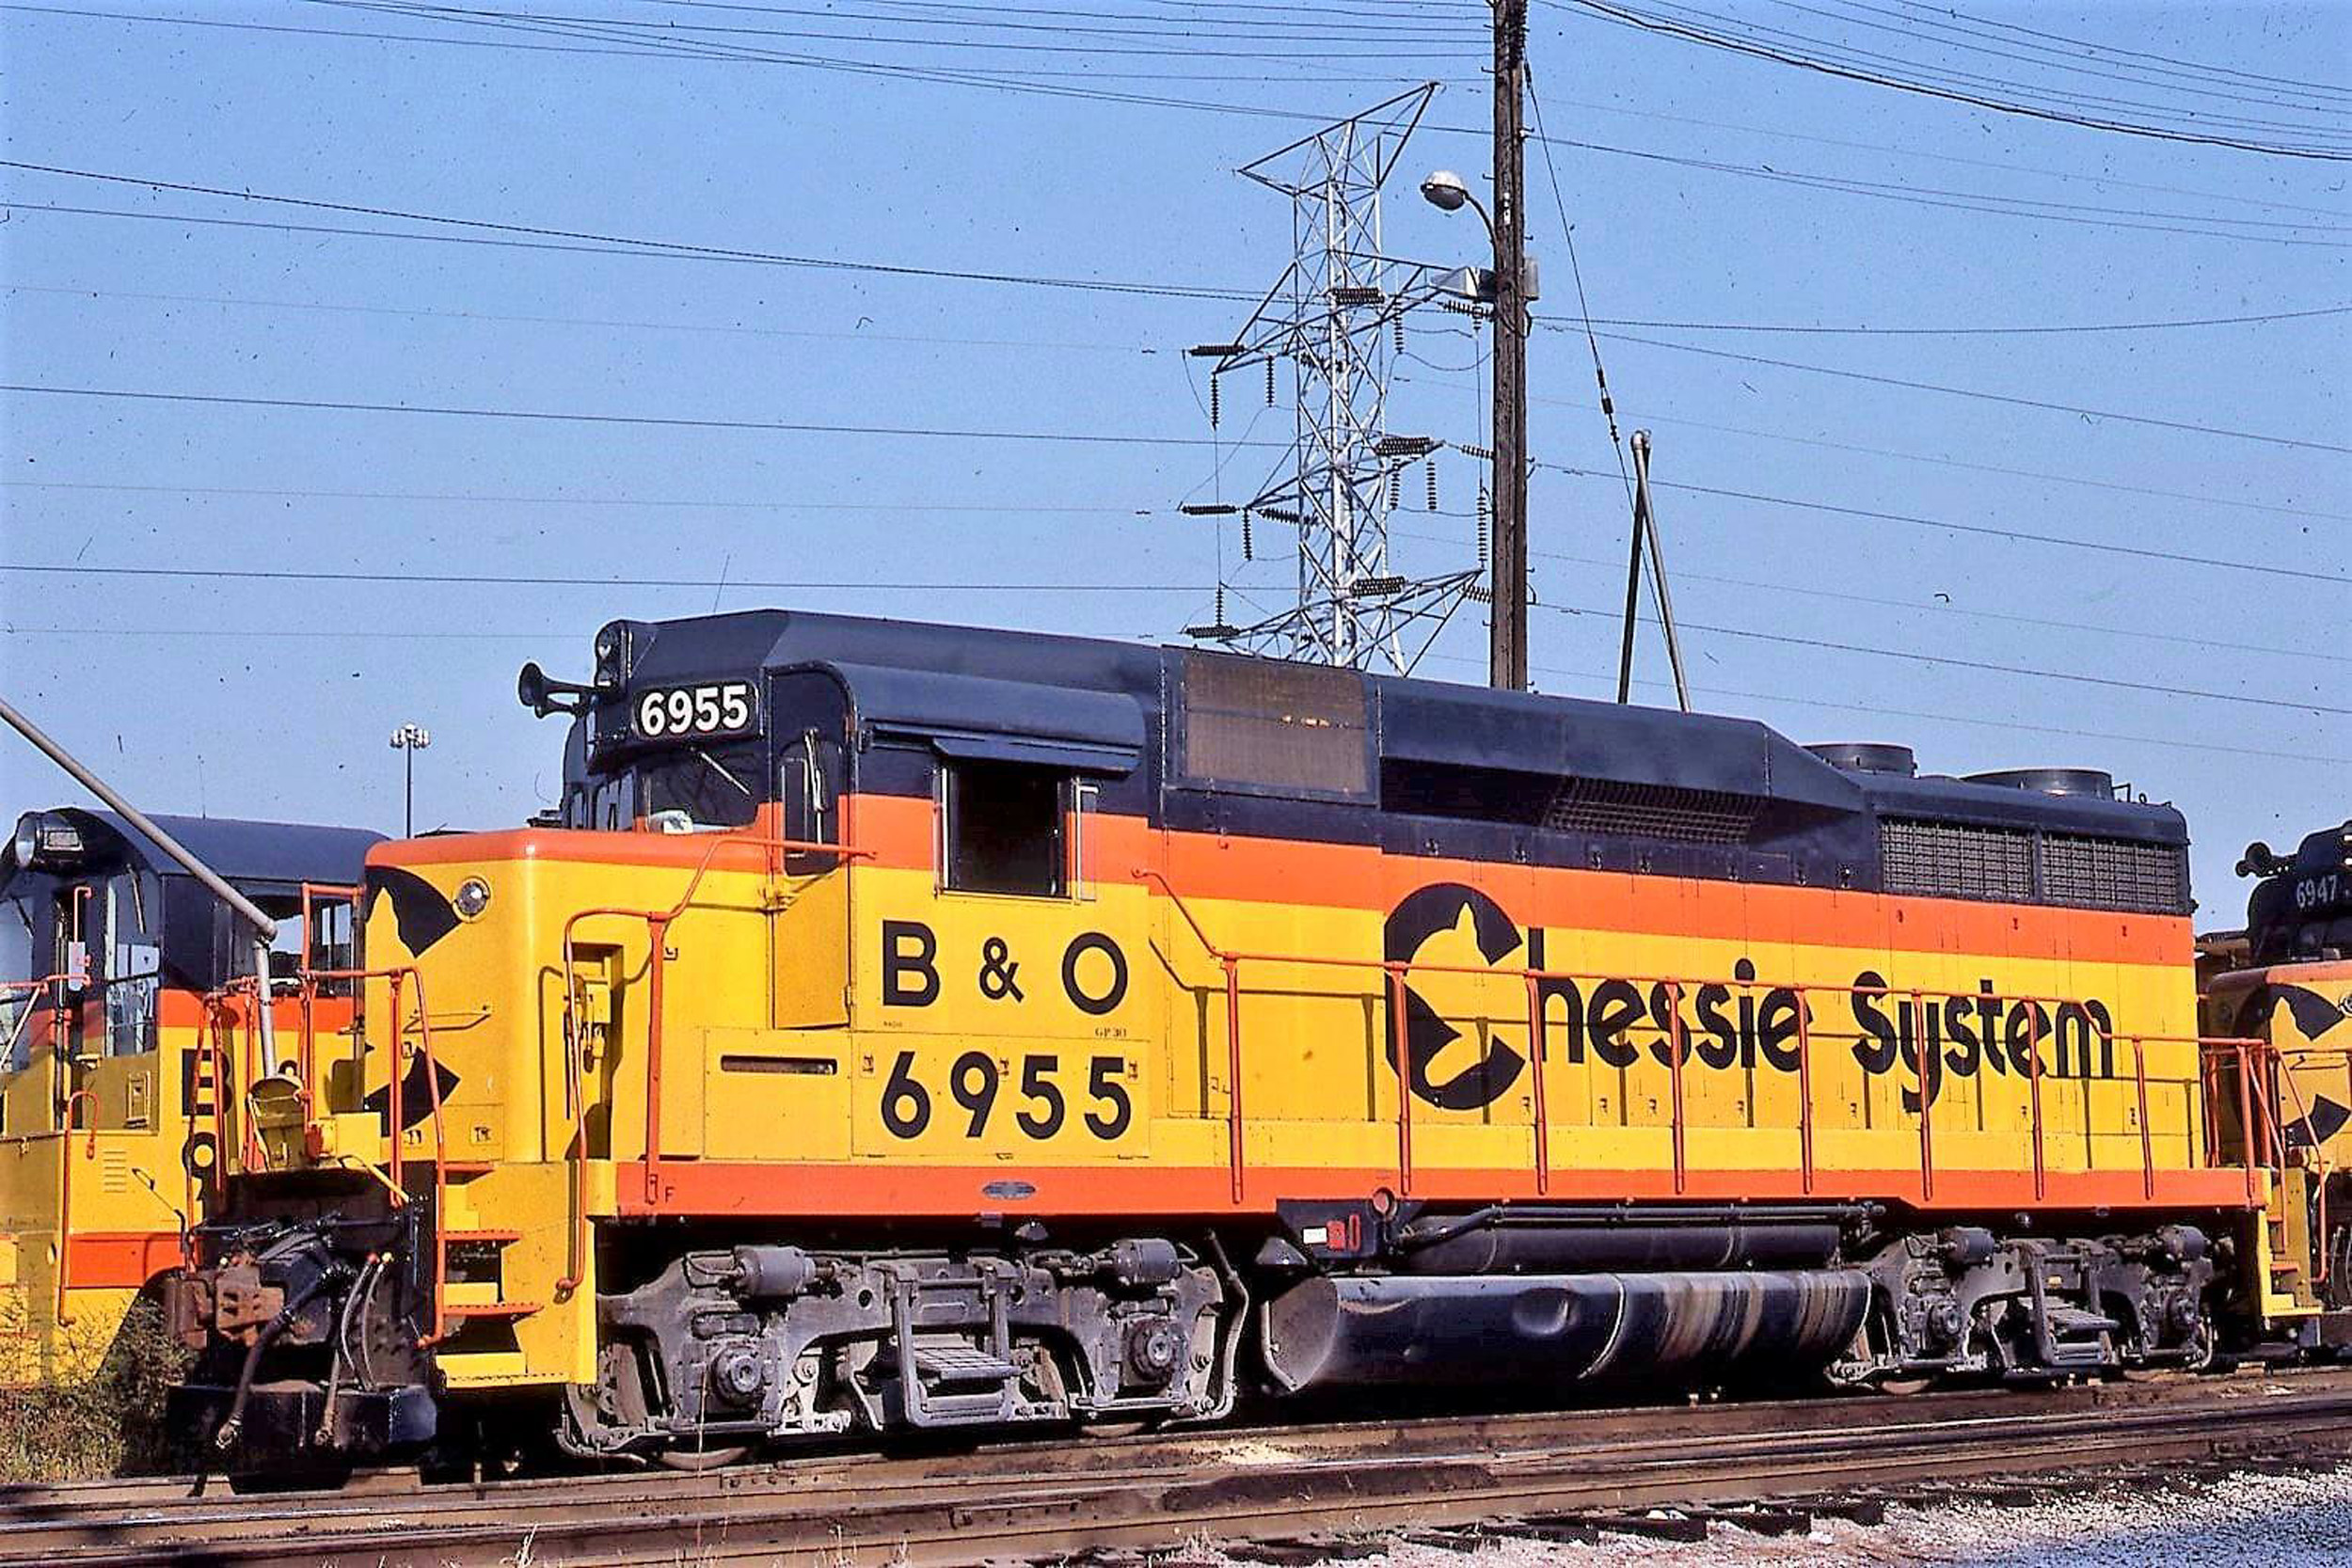
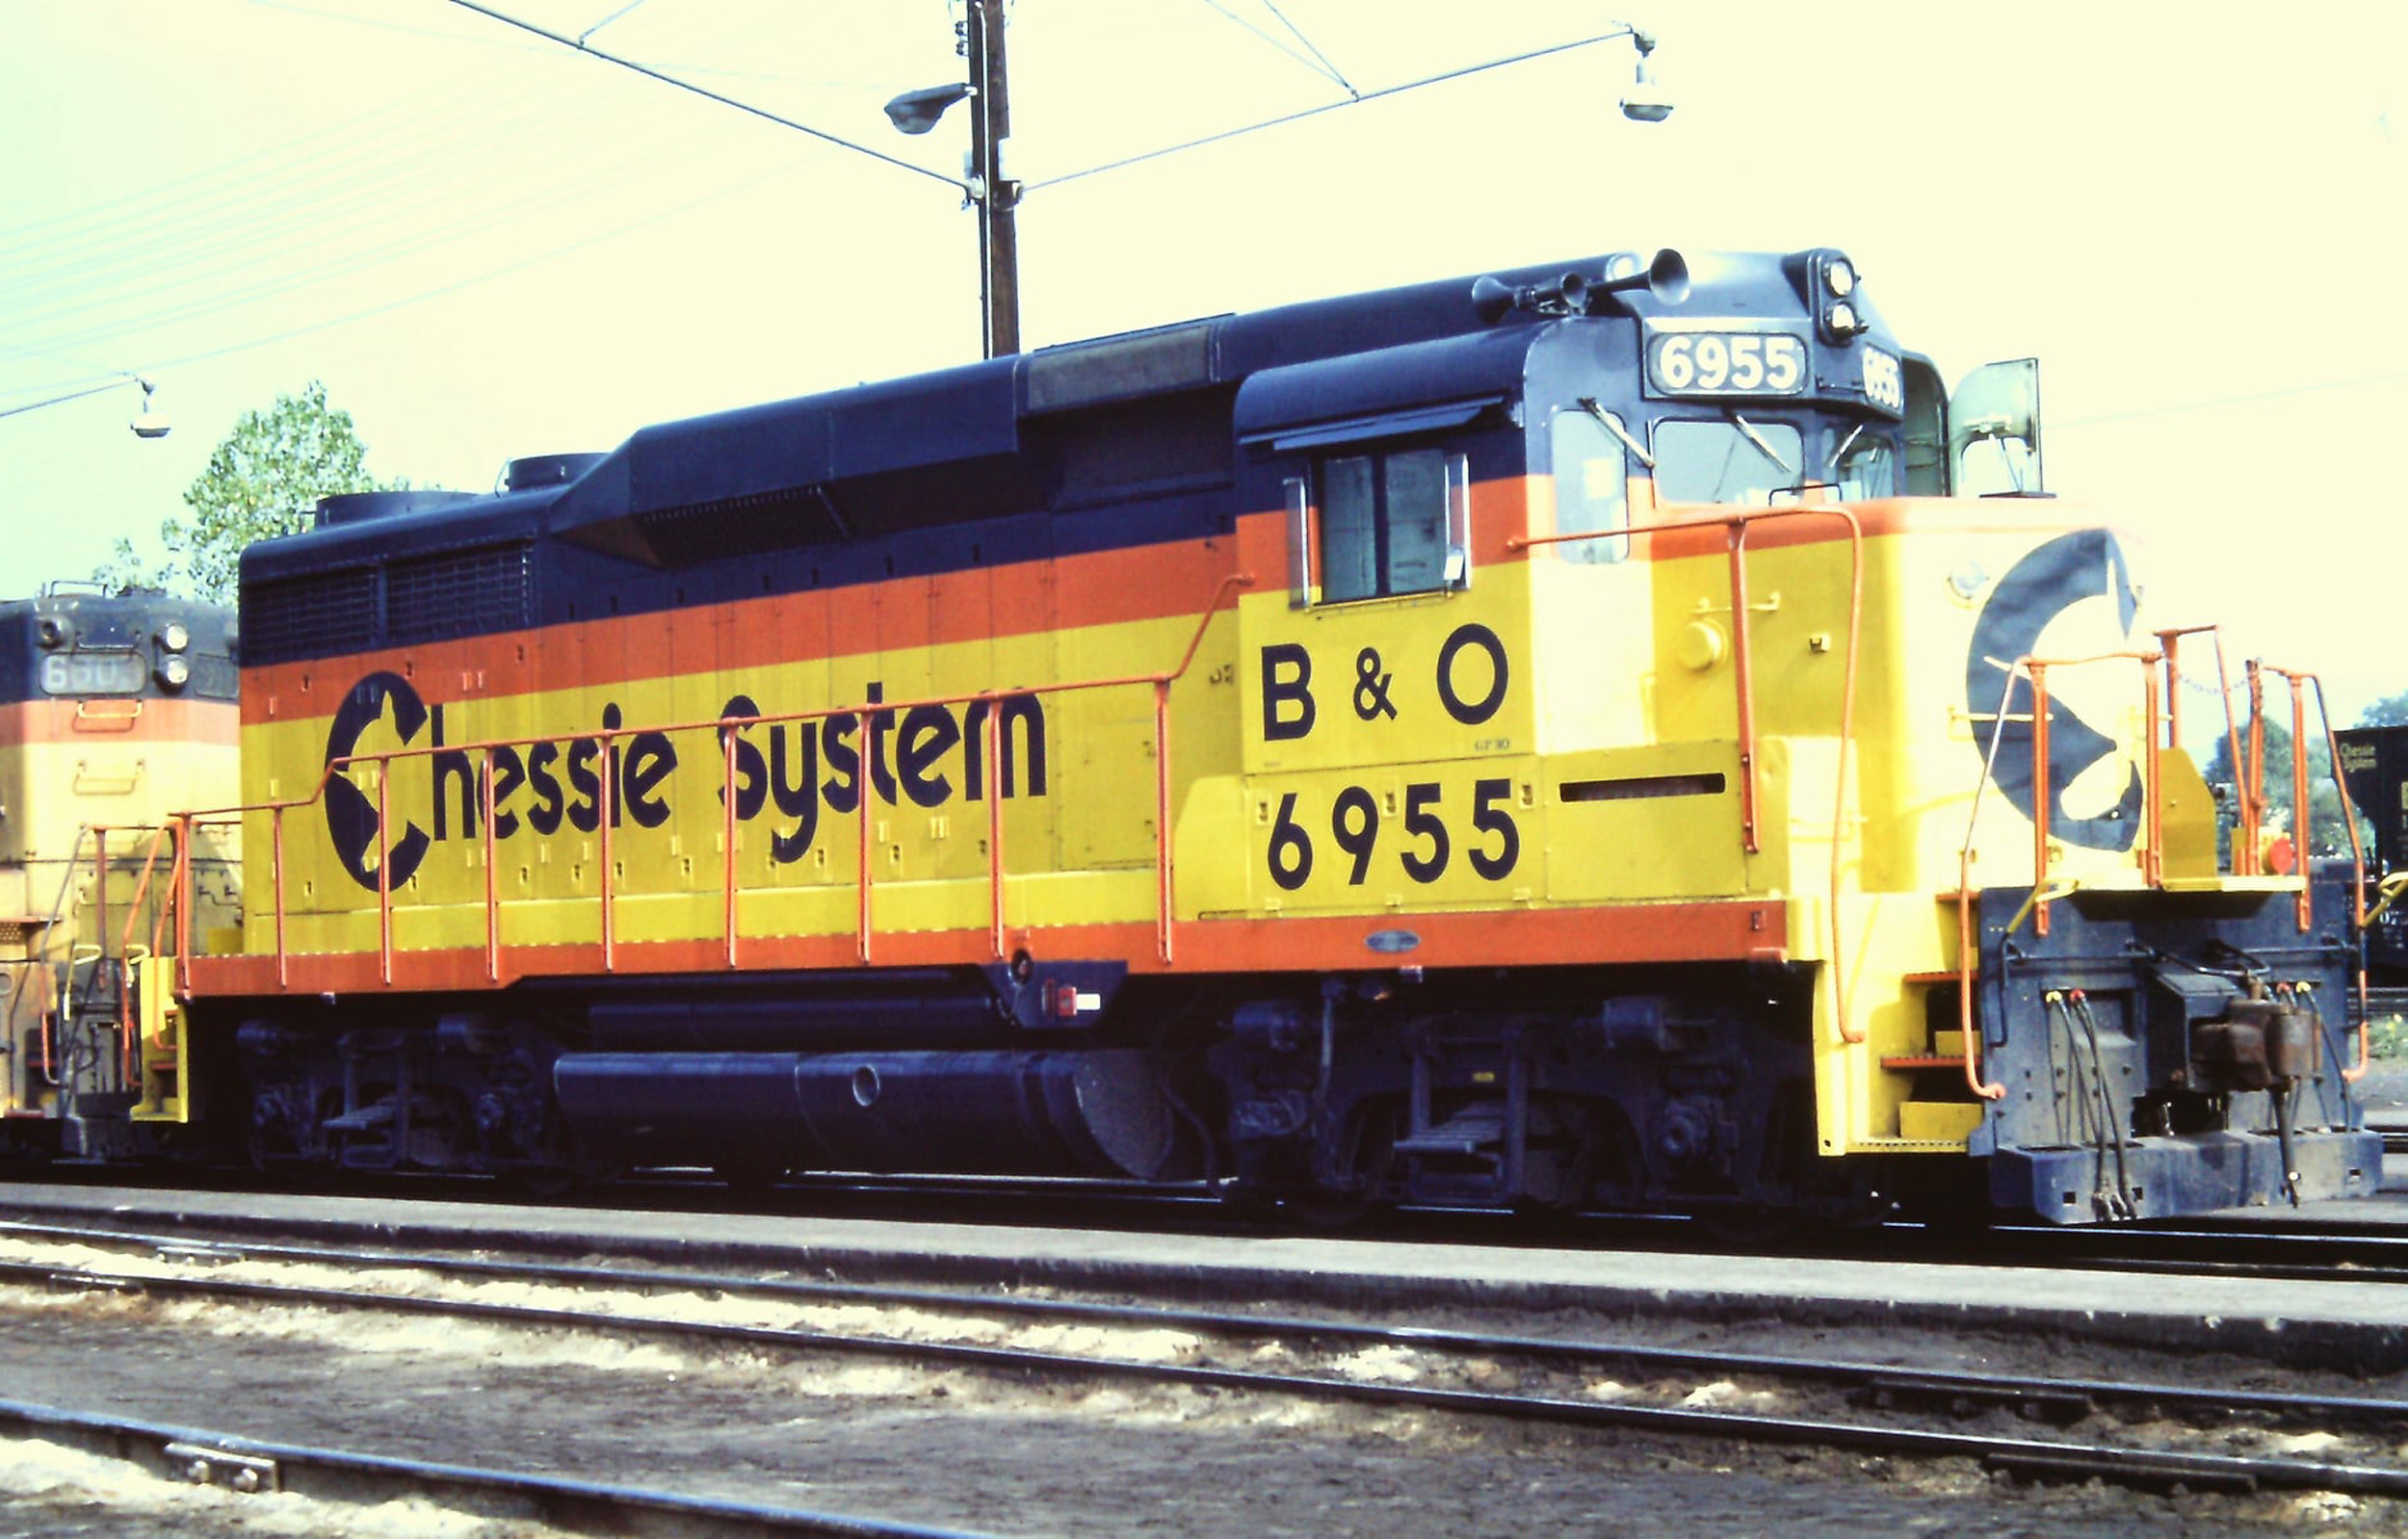
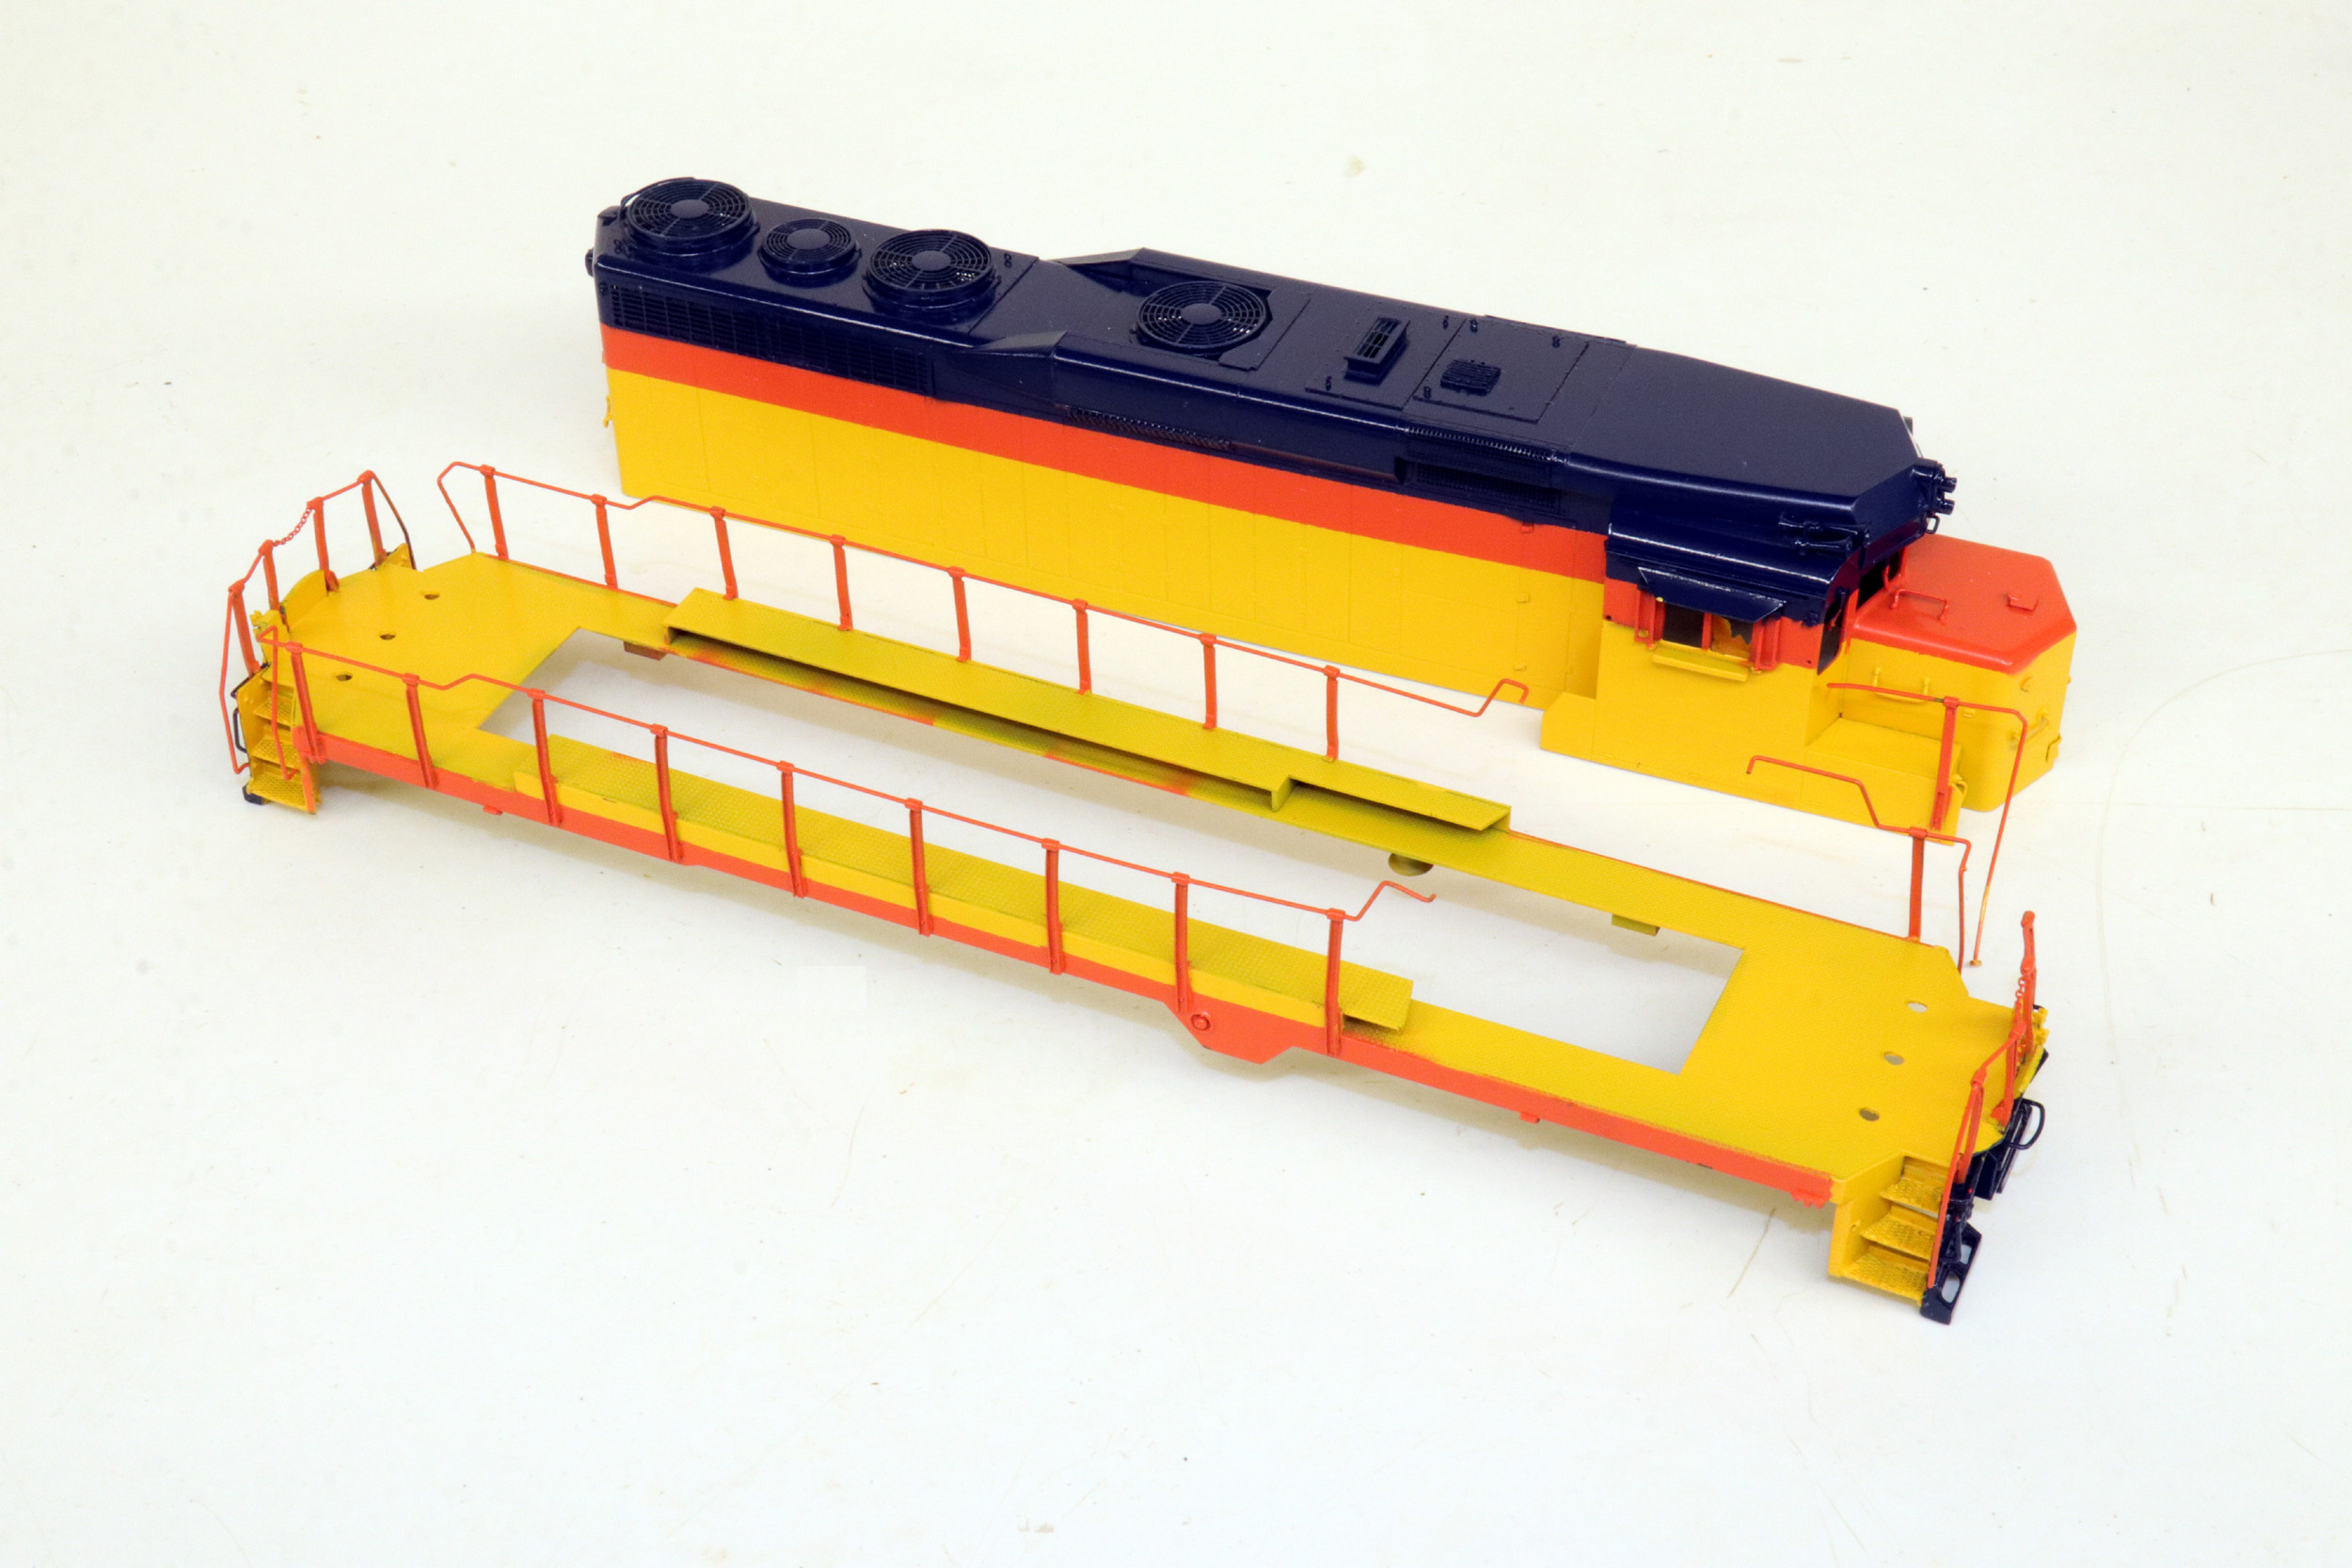
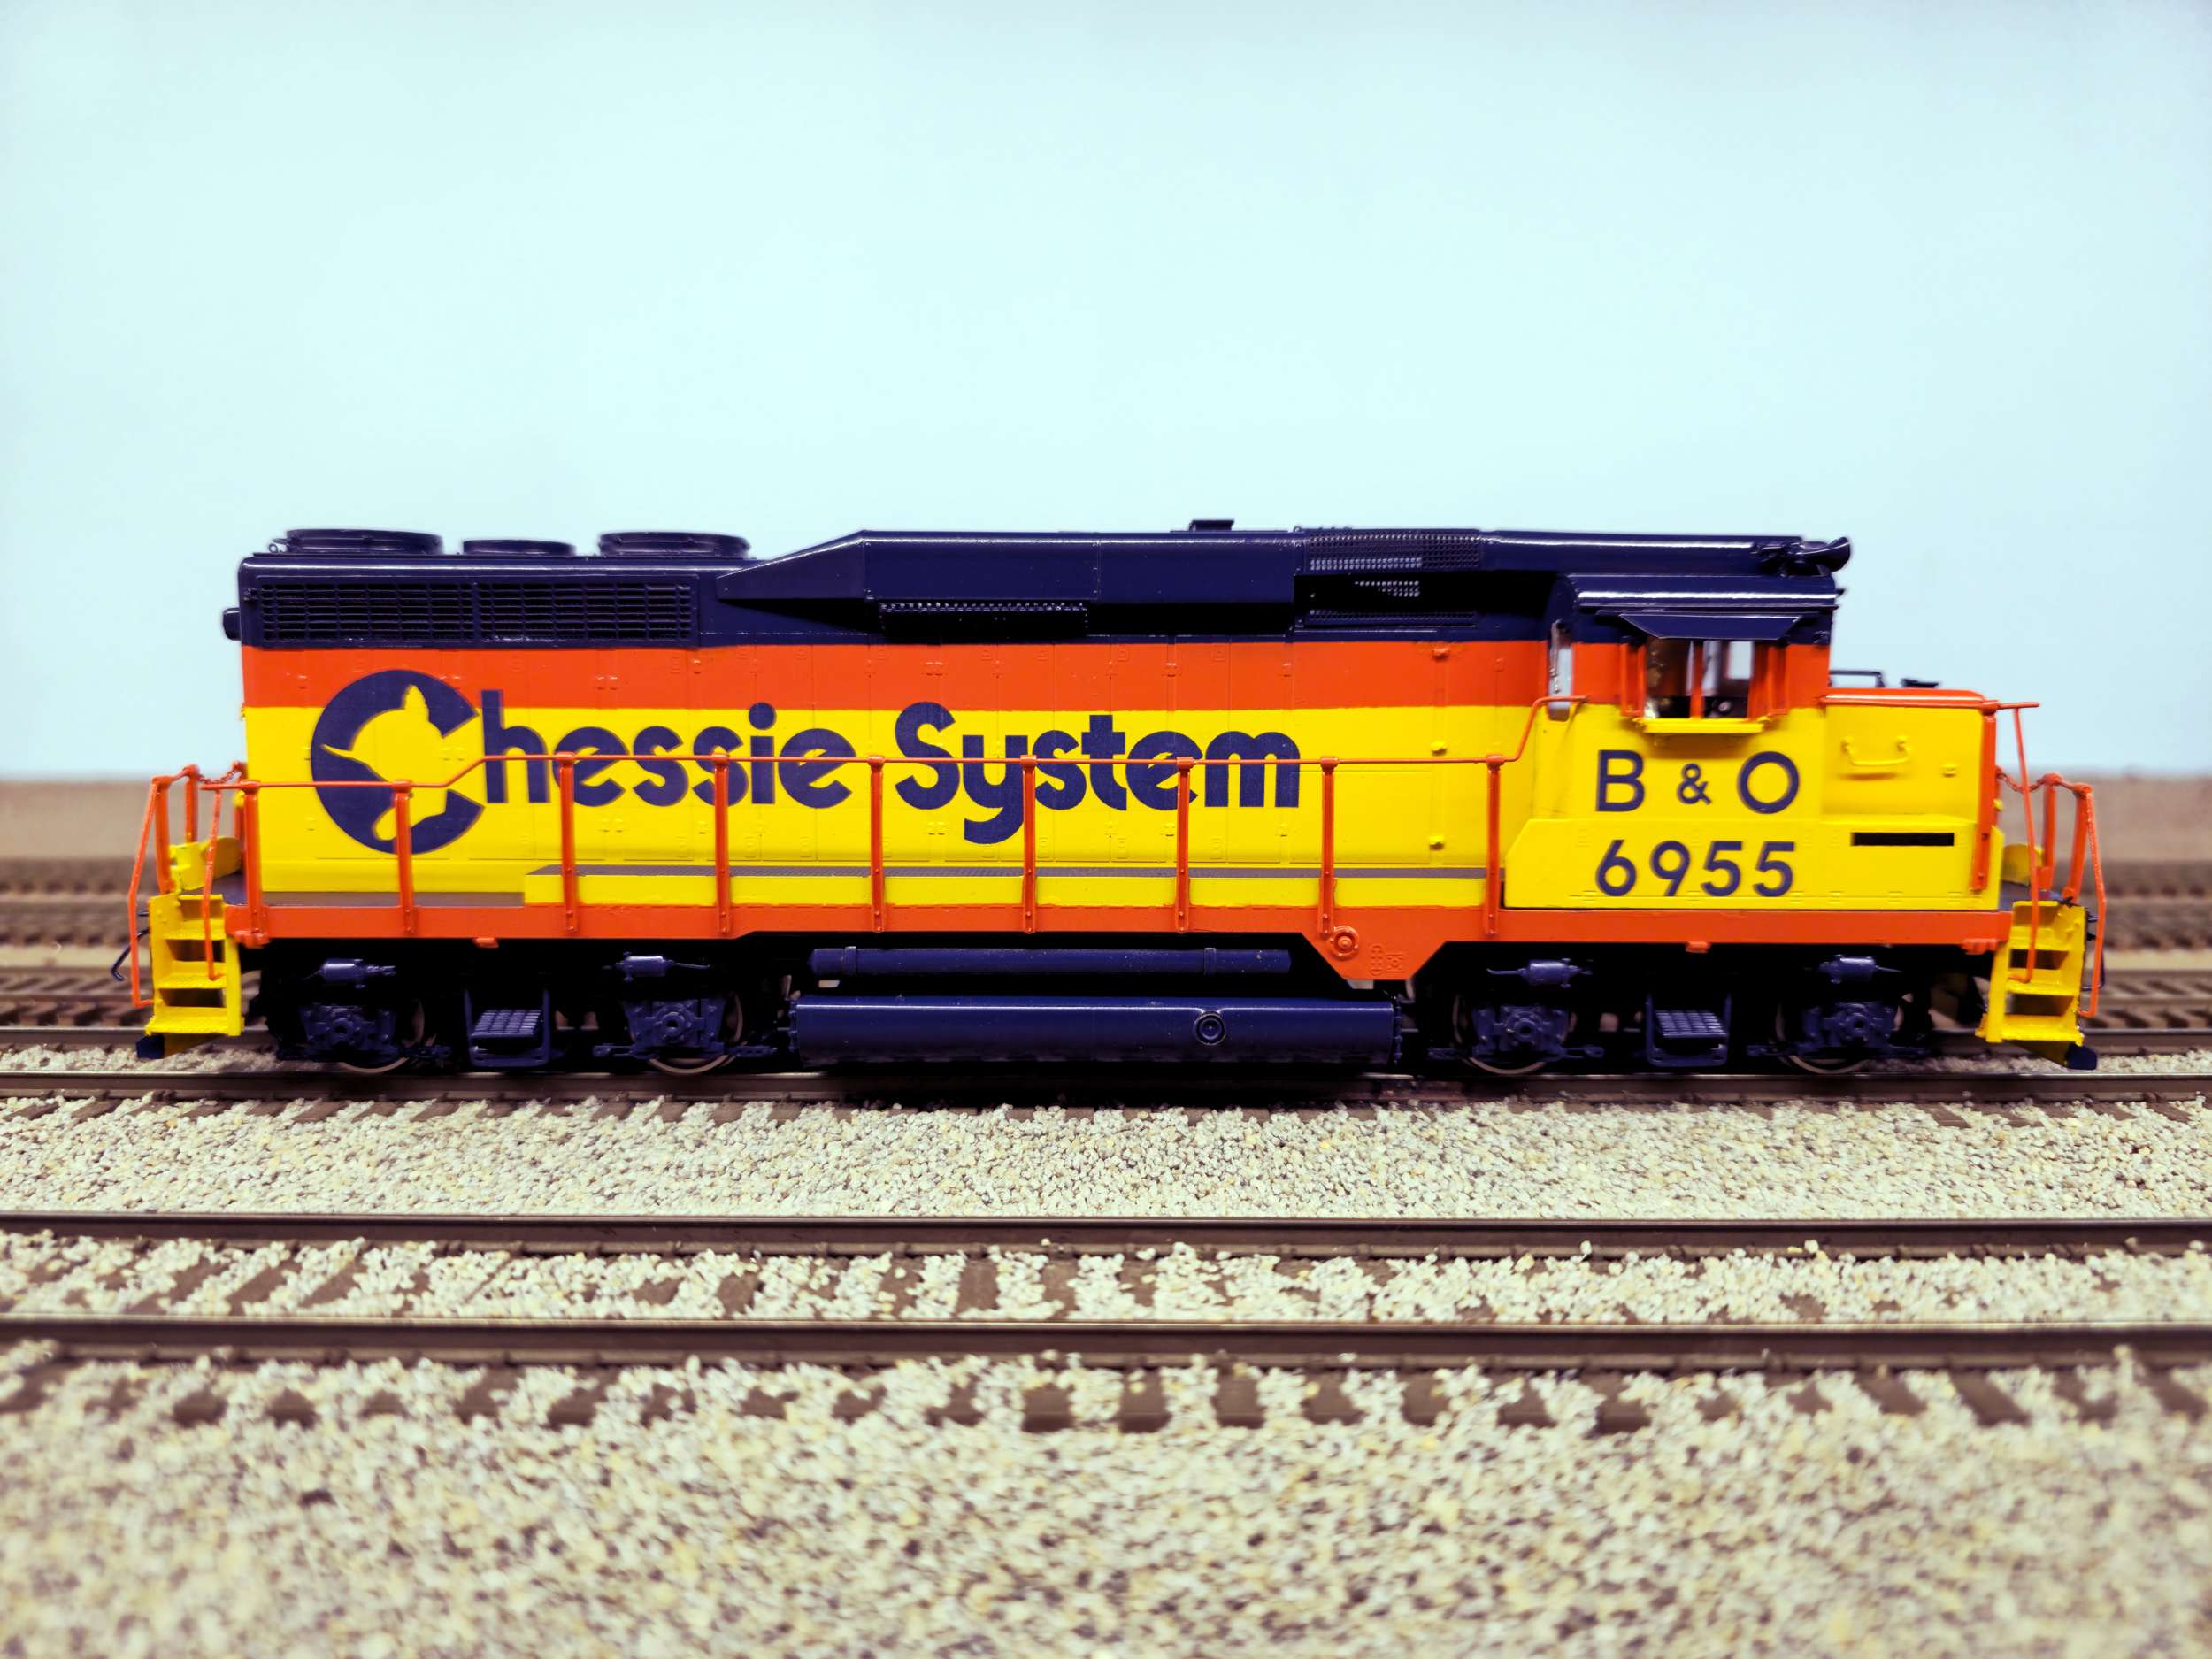
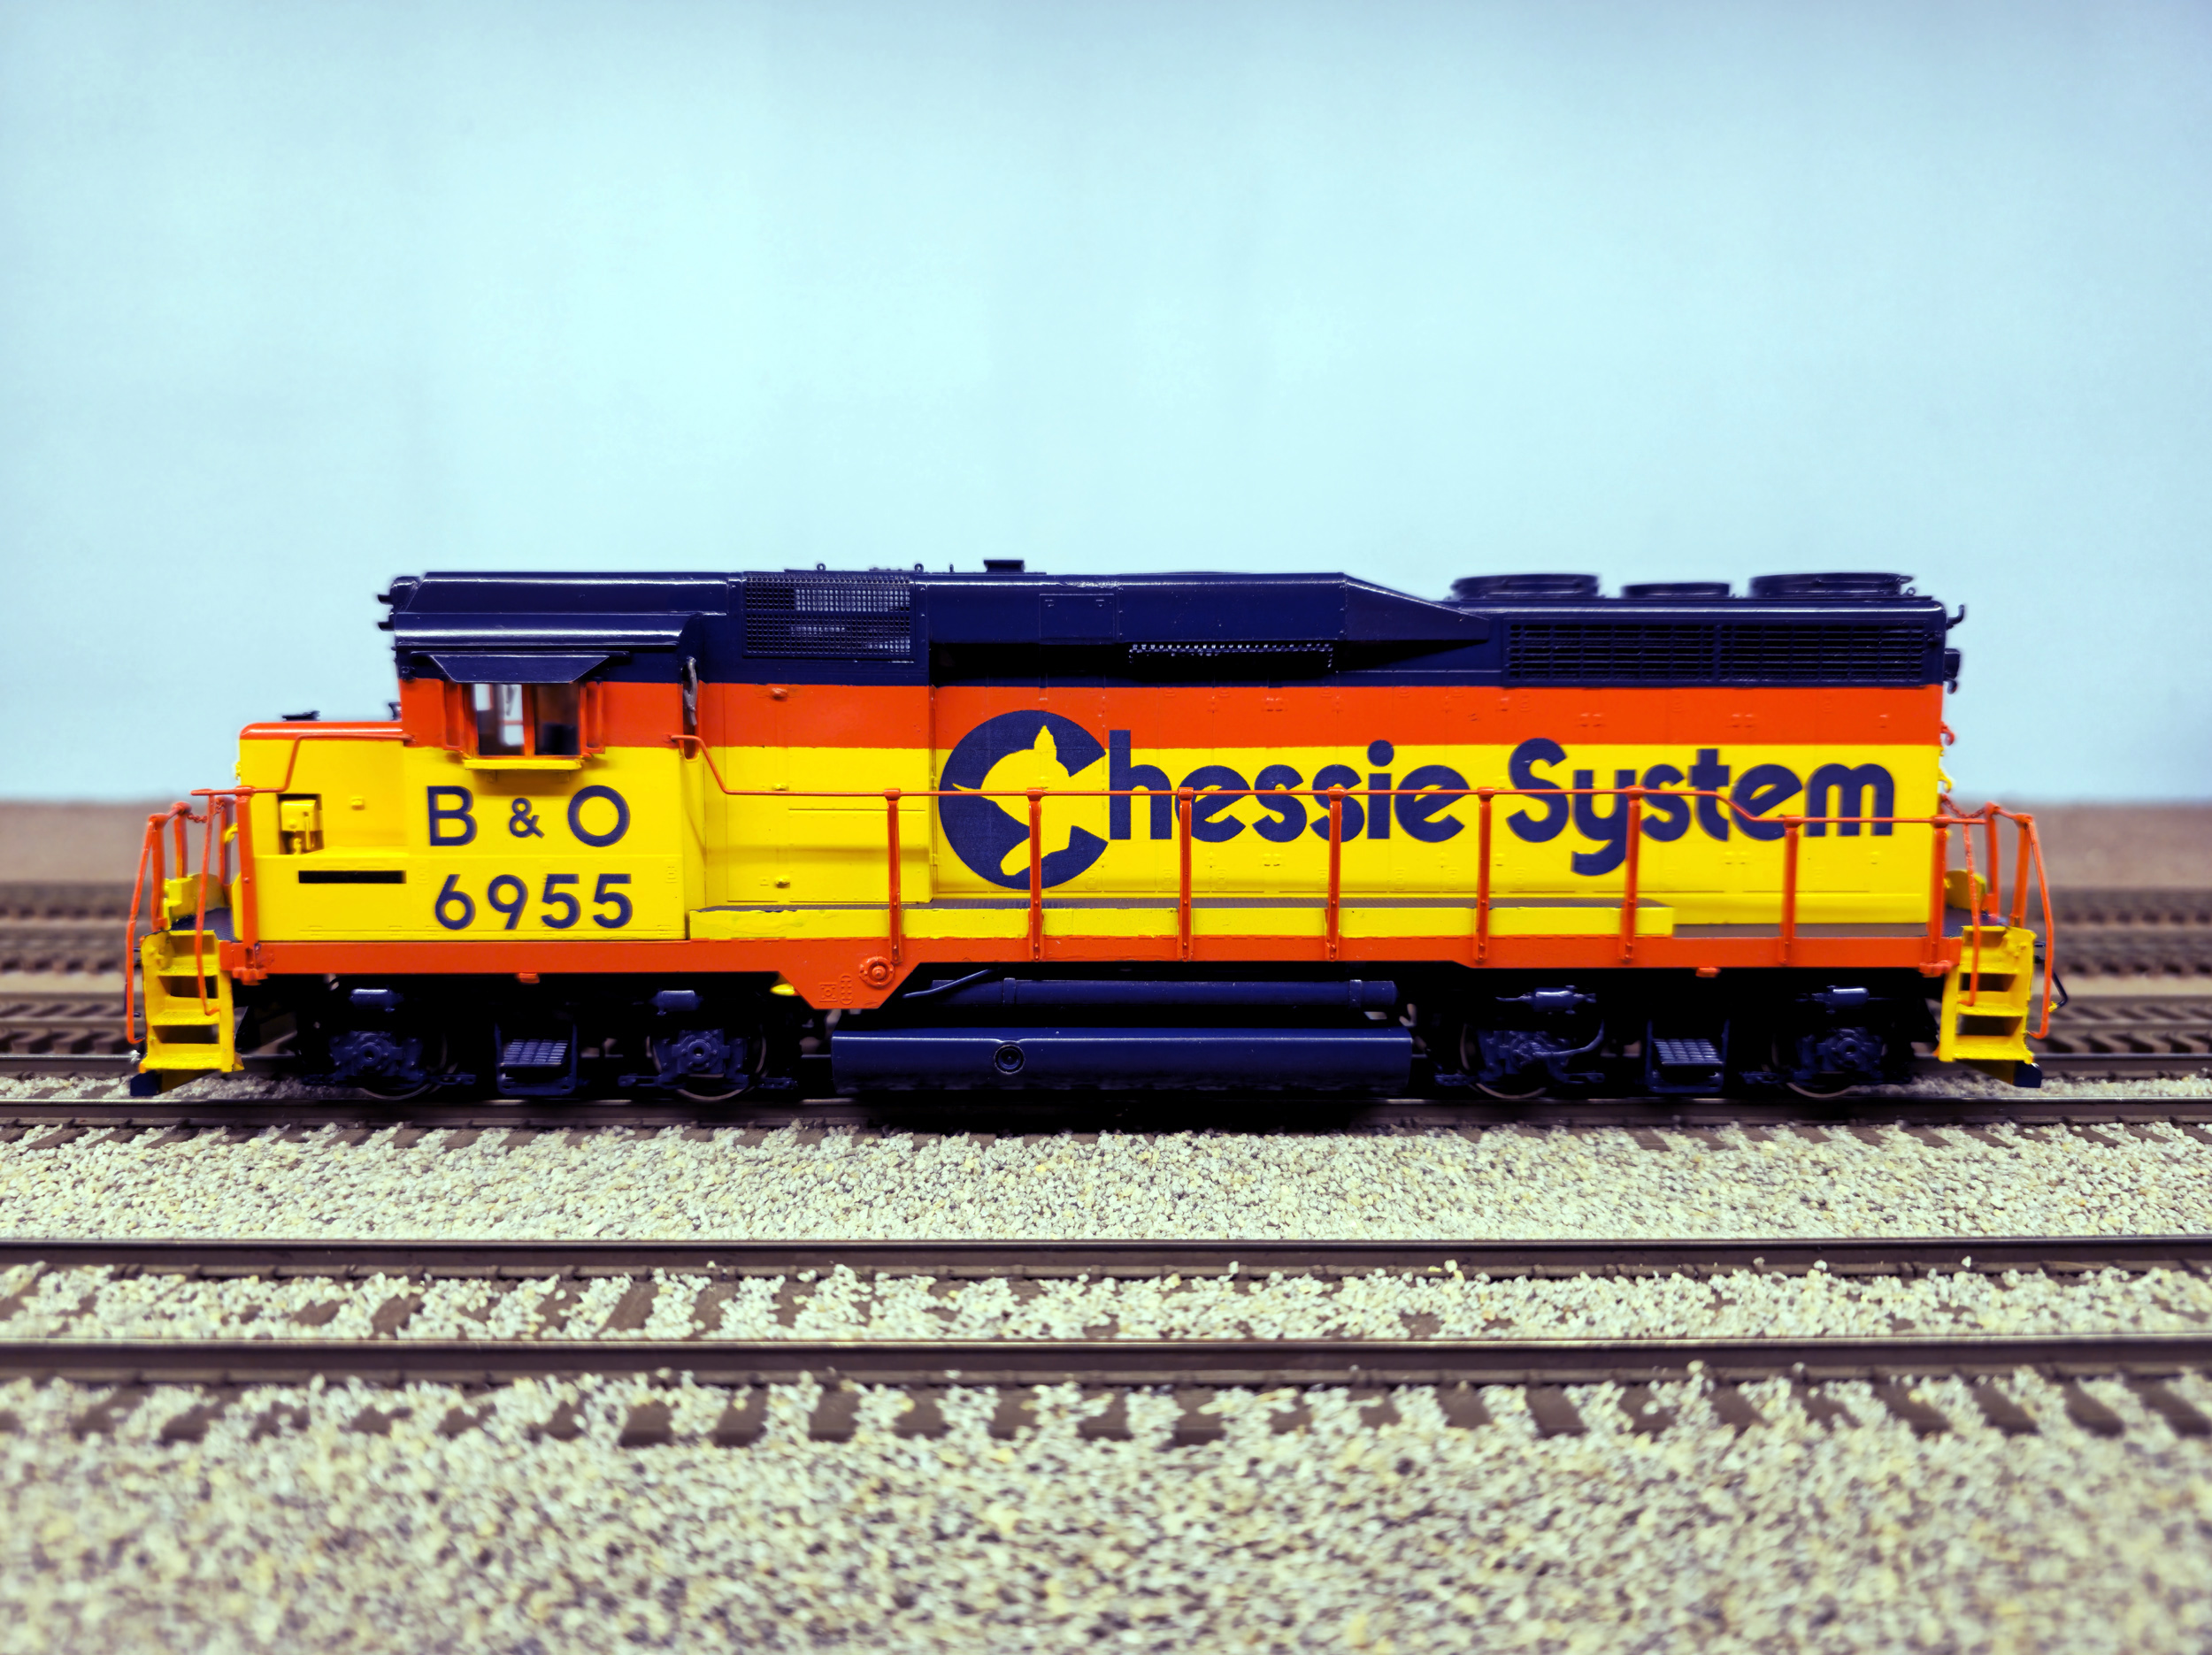
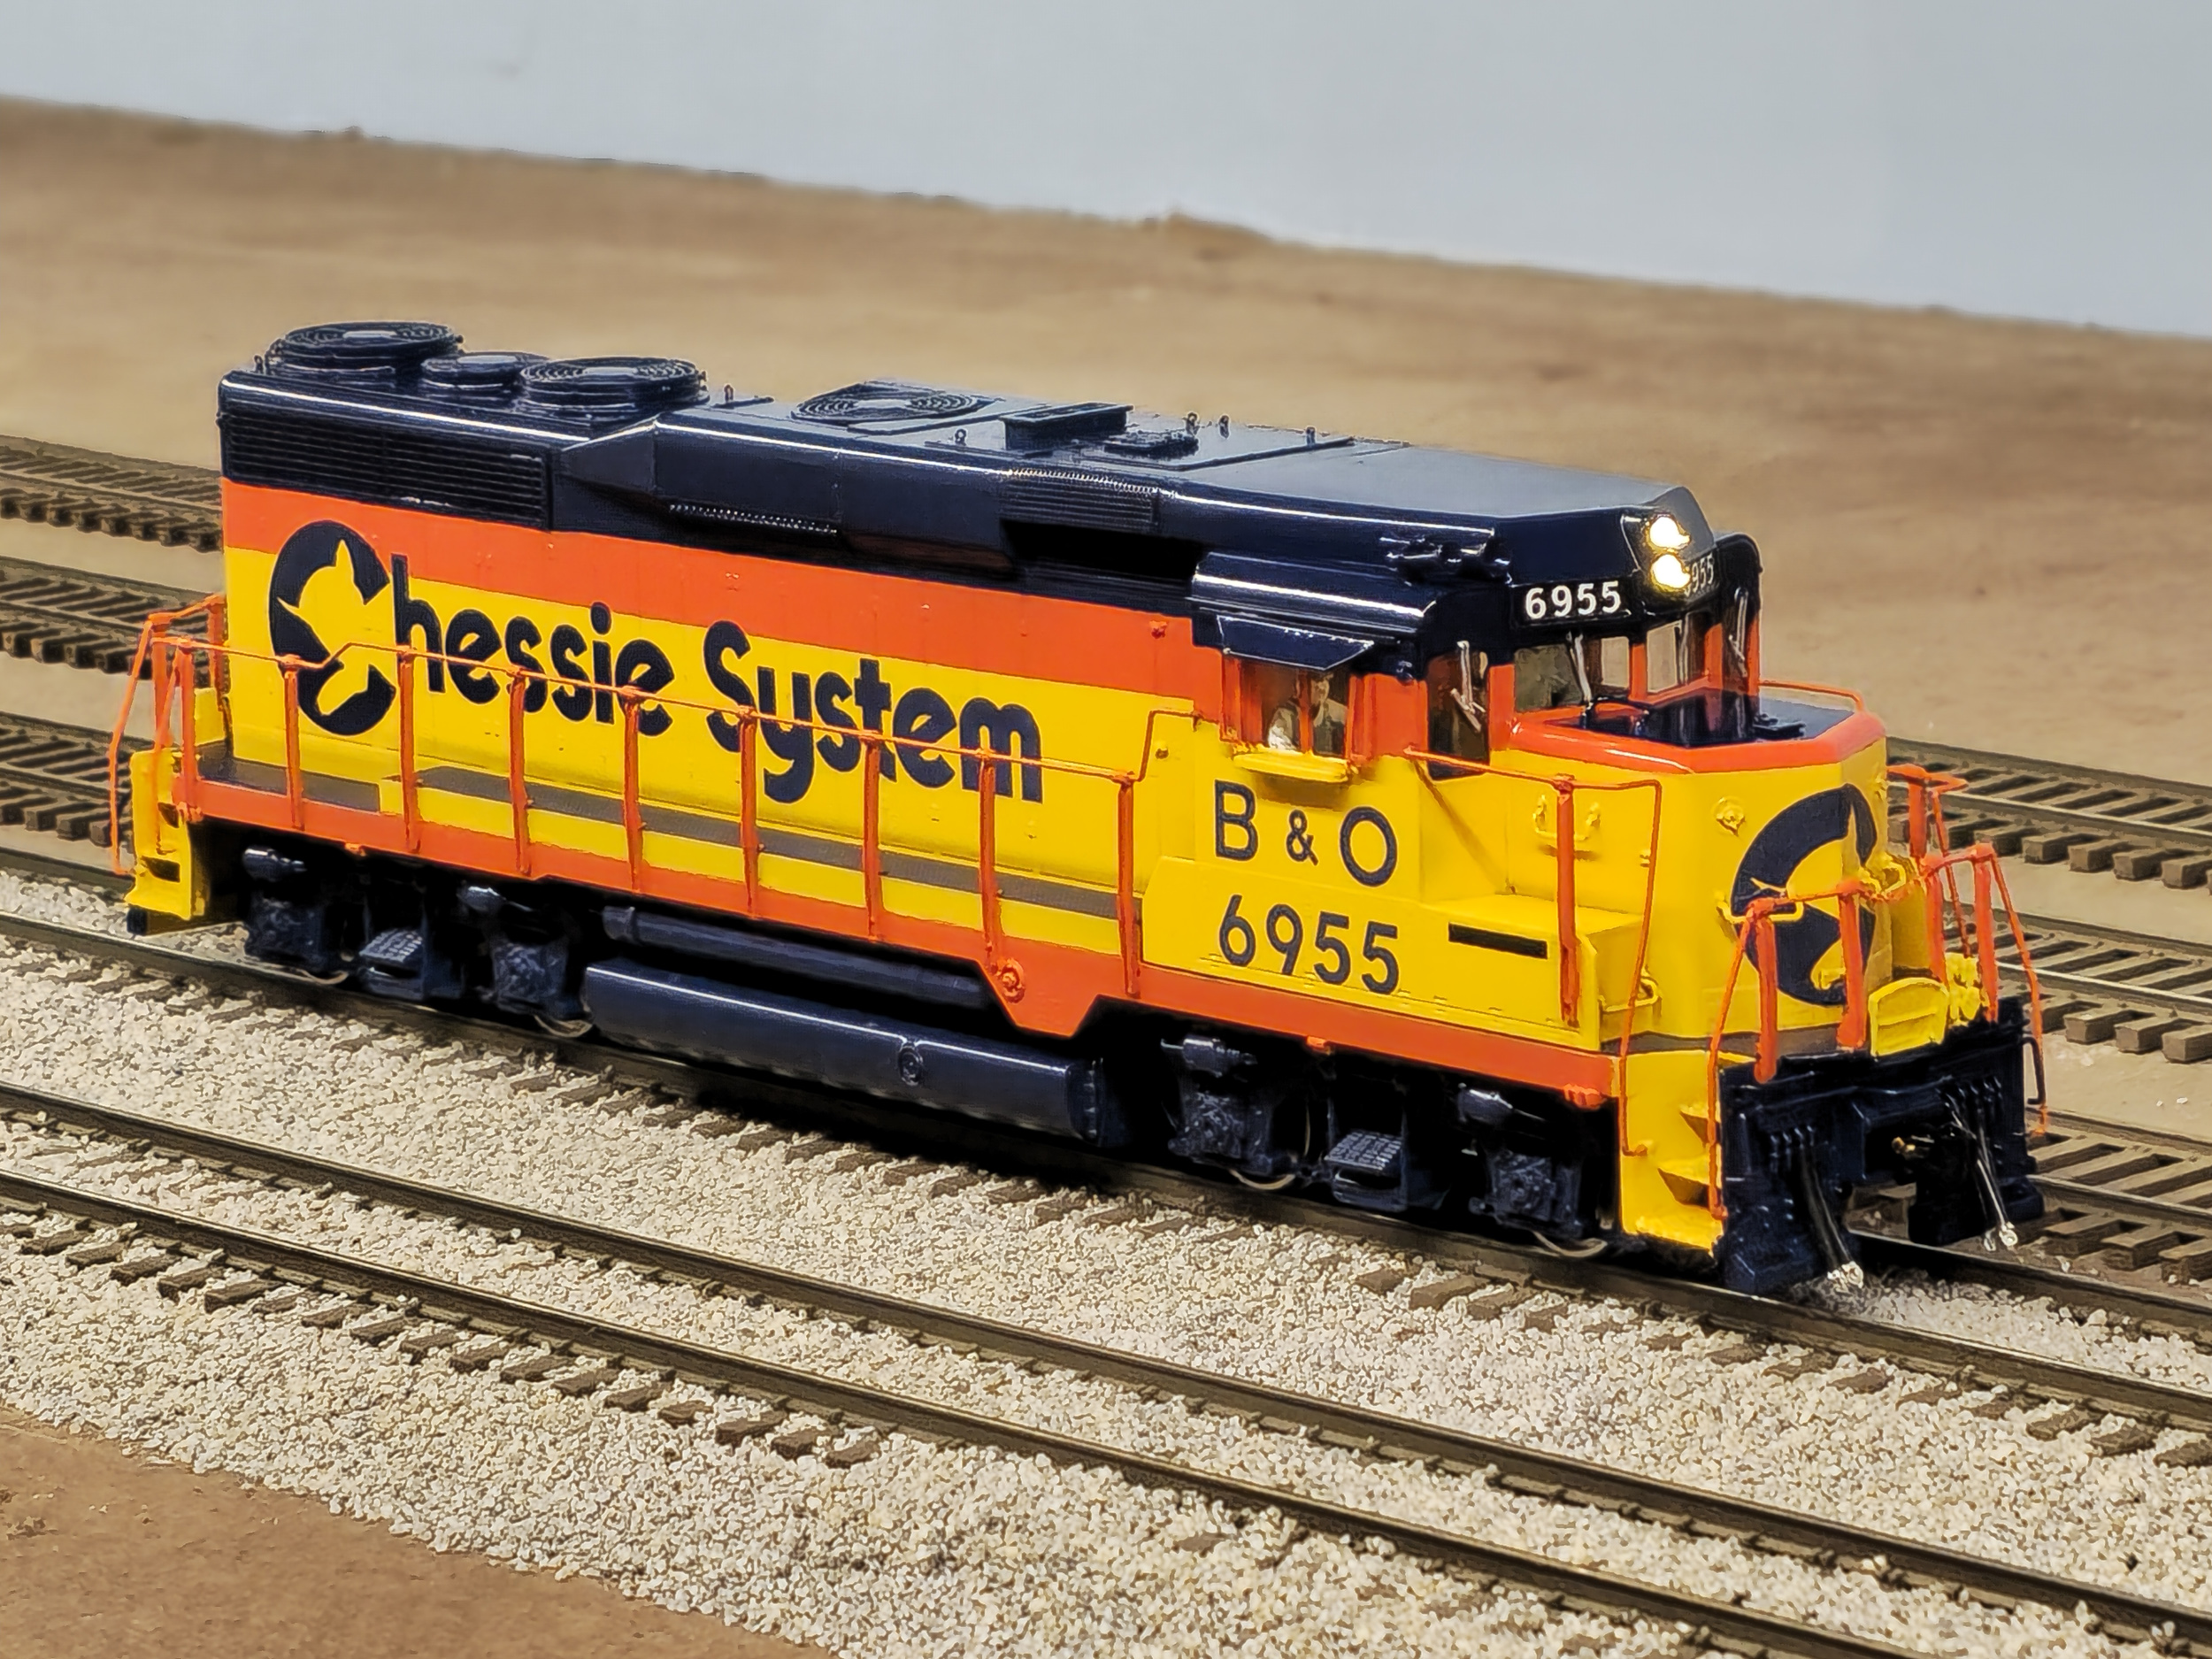
This
S Scale GP30 was imported by Greenbrier Models in 1997, sold by Bill’s Train
Shop (BTS) as item #1003 as Phase 2 low hood with dynamic brakes. In 2022 and 2023 a
number of GP30 came up for sale on eBay and from estate collection
liquidation sales. Chessie 6955 is the third of a group of 4 GP30 I decided
to make that still exist as already restored or are planned to be restored.
They are, B&O 6944
at the B&O Museum in Baltimore, B&O Chessie 6955 at the Cincinnati
Scenic Railway, Conrail 2233 at
the Railroad Museum of Pennsylvania, and Reading 5513 at the Reading Company
Technical & Historical Society Museum. |
|


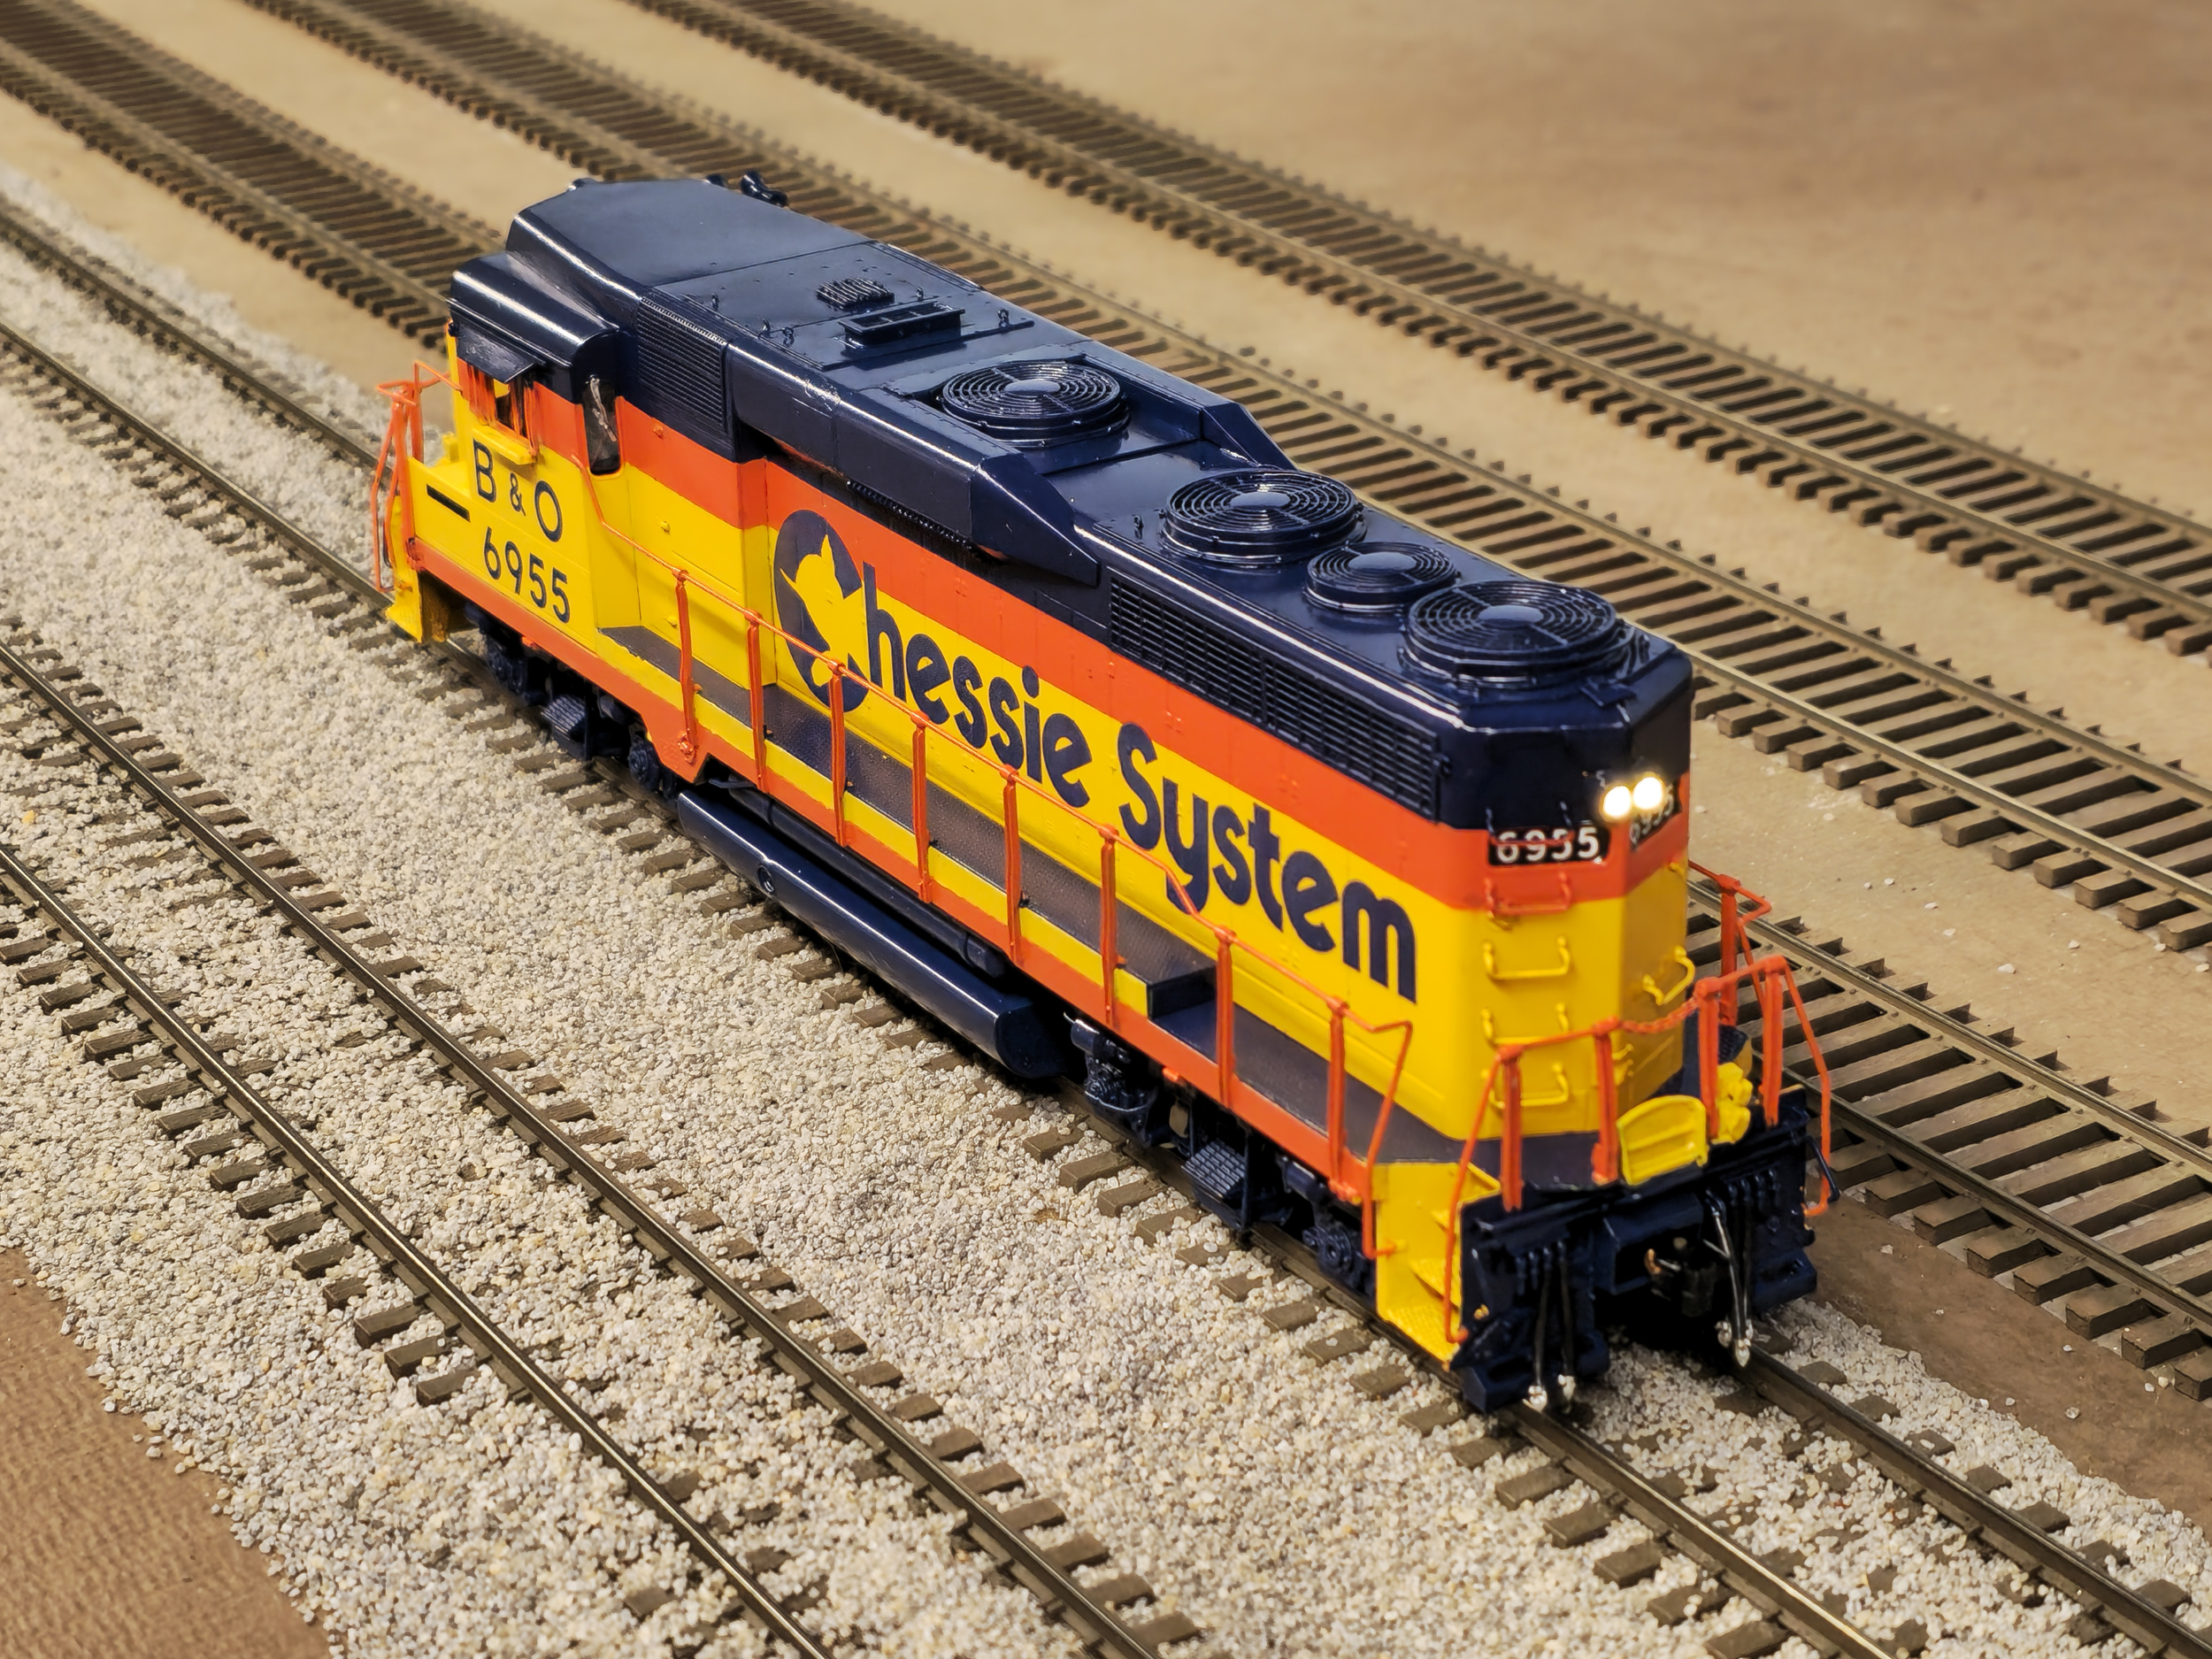
The
GP30 was such an important transitional locomotive for so many railroads, as
the first “second generation” diesel. Many were eastern and northeast railroads
I already liked. It will be difficult to resist getting another high hood GP30
for Norfolk & Western. In my buying spree I did not pay attention to the
“Phase 2” on the box which the fireman’s side of the cab is slightly longer. I
was looking for low hood with dynamic brakes – good enough. But I am rather
sure 6955 was “Phase 1” not Phase 2. Oh well…. It is really not that noticeable
but the Phase 2 made for adding a piece of glass for that 1 window much more
difficult.
Modifications
The
following is why I could never buy a GP30 with a paint job I liked and intended
to keep. For this page I am trying to not be completely repetitive to my other
GP30 project pages. The GP30 is built and runs well but I have found a few
things that truly MUST be fixed before painting. No brass model
is perfect.
DO
NOT USE “SUPERGLUE” or ANY EPOXY to do the repairs. It MUST BE SOLDERED probably with a higher end soldering
iron, or resistance soldering unit .
Once a brass part has been glued it WILL fail again. The glue will not allow
any solder to stick for a proper repair until completely cleaned (BURNED) out.
There goes your paint job up in smoke.
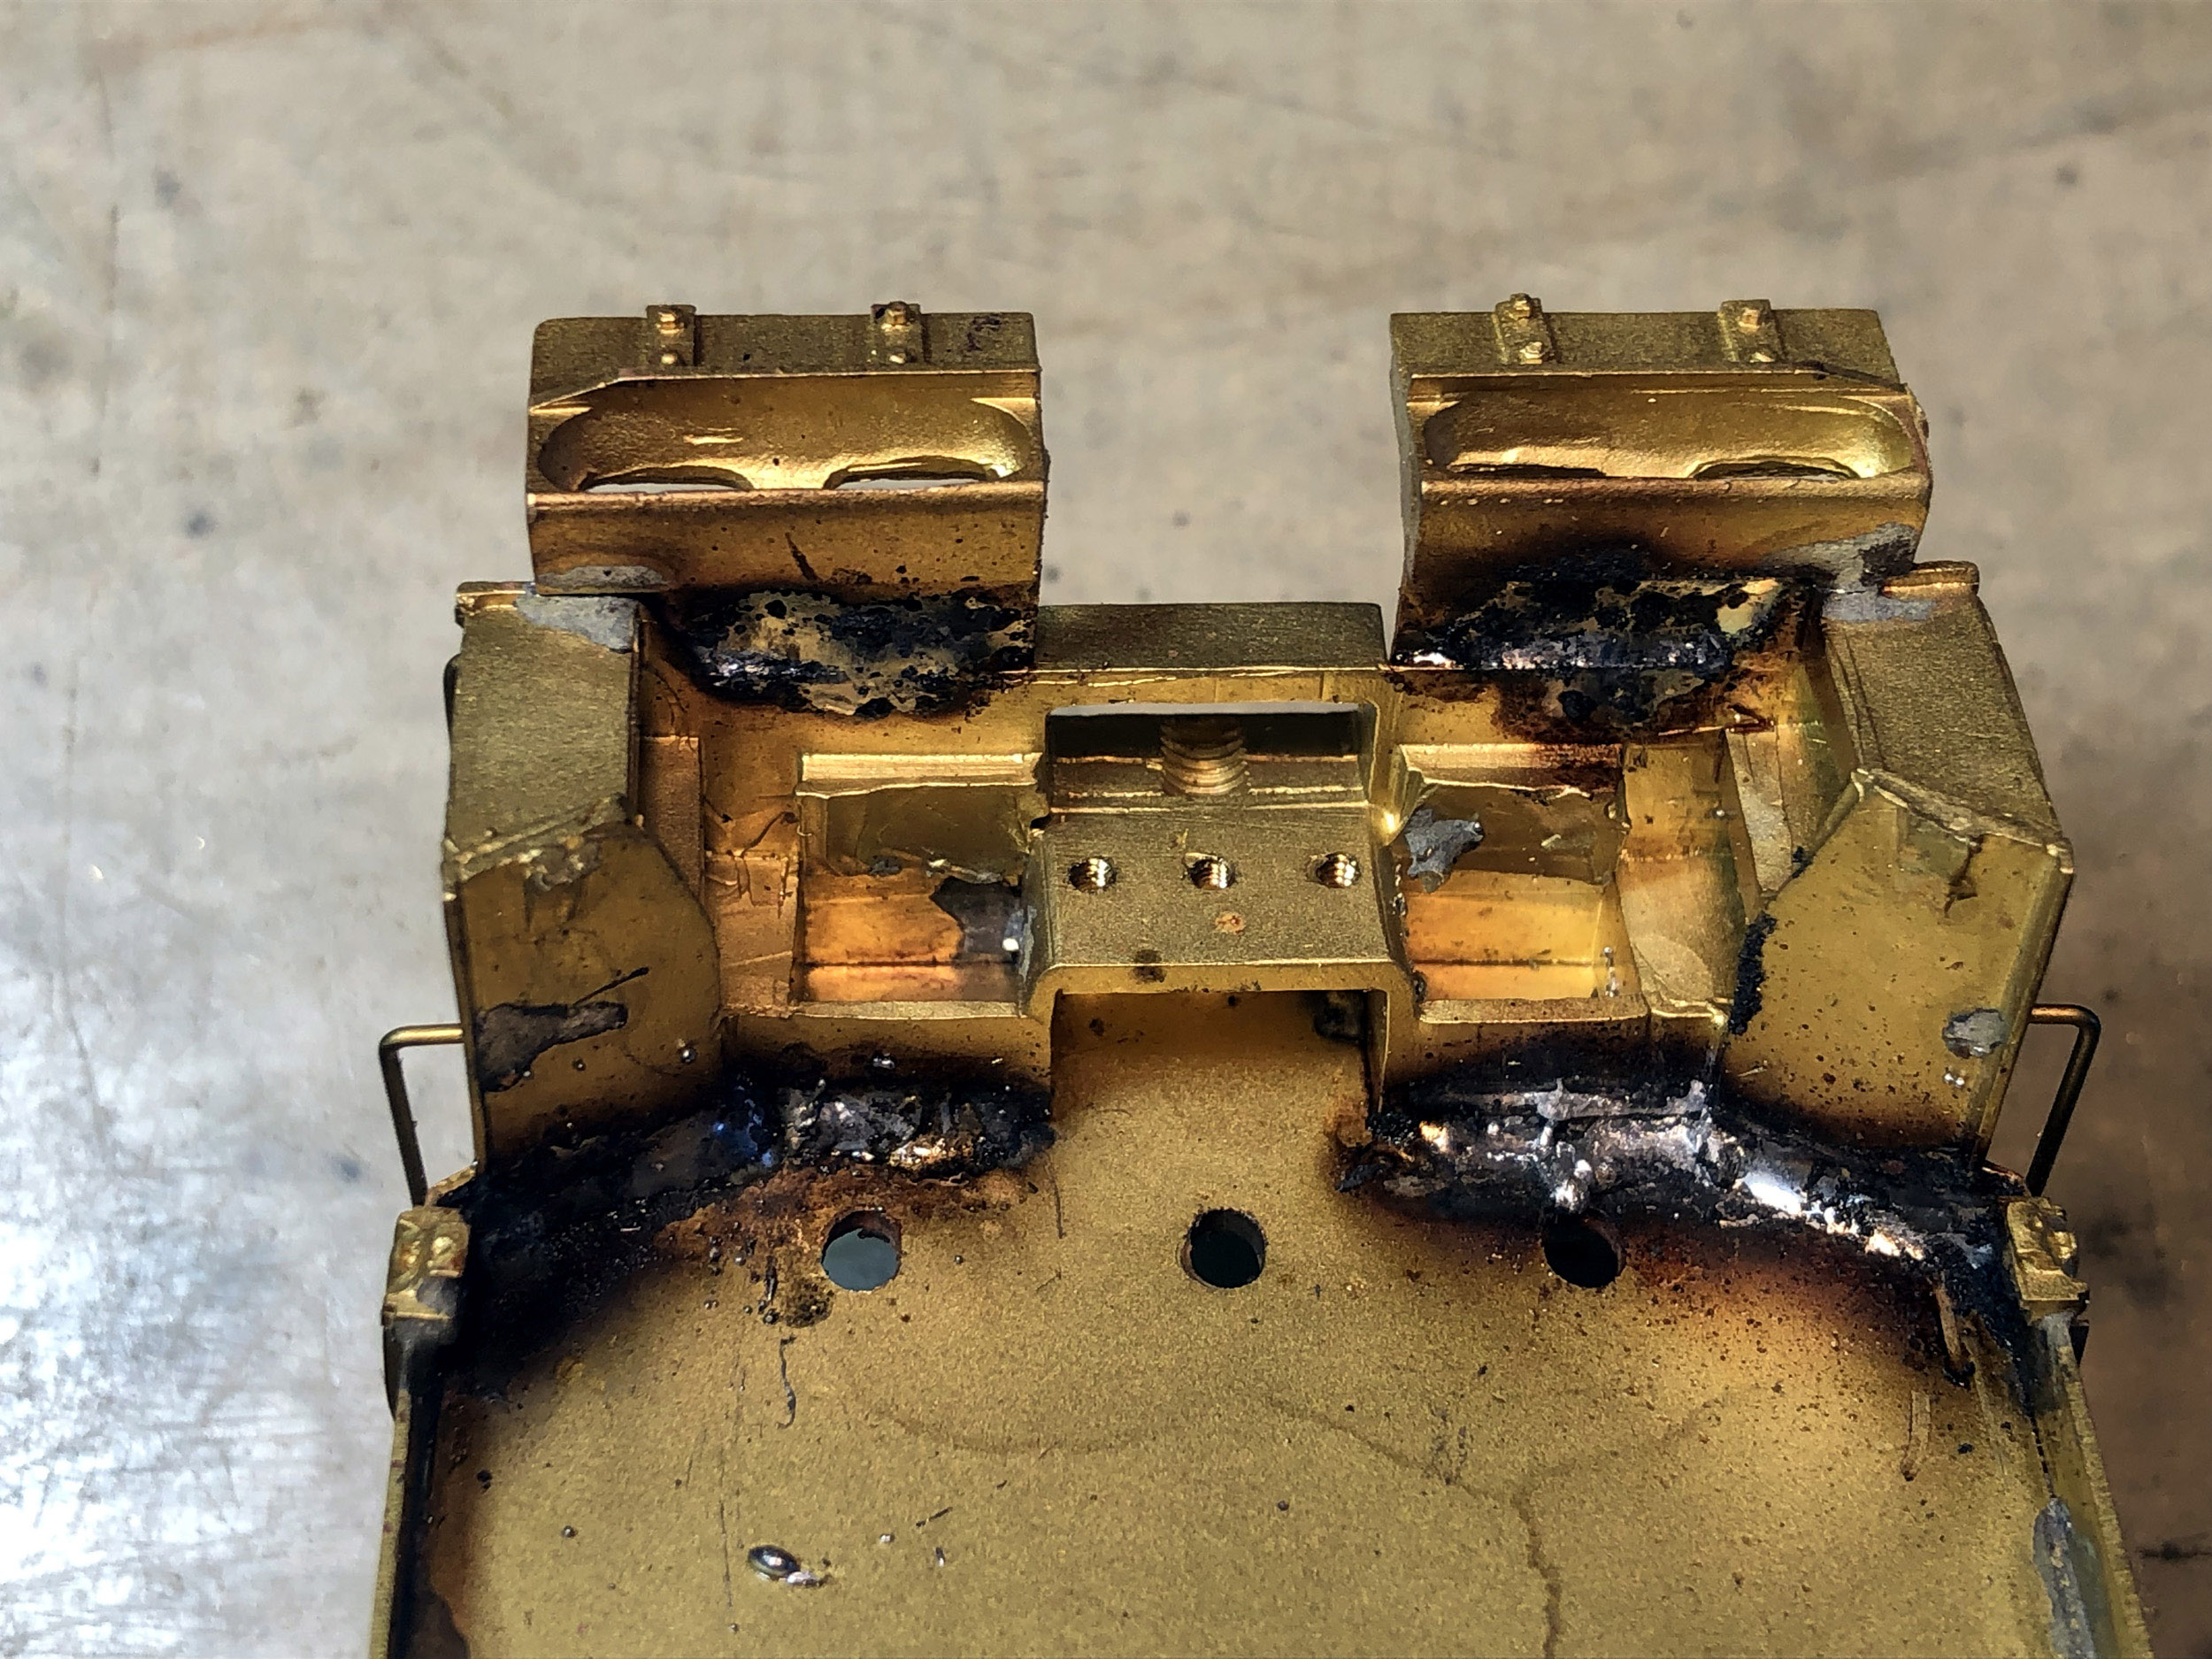
The
pilot steps and pilots are a definite big problem for ALL of the GP30 I have
worked on including some that were not mine. They have cold solder joints and
most just do not enough solder. The pilots bend inwards to the trucks. The
pilot steps pop off really easily.
The best thing to do is proactively add more solder before the steps pop off.
Getting the steps back in perfect place after they
come off is a tedious job. This photo shows where to add the solder. It cannot
be seen once painted.
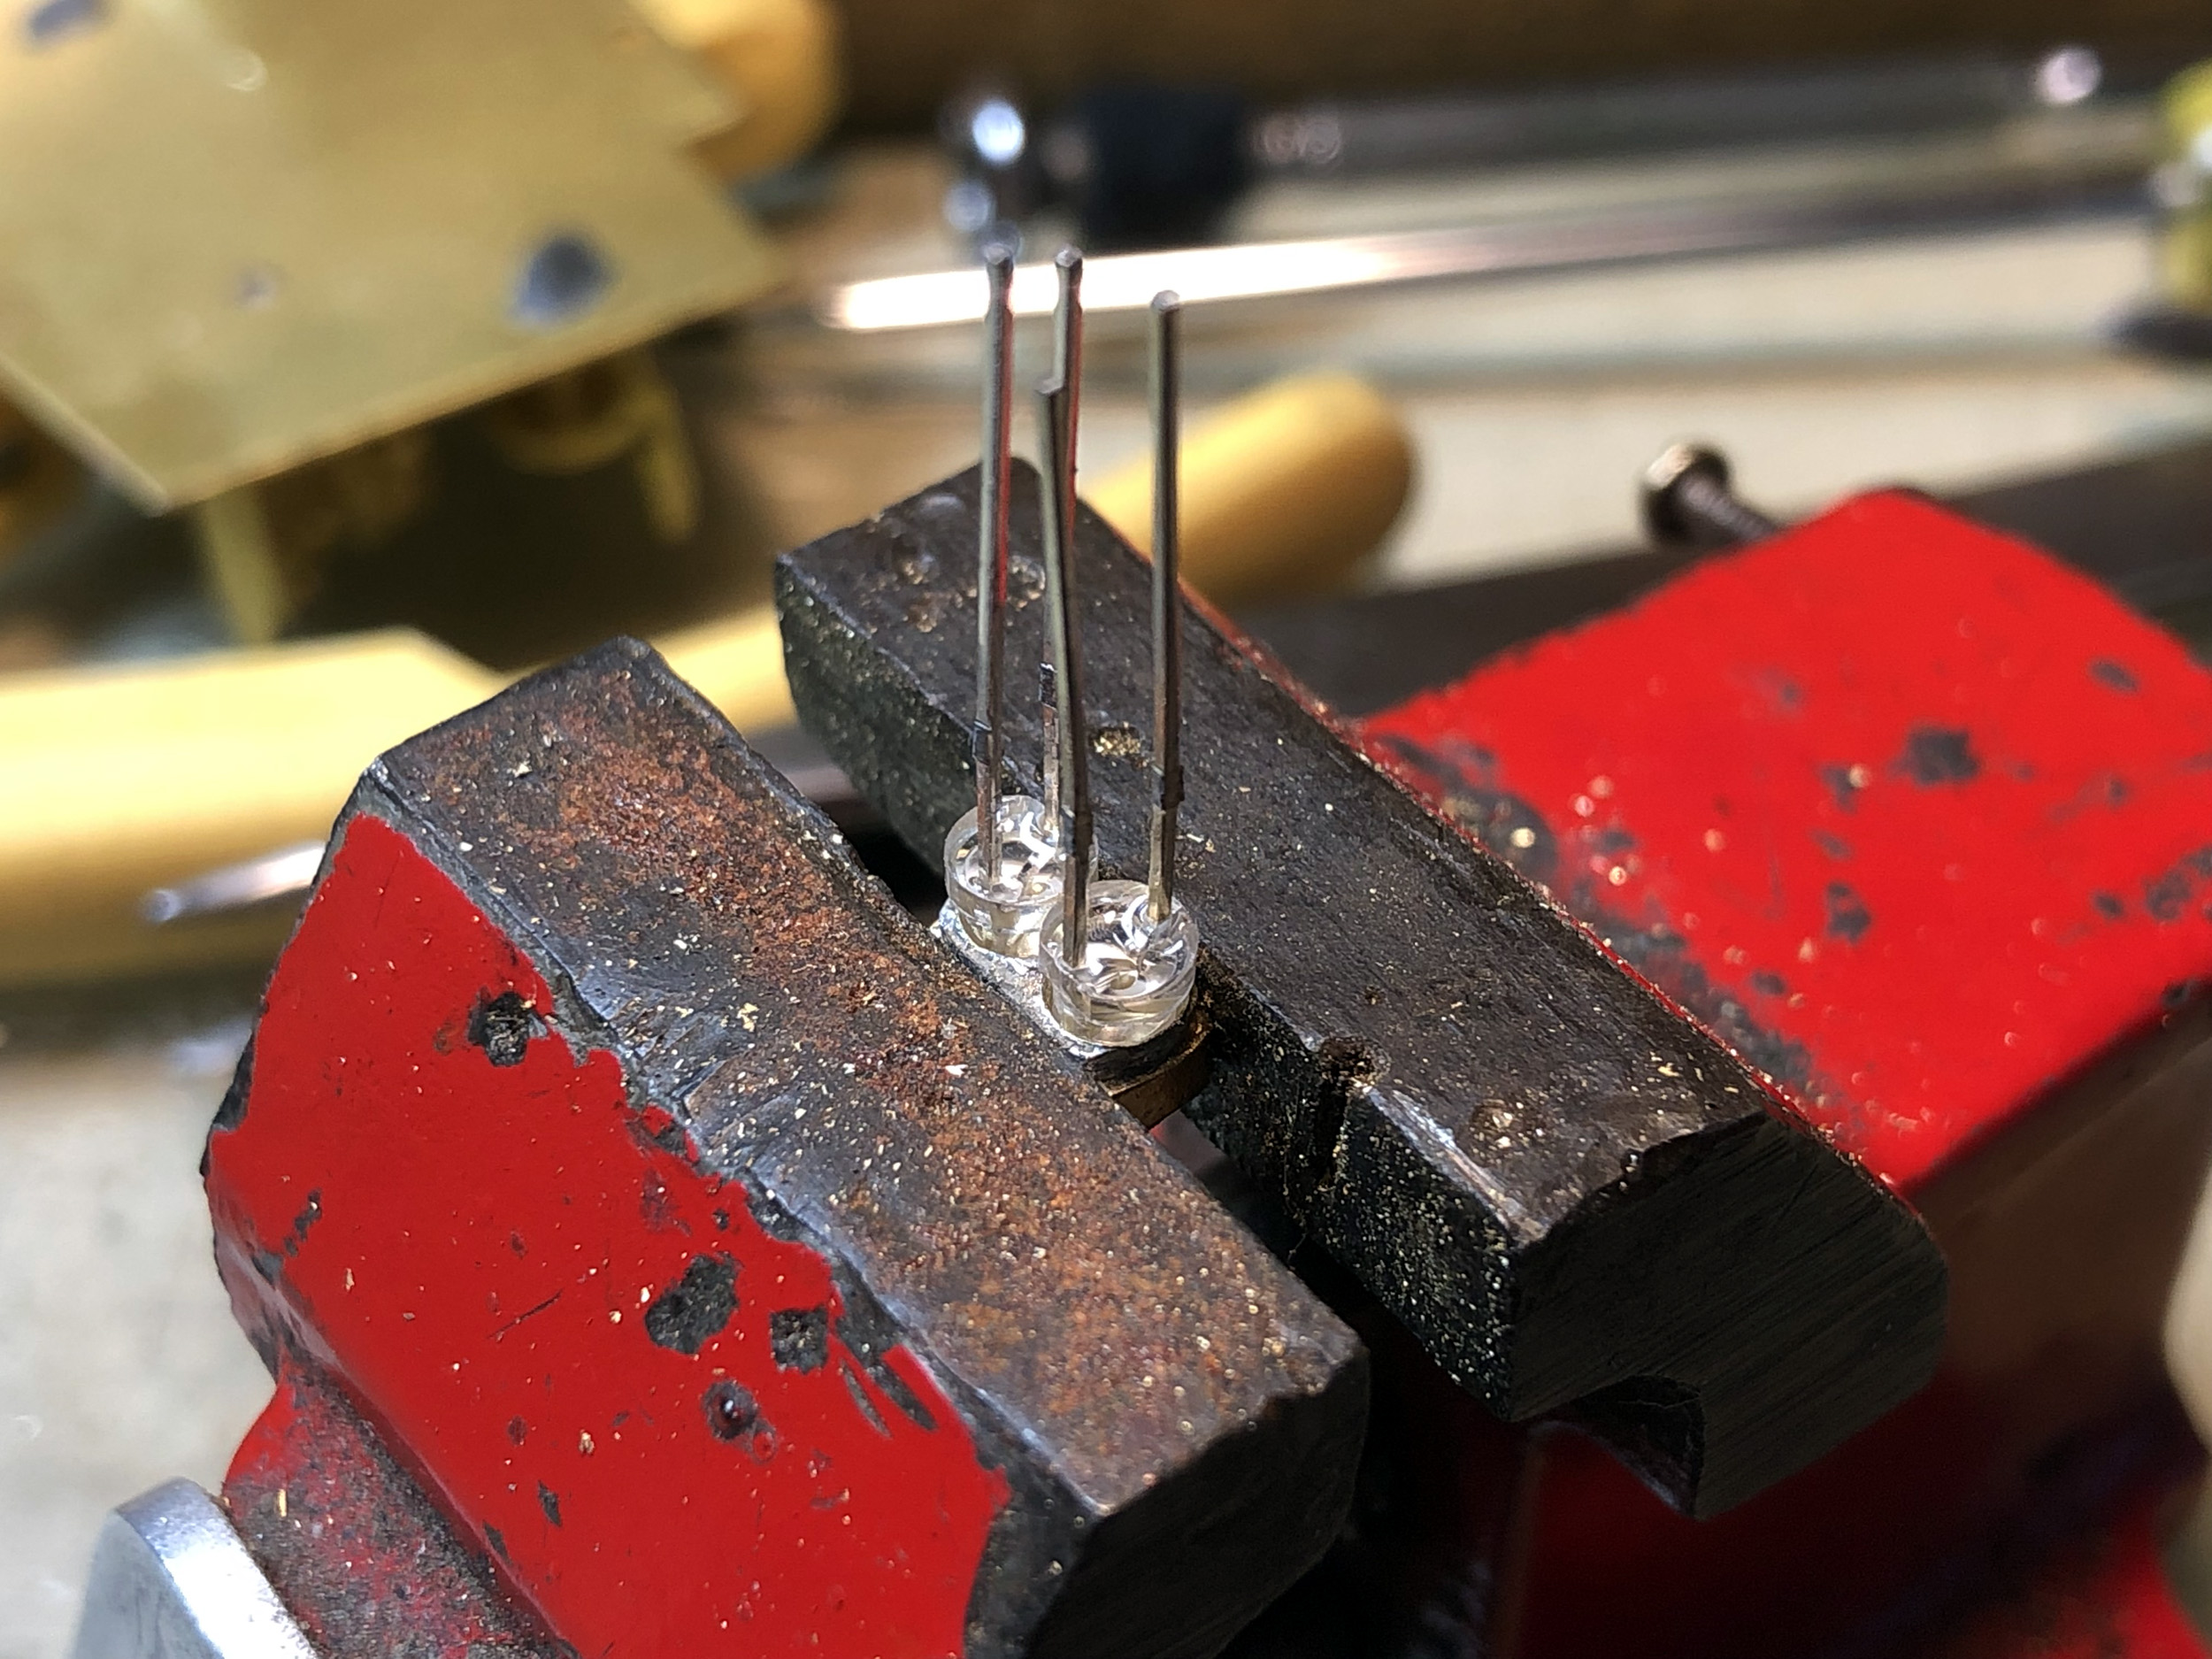
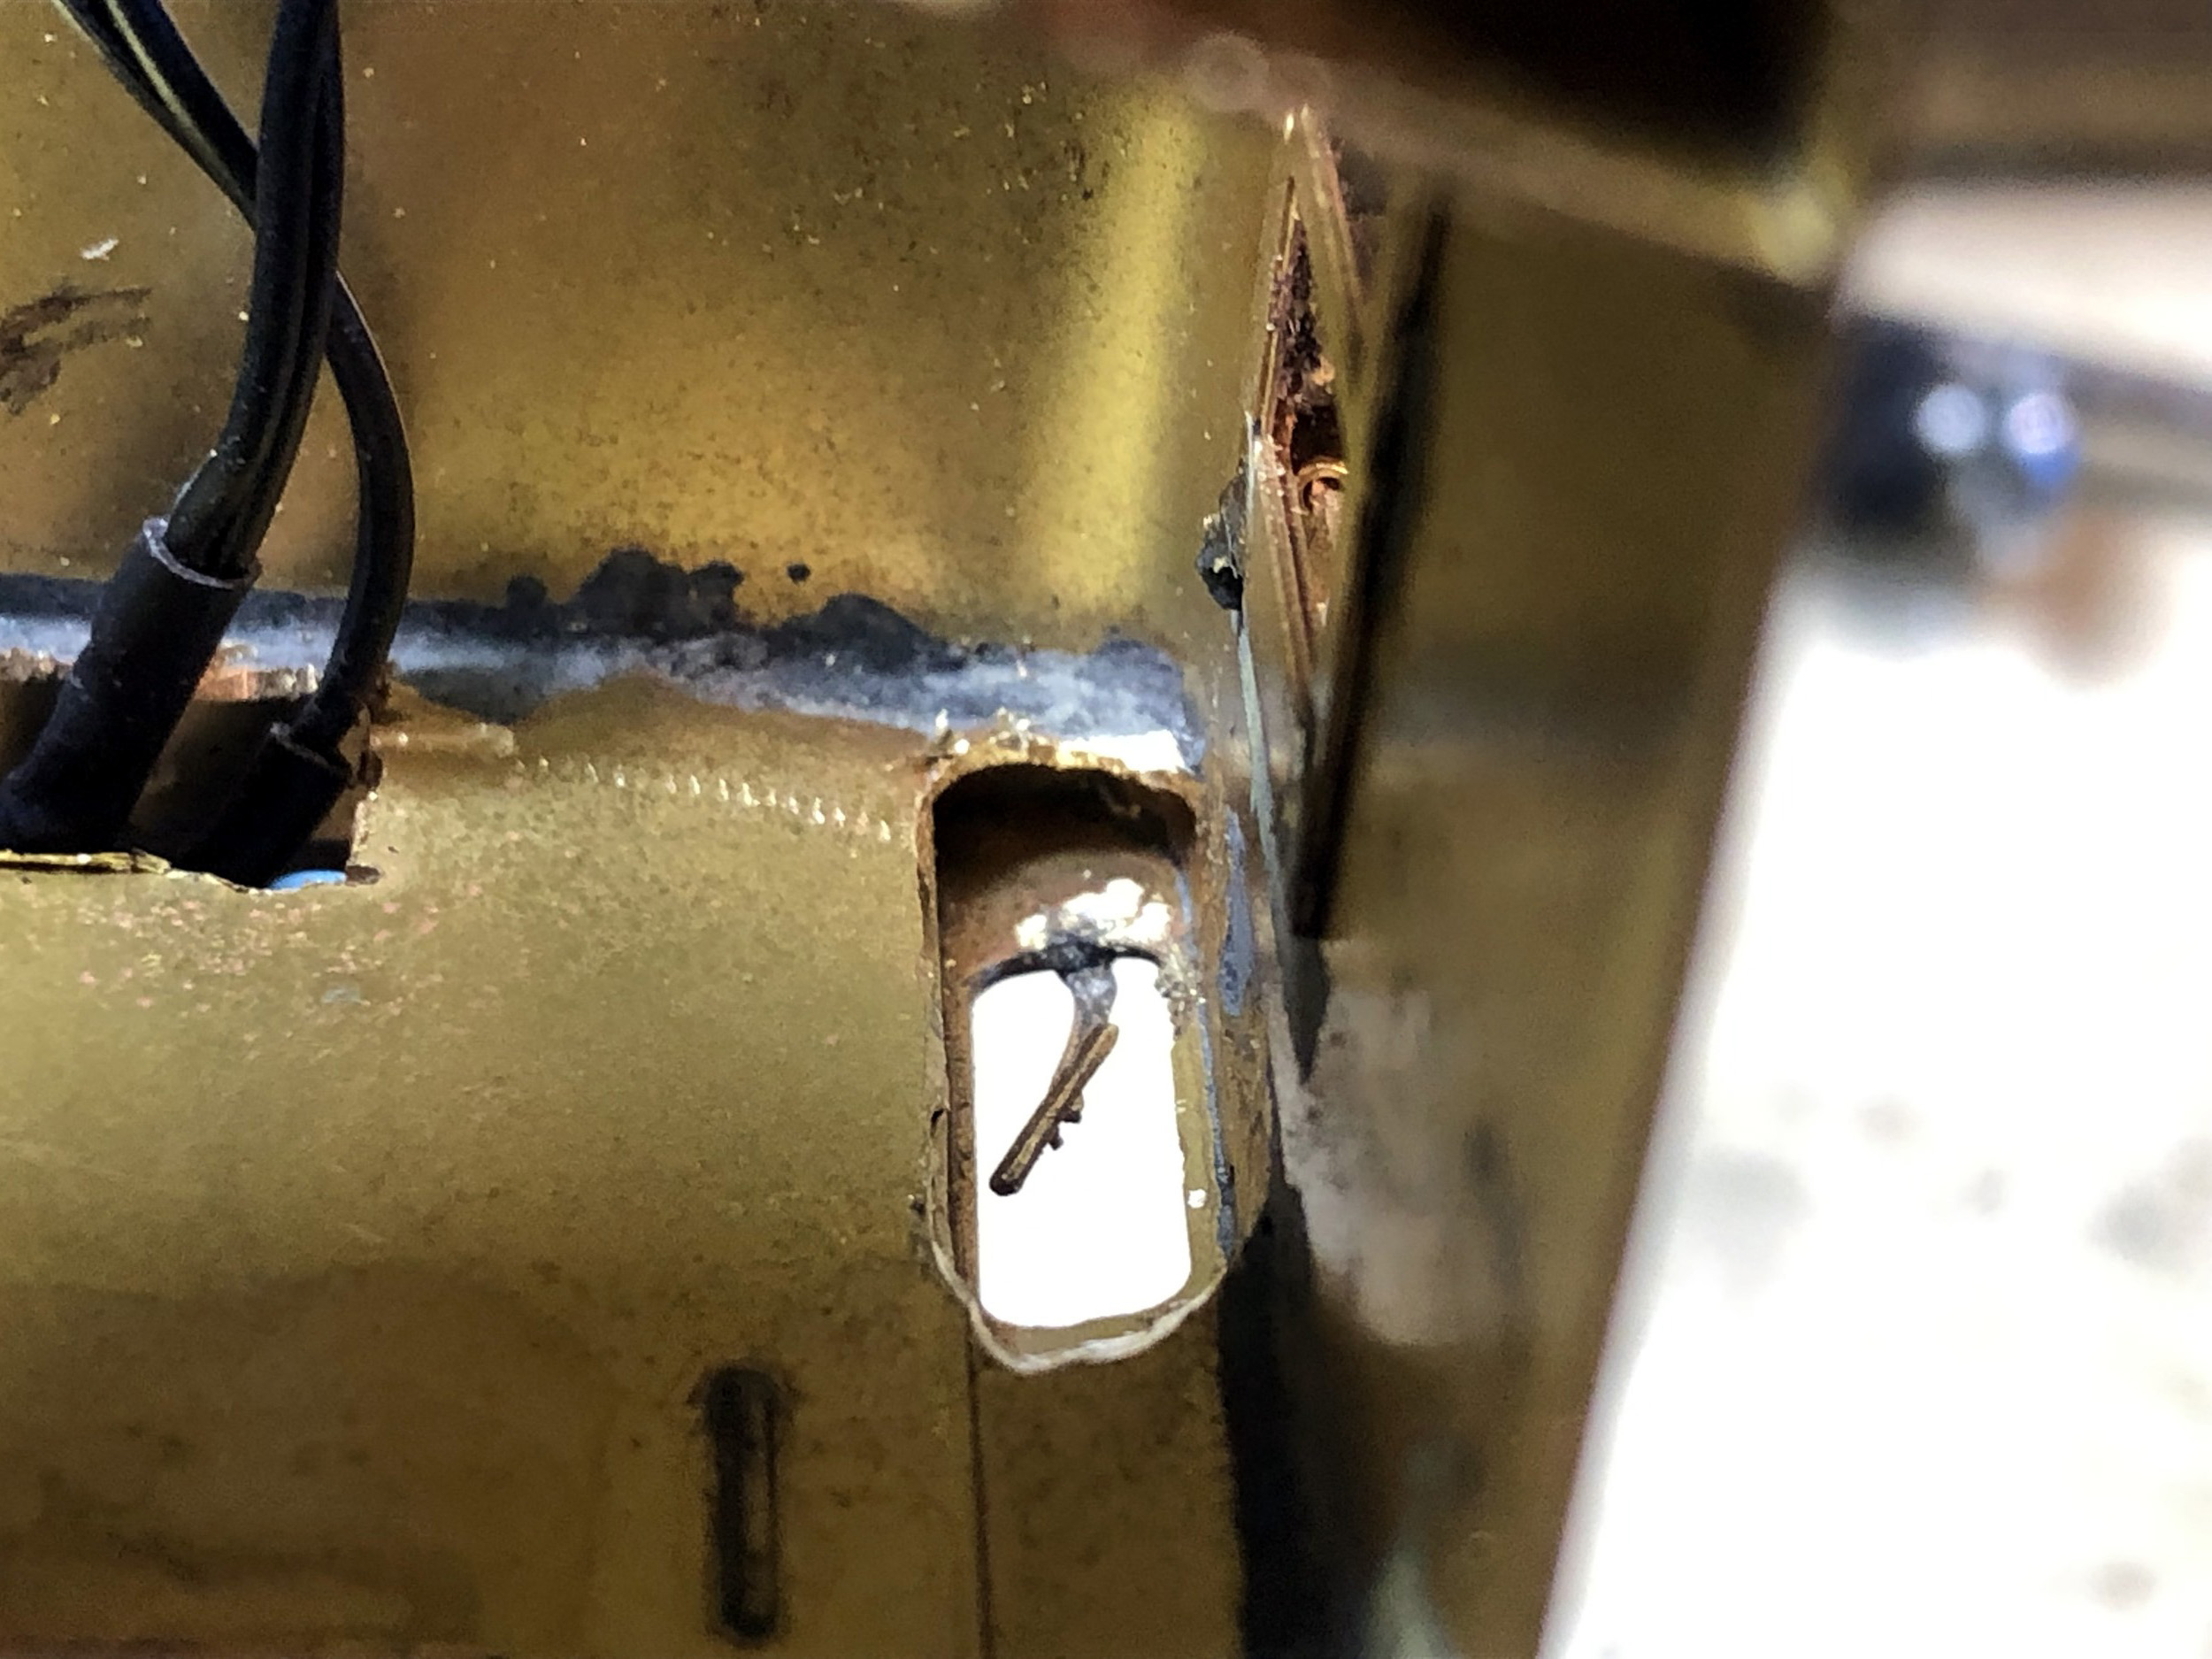
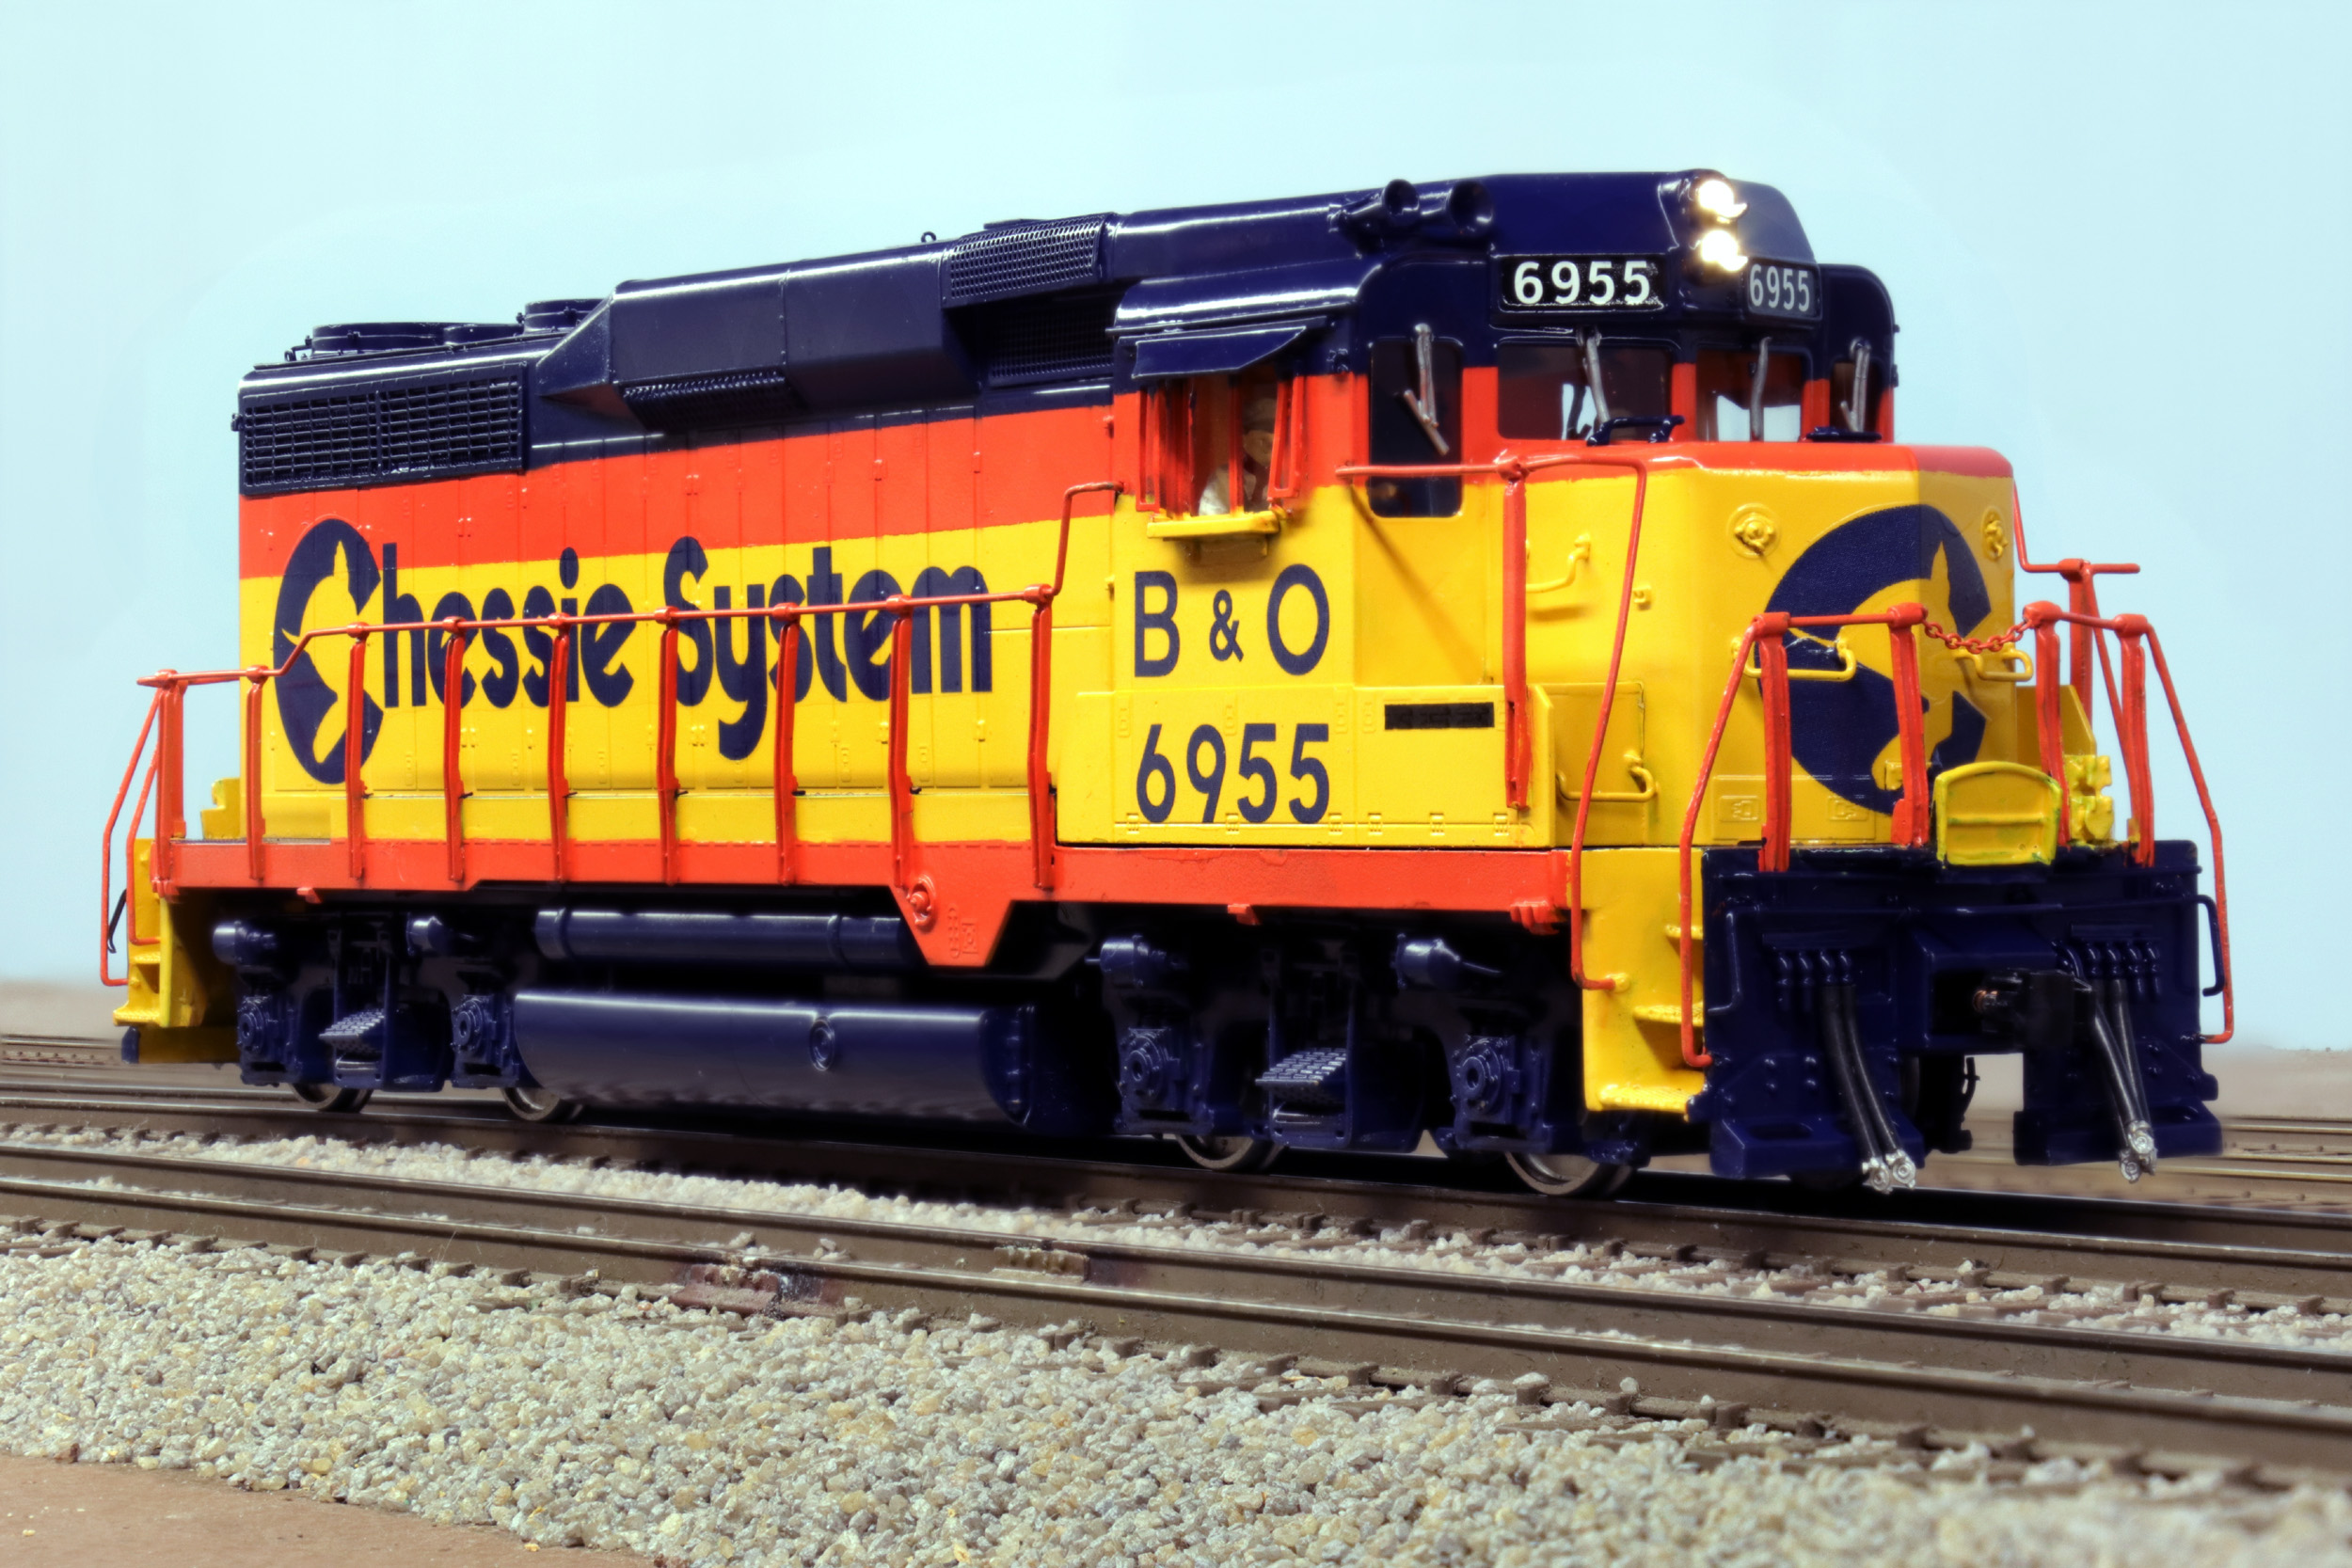
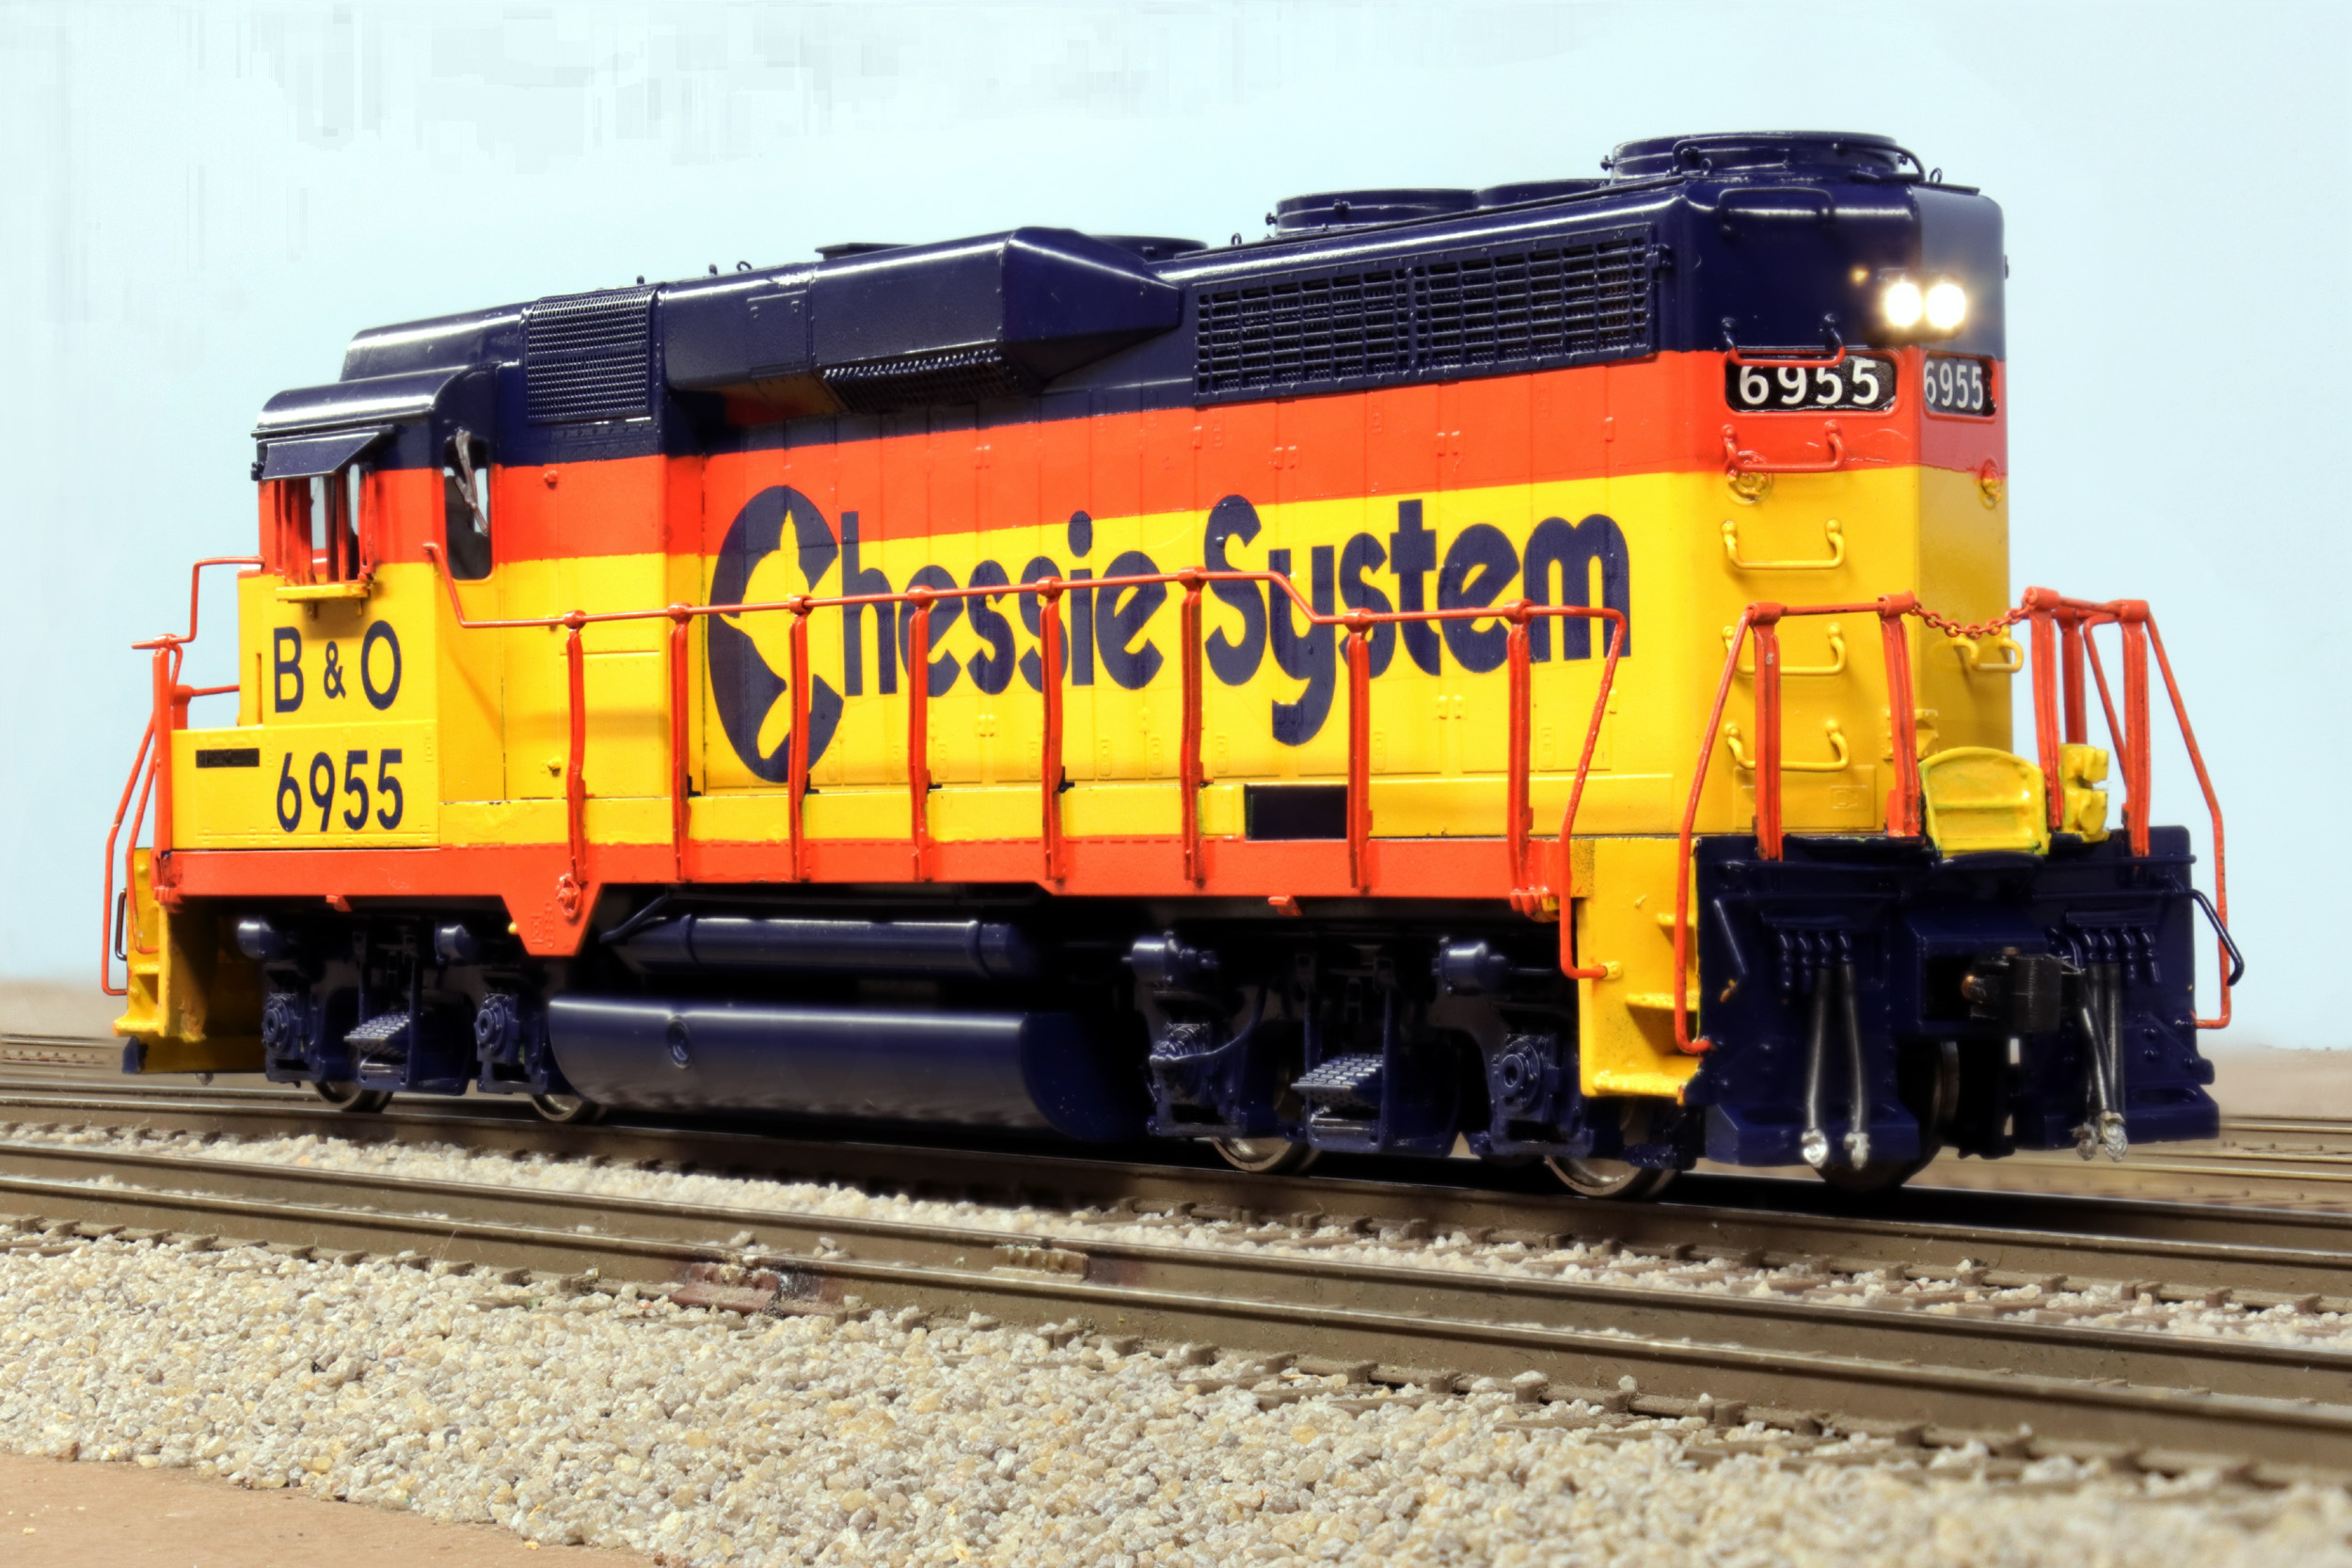
Headlights
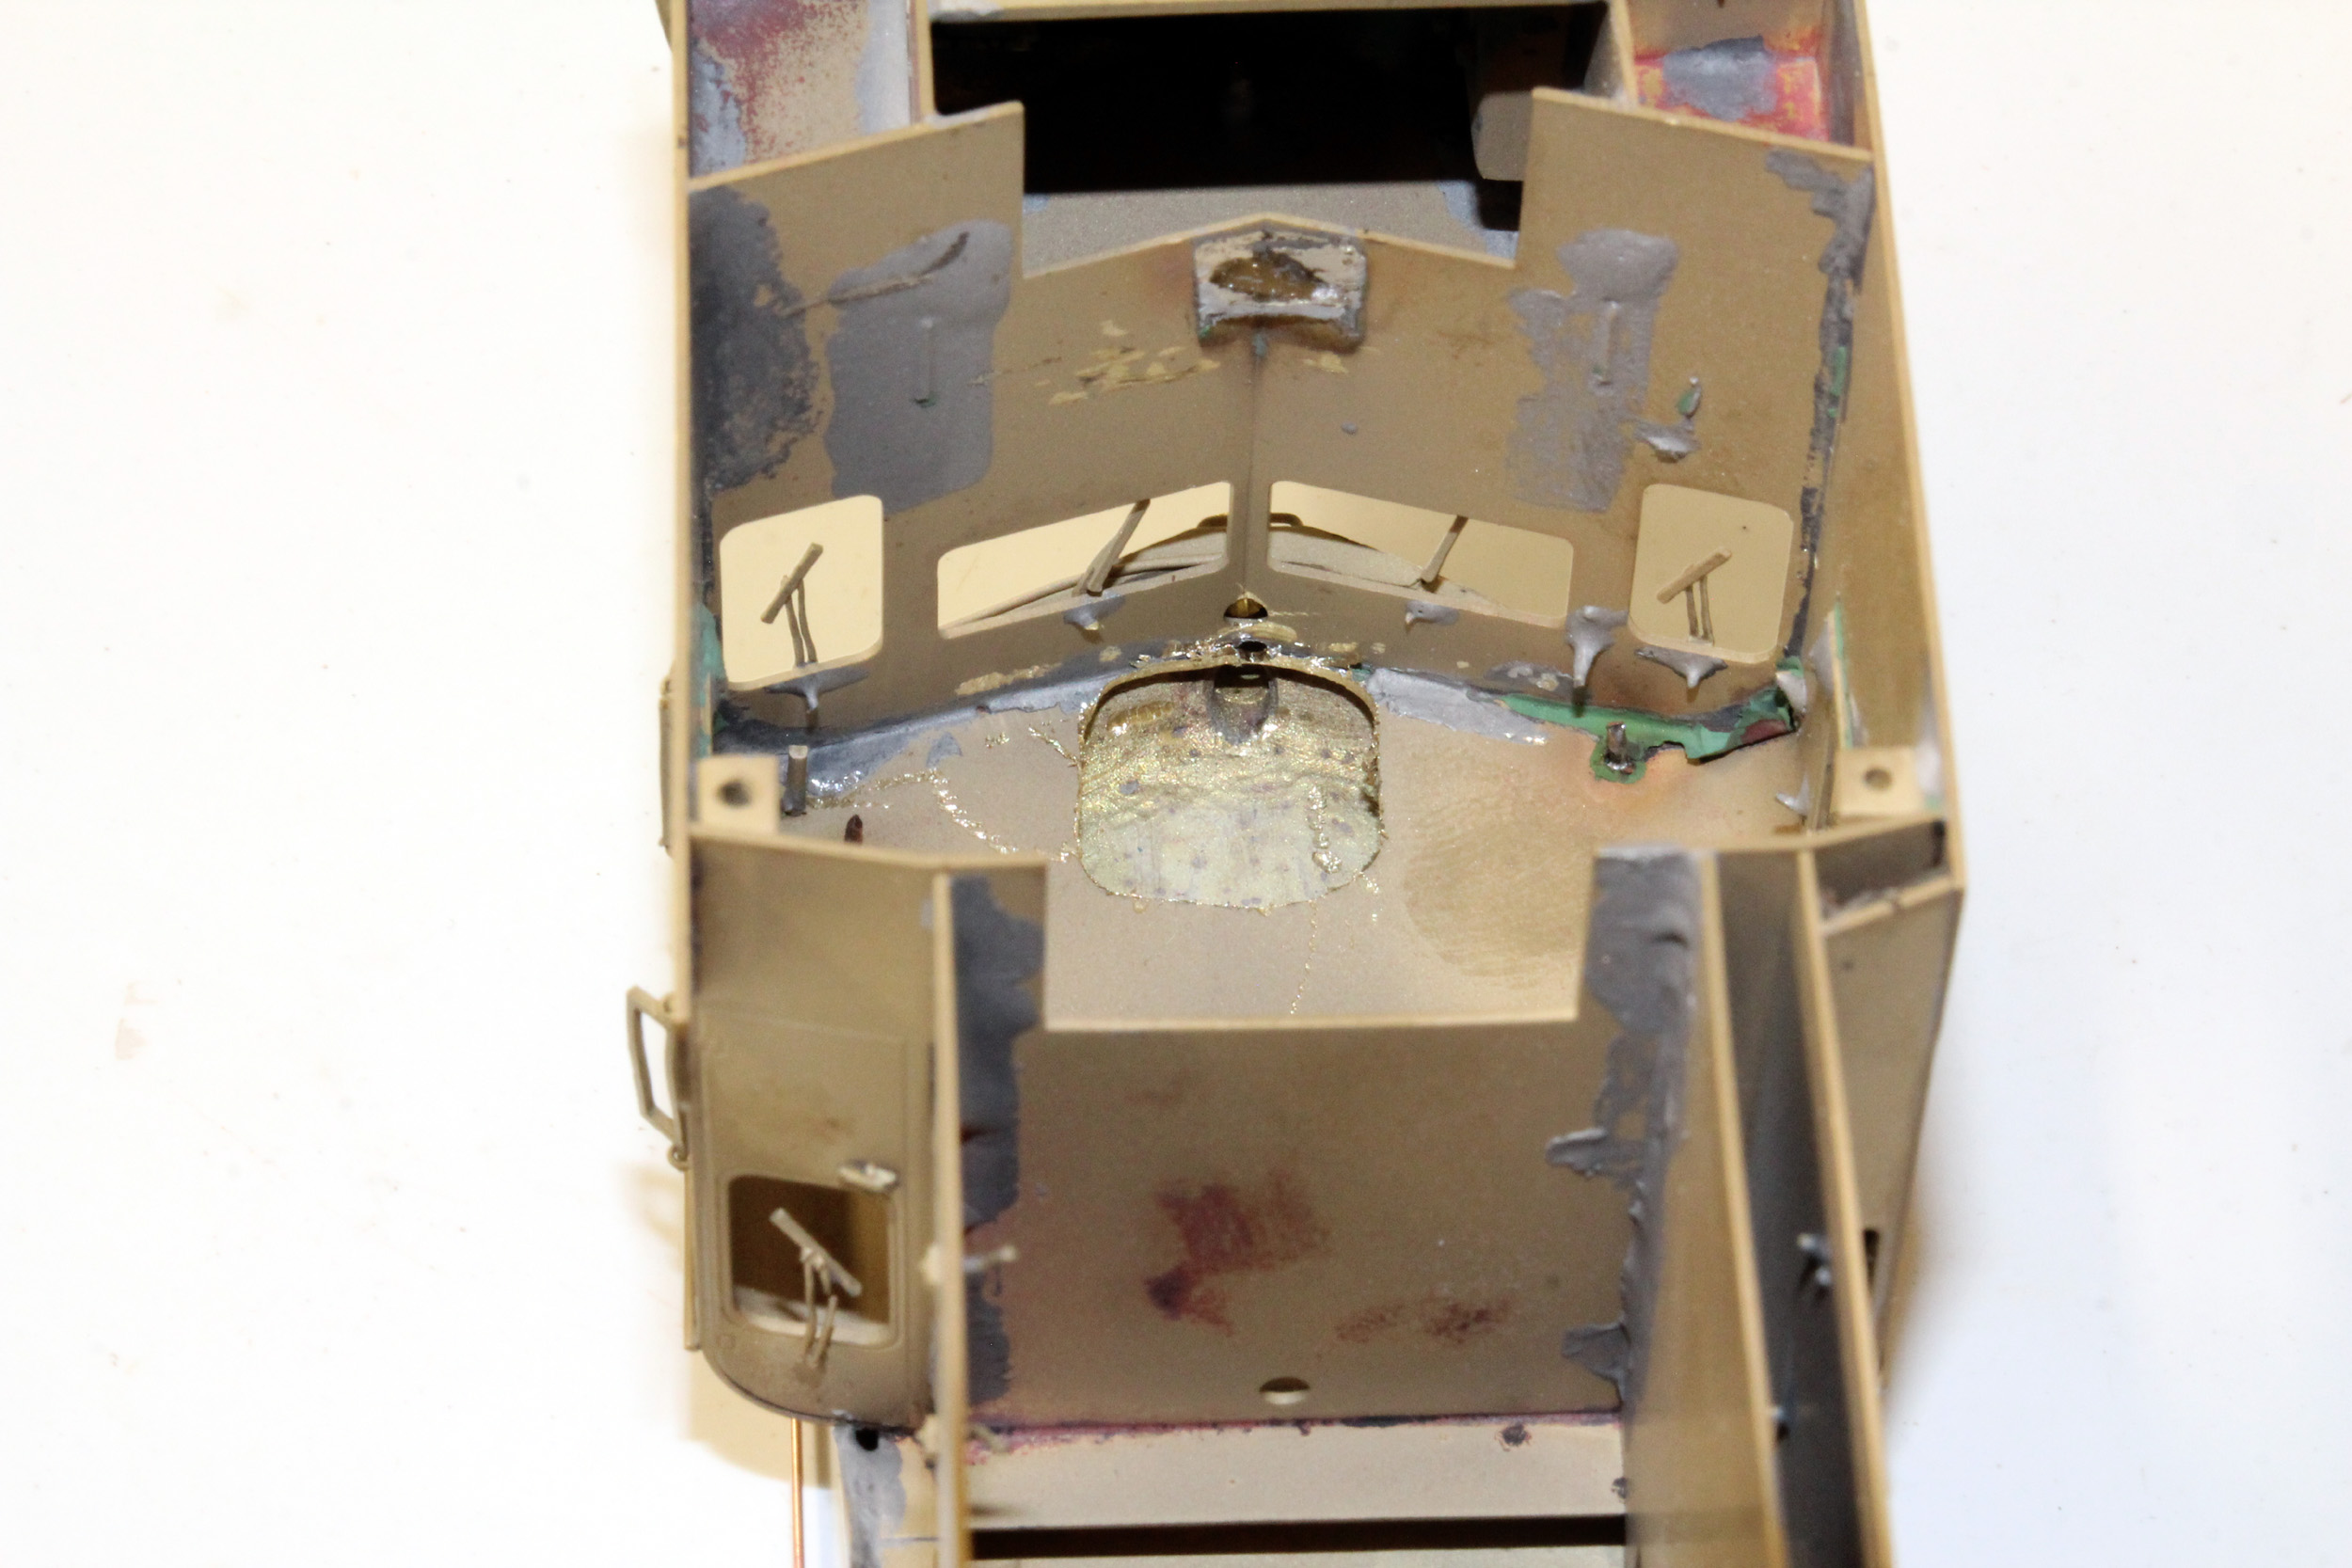
As
best as I can tell when the model was built the incandescent front headlight
bulbs were put in place than the cab was soldered together. What is the raised
part of the GP30 look cab is really a large casting. Under the casting is a
sheet brass cab roof added. That opening between the casting and false cab roof
is where the headlight wires run back into the long hood. Once they bulbs burn
out you will never be able to access the front headlight bezel for replacement.
That is why I cut a hole in the false cab roof right behind the headlight to
gain access. I cram 2) 3MM LEDs in that small space requiring removing the
bezel and opening it all up. LOTS of work but so worth it in terms of a BRIGHT
headlight that is accessible and LED.
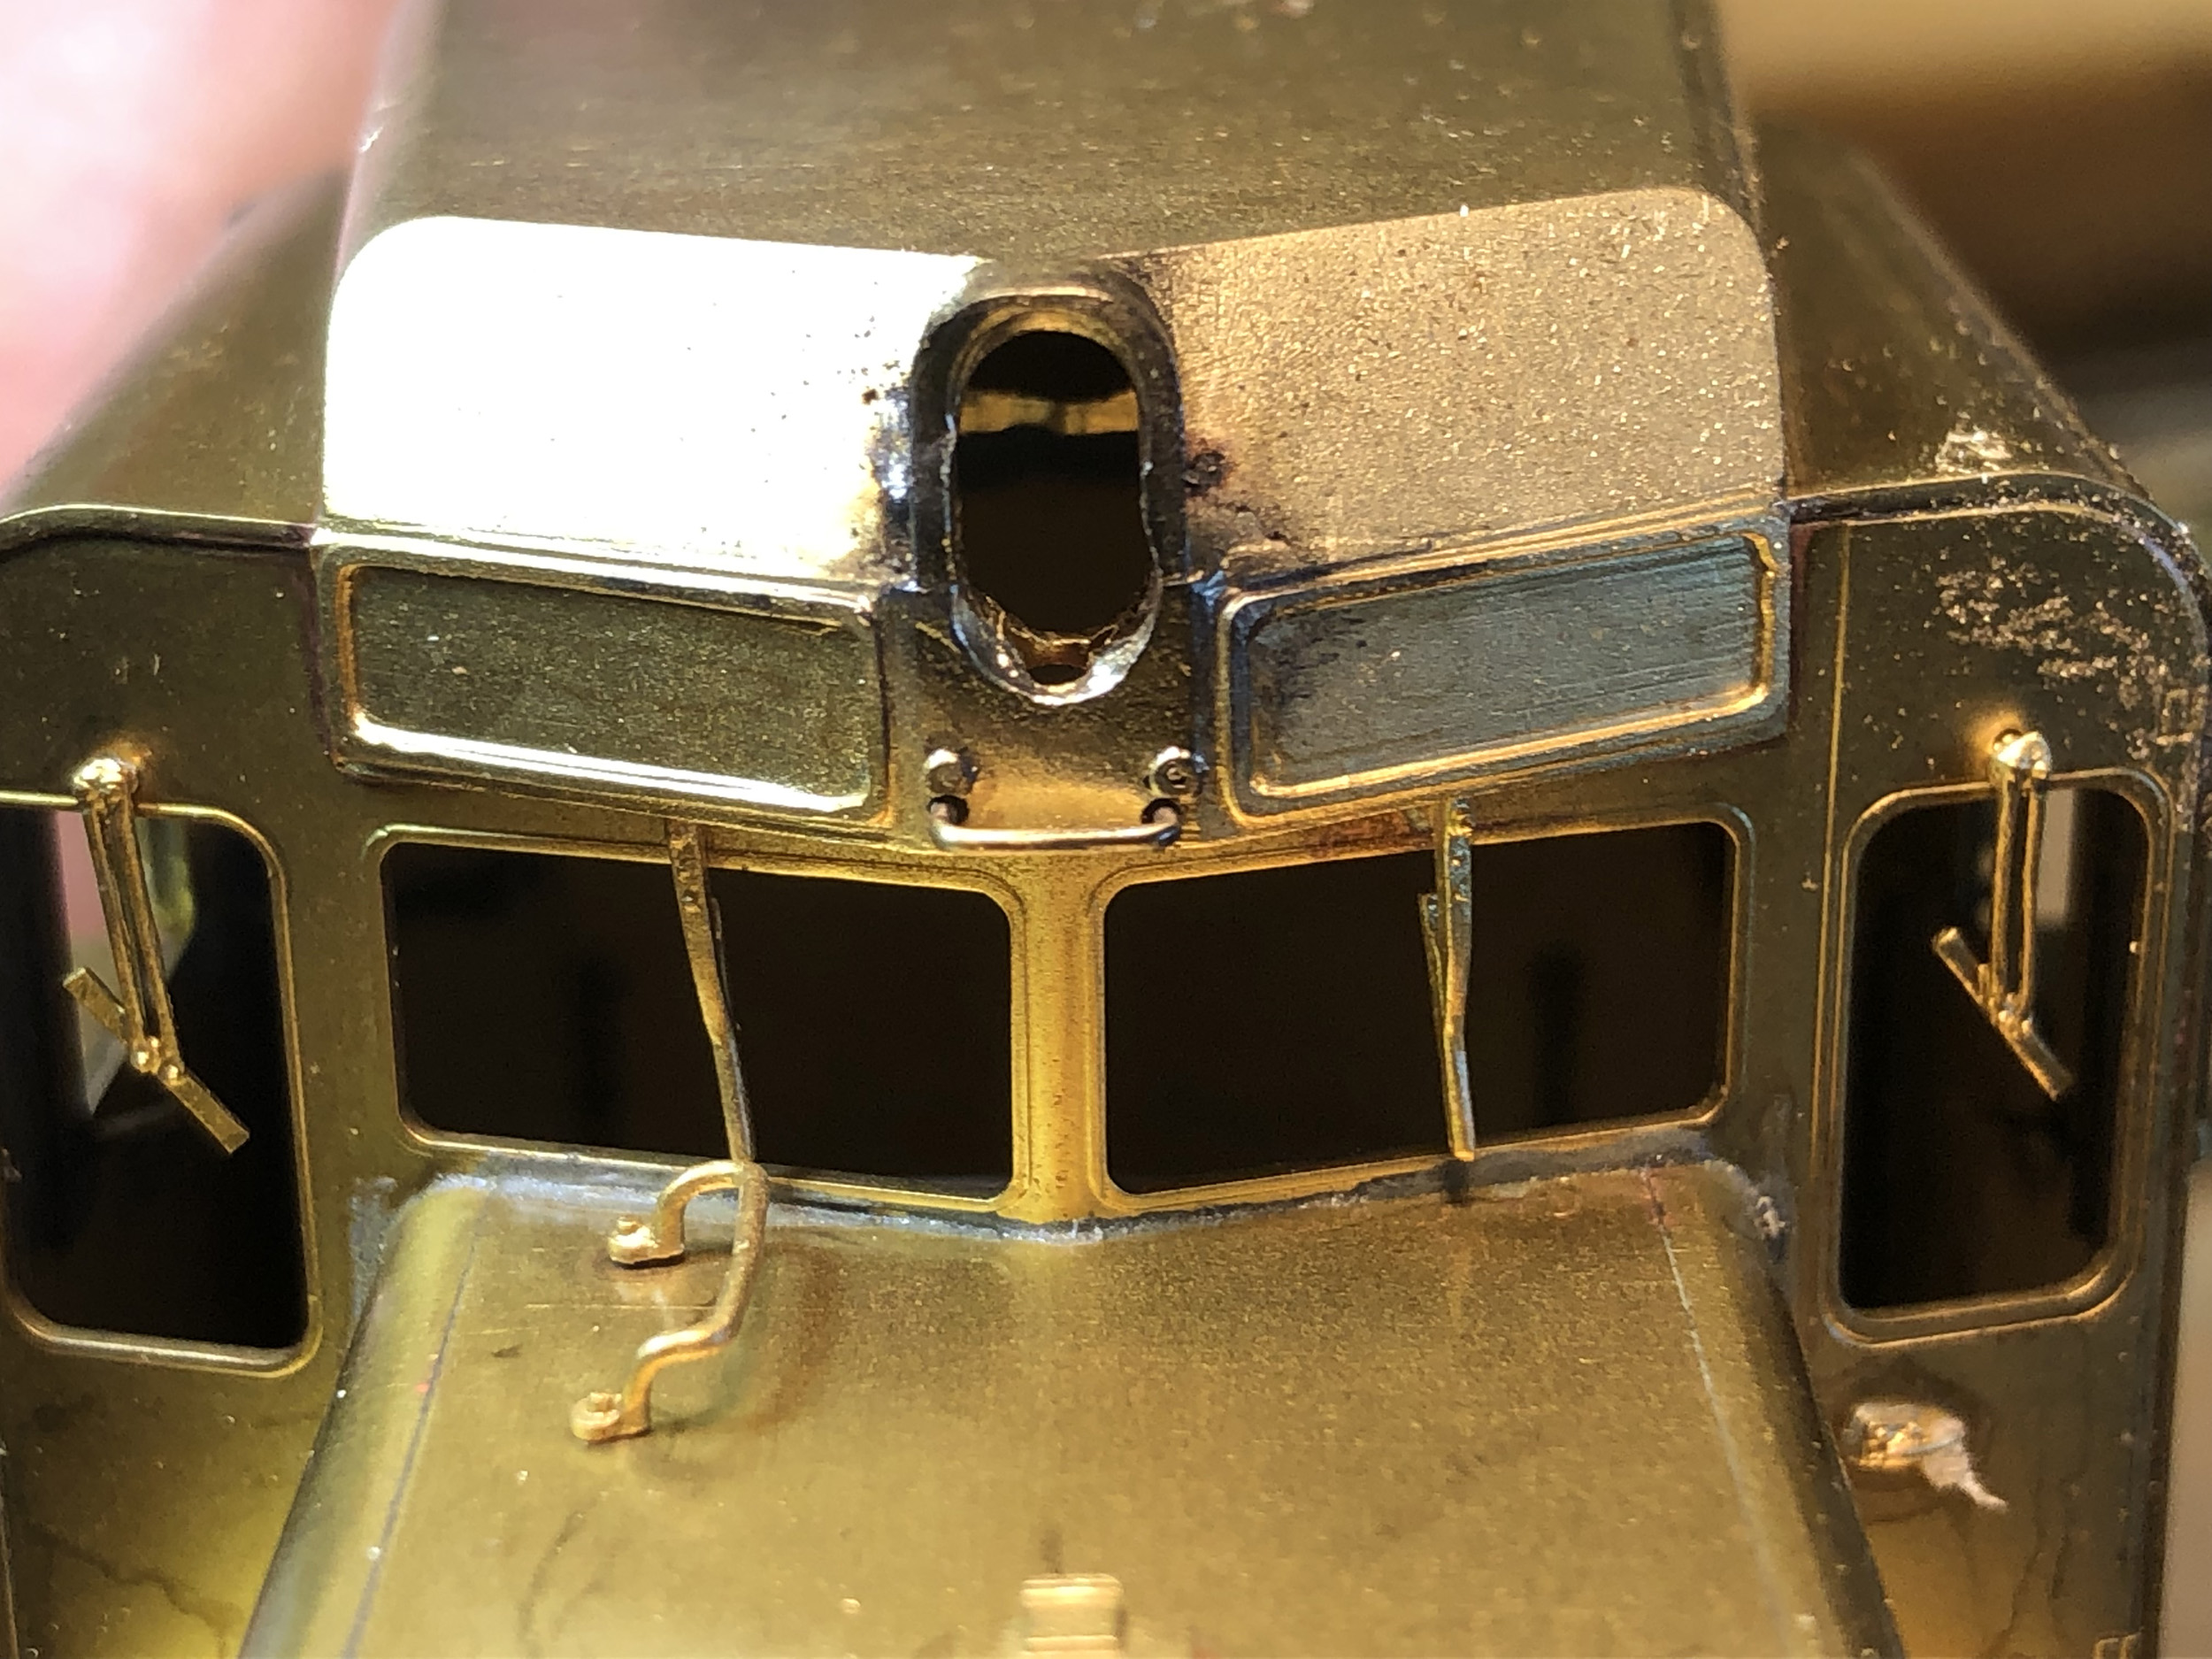
This
is the “Phase 2” aspect of the cab on the fireman’s side facing the rear. It is
a double wall. There is no access to the real exterior wall. I had to grind
open the interior wall in a very tight space. Since I use real glass cutting a
piece to perfectly fit then glue in place on the external wall is tedious and
very difficult. The headlight wires showing are going into the long hood.
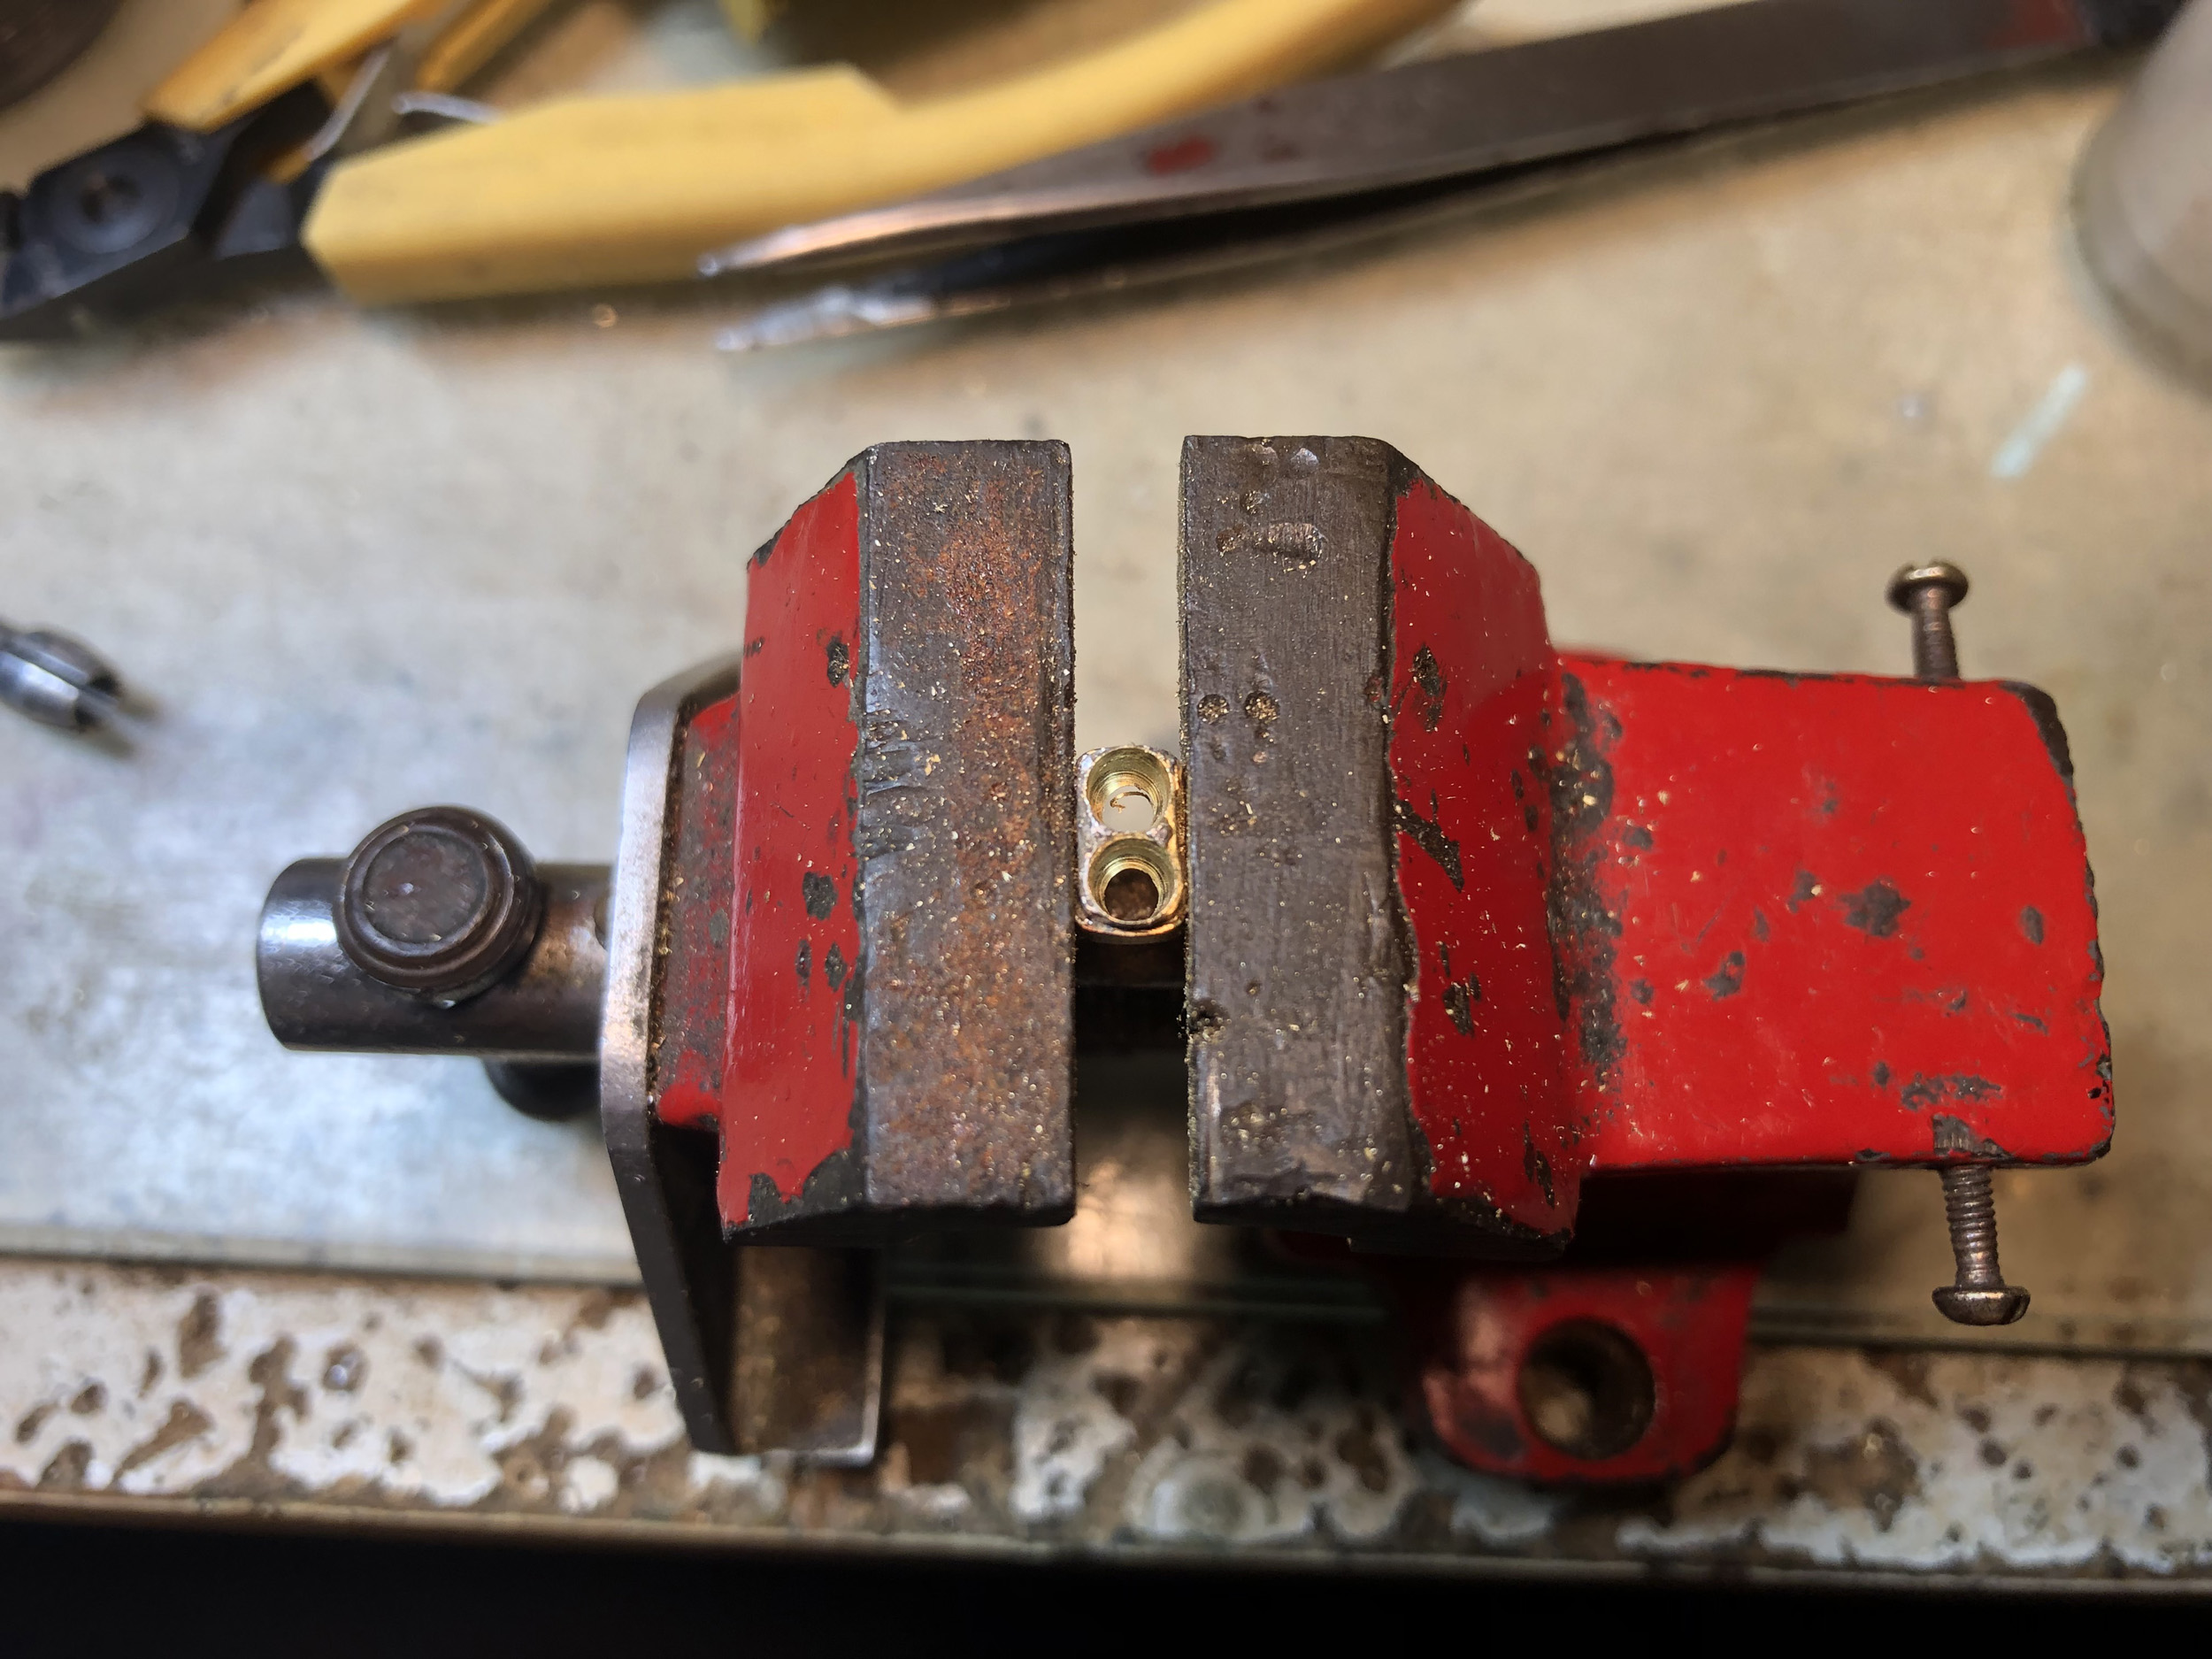
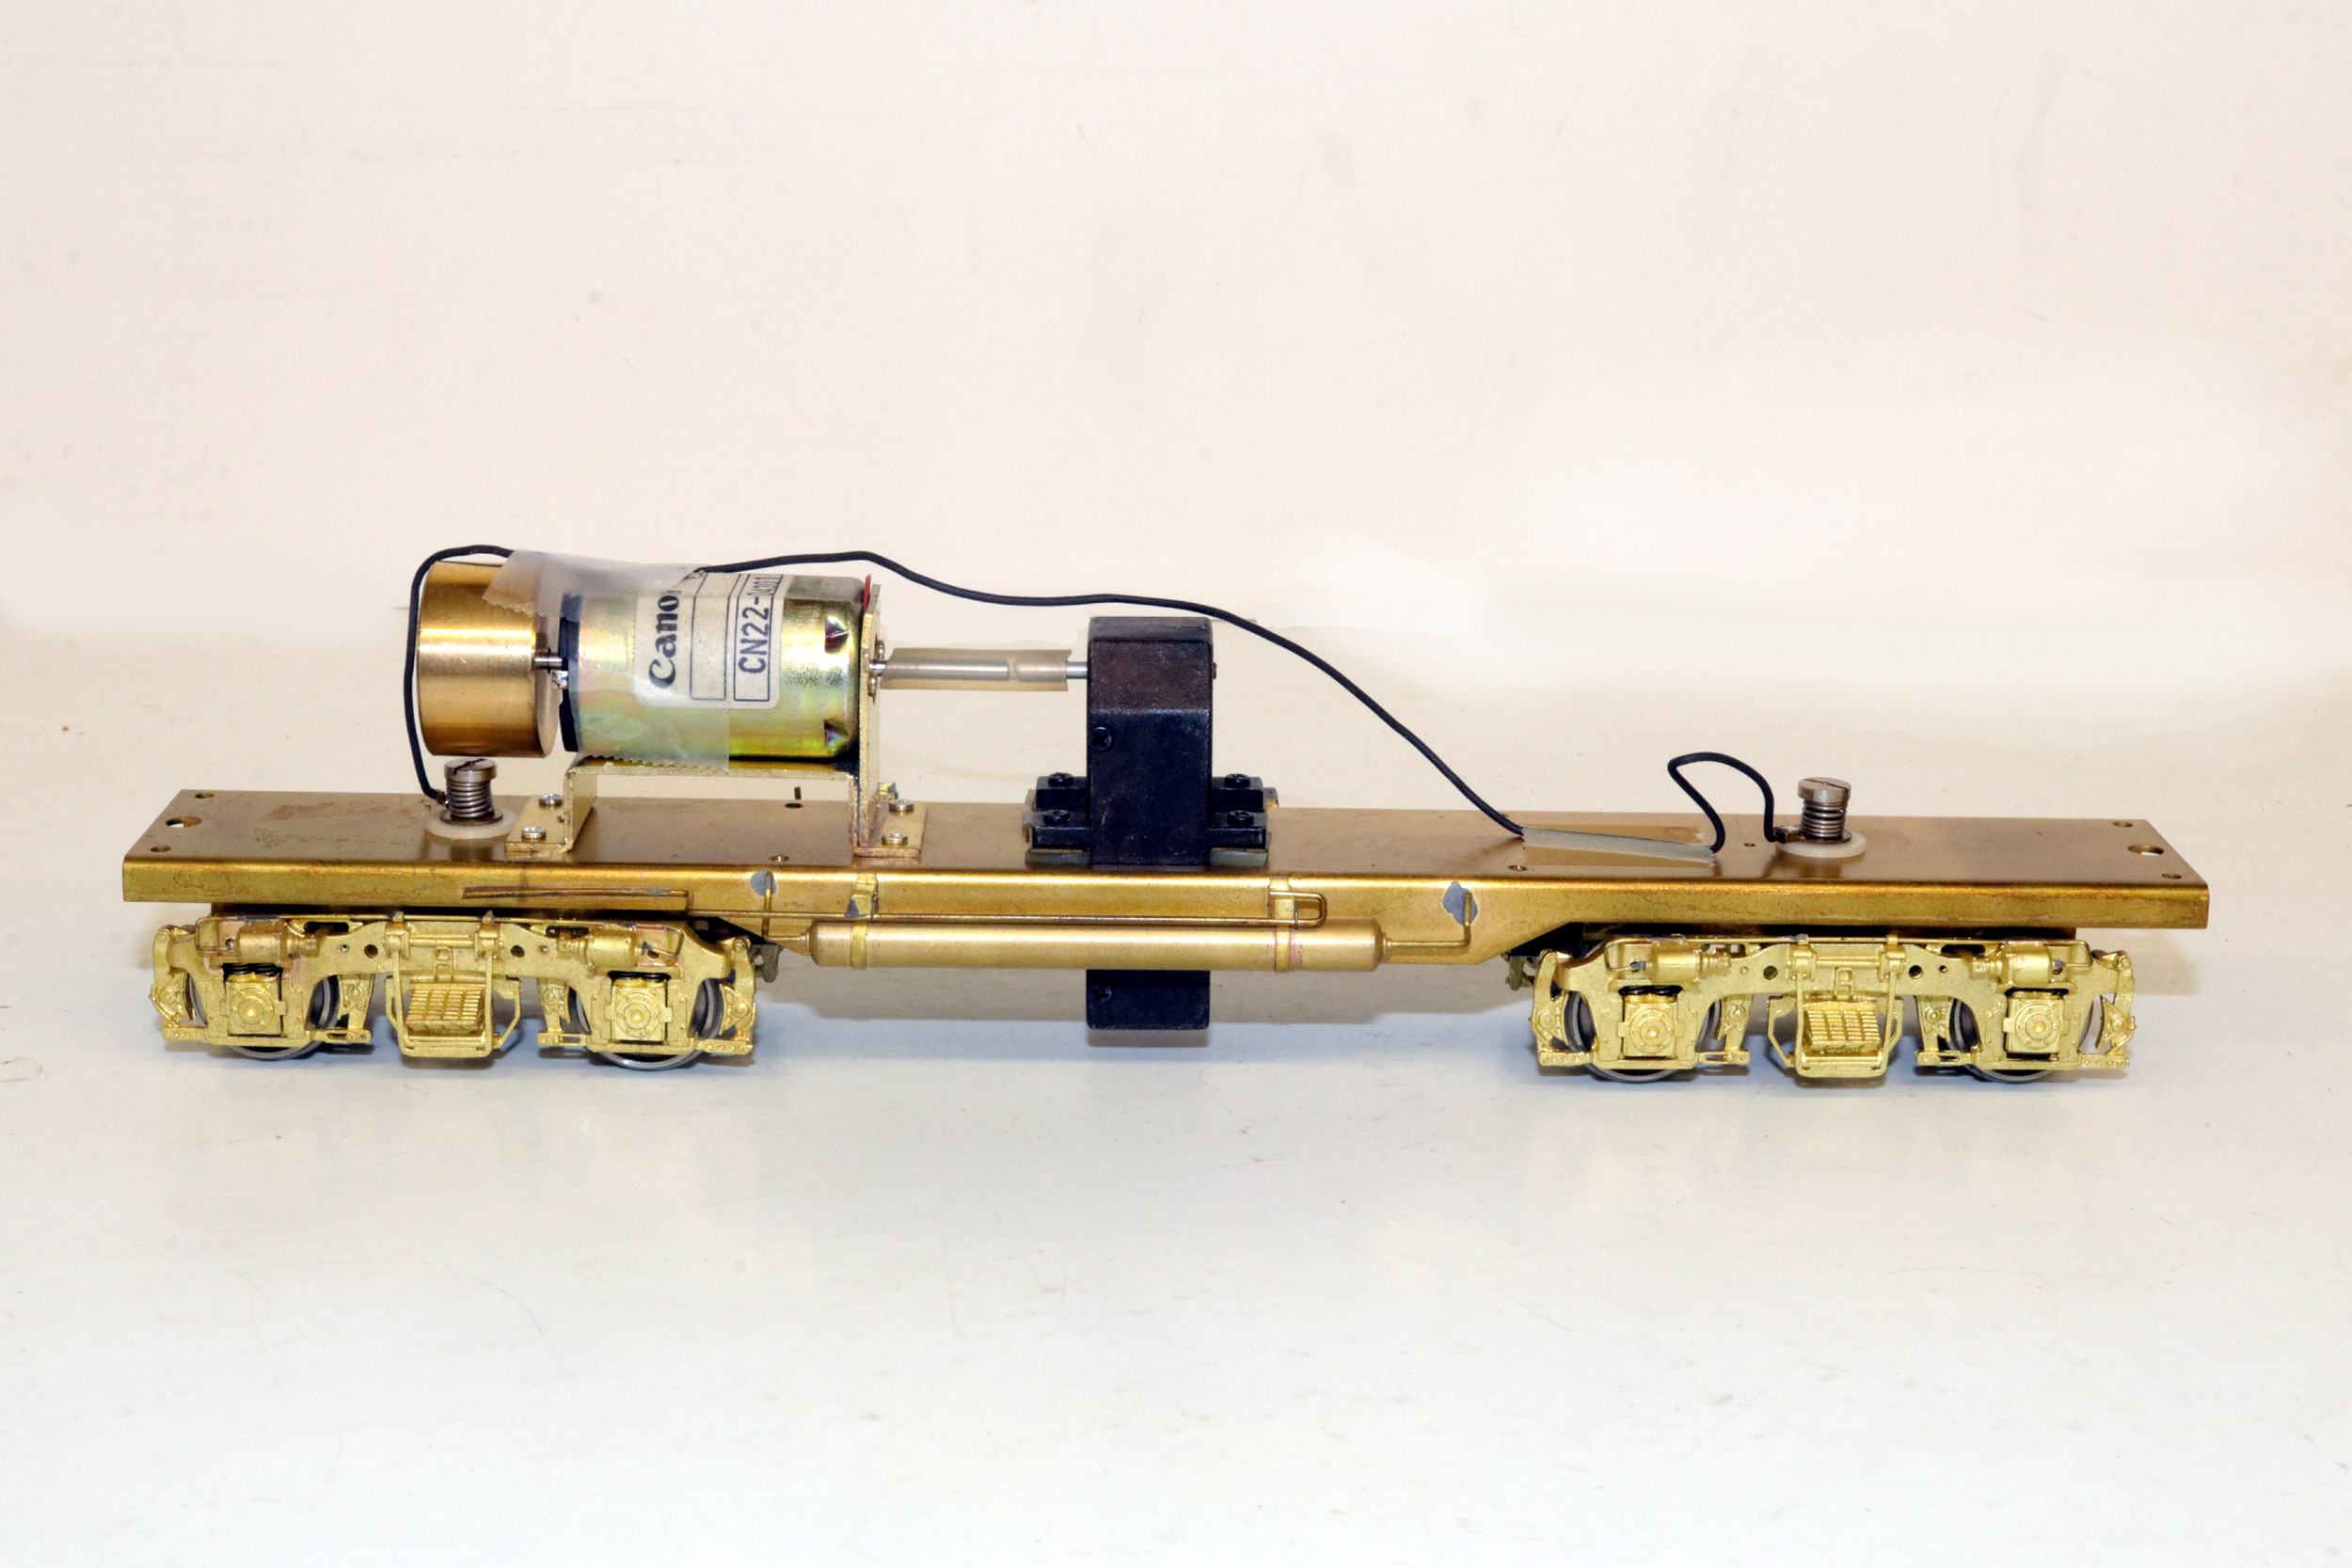
Drive
This
is my standard modification removing rubber tubing and adding a motor to
gearbox coupling. The rubber tubing frequently dries up, cracks and slips. You
will never perfectly align the motor and gearbox shafts. I believe that the rubber
tubing creates some resistance, however small, where the lubed motor coupling
is free running.
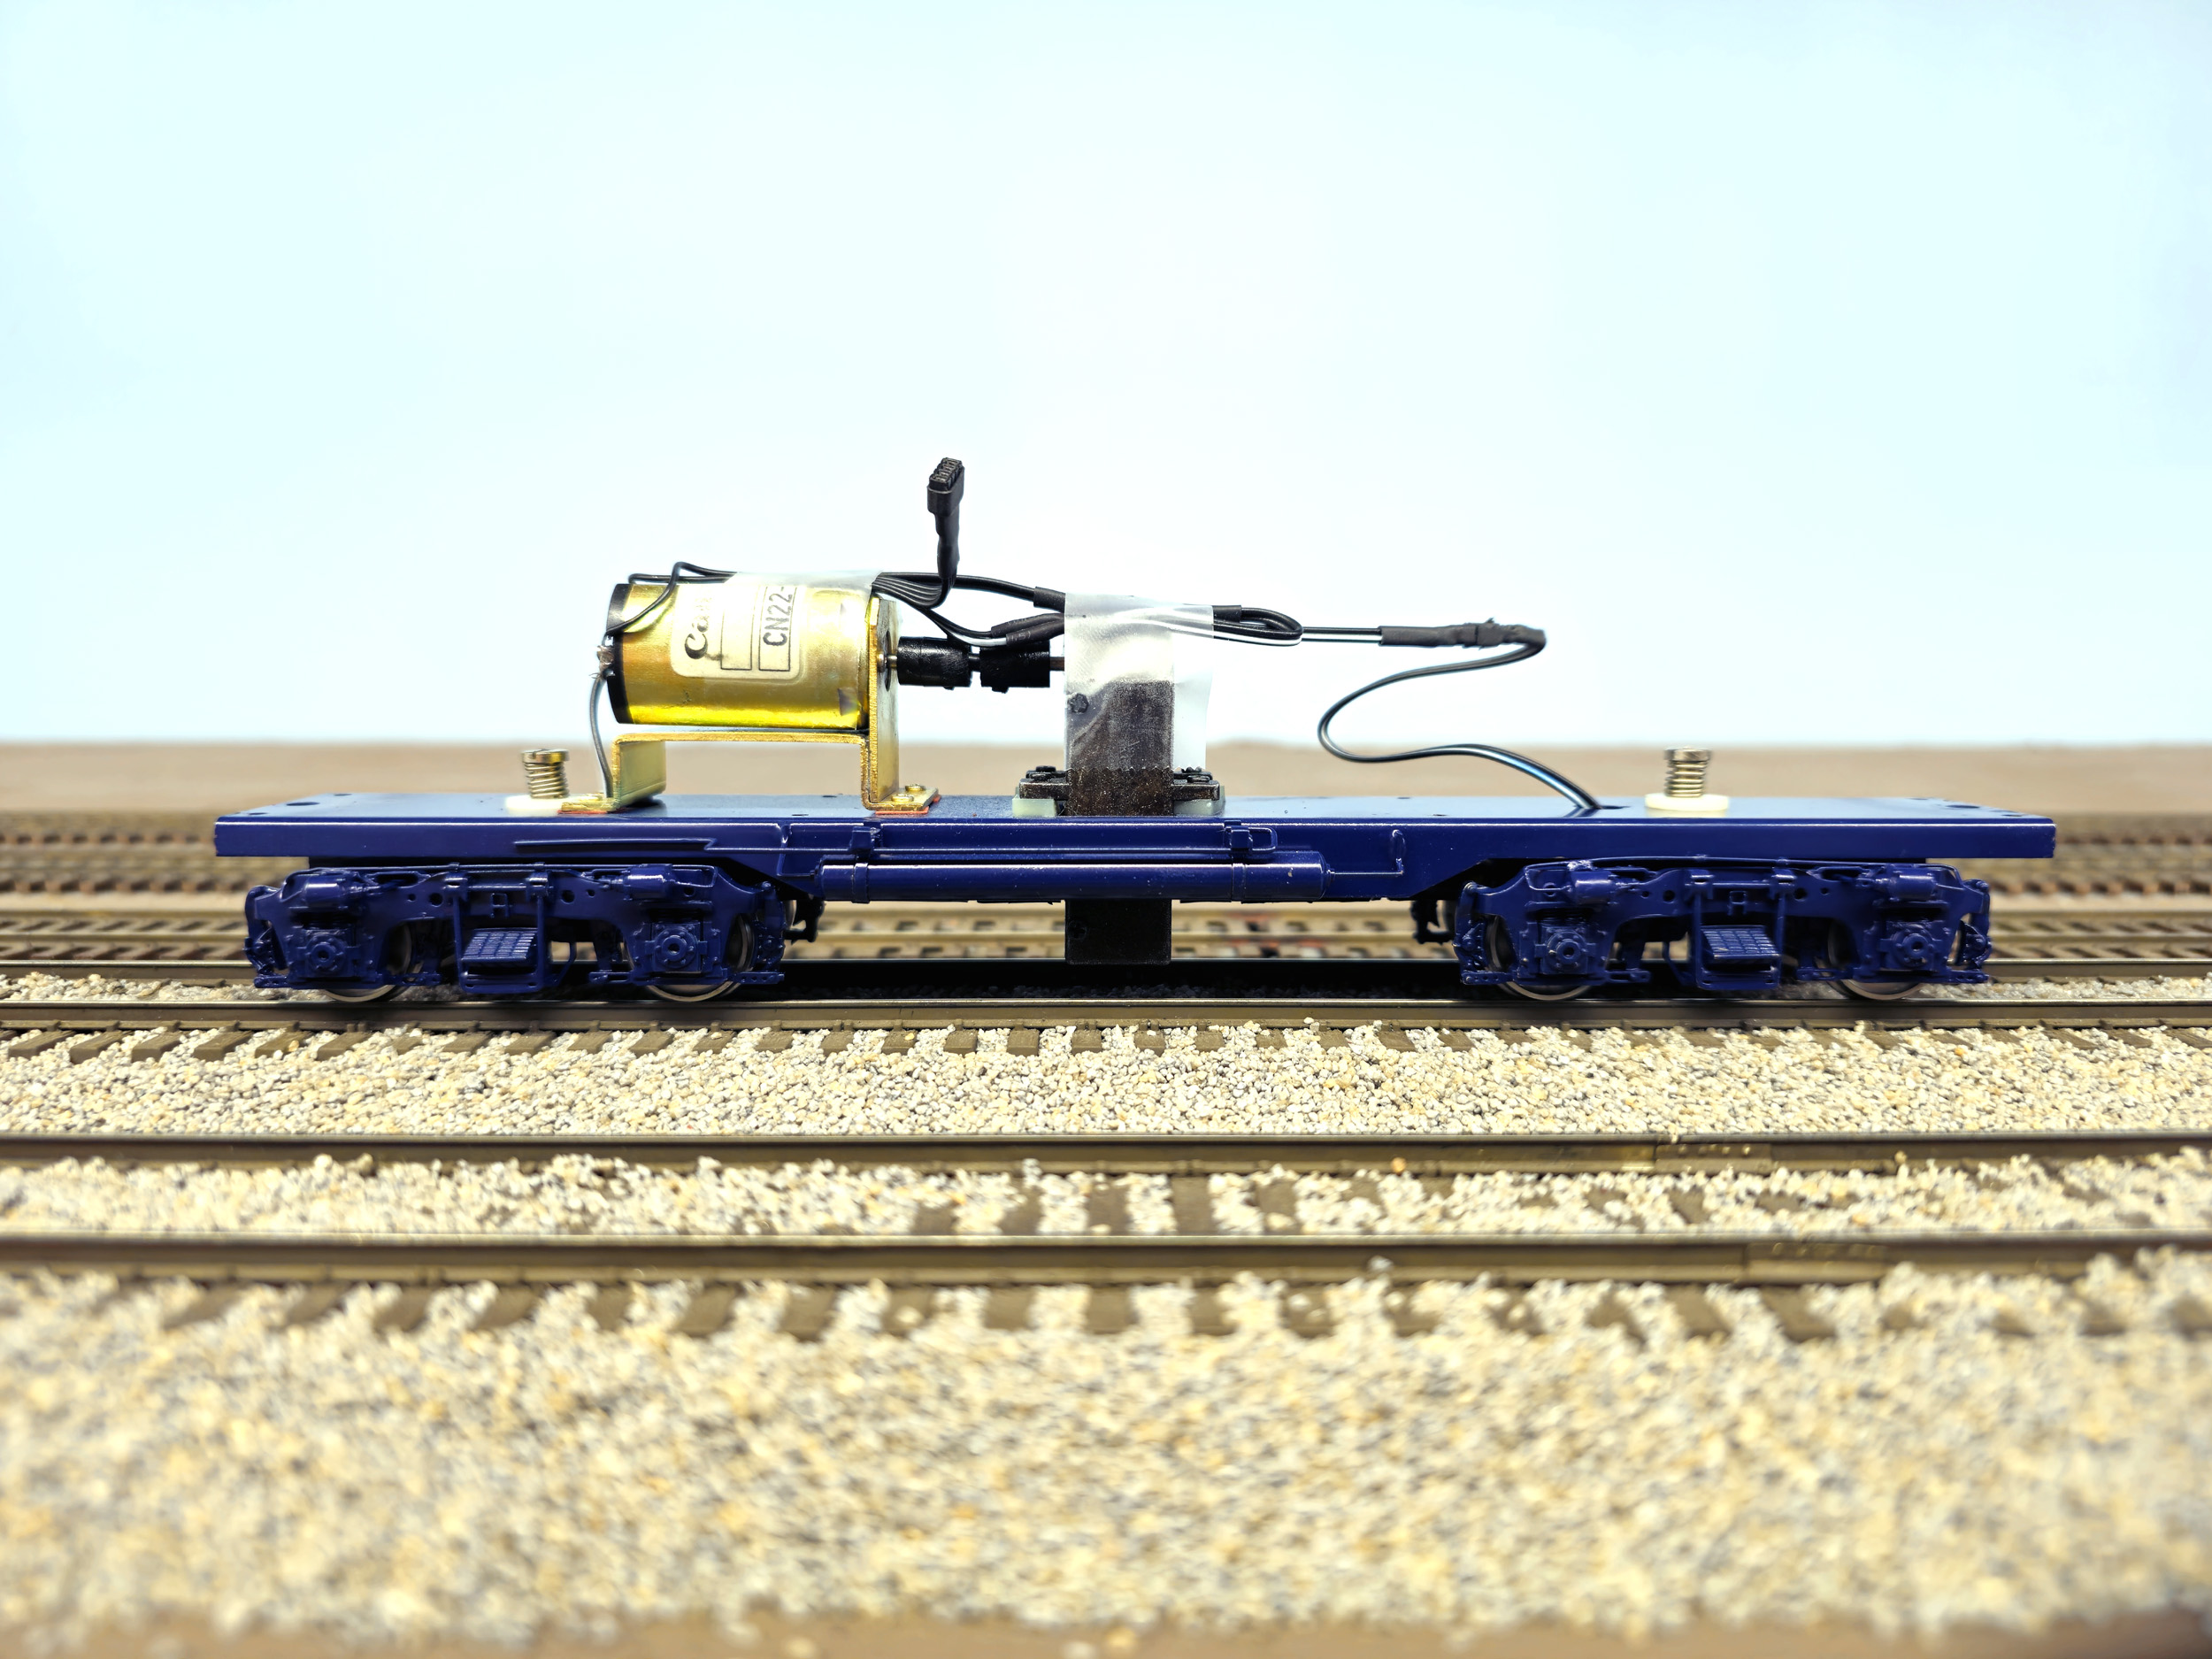
Since I did not do most of the painting there is no other in progress
photos. This is as received on 7-30-23 – my birthday. The paint is Tru Color.
Completed 10-29-23
This paint scheme is a LOT OF WORK. What started out as wanting a
B&O Chessie SD40-2 grew into other locos. As
mentioned the Chessie SD40-2 will get made as well. Some photos were taken with
my new phone a Samsung S23 Ultra. The black stripe in front of the loco number
is unofficially known as the “mail slot”. On the real locos it is an opening in
the battery box doors as a vent. I did not cut any holes. I used the decal
stripes from a PRR Shadow Keystone boxcar logo.
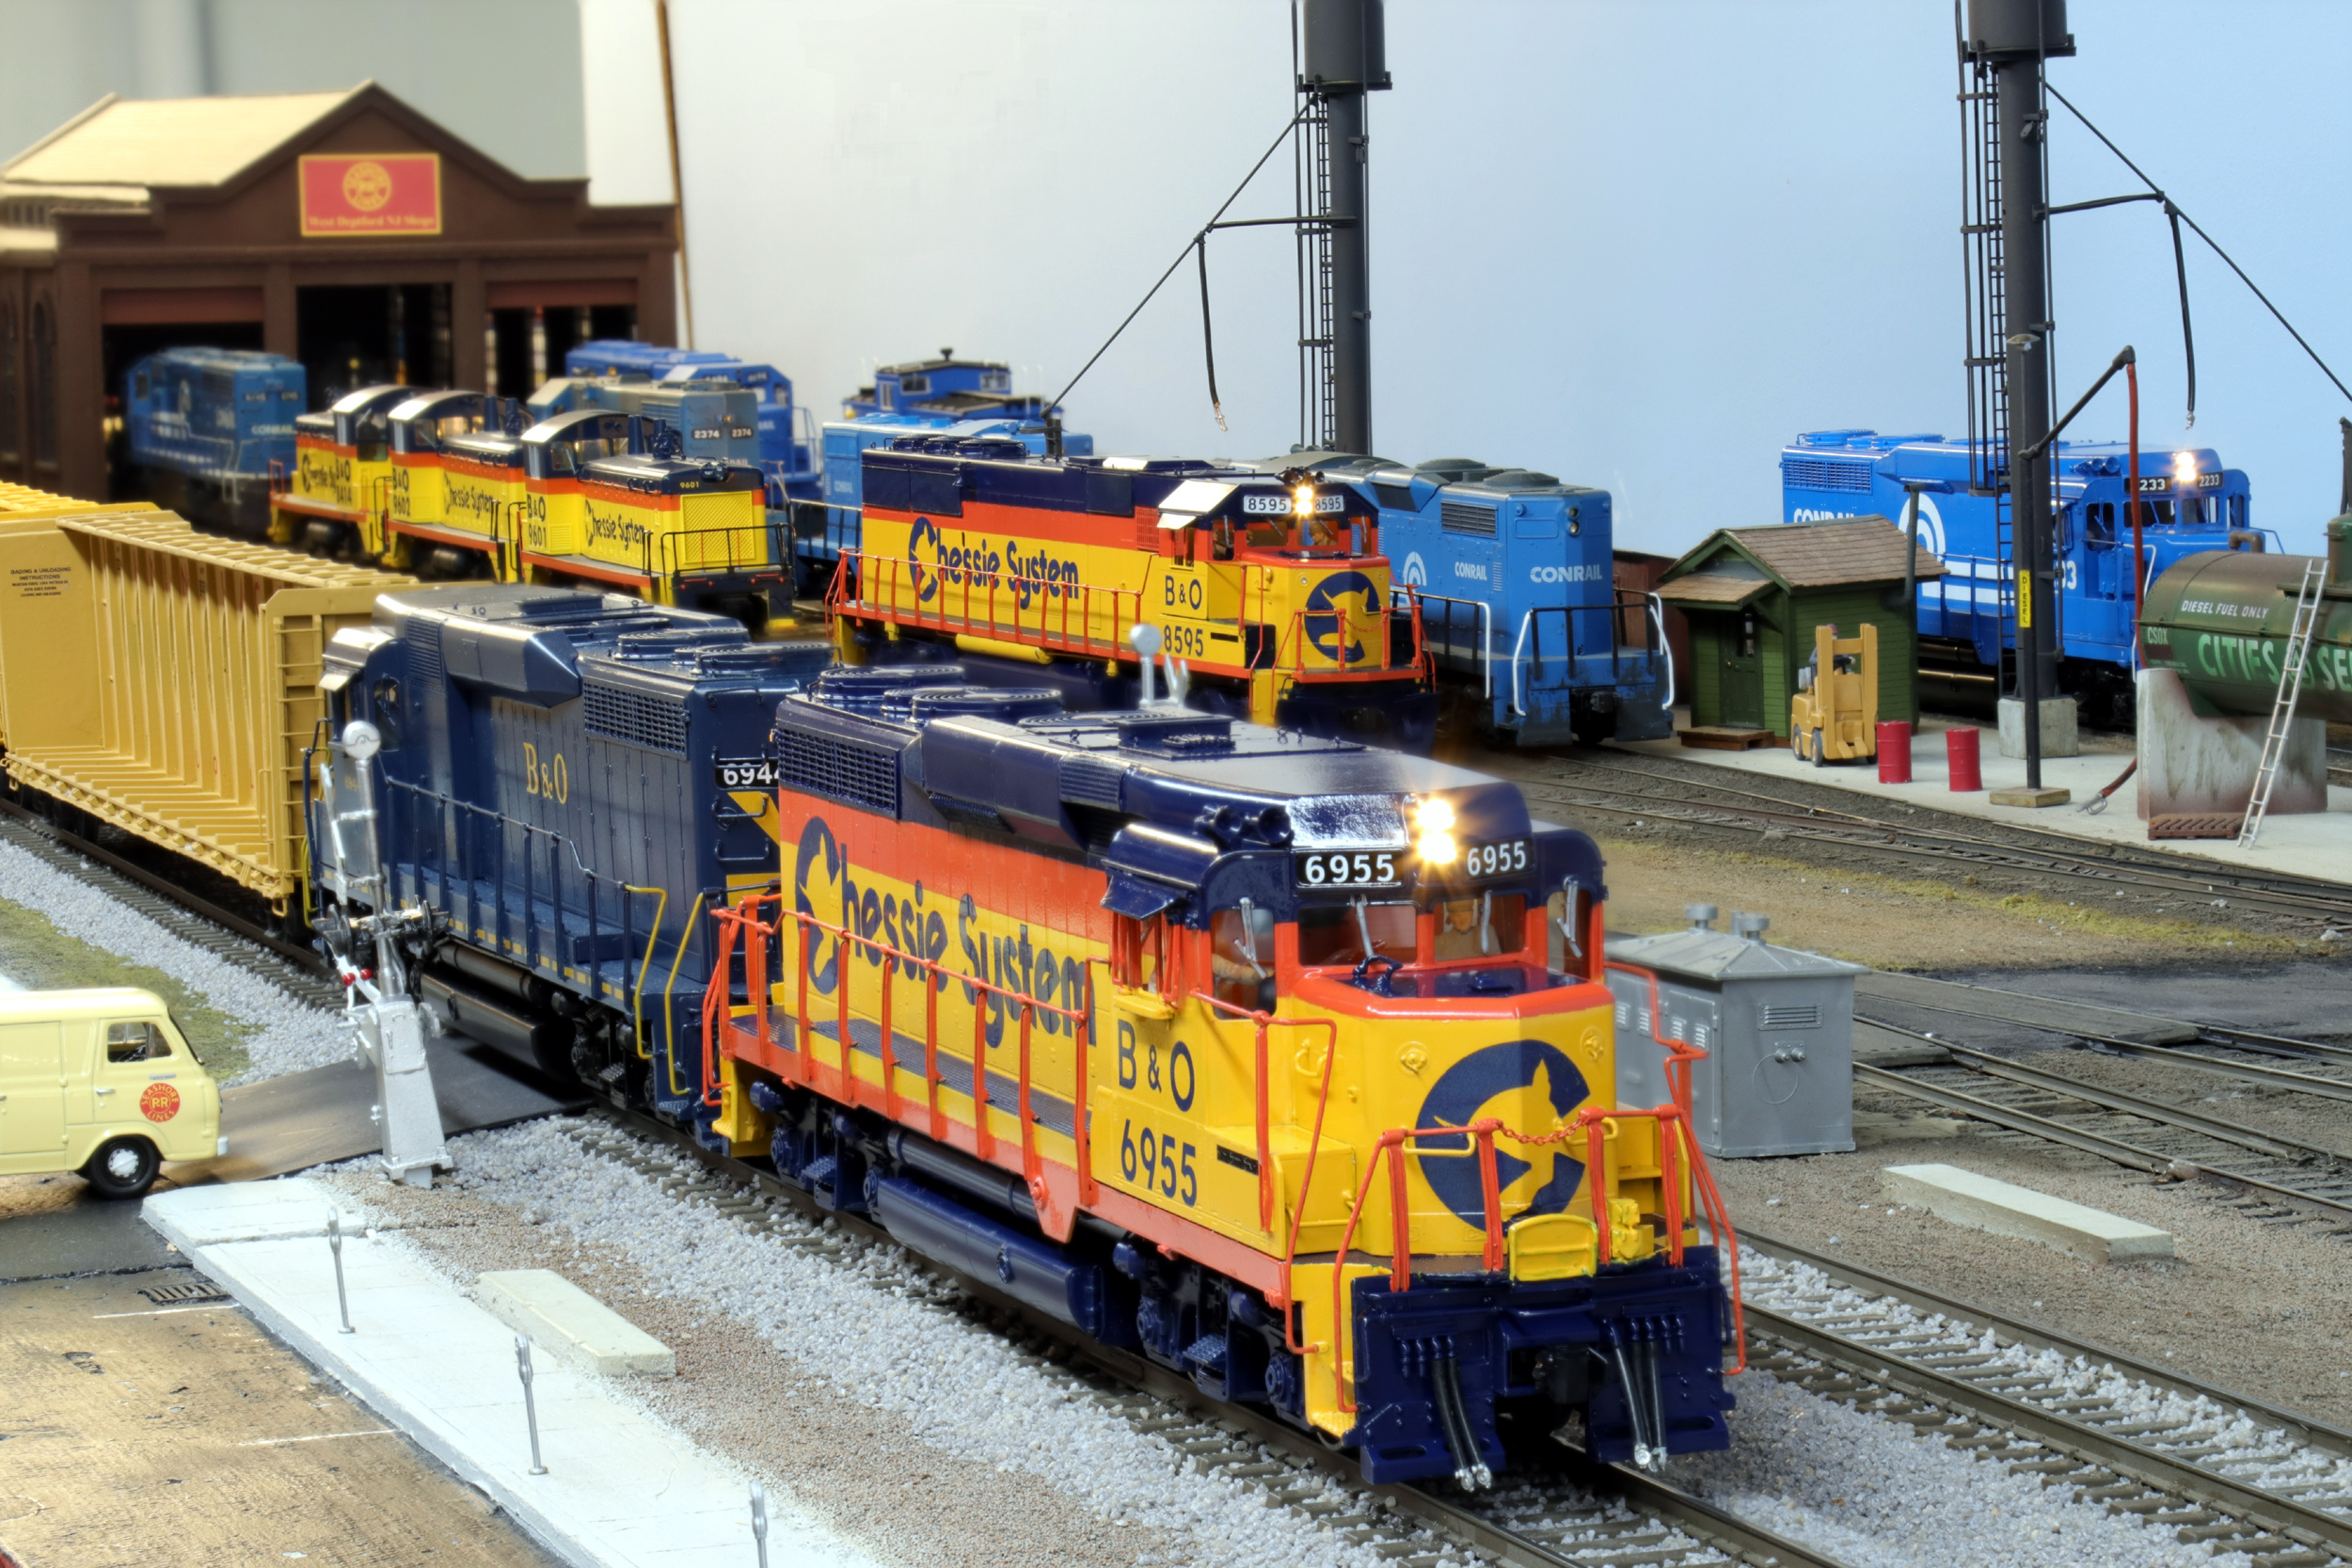
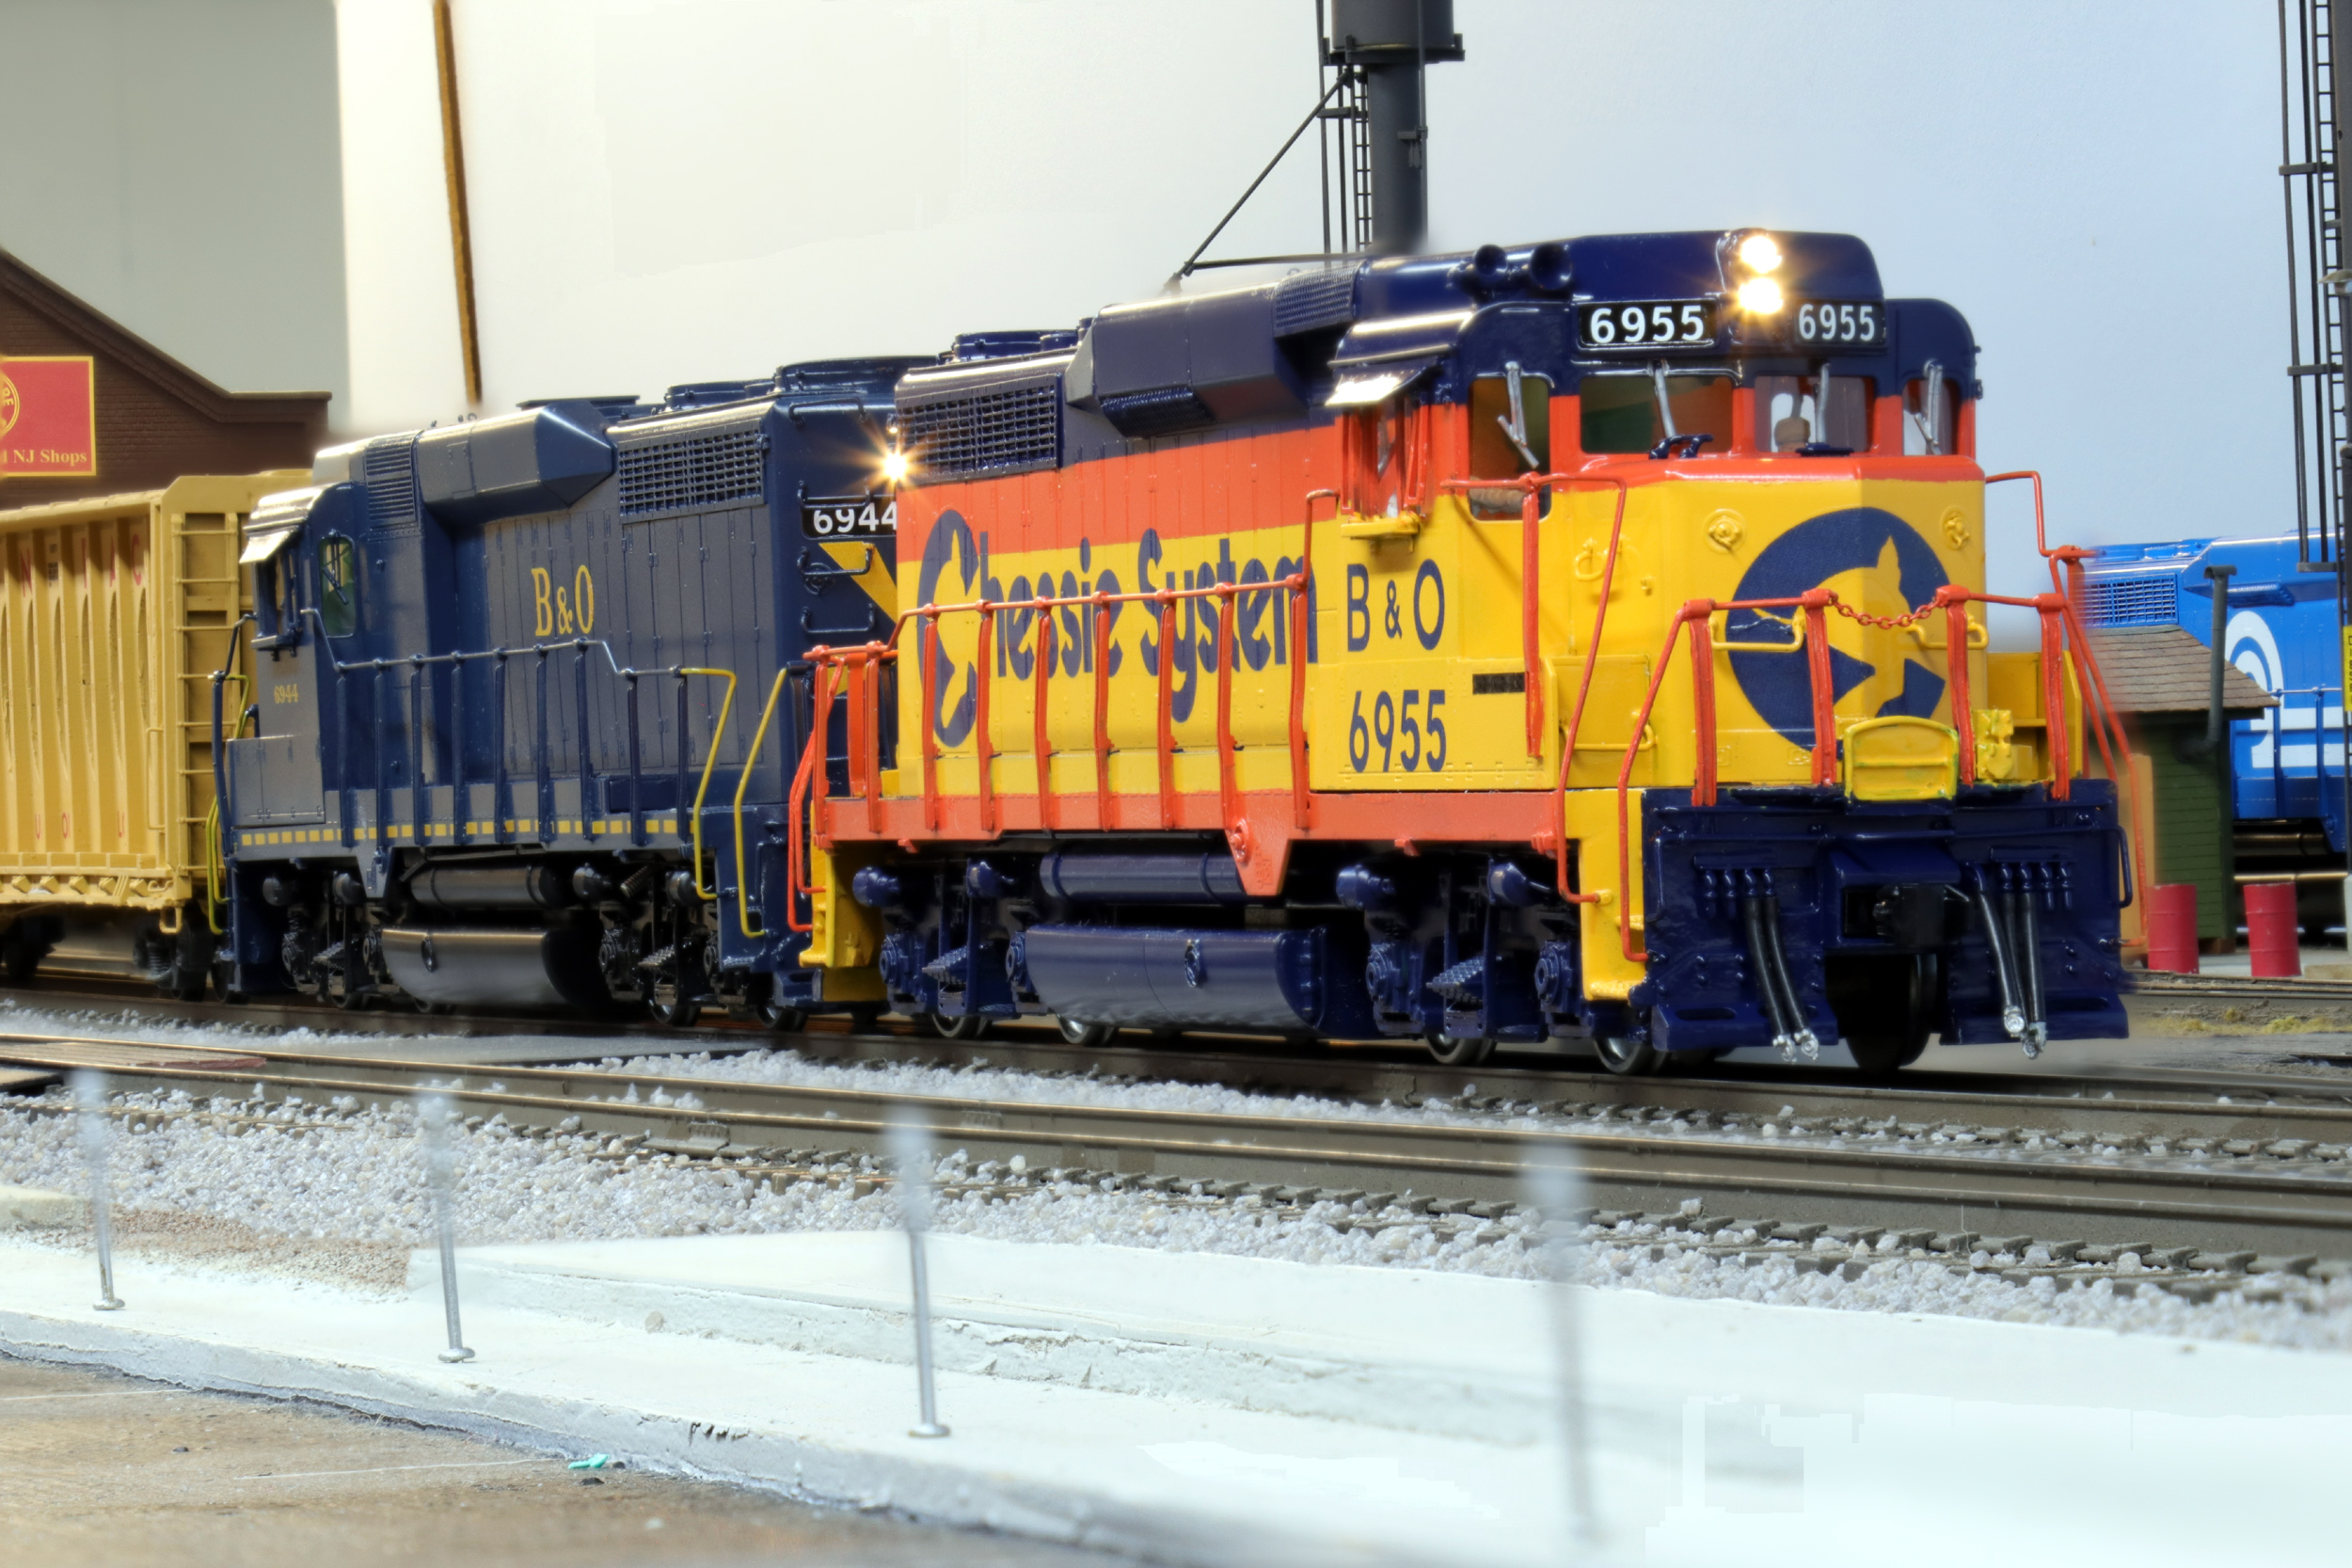
Posing with my recently completed
Overland SD50. They look great together.

Added
11-11-23
This is what I had in mind when I thought of making a fleet of
GP30. I knew the B&O Chessie and
B&O would also look great together.
Updated
11-11-23
All photos and content © Lanes Trains 2005-2024