|
|
This
is NOT PRR and unbelievably is - freelance! This is the first time I have ever
thrown excessive research to the wind and “winged it’ with available parts
and ideas as they came to me. I did not have to buy anything for this
project. All items were on hand. It was different and FUN not having
to spend hours researching what road number I wanted etc. It
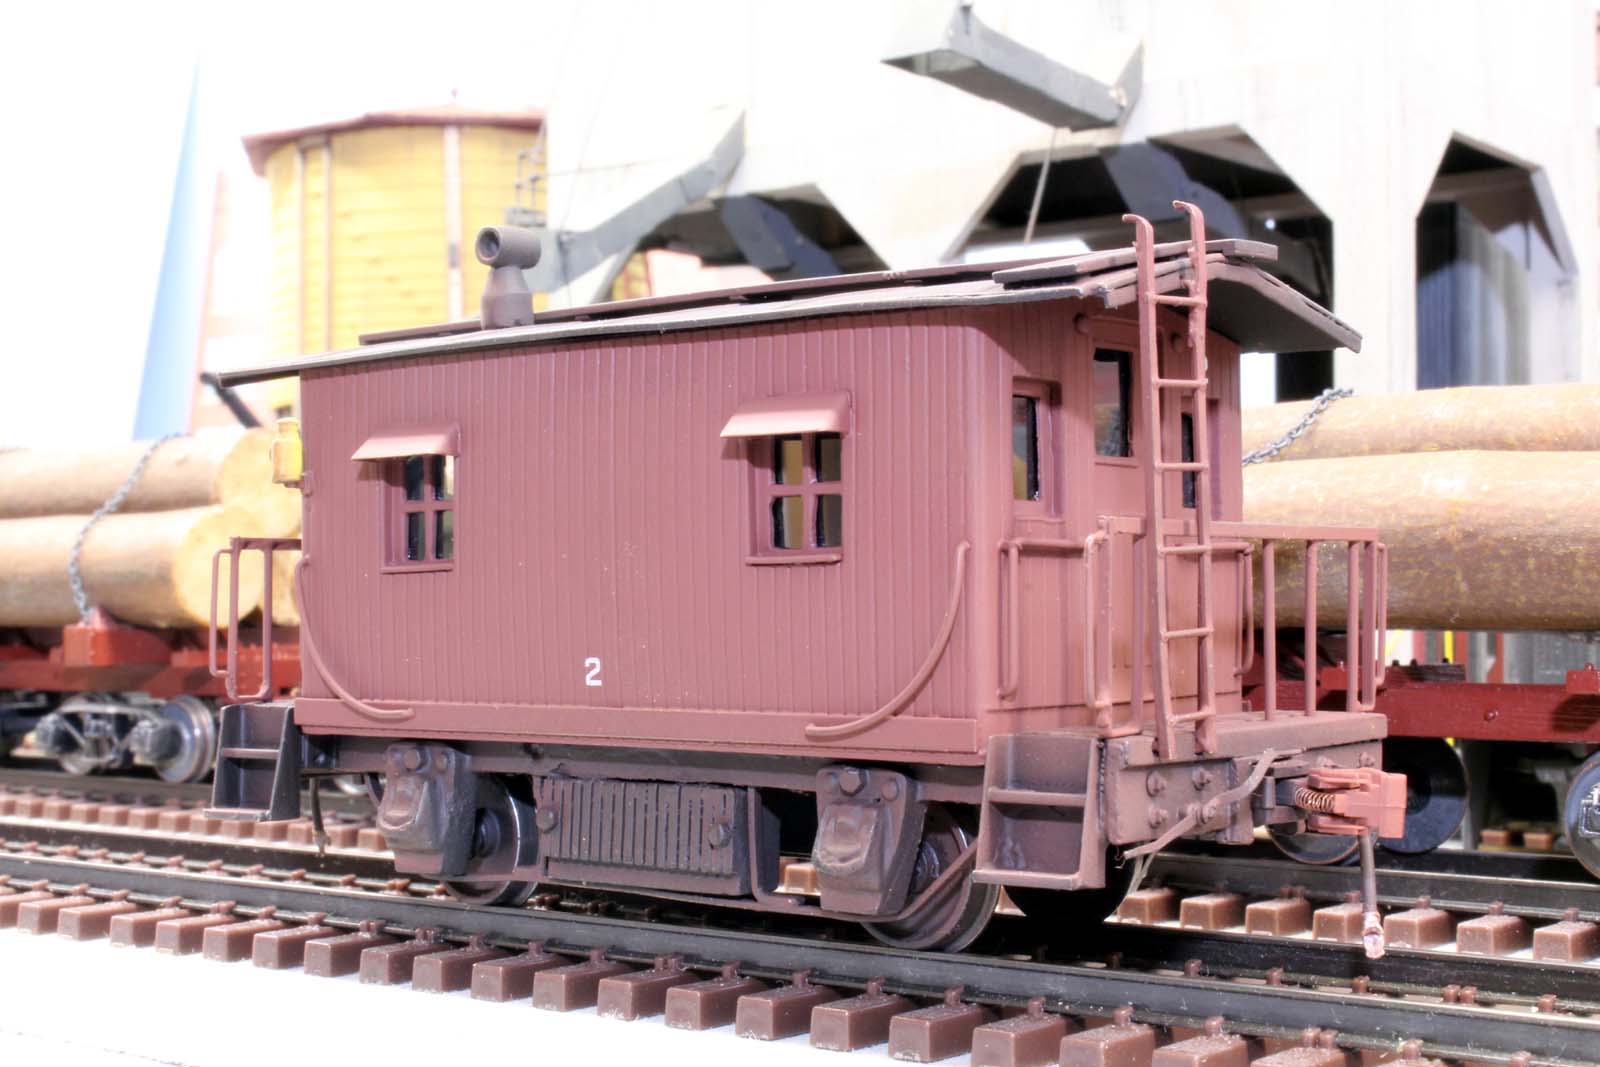
is a rare car! Many long-time S Scalers have ever seen this S Bobber Caboose
before. There are no other versions of a Bobber Caboose in S Standard gauge
that I know of. It is an OLD School kit made by Super Scale. I would like to
find out the approximate time period for it. I bought it as a basket case on
eBay to replace my On30 caboose because the cupola was too tall to go with my
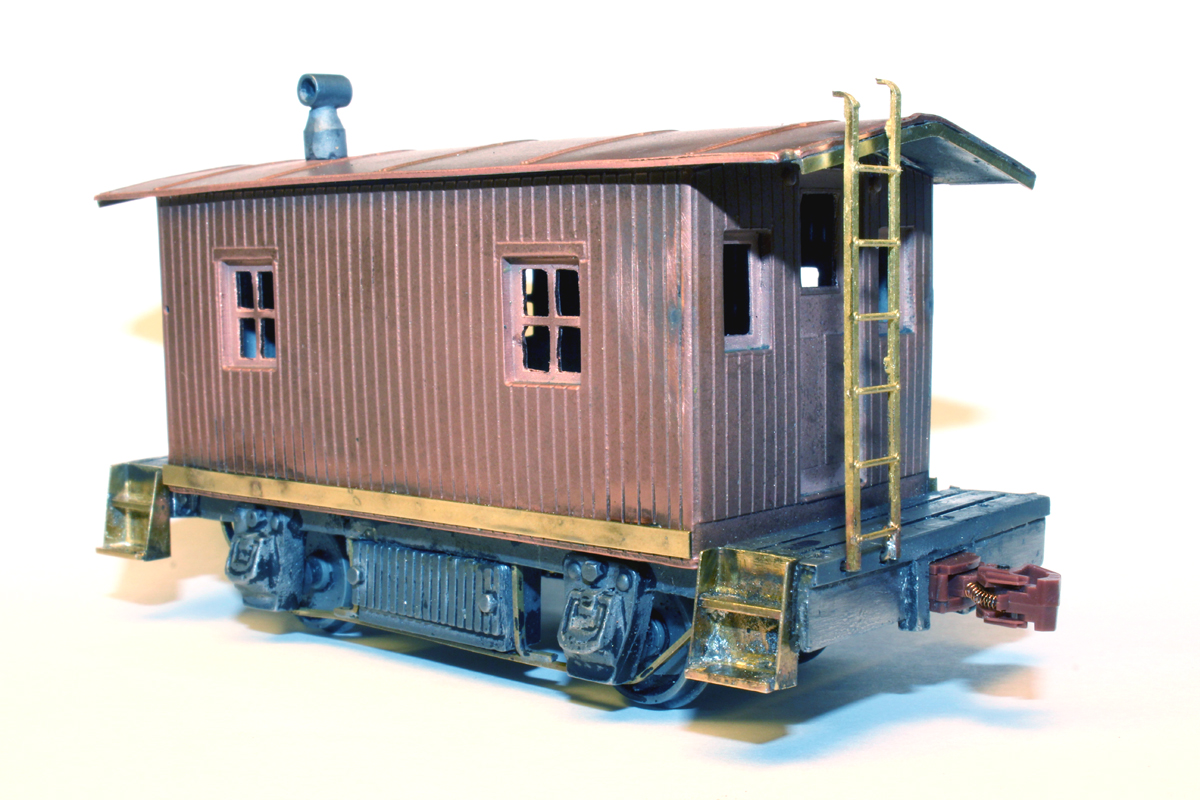
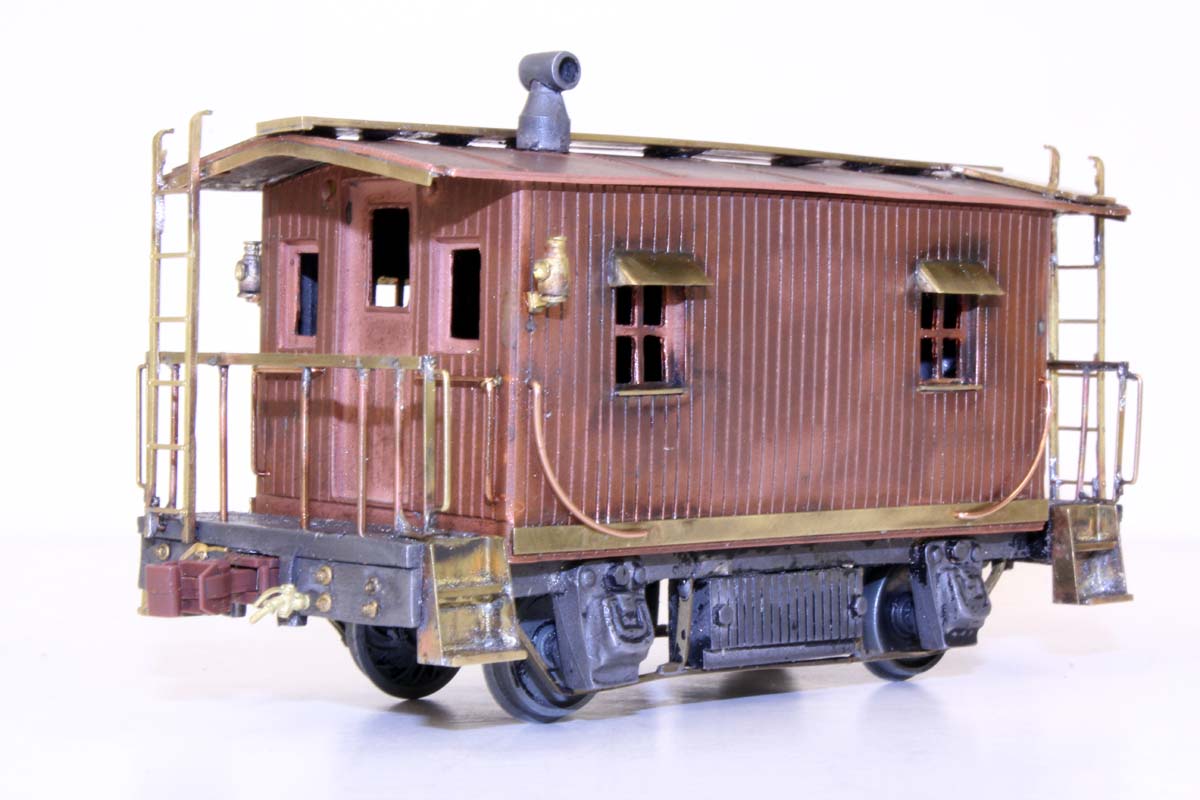
“Howie” Shay as a logging train. The body is etched COPPER. The frame is very
soft metal. It was low temp soldered together by the original builder. I have
made literally thousands of solder joints but have not done any low temp
work. SO - for the first time ever the wheels have stayed with the model
throughout the project – blast booth & all - because I did not want to
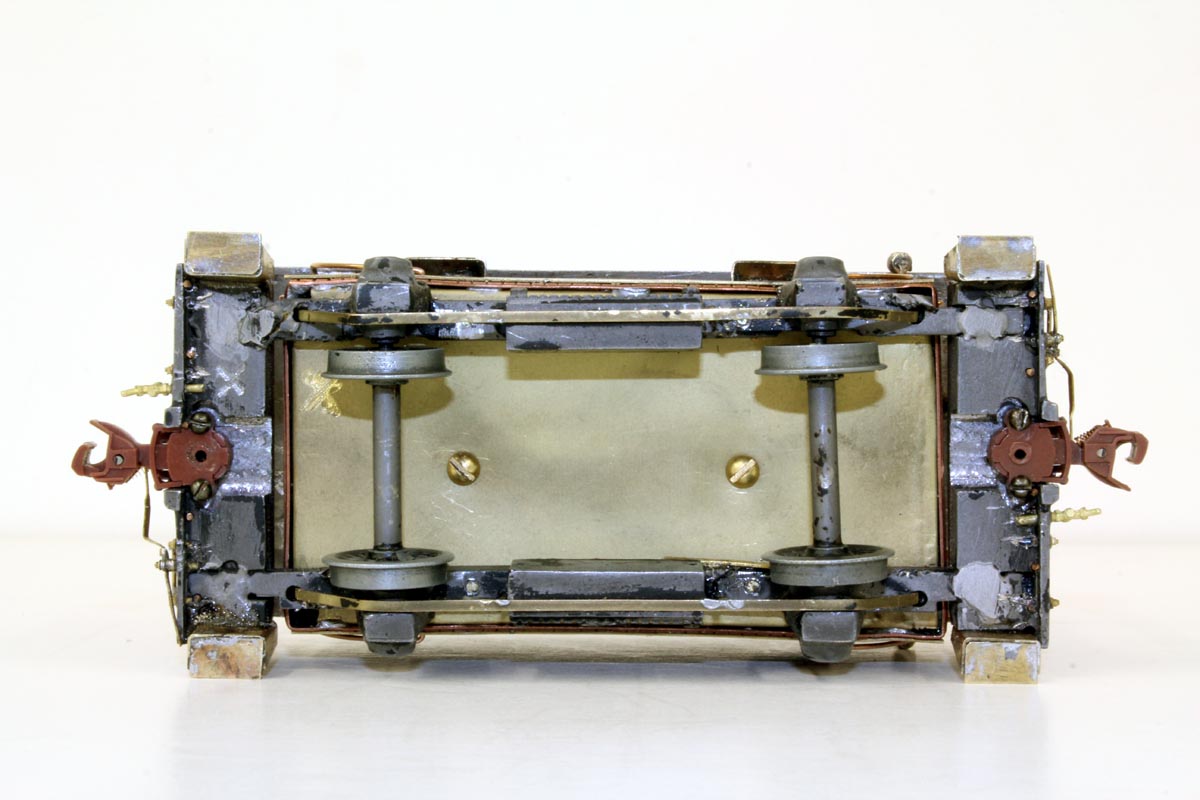
risk prying them out! The wheels were to the old gauge. I JUST made the NASG
back to back standard. I made it heavy - it could be 8 ounces so it stays on
the track since there is no equalization or sprung axles. I
should have but did not take any “as received” photos of it. The mood struck
me to start and I just dove right in.
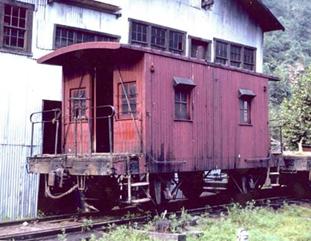
Photo number one below of the bare shell photo already had some
reasonable work done to it. There
was a stunning hand painted yellow scheme, wood floor (the first thing to go
after blasting the paint) and ladders and roof that were supposed to
magically stay in place but did not. It was just a bunch of parts when I got
it. The shell was built and is not square. There is nothing I could do about
that. I may have had a better outcome if I started with a complete kit
instead of the massive redo. Details
I made for it were the window awnings, steps, end rails, a new brass floor,
and roof walk. There was a lot of time was spent making sure it stays
together. Previously it was mostly glued together and that all failed. That
is the problem with dissimilar material kit. I like to solder everything
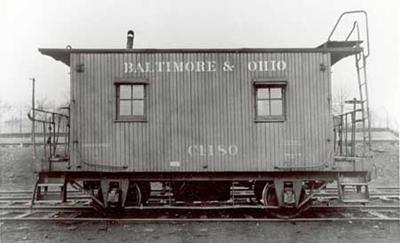
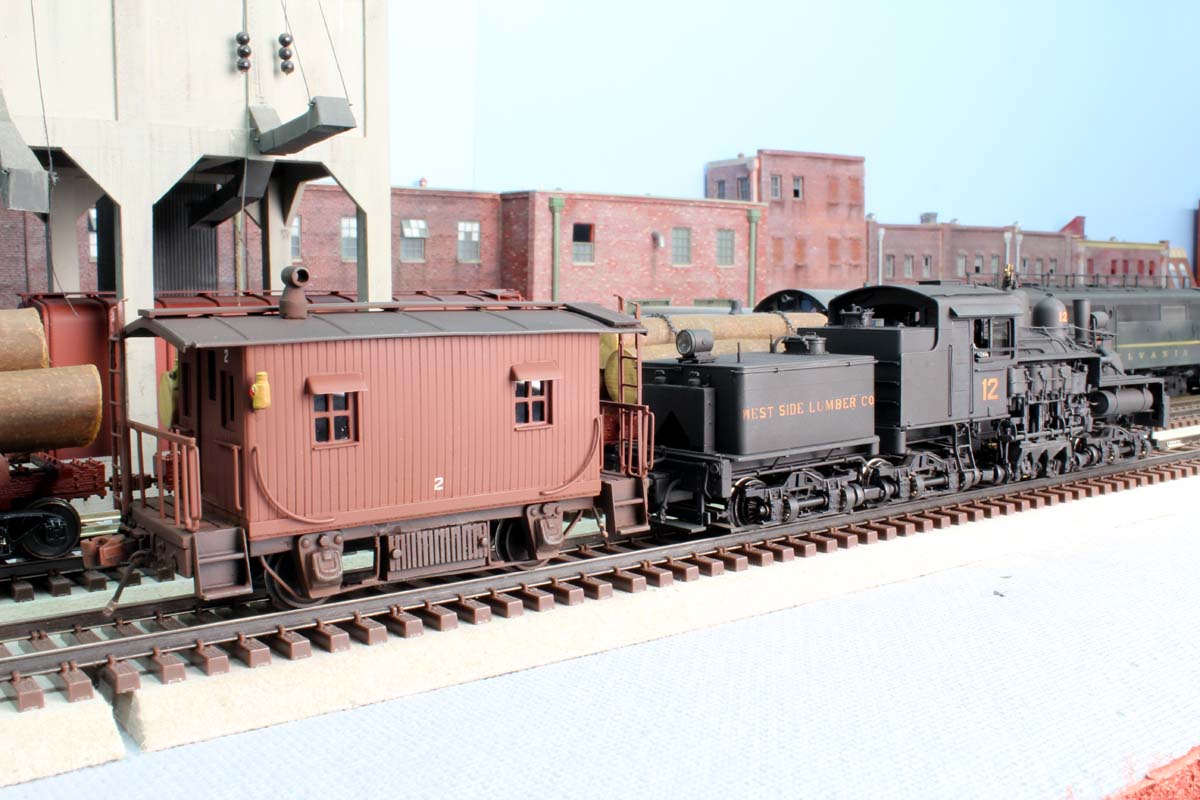
together. About mid project I found out it is very close to a B&O Caboose that was also used on the Buffalo Creek & Gauley. For about ½ hour I was going B&O but I steered back to the original idea as a caboose for the Shay. It is by far the simplest decal job I have ever done. It is just the #2 four times sort of like West Side Lumber Company cabooses. |
|


B&O K-1 caboose and later on the Buffalo Creek and Gauley

Click on the below photos to make them larger
I started this project on July 8th 2012 and finished
it on July 21st 2012.
It is rare that I roll through to complete a project this complex start to finish!
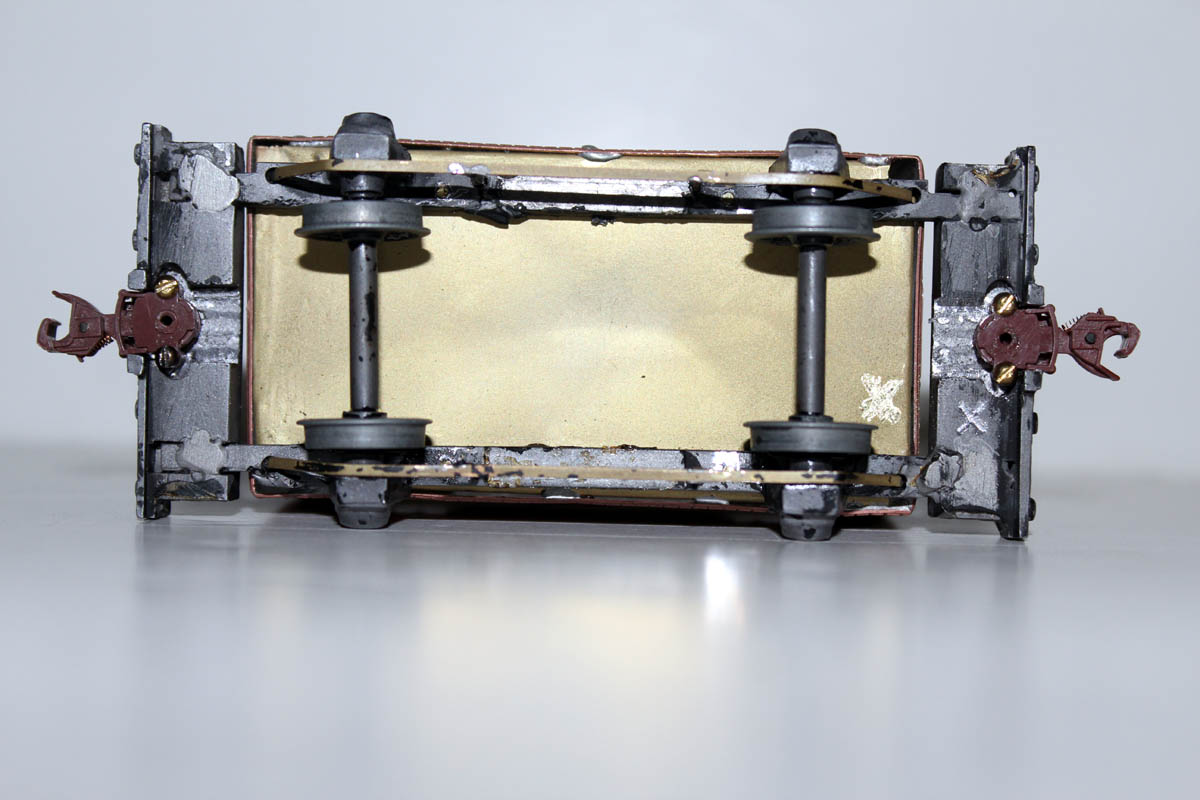
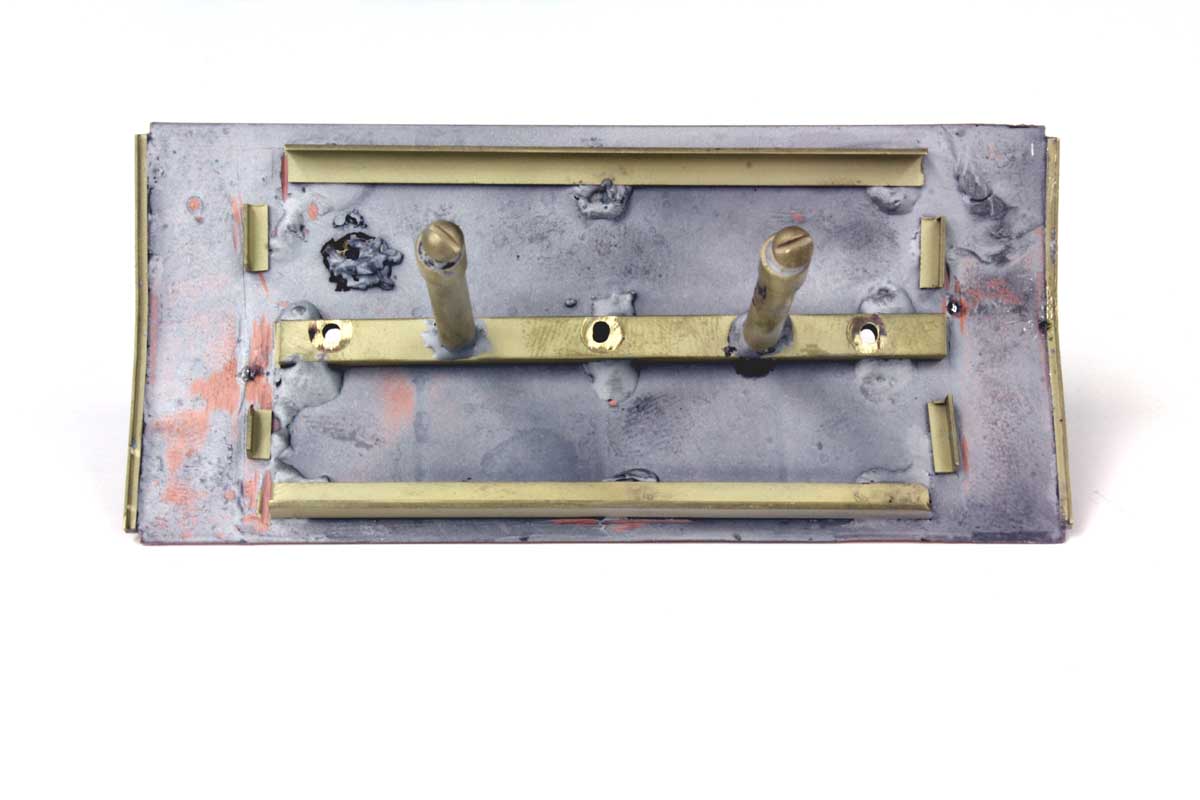
The car was blasted. 3 of
the holes in the bottom of the side were for NAILS to hold the body to the wood
floor.
I tried but filling them with solder but it would have been very
difficult so I reluctantly covered the holes with a brass strip.
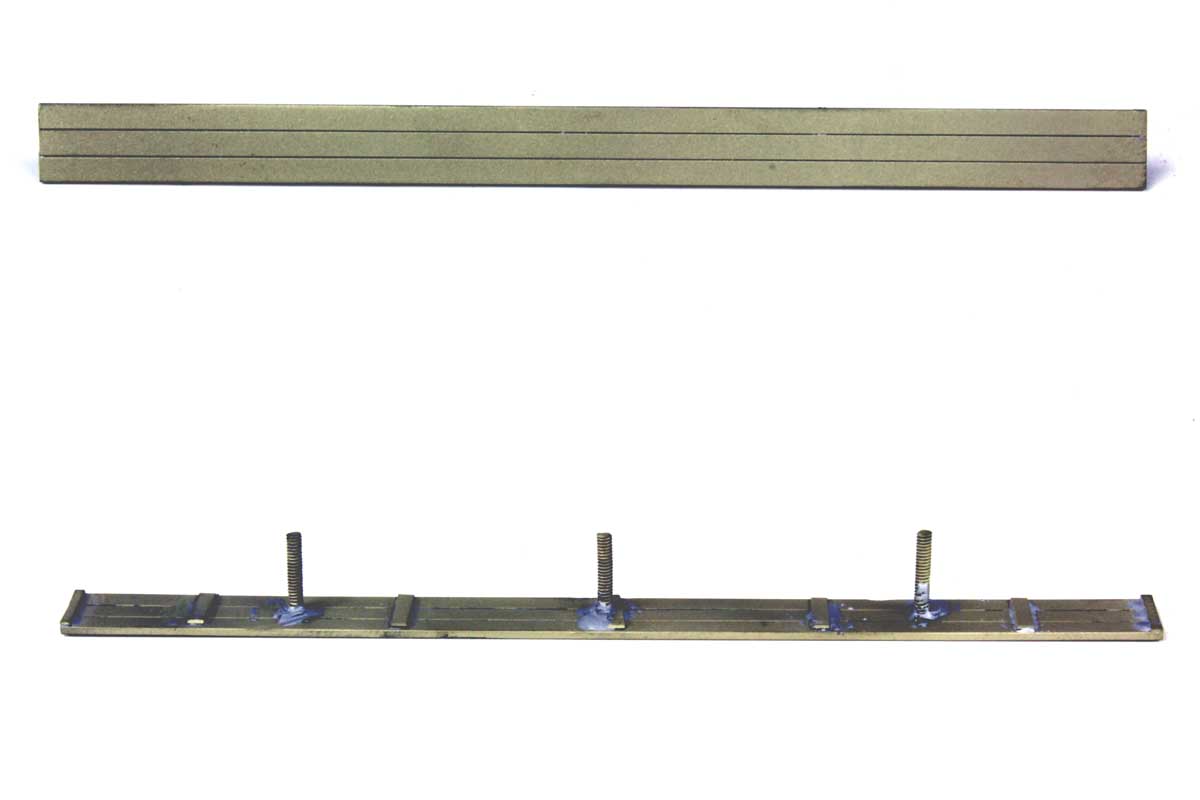
I made a new brass floor. It was formed to sort of look like a
cookie baking sheet.
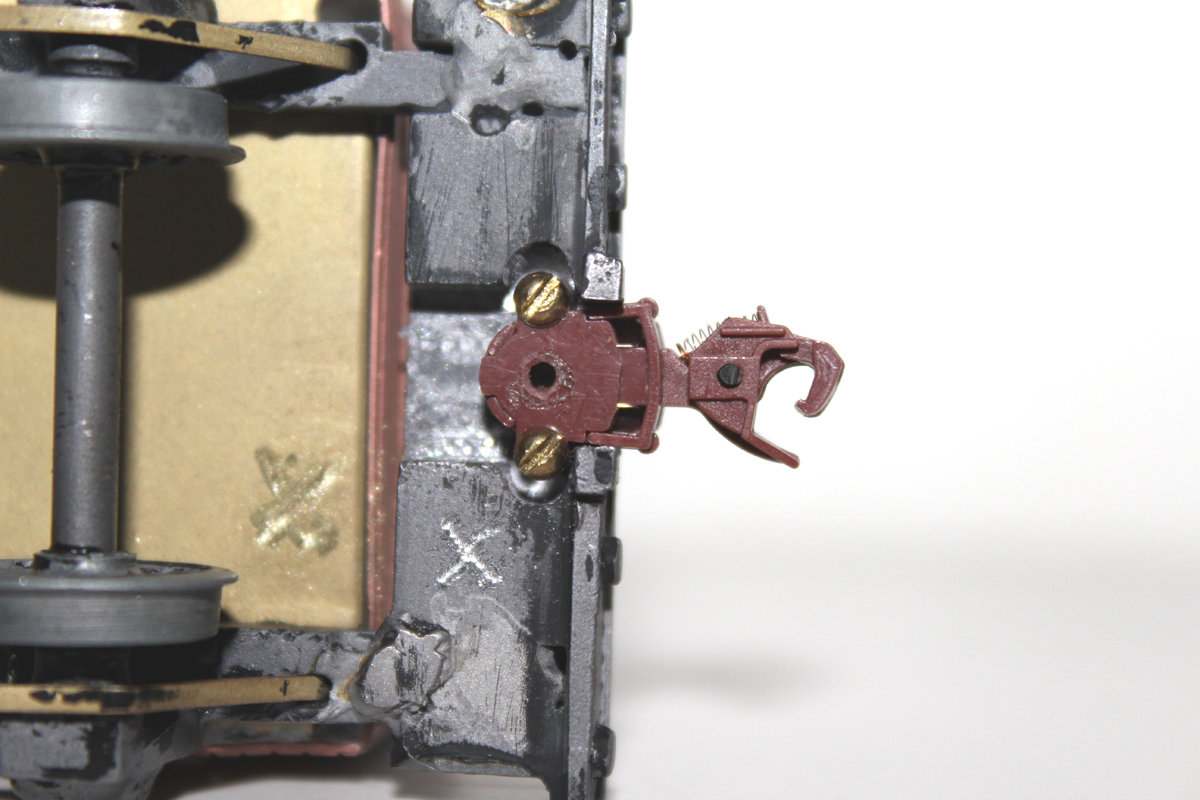
I had some machining to do to install the new couplers. I used my
big milling machine.
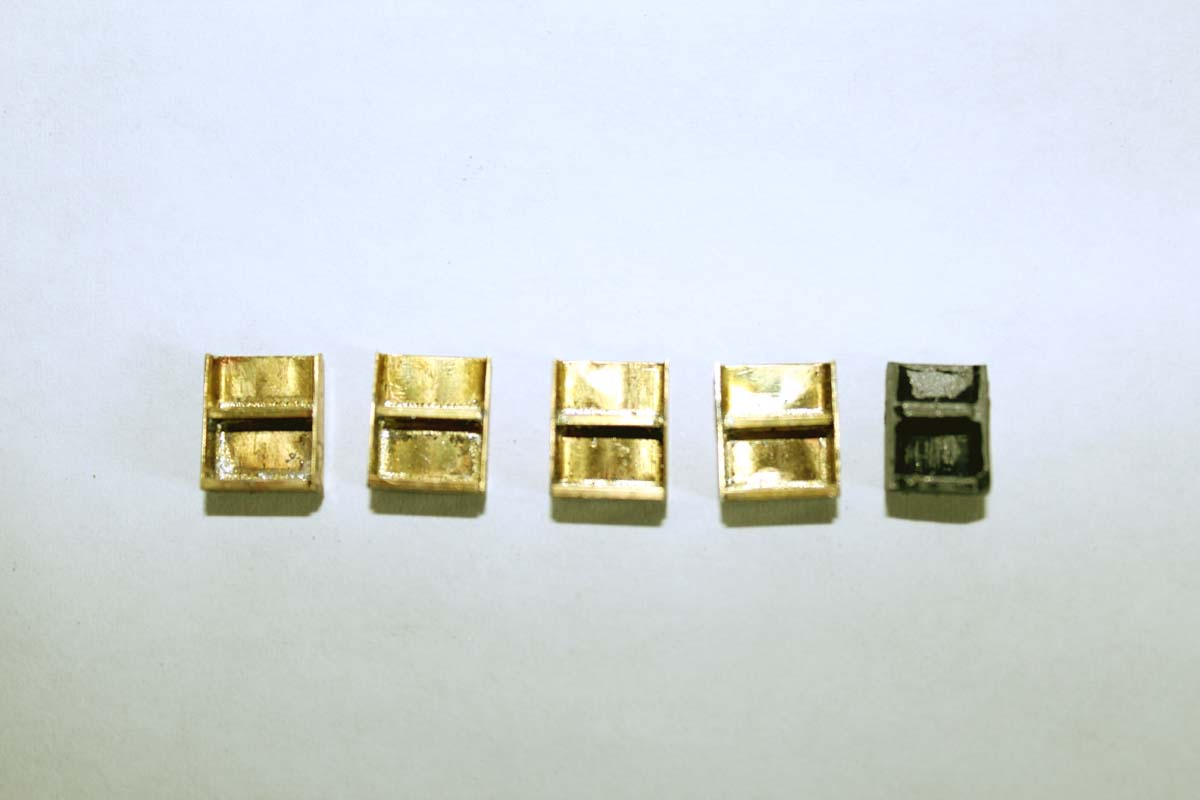

Either 2 steps were missing when I got it or they got lost since,
so I had to make 4 new steps. These are the new
steps next to 1 original step. I formed a
channel on my brake from sheet brass for the step body and soldered in brass
strips
for the treads. I soldered a 0-80 screw to
the back of the steps as a stud for better bonding. I do not like to depend on
ACC holding everything together forever.
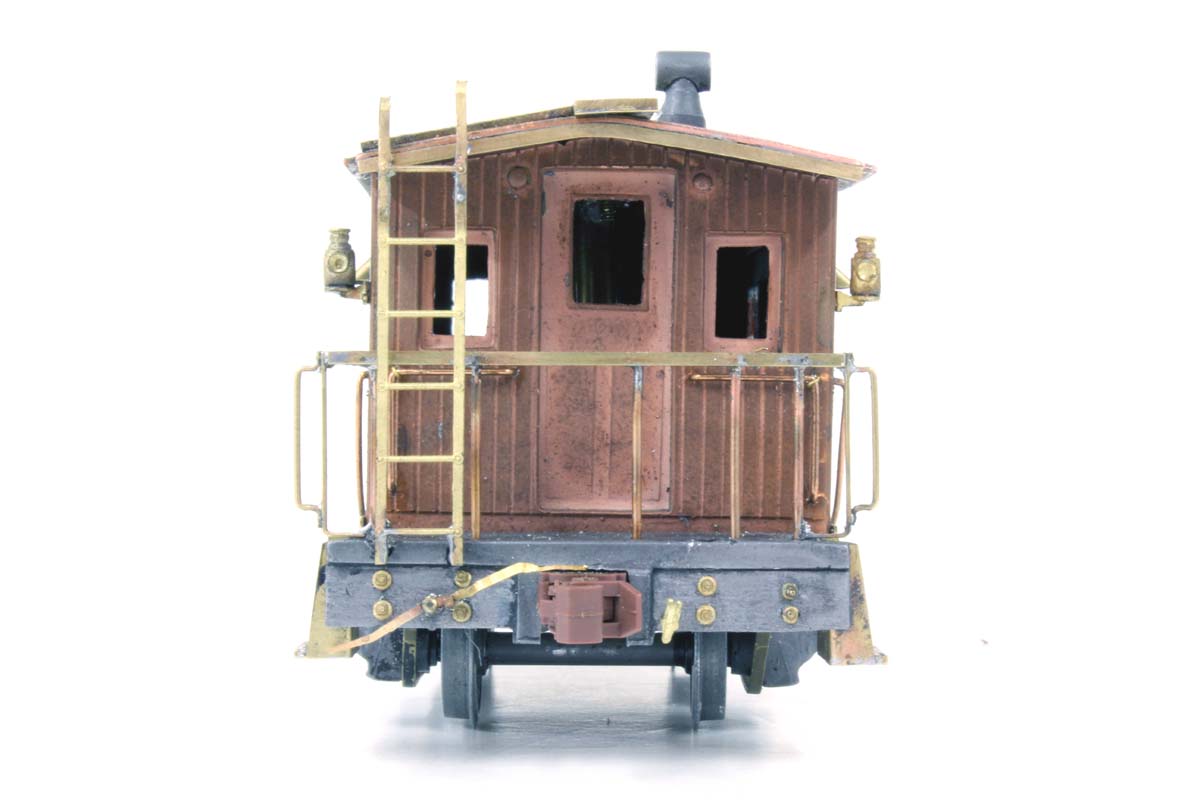
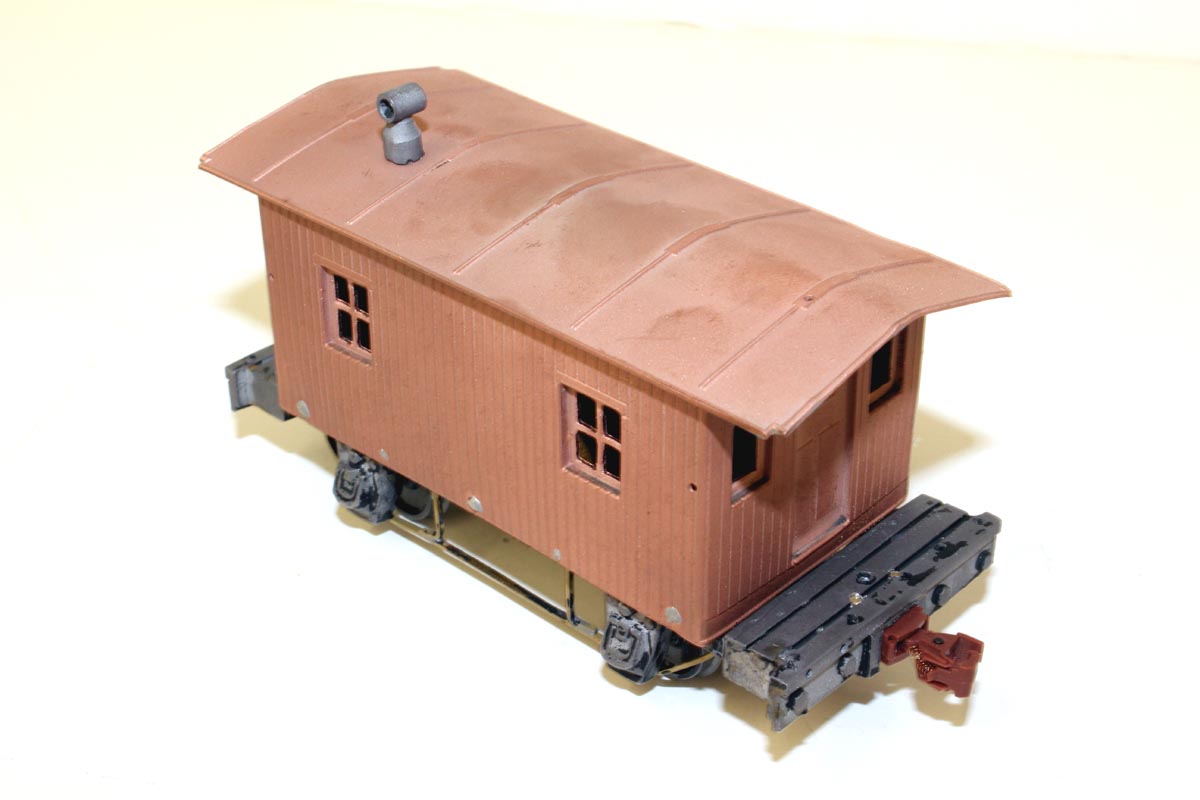
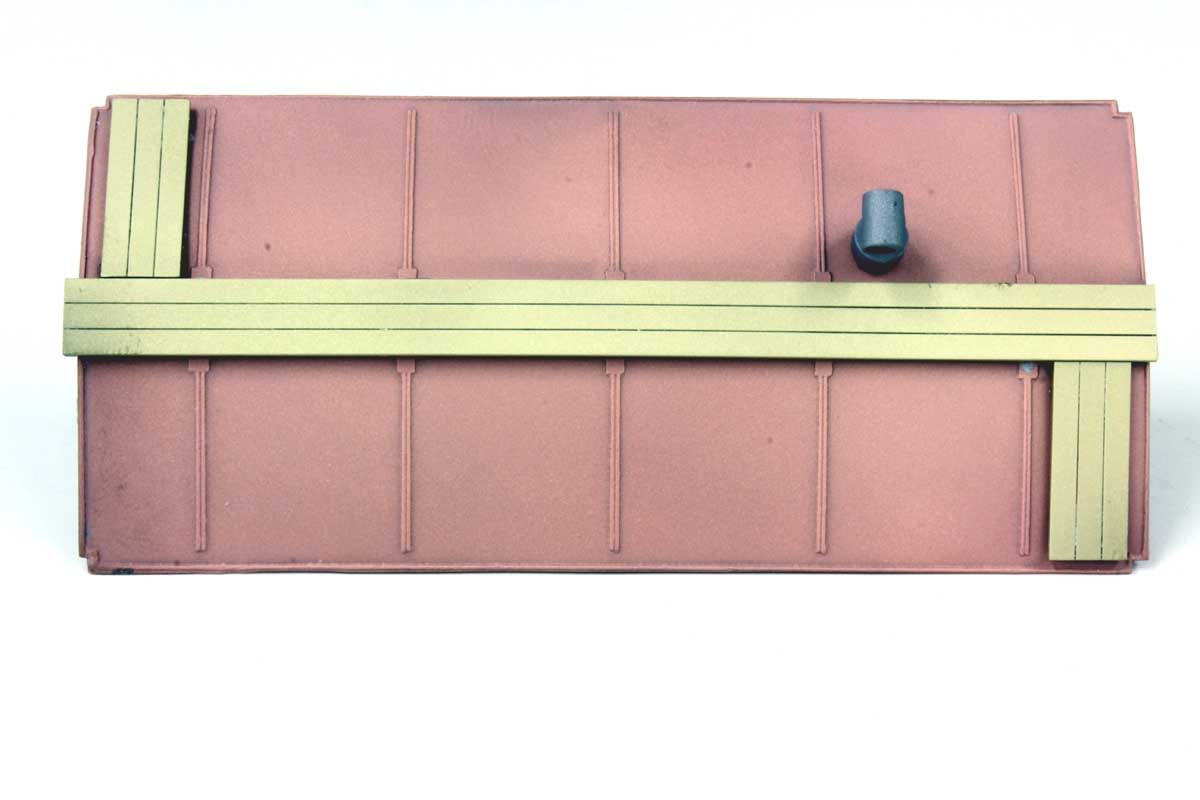
Here it is starting to look like something.
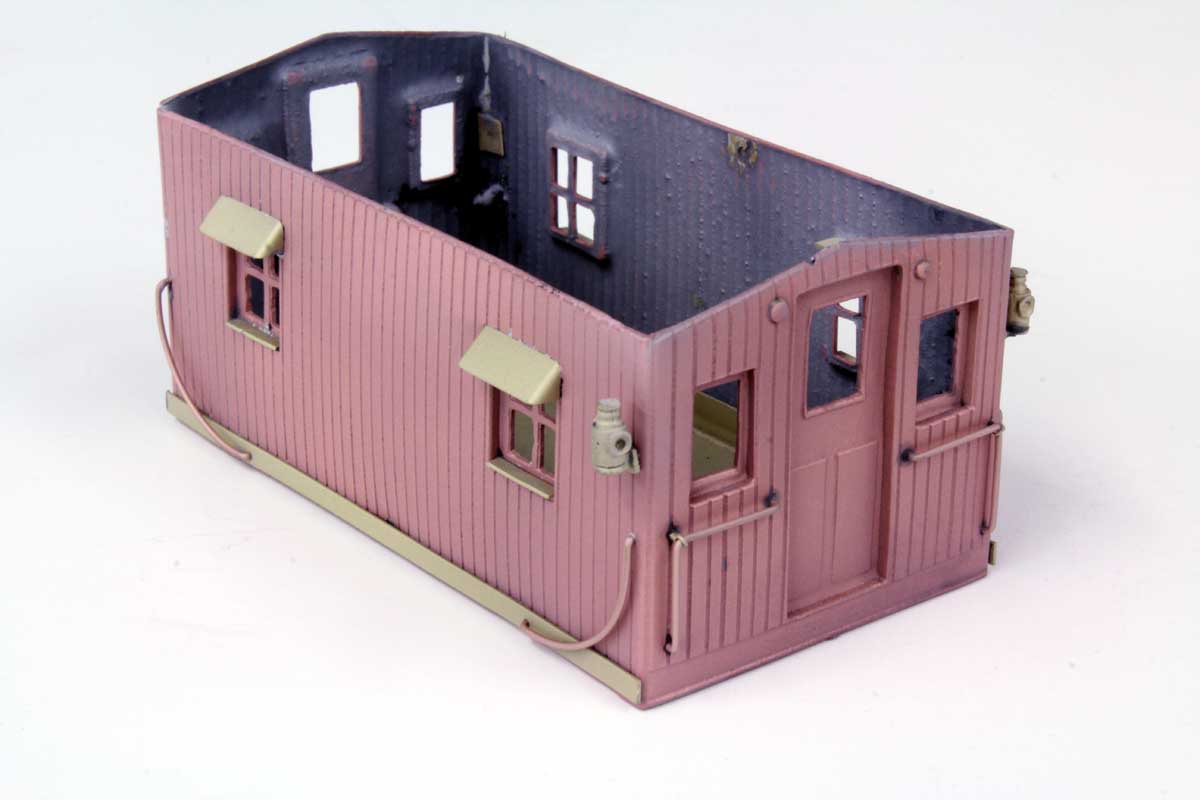
Construction and detailing is done. The 2 screws in the floor hold the roof on.
The roof walk and underside of the roof showing the alignment angles and hold down studs.
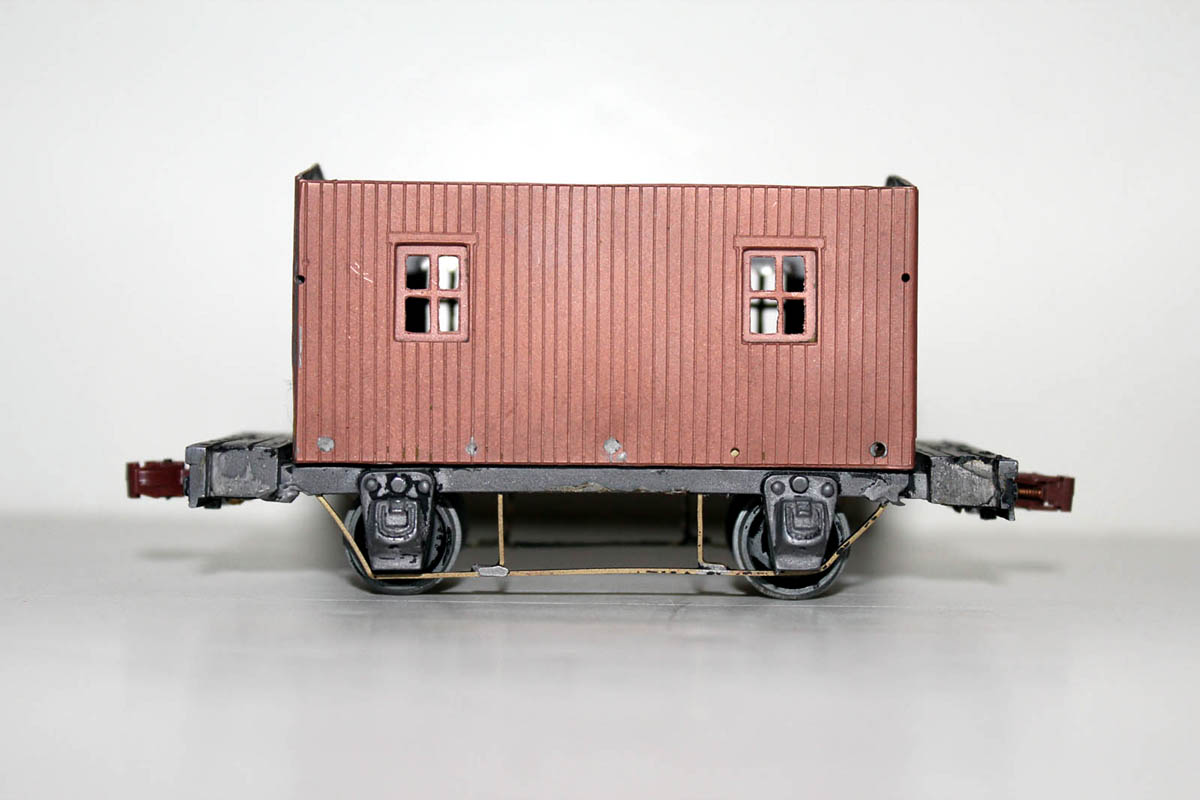
This is the completed roof and body after 1 last blast before painting.

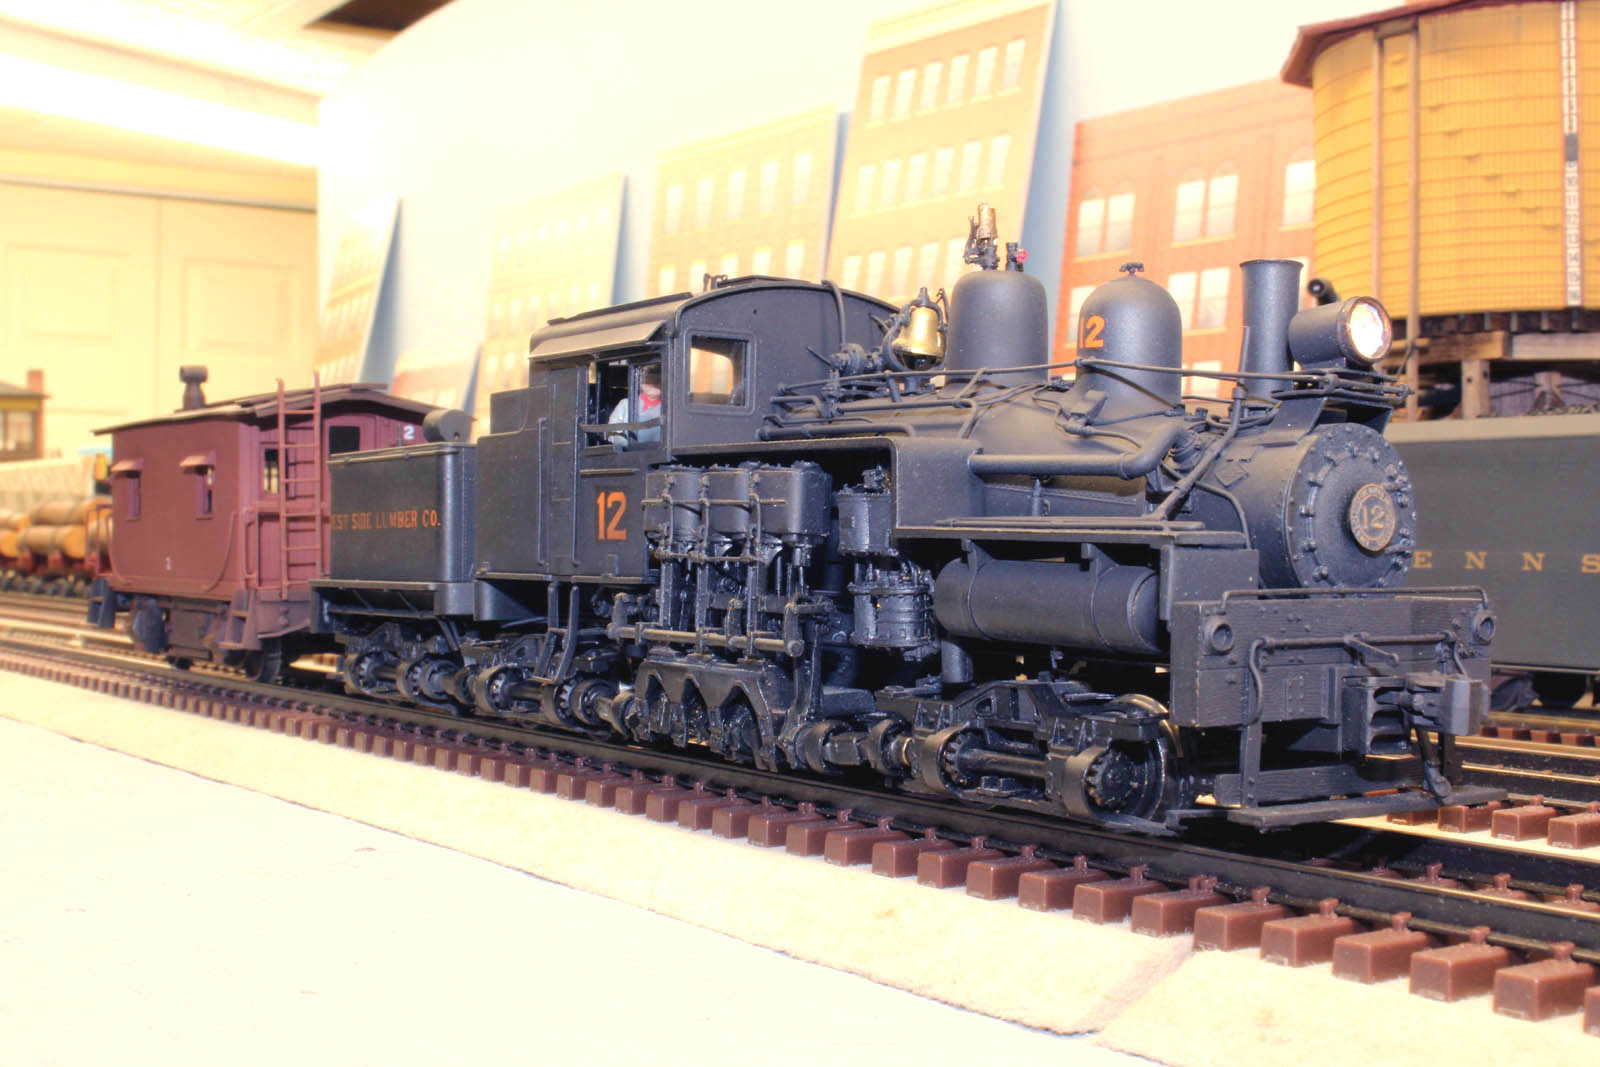
This is the frame after a final blast and DONE – on the track!
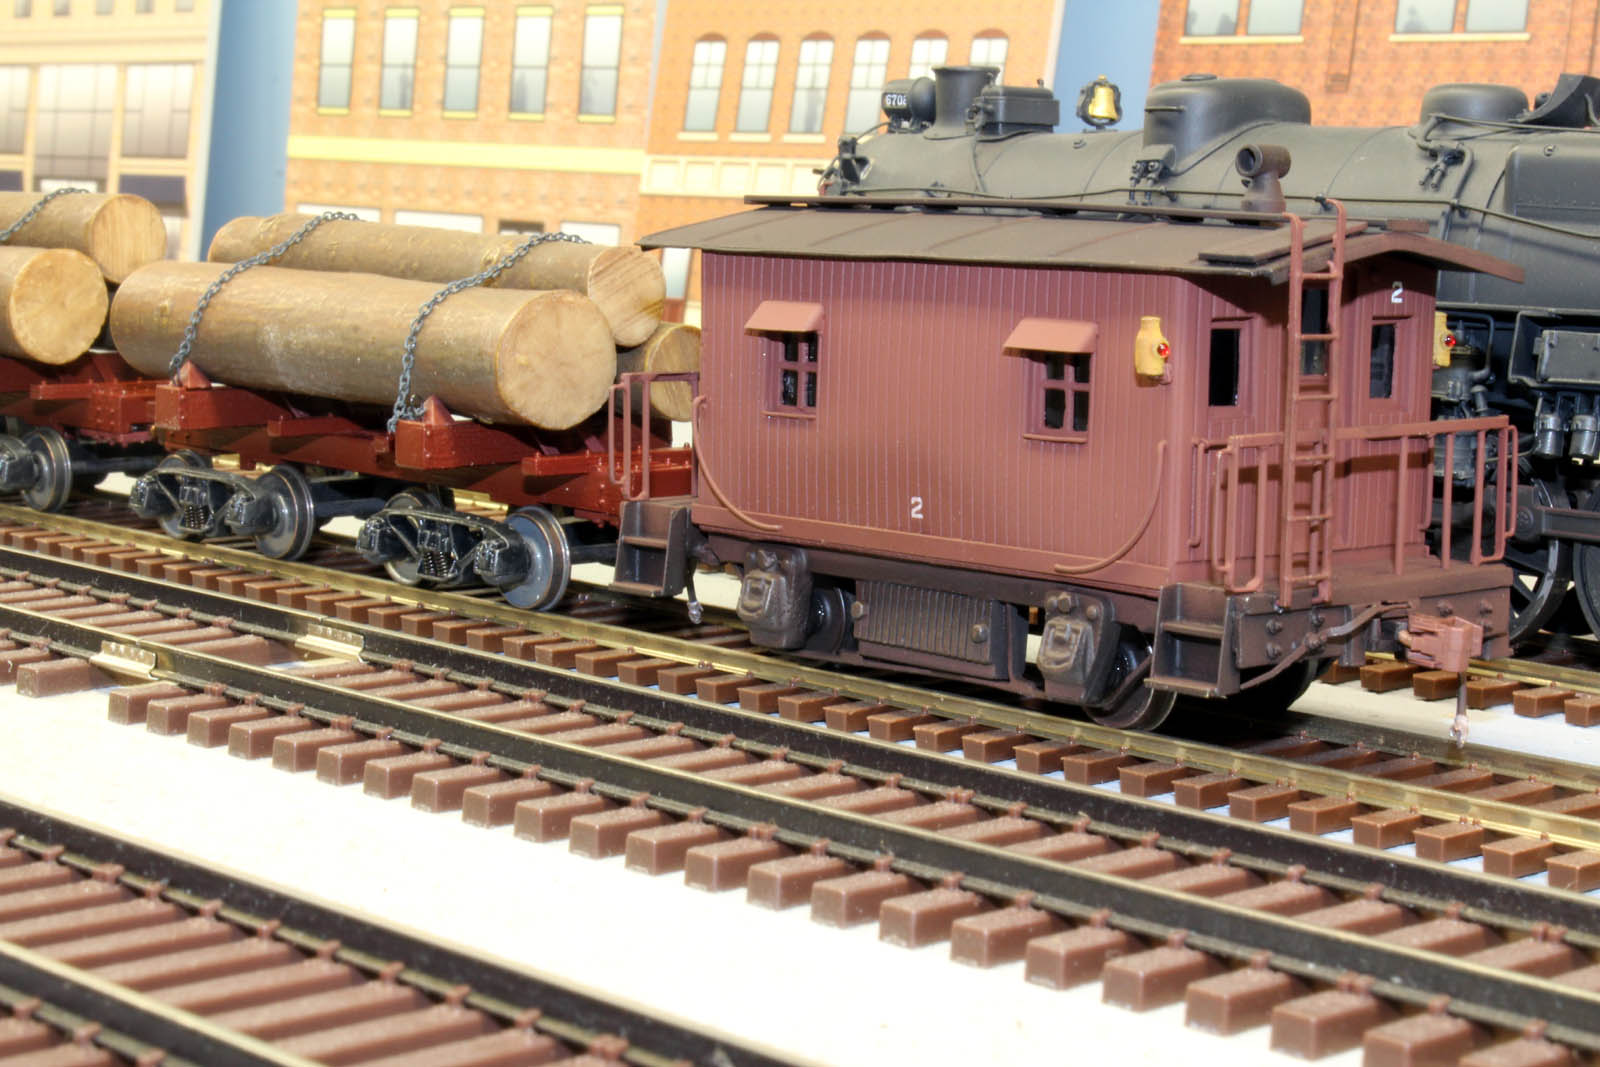
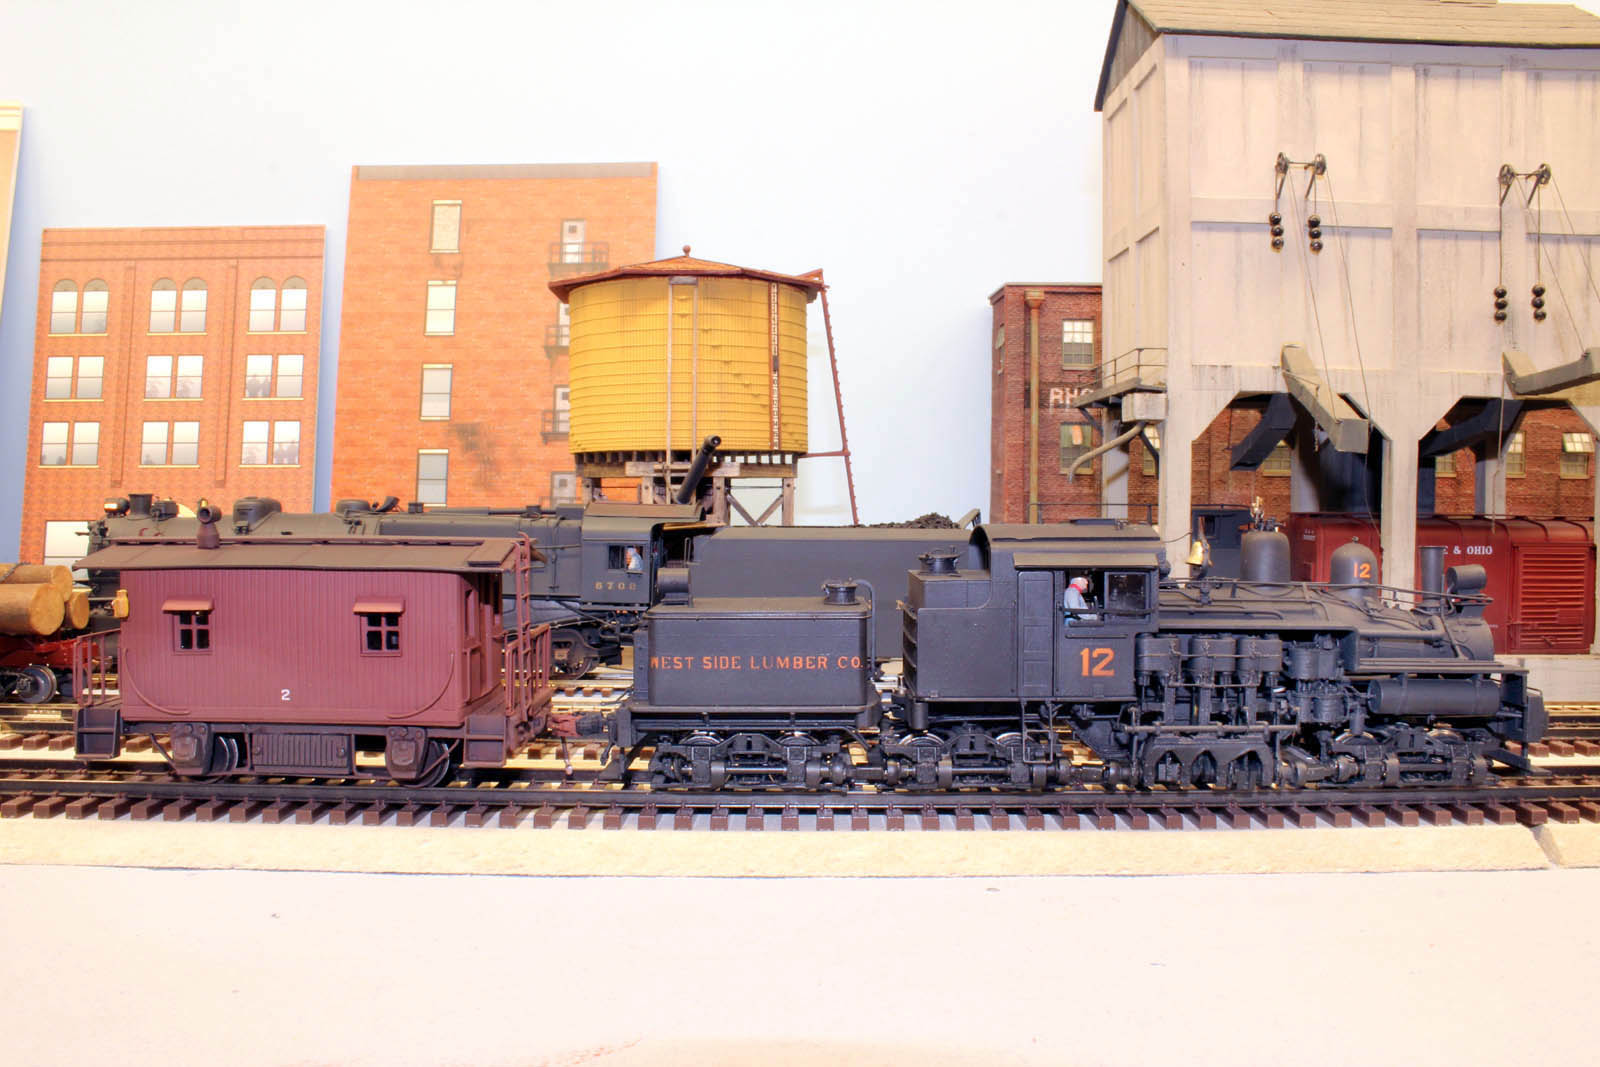
It
looks GREAT behind the Shay!
Updated 12-1-12
All
photos of my models and content © Lanes Trains 2005-2018